Motorola Mobility P56JX1 Cellular/ PCS CDMA Transceiver with Bluetooth User Manual APPLICANT MOTOROLA INC
Motorola Mobility LLC Cellular/ PCS CDMA Transceiver with Bluetooth APPLICANT MOTOROLA INC
UserManual.wiki
>
Motorola Mobility
>
P56JX1 User Manual
Exhibit 8 Users Manual
Navigation menu
Upload a User Manual
Namespaces
Wiki Guide
HTML
PDF
Info
Views
User Manual
Discussion / Help
Navigation

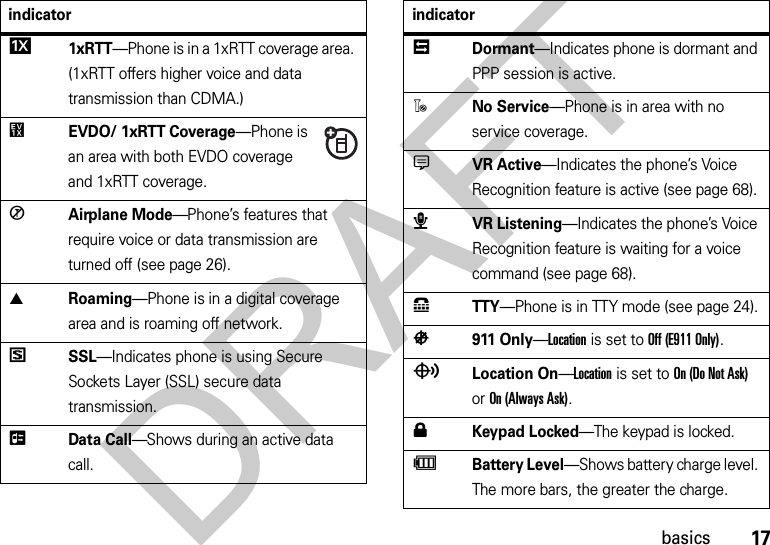
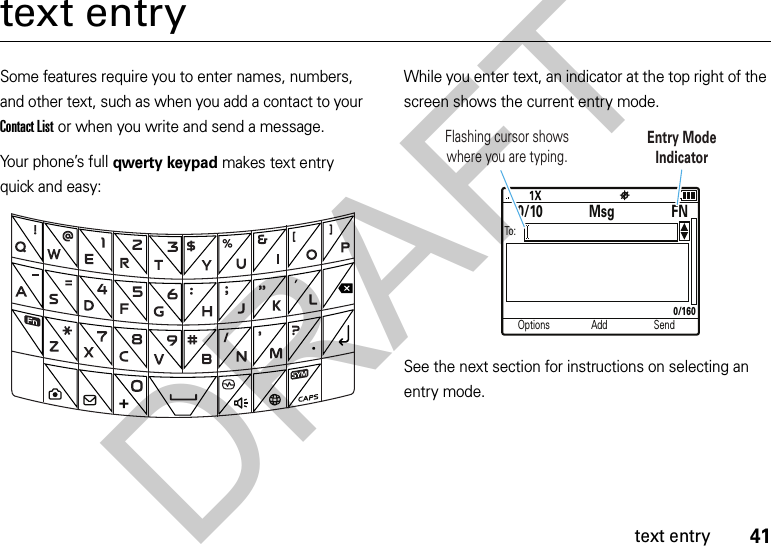
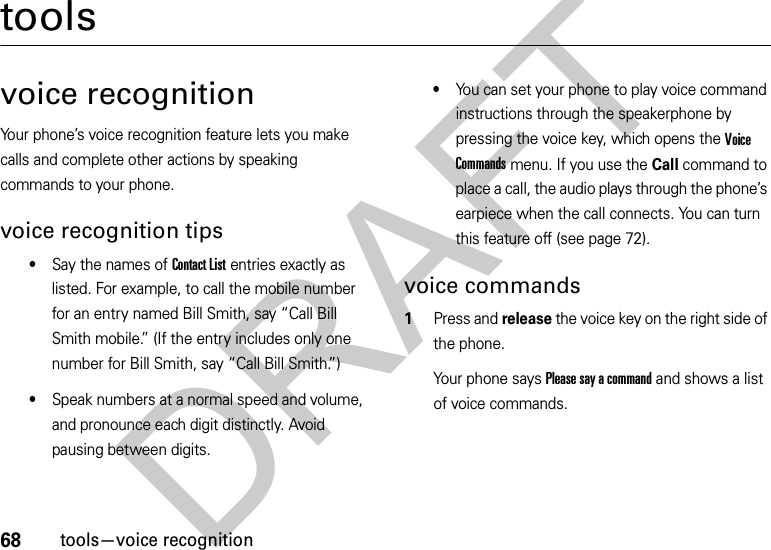
![18basicsBluetooth Active—Your phone is paired to another Bluetooth device.Bluetooth On—Your phone’s Bluetooth power is On.Bluetooth Connected—Your phone is connected to another Bluetooth device.t In Call—Shows during an active voice call.] New Message —Phone received a new text message.w New Voicemail Message —Phone received a new voicemail message. New Text & Voicemail Message —Phone received a new text and a new voicemail message.indicator]à All Sounds Off—Master Volume is set to All sounds off (see the Quick Start Guide).H Vibrate Only—Master Volume is set to Vibrate Only (see the Quick Start Guide).á Alarm Only—Master Volume is set to Alarm Only (see the Quick Start Guide).= Missed Call—Phone received an unanswered call. i Speakerphone On—Speakerphone is on.h Alarm On—An alarm has been set.Calendar Event—A calendar event has been created.indicatorDRAFT](https://usermanual.wiki/Motorola-Mobility/P56JX1/User-Guide-1007669-Page-26.png)

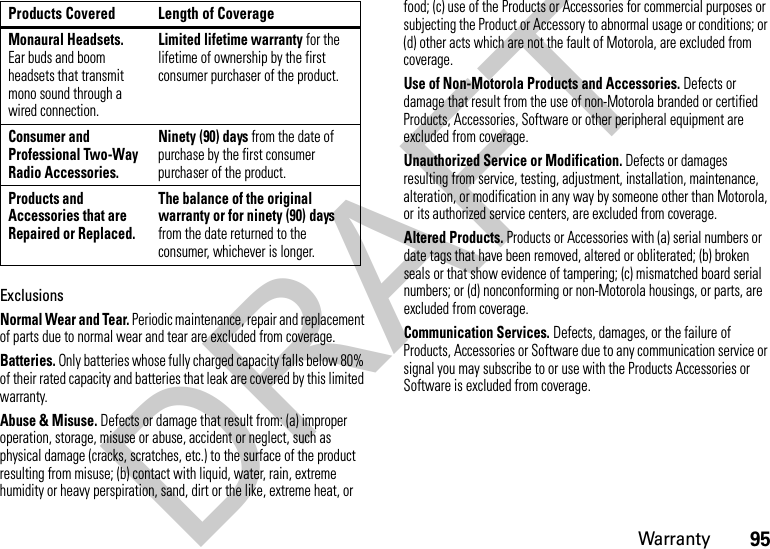
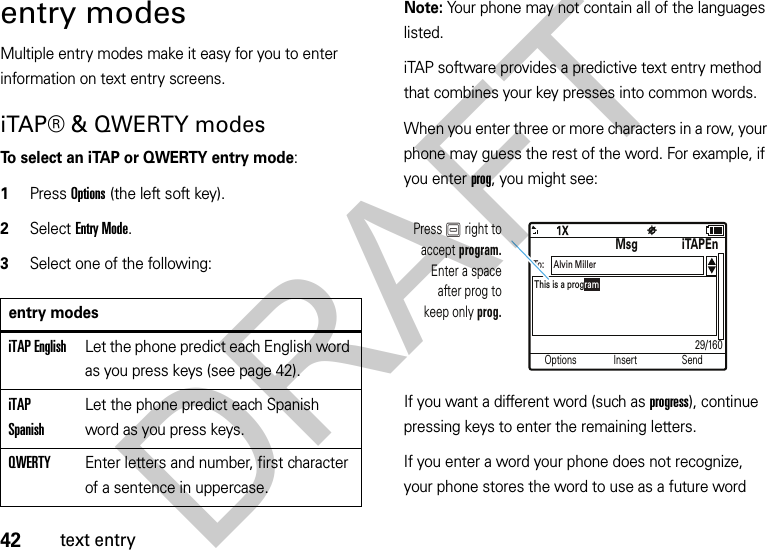
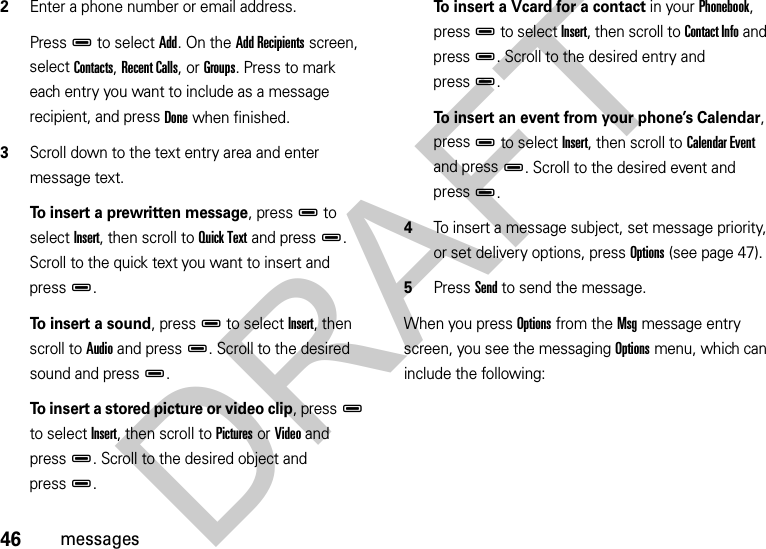
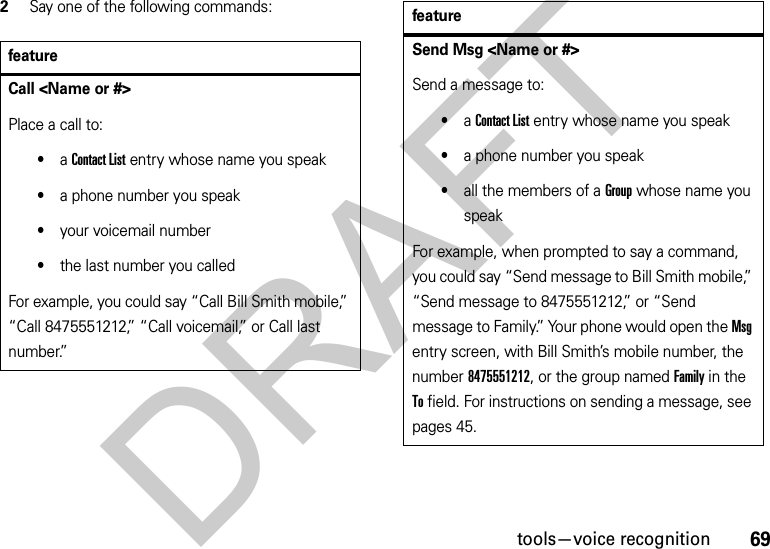
![34callsrecent callsYour phone keeps lists of the calls you recently received and dialed, even if the calls didn’t connect. The lists are sorted from newest to oldest calls. The oldest calls are deleted as new calls are added.Find it: Main Menu>qRecent Calls 1Scroll to Received Calls, Missed Calls, Dialed Calls, or All Calls, and pressD.2Scroll to an entry.3PressJ to to call the number.To see call details (like time and date), pressD.Press Options to open the Options menu, which can include Save, Lock, Delete, Delete All, and Timers.To send a message to the entry, press Send Msg.return a missed callYour phone keeps a record of your unanswered calls. When you miss a call, your phone shows the = (missed call) indicator and [Number] Missed Calls.To view missed calls immediately: 1When you see the missed call indicator, select View Now to see the missed calls list.2Scroll to an entry on the list.3PressJ to call the entry.To see call details (like time and date), pressD.Press Options to open the missed calls Options menu (see page 34.Press Send Msg to send a message to the entry.To return a missed call later, select View Later when you see the missed calls indicator. For more information on viewing and returning missed calls, see page 34.DRAFT](https://usermanual.wiki/Motorola-Mobility/P56JX1/User-Guide-1007669-Page-42.png)
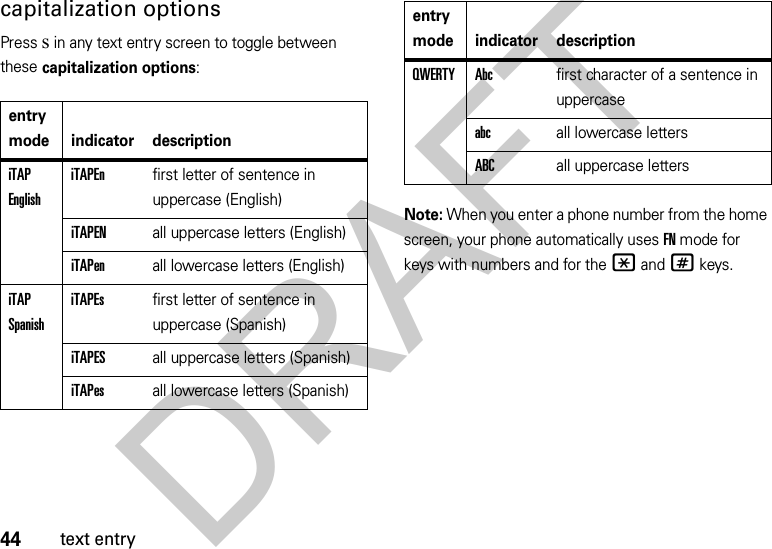


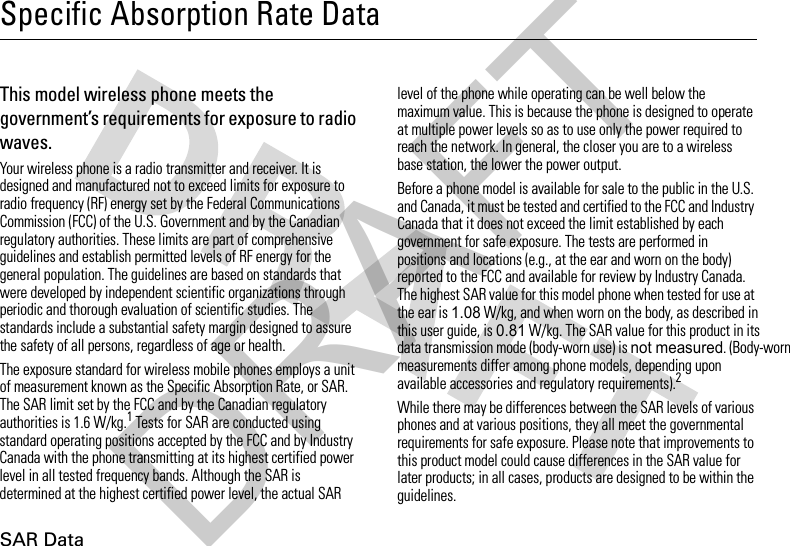
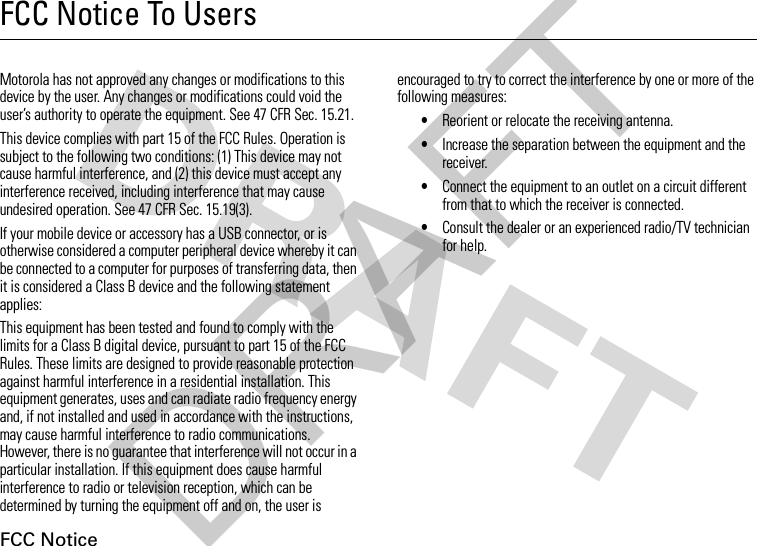
![93Industry Canada Notice•Avoid turning up the volume to block out noisy surroundings.•Turn the volume down if you can’t hear people speaking near you.If you experience hearing discomfort, including the sensation of pressure or fullness in your ears, ringing in your ears, or muffled speech, you should stop listening to the device through your headset or headphones and have your hearing checked.For more information about hearing, see our Web site at www.motorola.com/hearingsafety (in English only).Repetitive MotionWhen you repetitively perform actions such as pressing keys or entering finger-written characters, you may experience occasional discomfort in your hands, arms, shoulders, neck, or other parts of your body. If you continue to have discomfort during or after such use, stop use and see a physician.[Mar0108]Industry Canada Notice to UsersIndust ry Cana da NoticeOperation is subject to the following two conditions: (1) This device may not cause interference and (2) This device must accept any interference, including interference that may cause undesired operation of the device. See RSS-GEN 7.1.5.FCC Notice to UsersFCC NoticeThe following statement applies to all products that have received FCC approval. Applicable products bear the FCC logo, and/or an FCC ID in the format FCC-ID:xxxxxx on the product label.Motorola has not approved any changes or modifications to this device by the user. Any changes or modifications could void the user’s authority to operate the equipment. See 47 CFR Sec. 15.21.This device complies with part 15 of the FCC Rules. Operation is subject to the following two conditions: (1) This device may not cause harmful interference, and (2) this device must accept any interference received, including interference that may cause undesired operation. See 47 CFR Sec. 15.19(3).This equipment has been tested and found to comply with the limits for a Class B digital device, pursuant to part 15 of the FCC Rules. These limits are designed to provide reasonable protection against harmful interference in a residential installation. This equipment generates, uses and can radiate radio frequency energy and, if not installed and used in accordance with the instructions, may cause harmful DRAFT](https://usermanual.wiki/Motorola-Mobility/P56JX1/User-Guide-1007669-Page-101.png)