Motorola Mobility T56CD1 Portable PCS GSM Transceiver User Manual Exhibit 8 Preliminary Users Manual
Motorola Mobility LLC Portable PCS GSM Transceiver Exhibit 8 Preliminary Users Manual
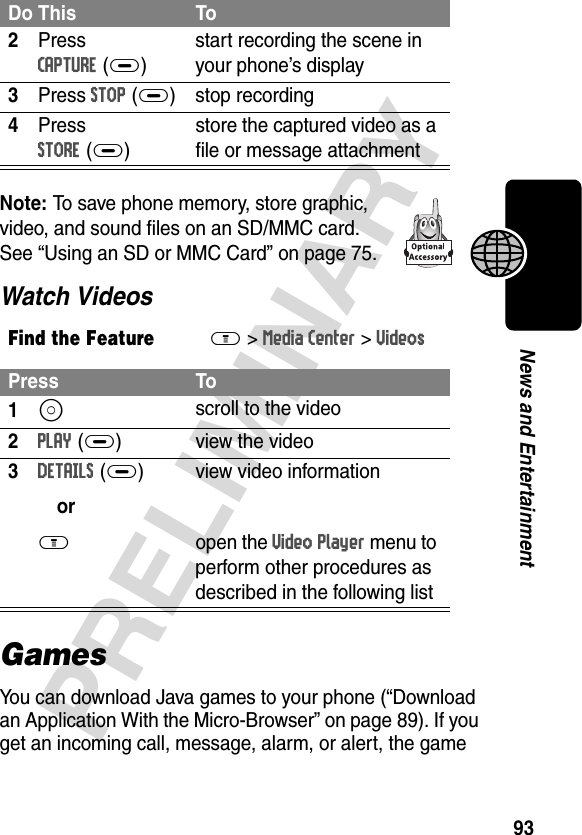
UserManual.wiki
>
Motorola Mobility
>
T56CD1 User Manual
Exhibit 8 Preliminary Users Manual
Navigation menu
Upload a User Manual
Namespaces
Wiki Guide
HTML
PDF
Info
Views
User Manual
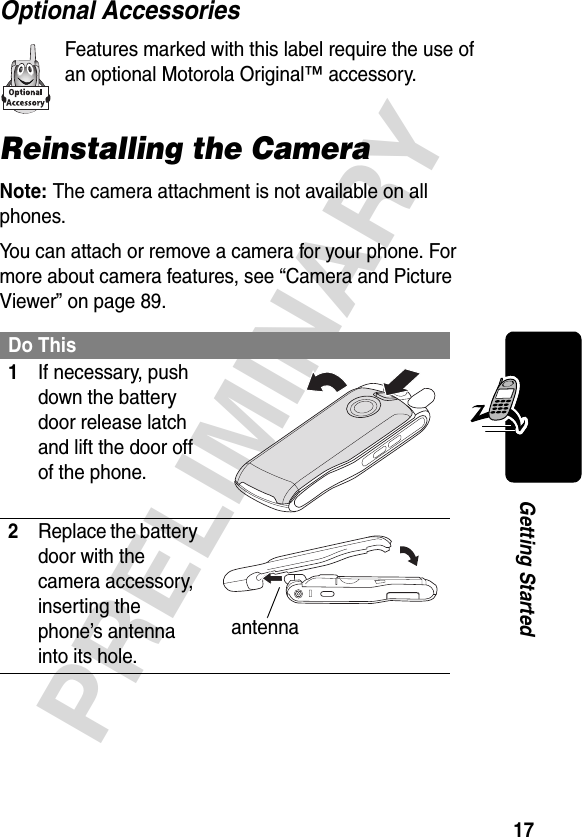
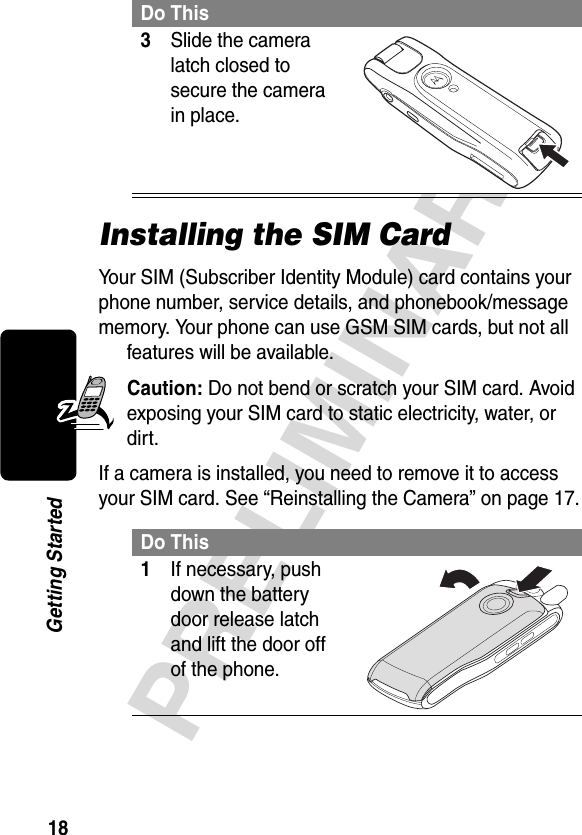
Discussion / Help
Navigation
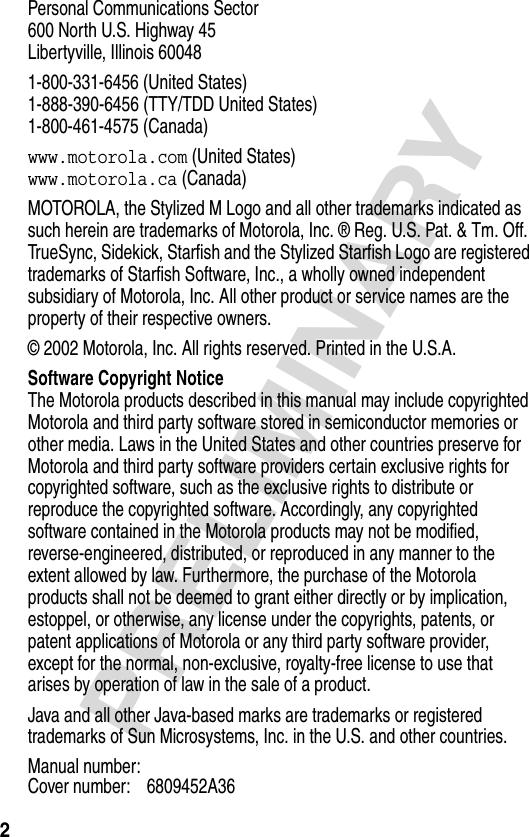

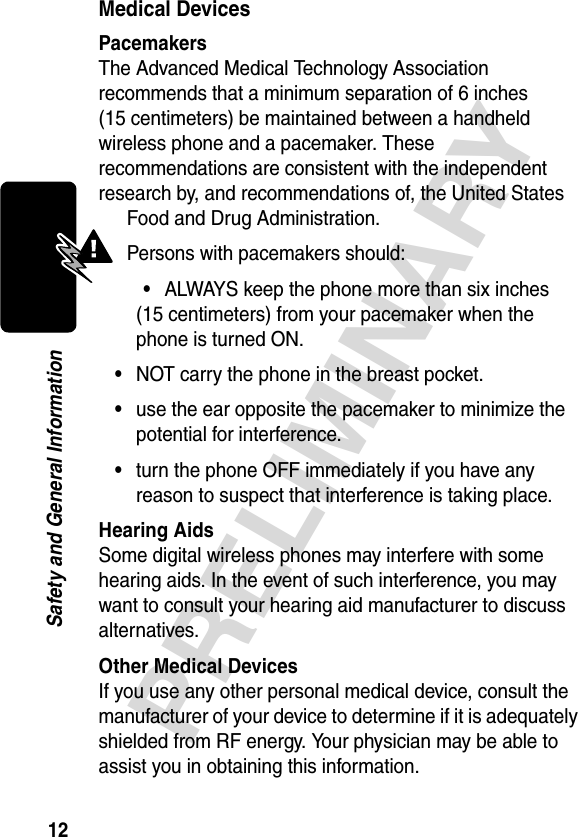
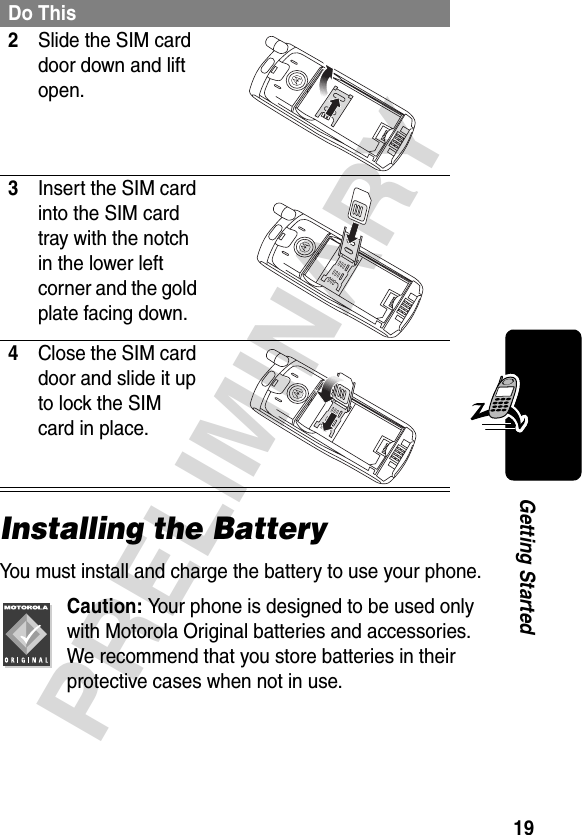
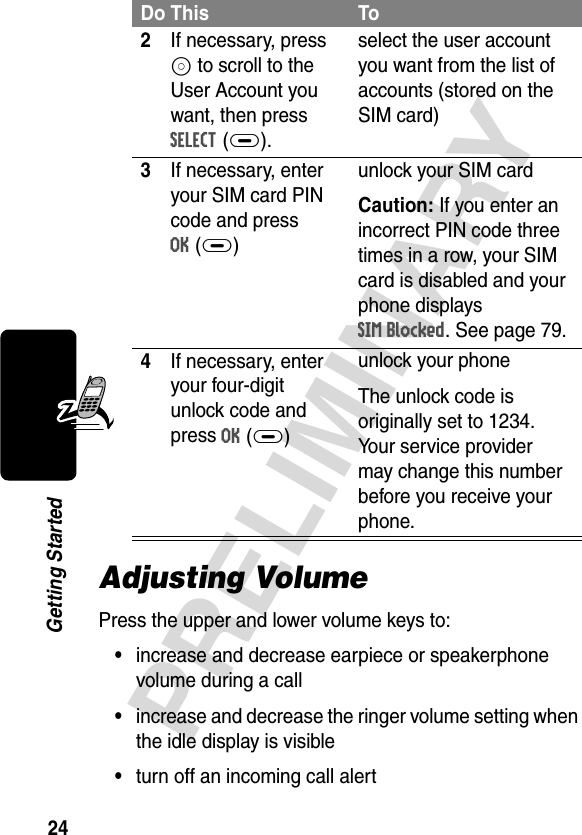
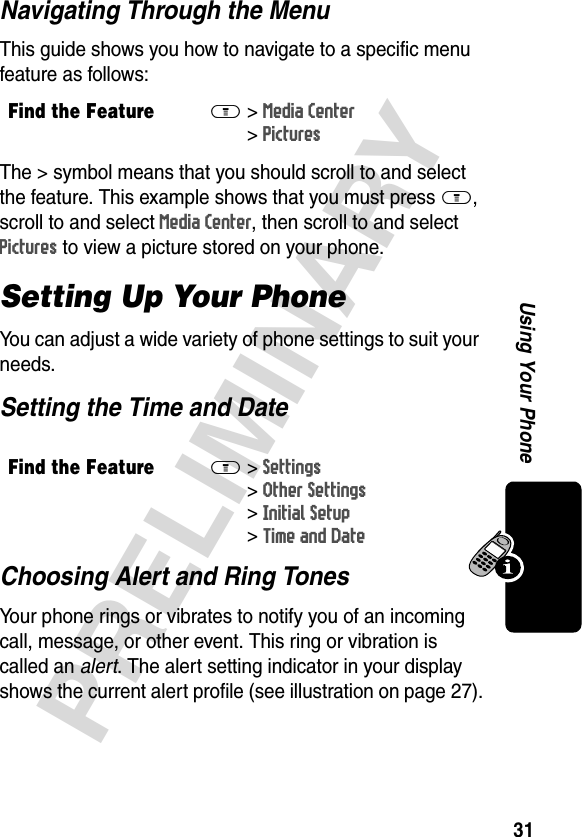
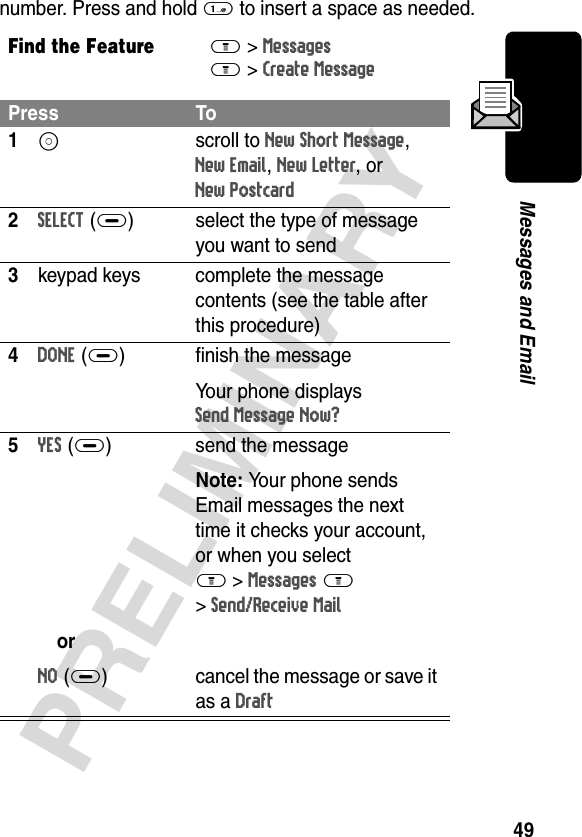
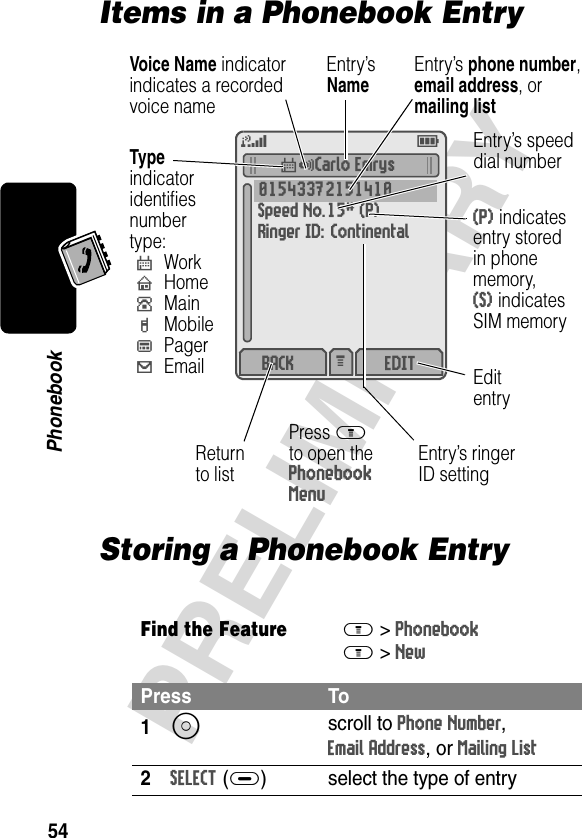
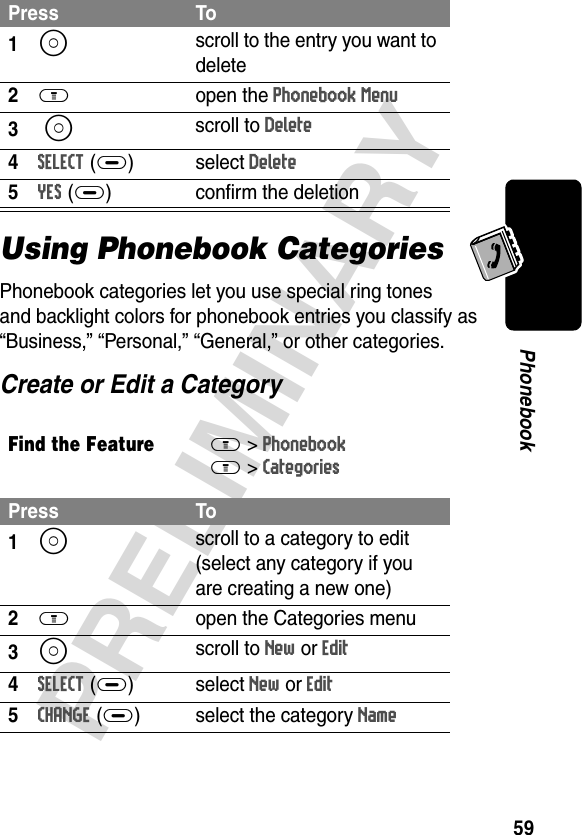
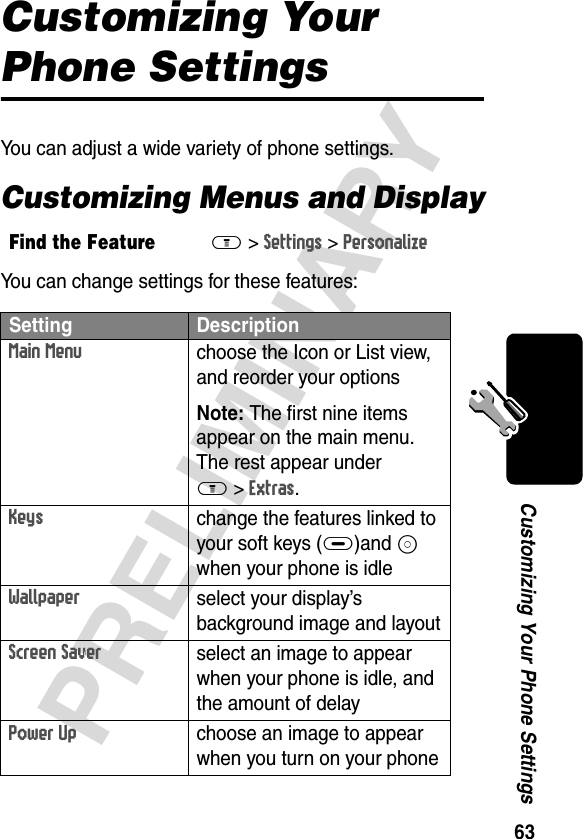
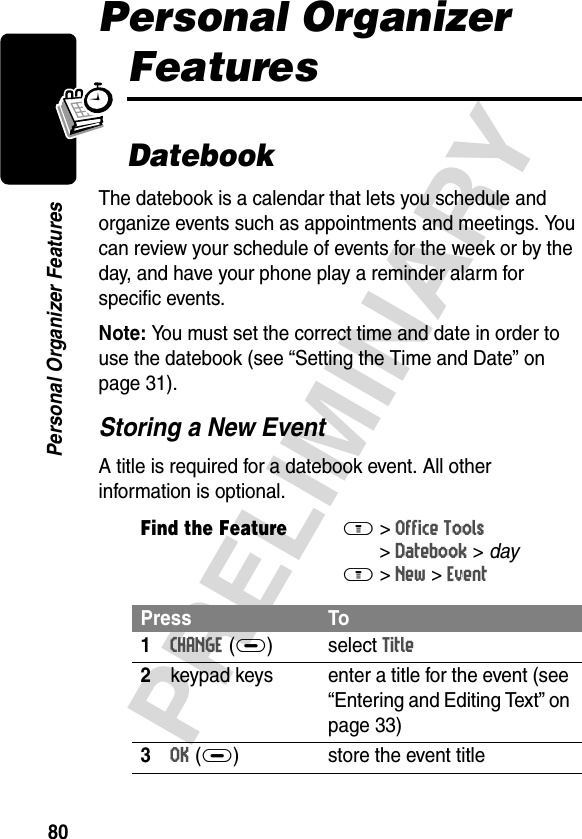
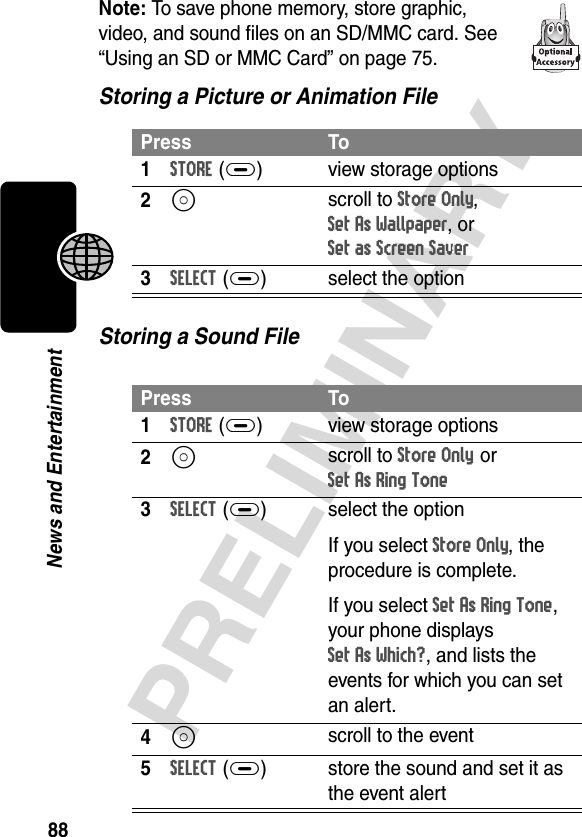
![34PRELIMINARYUsing Your Phone•If you do not press a key for two seconds, the character in the block cursor is accepted, and the cursor moves to the next position.•The first character of each sentence is capitalized unless you manually change it. (Press S down to force the character to lowercase while it is highlighted by the block cursor.)Character ChartUse this chart as a guide for entering spaces, numbers, letters, symbols, and other characters with the tap method.Your phone model may not include all of the characters shown in the above chart.Copying, Cutting, and Pasting TextYou can copy, cut, and paste characters in the text and number editors.1 space . 1 ? ! , @ _ & ~ : ; "- ( ) ' ¿ ¡ % £ $ ¥ 2 a b c 2 ä å á à â ã α β ç3 d e f 3 δ ë é è ê φ4 g h i 4 ï í î γ5 j k l 5 λ6 m n o 6 ñ ö ø ó ò ô õ ω7 p q r s 7 π ß σ8 t u v 8 θ ü ú ù û9 w x y z 9 ξ ψ0 + - 0 x * / \ [ ] = > < # §](https://usermanual.wiki/Motorola-Mobility/T56CD1/User-Guide-284943-Page-35.png)
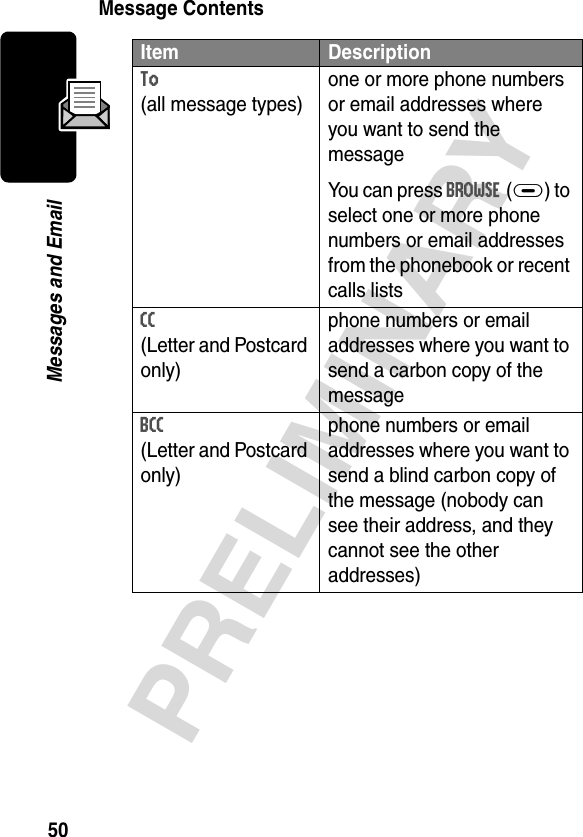


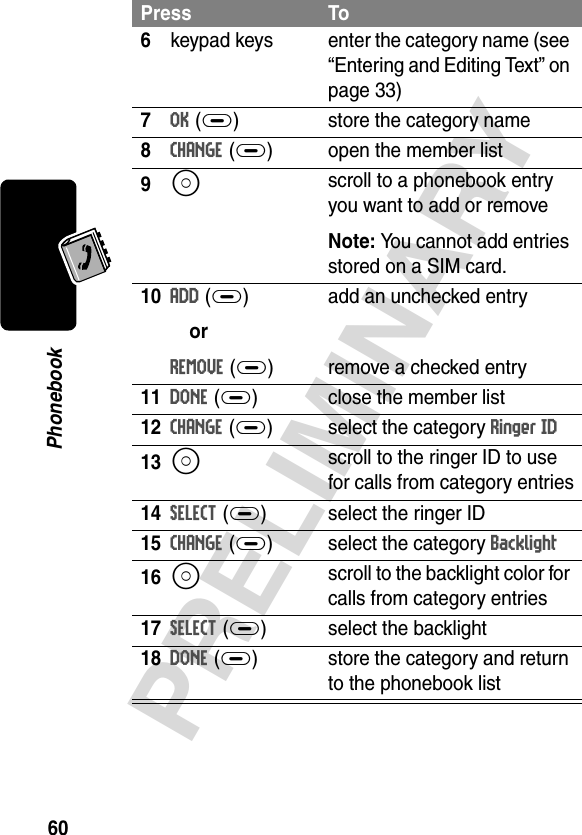
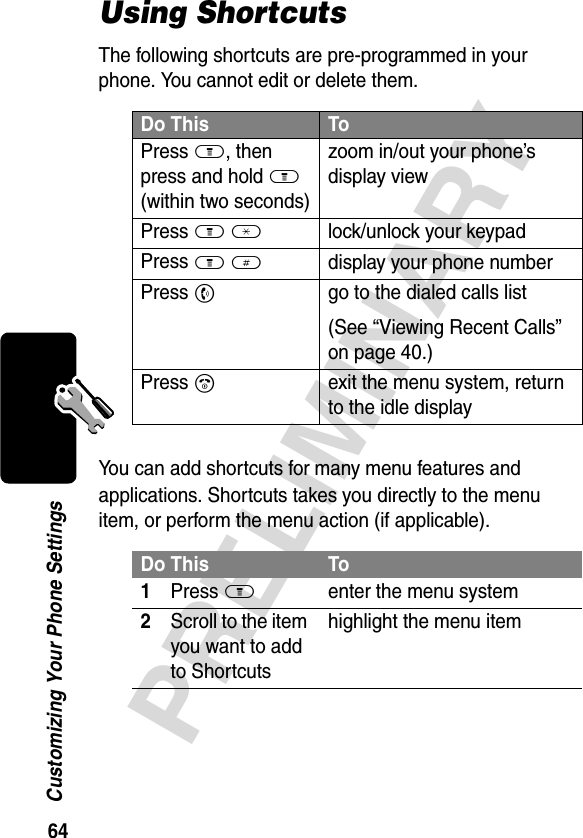

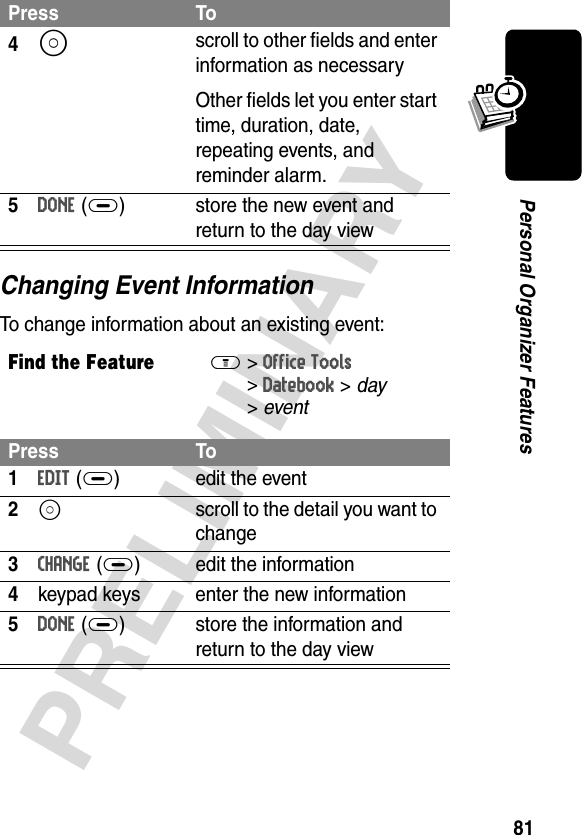
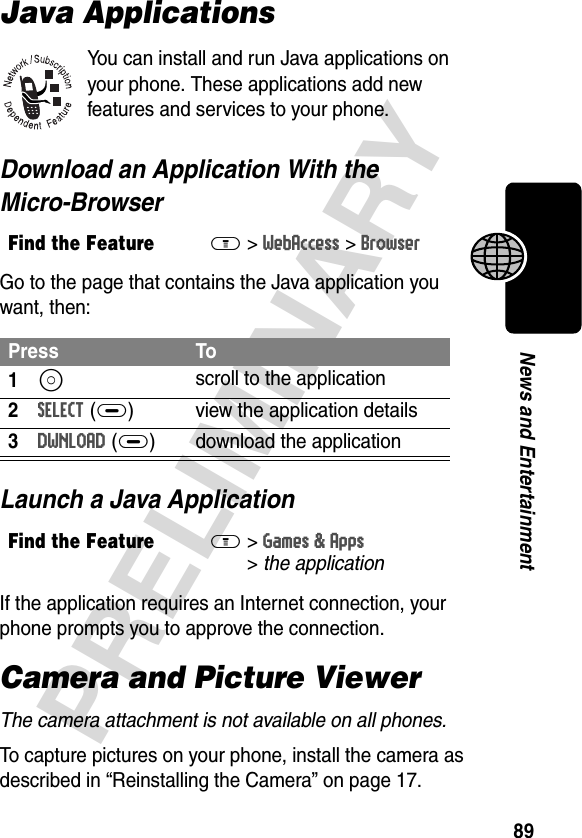
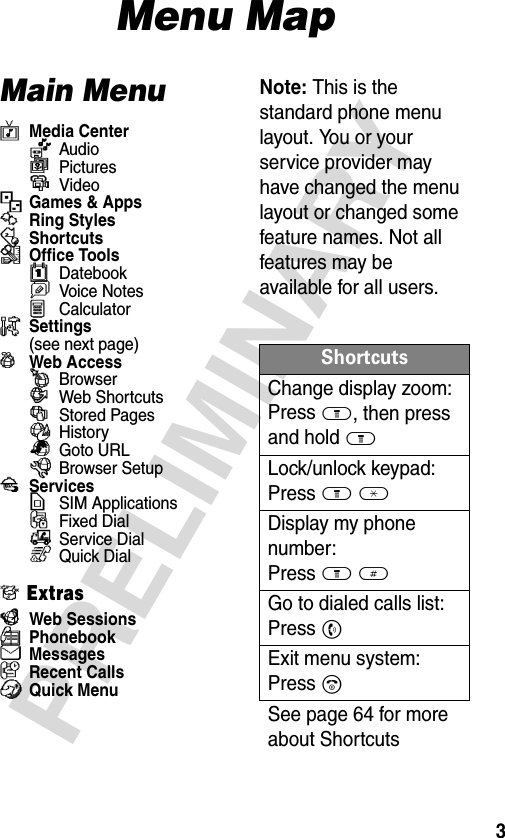
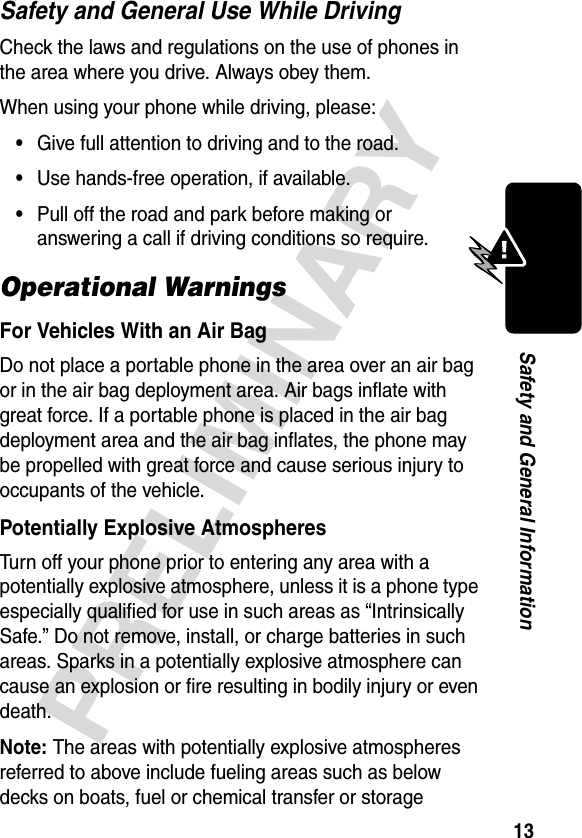
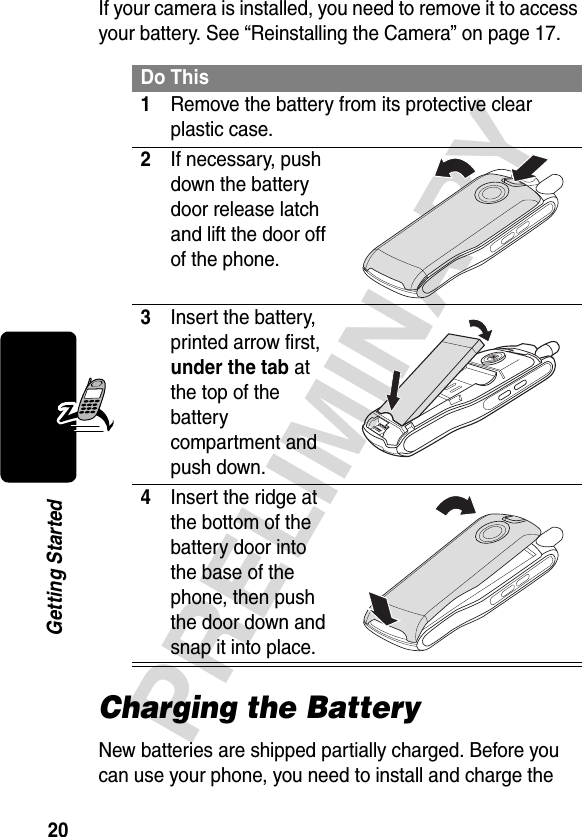
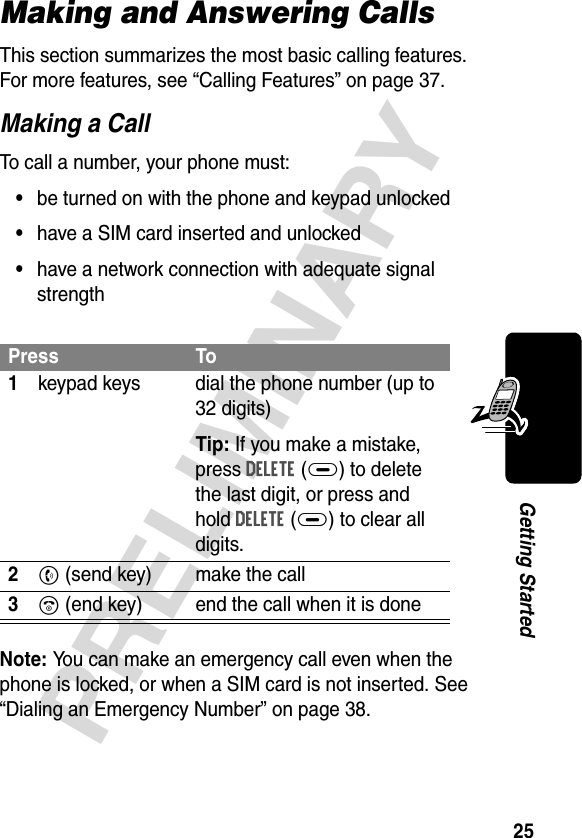
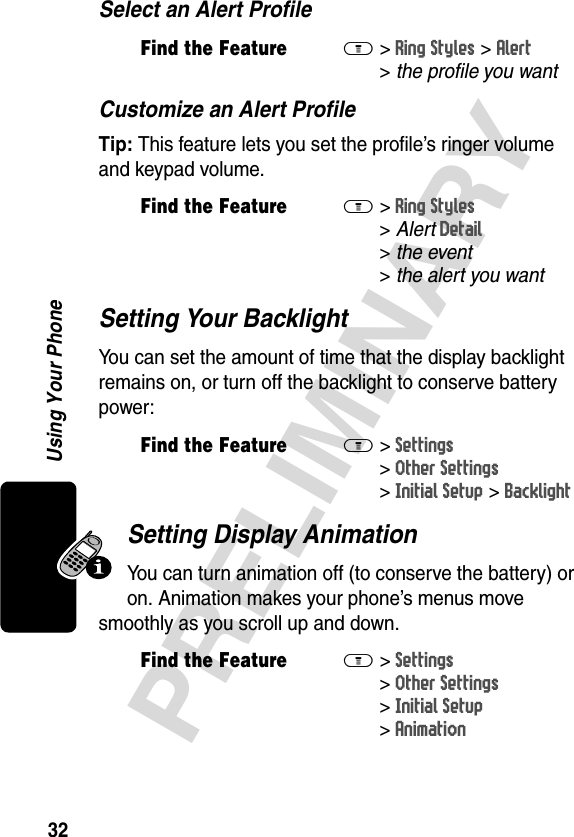
![90PRELIMINARYNews and EntertainmentCapture PicturesTo take a picture, attach the camera/video accessory to your phone and follow these steps:The image in the camera’s viewfinder appears on your phone’s displayNote: To save phone memory, store graphic, video, and sound files on an SD/MMC card. See “Using an SD or MMC Card” on page 75.Download PicturesYou can download pictures and animations to your phone and use them as wallpaper or a screen saver.Find the FeatureM>Media Center >Pictures >[New Picture]Do This To1Point your phone at the subject of the picturefind the picture you want to take2Press CAPTURE(+)freeze the picture in your phone’s display3Press STORE(+)store the captured picture as a file, wallpaper, screen saver, or message attachment](https://usermanual.wiki/Motorola-Mobility/T56CD1/User-Guide-284943-Page-91.png)
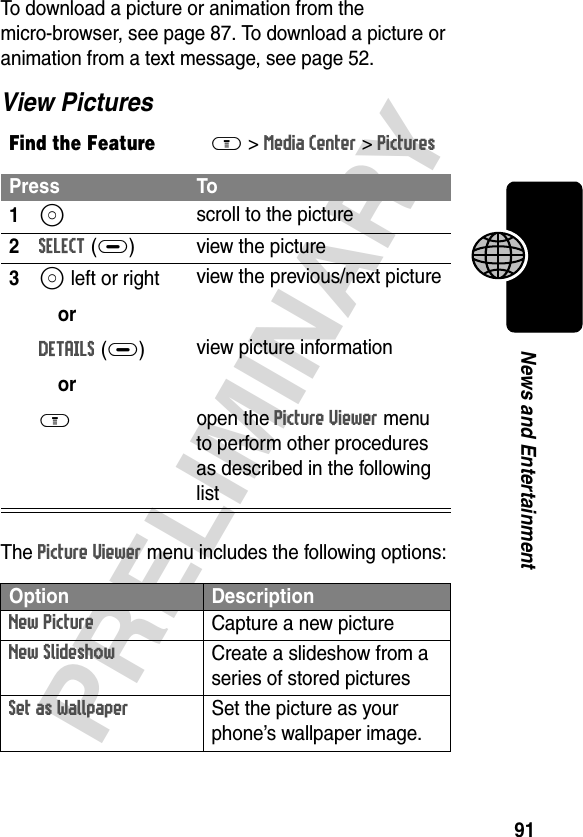
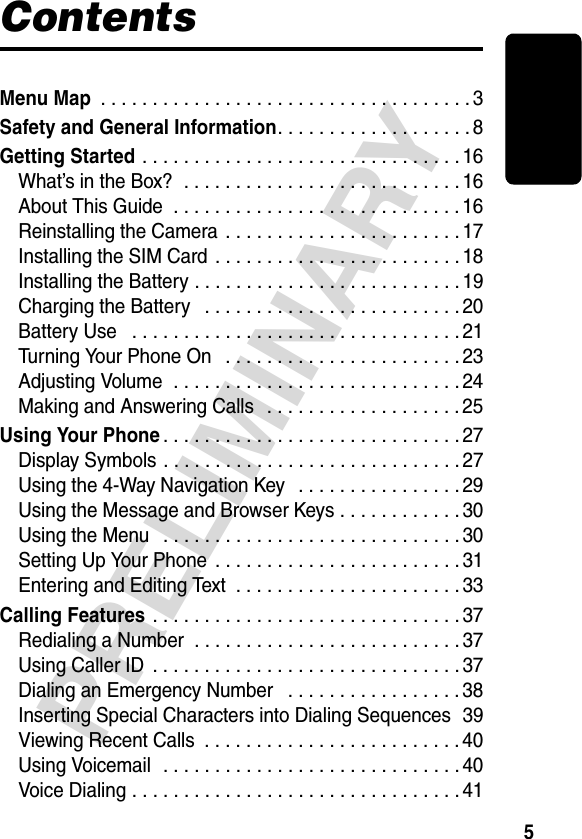
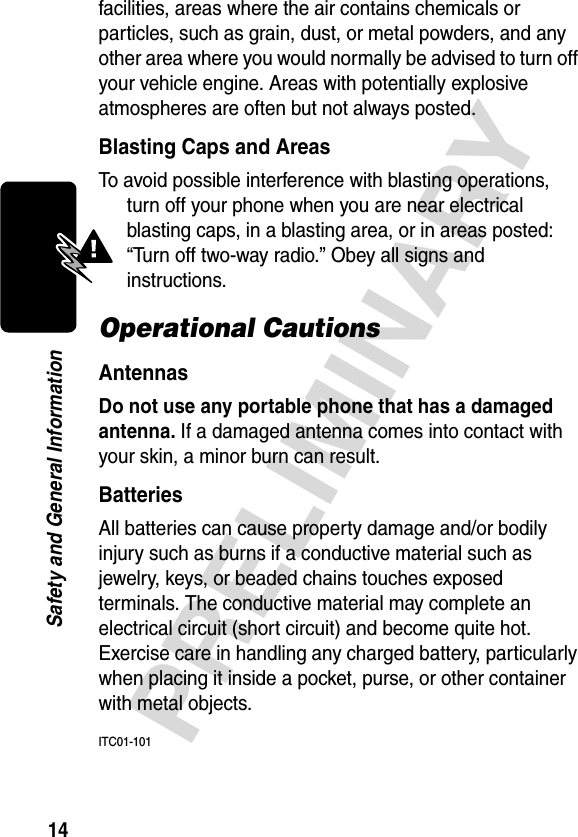
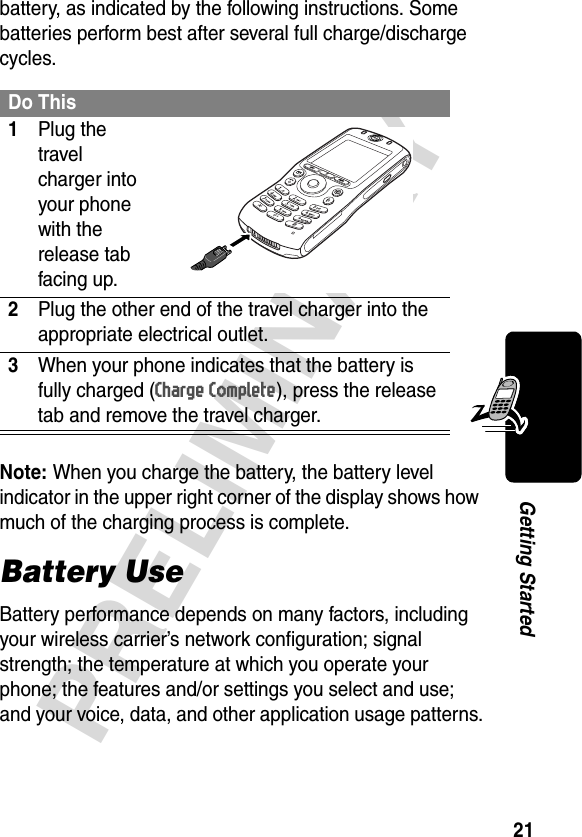
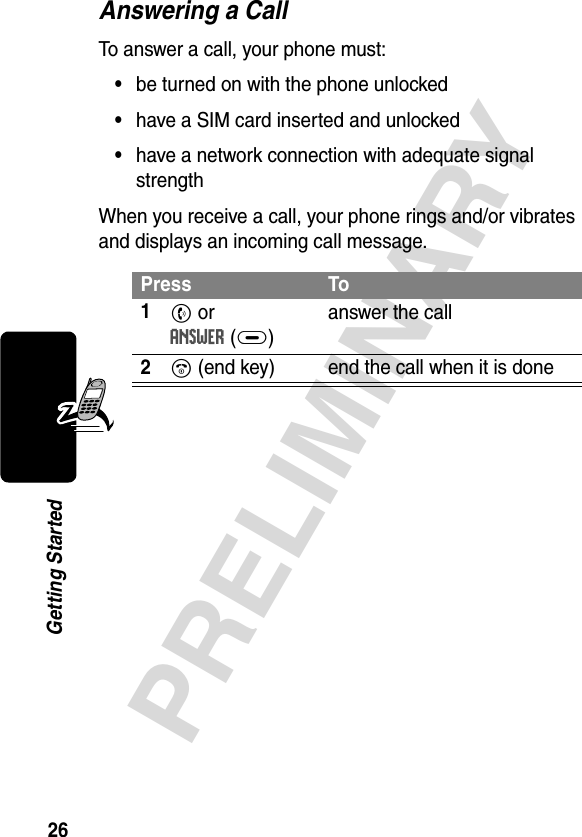
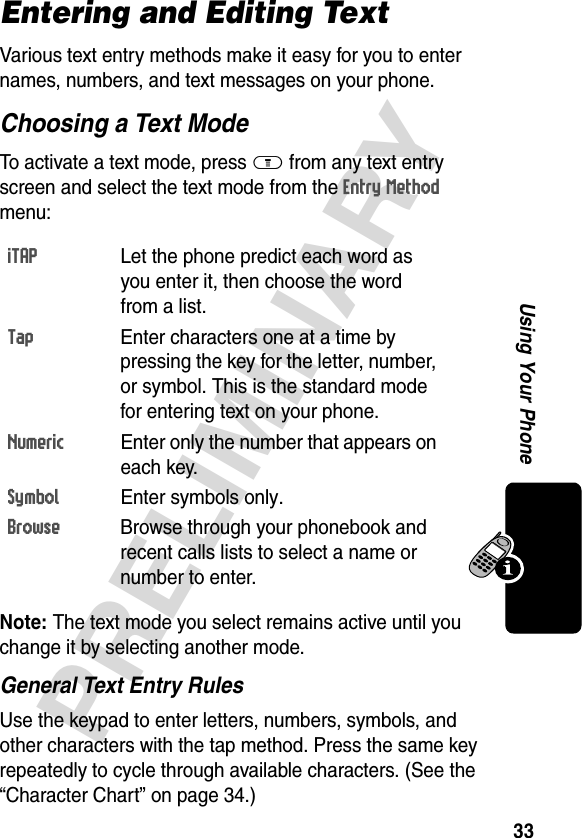
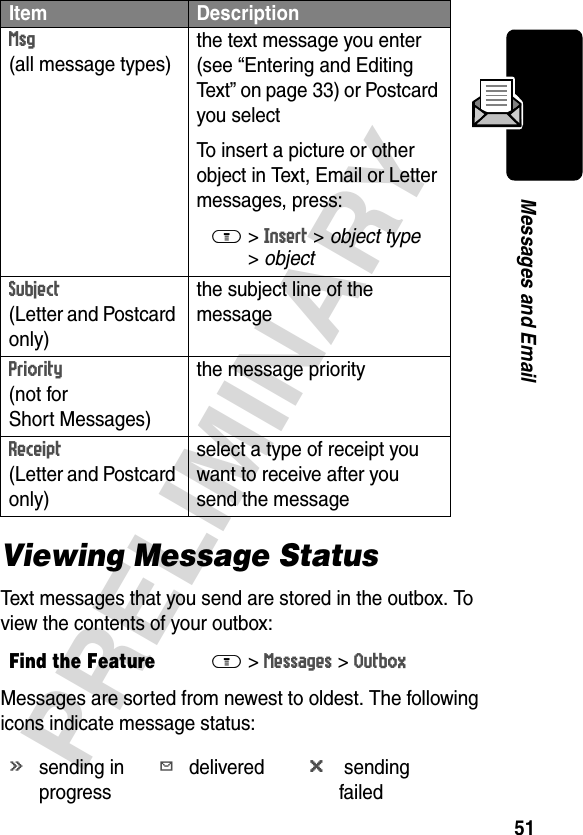
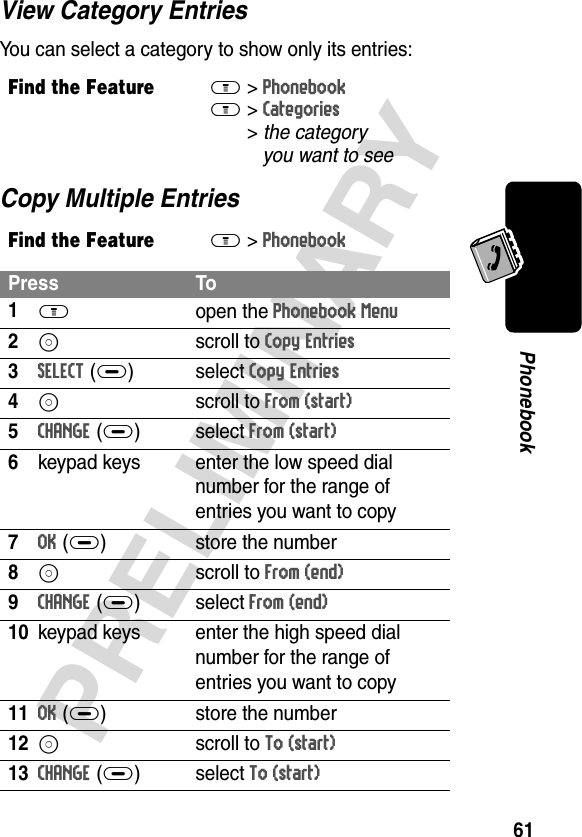
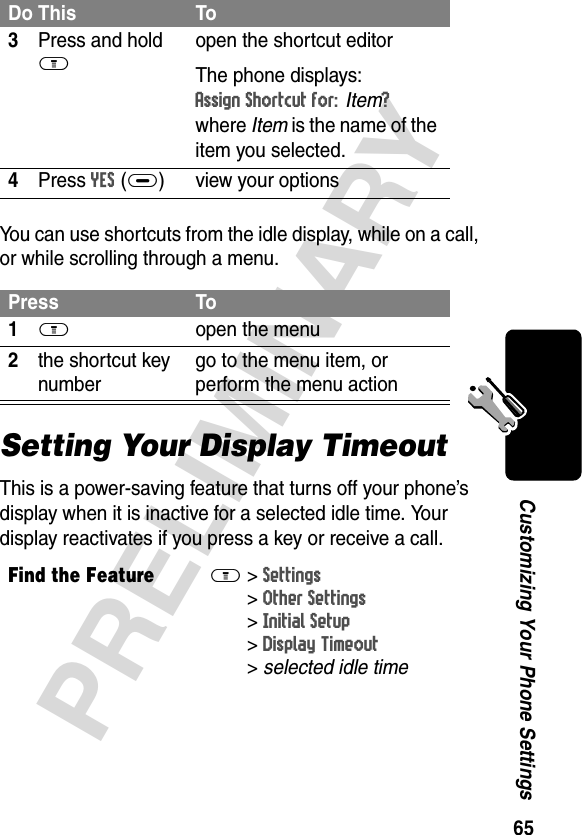
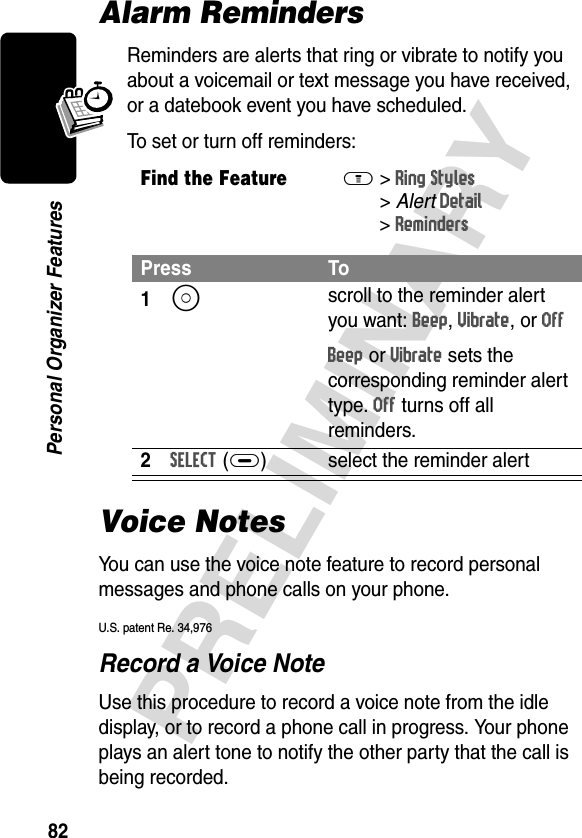
![92PRELIMINARYNews and EntertainmentTo adjust your phone’s wallpaper and screen saver images, see page 63.Video Recorder and ViewerThe camera attachment is not available on all phones.To capture videos on your phone, install the camera as described in “Reinstalling the Camera” on page 17.Record VideosTo record a video, attach the camera/video accessory to your phone and follow these steps:The image in the camera’s viewfinder appears on your phone’s displaySet as Screen Saver Set the picture as your phone’s screen saver image.Set as Power-Up AnimationSet the picture as the image that appears when you turn on your phone.Details View picture information.Find the FeatureM>Media Center >Videos >[New Video]Do This To1Point your phone at the subject of the videofind the scene you want to recordOption Description](https://usermanual.wiki/Motorola-Mobility/T56CD1/User-Guide-284943-Page-93.png)