Motorola Mobility T56DW1 Portable Cellular / PCS GSM Transceiver User Manual UG C330 GSM
Motorola Mobility LLC Portable Cellular / PCS GSM Transceiver UG C330 GSM
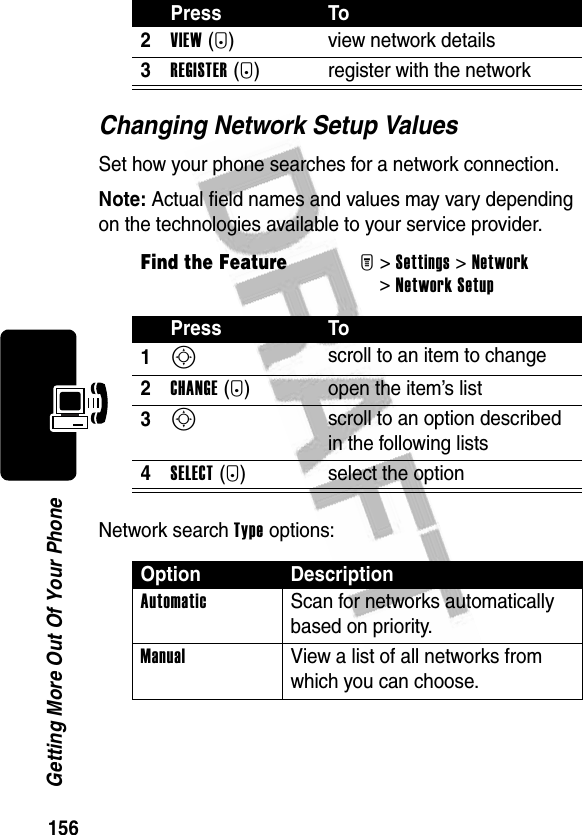
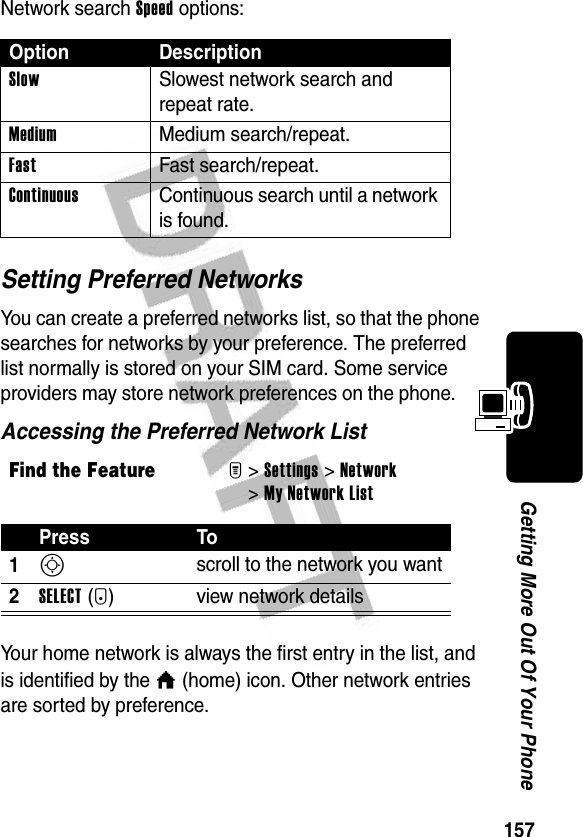
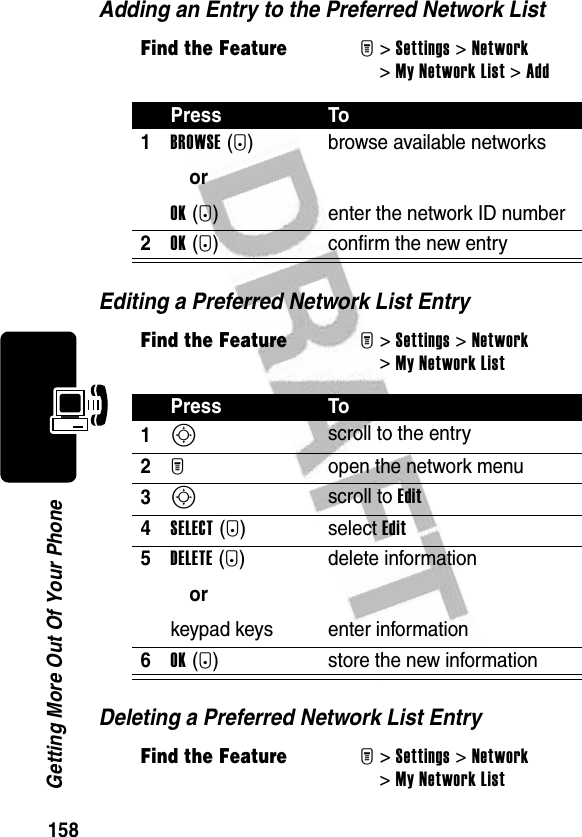
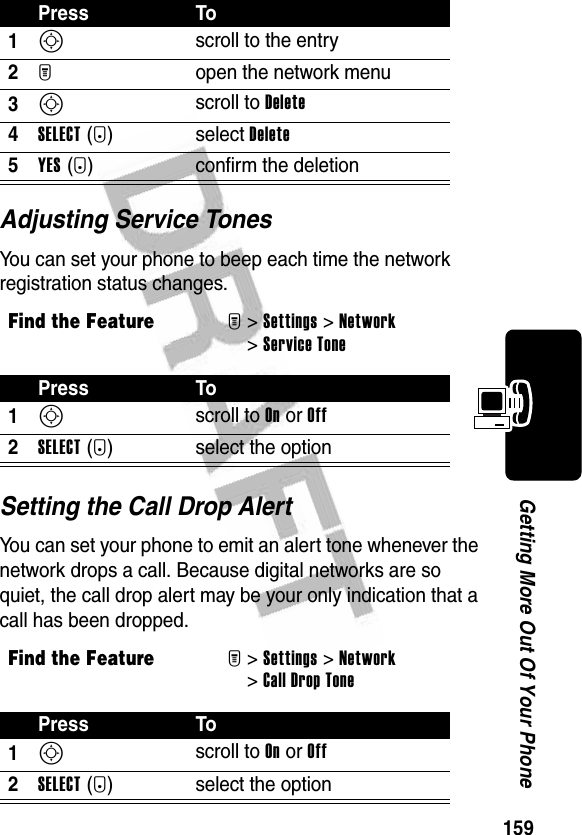
UserManual.wiki
>
Motorola Mobility
>
T56DW1 User Manual
Exhibit 8 Users Manual
Navigation menu
Upload a User Manual
Namespaces
Wiki Guide
HTML
PDF
Info
Views
User Manual
Discussion / Help
Navigation


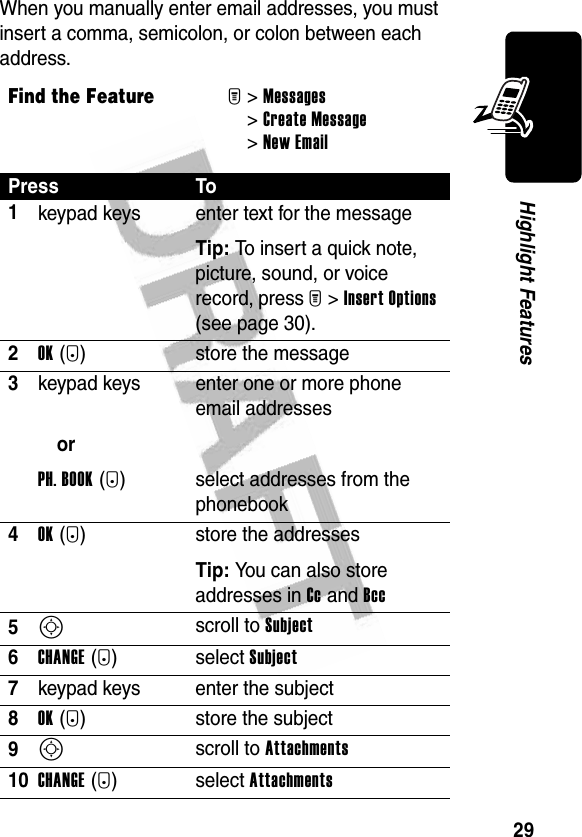
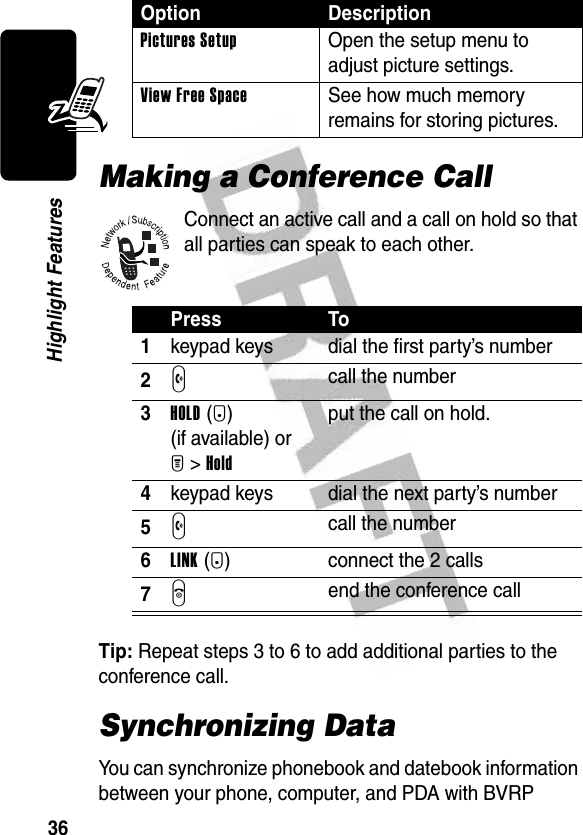
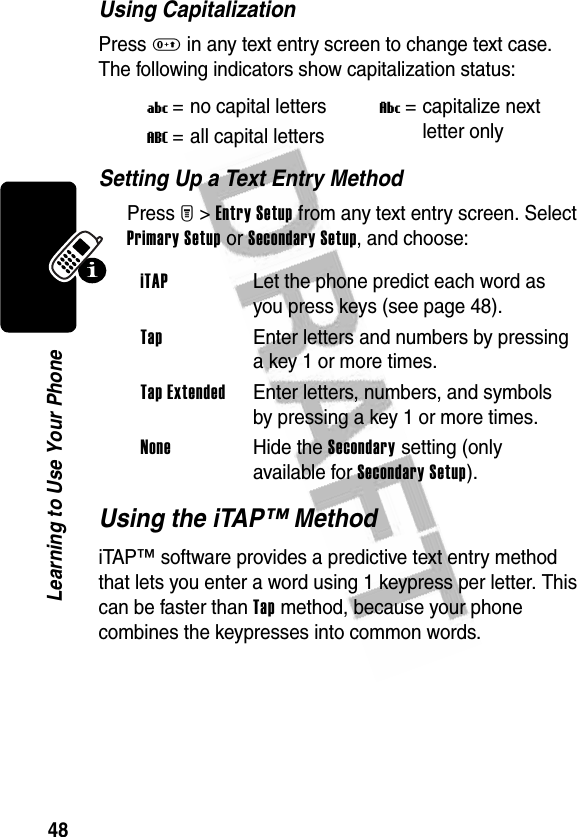
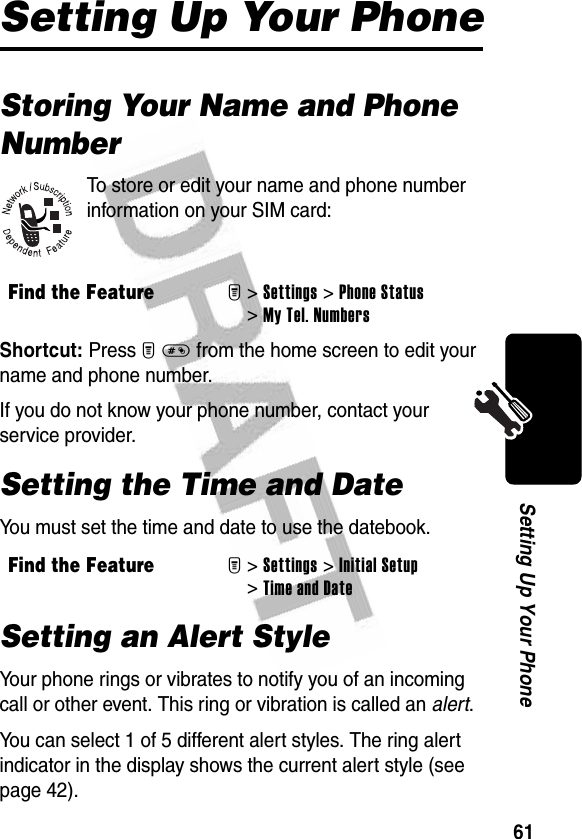
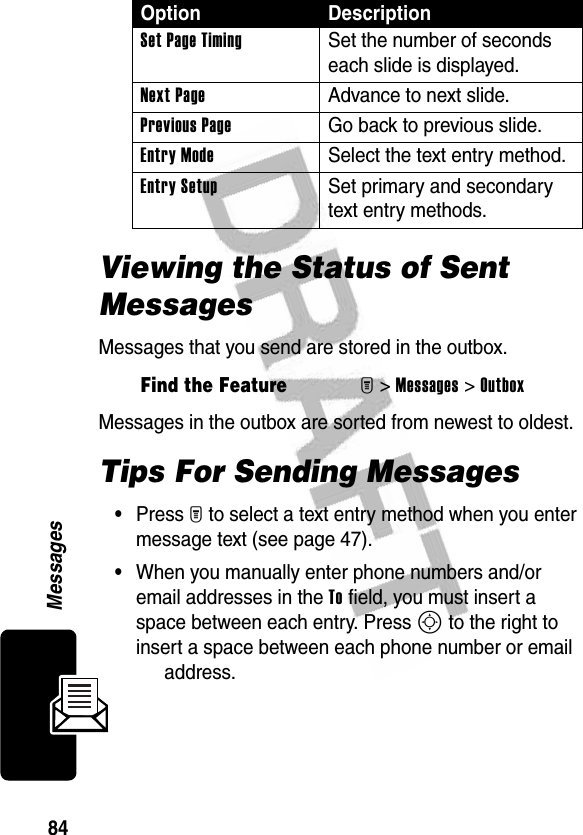
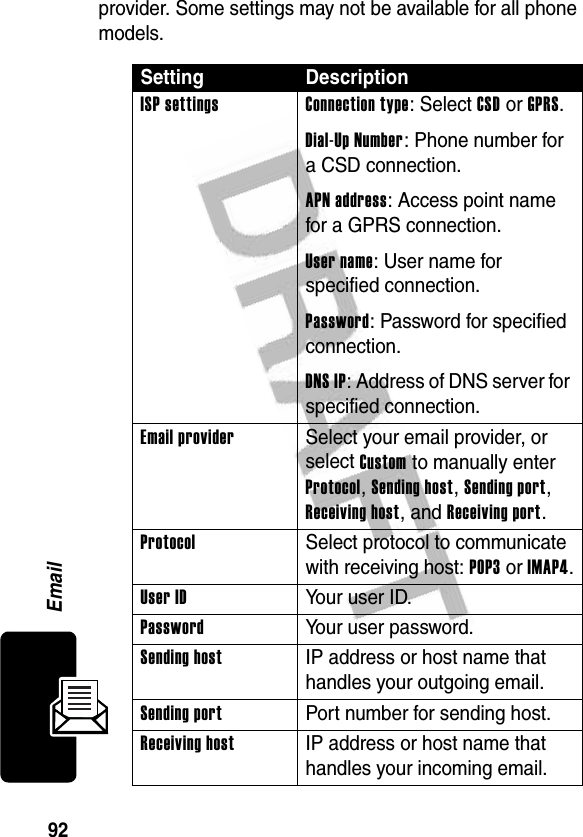
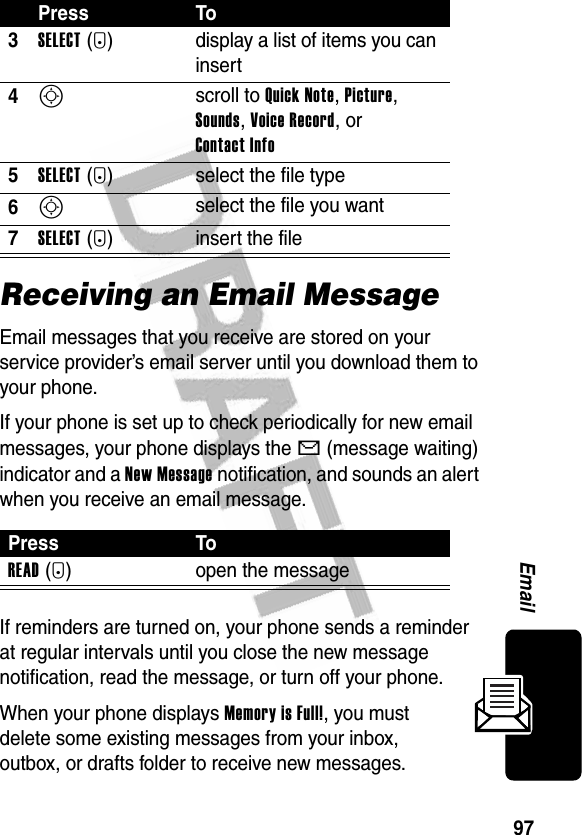
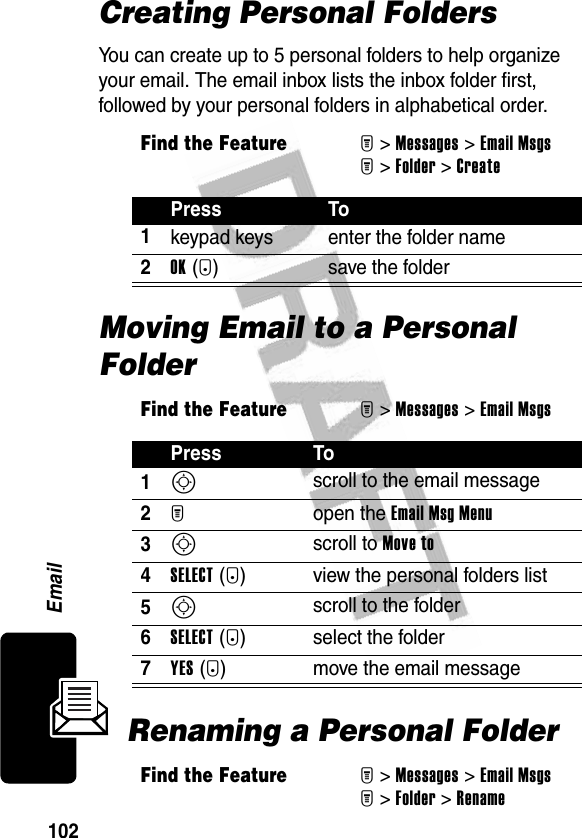
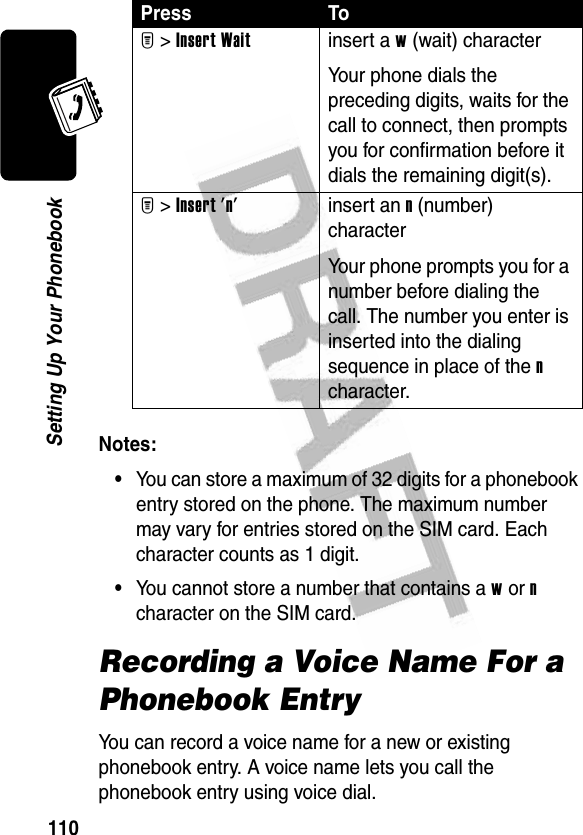
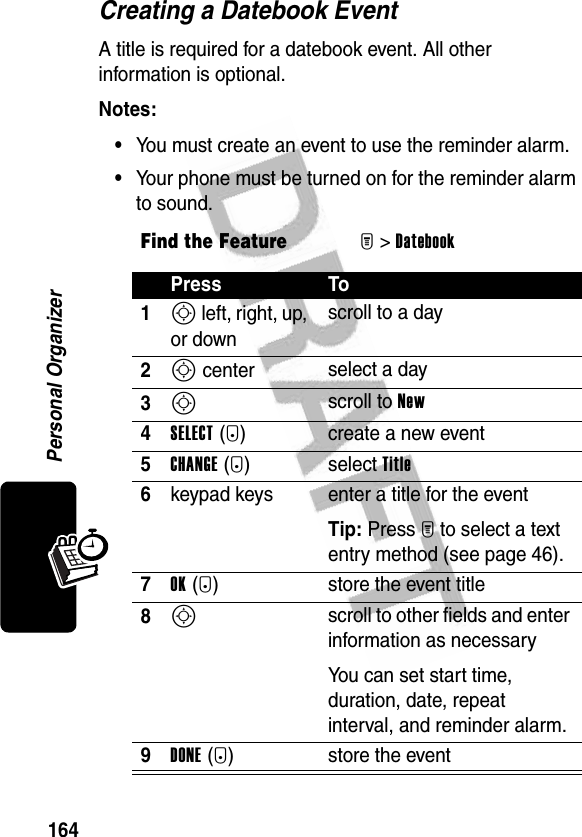
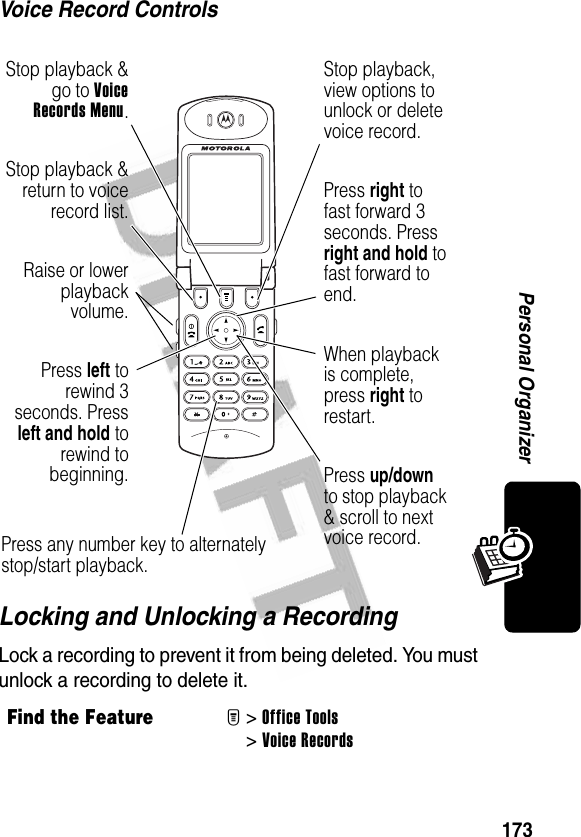
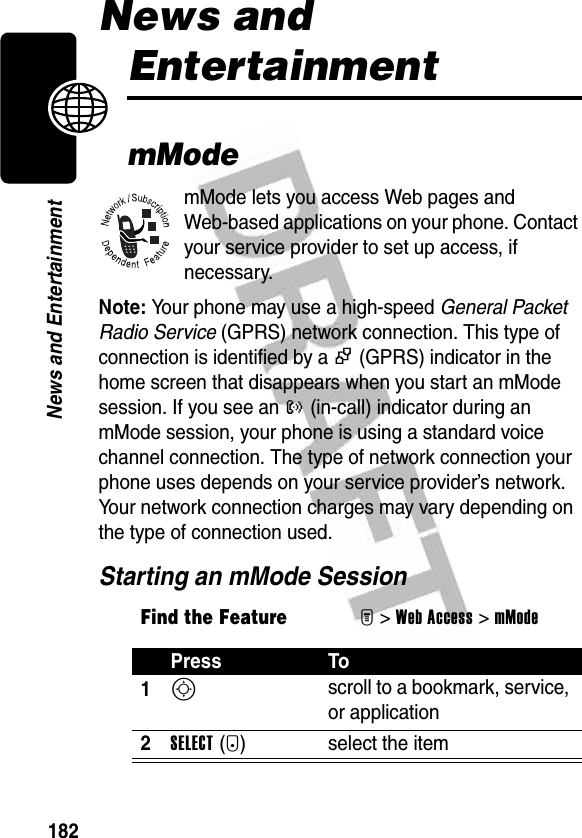
![27Highlight Features8SELECT(+) insert the fileTip: To insert another slide, select M>Insert>New Page. Repeat steps 1 to 8 to enter contents for the new slide9OK(+) open the recipient list10S Scroll to [One Time Entry] and press SELECT(+) to enter a recipient phone number.After you enter the number, press OK(+) to store it.orScroll to phonebook entries and press ADD(+) to select them. Press DONE(+) to store them.11S scroll to Subject 12CHANGE(-)select Subject13keypad keys enter the subject14OK(+) store the subject15SEND(+) send the messagePress To](https://usermanual.wiki/Motorola-Mobility/T56DW1/User-Guide-392257-Page-29.png)
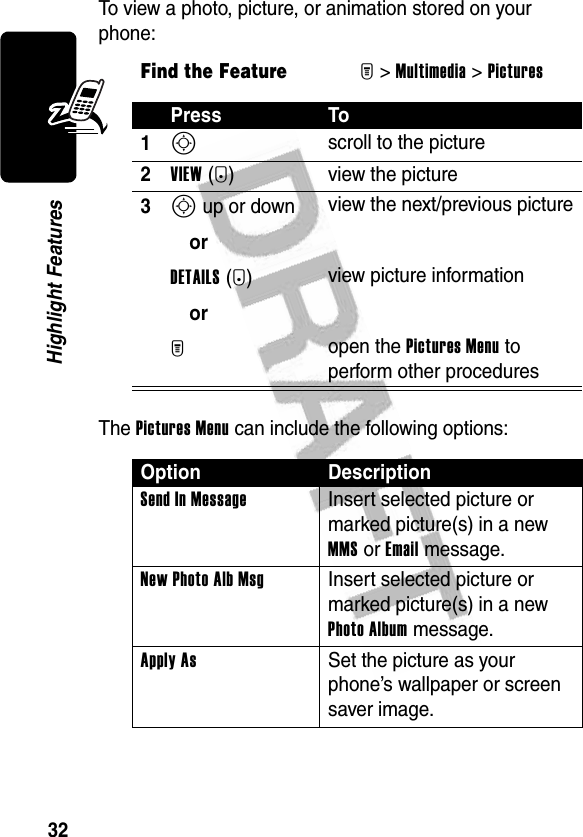
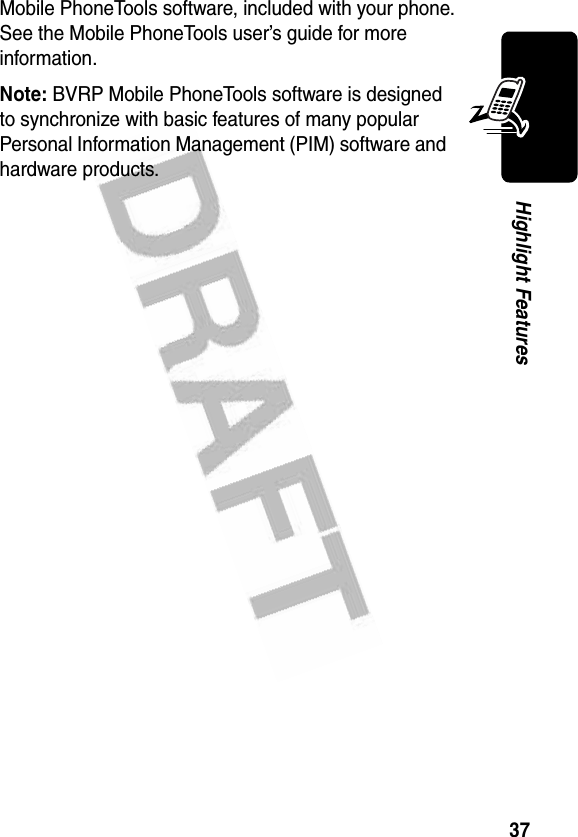
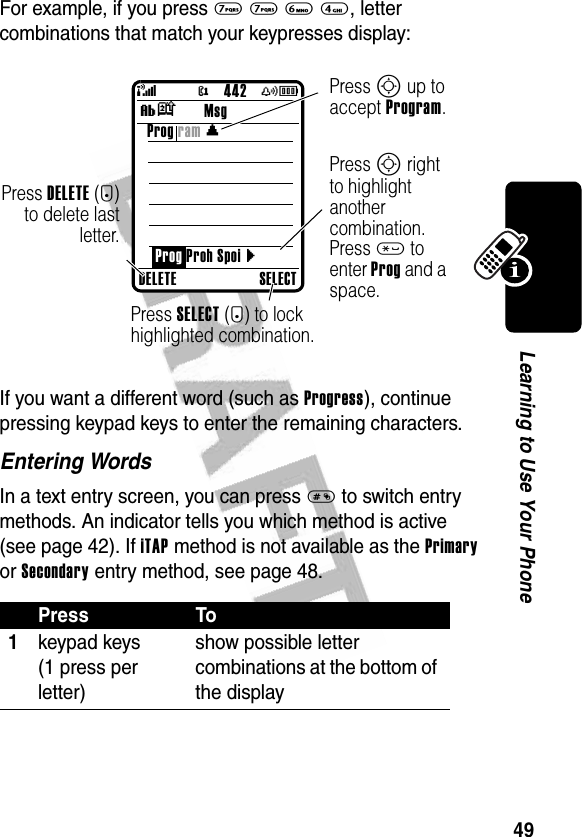
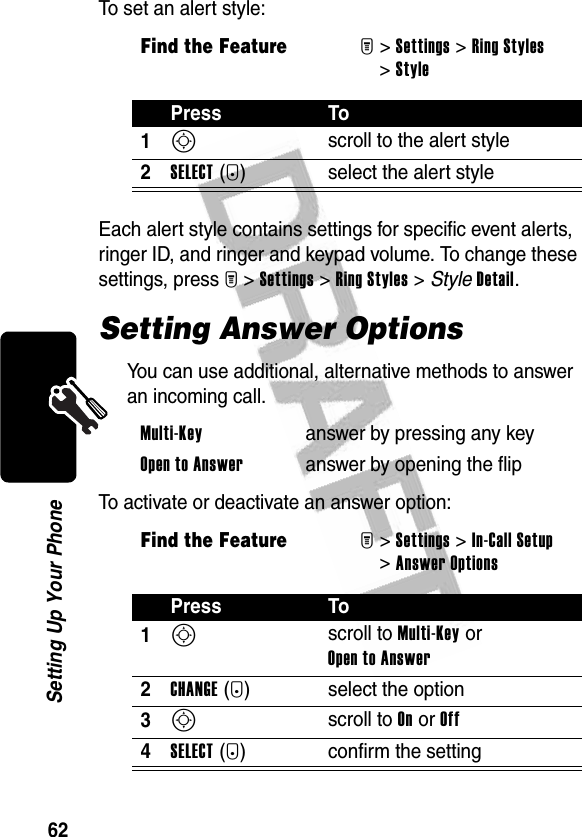
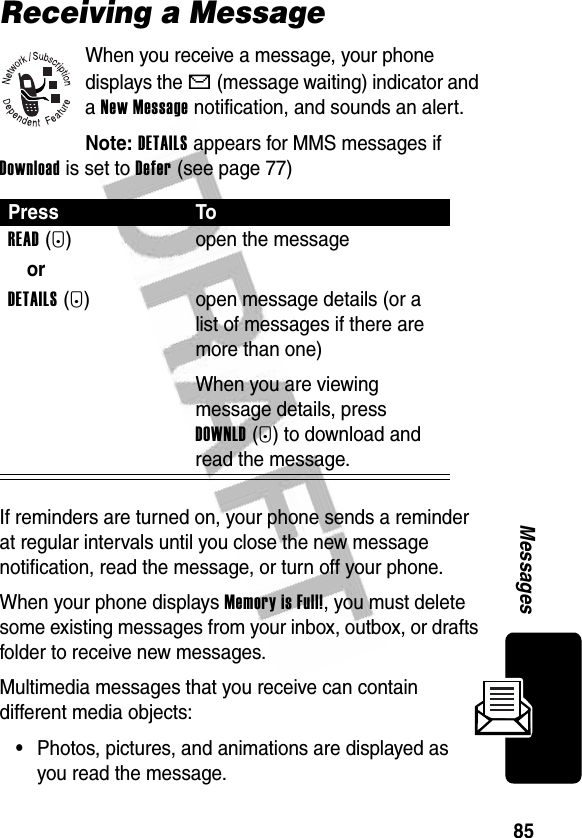
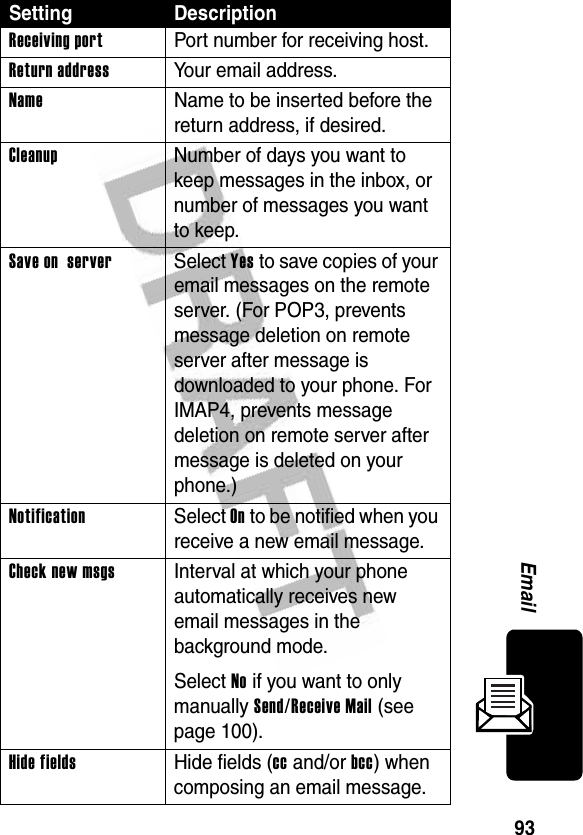
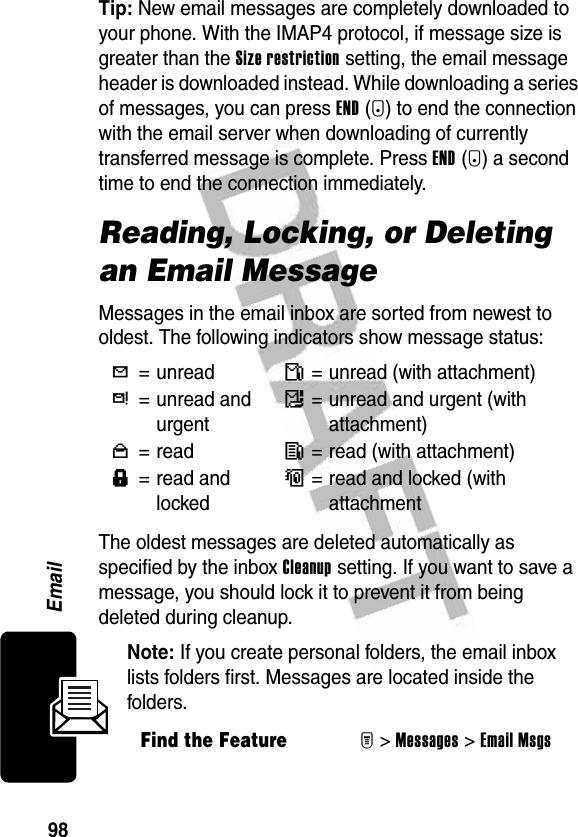
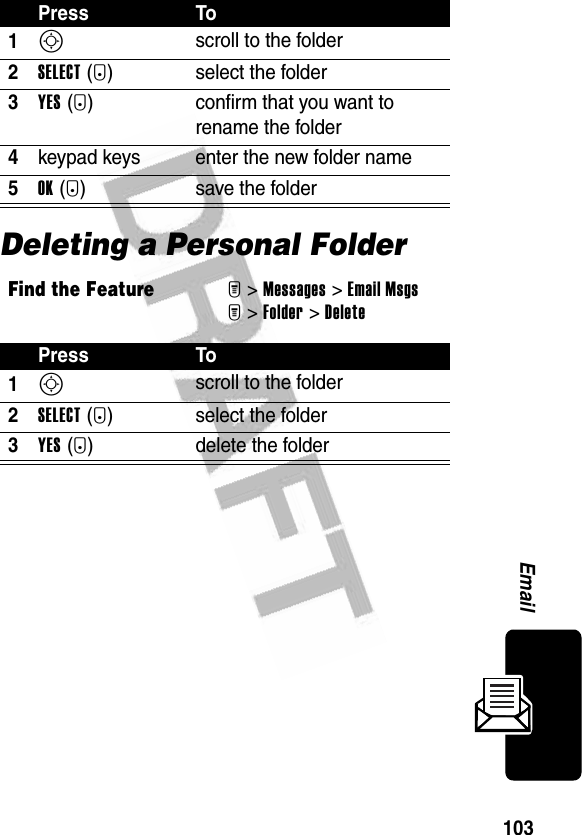
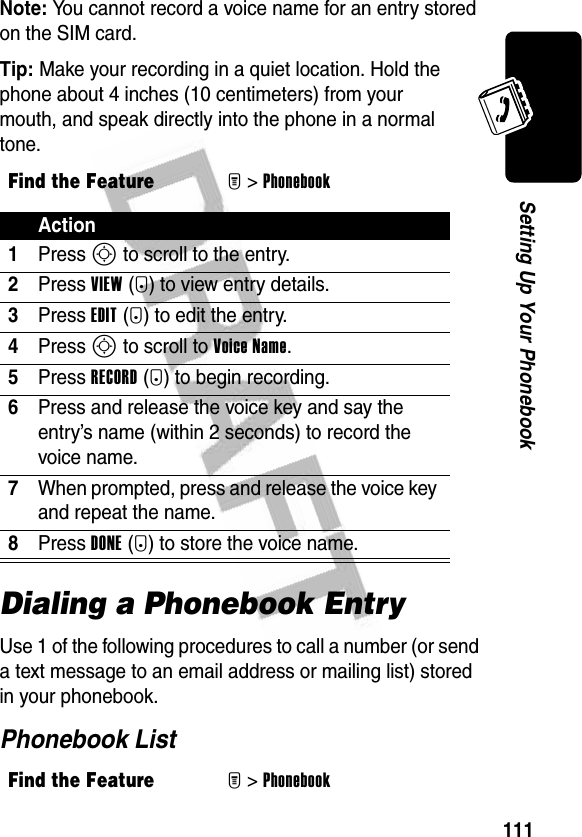
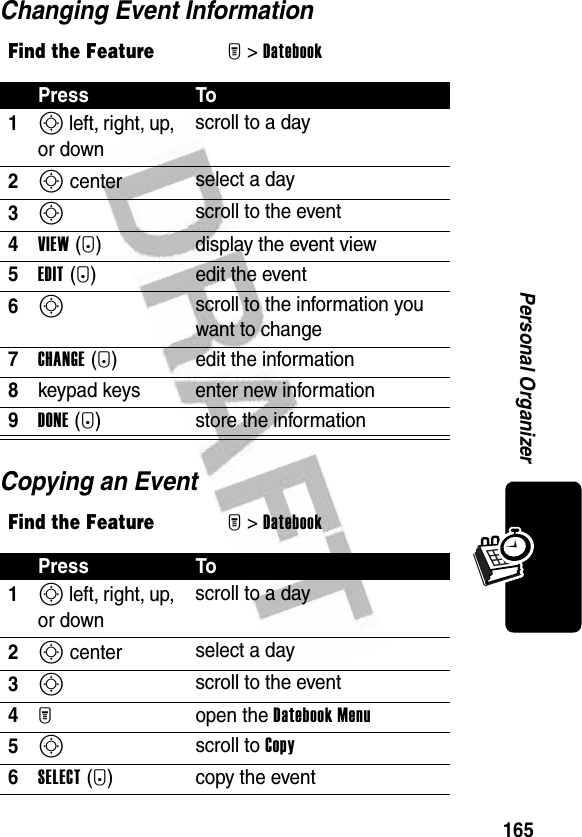
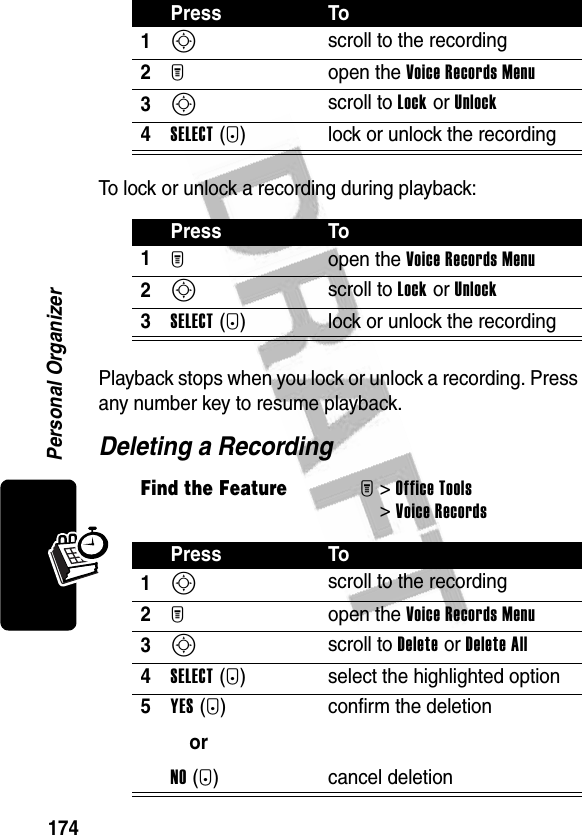
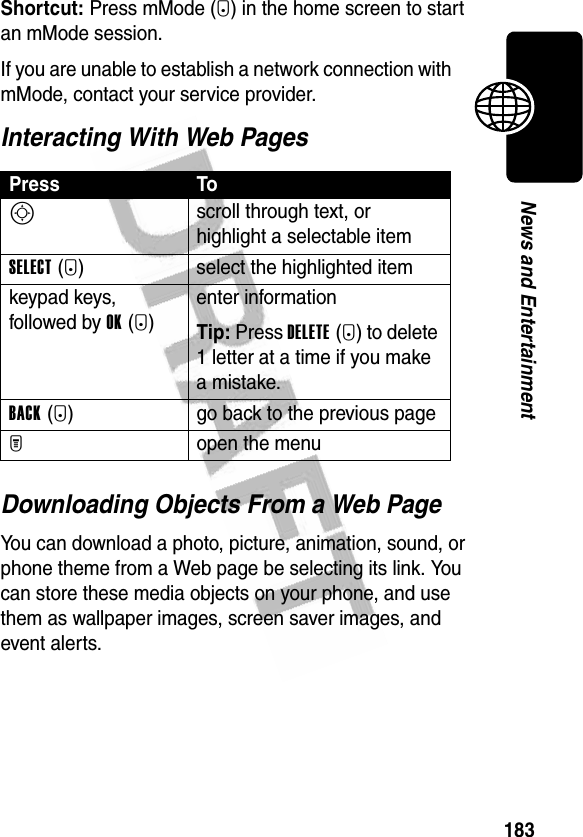
![30Highlight FeaturesInserting Items in Email TextYou can insert media elements into the email message as you type it. Photos, pictures, and animations display in the message. Sounds are represented by a sound file indicator.11S scroll to Picture or Sounds 12SELECT(+) select the file type13S select the file you want14SELECT(+) attach the file15BACK(-) return to the email formTip: To add more attachments, select [New Attachment] 16S scroll to Priority17S (left or right) scroll to Normal or Urgent18SEND(+)orM send the messagesave the message in the drafts folder, view message details, or cancel the messagePress To1M open the menu2S scroll to Insert OptionsPress To](https://usermanual.wiki/Motorola-Mobility/T56DW1/User-Guide-392257-Page-32.png)


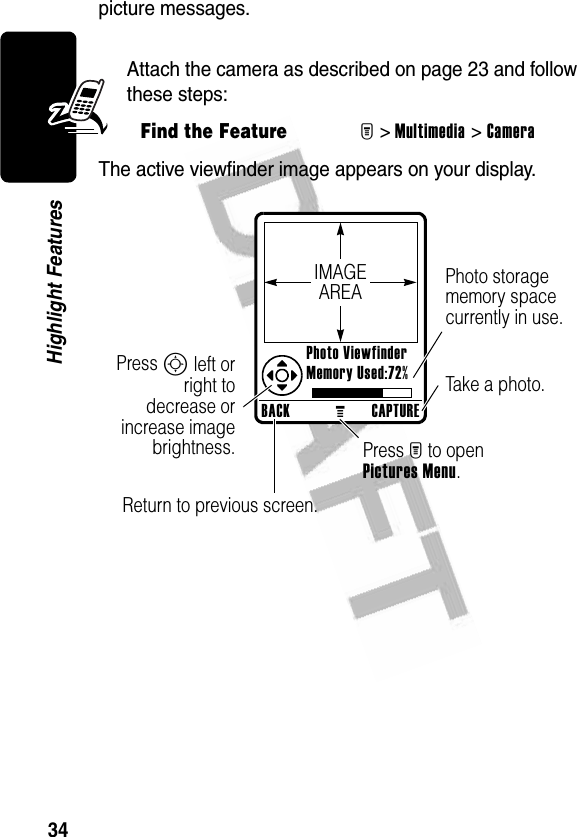
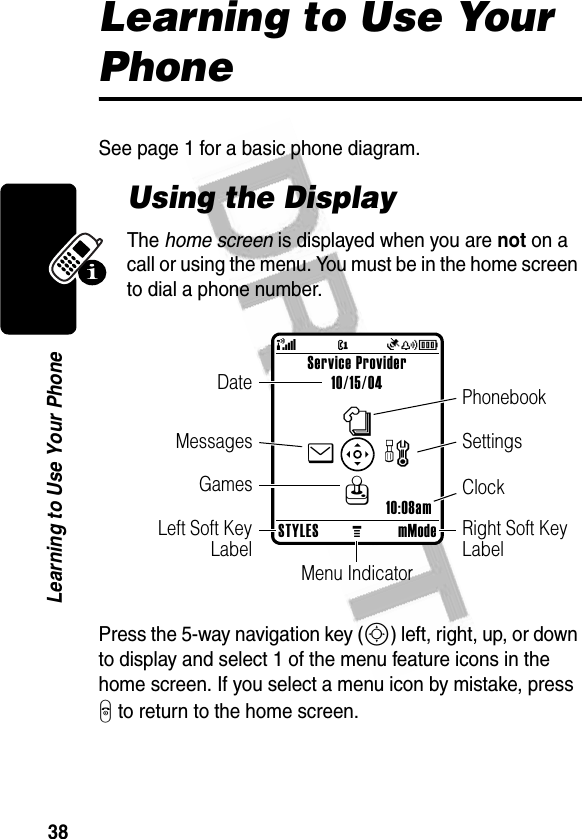


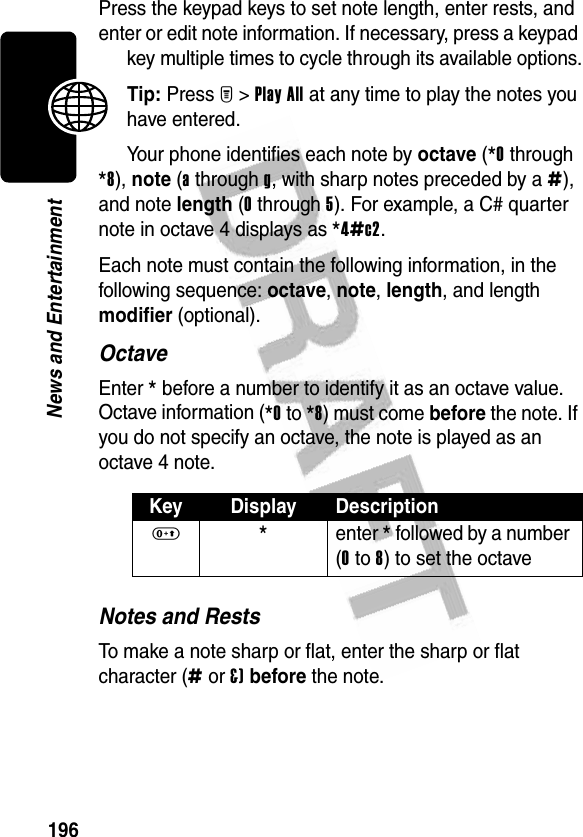
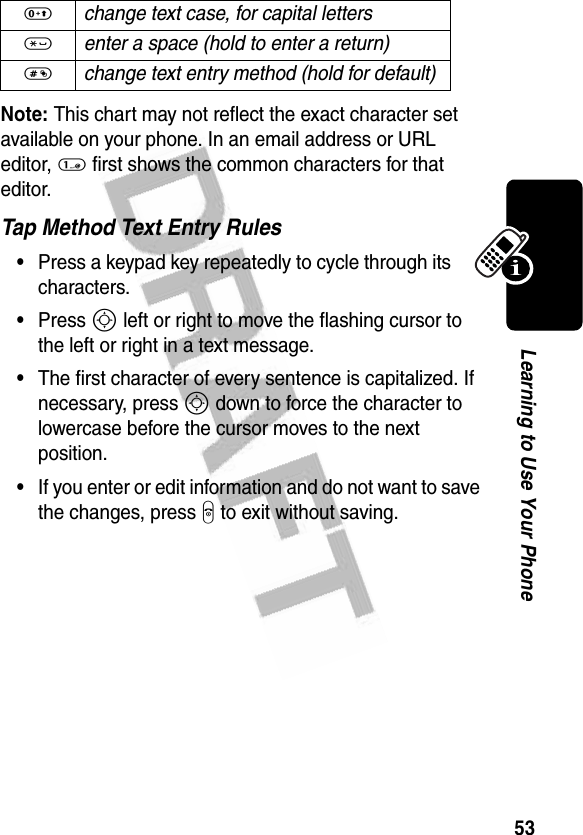
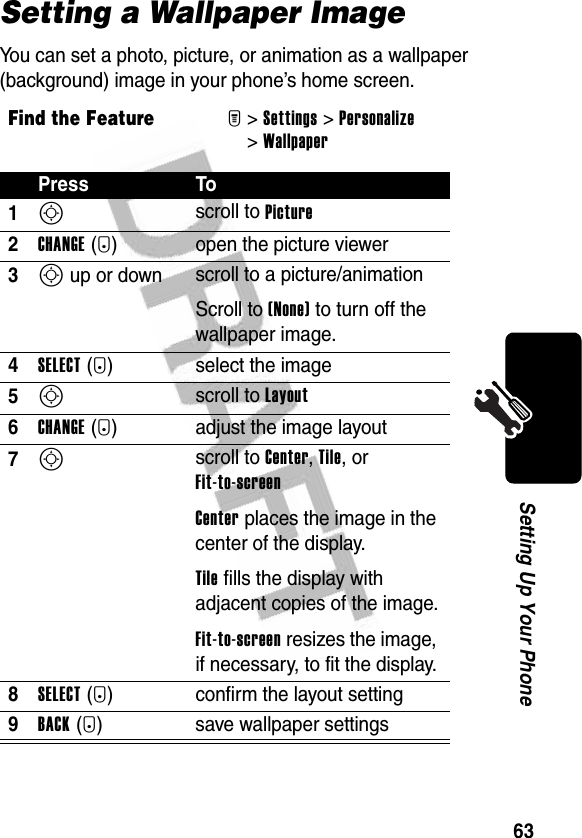
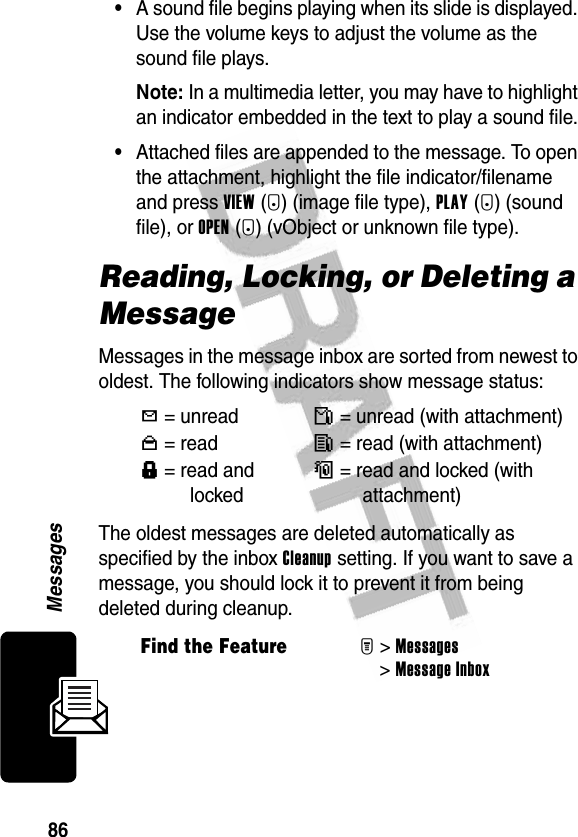
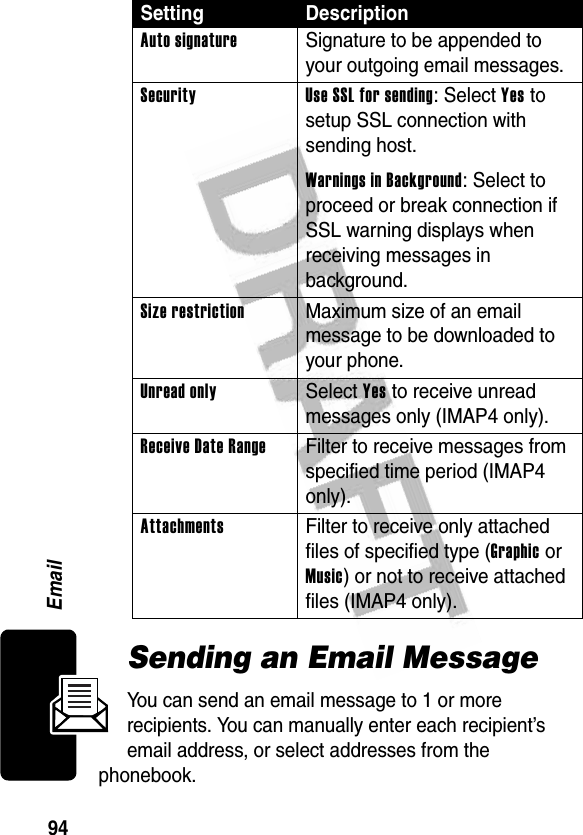
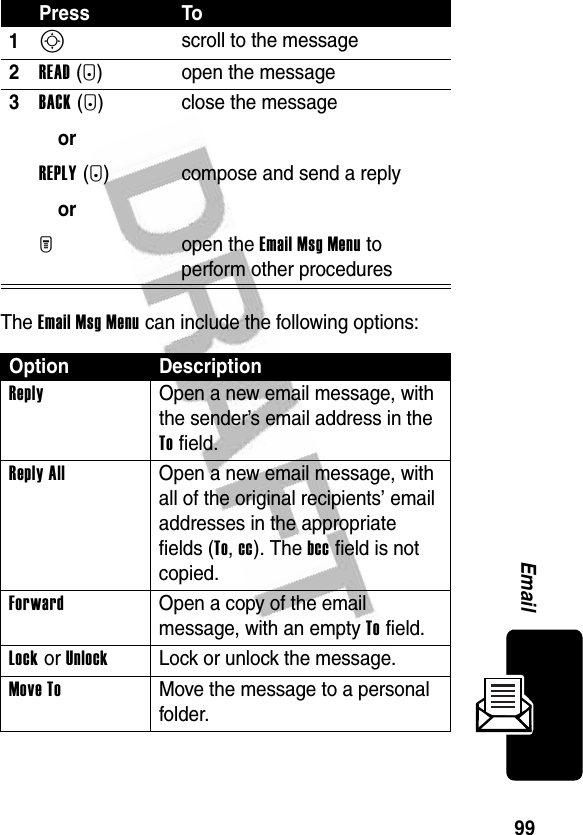
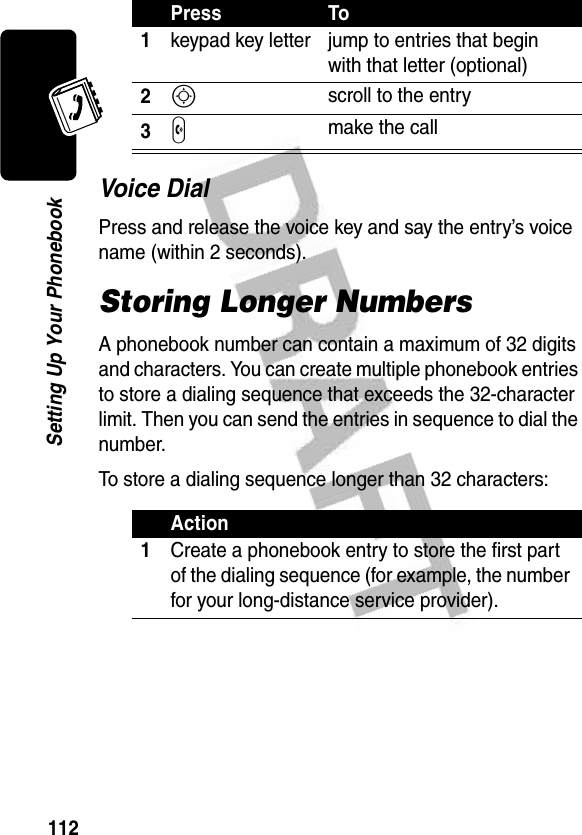
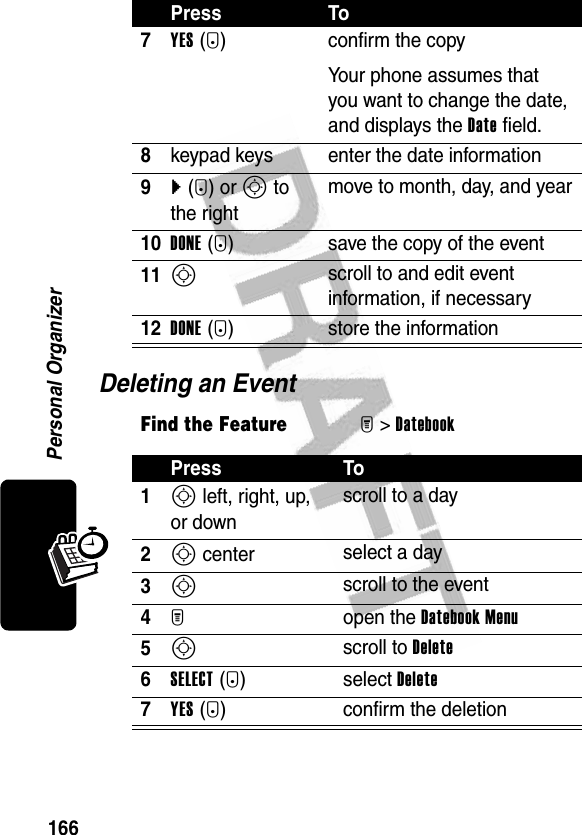
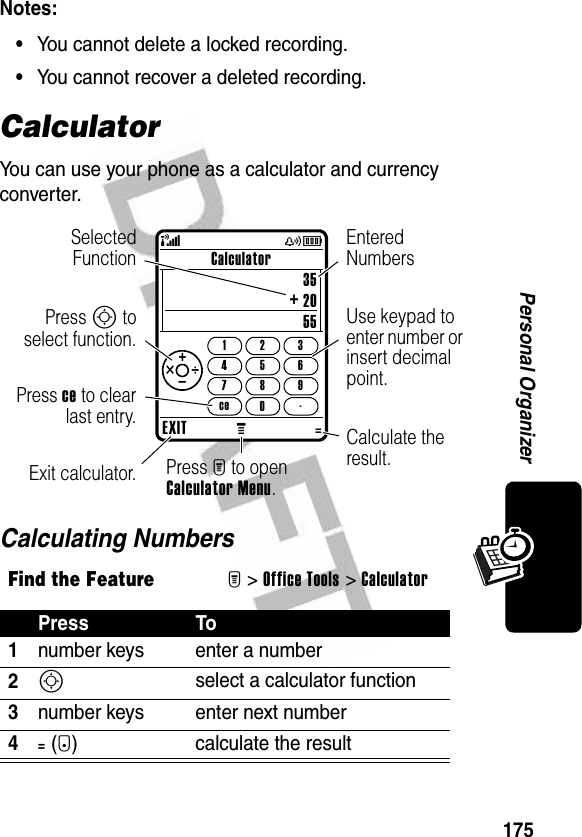
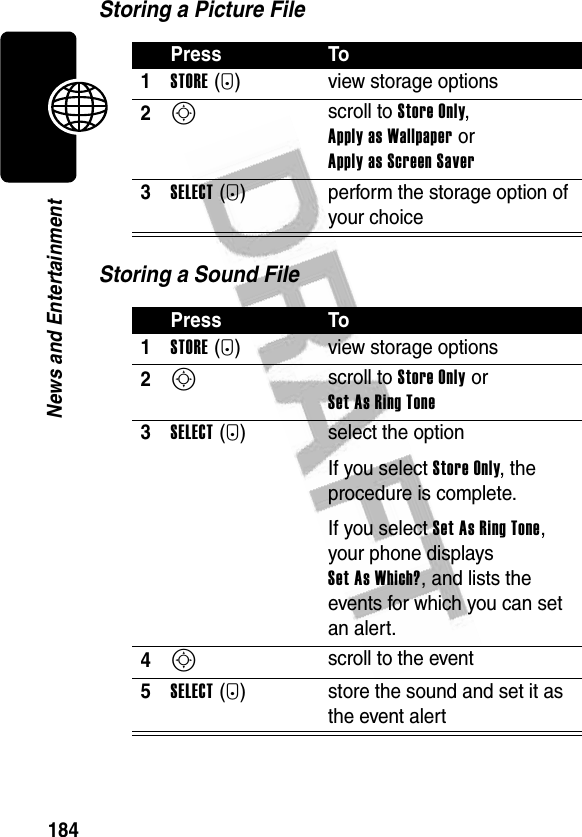
![52Learning to Use Your PhoneWhen you enter 3 or more characters in a row, your phone may guess the rest of the word. For example, if you enter prog you might see:If you want a different word (such as progress), continue pressing keypad keys to enter the remaining characters.Character ChartUse this chart as a guide for entering characters with the Tap Extended method.1 . ? ! , @ ' - _ : ; ( ) & " ~ 1 0 ¿ ¡ %£ $ ¥ ¤ + x * / \ [ ] = > < # §2 a b c 2 á à â ã ç æ3 d e f 3 é è êë4 g h i 4 í î ï5 j k l 56 m n o 6 ñ ó ò ô õ œ7 p q r s 78 t u v 8 ú ù ûü 9 w x y z 9DELETEMOKThis is a prog ram Msg@(yÉ433Press S right to accept Program, or press * to reject it and enter a space after prog.Vh](https://usermanual.wiki/Motorola-Mobility/T56DW1/User-Guide-392257-Page-54.png)
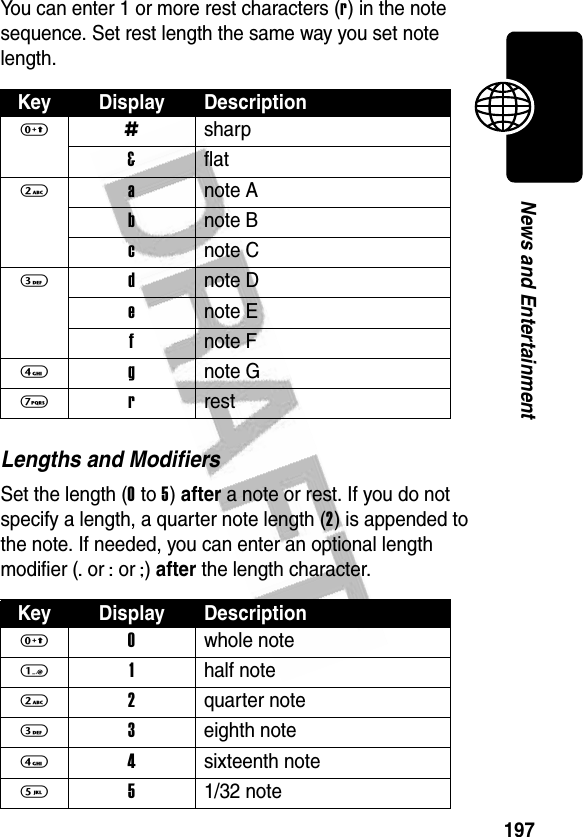
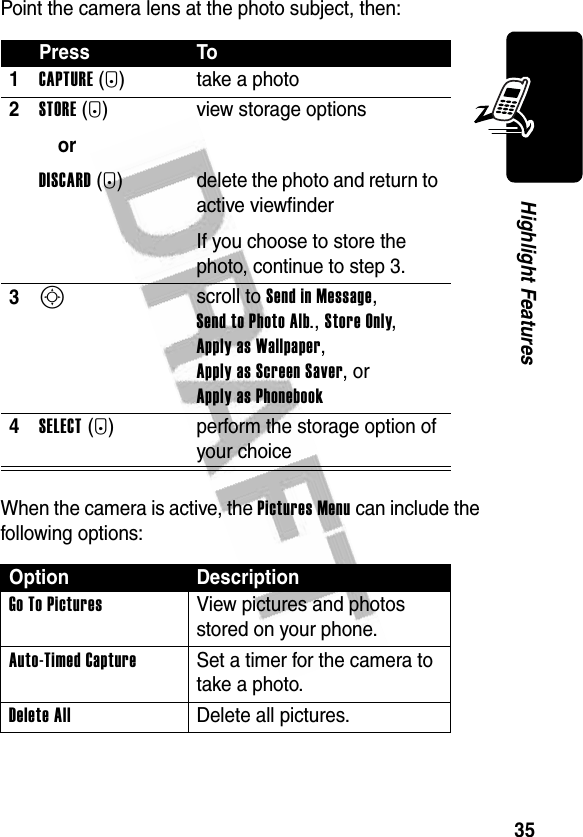
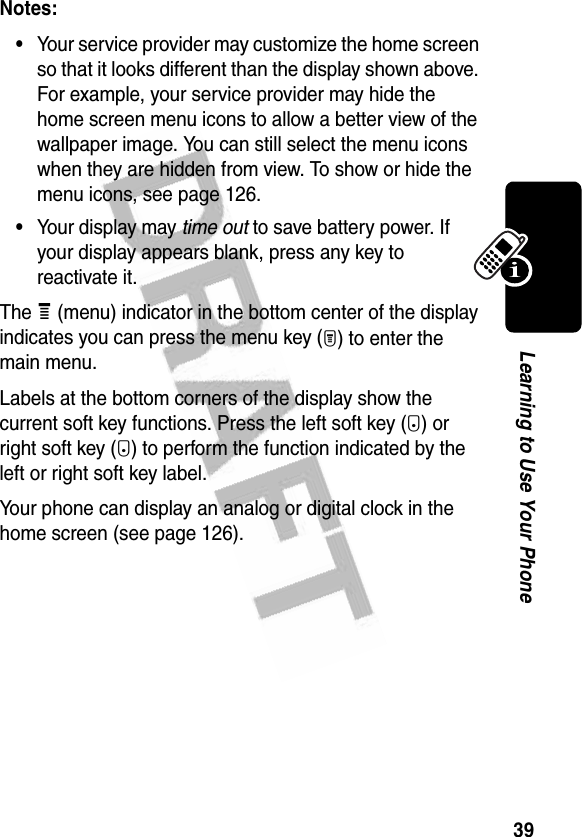
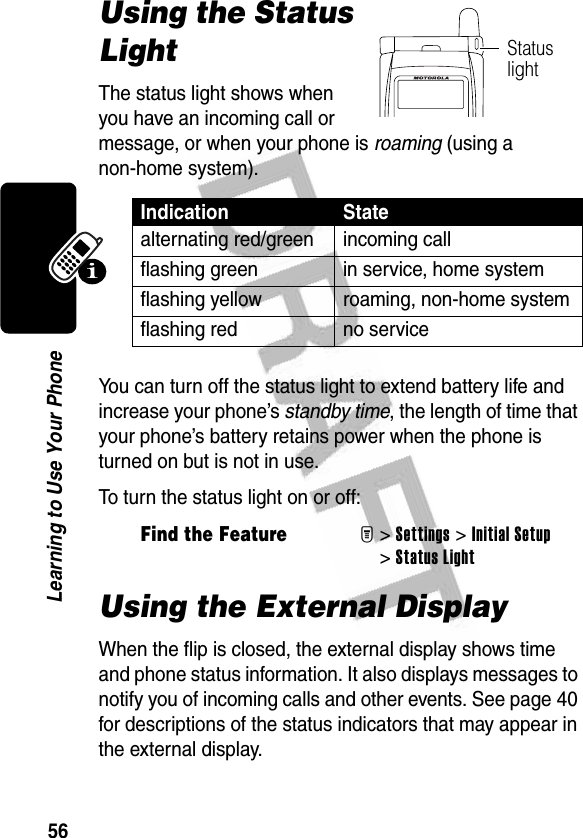
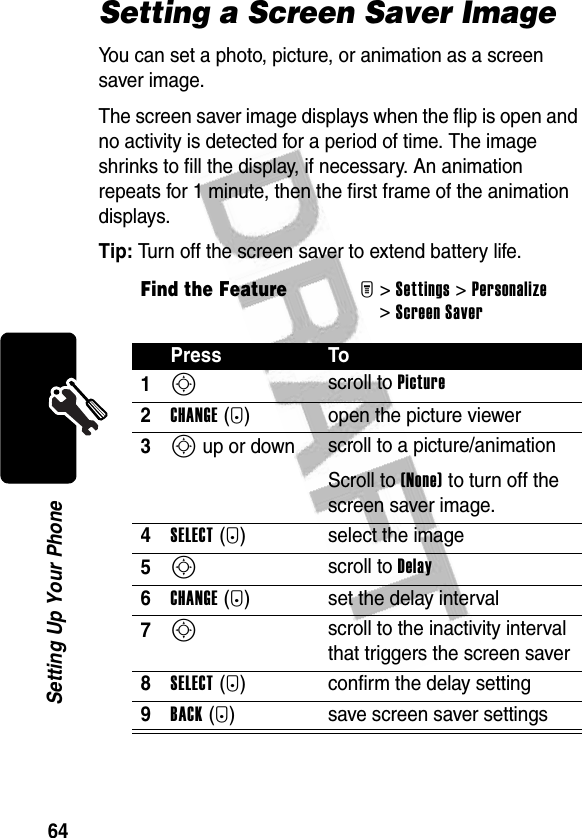
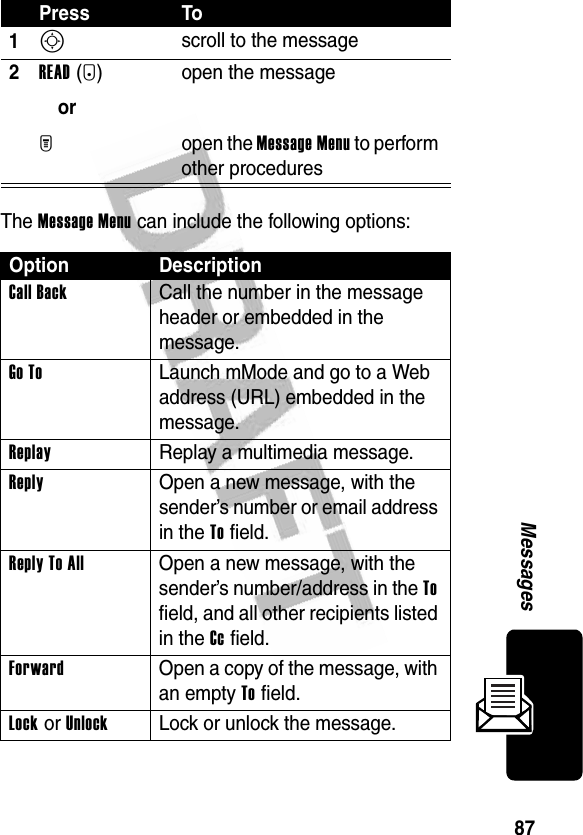
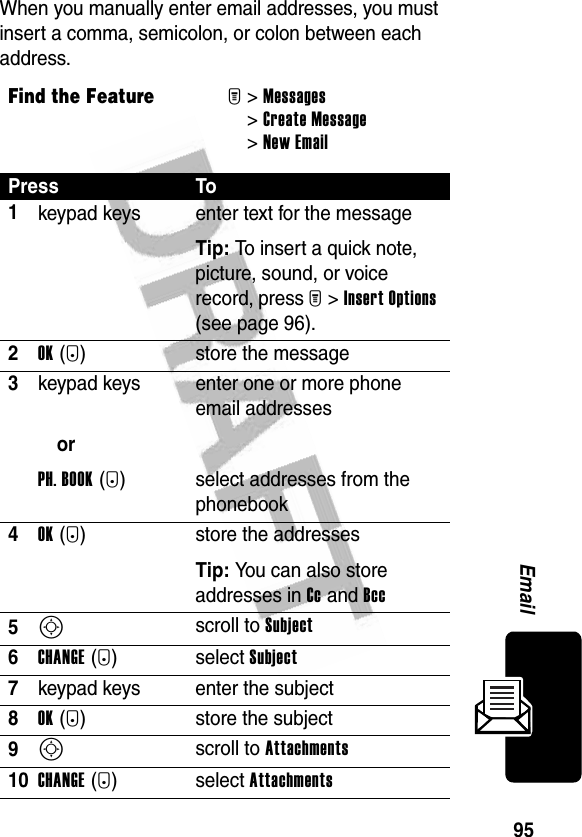
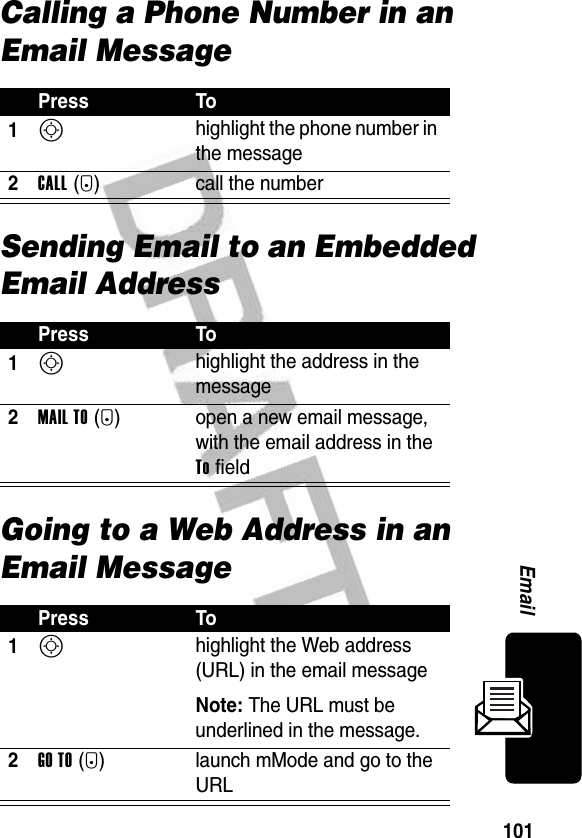
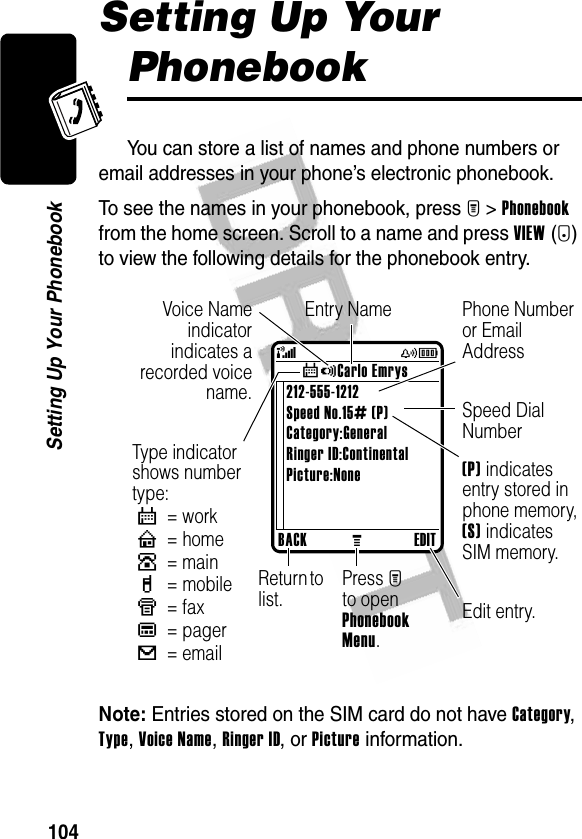
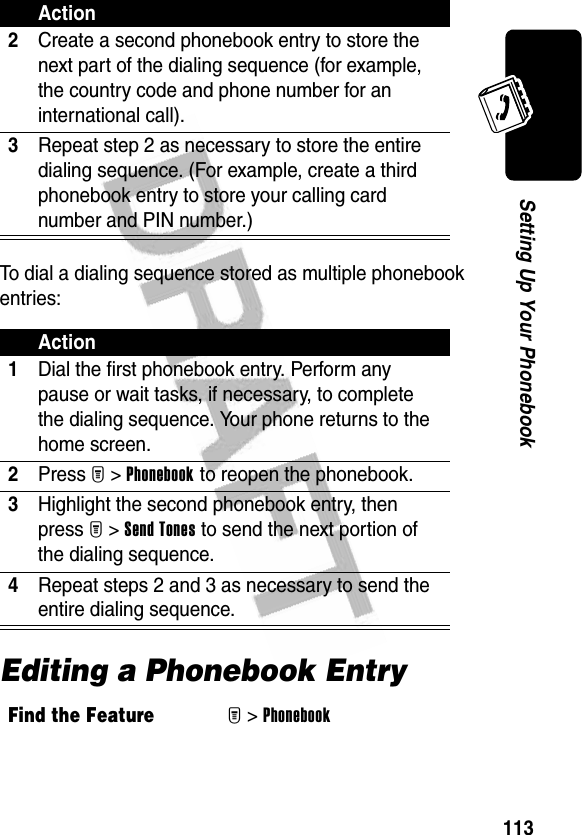
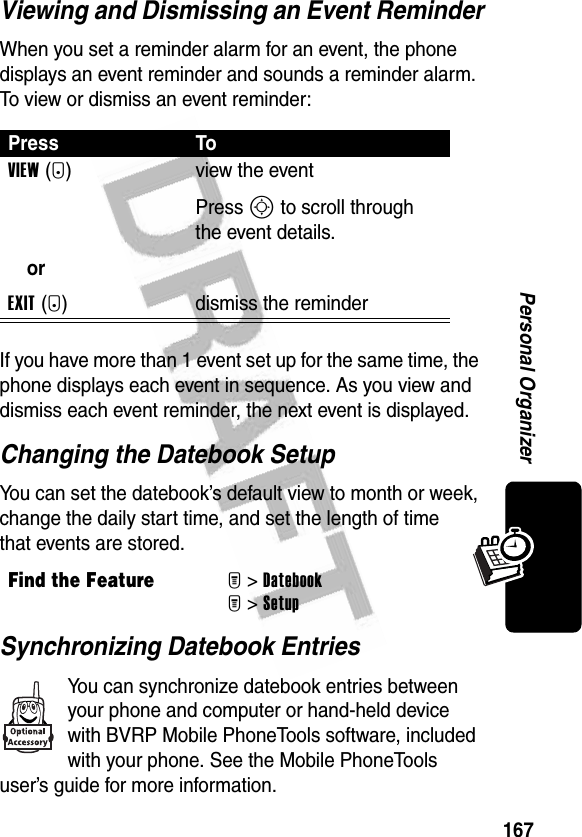
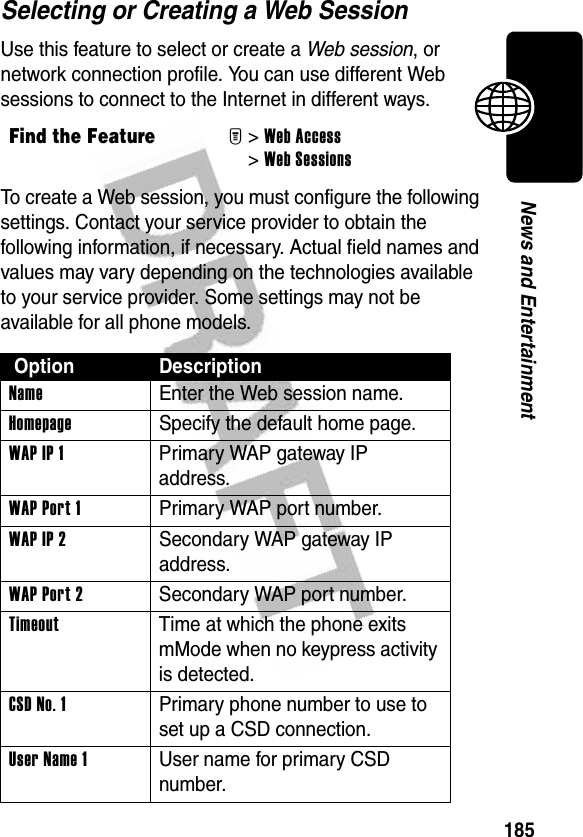
![54Learning to Use Your PhoneUsing the Symbol MethodIn a text entry screen, press # to switch entry methods until the [ (symbol) indicator displays.Symbol ChartUse this chart as a guide for entering characters with symbol method.Press To1Keypad keys (1 press per symbol)show possible symbol combinations at the bottom of the display2S left or right highlight the combination you want3SELECT(+)or* lock a highlighted combinationYou can press keypad keys to add more symbols to the end of the combination.enter the highlighted symbol followed by a space1 . ? ! , @ ' - _ : ; - ( ) & " ~ 1 0 ¿ ¡ %£ $ ¥ ¤ + x * / \ [ ] = > < # §2 @ _ \3 / : ;4 " & '](https://usermanual.wiki/Motorola-Mobility/T56DW1/User-Guide-392257-Page-56.png)
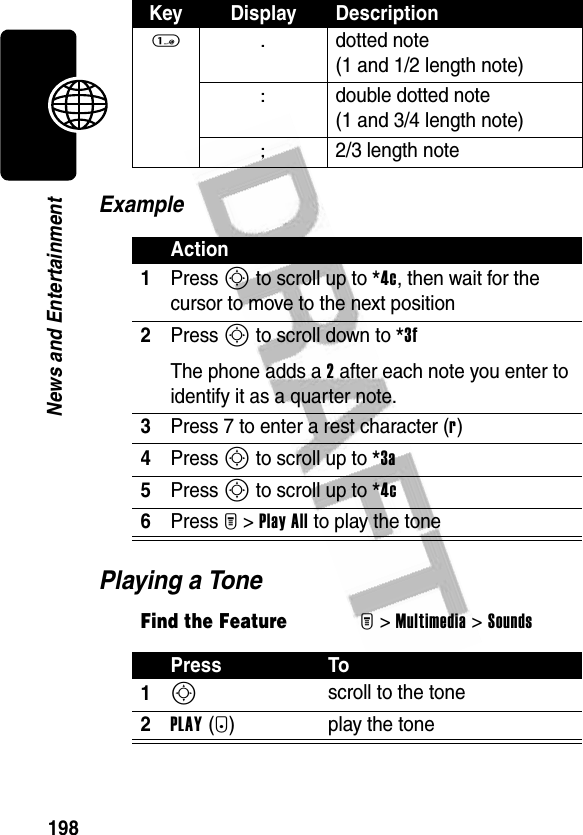
![55Learning to Use Your PhoneNote: This chart may not reflect the exact character set available on your phone. In an email address or URL editor, 1 first shows the common characters for that editor.Using the Numeric MethodIn a text entry screen, press # to switch entry methods until the W (numeric) indicator displays.Press keypad keys to enter the numbers you want. When you finish entering numbers, press # to switch to another entry method.Deleting Letters and WordsPlace the cursor to the right of the text you want to delete, and then:5 ( ) [ ] { }6 ¿ ¡ ~7 < > =8 $ £ ¥ 9 # % *0 + - x * / \ [ ] = > < # §* enter a space (hold to enter a return) # change text entry method (hold for default) ActionPress DELETE(-) to delete 1 letter at a time.Hold DELETE(-) to delete the entire message.](https://usermanual.wiki/Motorola-Mobility/T56DW1/User-Guide-392257-Page-57.png)
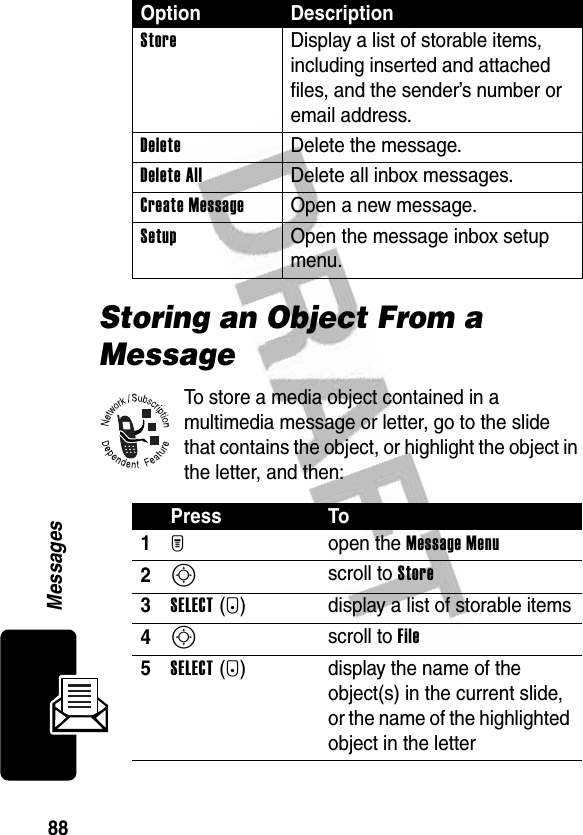
![80MessagesSending a Quick Note Text MessageQuick notes are prewritten text messages that you can send quickly (for example, On my way). You can also create new quick notes.3S Scroll to [One Time Entry] and press SELECT(+) to enter a recipient phone number.After you enter the number, press OK(+) to store it.orScroll to phonebook entries and press ADD(+) to select them. Press DONE(+) to store them.4CHANGE(-) select Subject5keypad keys enter the subject6OK(+) store the subject7SEND(+)orM send the messageopen the message menu to cancel the message or save it in the drafts folderFind the FeatureM>Messages >Quick NotesPress To](https://usermanual.wiki/Motorola-Mobility/T56DW1/User-Guide-392257-Page-82.png)

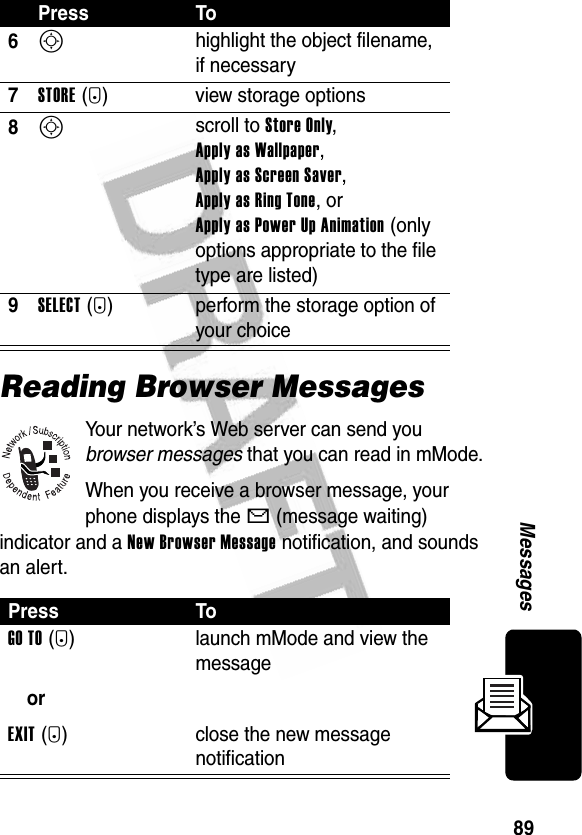
![83MessagesThe MMS Menu can include the following options:10S Scroll to [One Time Entry] and press SELECT(+) to enter a recipient phone number.After you enter the number, press OK(+) to store it.orScroll to phonebook entries and press ADD(+) to select them. Press DONE(+) to store them.11S scroll to Subject 12CHANGE(-)select Subject13keypad keys enter the subject14OK(+) store the subject15SEND(+) send the messageOption DescriptionInsert Insert 1 of the following items: Picture, Voice Record, Sound, New Page, Contact Info, or Quick Note.Delete Audio Delete the sound file attached to the current slide.Delete Page Delete the current slide.Preview Play the multimedia message.Press To](https://usermanual.wiki/Motorola-Mobility/T56DW1/User-Guide-392257-Page-85.png)
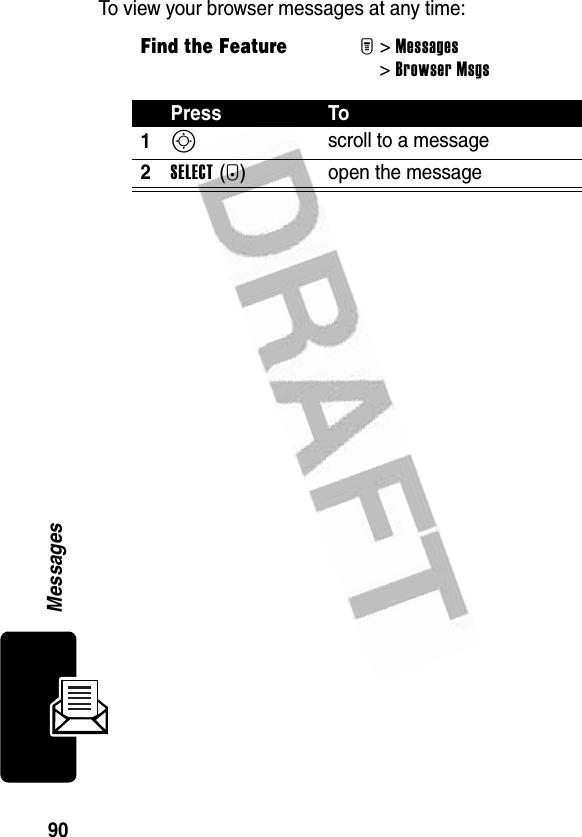
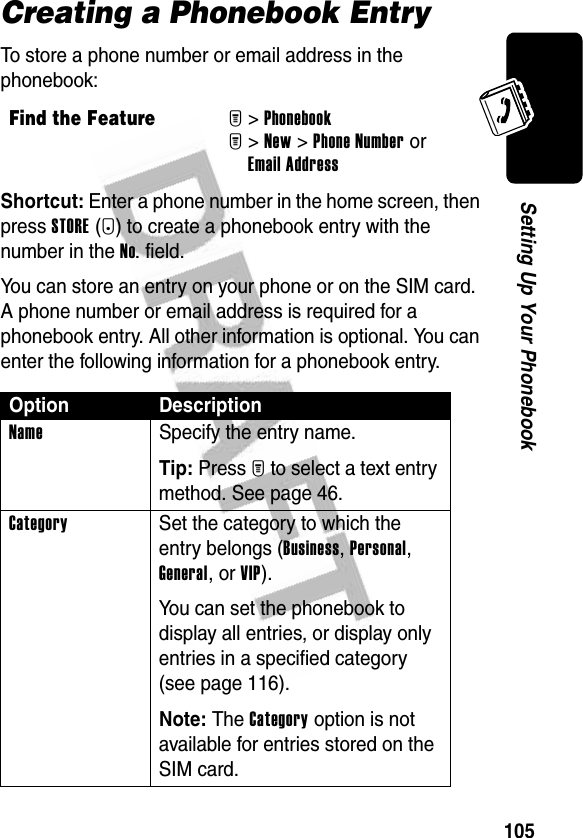
![96EmailInserting Items in Email TextYou can insert media elements into the email message as you type it. Photos, pictures, and animations display in the message. Sounds are represented by a sound file indicator.11S scroll to Picture or Sounds 12SELECT(+) select the file type13S select the file you want14SELECT(+) attach the file15BACK(-) return to the email formTip: To add more attachments, select [New Attachment] 16S scroll to Priority17S (left or right) scroll to Normal or Urgent18SEND(+)orM send the messagesave the message in the drafts folder, view message details, or cancel the messagePress To1M open the menu2S scroll to Insert OptionsPress To](https://usermanual.wiki/Motorola-Mobility/T56DW1/User-Guide-392257-Page-98.png)


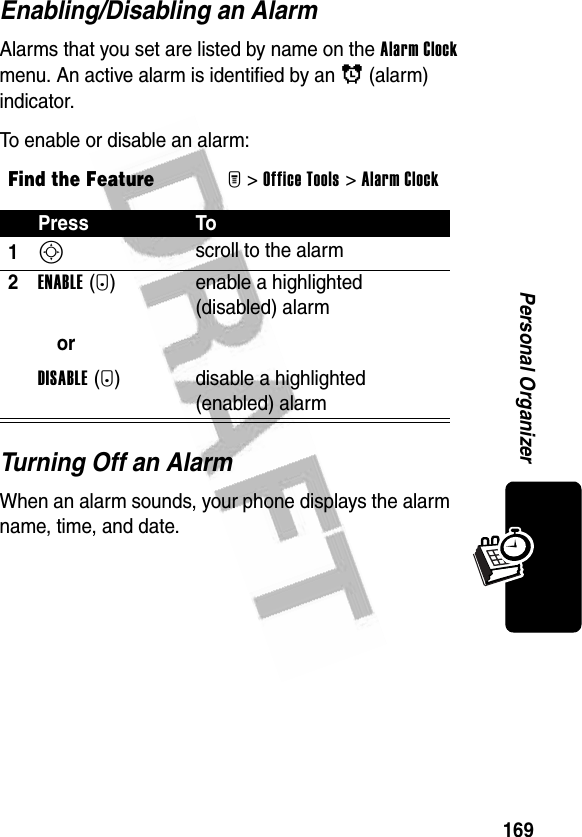
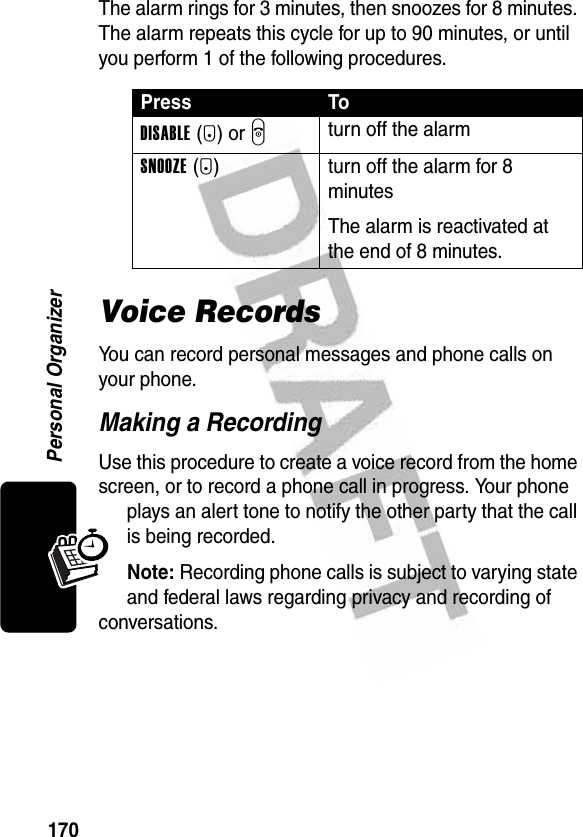
![168Personal OrganizerNote: Mobile PhoneTools software is designed to synchronize with basic features of many popular Personal Information Management (PIM) software and hardware products.Alarm ClockYour phone has an alarm clock with 5 separate alarms that you can set and use when the phone is powered on. Each alarm can be configured with a name, time, and alert tone.Setting an AlarmFind the FeatureM>Office Tools >Alarm ClockPress To1S scroll to [New Alarm]2SELECT(+) select the option3CHANGE(+) select Name4keypad keys enter a name for the alarm5OK(+) store the name6S scroll to other fields and enter information as necessaryYou must set start time, alert tone, and alarm volume.7DONE(-) store the alarm](https://usermanual.wiki/Motorola-Mobility/T56DW1/User-Guide-392257-Page-170.png)

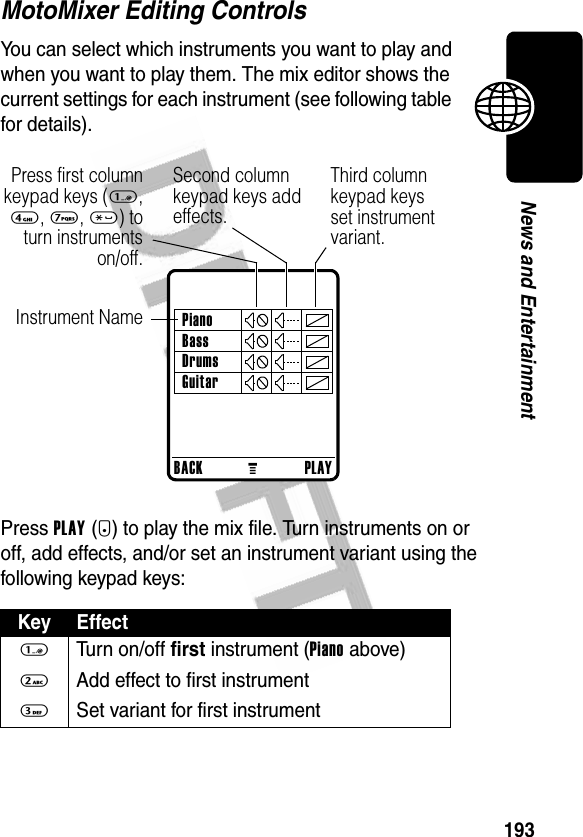
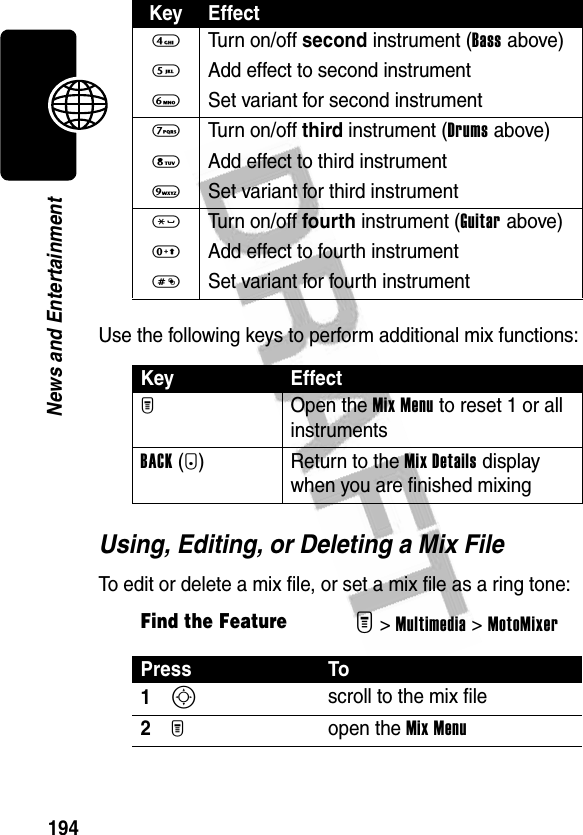
![192News and EntertainmentCreating or Editing a Mix FileFind the FeatureM>Multimedia >MotoMixer >[New MotoMixer] or mix file namePress To1S scroll to the base track2SELECT(+) select the base track3CHANGE(+) select Name4keypad keys enter a name for the mix file you are creating5OK(+) store the name6CHANGE(+) select Tempo7S left or right adjust the tempo setting8OK(+) store the tempo setting9CHANGE(+) select Mix to open the mix editor10PLAY(+) start playing/mixing the track11keypad keys edit the instruments (see following section)The track plays to the end and stops. To edit your mix, press PLAY(+) again.12BACK(-) close the base track editor13DONE(-) close the mix file display](https://usermanual.wiki/Motorola-Mobility/T56DW1/User-Guide-392257-Page-194.png)
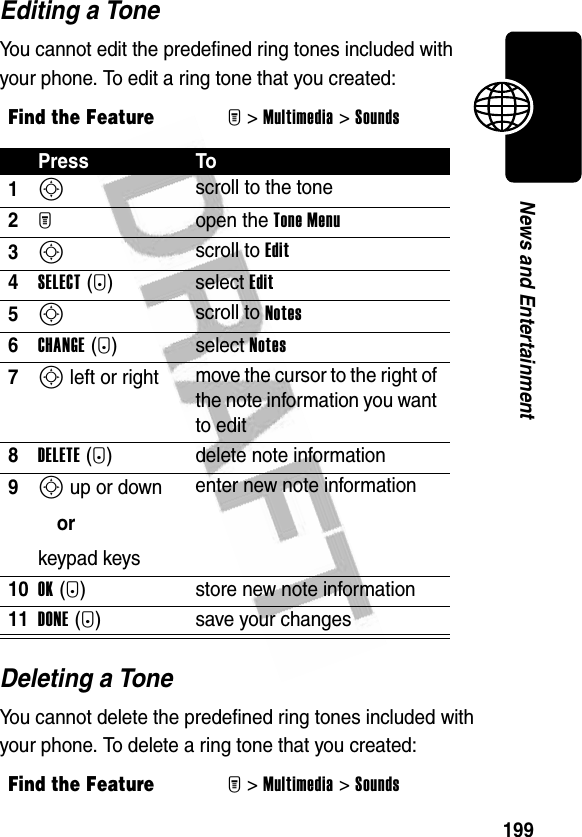
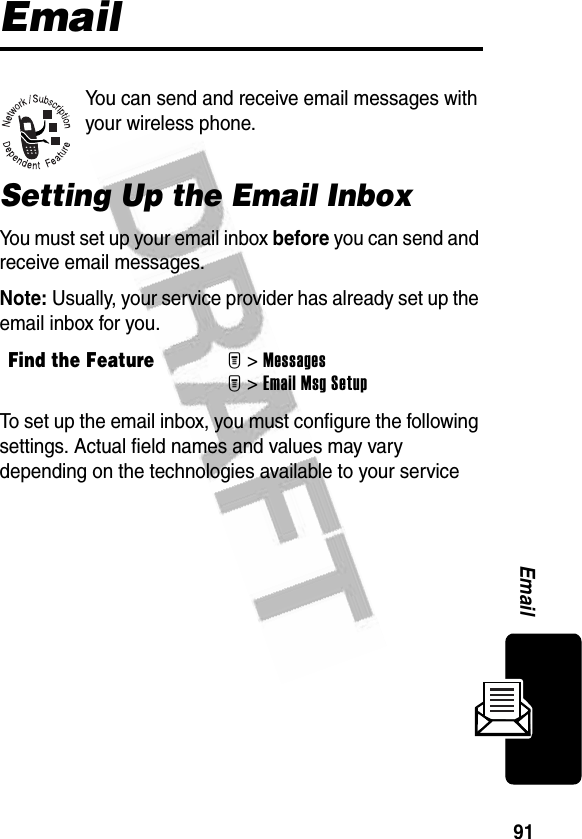
![195News and EntertainmentCreating Ring TonesYou can create and store custom ring tones on your phone. The ring tones display in the list of available alerts.Creating a ToneEntering NotesPress S up or down to cycle through notes and select the note you want.3S scroll to Edit, Delete, Play, or Set as Ring Tone4SELECT(+) select the optionFind the FeatureM>Multimedia >Sounds >[New iMelody]Press To1CHANGE(+)select Notes2S up or downorkeypad keysenter notes (see following section)3OK(+) store the notes4CHANGE(+)select Name5keypad keys enter the name for the tone6OK(+) store the name7DONE(-) store the tonePress To](https://usermanual.wiki/Motorola-Mobility/T56DW1/User-Guide-392257-Page-197.png)