Motorola Mobility T56GH1 Portable Dual-Band CDMA Transceiver with Bluetooth User Manual
Motorola Mobility LLC Portable Dual-Band CDMA Transceiver with Bluetooth
UserManual.wiki
>
Motorola Mobility
>
T56GH1 User Manual
Exhibit 8 Users Manual
Navigation menu
Upload a User Manual
Namespaces
Wiki Guide
HTML
PDF
Info
Views
User Manual
Discussion / Help
Navigation

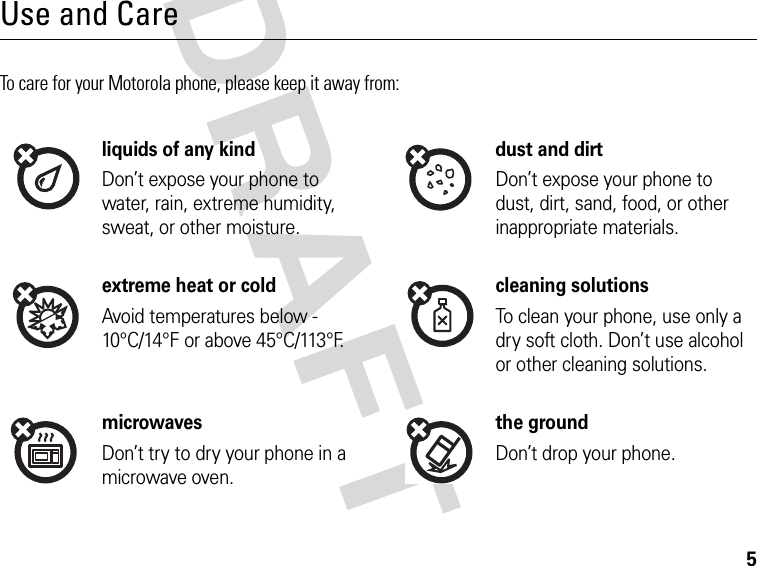
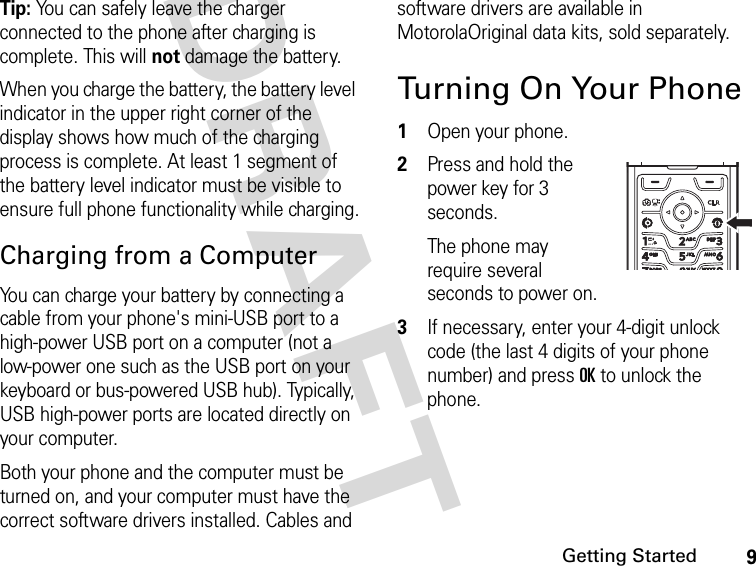
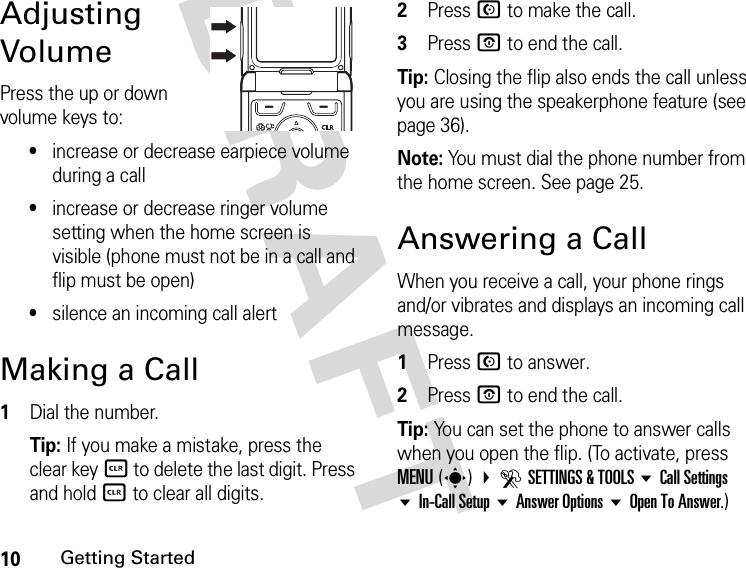
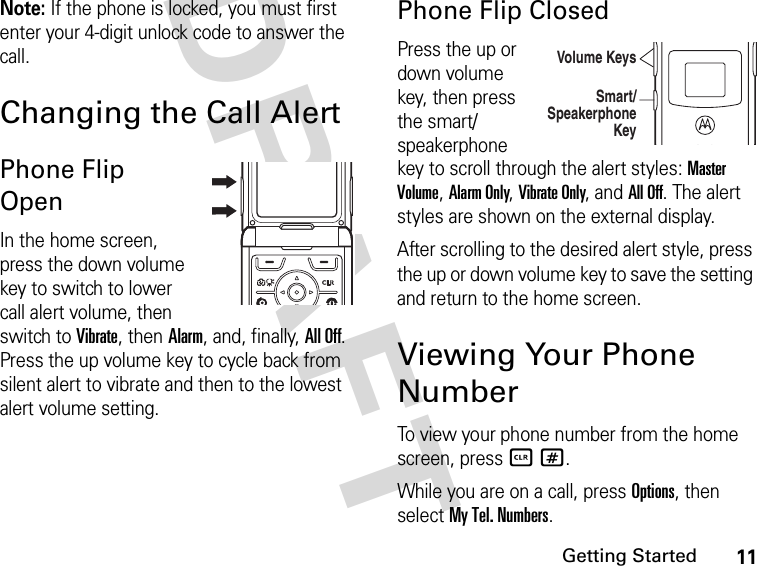
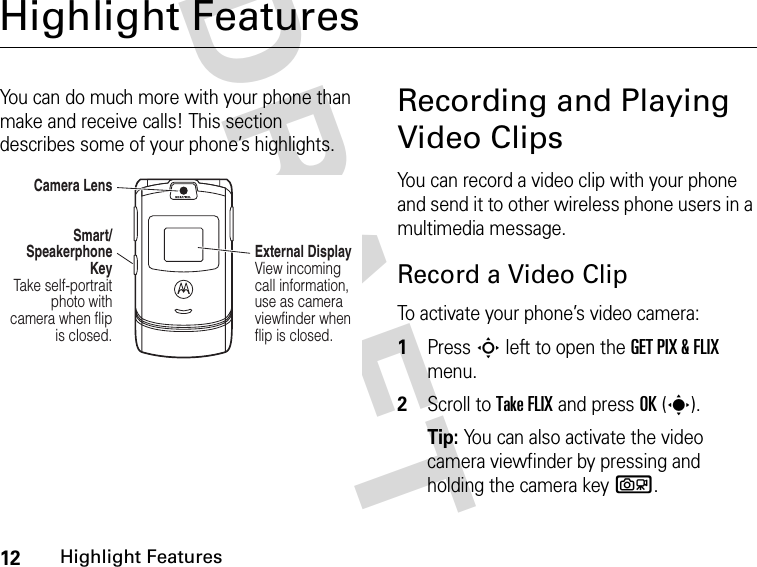
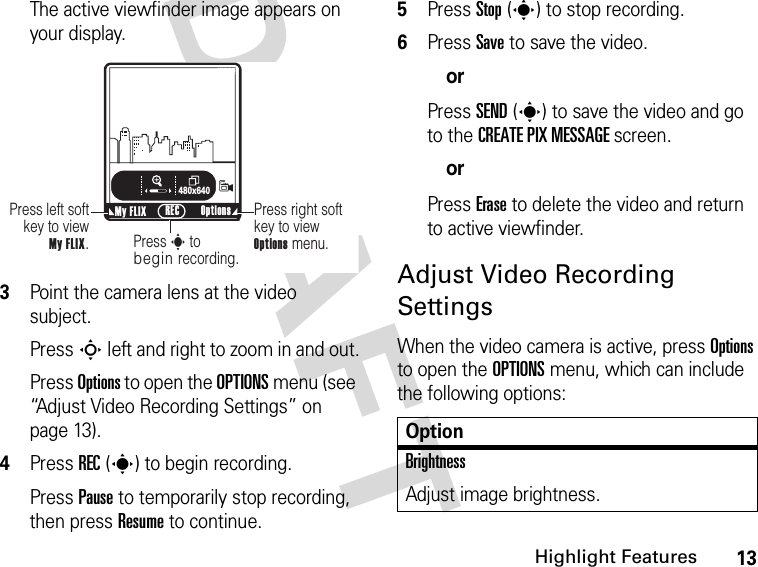

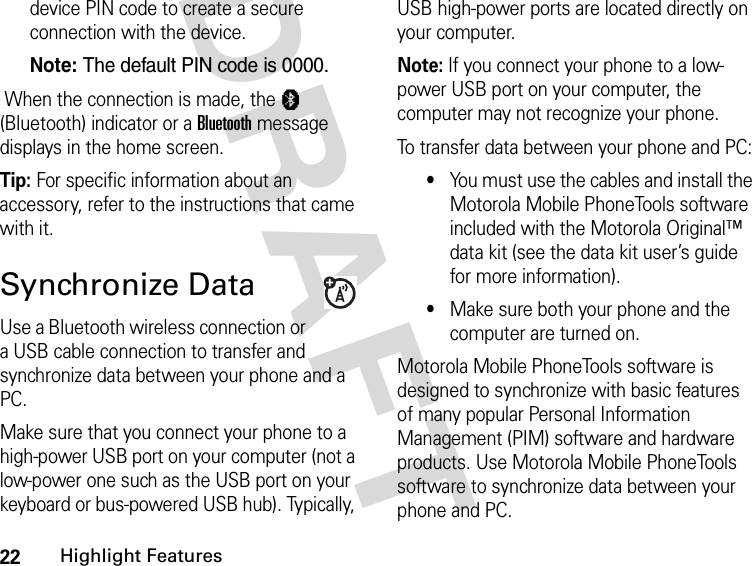
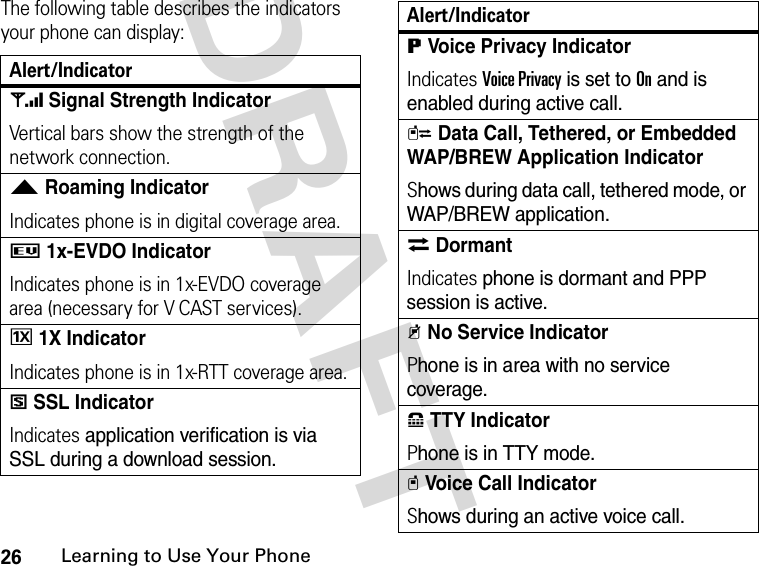
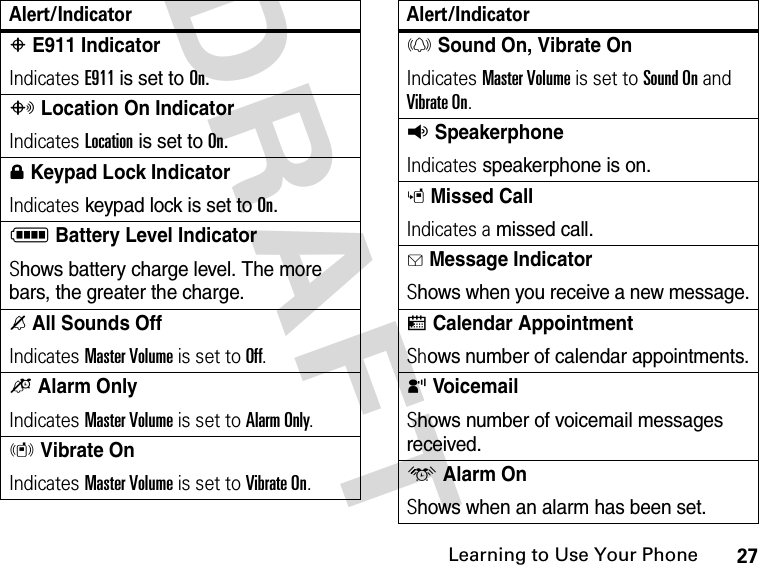
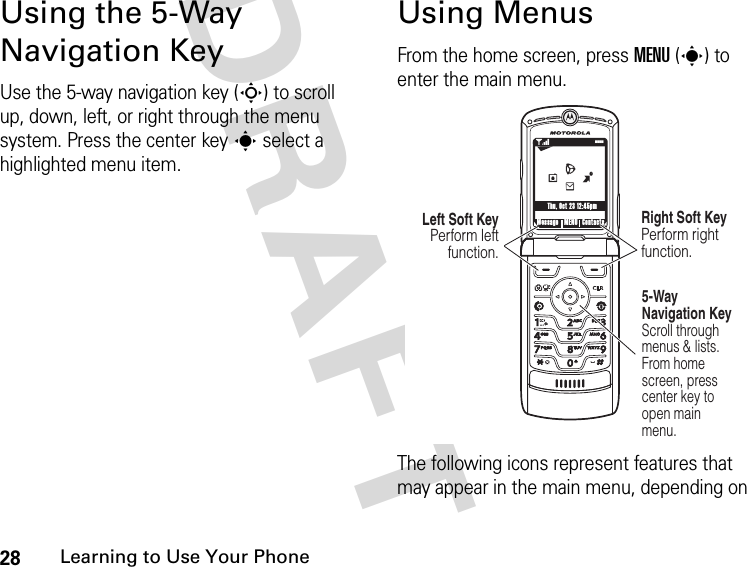
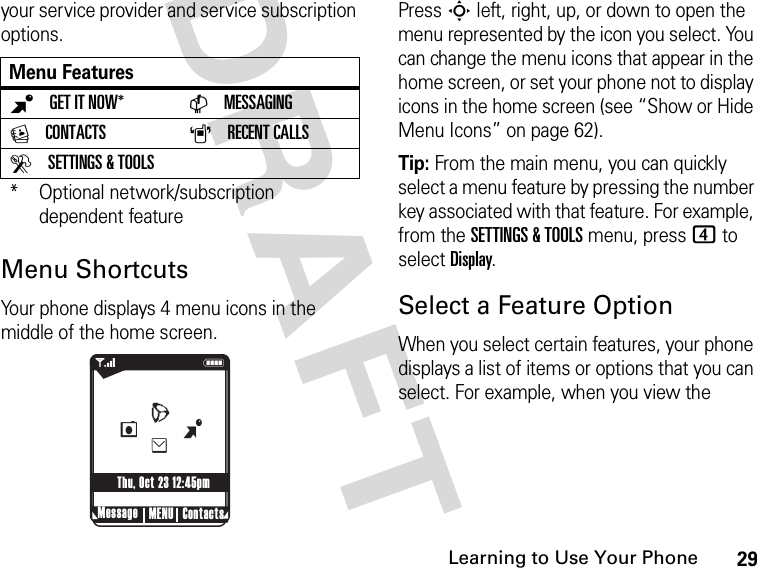
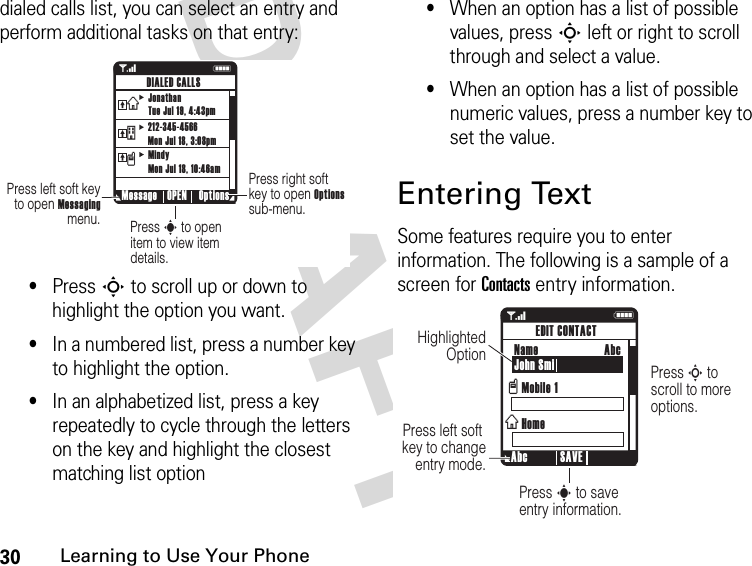
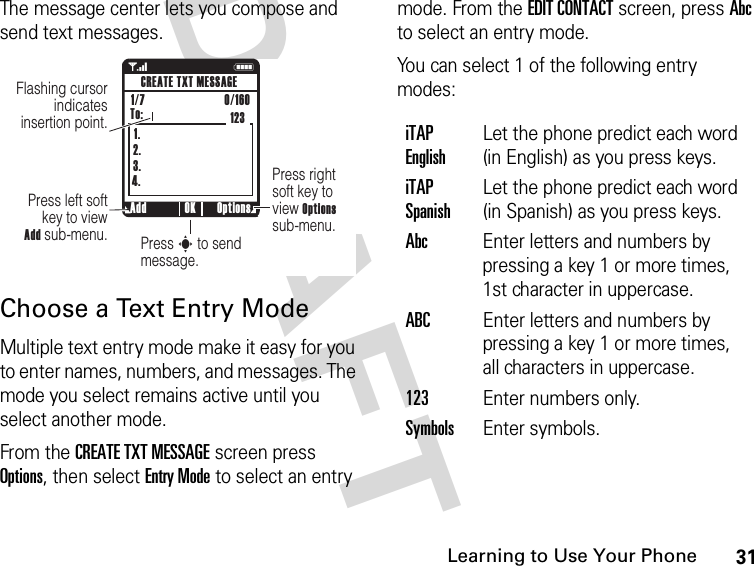
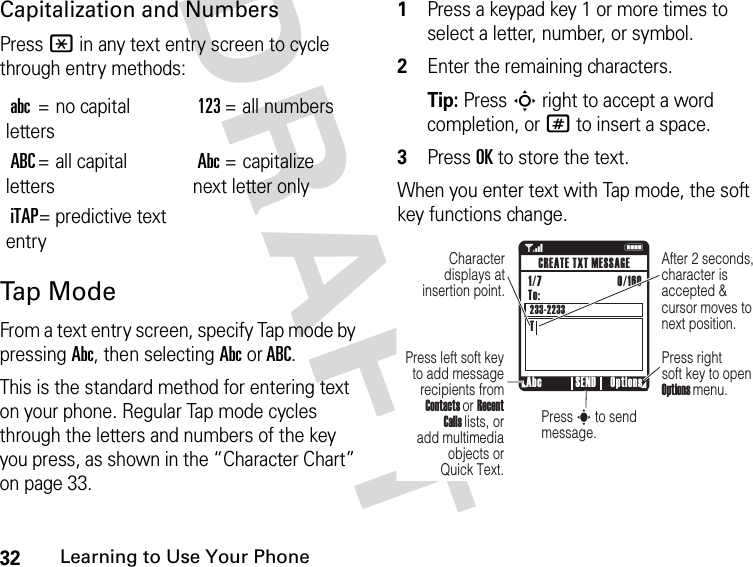
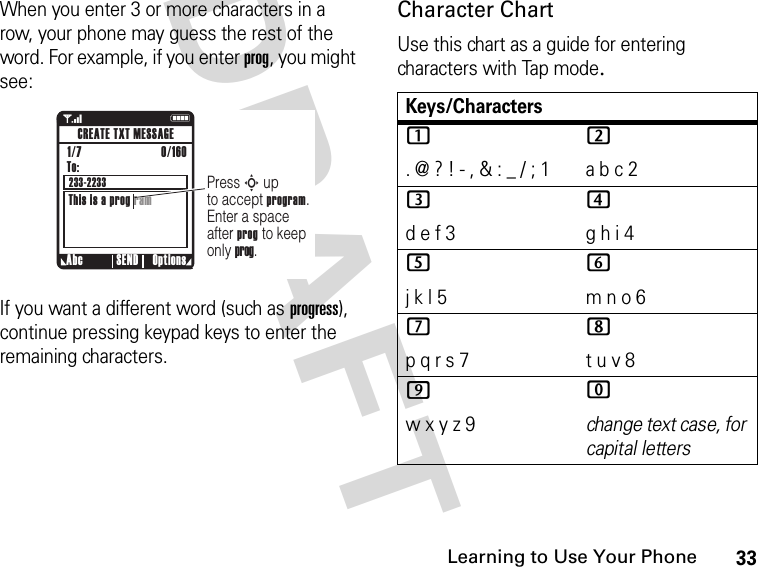
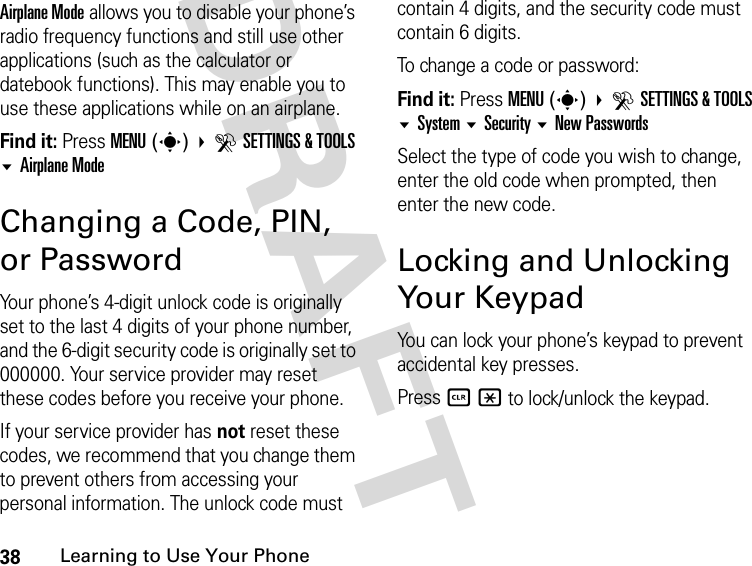
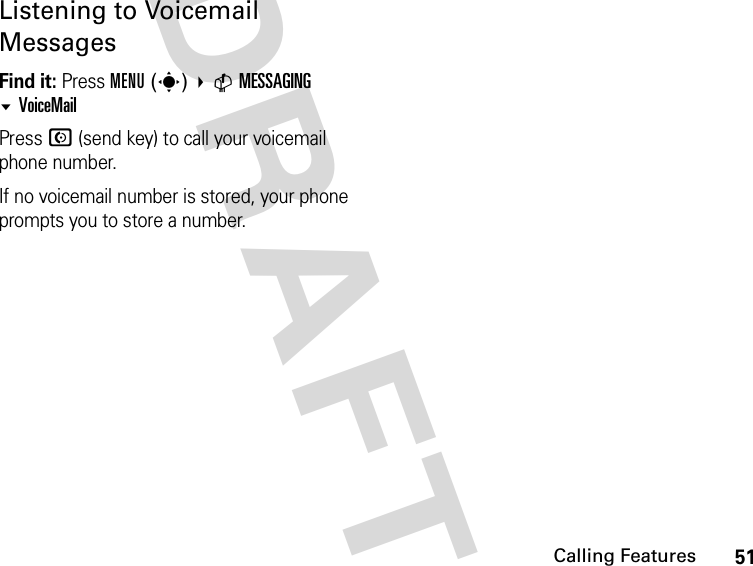
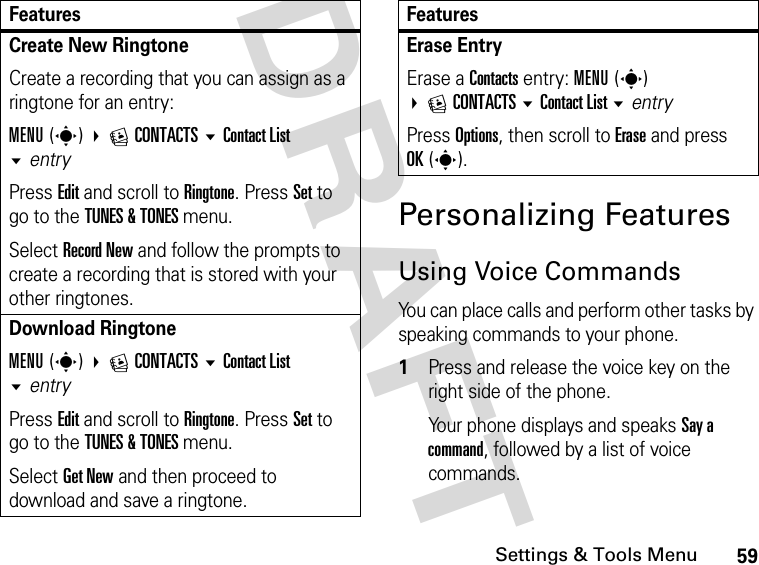
![21Highlight FeaturesDRAFT Turn Bluetooth Power On or OffFind it: Press MENU(s) DSETTINGS & TOOLS Connections Bluetooth Setup Power OnNote: To extend battery life, use the above procedure and set Bluetooth power to Off when not in use. If you turn Bluetooth power Off, your phone will not connect to accessories until you turn Bluetooth power On and reconnect to the accessories.Pairing with a Headset, Handsfree Device, or PCBefore you try to connect to another Bluetooth device, make sure your phone’s Bluetooth power is On and the device is in pairing mode (see the user guide for the device you are attempting to pair with). You cannot perform pairing while your phone is connected to another device.To pair your phone to a headset accessory, handsfree car kit, or PC that supports Bluetooth wireless connections:Find it: Press MENU(s) DSETTINGS & TOOLS Connections Bluetooth Handsfree [Look For Devices]Your phone displays a list of device(s) located within range of the phone. If your phone is already connected to a device, your phone lists that device and identifies it with a \ (in-use indicator). Once a connection is established with a device, no other device can connect to your phone until the currently connected device is disconnected.1Highlight a device in the list of devices your phone found.2Press Select to connect the device.3If the device requests permission to bond with your phone, select YES and enter the](https://usermanual.wiki/Motorola-Mobility/T56GH1/User-Guide-655808-Page-24.png)