Motorola Mobility T56GL1 Portable Cellular / PCS GSM Transceiver User Manual Exhibit 8
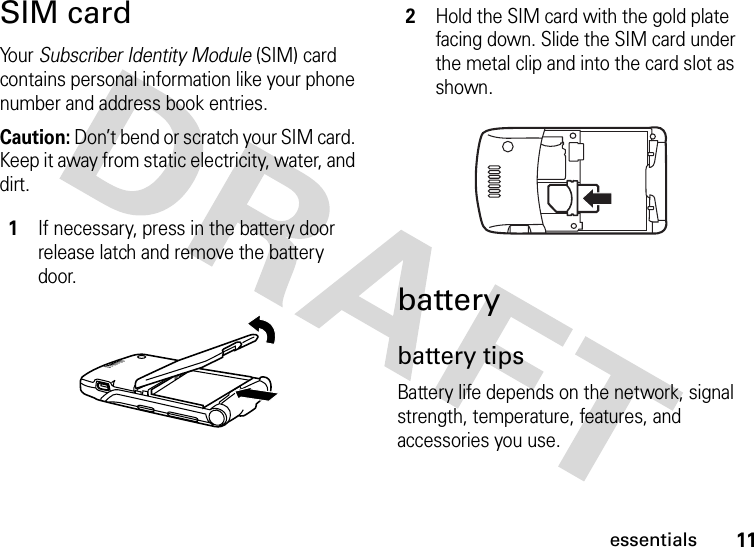
Motorola Mobility LLC Portable Cellular / PCS GSM Transceiver Exhibit 8
Contents
- 1. Exhibit 8 User Manual
- 2. Exhibit 8 updated users manual RESPONSE TO CRN33273
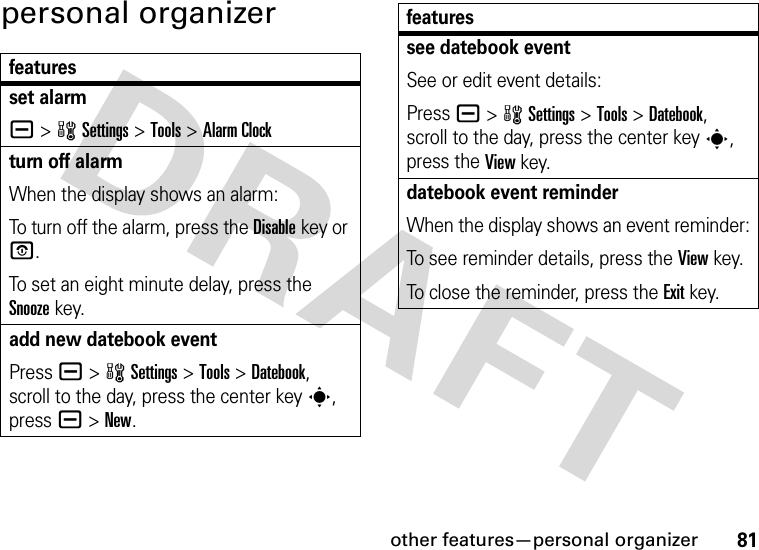
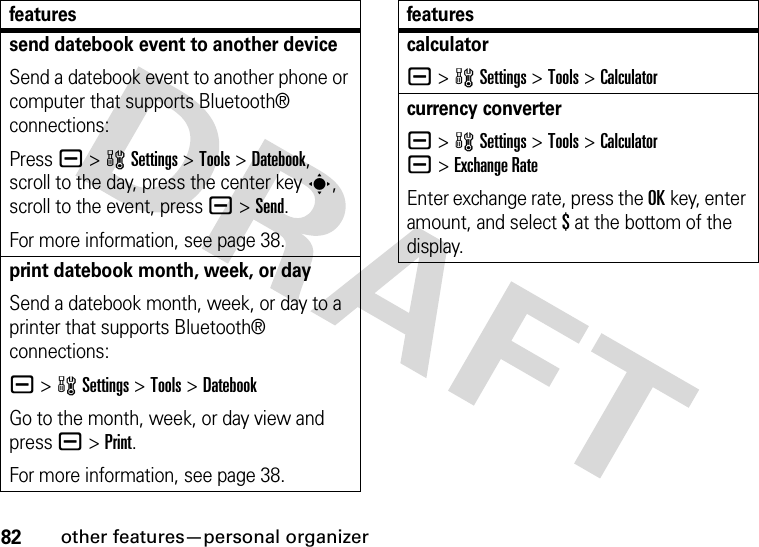
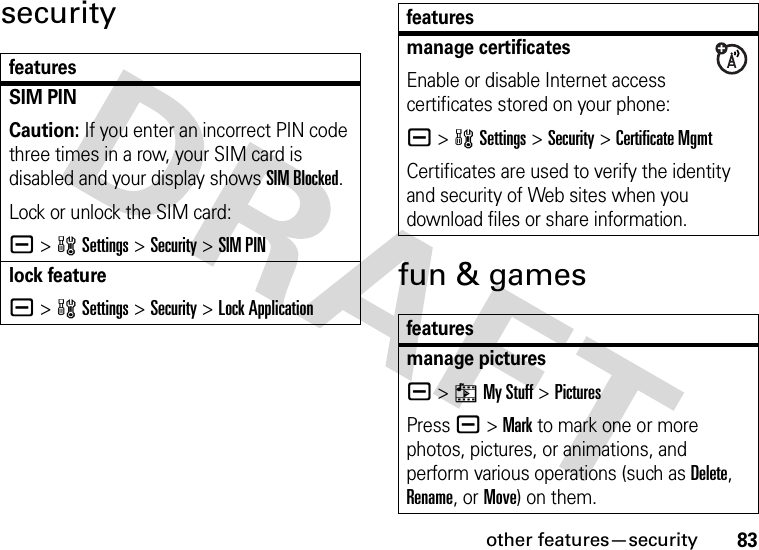
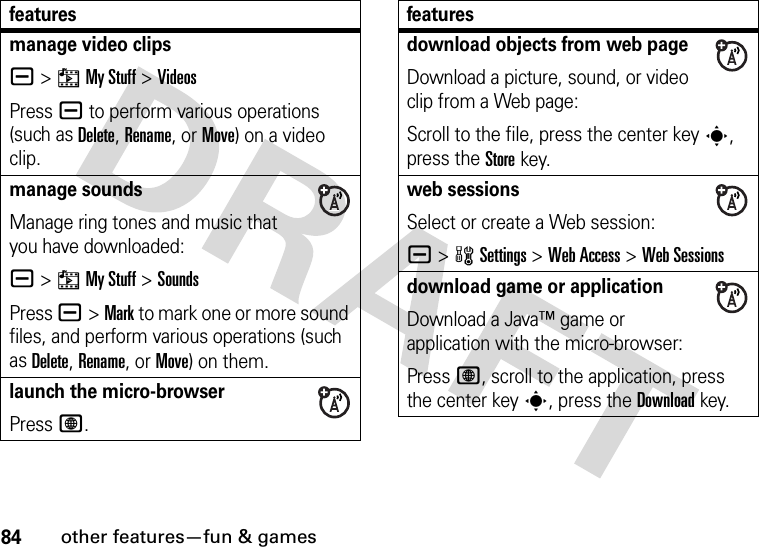
Exhibit 8 User Manual

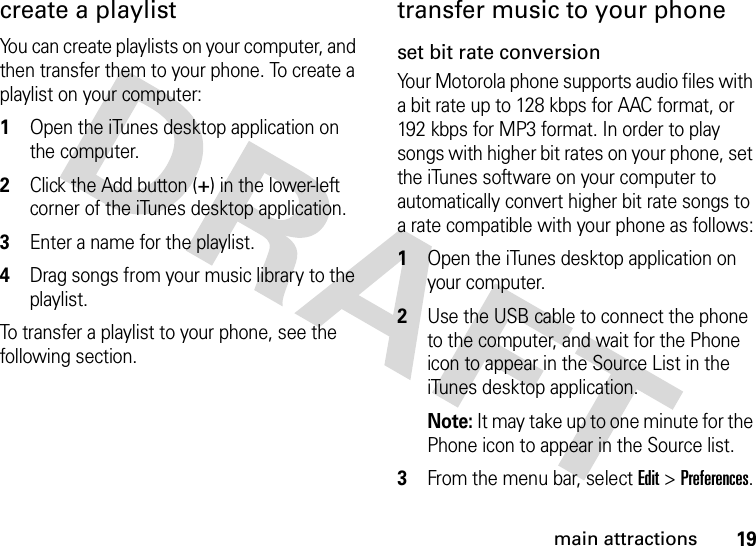
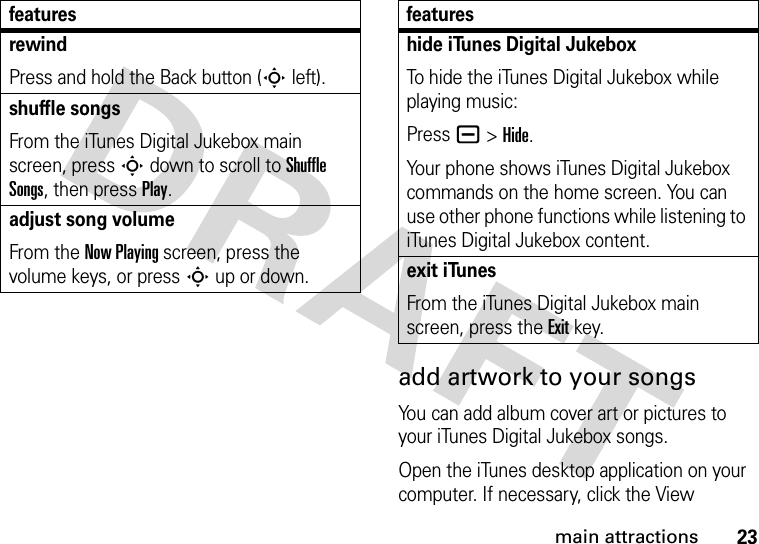


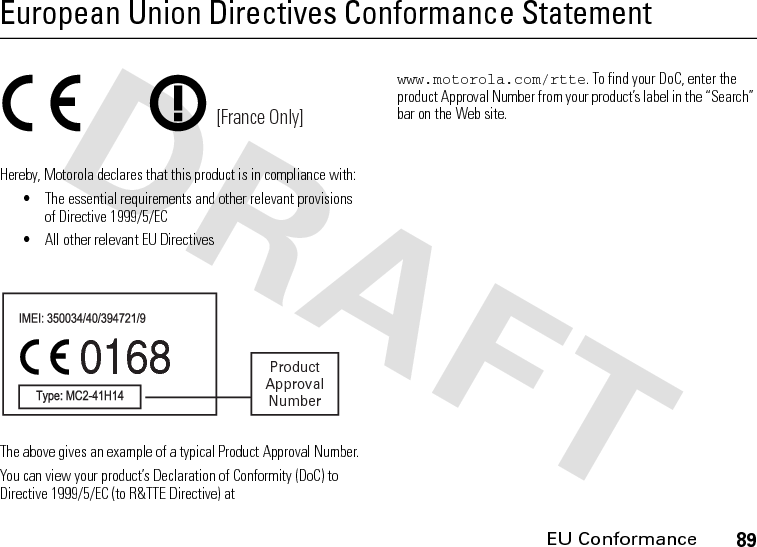
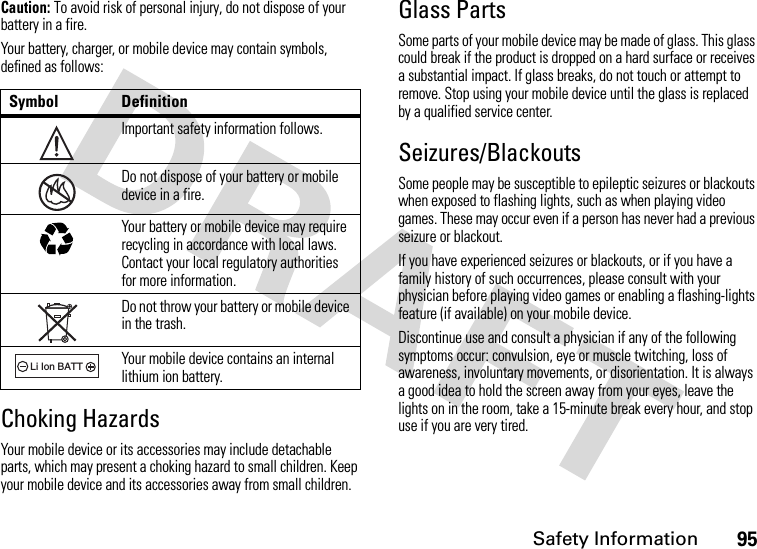
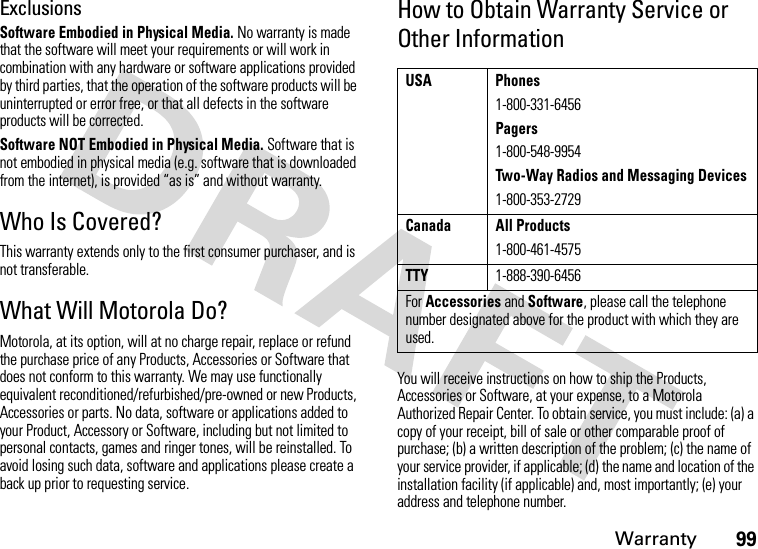
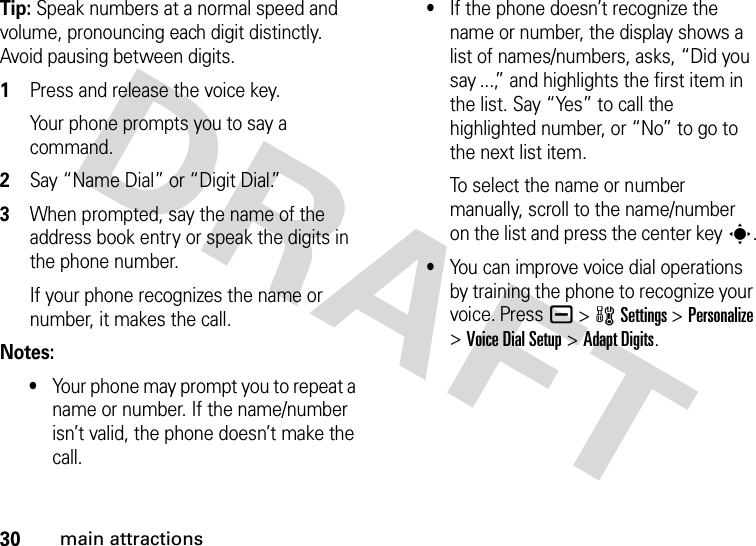
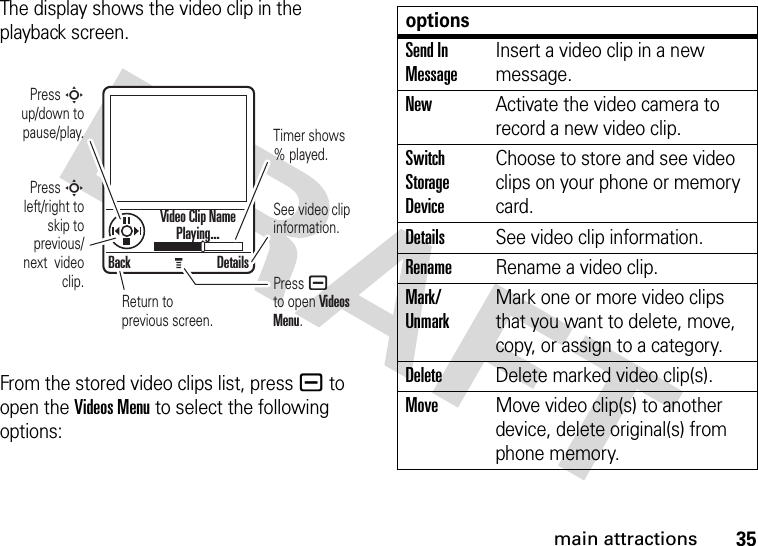
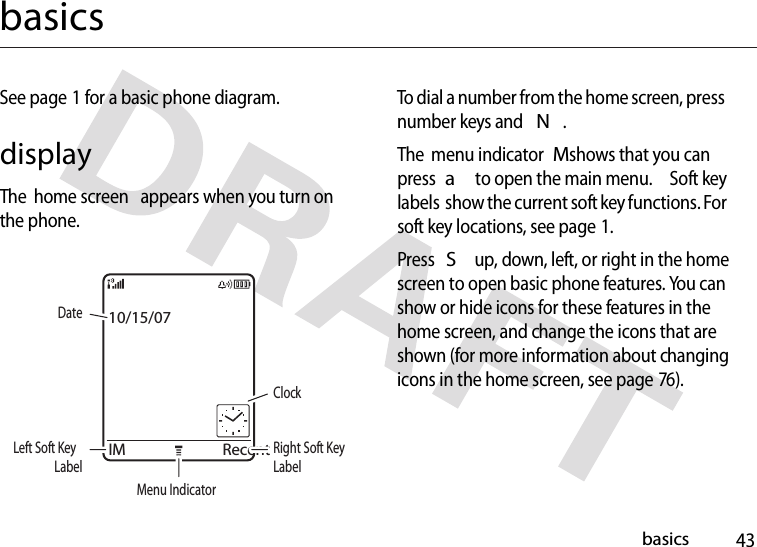
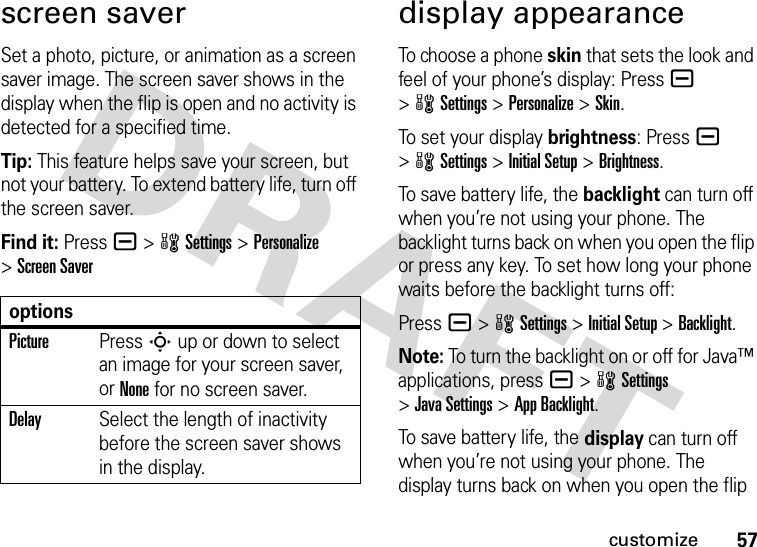
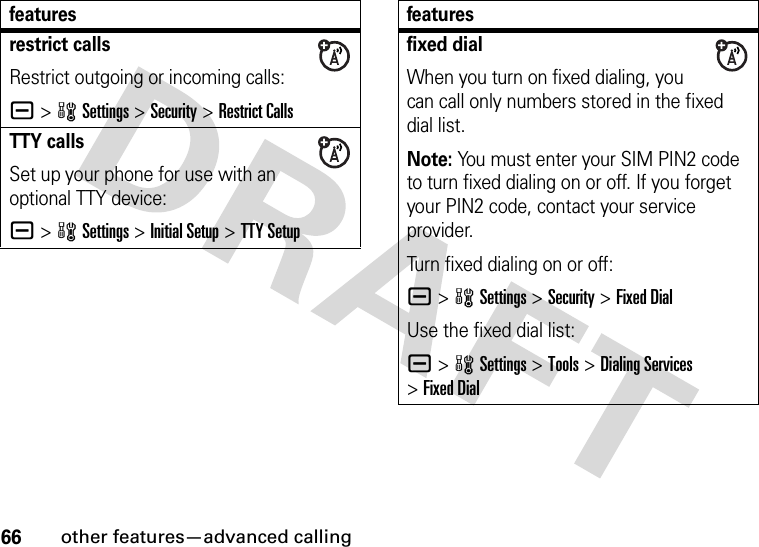
![29main attractionsmobile emailYour phone has mobile email capabilities in Mobile Email:Find it: Press - >Mobile Email >[Email Provider]You can use an existing email account for the listed providers or create a new account. Follow the prompts to set up your mobile email account.voice commandsYou can use voice commands to make calls, and to open and use some phone applications.Note: Not all phone languages support voice recognition and voice commands.Note: You can send voice commands to your phone using a connected headset or handsfree car kit.open applicationsTo open the Camera or Voicemail applications, Redial (dialed calls list), or Received Calls list: 1Press and release the voice key.Your phone prompts you to say a command.2Say one of the following commands:“Camera,” “Voicemail,” “Redial” (dialed calls list), or “Received Calls.”Your phone opens the application.make a callYou can use voice commands to make a call:•Use name dial to dial an address book entry by speaking the entry’s name.•Use digit dial to dial any phone number by speaking its digits.](https://usermanual.wiki/Motorola-Mobility/T56GL1.Exhibit-8-User-Manual/User-Guide-652247-Page-32.png)

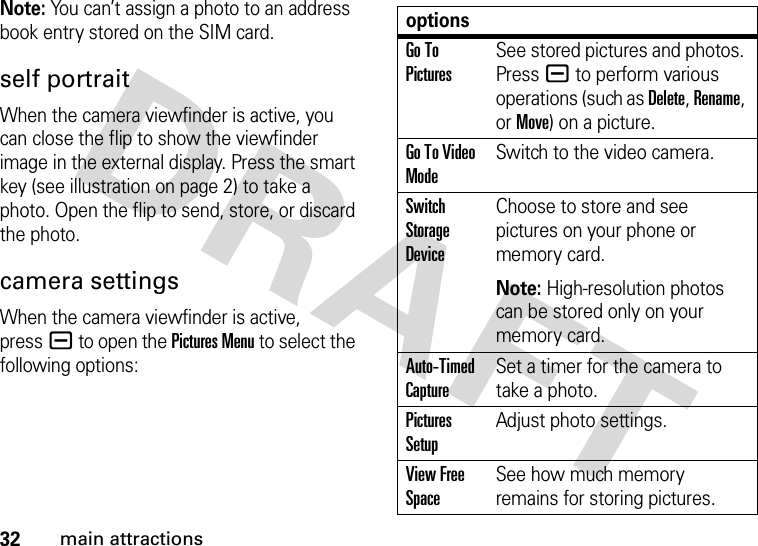
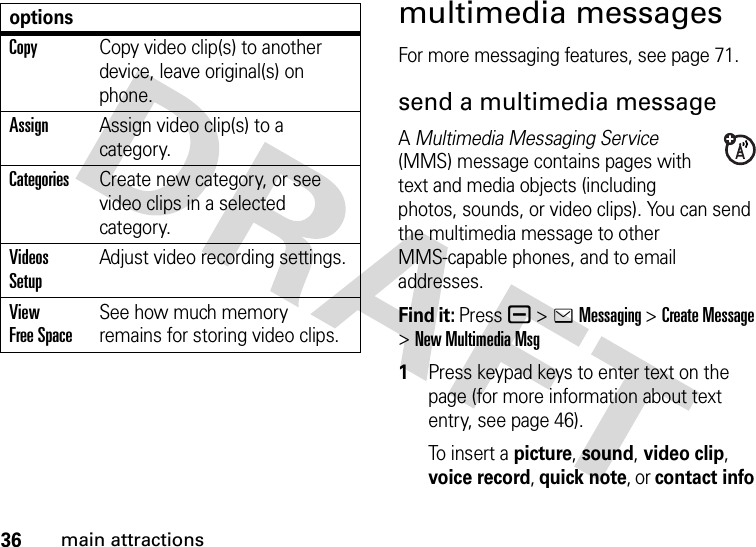
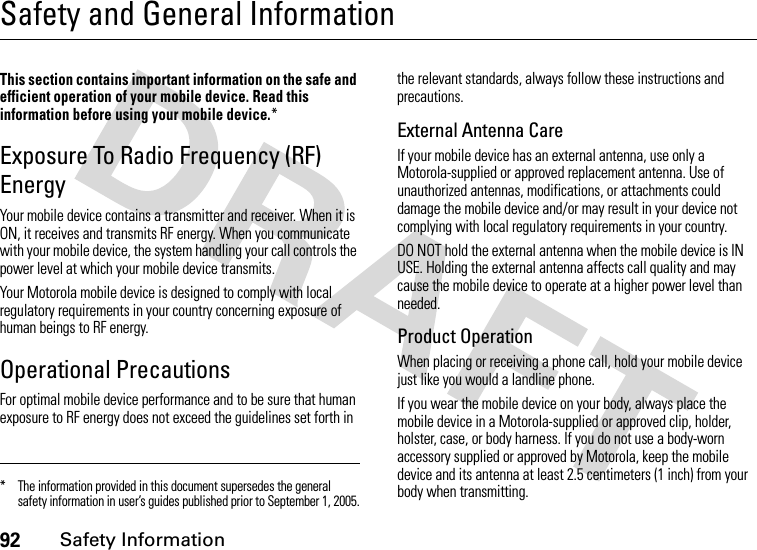
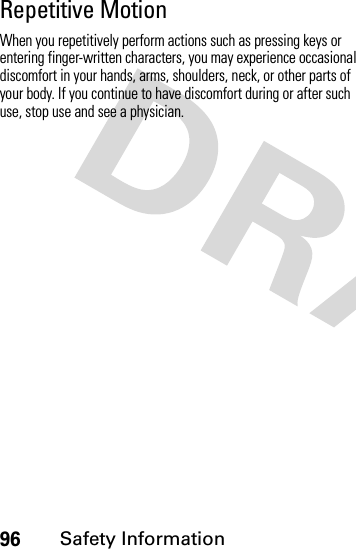
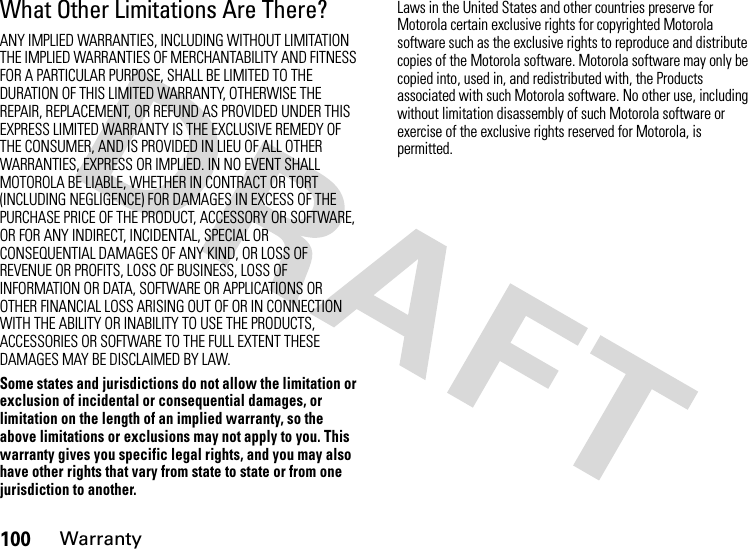
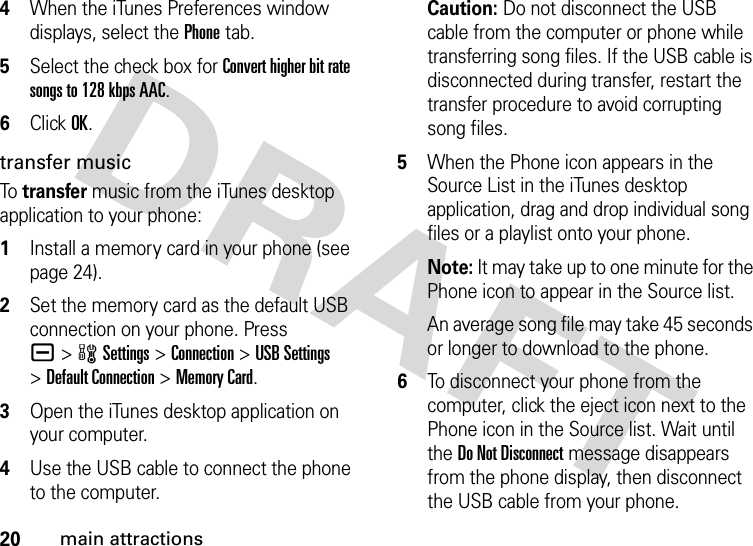
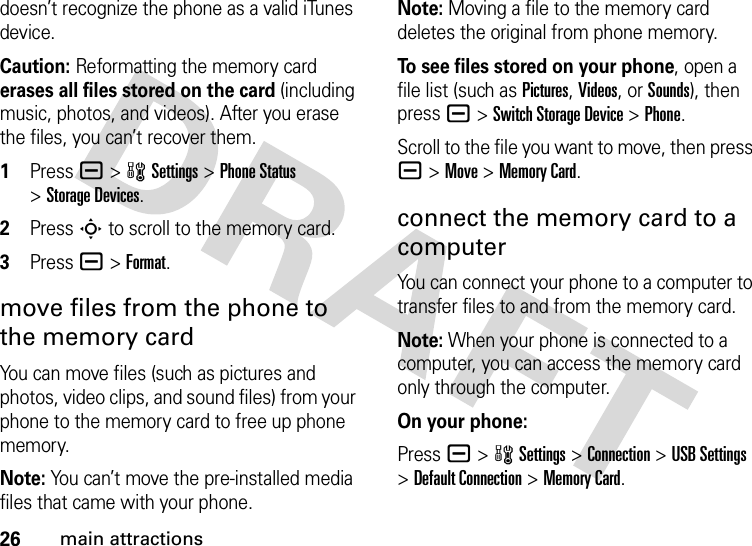
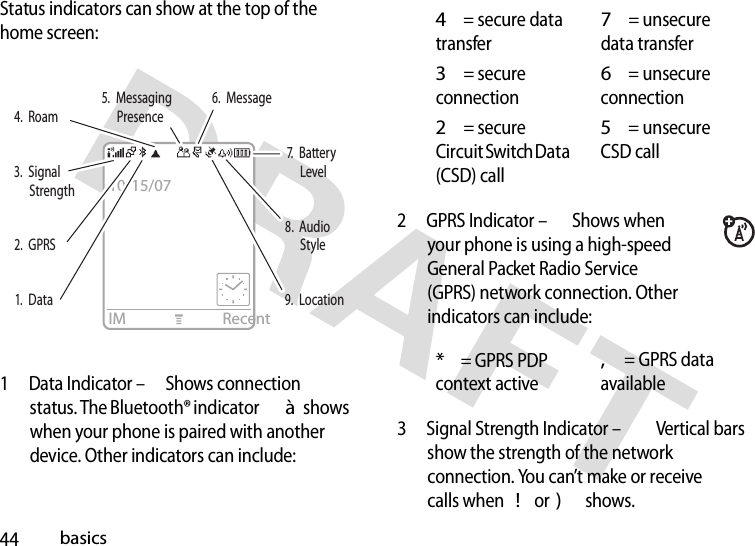
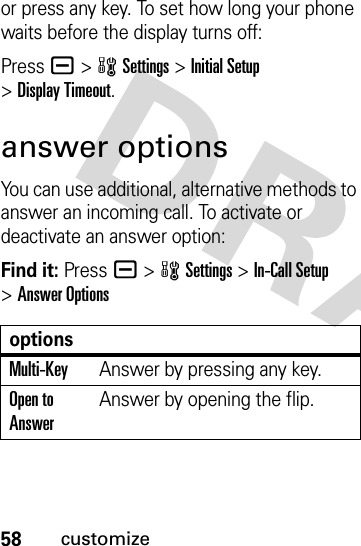
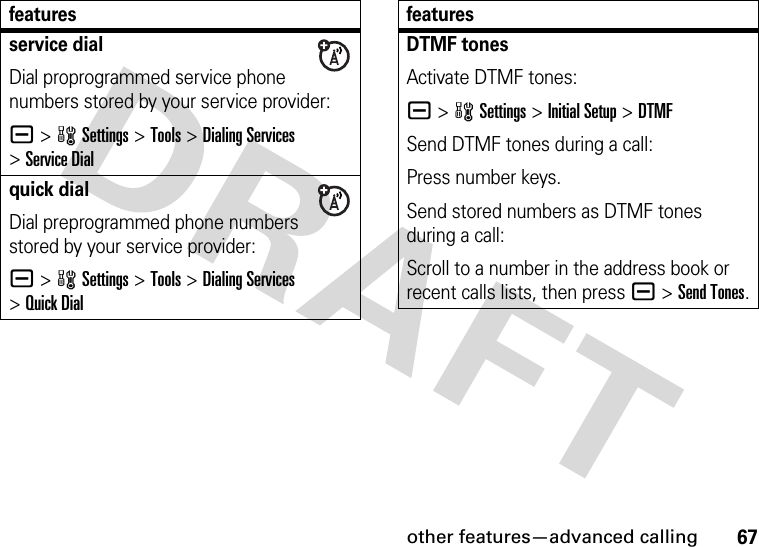
![37main attractionson the page, press a>Insert. Select the file type and the file.To i n se r t another page in the message, enter text or objects on the current page and press a>Insert>New Page. You can enter more text and objects on the new page.2When you finish the message, pressa >Message Options to set message options:To e n t er a subject for the message, scroll to Subject and press the center keys.To attach a file to the message, scroll to Attachments and press the center keys. Select the file type and the file.To set message priority, or request a message delivery report or read report, scroll to the option and press the center keys.3When you finish setting message options, press the Donekey.4Press the Send Tokey to select one or more message recipients:To select an address book entry, scroll to the entry and press the center keys. Repeat to add other address book entries.To enter a new phone number, scroll to [New Number] and press the center keys.To enter a new email address, scroll to [New Email Address] and press the center keys.5To send the message, press the Sendkey.To cancel or save the message as a Draft, press a.](https://usermanual.wiki/Motorola-Mobility/T56GL1.Exhibit-8-User-Manual/User-Guide-652247-Page-40.png)
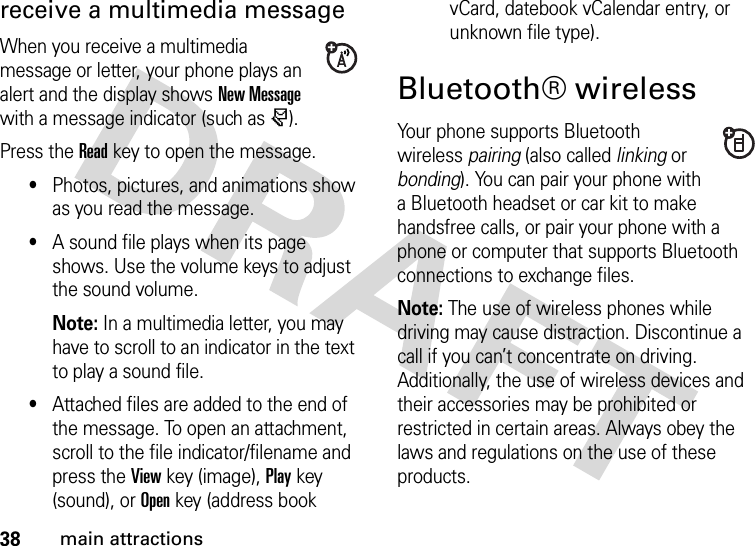
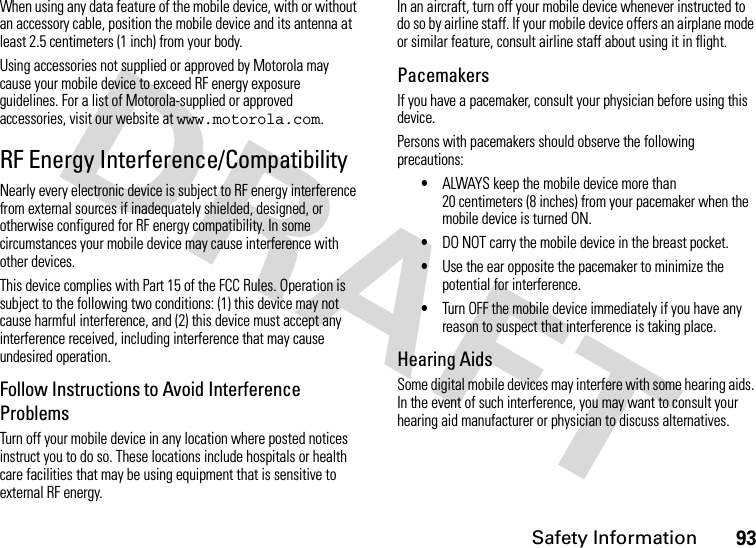
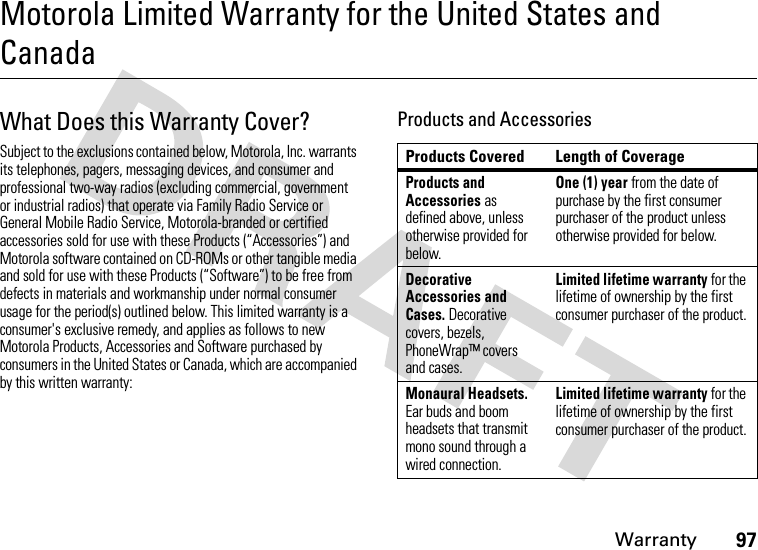
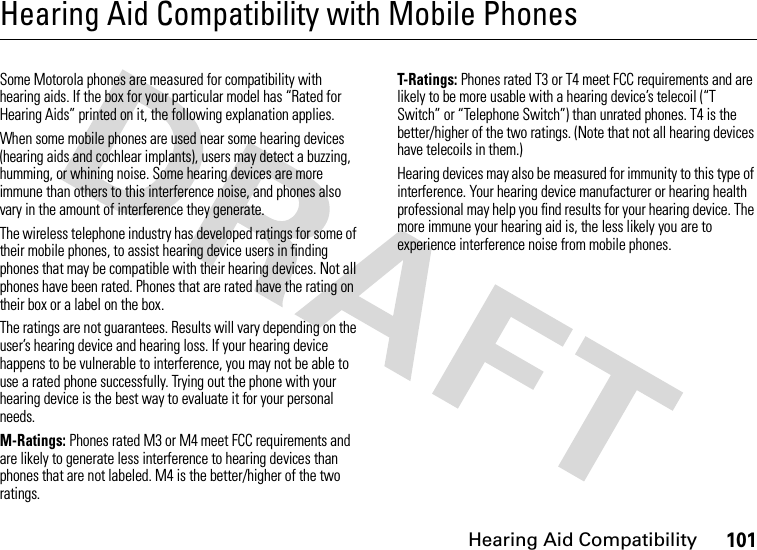
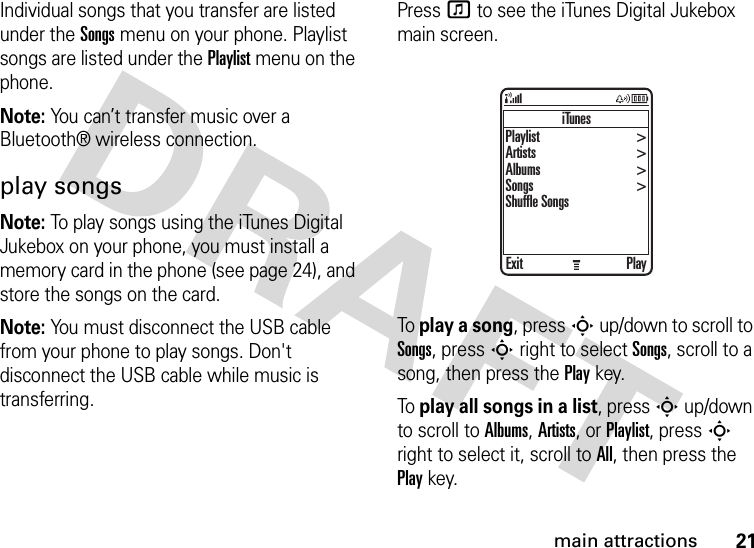
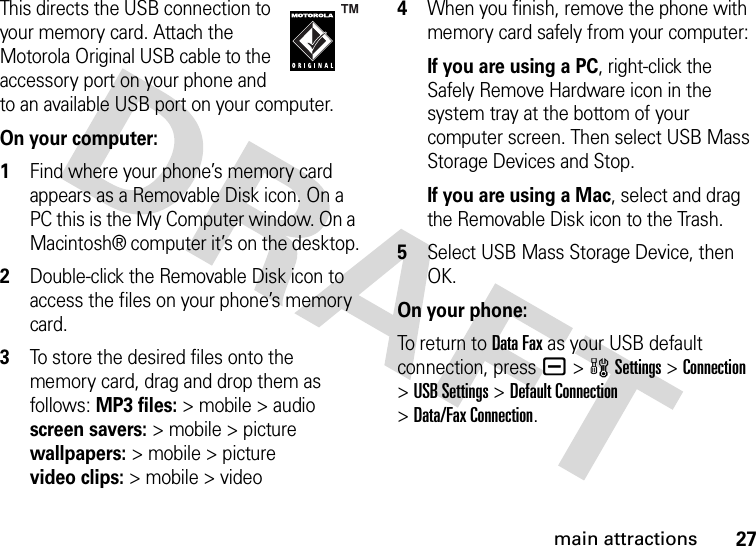
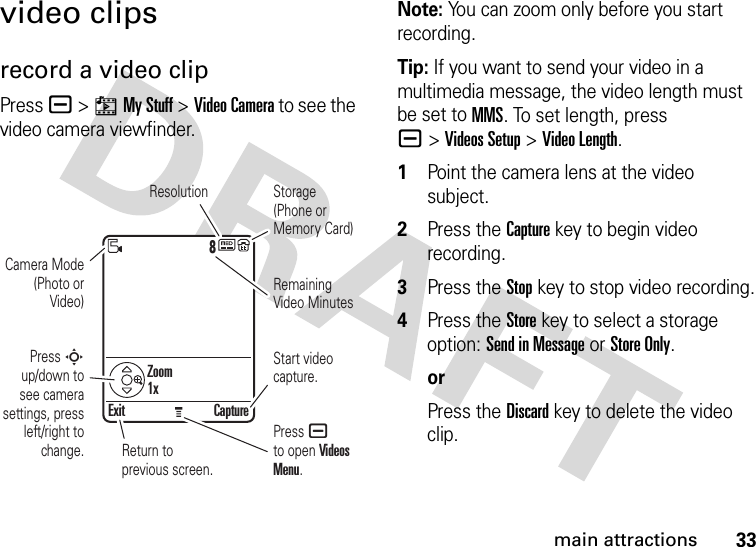
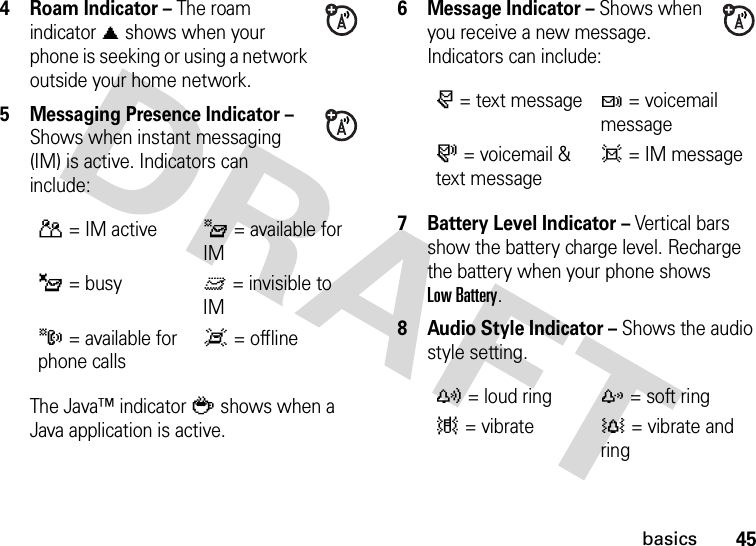
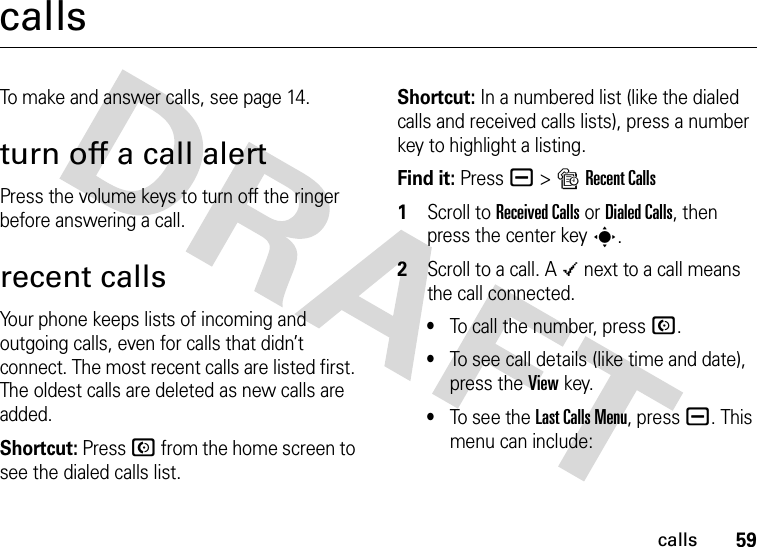
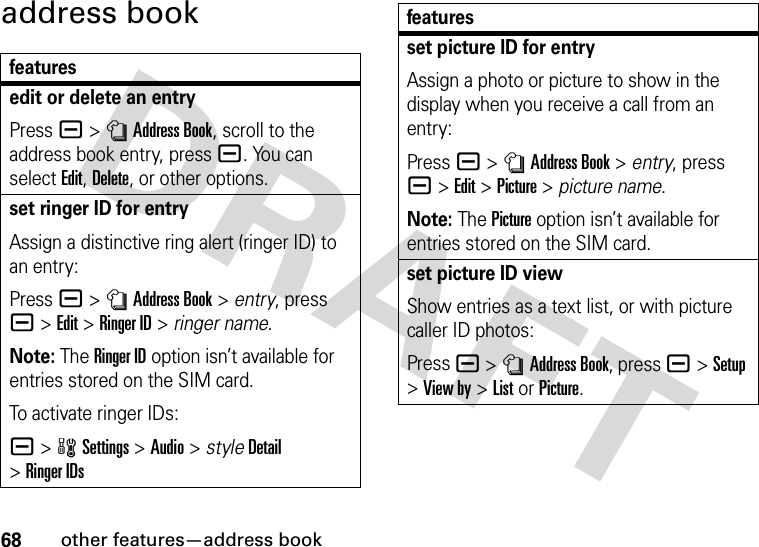
![39main attractionsNote: Your phone's Bluetooth features and Bluetooth Class 1 power levels are not allowed for outdoor operation in France. To avoid unlawful interference with radio signals, do not use the Bluetooth features in France unless you are indoors.For maximum Bluetooth security, you should always pair Bluetooth devices in a safe, private environment.turn Bluetooth power on or offFind it: Press a >wSettings >Connection >Bluetooth Link >Setup >Power >OnNote: To extend battery life, use this procedure to set Bluetooth power to Off when not in use. Your phone will not pair with another device until you set Bluetooth power back to On and pair your phone with the device again.use a headset or handsfree car kitBefore you try to pair your phone with a handsfree device, make sure the device is on and ready in pairing mode (see the device user’s guide). You can pair your phone with only one device at a time.Find it: Press a >wSettings >Connection >Bluetooth Link >Handsfree >[Look For Devices]Your phone lists the devices it finds within range. 1Scroll to a device in the list and press the center keys.2Press the Yes key to pair with the device.3If necessary, enter the device passkey (such as 0000) and press the OK key.](https://usermanual.wiki/Motorola-Mobility/T56GL1.Exhibit-8-User-Manual/User-Guide-652247-Page-42.png)
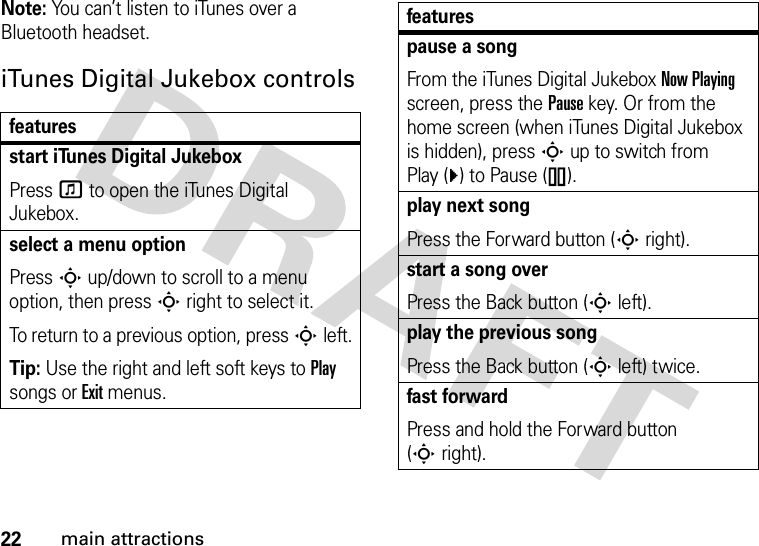
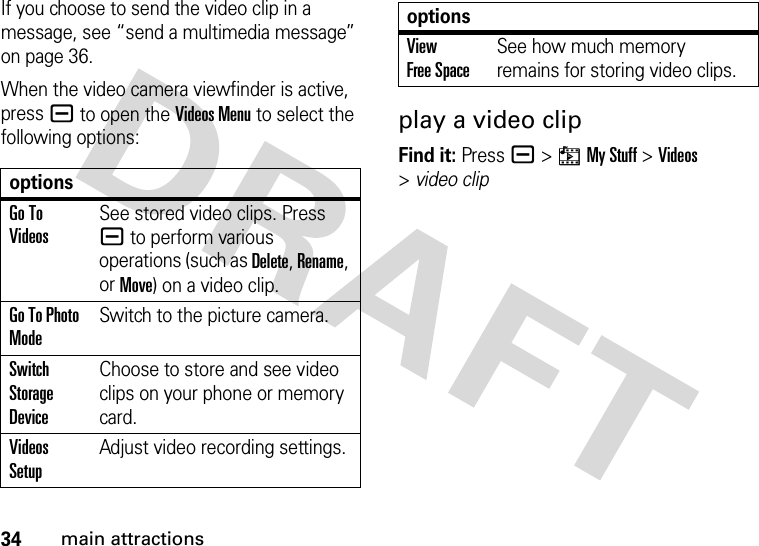
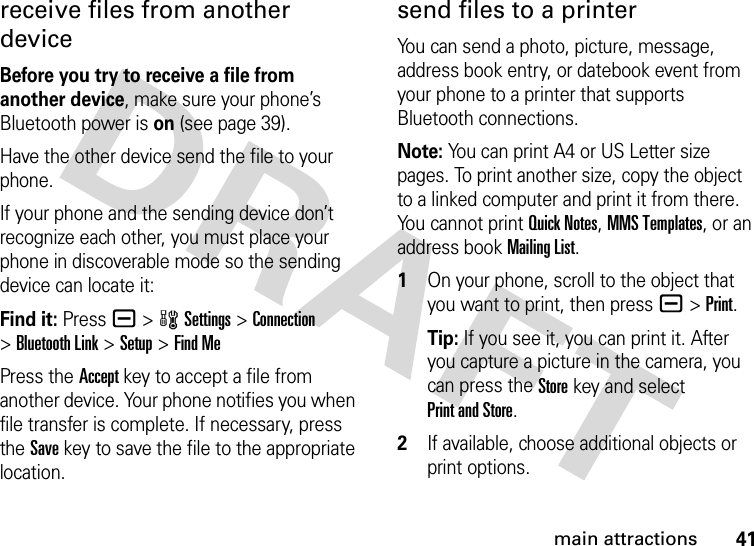
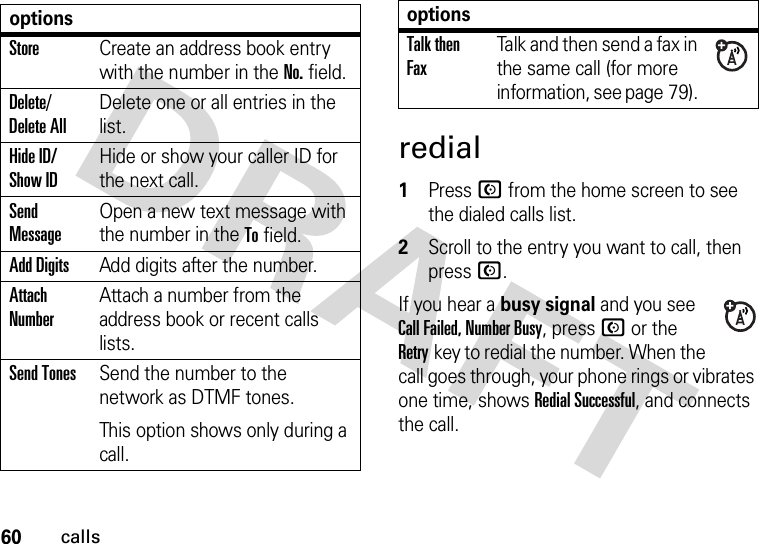
![40main attractionsWhen your phone is paired, the Bluetooth indicator à shows in the home screen and the external Bluetooth indicator light flashes.Note: When Bluetooth power is on, your phone can automatically pair with a handsfree device you have used before. Just turn on the device and move it near the phone.copy files to another deviceYou can copy a photo, picture, video clip, sound file, address book entry, datebook event, or bookmark to another phone or computer that supports Bluetooth connections.Before you try to copy a file to another device, make sure the receiving device is on and ready in discoverable mode.Note: You can’t copy a copyrighted file. 1On your phone, scroll to the object that you want to copy to the other device.2Press a, then select:•Copy for a photo, picture, video clip, or sound file.•Share Phonebook Entry for an address book entry.•Send for a datebook event or bookmark.3Select a recognized device name, or [Look For Devices] to search for an unrecognized device where you want to copy the object.Note: Once you connect your phone to a Bluetooth device, that device can start a similar Bluetooth connection with your phone. Your display shows the Bluetooth indicator à when there is a Bluetooth connection.](https://usermanual.wiki/Motorola-Mobility/T56GL1.Exhibit-8-User-Manual/User-Guide-652247-Page-43.png)
![42main attractions3Select a recognized printer name listed in the Printers menu, or [Look For Devices] to search for an unrecognized printer where you want to send the object.advanced Bluetooth featuresfeaturespair with recognized devicea >wSettings >Connection >Bluetooth Link >Handsfree > device namedrop pairing with deviceScroll to the device name and press the Dropkey.switch to headset or car kit during calla>Use Bluetoothswitch back to phone during callTo switch from a headset or car kit to your phone during a call:a>Use Handsetmove multimedia object to deviceCaution: Moving an object deletes the original object from your phone.Scroll to the object, press a>Move, select the device name.edit properties of recognized deviceScroll to the device name, press a>Edit.set Bluetooth optionsa >wSettings >Connection >Bluetooth Link >Setupfeatures](https://usermanual.wiki/Motorola-Mobility/T56GL1.Exhibit-8-User-Manual/User-Guide-652247-Page-45.png)


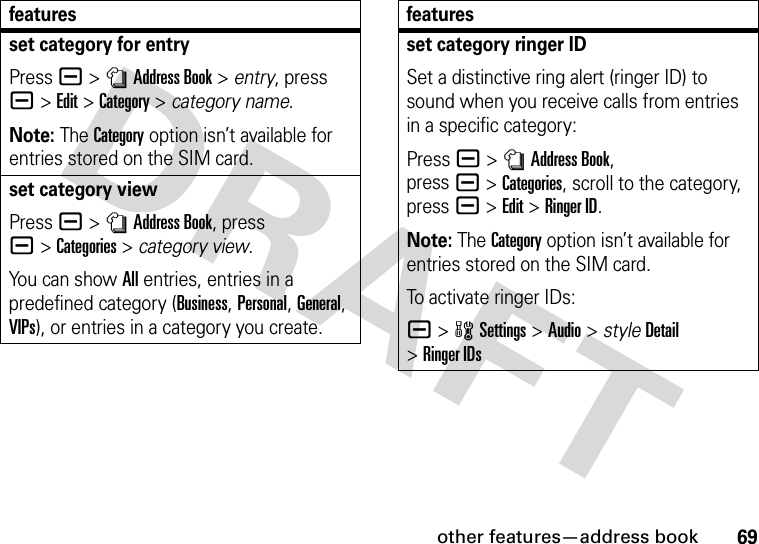
![72other features—messagessend emaila >eMessaging >Create Message >New Emailsend quick noteSend a short, prewritten quick note:a >eMessaging >Quick NotesCreate a new quick note:a >eMessaging >Quick Notes >[New Quick Note]use a multimedia templateOpen a multimedia template with preloaded media:a >eMessaging >Multimedia Templatesfeaturesread new message or emailWhen your display shows New Message, press the Readkey to read the message you received.read old messagesa >eMessaging >Message InboxIcons next to each message show if it is unreadJ, readH, urgentK, lockedV, or has an attachmentR. Press a to perform various operations on a message.read old emaila >eMessaging >Email MsgsPress a to perform various operations on a message.features](https://usermanual.wiki/Motorola-Mobility/T56GL1.Exhibit-8-User-Manual/User-Guide-652247-Page-75.png)
![other features—instant messaging73instant messagingstore message objectsGo to a multimedia message page, or scroll to an object in a letter, then:a >Storebrowser messagesRead messages received by your micro-browser:a >eMessaging >Browser Msgsfeaturesset up email accountsYou can set up and use multiple email accounts on your phone:a >eMessaginga>Email Msg Setup>Account Settings >[New Entry]Note: Your display shows a folder for each email account under a >eMessaging >Email Msgs.featureslog ina >wSettings >Tools >IM >Log Infeatures](https://usermanual.wiki/Motorola-Mobility/T56GL1.Exhibit-8-User-Manual/User-Guide-652247-Page-76.png)
![80other features—networknetworkuse syncYou can call an Internet server and synchronize your address book and datebook entries with the server.To set up an Internet sync partner, press a>wSettings >Connection >Sync >[New Entry]. Enter the server details, including the server URL (you can omit http://) and Data Paths (the folders below the URL where your data is stored).To synchronize files with an Internet sync partner, press a>wSettings >Connection >Sync > sync partner.featuresfeaturesnetwork settingsSee network information and adjust network settings:a >wSettings >Networksoftware updateYour service provider can send updated phone software over the air to your phone. When your phone receives a software update, you can choose to install it immediately, or defer installation until later. To install a deferred software update:a >wSettings >Phone Status >Software Update >Install Now](https://usermanual.wiki/Motorola-Mobility/T56GL1.Exhibit-8-User-Manual/User-Guide-652247-Page-83.png)
![other features—fun & games85start game or applicationStart a Java™ game or application:Pressa >hMy Stuff >Games & Apps, scroll to the game or application, press the center keys.create ring tonesCreate ring tones that you can use with your phone:a >hMy Stuff >Sounds >[New iMelody]features](https://usermanual.wiki/Motorola-Mobility/T56GL1.Exhibit-8-User-Manual/User-Guide-652247-Page-88.png)

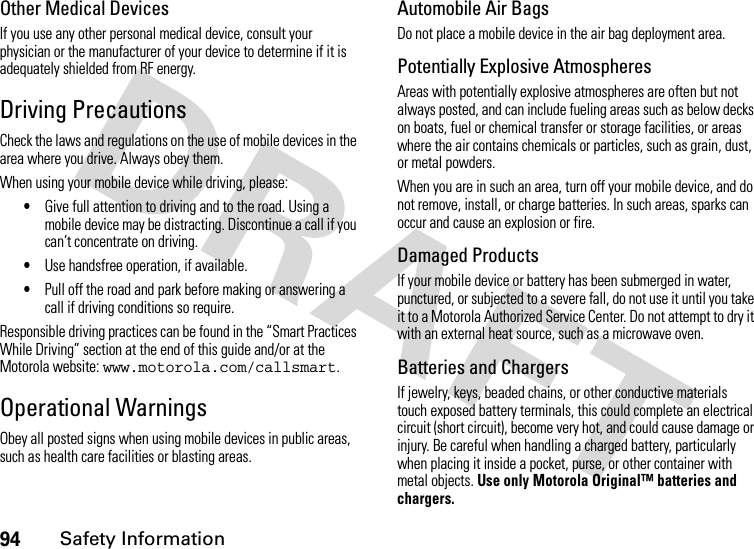
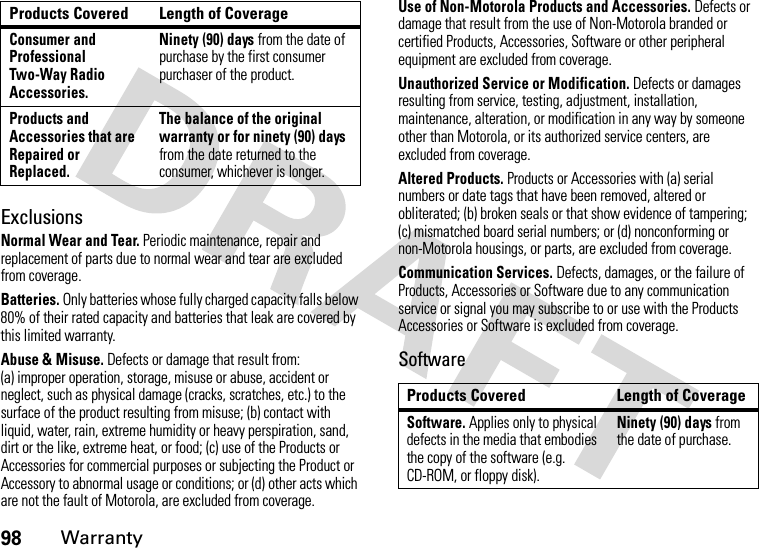
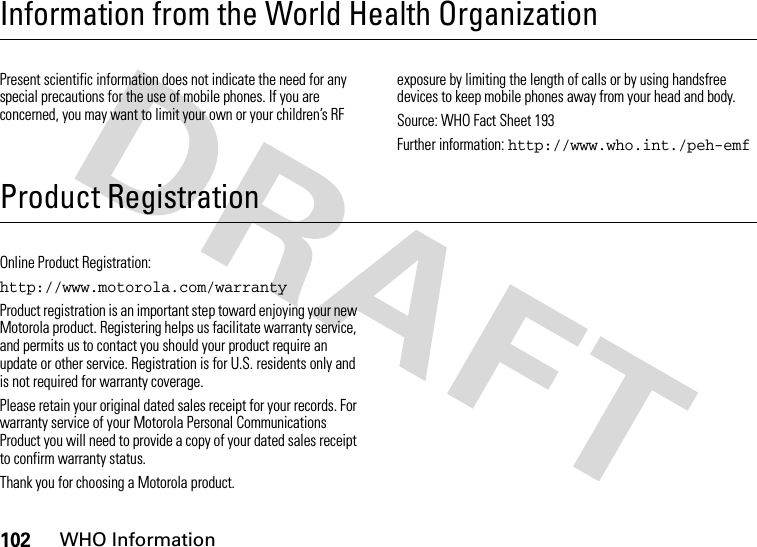
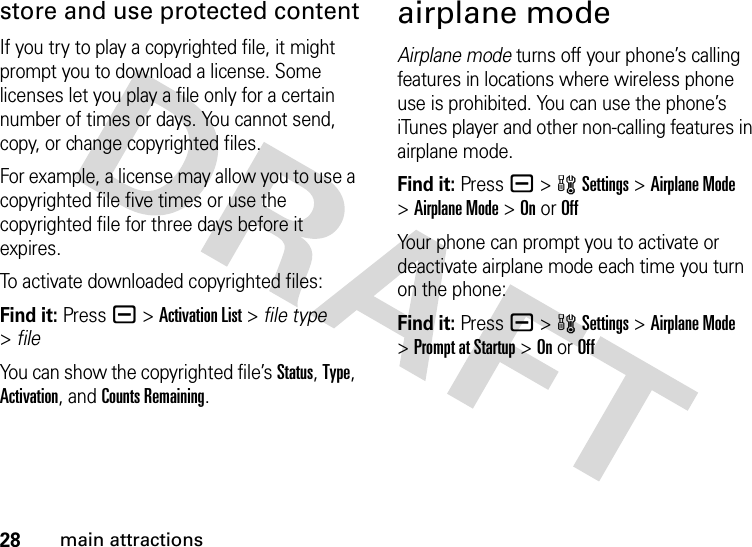
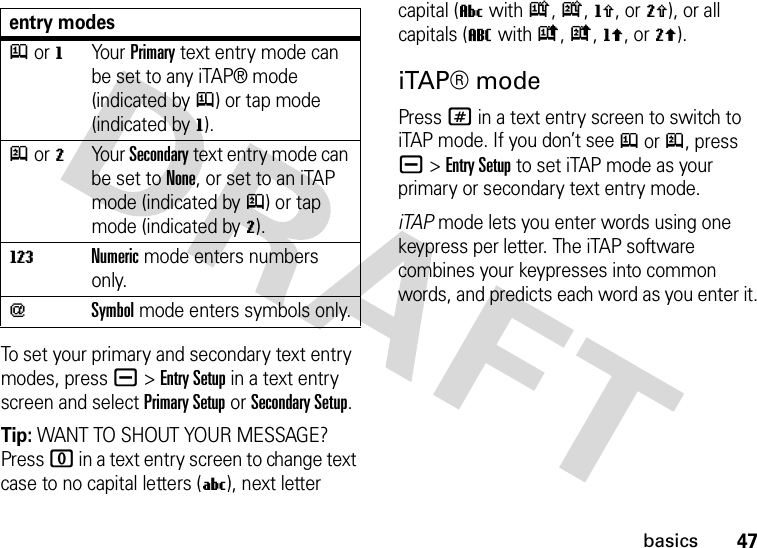
![EU Conformance89European Union Directives Conformance StatementEU ConformanceHereby, Motorola declares that this product is in compliance with:•The essential requirements and other relevant provisions of Directive 1999/5/EC•All other relevant EU DirectivesThe above gives an example of a typical Product Approval Number.You can view your product’s Declaration of Conformity (DoC) to Directive 1999/5/EC (to R&TTE Directive) at www.motorola.com/rtte. To find your DoC, enter the product Approval Number from your product’s label in the “Search” bar on the Web site.[France Only]0168 ProductApprovalNumber](https://usermanual.wiki/Motorola-Mobility/T56GL1.Exhibit-8-User-Manual/User-Guide-652247-Page-92.png)