Motorola Mobility T56GP1 ic902, CDMA, iDEN, MOTOtalk, BT User Manual
Motorola Mobility LLC ic902, CDMA, iDEN, MOTOtalk, BT
Contents
- 1. USERS MANUAL 1 OF 2
- 2. USERS MANUAL 2 OF 2
- 3. USERS MANUAL 1
- 4. USERS MANUAL 2
- 5. USERS MANAUL 2
- 6. USERS MANUAL
USERS MANUAL 1 OF 2


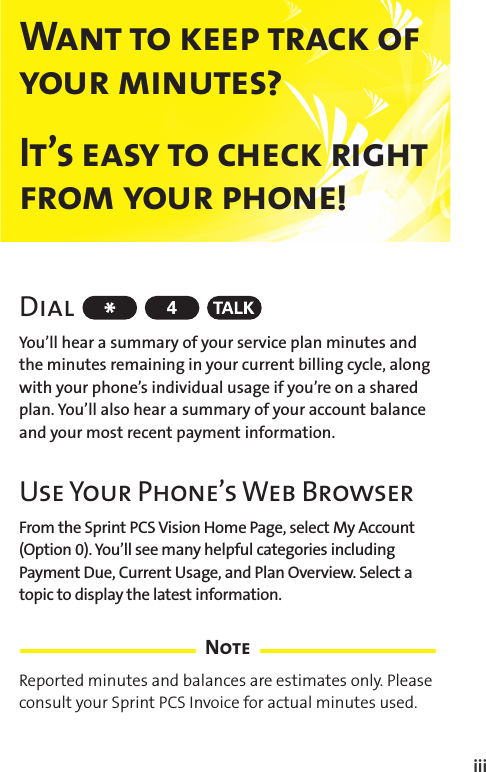

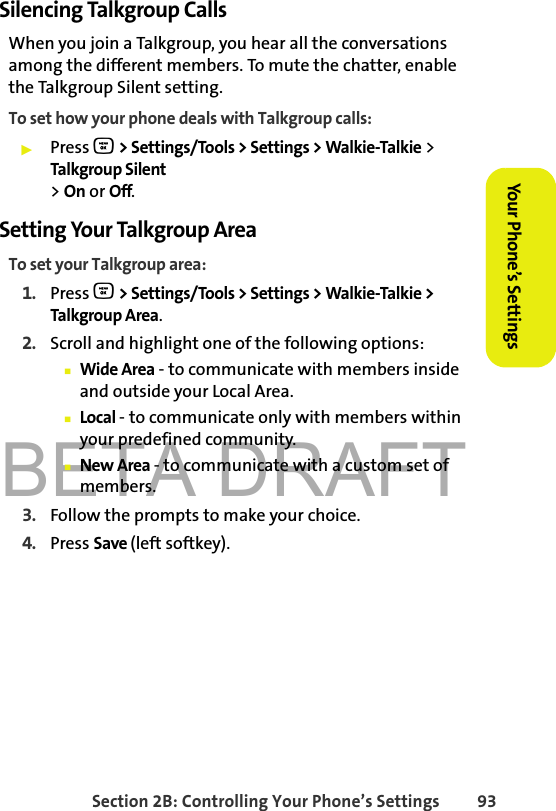
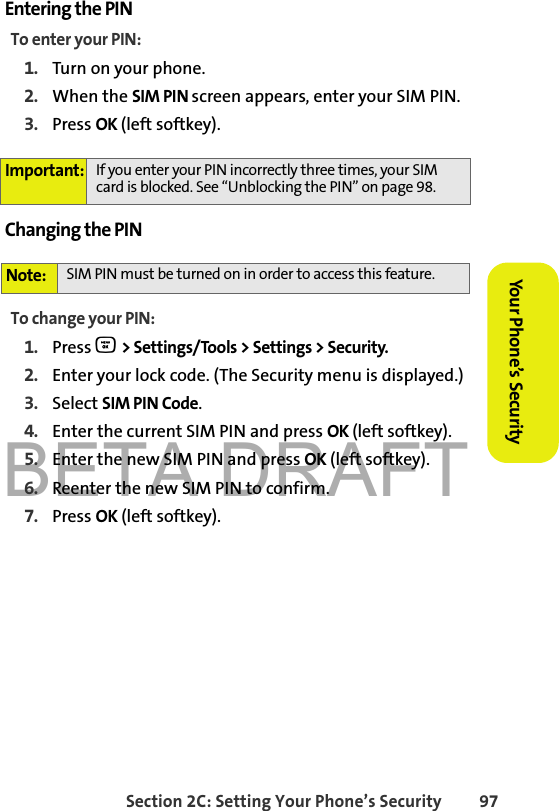
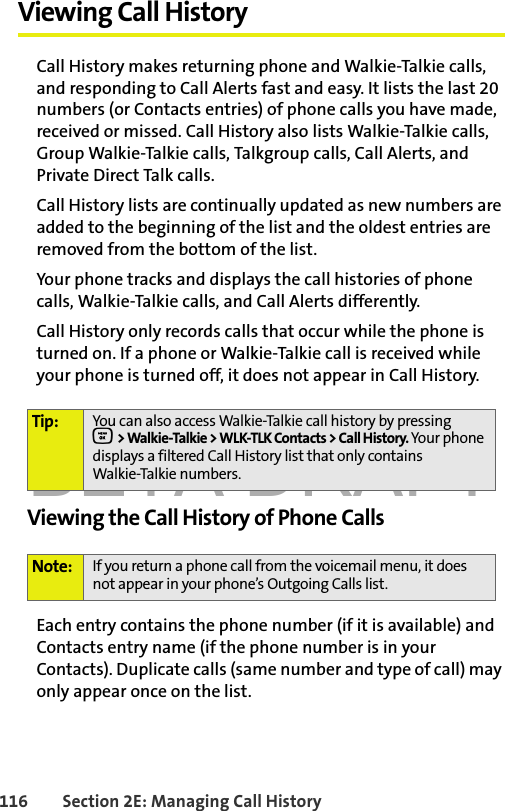
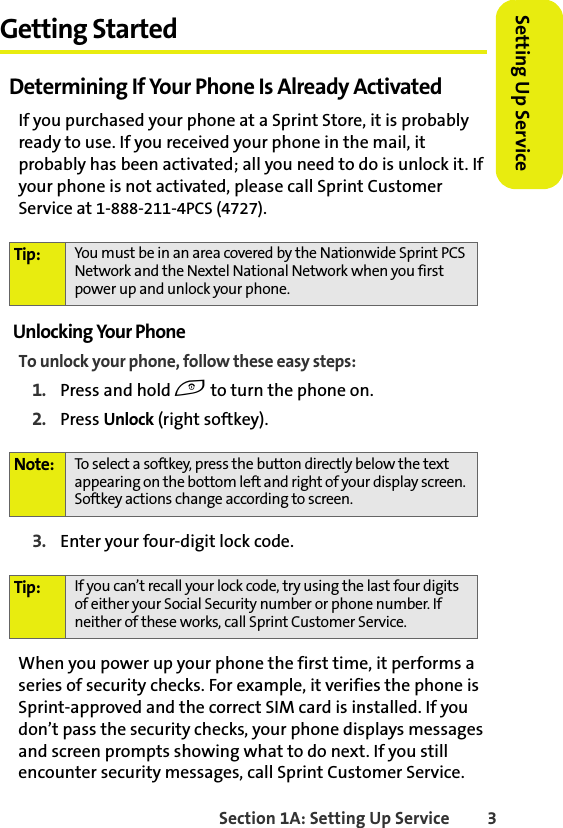
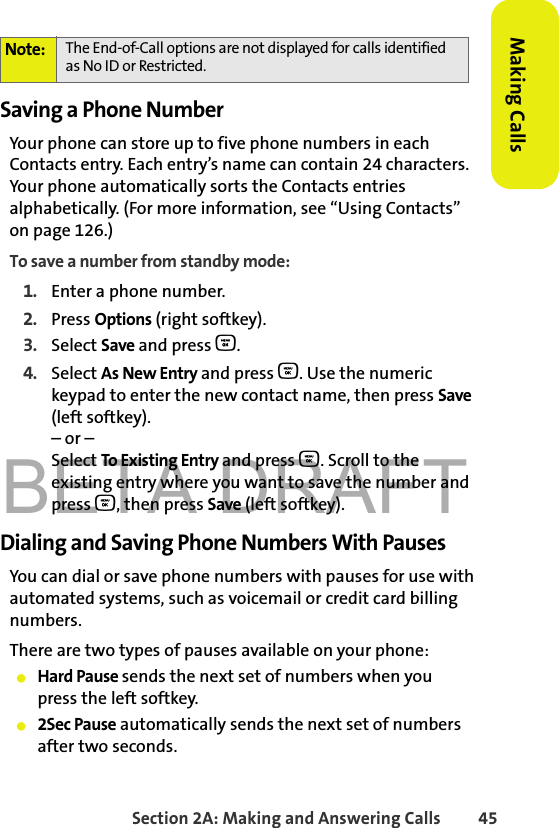
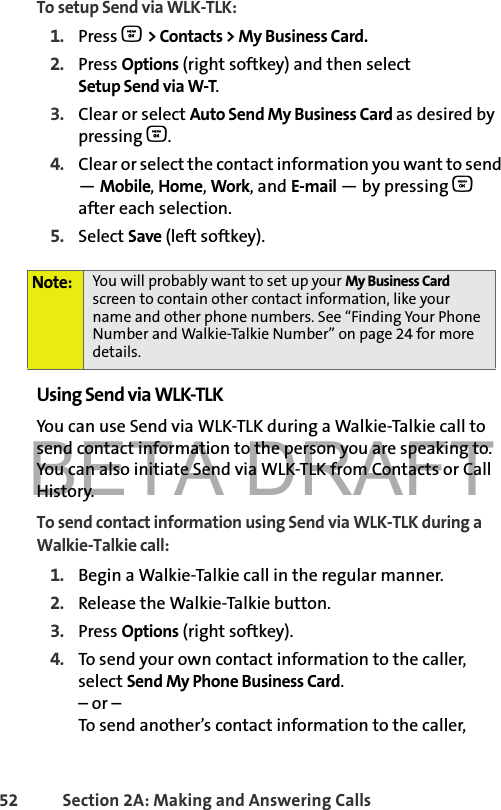
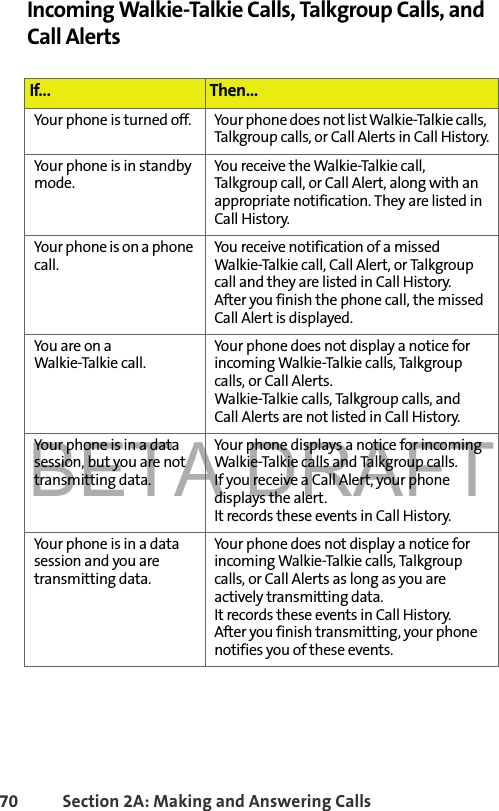
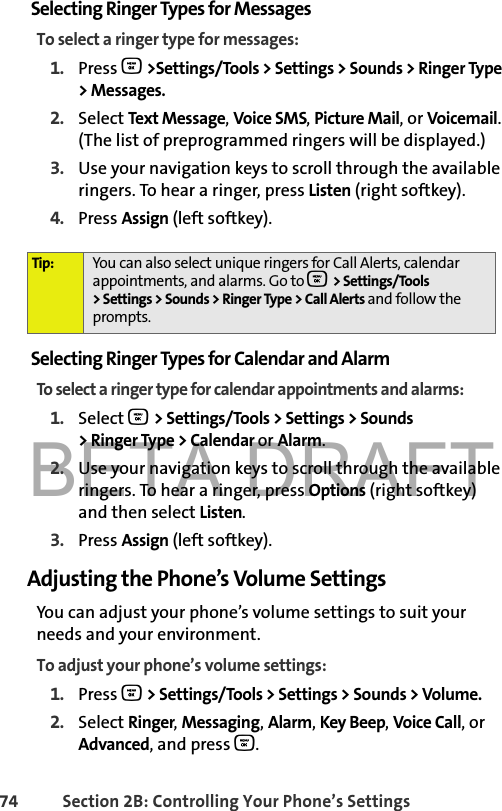
![BETA DRAFTix 2: Lock Code3: SIM PIN4: SIM PIN Code5: Special Numbers1: Special Number 1 2: Special Number 2 3: Special Number 36: Limit Use1: Contacts 2: Data 3: Pictures4: Restrict Outgoing Calls 5: Restrict Incoming Calls 6: Restrict Walkie Talkie7: Manage Applications1: Contacts 2: My Content 3: Voice Records4: Pictures 5: Messages8: Reset Settings1: Browser 2: Favorites 3: Personal Dictionary4: All Settings 5: Walkie Talkie Services 6: Phone Settings9: External Memory2: TOOLS1: Bluetooth1: Trusted Devices1: [Add New] 2: Find Me2: Calendar3: Alarm Clock1: Add New Alarm4: Calculator5: Tip Calculator6: World Clock1: Set Mode 2: Call Guard 3: Data Roam Guard7: Stop Watch8: Currency Converter9: Unit Converter1: Area 2: Energy 3: Force4: Length 5: Mass 6: Power7: Speed 8: Temperature 9: Volumes10: Notepad1: Add New Note](https://usermanual.wiki/Motorola-Mobility/T56GP1.USERS-MANUAL-1-OF-2/User-Guide-760939-Page-15.png)
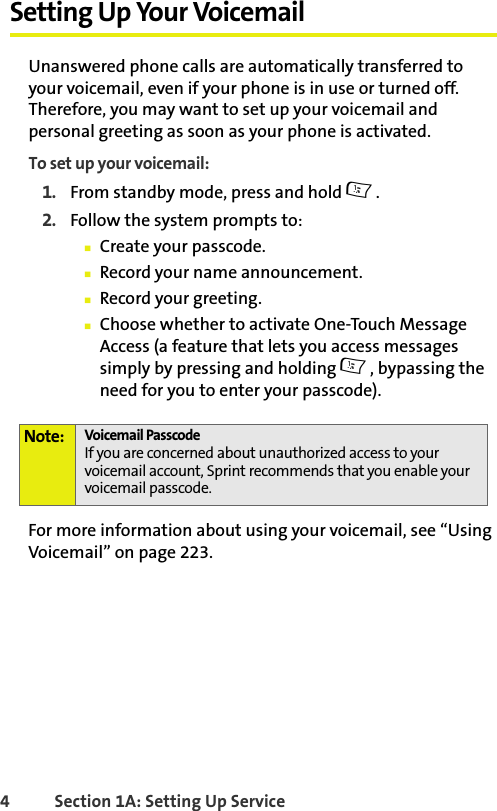

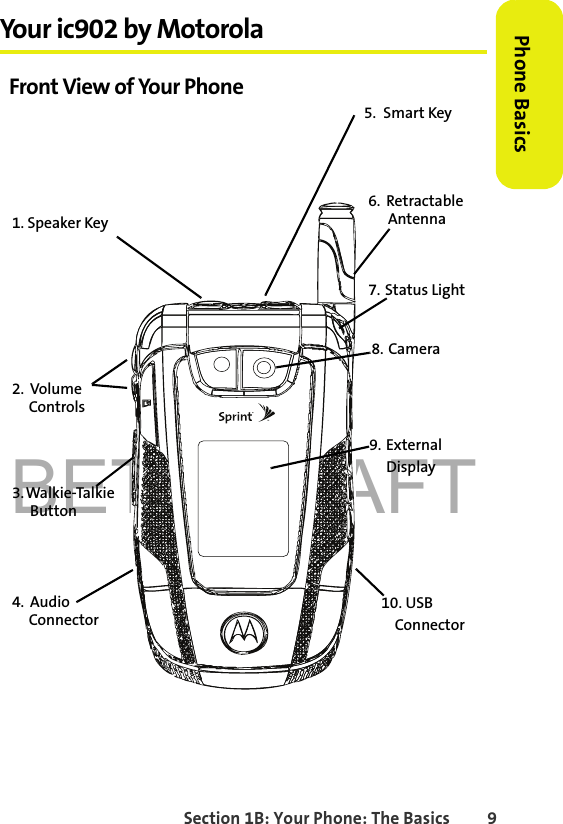


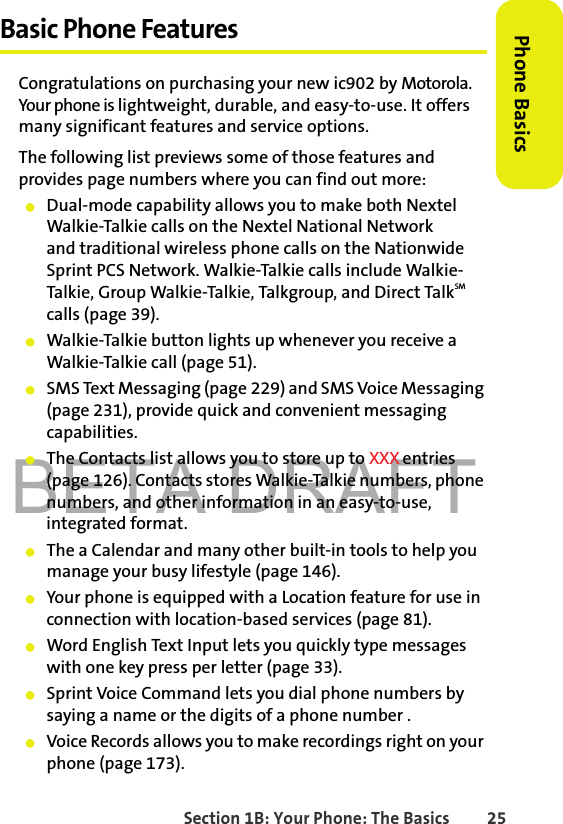
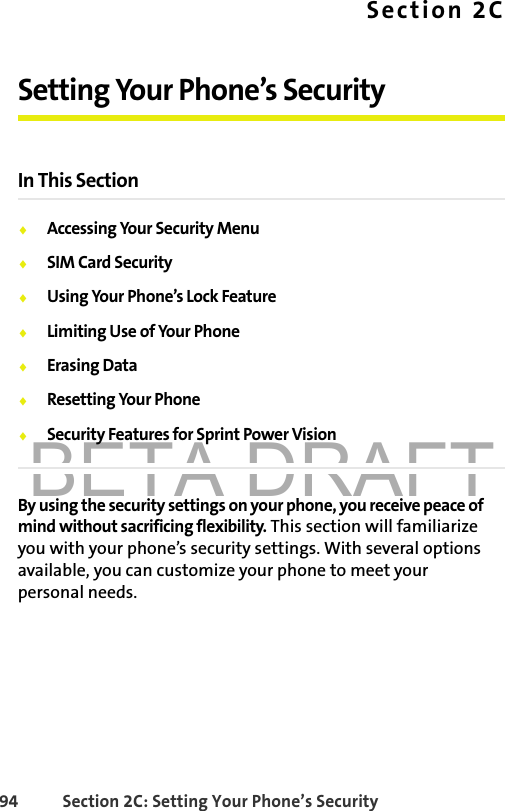
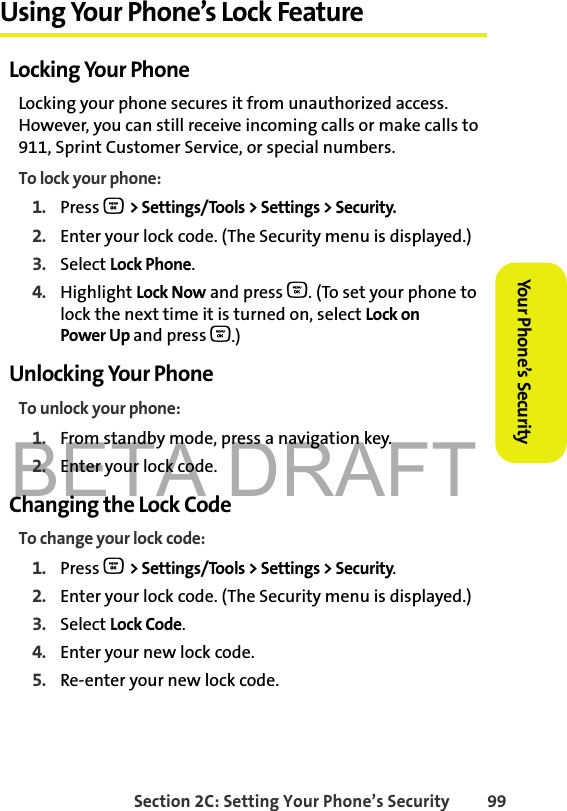
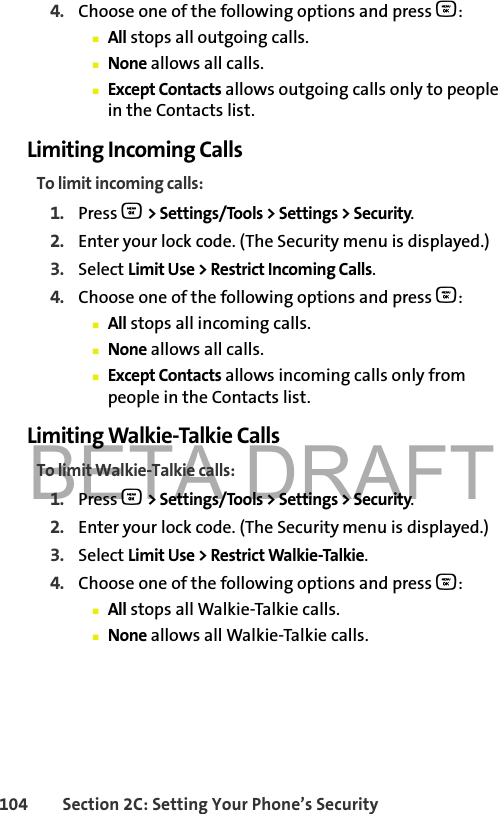
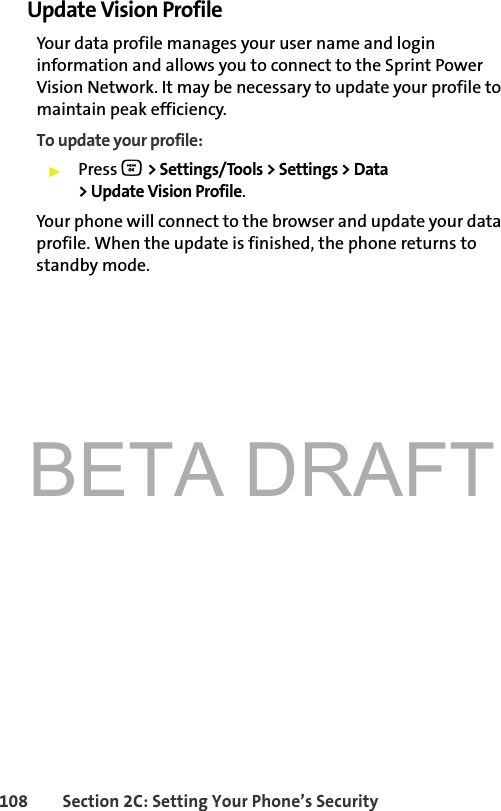
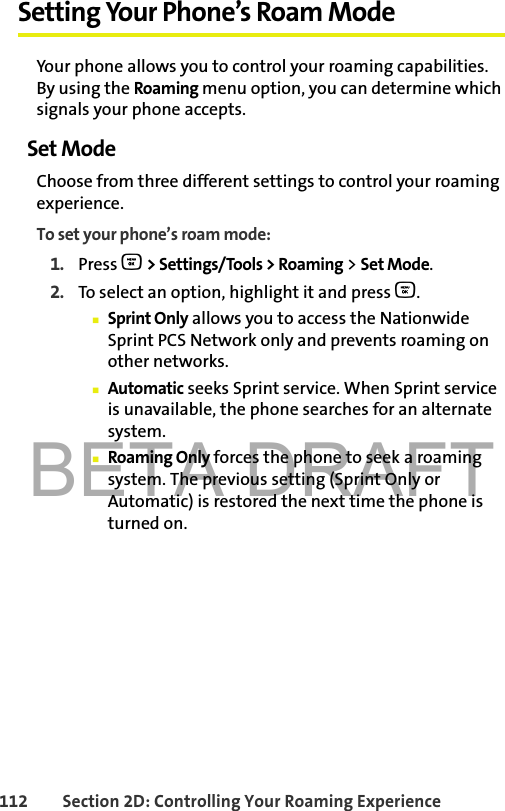
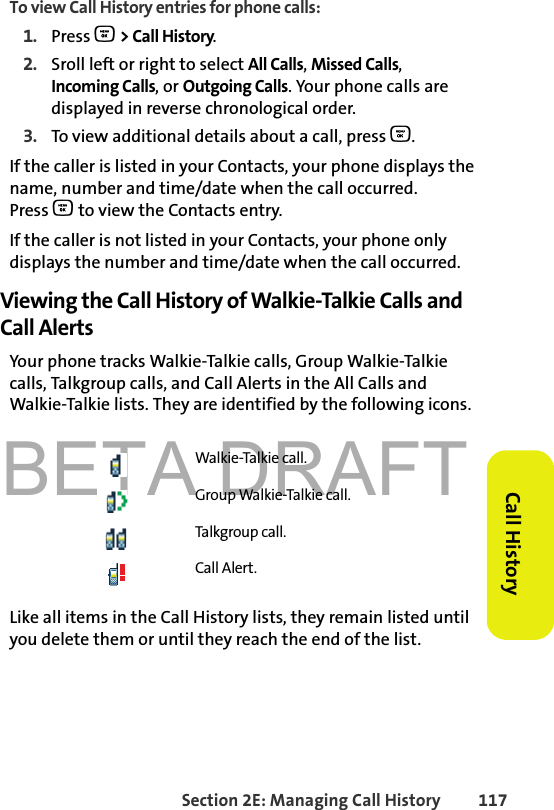
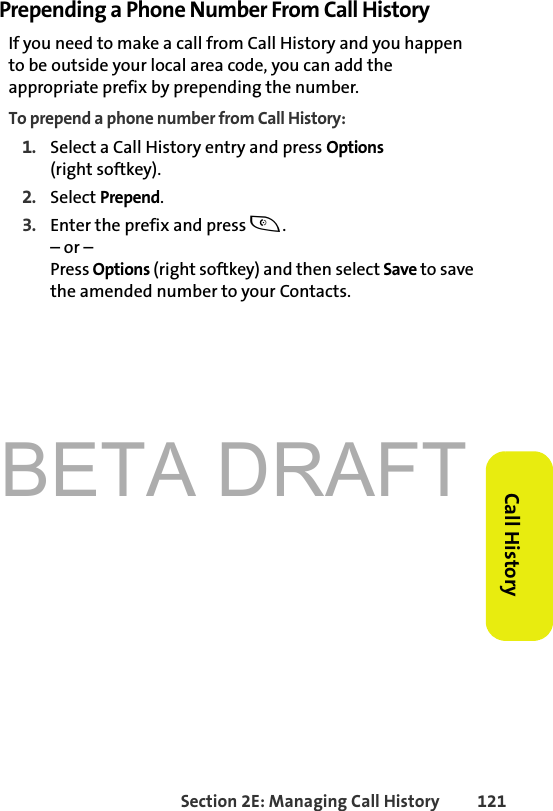
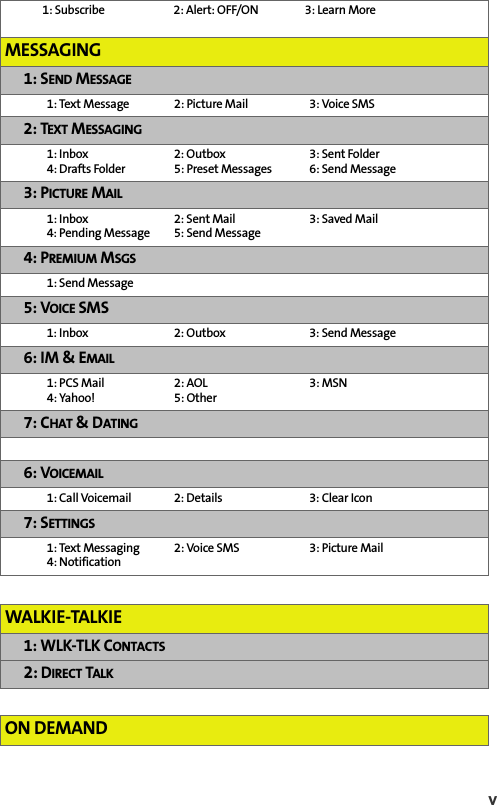
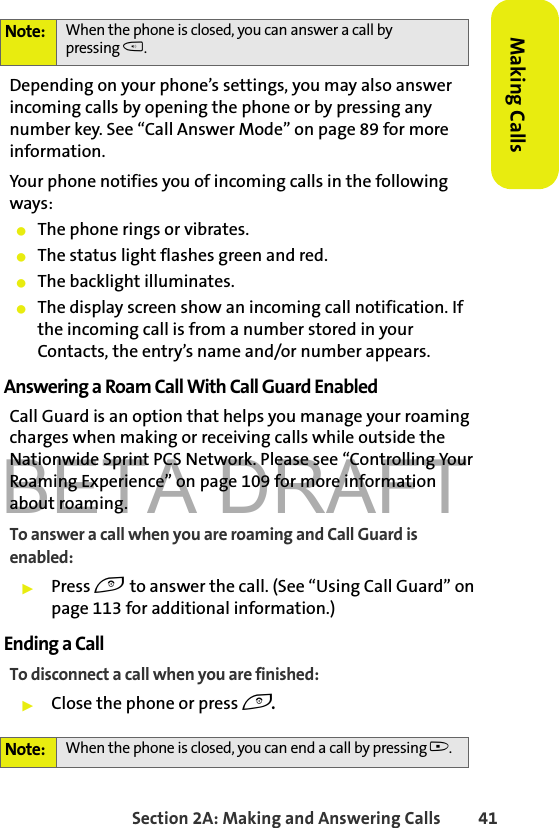
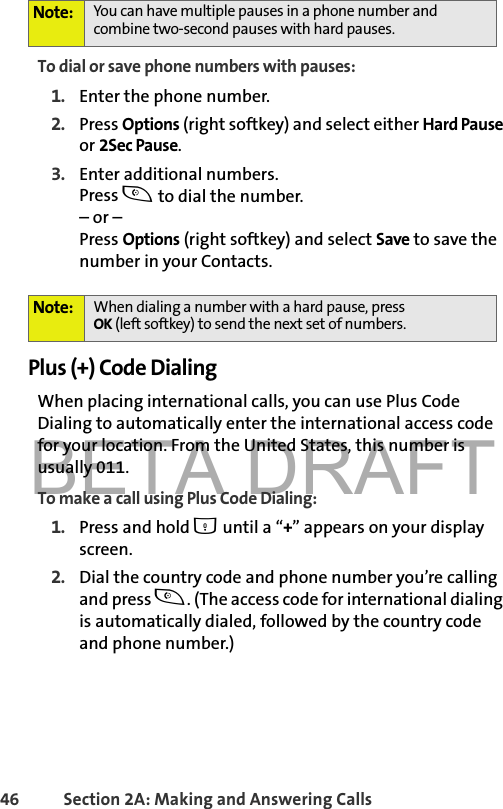
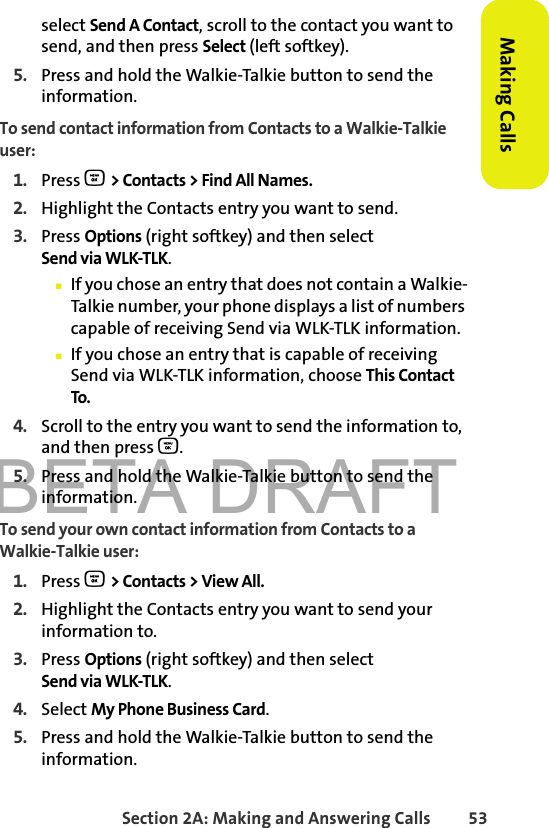
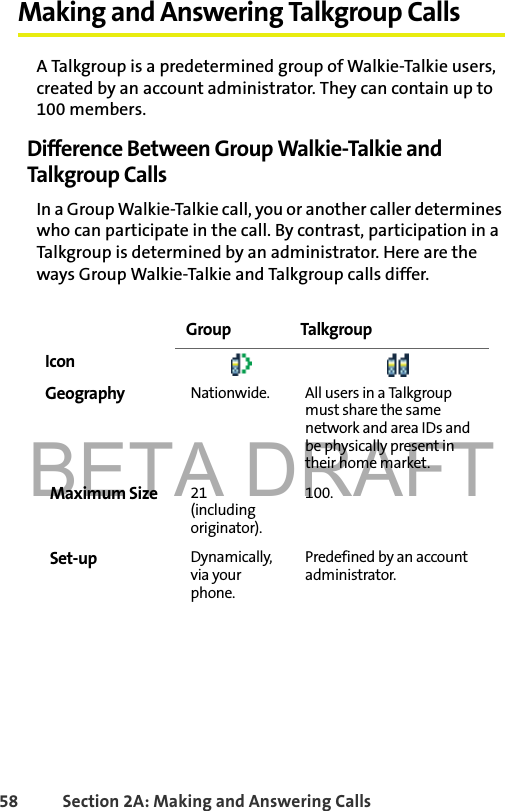
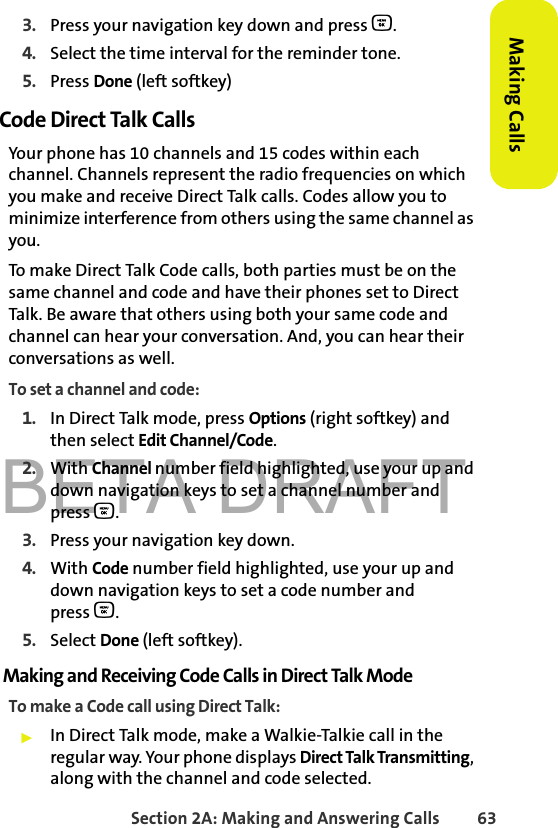
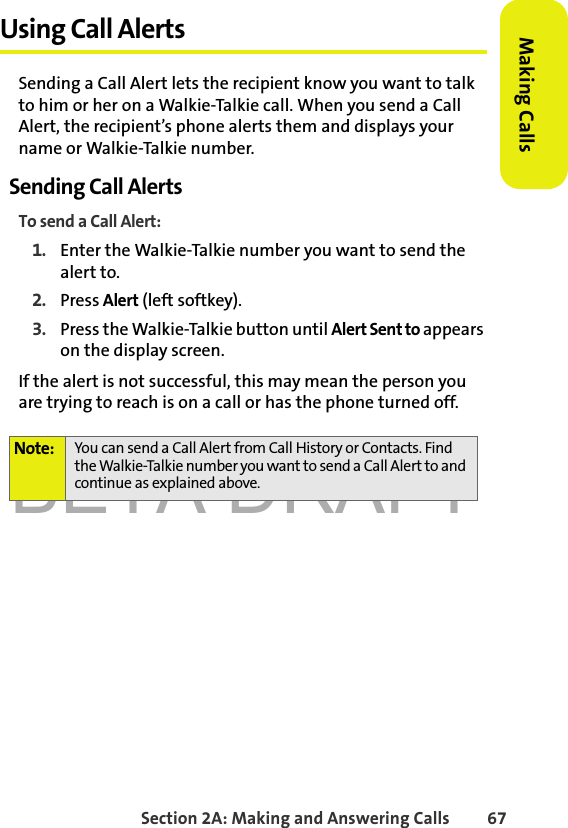
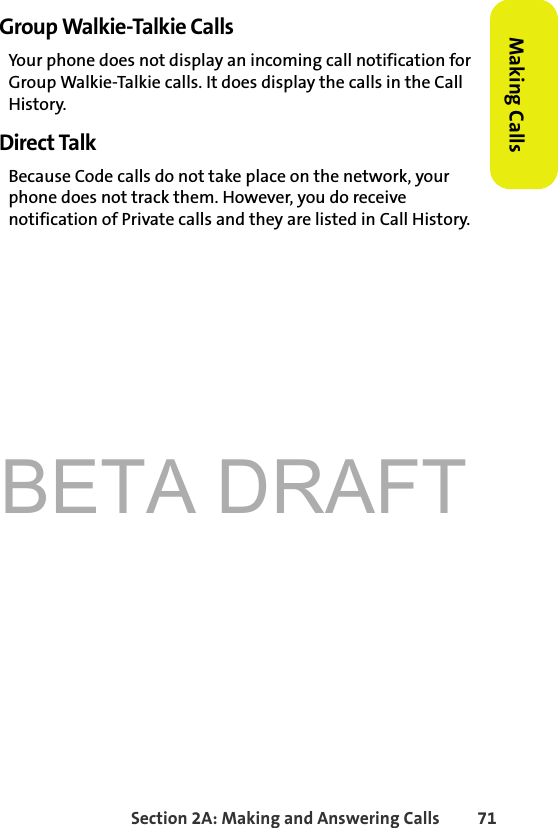
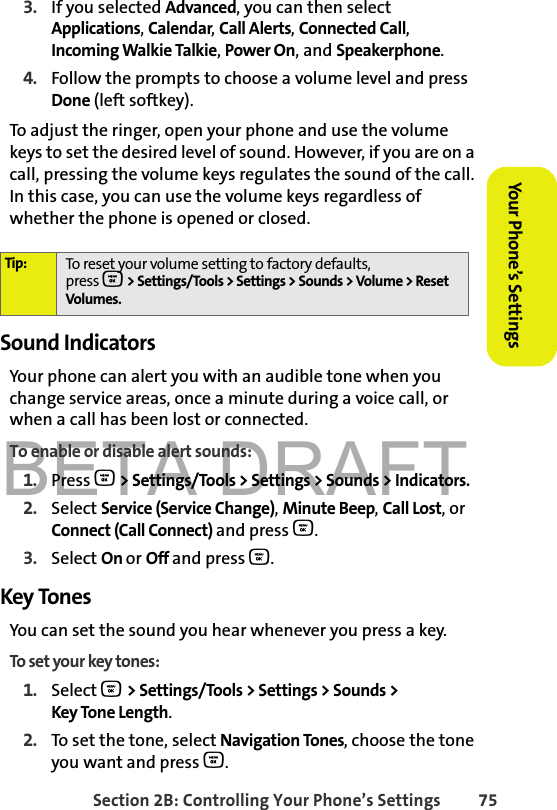
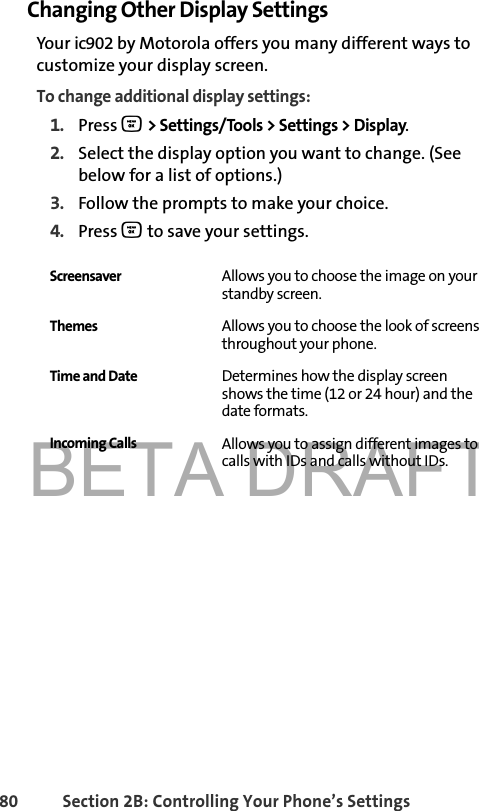
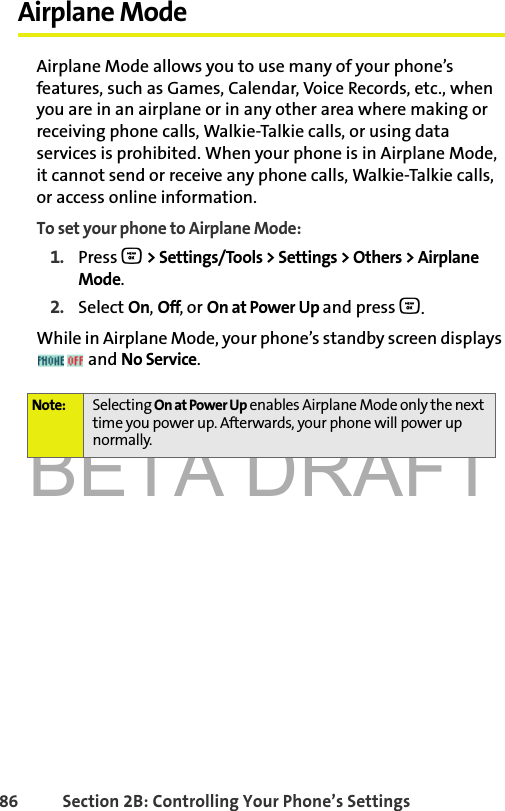
![BETA DRAFTSection 1B: Your Phone: The Basics 35Phone BasicsCharacters scroll in the following order: Entering Numbers and SymbolsTo enter numbers:䊳Select the Numbers mode and press the appropriate key. (See “Selecting a Character Input Mode” on page 32.)To enter symbols:䊳Select the Symbols mode. (See “Selecting a Character Input Mode” on page 32.) To enter a symbol, press the appropriate key indicated on the display screen.1. ? ! , @ ' - _ : ; ( ) & " 1 0 ^ ` % $ + * / \ | ~ [ ] = > < #2A B C 23D E F 34G H I 45J K L 56M N O 67P Q R S 78T U V 89W X Y Z 900 (no letters)#Space*Shift](https://usermanual.wiki/Motorola-Mobility/T56GP1.USERS-MANUAL-1-OF-2/User-Guide-760939-Page-51.png)

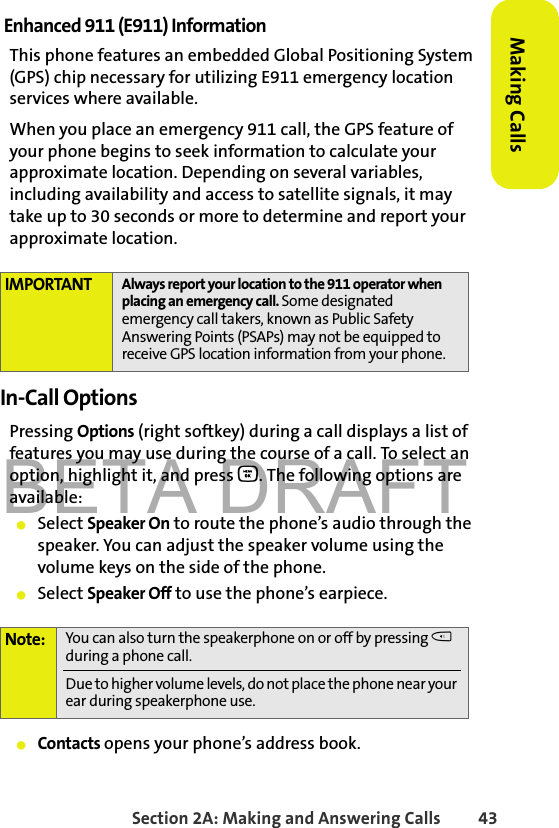

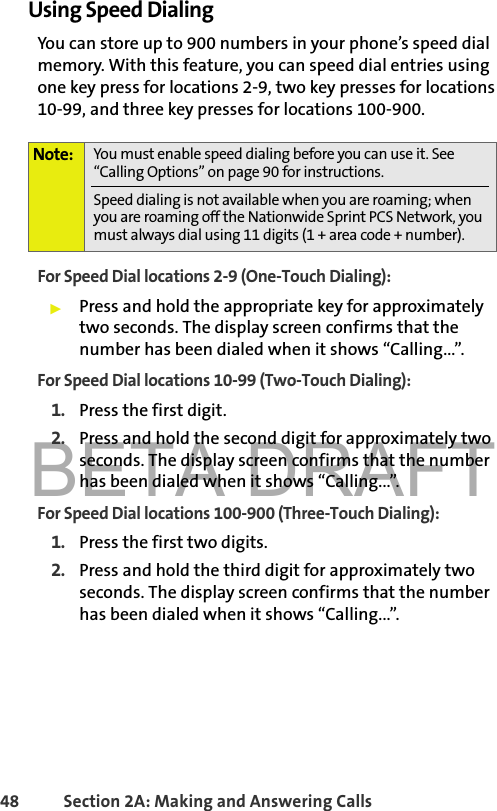


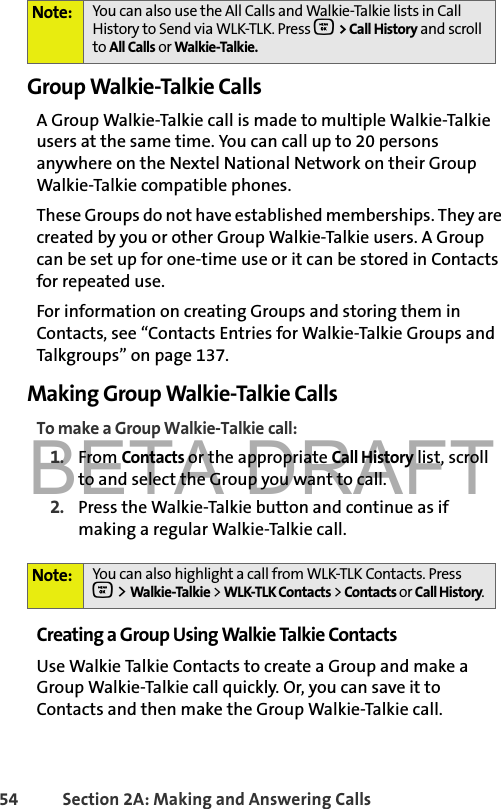

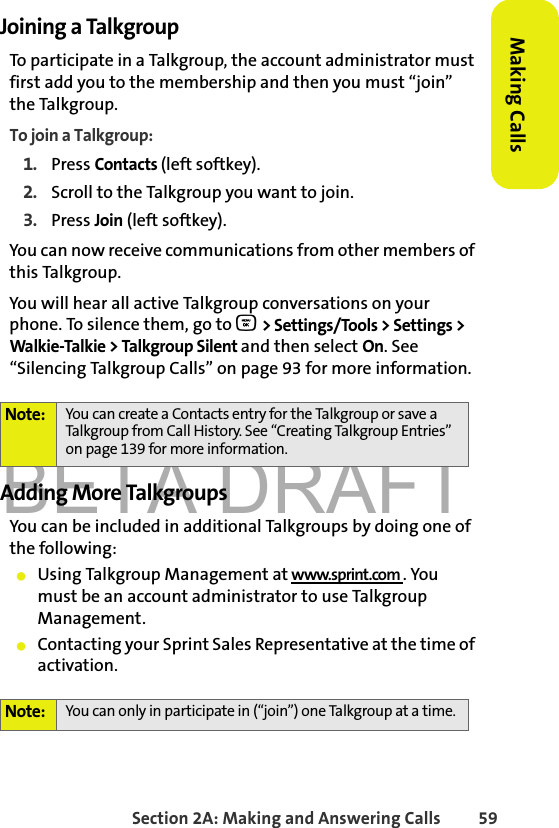

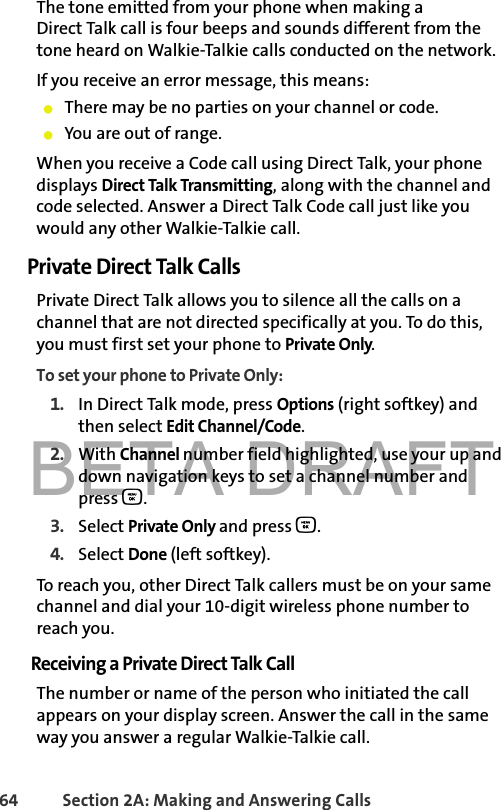
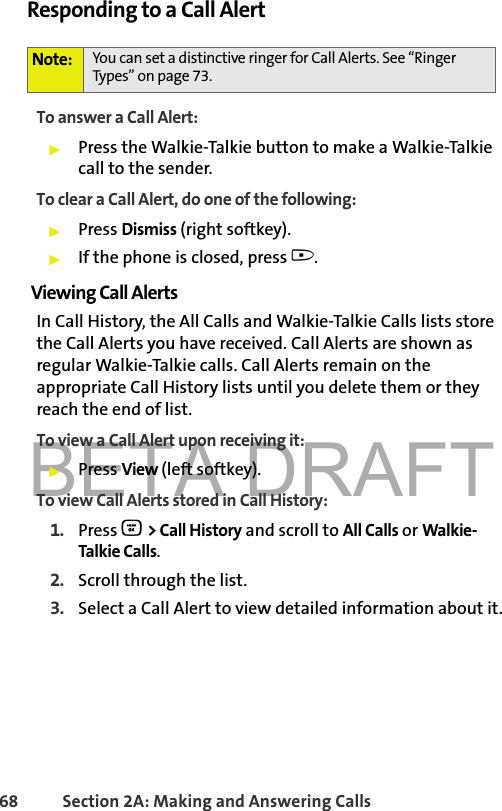
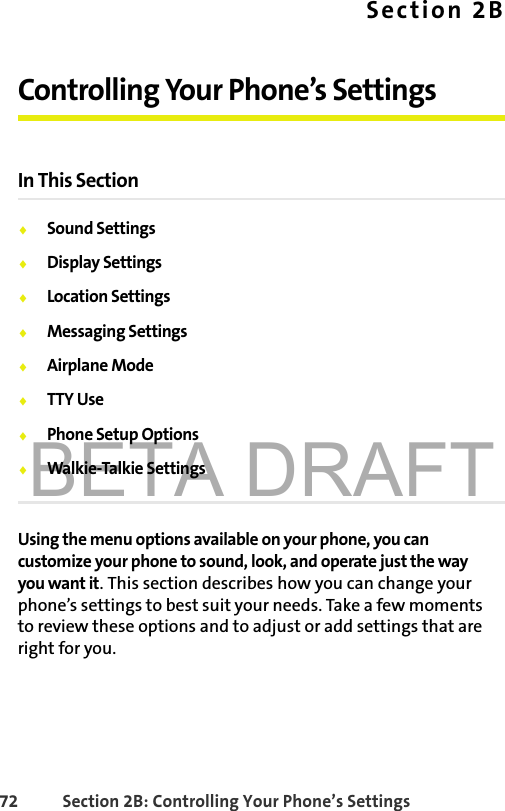
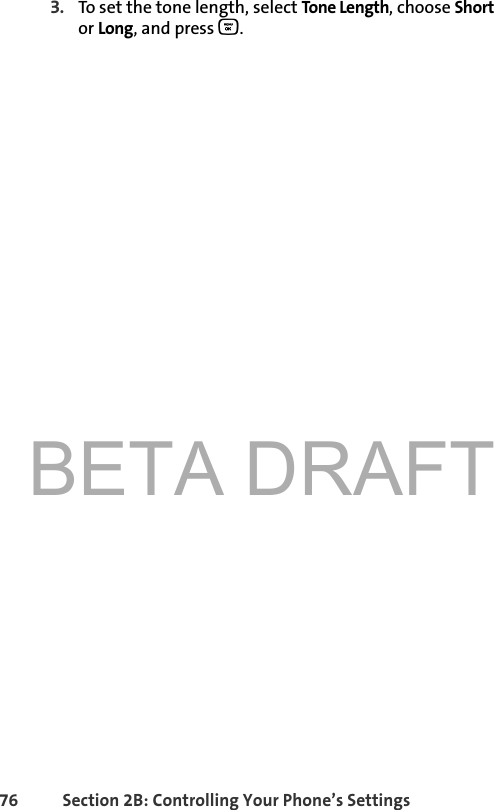


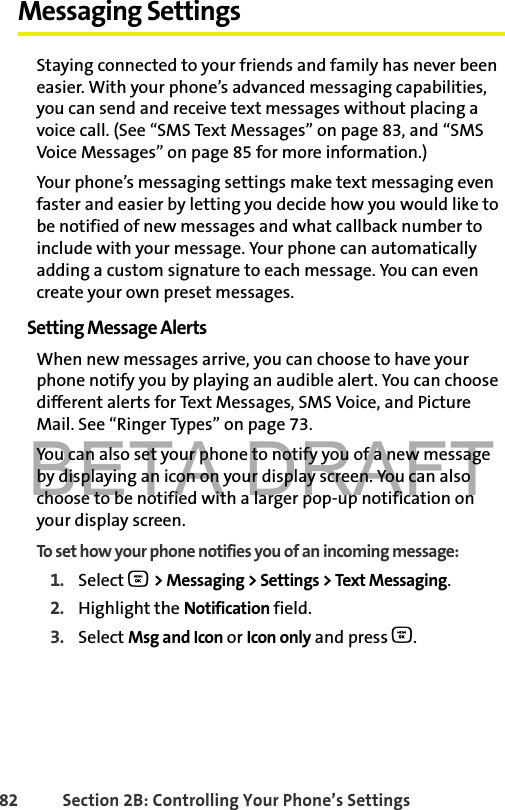

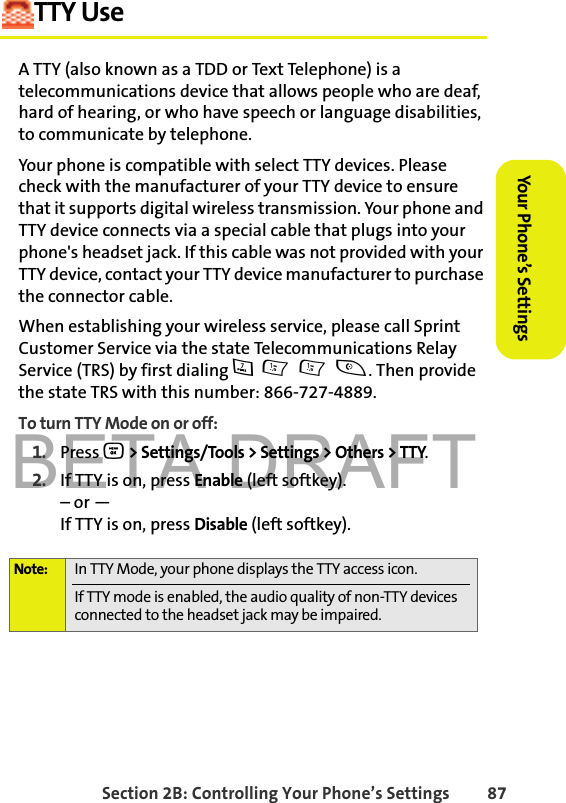
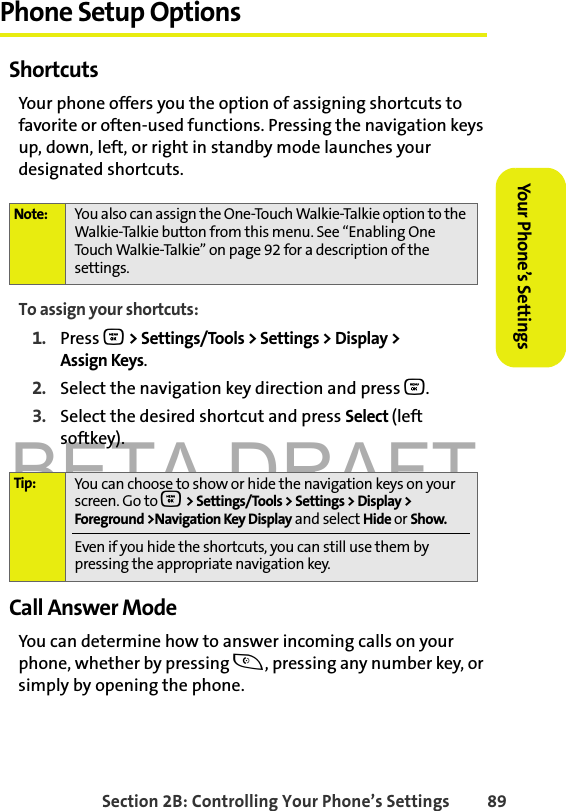
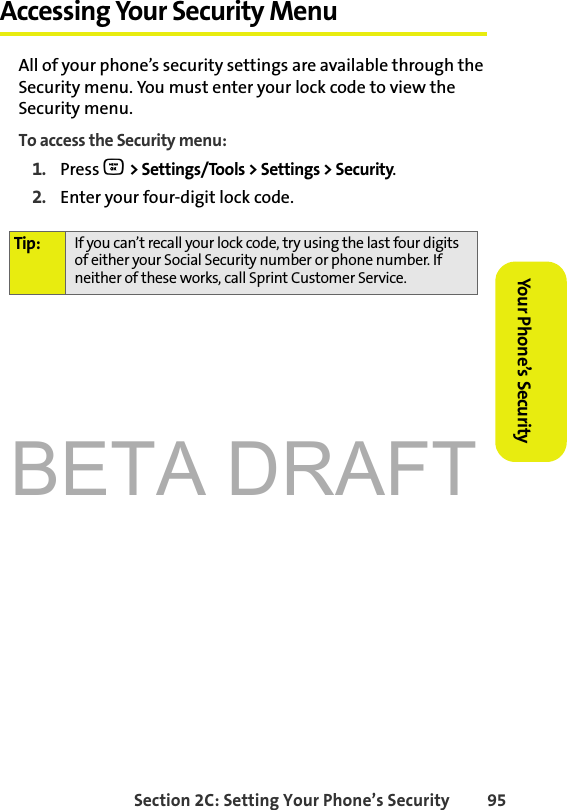
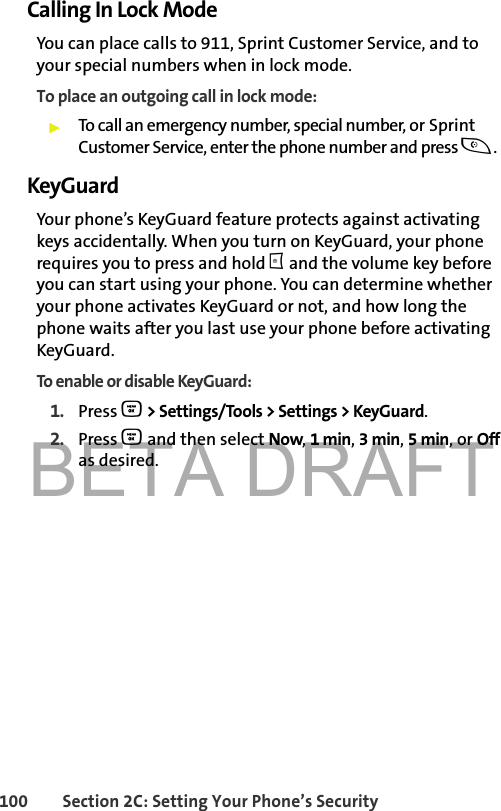
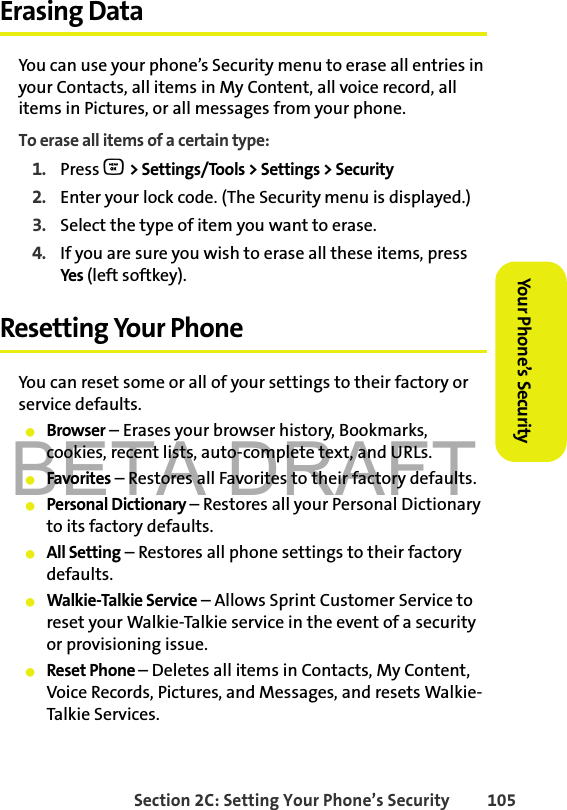
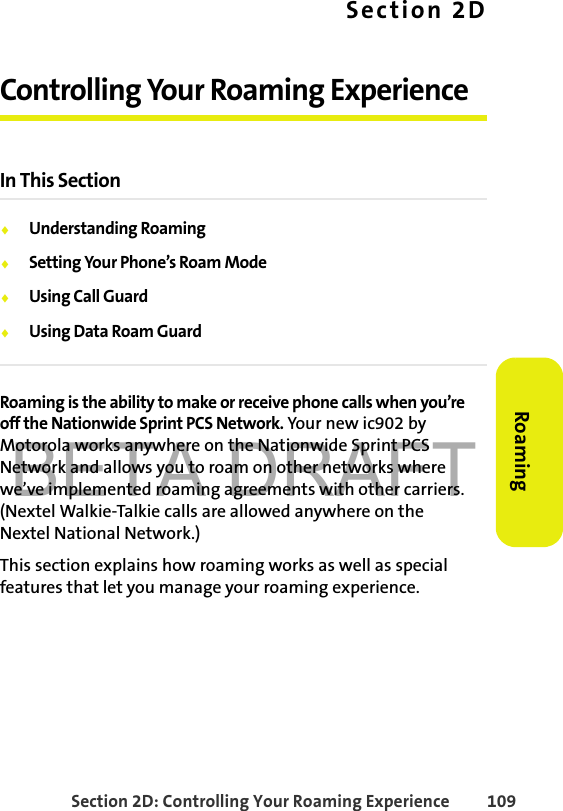
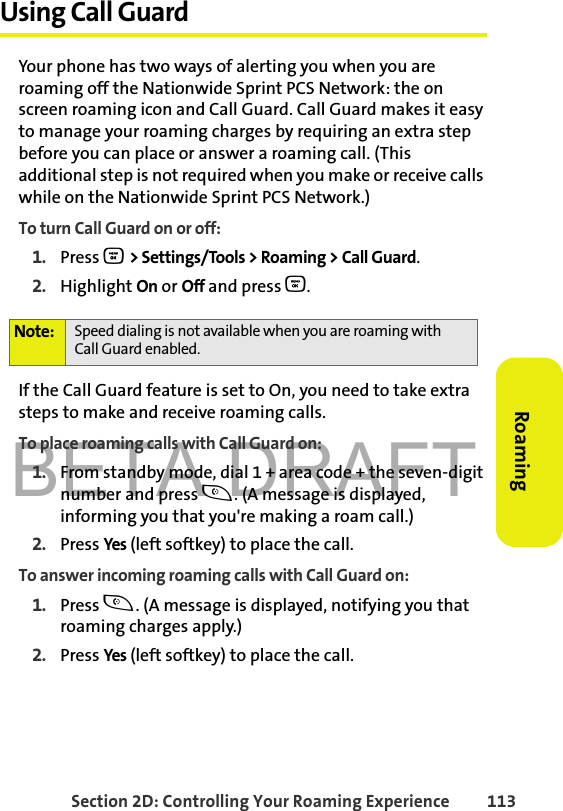
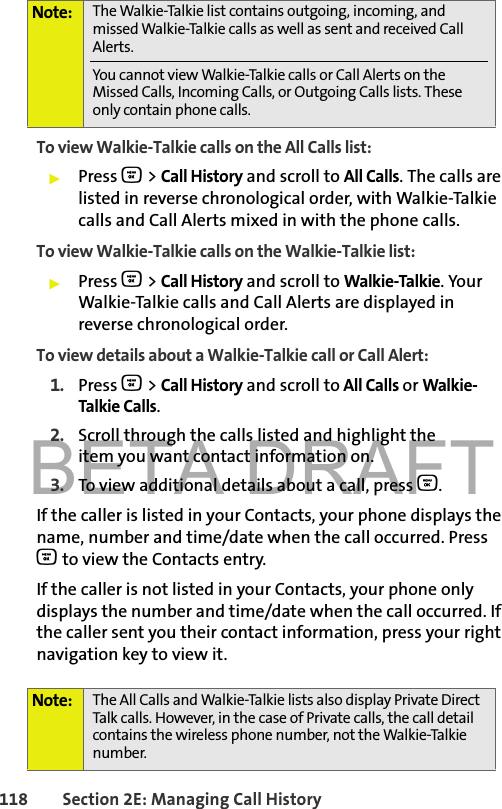
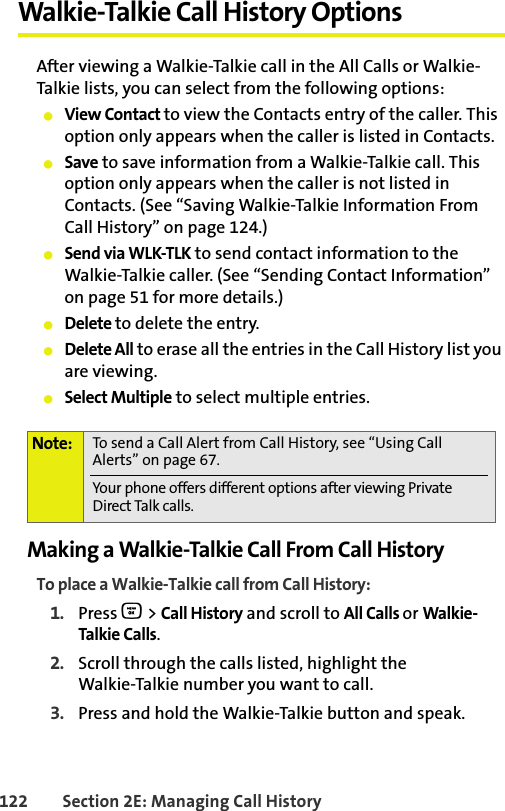
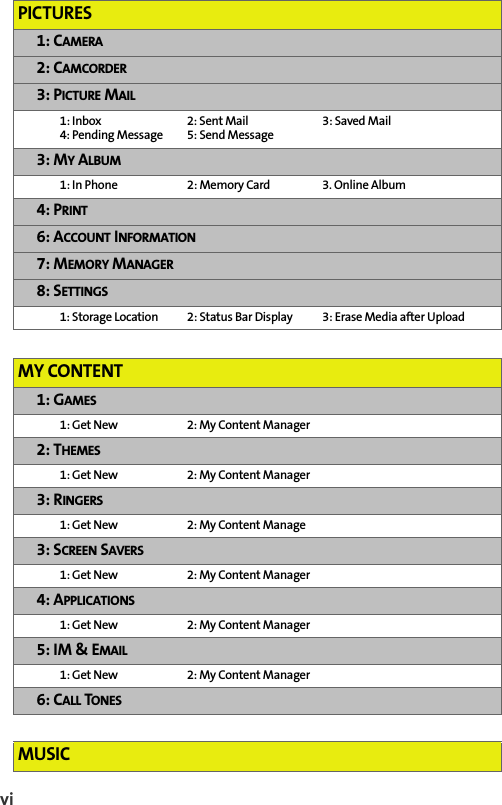
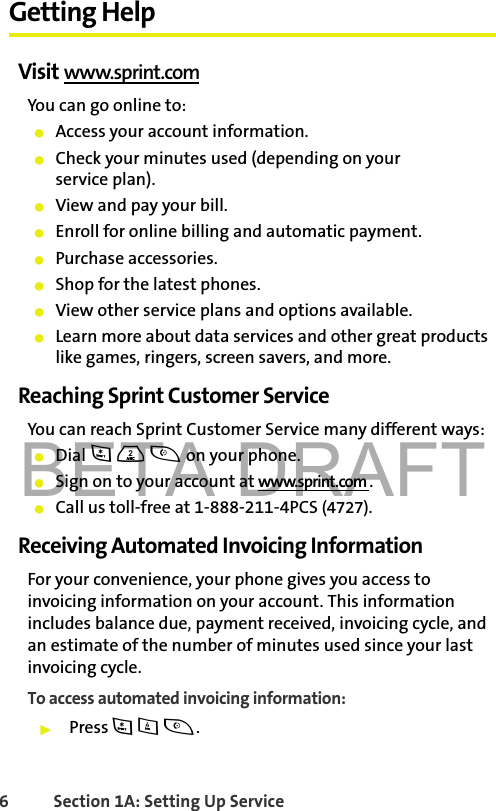
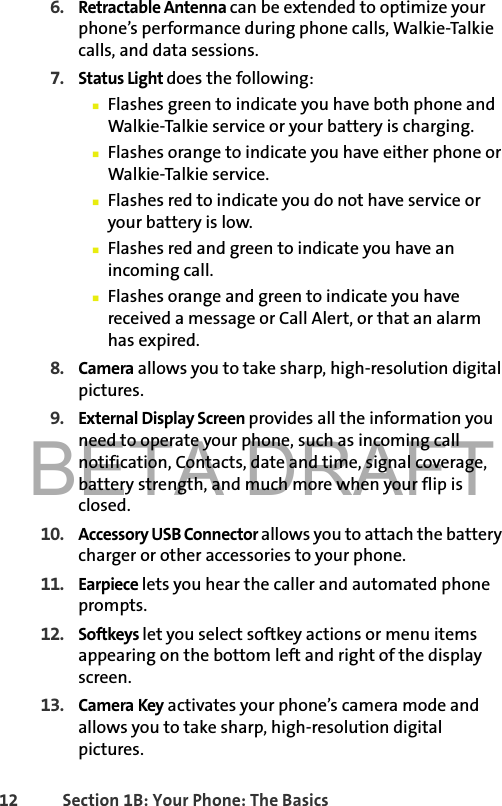
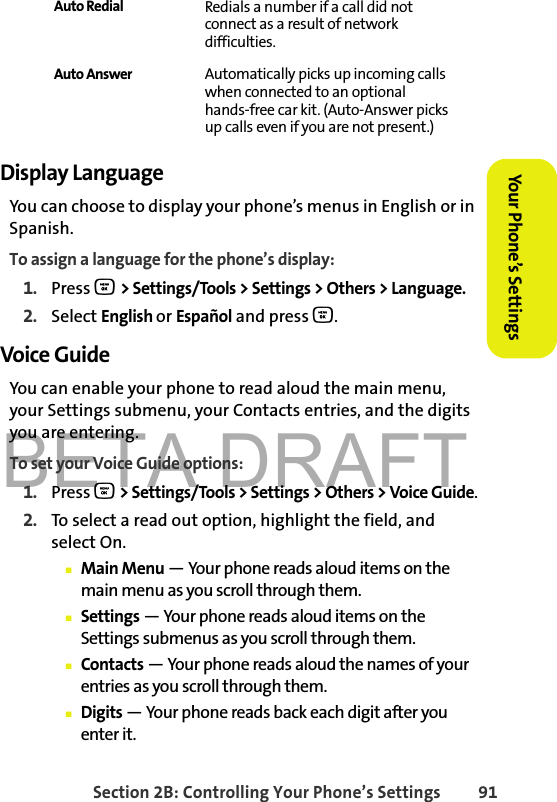
![BETA DRAFT90 Section 2B: Controlling Your Phone’s SettingsTo set call answer mode:1. Press O > Settings/Tools > Settings > Others > Call Setup > Answer Options.2. To select an option, highlight it and press O.䡲Any Key allows an incoming call to be answered by pressing any key.䡲Auto automatically picks up incoming calls when connected to an optional hands-free car kit. Remember, your phone answers calls in Auto-Answer mode even if you are not present.䡲Open allows an incoming call to be answered by opening the phone.䡲[Talk] Key allows an incoming call to be answered only by pressing t.Calling OptionsYou can set up your phone to make dialing numbers even quicker and easier. To set special options to making dialing easier:1. Press O > Settings/Tools > Settings > Others > Call Setup. 2. Select the calling option you want to use. (See below for a list of options.) 3. Follow the prompts to make your choice. 4. Press O to save your settings. Speed Dial Allows you to dial entries using just one, two, or three key presses. Abbreviated Dial Allows you to dial numbers sharing the same beginning digits by dialing only the last four. You need to enter the first six digits you want to prepend – for example, the area code and prefix.](https://usermanual.wiki/Motorola-Mobility/T56GP1.USERS-MANUAL-1-OF-2/User-Guide-760939-Page-106.png)
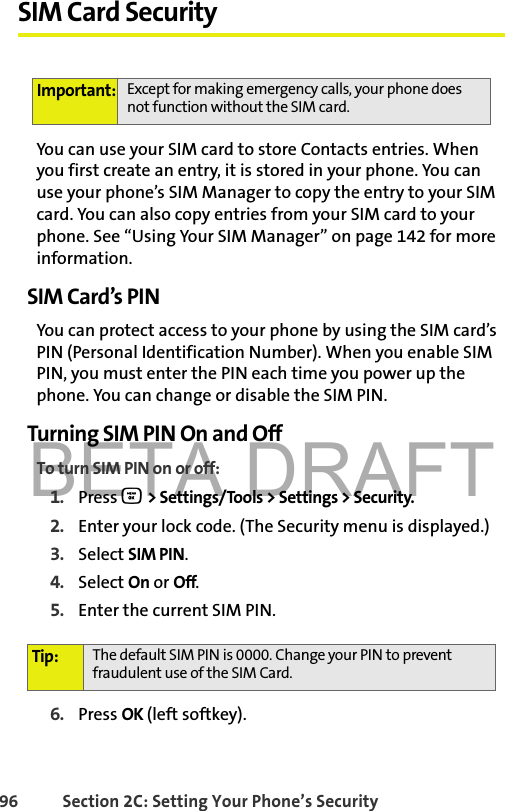
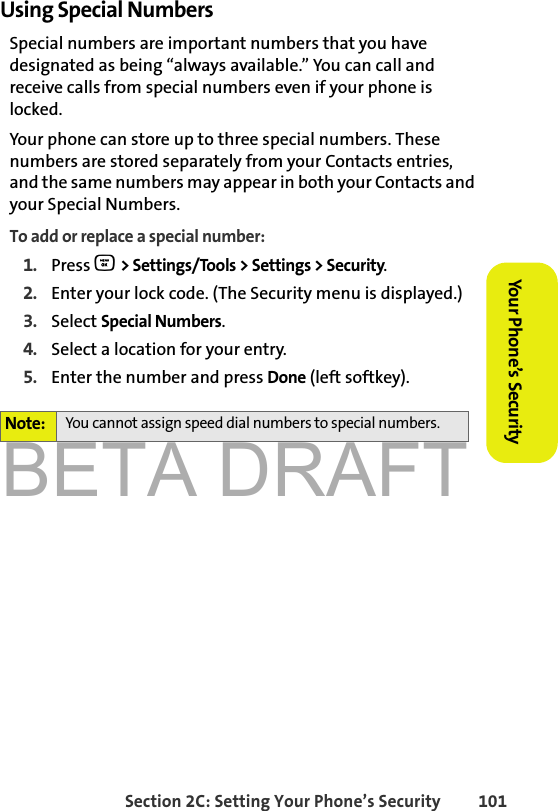
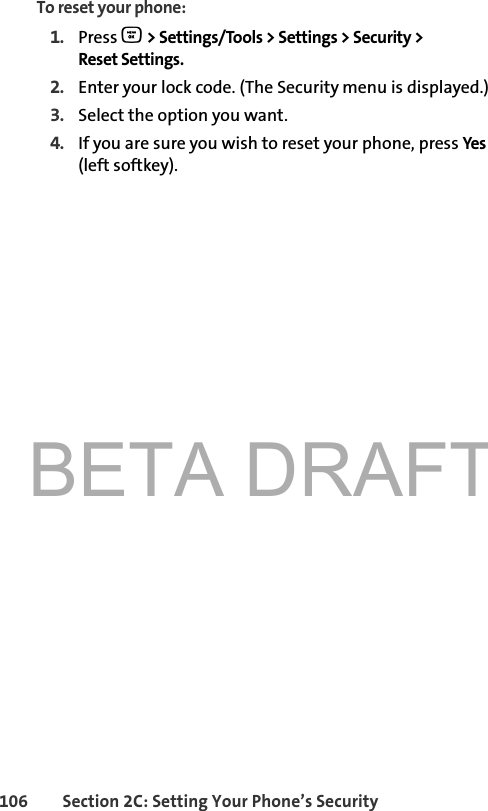
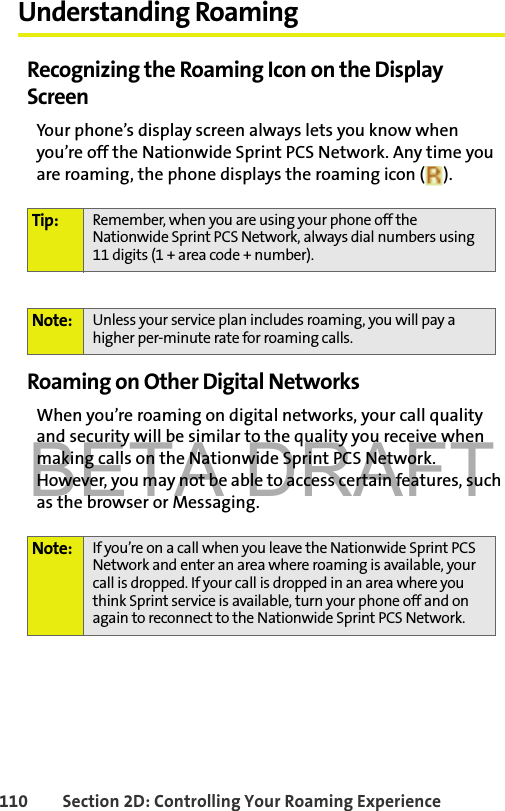
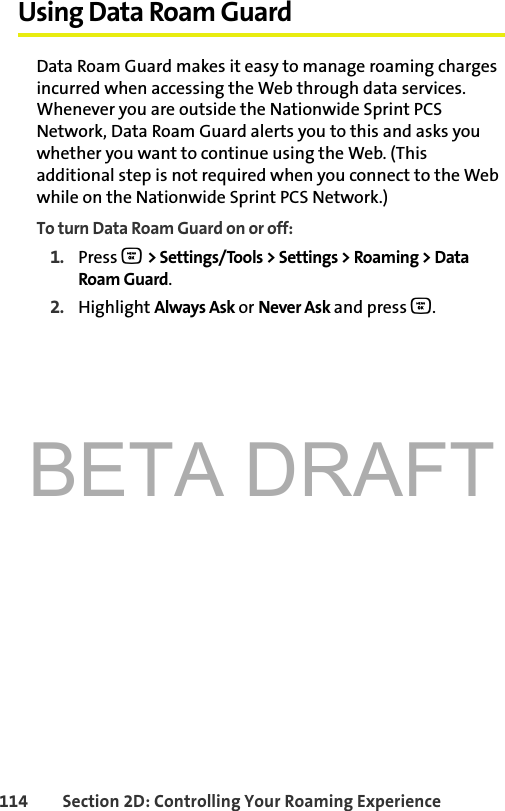
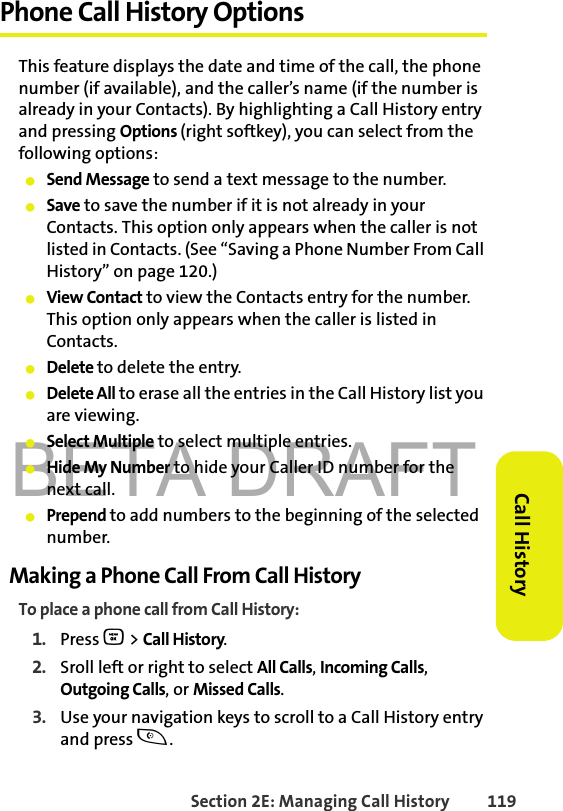
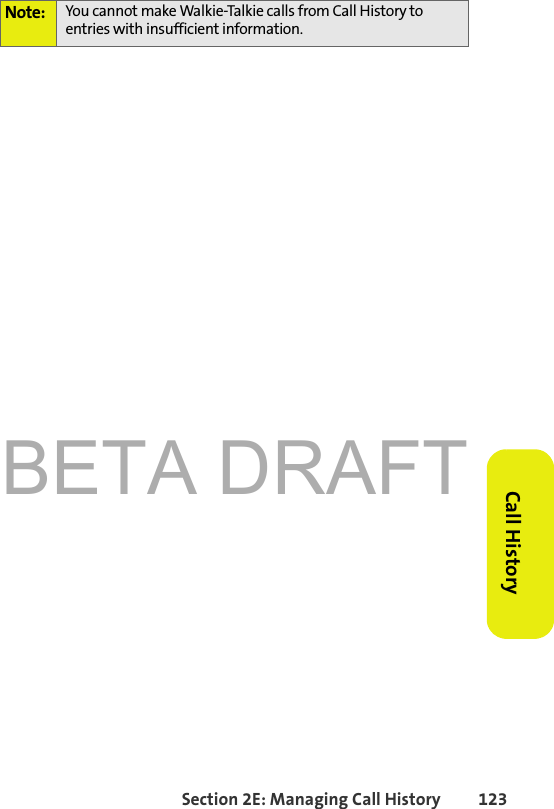
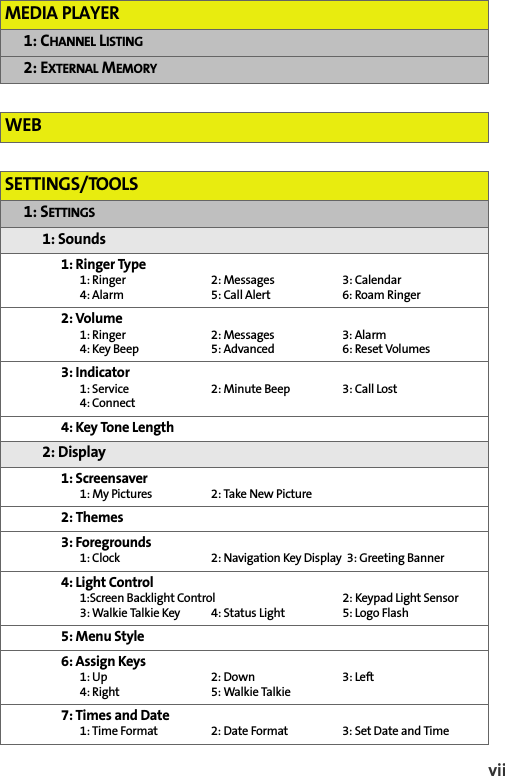
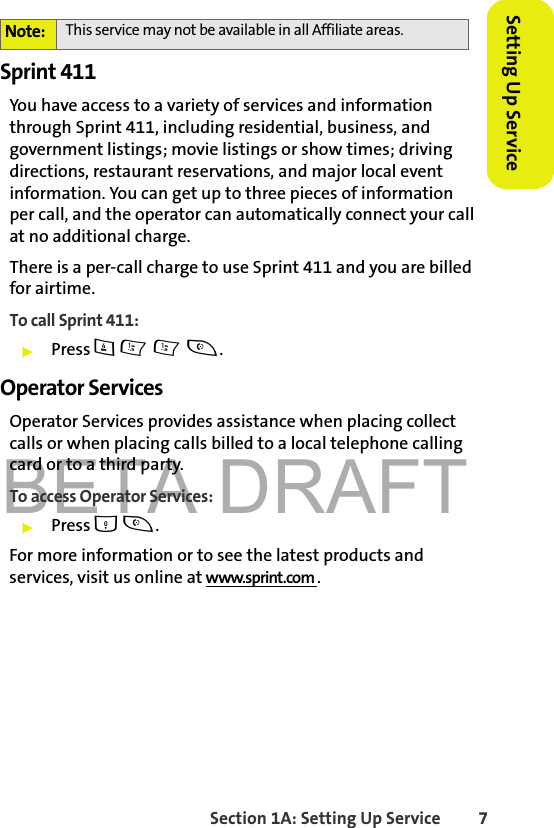
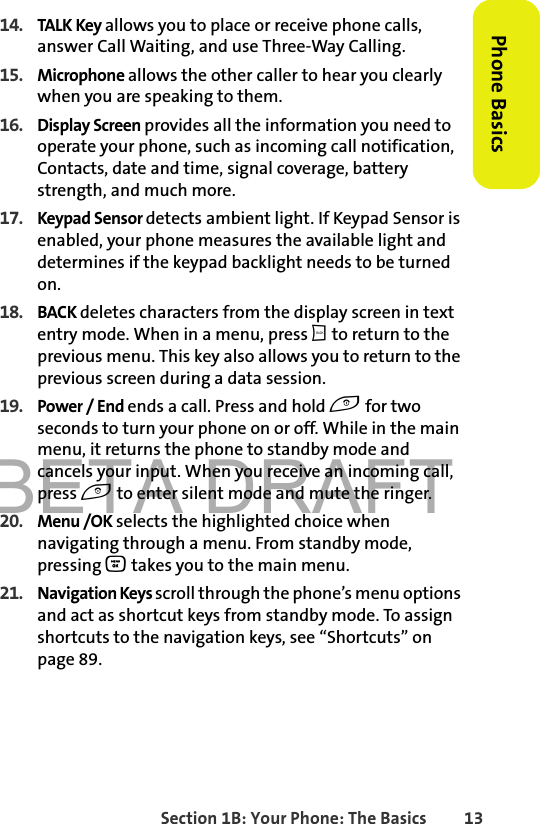
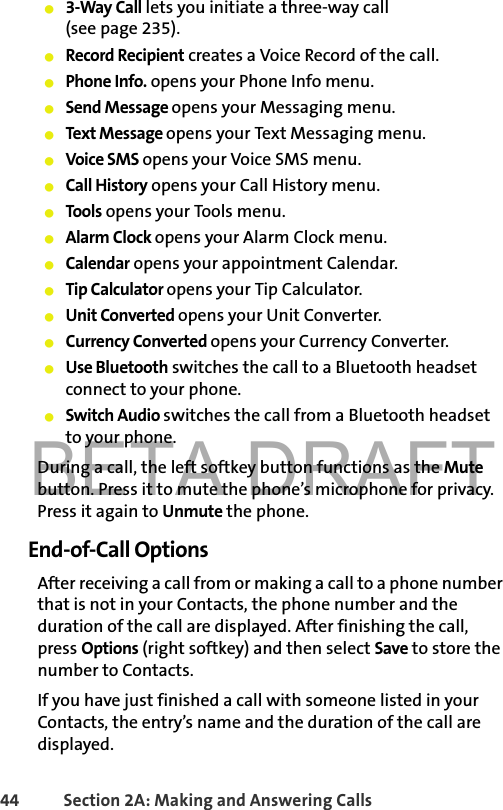
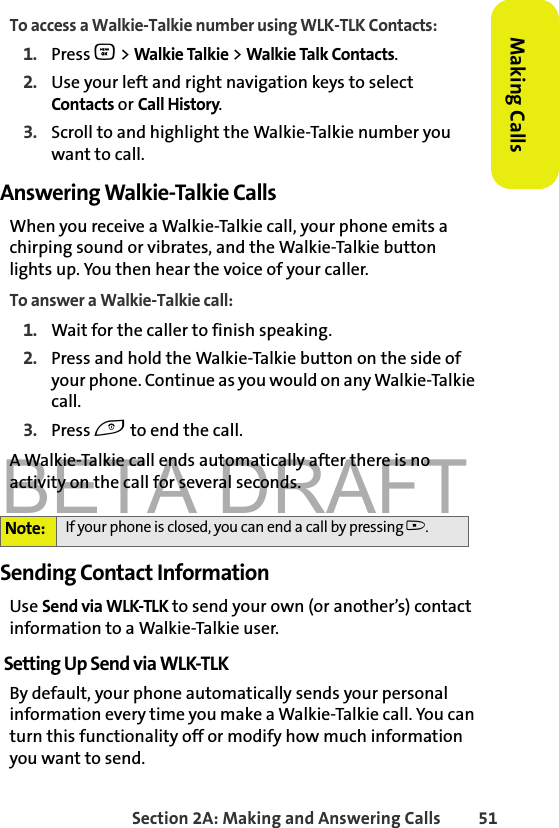
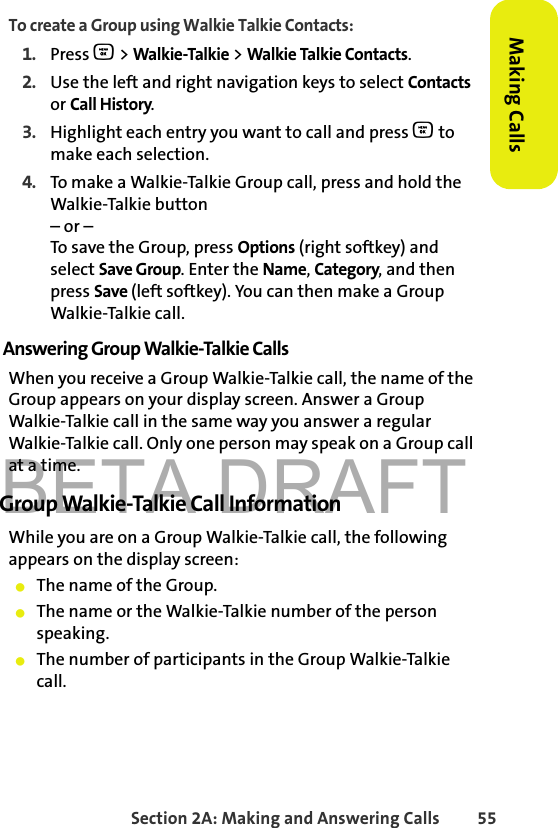
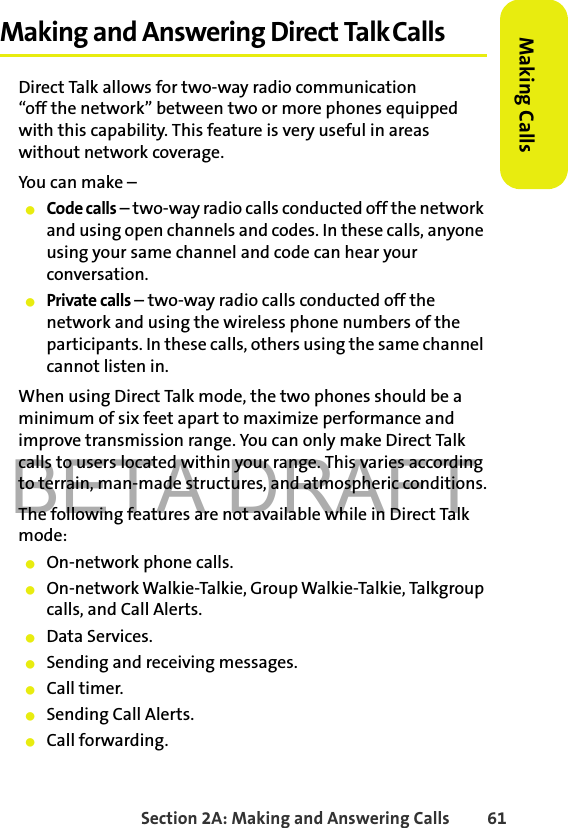
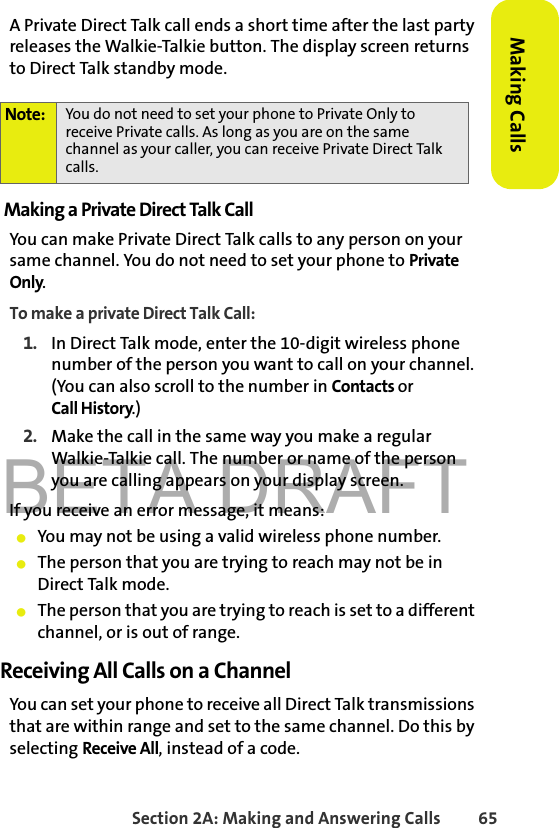
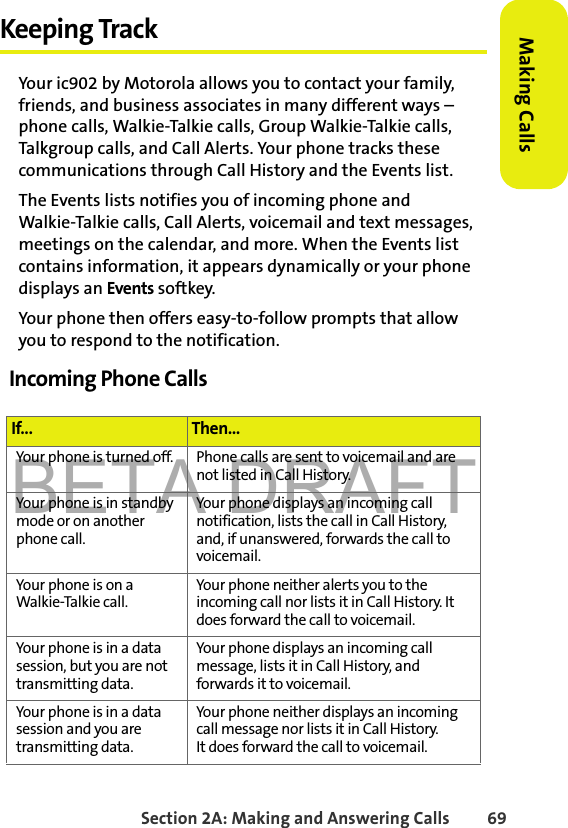
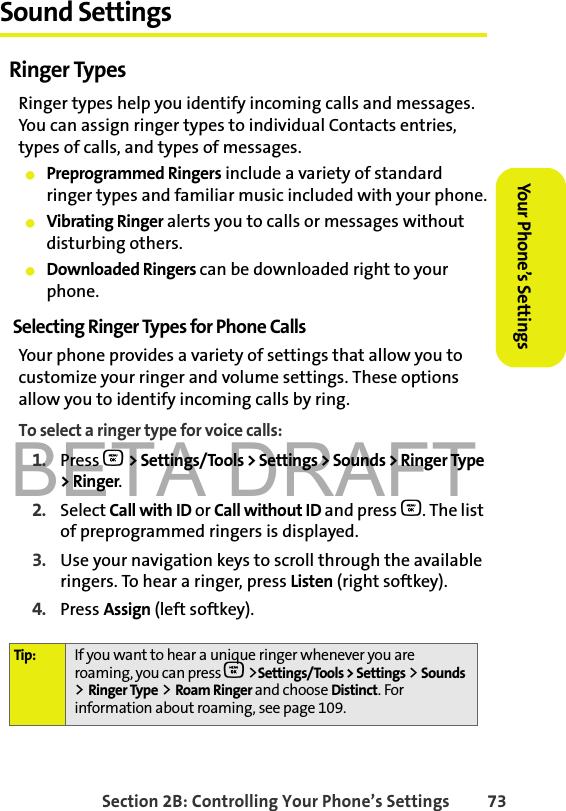
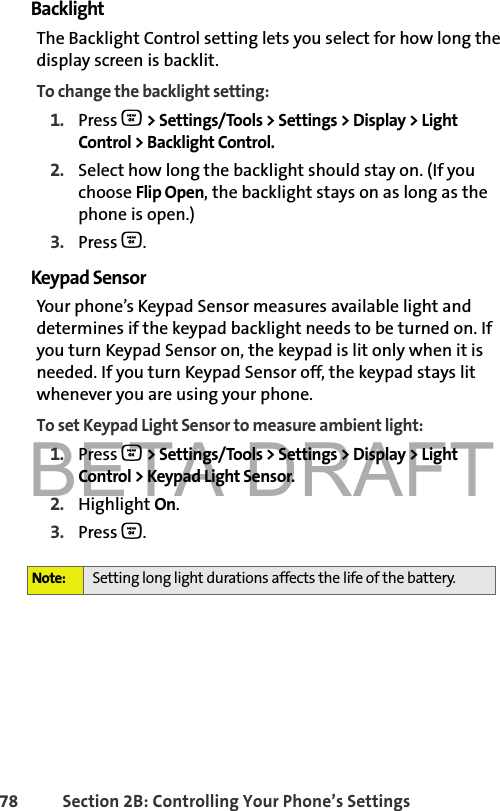
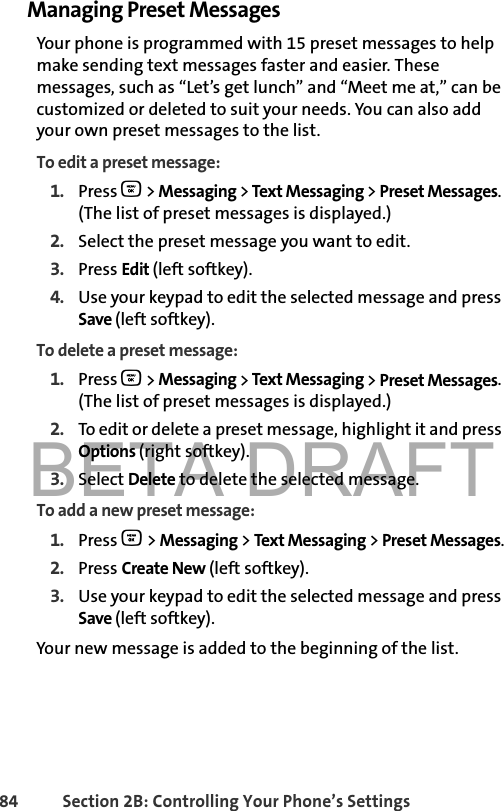
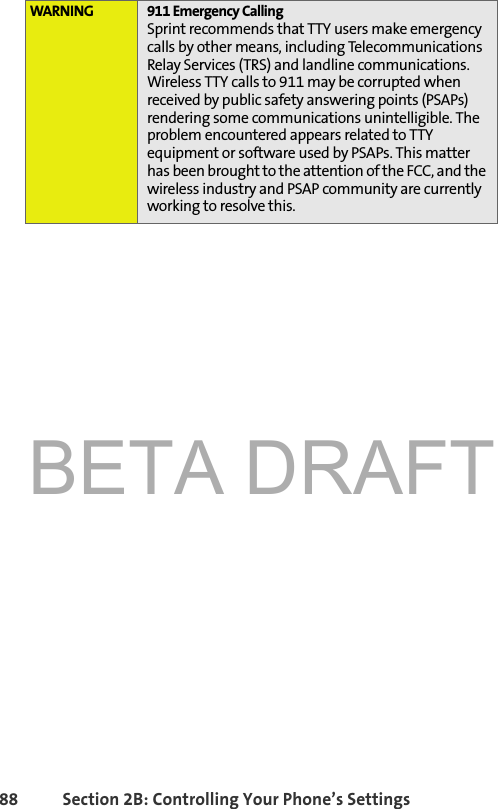
![BETA DRAFT92 Section 2B: Controlling Your Phone’s SettingsWalkie-Talkie SettingsYour phone offers you ways to manage your Walkie-Talkie calls. You may want to consider these options.䢇One Touch Walkie-Talkie lets you quickly access frequently used functions with a press of the Walkie-Talkie button.䢇Talkgroup Silent controls whether you hear active Talkgroup calls.䢇Talkgroup Area lets you define your Talkgroup area.Enabling One Touch Walkie-TalkieTo enable One Touch Walkie-Talkie:1. Press O > Settings/Tools > Settings > Walkie-Talkie > One Touch Walkie Talkie.2. Select Enable by pressing O. (The Enable check box may already be selected.)3. Highlight Assign To, press O, and then select one of these options.䡲Last Call allows you to call the last Walkie-Talkie call you made.䡲Quick Walkie Talkie allows you to call your Quick Walkie Talkie number.䡲Call History takes you to the Walkie-Talkie list in Call History.䡲Assign Number allows you call a specific number. (You are prompted to enter the number if you choose this option. You can also press Search [right softkey] and select Contacts or Call History to select a number to assign.)4. Press Done (left softkey).](https://usermanual.wiki/Motorola-Mobility/T56GP1.USERS-MANUAL-1-OF-2/User-Guide-760939-Page-108.png)