Motorola Mobility T56GY1 Portable Dual-Band GSM/ EDGE Transceiver with BT User Manual Exhibit 8 Users Manual
Motorola Mobility LLC Portable Dual-Band GSM/ EDGE Transceiver with BT Exhibit 8 Users Manual
UserManual.wiki
>
Motorola Mobility
>
T56GY1 User Manual
Exhibit 8 Users Manual
Navigation menu
Upload a User Manual
Namespaces
Wiki Guide
HTML
PDF
Info
Views
User Manual
Discussion / Help
Navigation

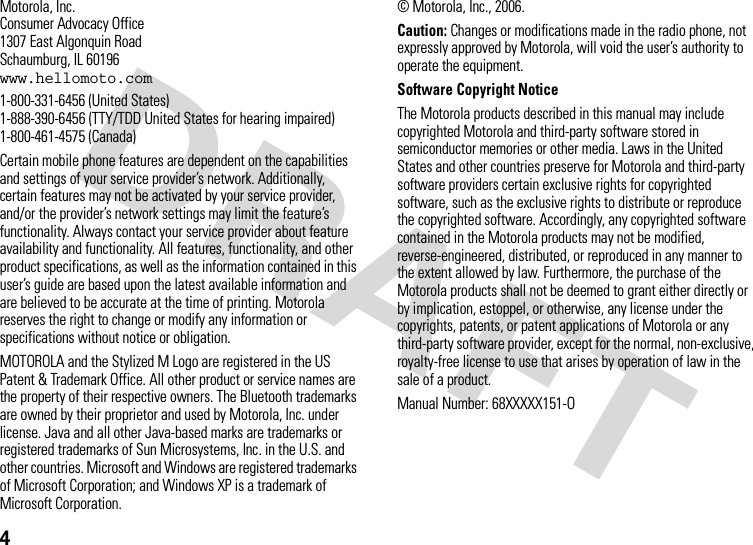
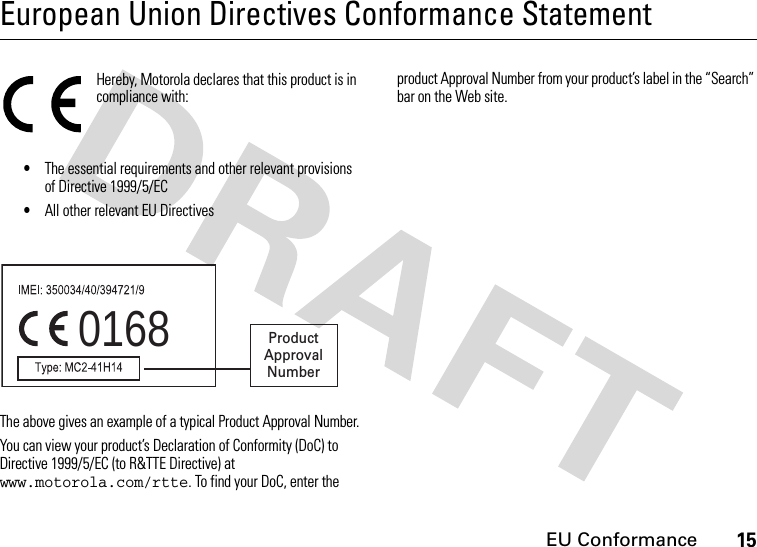
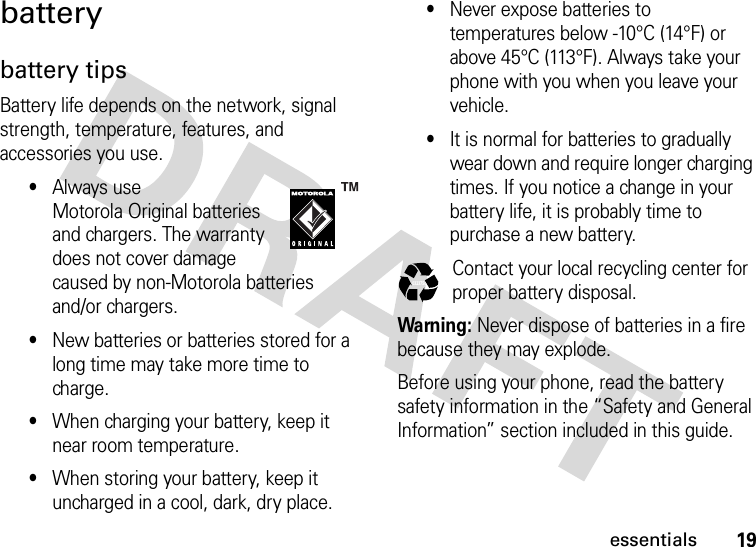
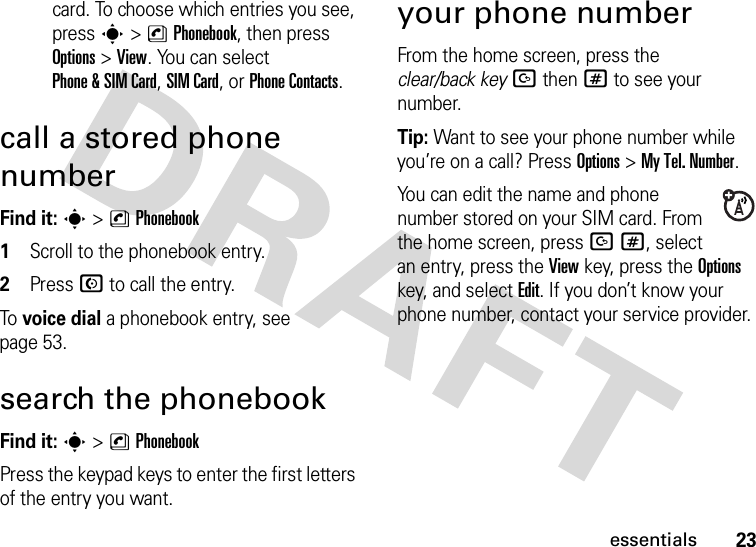
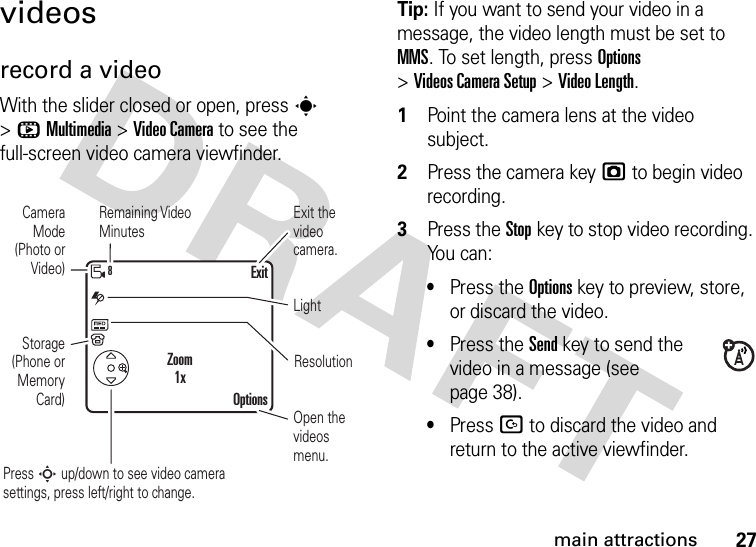
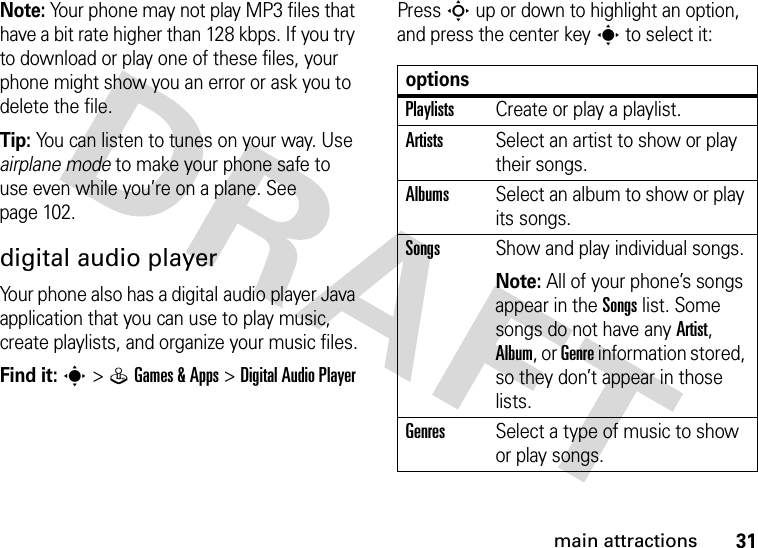

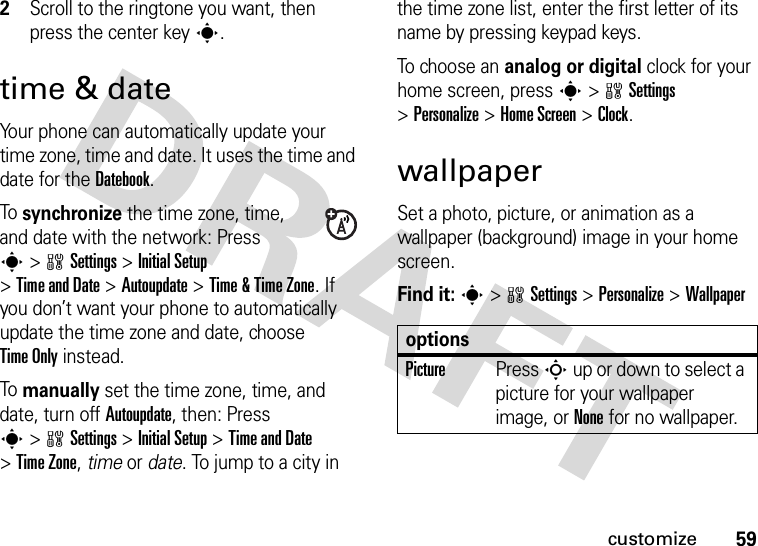
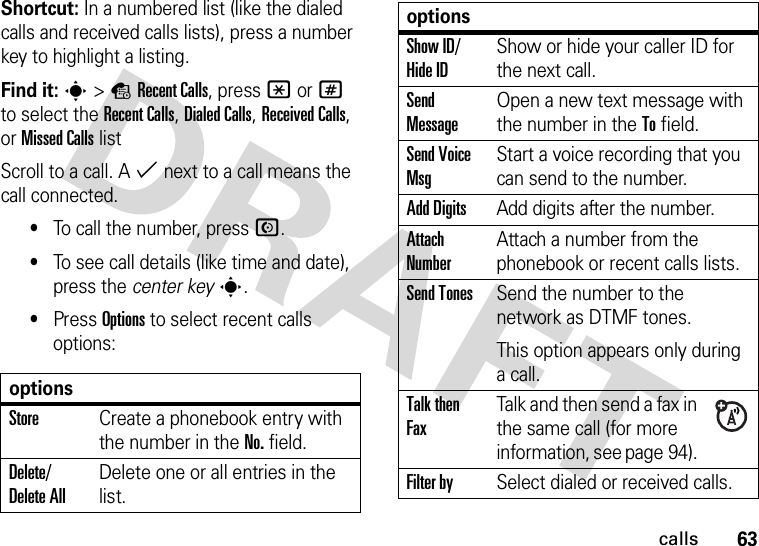
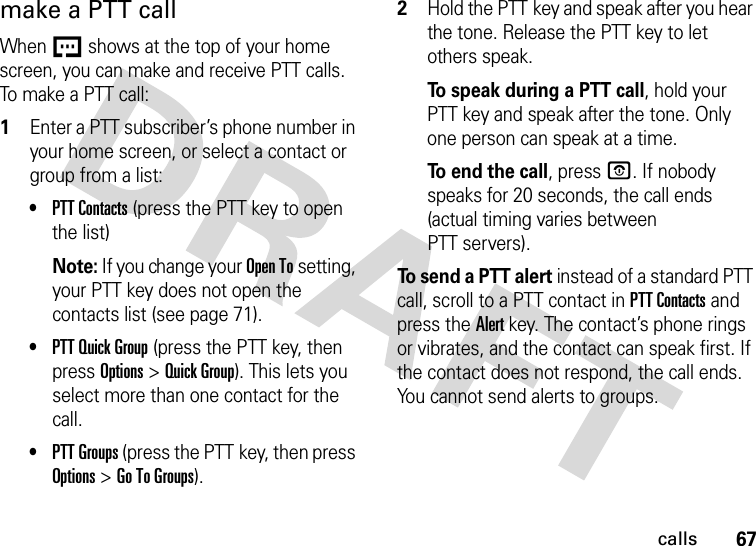
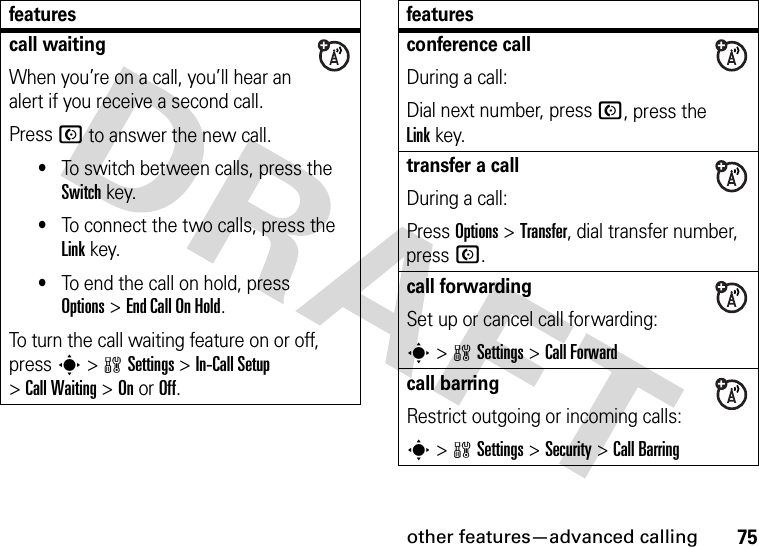
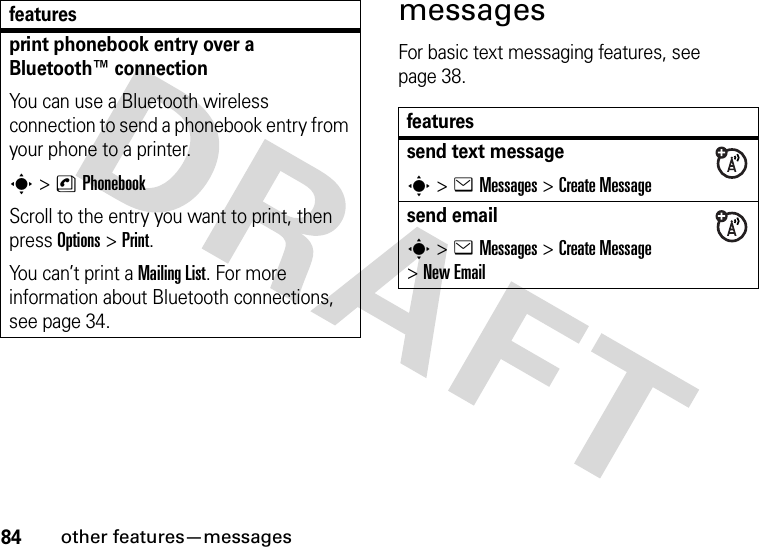
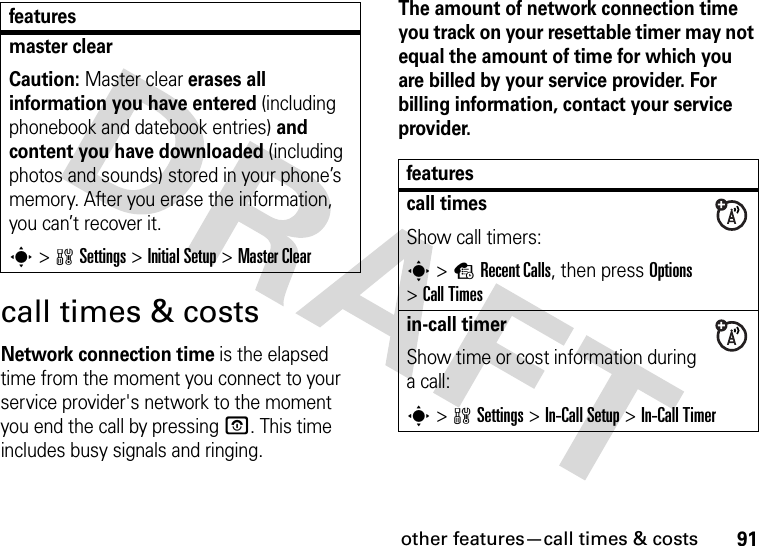
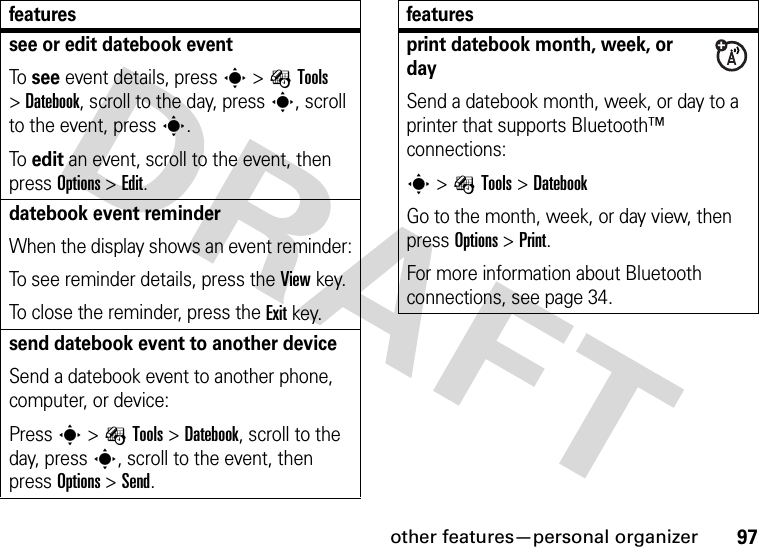
![35main attractionsuse a headset or handsfree car kitBefore you try to connect your phone with a handsfree device, make sure the device is on and ready in pairing or bonding mode (see the user’s guide for the device). You can connect your phone with only one device at a time.Find it: s >wSettings >Connection >Bluetooth Link >Audio Devices >[Look For Devices]Your phone lists the devices it finds within range. 1Scroll to a device in the list and press the center keys.2Press the YesorOKkey to connect to the device.3If necessary, enter the device passkey (such as 0000) and press the OKkey.When your phone is connected, the Bluetooth indicator O shows in the home screen, and the Bluetooth indicator light flashes.Shortcut: When Bluetooth power is on, your phone can automatically connect to a handsfree device you have used before. Just turn on the device and move it near the phone.copy files to another deviceYou can copy a media file, phonebook entry, datebook event, or bookmark to another phone or computer that supports Bluetooth connections.Note: You can’t copy some copyrighted objects.Before you try to copy a file to another device, make sure the receiving device is on and ready in discoverable mode. Also, make](https://usermanual.wiki/Motorola-Mobility/T56GY1/User-Guide-714652-Page-38.png)
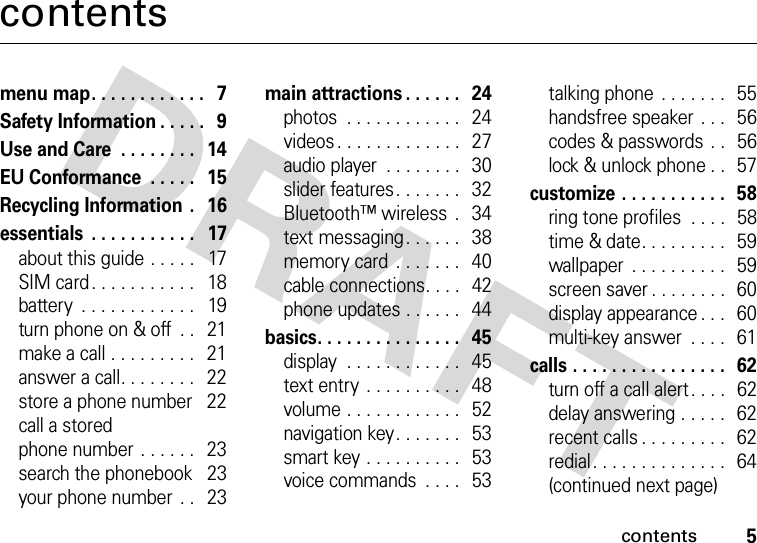
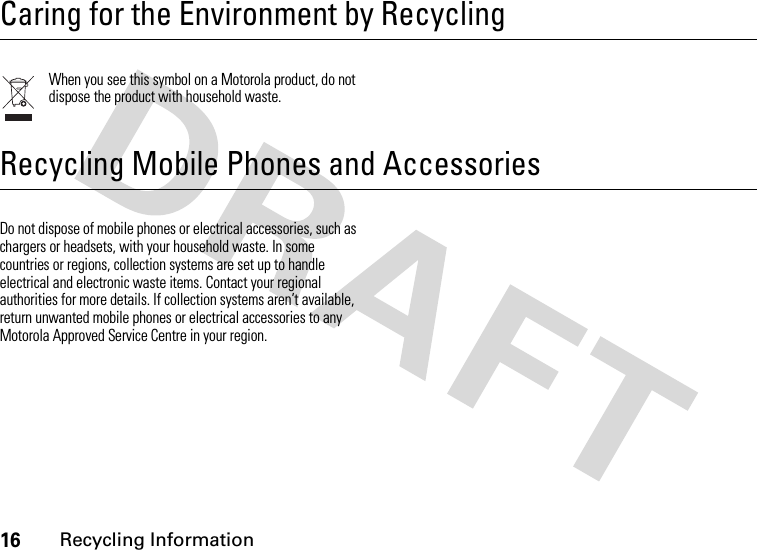
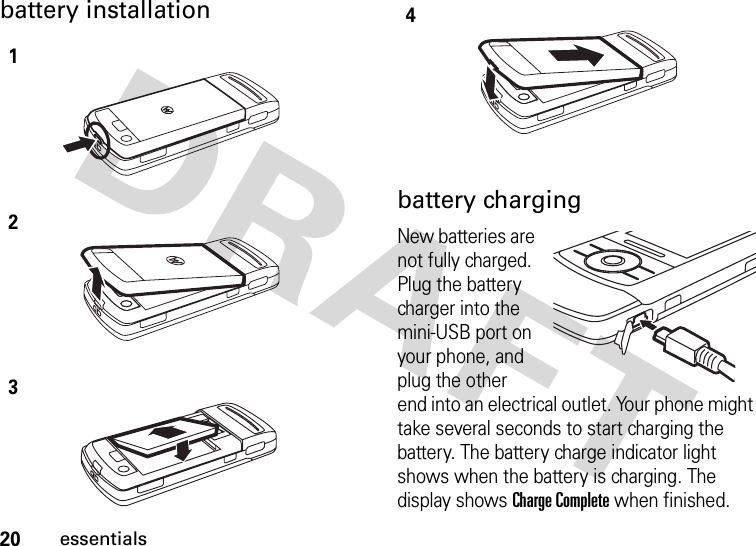
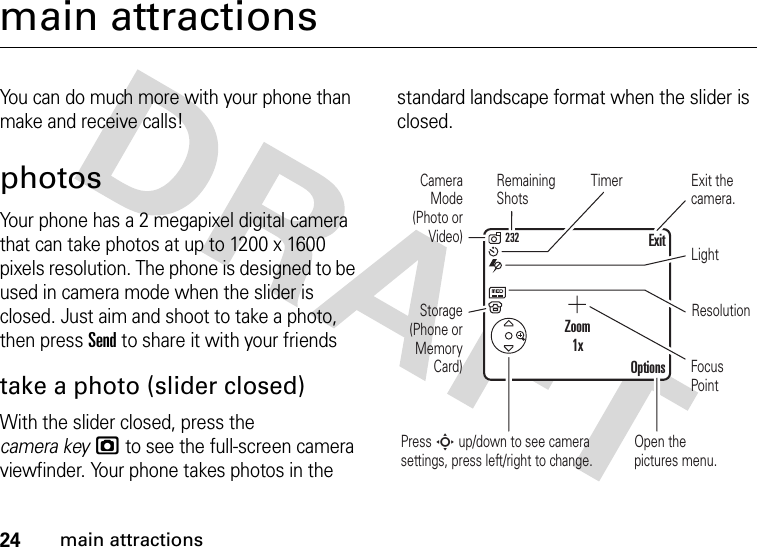
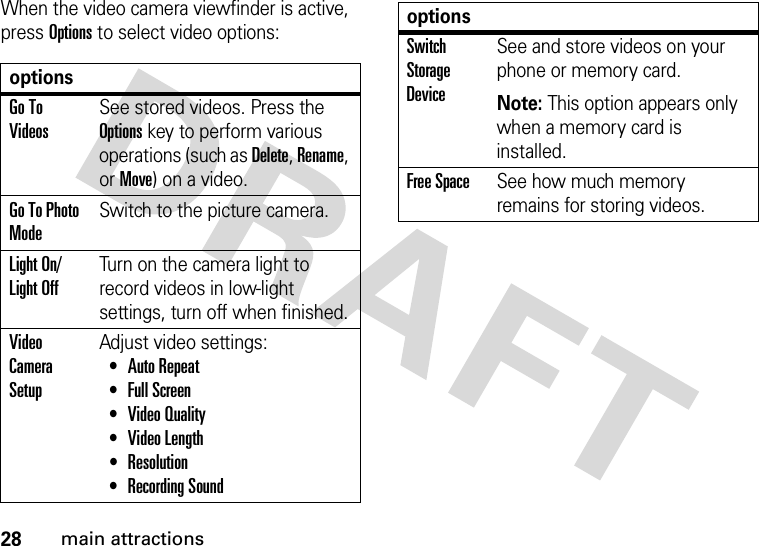
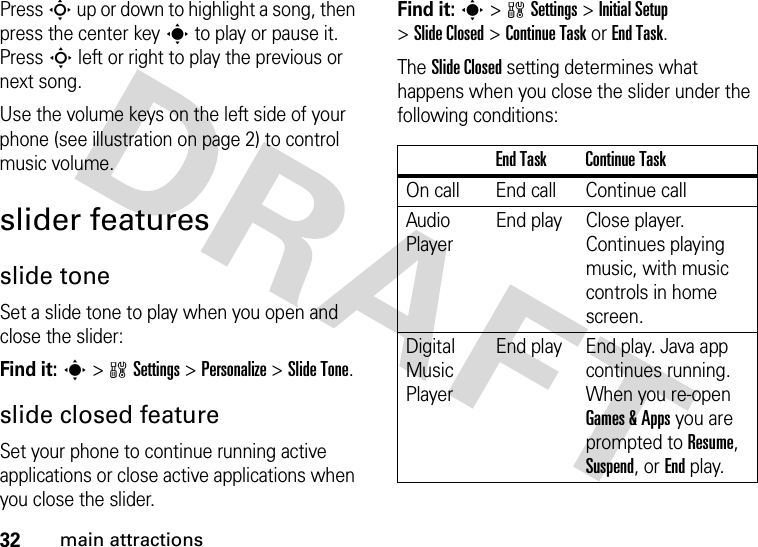
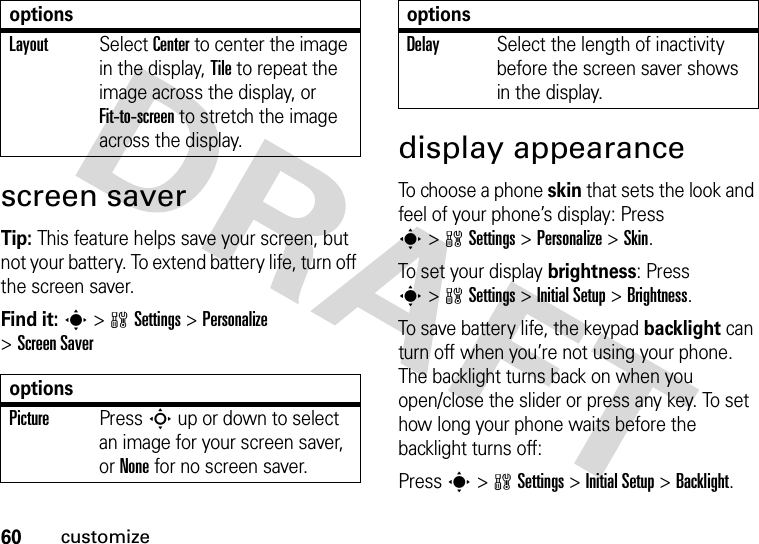
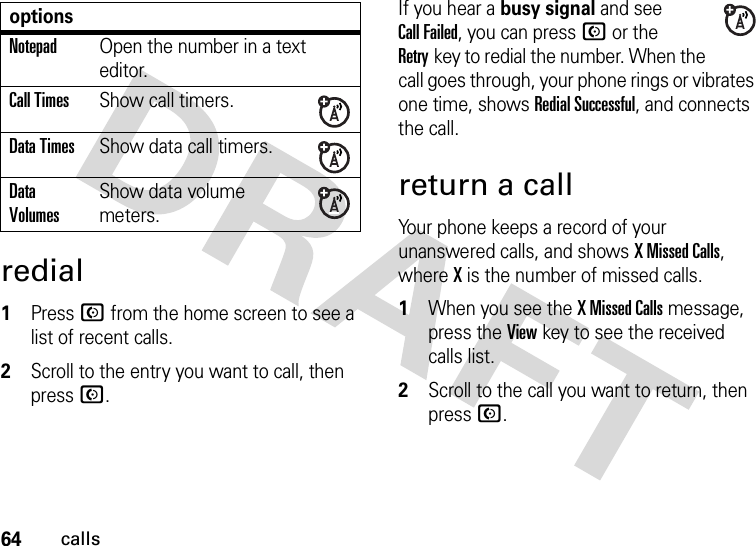
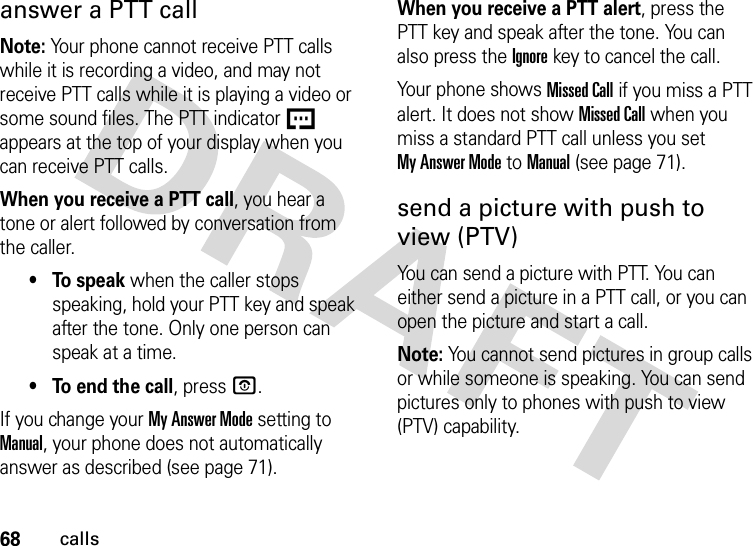
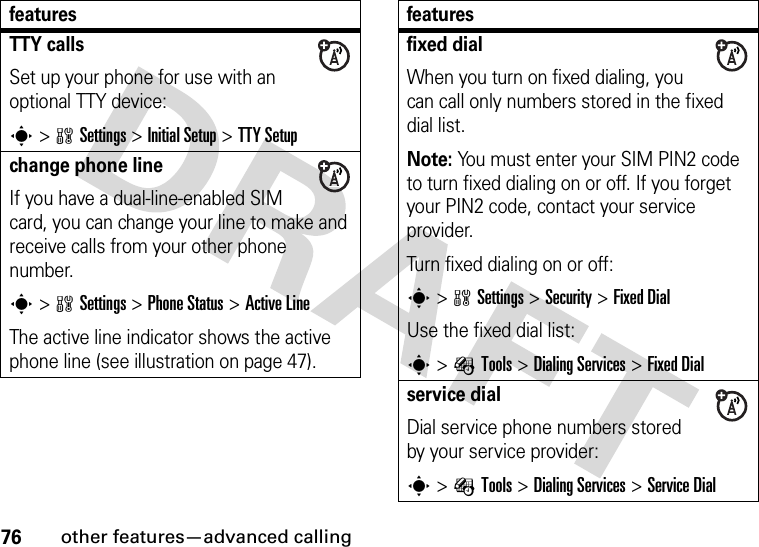
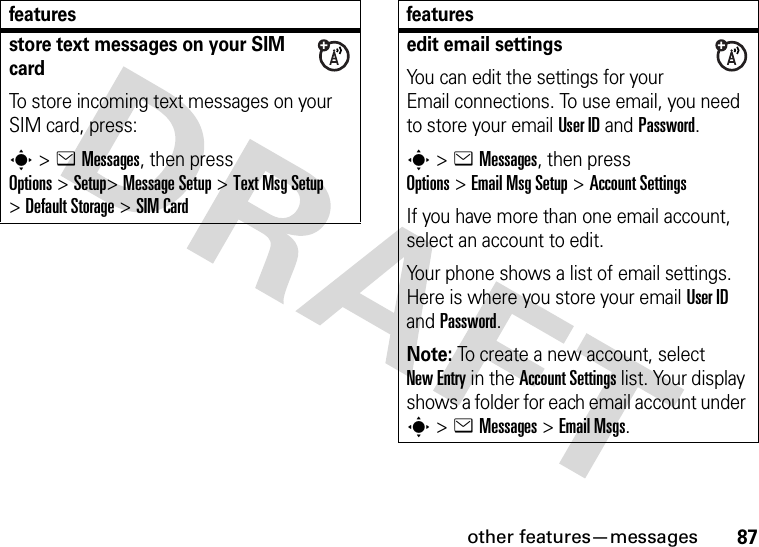
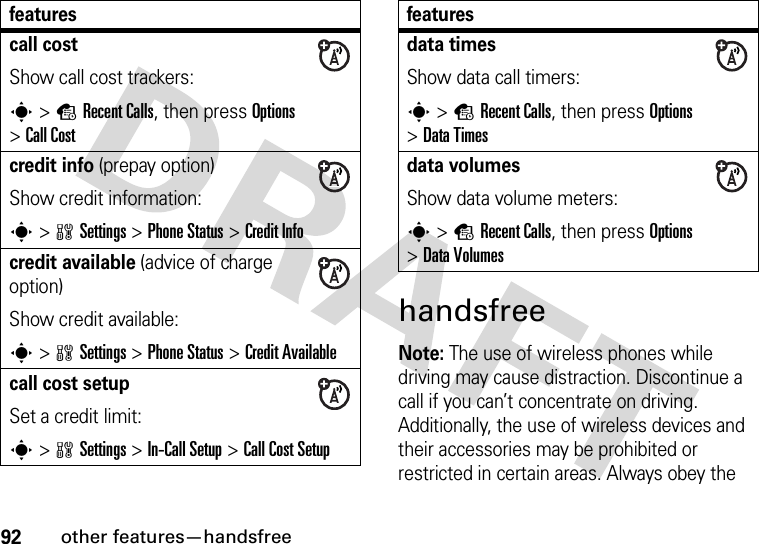
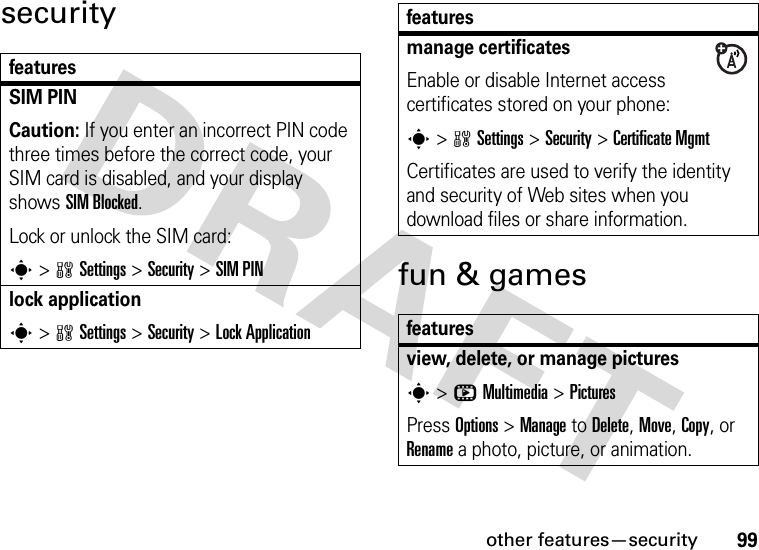
![36main attractionssure the device is not busy with another Bluetooth connection. 1On your phone, scroll to the object that you want to copy to the other device.2Press Options, then select:•Manage >Copy for a media file.•Send Contact >Bluetooth for a phonebook entry.•Send for a datebook event or bookmark.3Select a recognized device name, or [Look For Devices] to search for the device where you want to copy the object.Note: Once you connect your phone to a Bluetooth device, that device can start a similar Bluetooth connection with your phone. Your display shows the Bluetooth indicator O when there is a Bluetooth connection.receive files from another deviceBefore you try to receive a file from another device, make sure your phone’s Bluetooth power is on (see page 34). 1Place your phone near the device, and send the file from the device.If your phone and the sending device don’t recognize each other, place your phone in discoverable mode so the sending device can locate it. Press s >wSettings >Connection >Bluetooth Link >[Find Me].2Press the Accept key on your phone to accept the file from the other device.Your phone notifies you when file transfer is complete. If necessary, press the Save key to save the file.](https://usermanual.wiki/Motorola-Mobility/T56GY1/User-Guide-714652-Page-39.png)
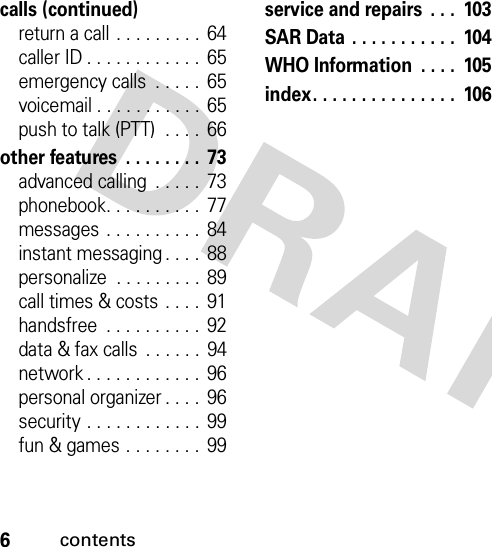
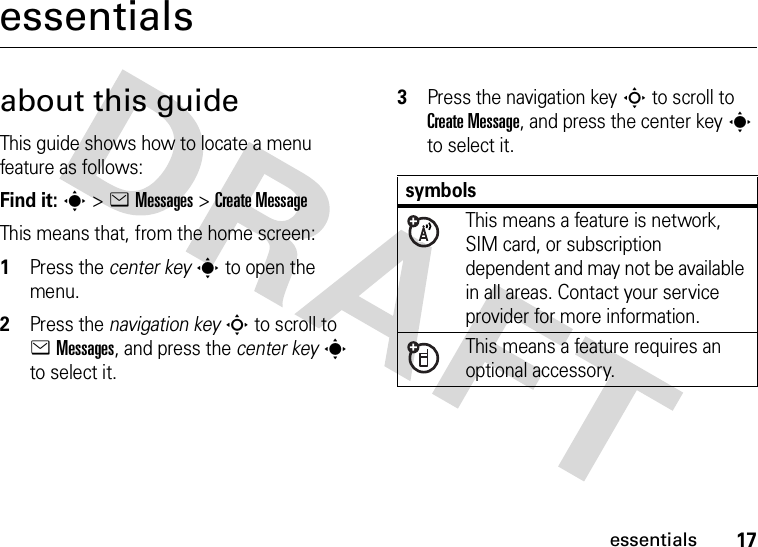
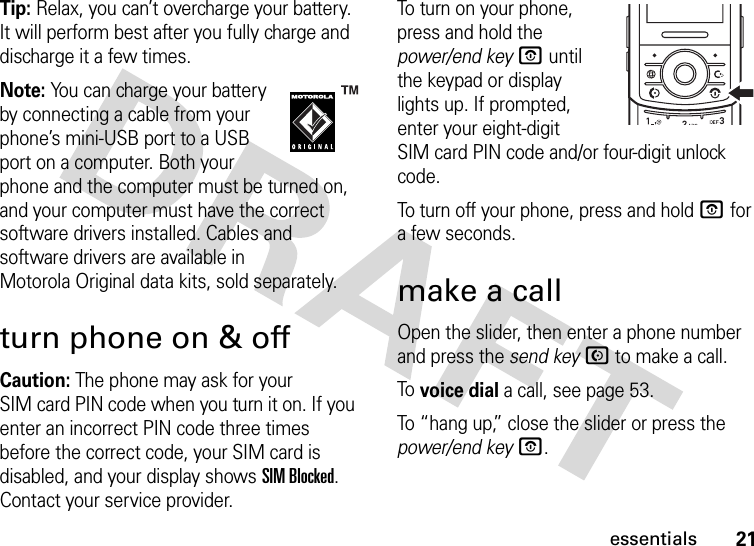
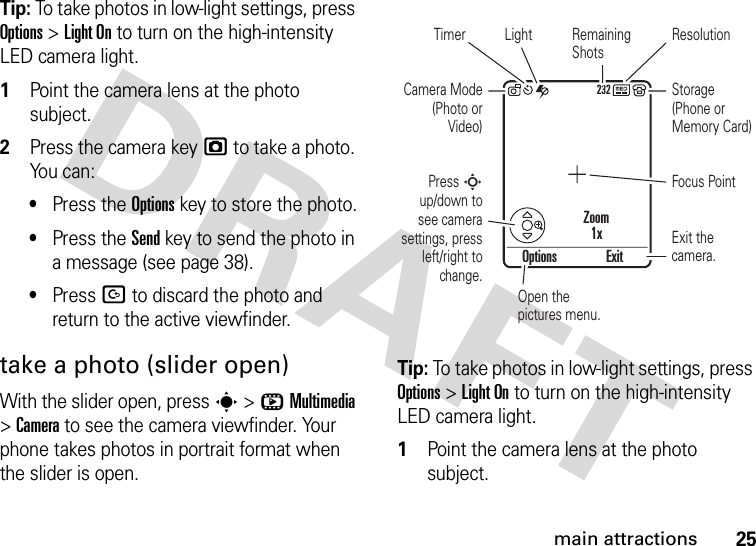
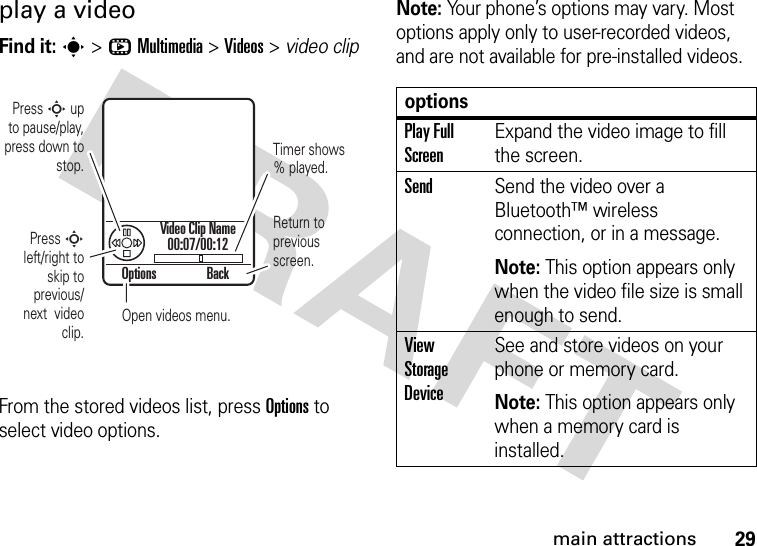
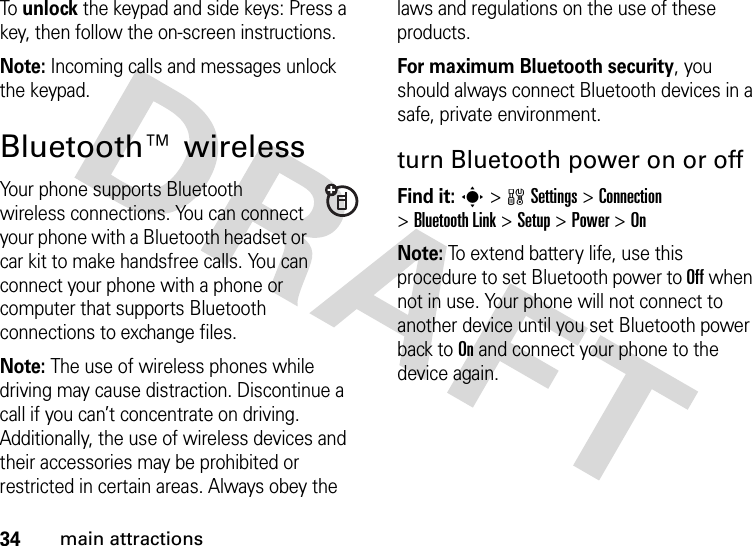
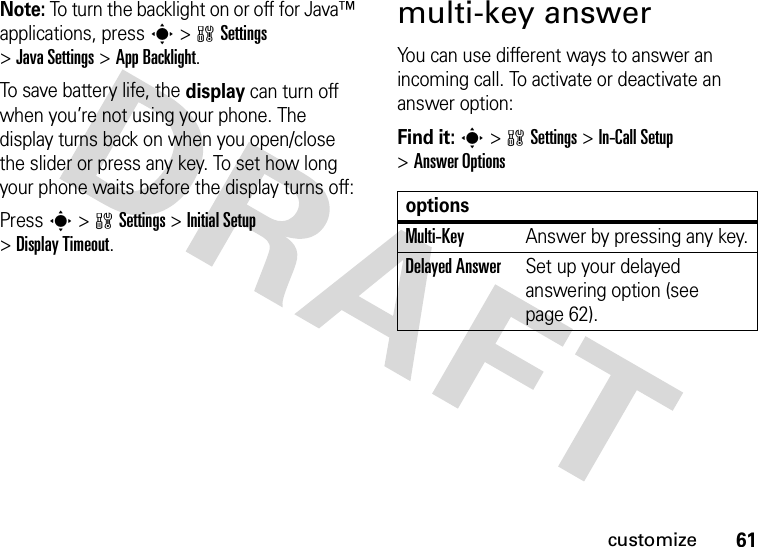
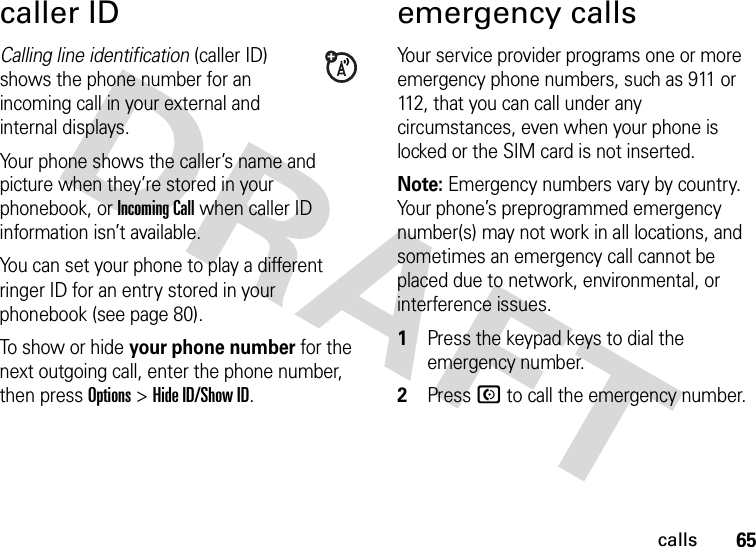
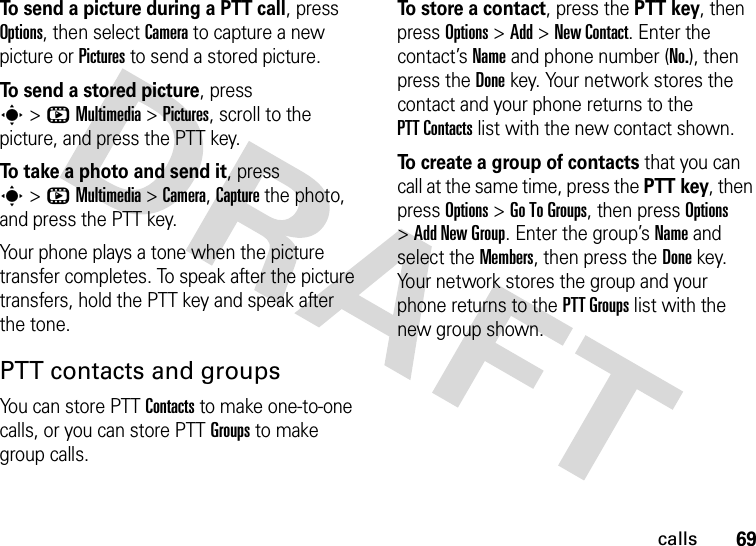
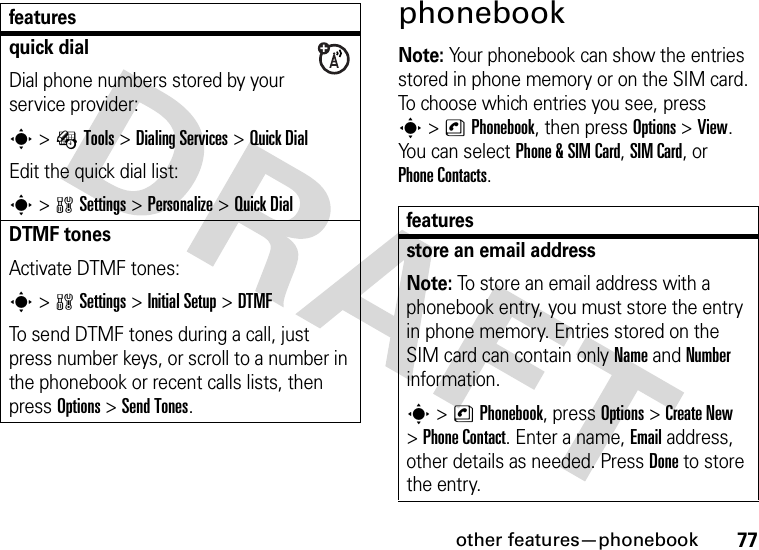
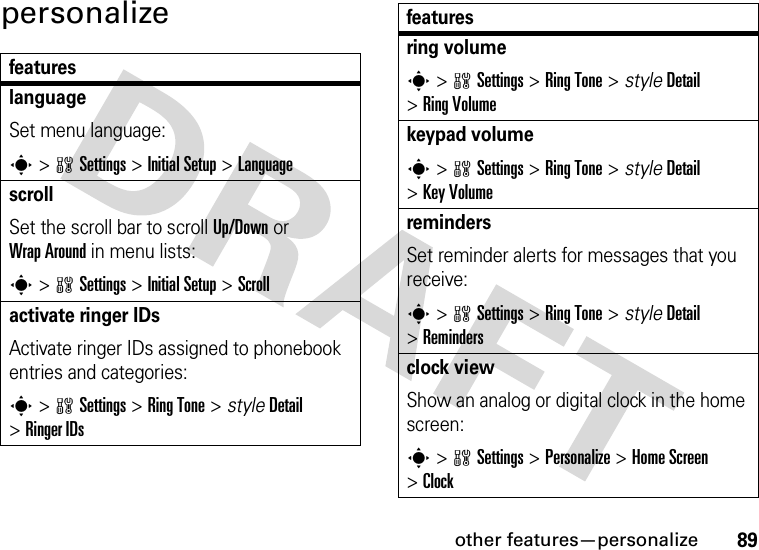
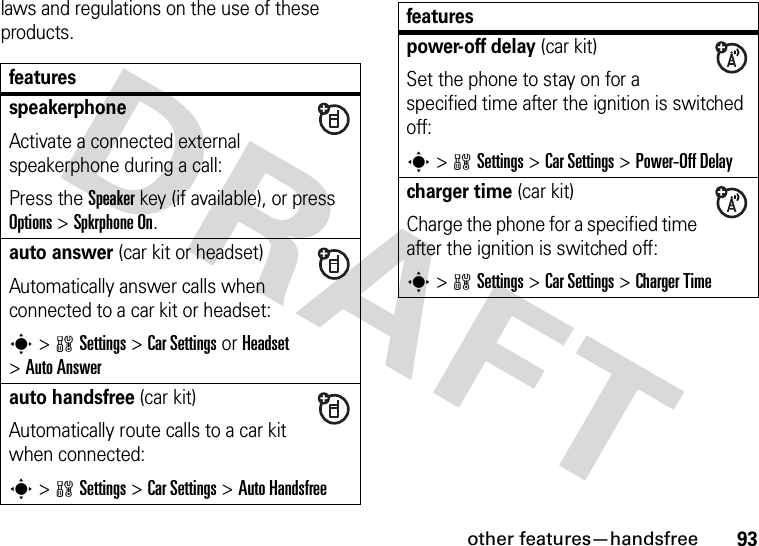
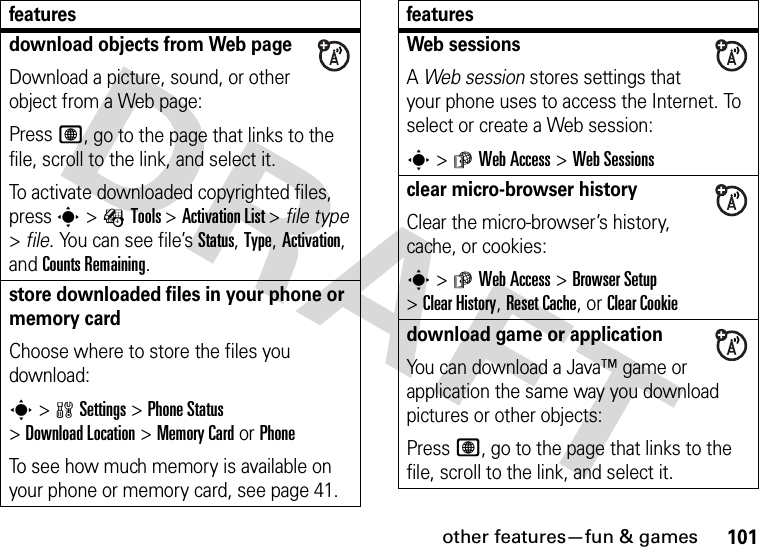
![37main attractionssend files to a printerYou can send a media file, phonebook entry, or datebook event from your phone to a printer that supports Bluetooth connections.Note: You can print A4 or US Letter size pages. To print another size, copy the object to a linked computer, and print it from there. 1On your phone, scroll to the object that you want to print, then press Options >Print.Tip: If you see it, you can print it. After you capture a picture in the camera, you can press the Store key and select Print and Store.2If available, choose additional objects or print options, then choose Print to continue.3Select a recognized printer name, or [Look For Devices] to search for the printer where you want to send the object.advanced Bluetooth featuresfeaturesconnect to recognized devices >wSettings >Connection >Bluetooth Link >Audio Devices > device namedrop connection with deviceScroll to the device name and press the Dropkey.switch to headset or car kit during callPress Options >Use Bluetooth.switch back to phone during callTo switch from a headset or car kit to your phone during a call:Press Options >Use Handset.](https://usermanual.wiki/Motorola-Mobility/T56GY1/User-Guide-714652-Page-40.png)
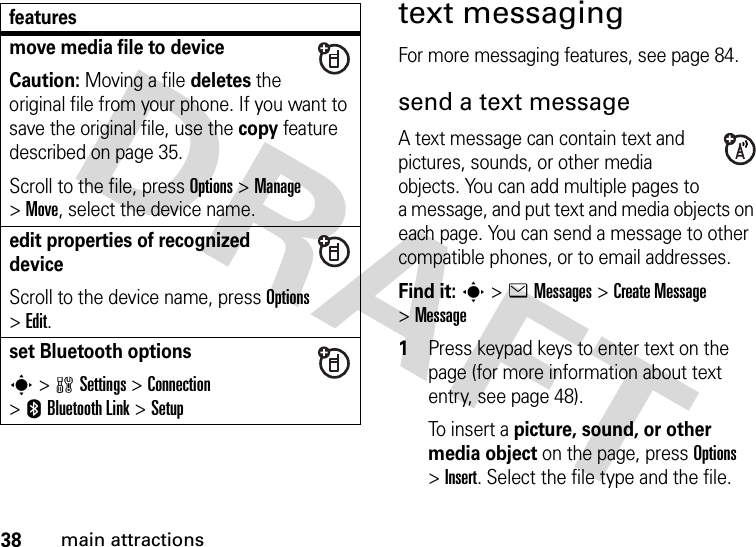
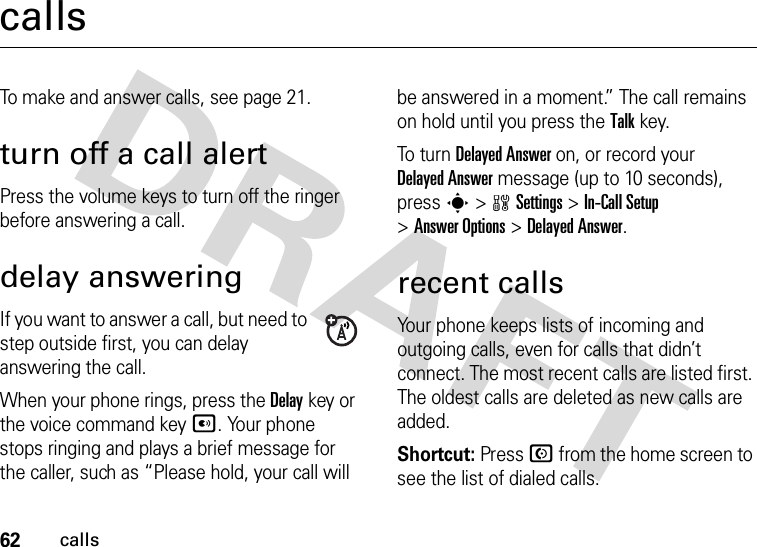
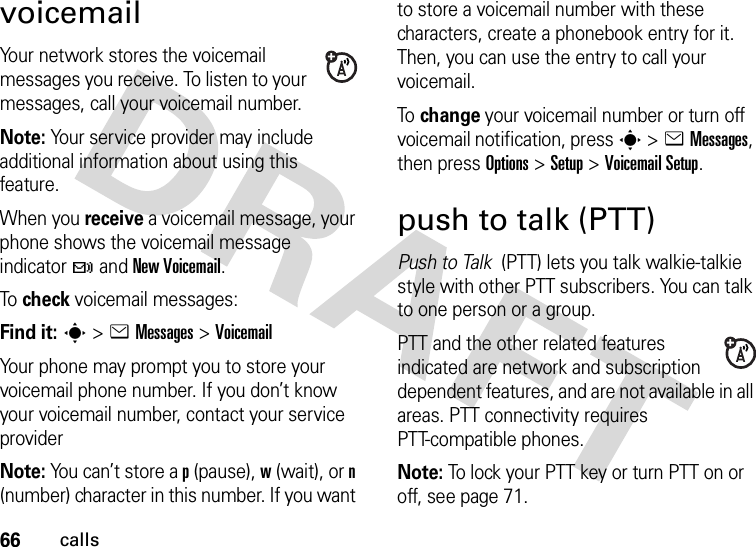
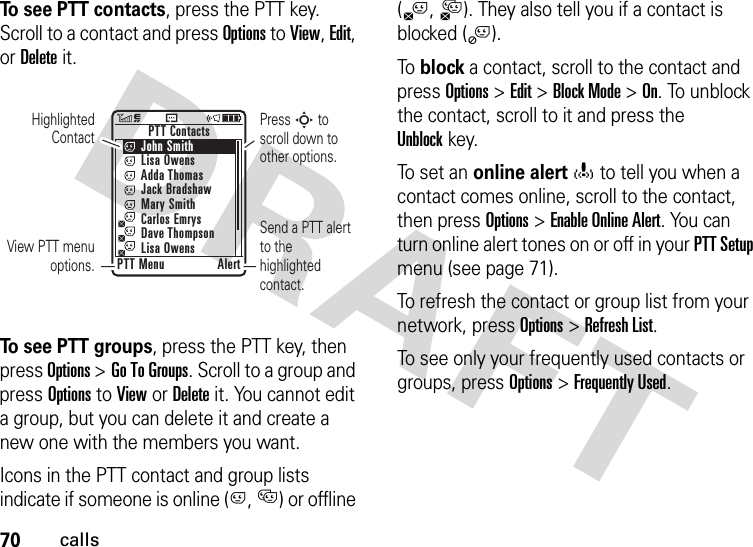
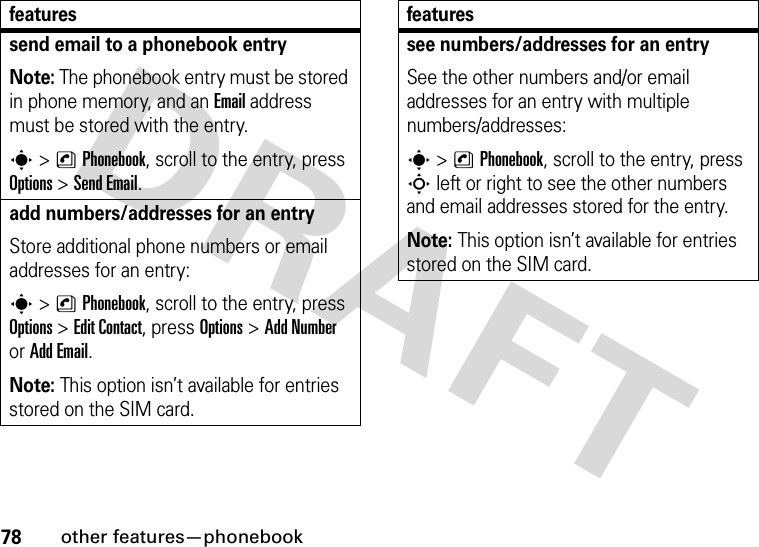
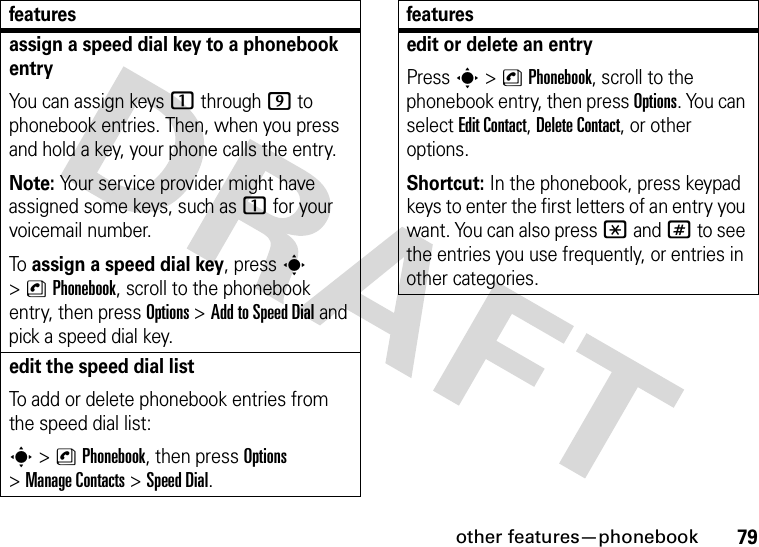
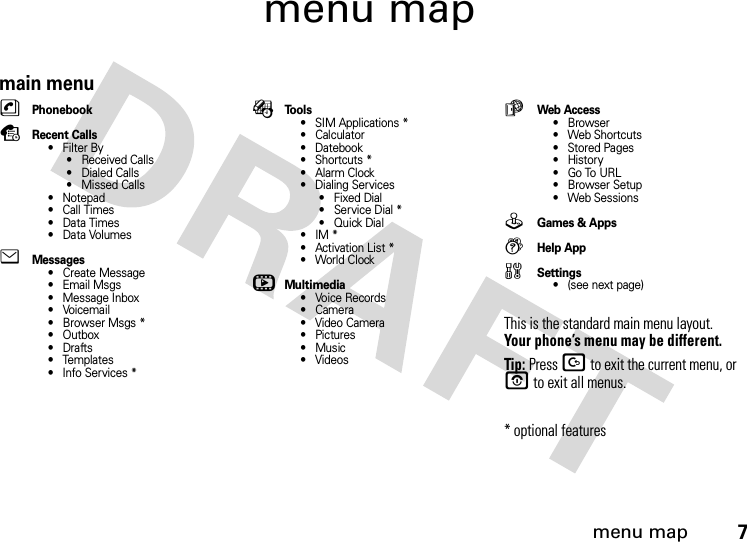
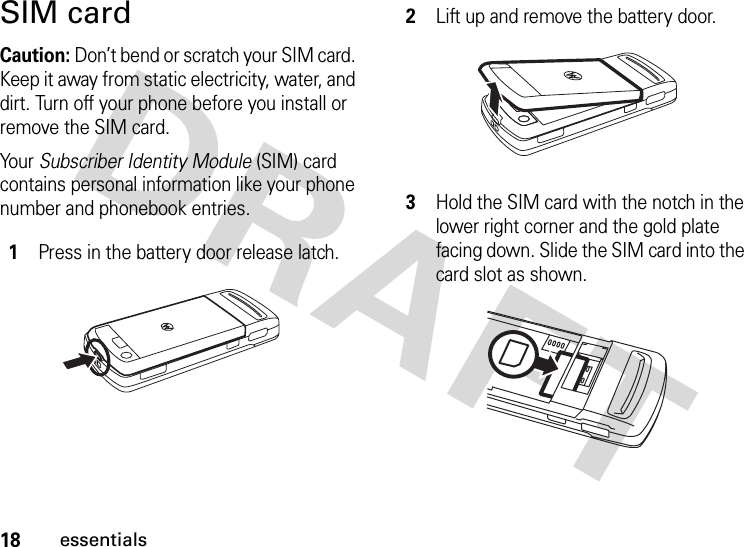
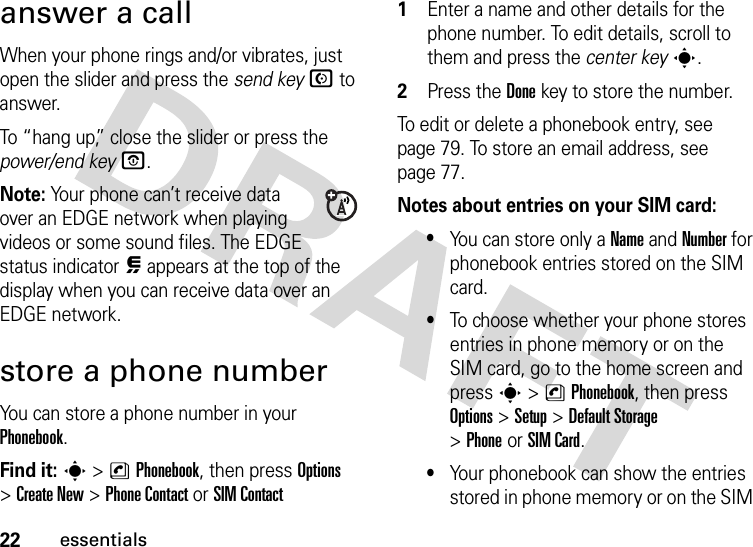
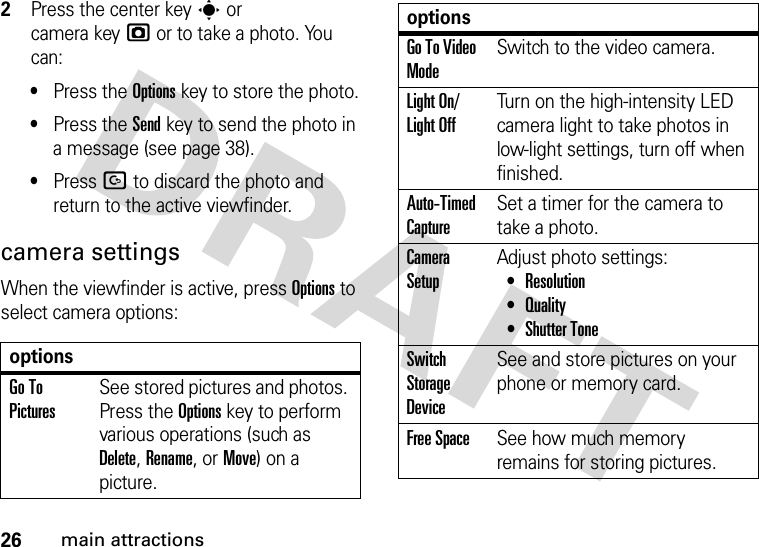
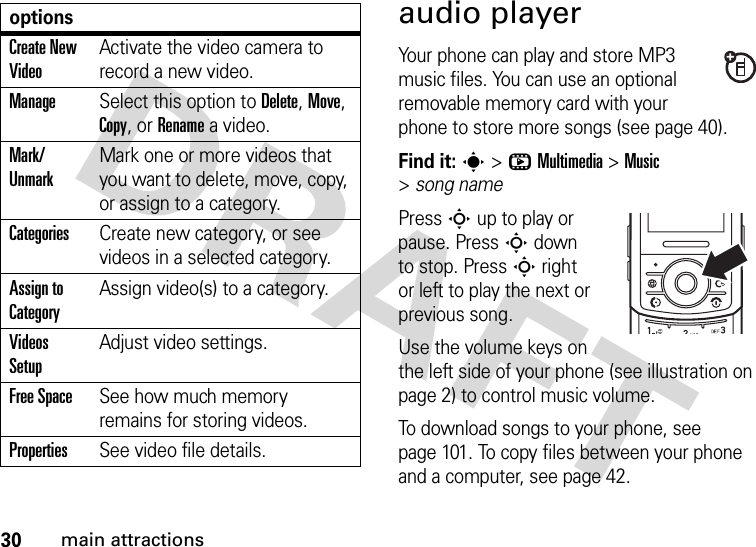
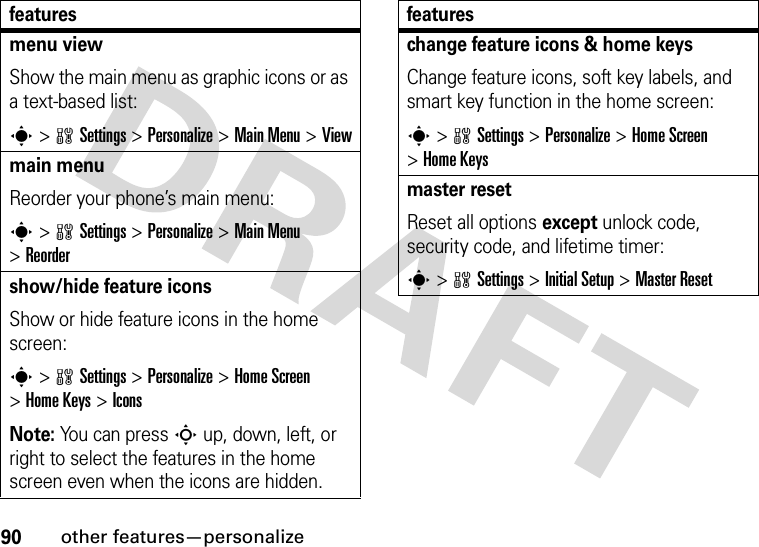
![other features—phonebook81assign entry to categorys >nPhonebook > entry, then press Options >Edit Contact >Category > category nameNote: The Category option isn’t available for entries stored on the SIM card.Shortcut: When you open your phonebook, press *or# to see your categories.set category views >nPhonebook, then press Options >Filter by >Category > category nameYou can show All entries, entries in a predefined category (Business, Personal, General, VIPs), or entries in a category you create.Shortcut: When you open your phonebook, press *or# to see your categories.featurescreate a new categorys>nPhonebook, then press Options>ManageContacts >Edit Phone Categories >[New Category]Enter the category name, and select its members from your phonebook entries.edit a categorys>nPhonebook, then press Options>ManageContacts >Edit Phone CategoriesScroll to the category name, then press Options>Edit Phone Categories.You can edit the category name, members, ringer ID, or picture. Your phone uses the ringer ID and picture whenever you receive calls from numbers in the category.features](https://usermanual.wiki/Motorola-Mobility/T56GY1/User-Guide-714652-Page-84.png)


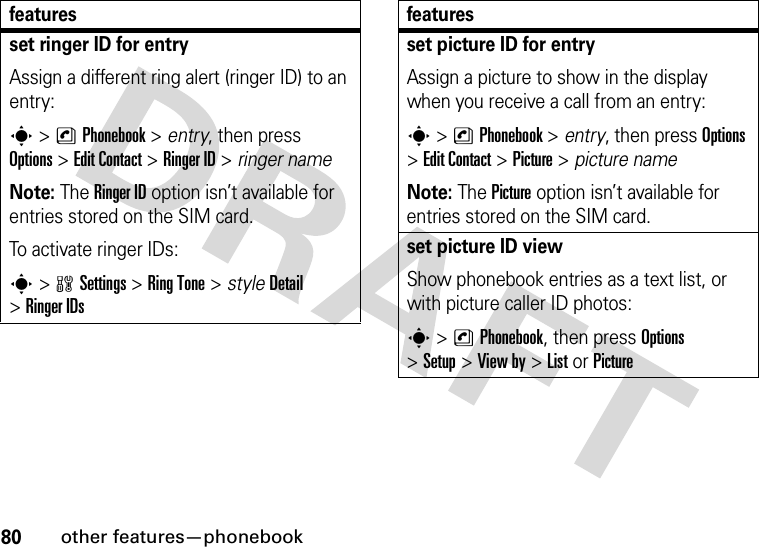
![88other features—instant messaginginstant messagingbrowser messagesRead messages received by your micro-browser:s>eMessages >Browser Msgsinfo servicesRead subscription-based information services messages:s>eMessages >Info Servicesfeatureslog ins>ÉTools >IMSelect an IM account, or select [New Account] to set up an IM account.featureslog in automaticallys>ÉTools >IM, then press Options >Offline SettingsTurn on Auto-Login to start the IM login whenever you select s>ÉTools >IM. Turn on Power-On Login to start the IM login whenever you turn on your phone.set IM ring styleSelect a ring or vibration for new IM messages and contact alerts.s>wSettings >RingTone > styleDetail >IMfeatures](https://usermanual.wiki/Motorola-Mobility/T56GY1/User-Guide-714652-Page-91.png)
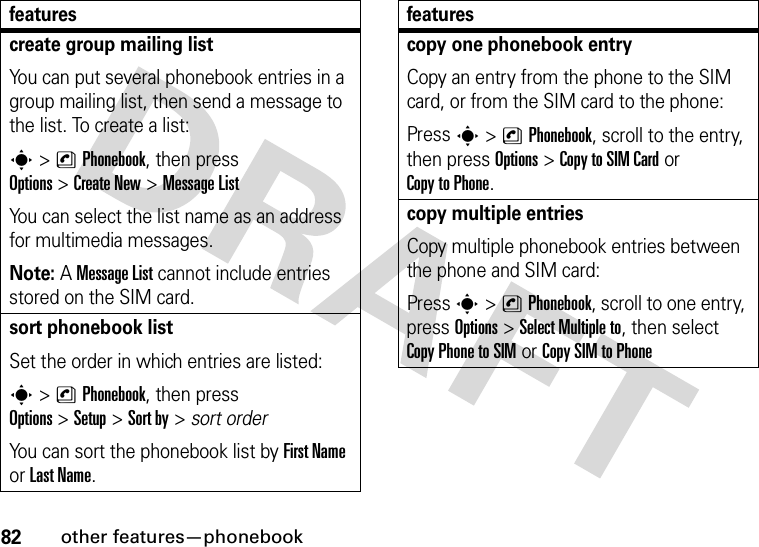
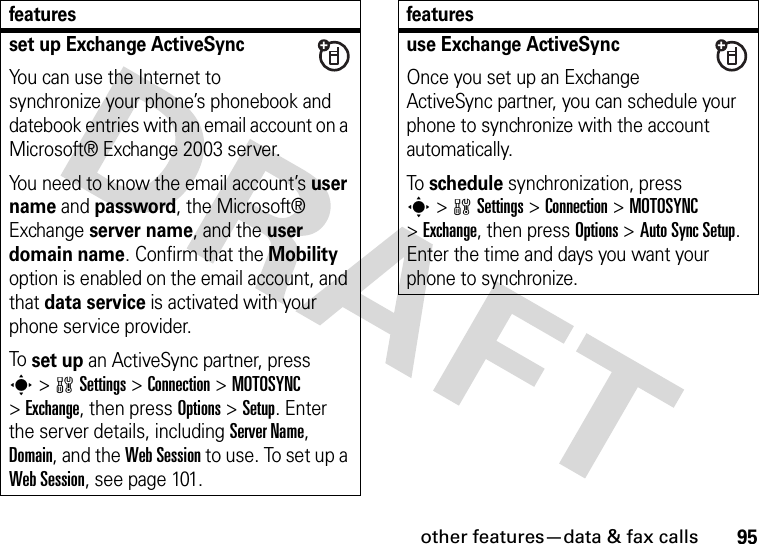
![94other features—data & fax callsdata & fax callsTo connect your phone with a USB cable, see page 42.featuressend data or faxConnect your phone to the device, then place the call through the device application.receive data or faxConnect your phone to the device, then answer the call through the device application.talk then faxConnect your phone to the device, enter fax number, press Options>Talk then Fax, then press N to make the call.use MOTOSYNCYou can call a SyncML Internet server and synchronize your phonebook and datebook entries with the server.To set up an Internet sync partner, press s>wSettings >Connection >MOTOSYNC >Sync >[New Entry]. Enter the server details, including Server URL (you can omit http://) and DataPath (the folder below the URL where your data is stored).To synchronize files with a partner you set up, select the partner from the list in s>wSettings >Connection >MOTOSYNC >Sync.features](https://usermanual.wiki/Motorola-Mobility/T56GY1/User-Guide-714652-Page-97.png)
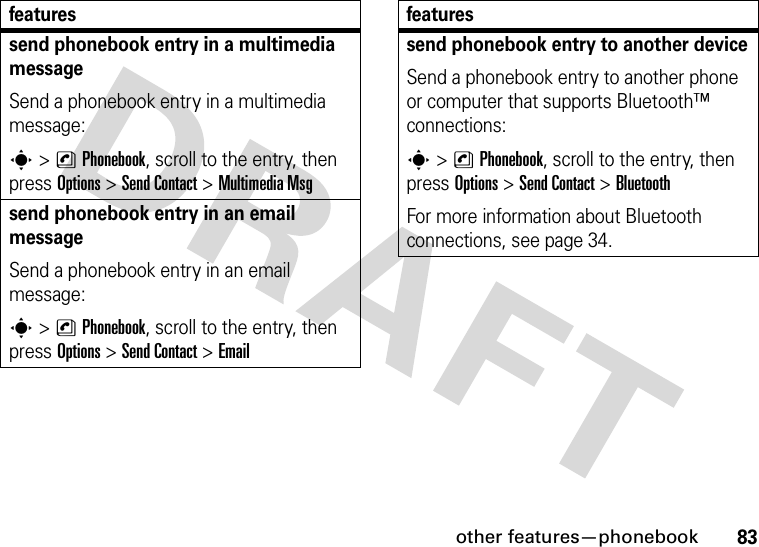
![96other features—networknetwork personal organizerfeaturesnetwork settingsSee network information and adjust network settings:s>wSettings >Networksoftware updateYour service provider can send updated phone software over the air to your phone. When your phone receives a software update, you can install it immediately, or choose to defer installation until later. To install a deferred software update:s>wSettings >Phone Status >Software Update >Install Nowfeaturesset alarms>ÉTools >Alarm Clockturn off alarmWhen an alarm sounds:To turn off the alarm, press the Disablekey or O.To set an eight minute delay, press the Snoozekey.Note: The Snooze key is available only if the phone is already powered on when the alarm sounds.add new datebook eventPress s>ÉTools >Datebook, scroll to the day, presss >[Create New Event].](https://usermanual.wiki/Motorola-Mobility/T56GY1/User-Guide-714652-Page-99.png)

![100other features—fun & gamesview, delete, or manage videoss>hMultimedia >VideosPress Options >Manage to Delete, Move, Copy, or Rename a video.listen to, delete, or manage music & sound filesManage music, ringtones, and voice records that you have composed or downloaded:s>hMultimedia >MusicPress Options >Manage to Delete, Move, Copy, or Rename a sound file.Note: Your phone can’t receive PTT calls or data over an EDGE network while it is playing some sound files. Indicators appear at the top of the display when you can receive PTT m or EDGE œ data.featuresplay musics>hMultimedia >Music >song namecreate playlistCreate a playlist of songs to play:s>hMultimedia >Music >[New Playlist]create ringtonesCreate ringtones that you can use with your phone:s>hMultimedia >Music >[New Melody]launch the micro-browserPress L.features](https://usermanual.wiki/Motorola-Mobility/T56GY1/User-Guide-714652-Page-103.png)
![102other featuresstart game or applicationStart a Java™ game or application:Press s>QGames & Apps, scroll to the game or application, press s to select it.Note: To install and run games stored on your memory card, press s>QGames & Apps >[Install New]. Note: To extend battery life, turn off Java applications when not in use.featuresairplane modeTurn off your phone’s calling features in locations where wireless phone use is prohibited. This lets you use the music player and other non-calling features while you are on an airplane, without interfering with airplane communications.s>wSettings >Airplane Mode >Airplane Mode >OnYou can make the airplane mode option appear whenever you turn on your phone:s>wSettings >Airplane Mode >Prompt At Power Up >Onfeatures](https://usermanual.wiki/Motorola-Mobility/T56GY1/User-Guide-714652-Page-105.png)