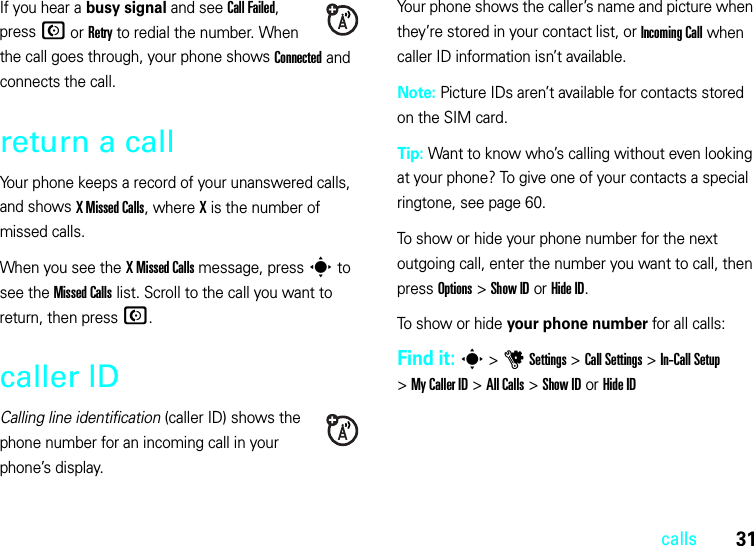
Motorola Mobility T56HZ2 Portable Cellular/PCS GSM/EDGE Transceiver with BT User Manual Exhibit 8 Users Manual
Motorola Mobility LLC Portable Cellular/PCS GSM/EDGE Transceiver with BT Exhibit 8 Users Manual
Contents
- 1. Exhibit 8 Users Manual
- 2. Exhibit 8A Supplemental Users Manual
Exhibit 8 Users Manual

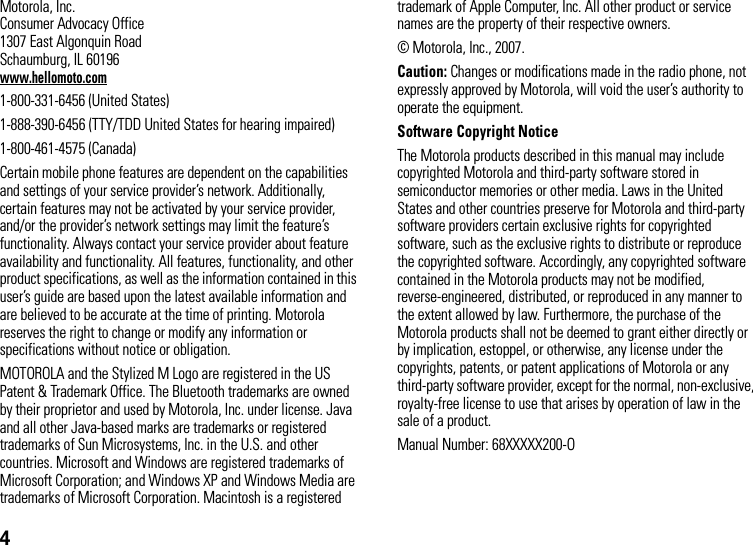


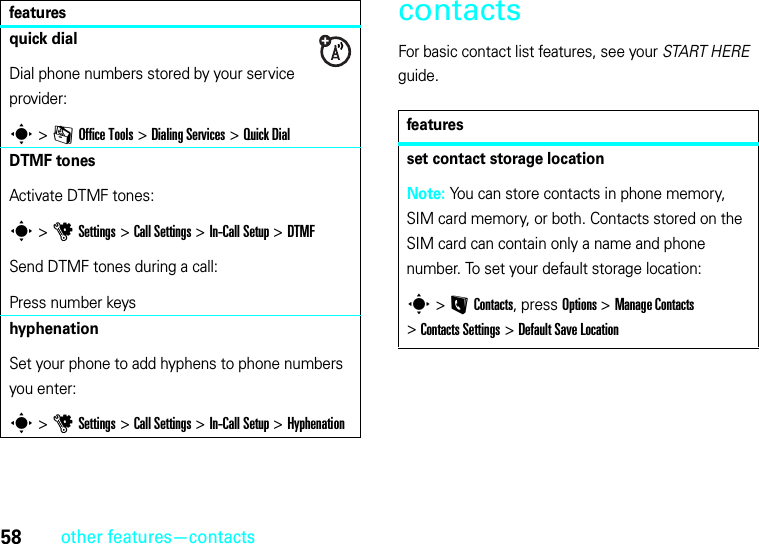
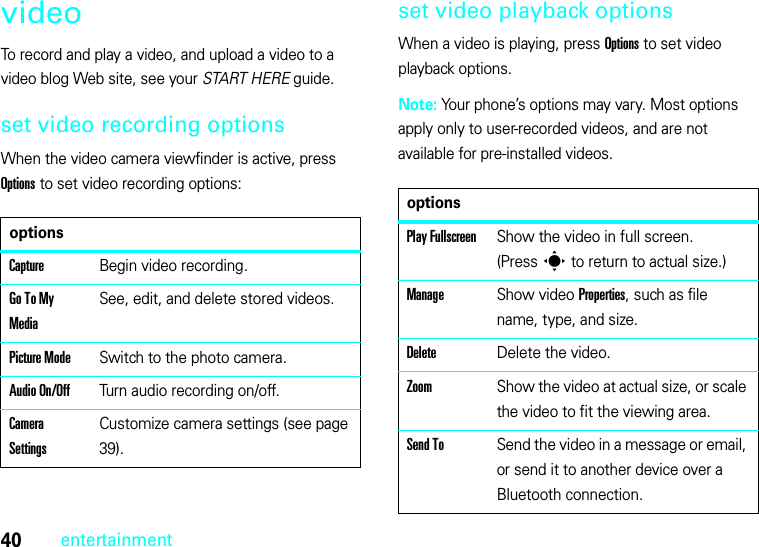
![25personalize 1Press S left/right to select the alerts tab[, volume tabi, messages tab], or settings tab#.2Press S up/down to scroll to the alert or volume setting you want to change, then press s.3Select the setting value you want.4Press Back to exit and save your changes.To reset the default settings for an alert style:Find it: s >uSettings >Profiles >Alert Style >alert style, press Options >Resetcreate a new profileTo create a new profile with the ringtones and volume settings you specify:Find it: s >uSettings >Profiles >Alert Style >alert style 1Change alert style settings as described in the previous section.2Press Options >Save as Profile.3Enter a name for the profile, then press Save to save it.To c r ea te additional profiles:Find it: s >uSettings >Profiles, press Options >Create ProfileNote: Profile alert settings also can be set by the theme. When you apply a new theme, you can choose to apply the theme’s alert settings to the current profile. Selecting this option changes the current profile to use the theme alert settings.edit or delete profilesTo edit a profile:Find it: s >uSettings >Profiles, scroll to the profile, press Options >Edit](https://usermanual.wiki/Motorola-Mobility/T56HZ2.Exhibit-8-Users-Manual/User-Guide-852694-Page-31.png)

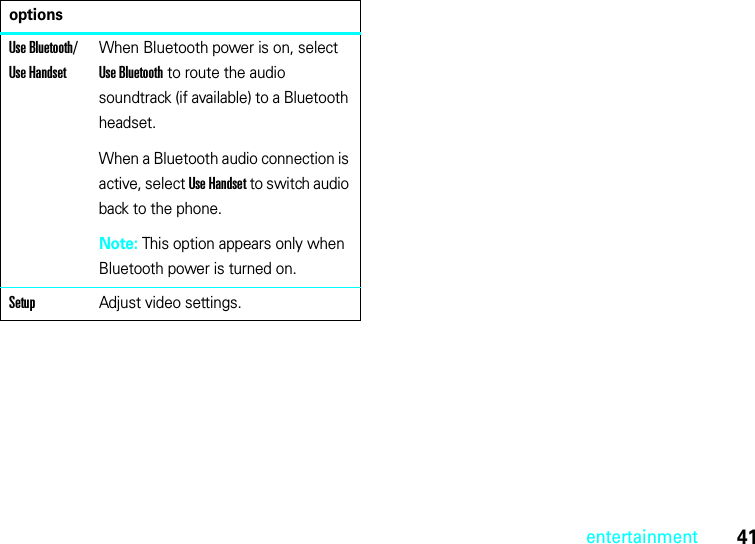

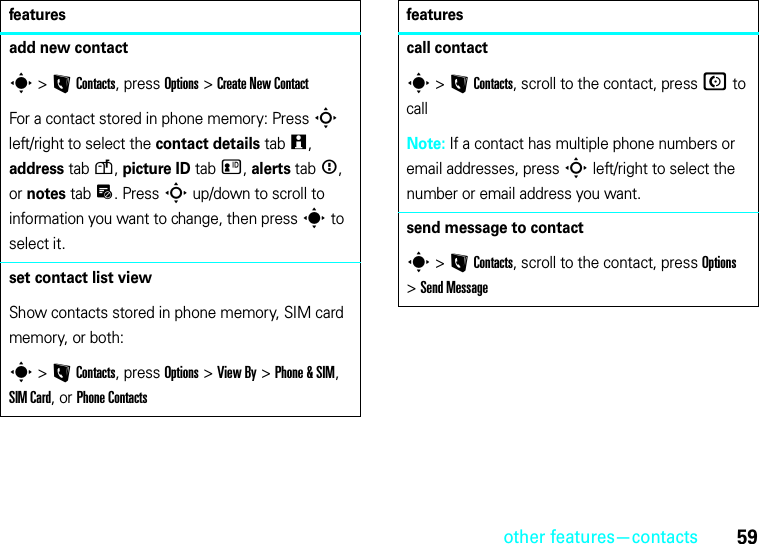
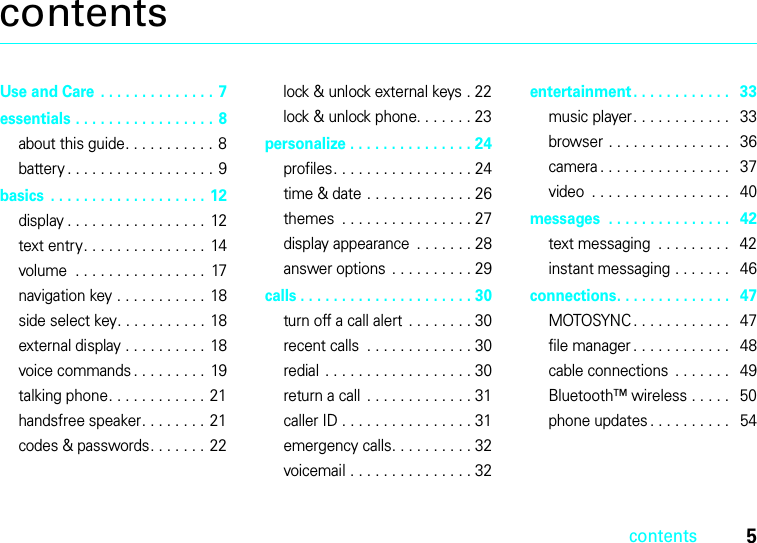
![44messagesadditional message & email featuresfeaturessend a prewritten quick notes >gMessages >Templates >Text Templates >quick note, press Options>SendTo create a new quick note:s >gMessages >Templates >Text Templates, press Options>Create Templateset up email accountsYou can set up and use multiple email accounts on your phone:s >gMessages >Email >Add AccountNote: Your display shows a separate folder for each email account.send emails >gMessages >Emailuse a multimedia templateOpen a multimedia template with pre-installed media:s >gMessages >Templates >Multimedia Templatesread new message or emailWhen your display shows New Message, press Read.read old messagess >gMessages >InboxIcons next to each message show if it is read>, unread], urgent<, or has an attachment*. Press Options to perform various operations on a message.features](https://usermanual.wiki/Motorola-Mobility/T56HZ2.Exhibit-8-Users-Manual/User-Guide-852694-Page-50.png)
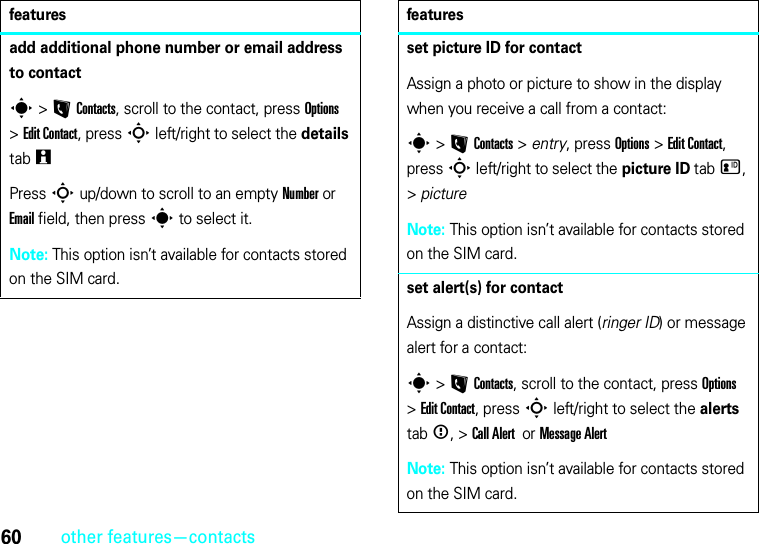
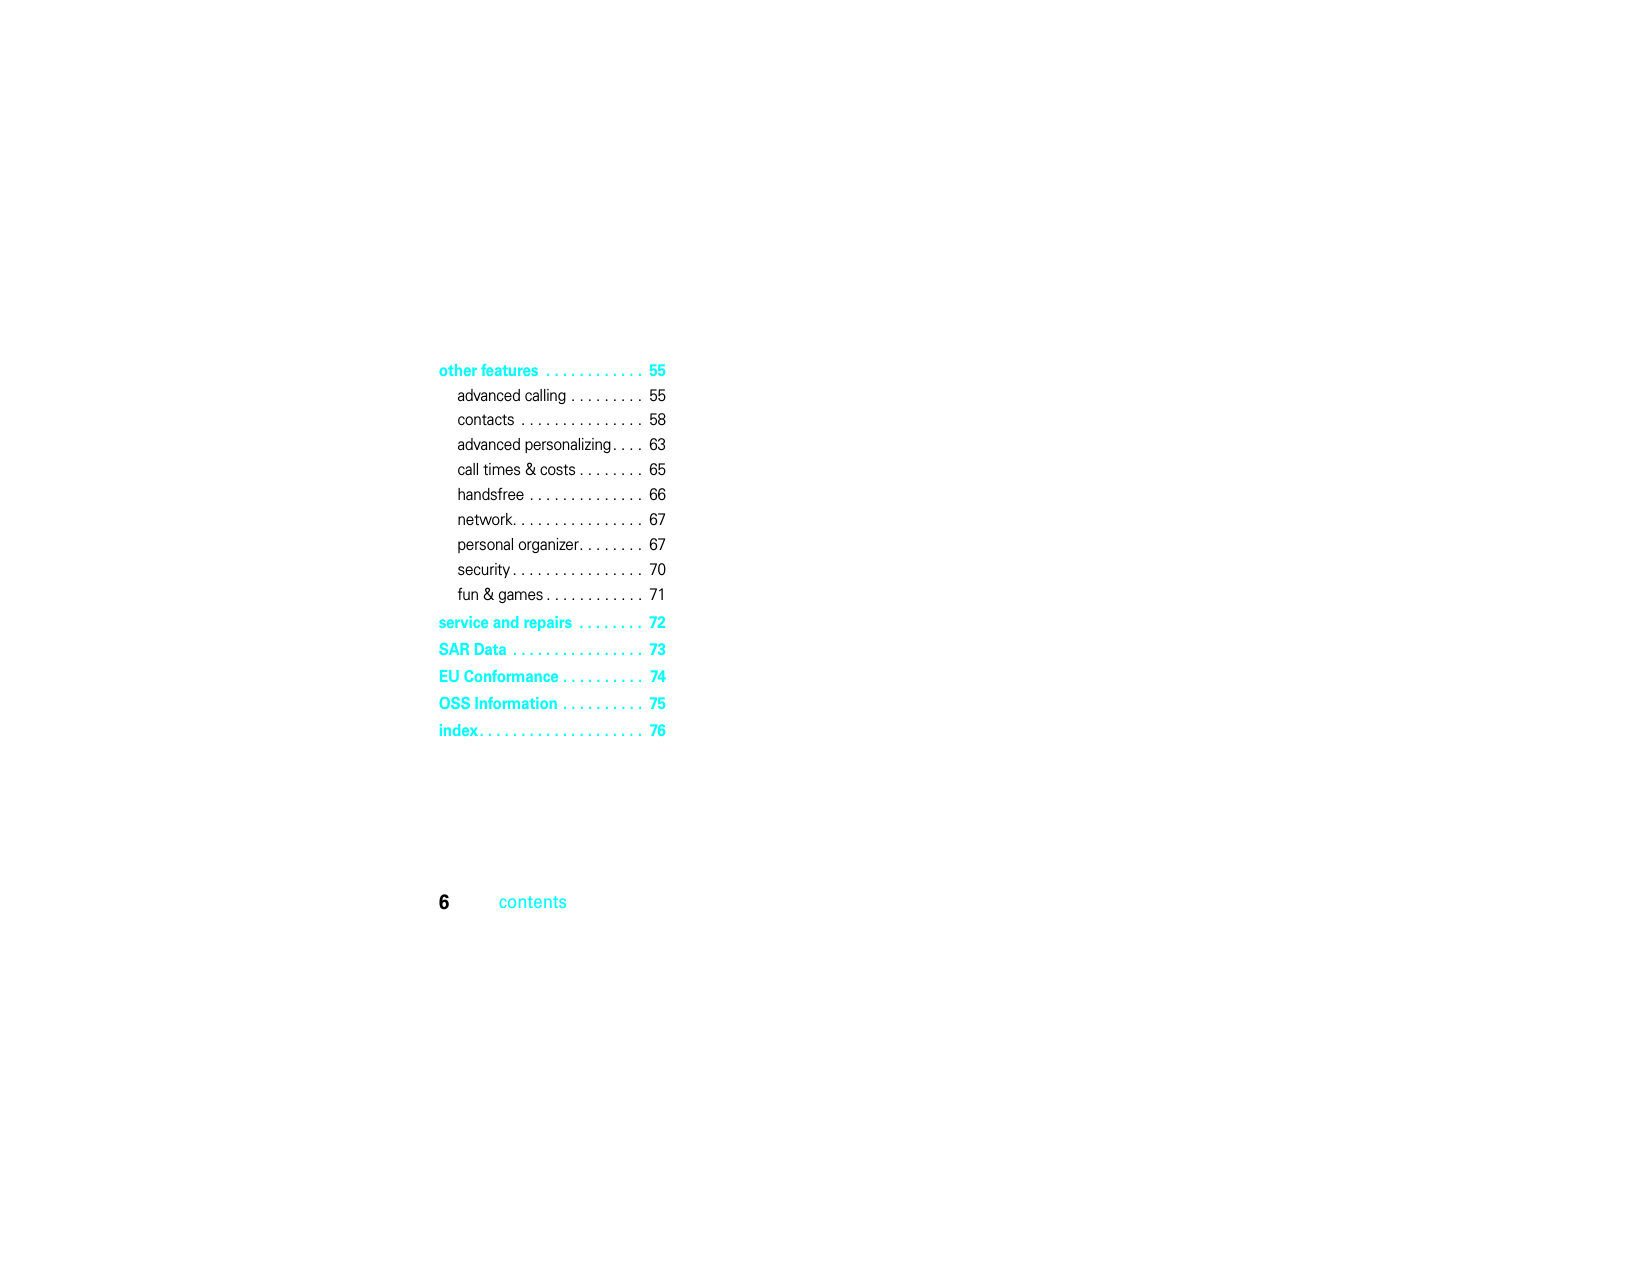
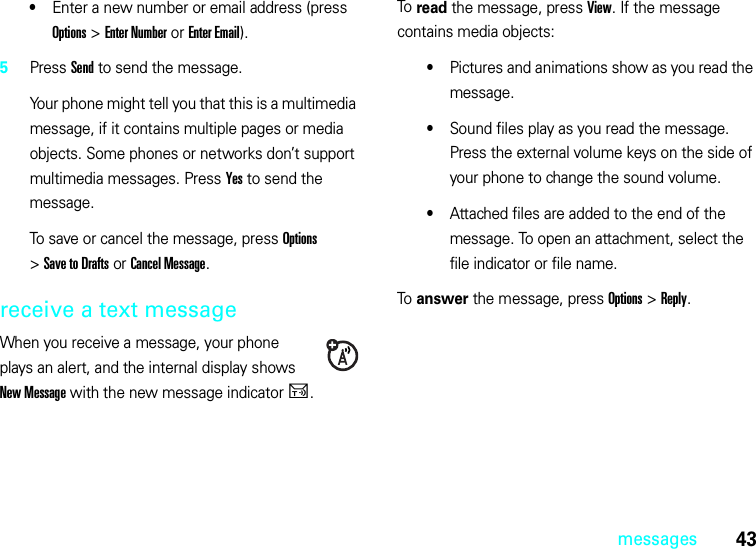
![46messagesinstant messagingUse instant messaging to share messages with your friends in real time.Find it: s >mOffice Tools >IM, scroll to your IM account, press LogInIf you don’t have an IM account, select [New Account] to create one.To find others online, select Contact List to see a list of other users.To start a conversation, scroll to a name in the Online Contacts list and press Send IM.To open an active conversation, scroll to a name in the Conversations list and press View.To end a conversation, press Options >End Conversation.To log out from your instant messaging session, press Options >LogOut.create or edit an IM accountTo create a new IM account:Find it: s >mOffice Tools >IM >[New Account]To edit an existing IM account:Find it: s >mOffice Tools >IM, scroll to an account, press Options>Edit Account](https://usermanual.wiki/Motorola-Mobility/T56HZ2.Exhibit-8-Users-Manual/User-Guide-852694-Page-52.png)
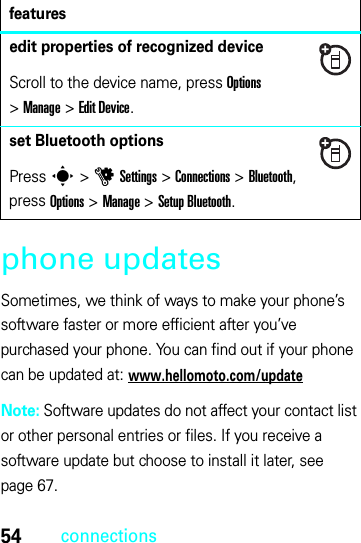
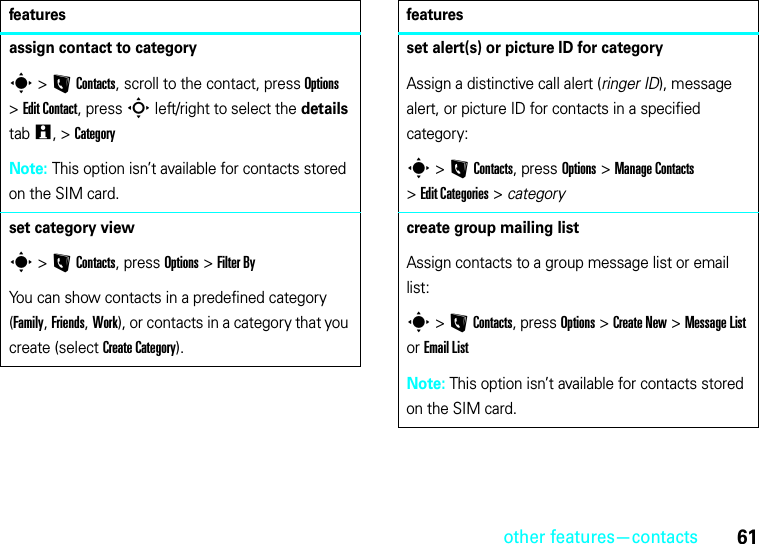
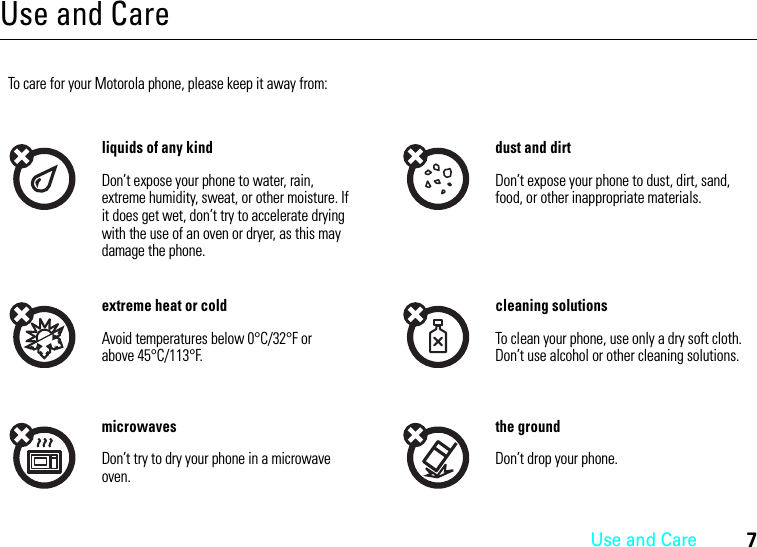
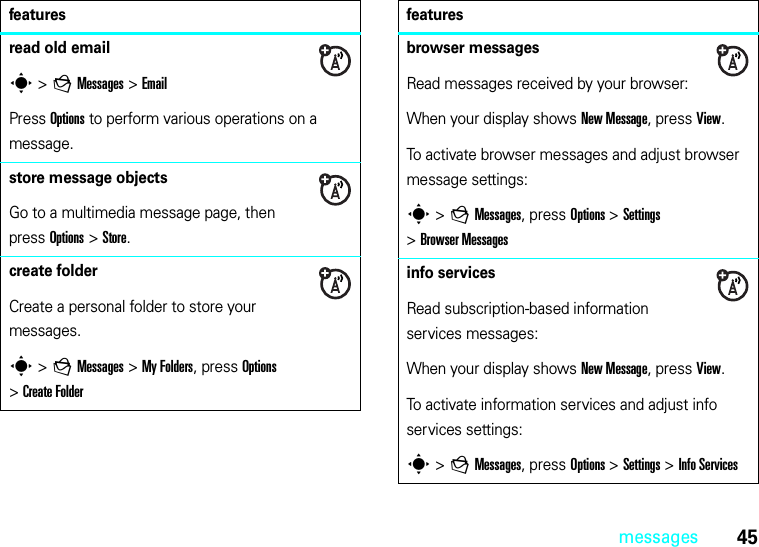
![51connectionsuse a Bluetooth headset or handsfree car kitBefore you try to connect your phone to a handsfree device, make sure the device is on and ready in pairing or bonding mode (see the device user’s guide). You can connect your phone with only one device at a time.Find it: s >uSettings >Connections >Bluetooth, press Options >Search For Device >HeadsetYour phone lists the devices it finds within range. 1Scroll to a device in the list.2Press s to connect with the highlighted device.copy files to another deviceYou can copy a media file, contact, calendar event, or bookmark to another phone or computer that supports Bluetooth connections.Note: You can’t copy some copyrighted objects.Before you try to copy a file to another device, make sure the receiving device is on and ready in discoverable mode. Also, make sure the device is not busy with another Bluetooth connection. 1On your phone, scroll to the object that you want to copy to the other device.2Press Options, then select:•Send To >Bluetooth for an image or sound file.•Send Contact Via >Bluetooth for a contact.•Share Event Via >Bluetooth for a calendar event.•Share PageVia >Bluetooth for a bookmark.3Select a recognized device name.orSelect [Search For All Devices] to search for new devices, then select the device where you want to copy the object.](https://usermanual.wiki/Motorola-Mobility/T56HZ2.Exhibit-8-Users-Manual/User-Guide-852694-Page-57.png)
![53connections2Select a recognized printer name, or [Search For Printers] to search for another printer where you want to send the image.Note: If a printer is already listed in the My Printers list, press s right and select Search for All Printers to search for another printer.3If available, modify print options.advanced Bluetooth featuresNote: A device is recognized after you connect to it once (see page 51).featurespair with recognized devicePress s >uSettings >Connections >Bluetooth, press S left/right to select the My Devices list, press S up/down to scroll to the device name, press s to connect.drop connection with deviceScroll to the device name and press Options >Manage >Disconnect Device.remove device from device listScroll to the device name and press Options >Manage >Remove Device.Note: You can’t remove a device from the list while your phone is connected to the device.switch audio to Bluetooth headset or Bluetooth car kit during callPress Options >Use Bluetooth.To switch audio back to the phone, press Options >Use Handset.features](https://usermanual.wiki/Motorola-Mobility/T56HZ2.Exhibit-8-Users-Manual/User-Guide-852694-Page-59.png)