Motorola Mobility T56JA1 Portable Cellular/ PCS CDMA Transceiver with BT User Manual Singapore
Motorola Mobility LLC Portable Cellular/ PCS CDMA Transceiver with BT Singapore
UserManual.wiki
>
Motorola Mobility
>
T56JA1 User Manual
Exhibit 8 Users Manual
Navigation menu
Upload a User Manual
Namespaces
Wiki Guide
HTML
PDF
Info
Views
User Manual
Discussion / Help
Navigation
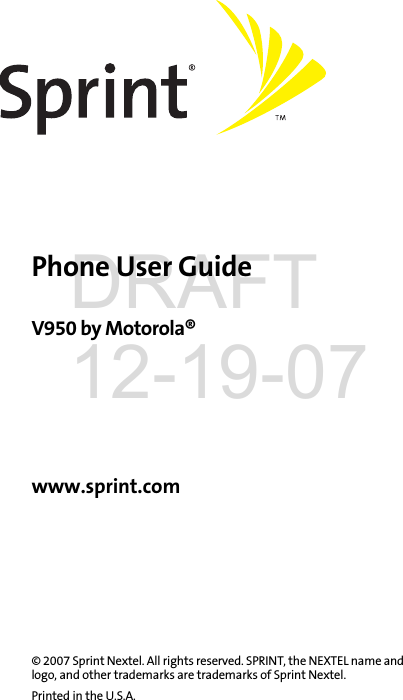
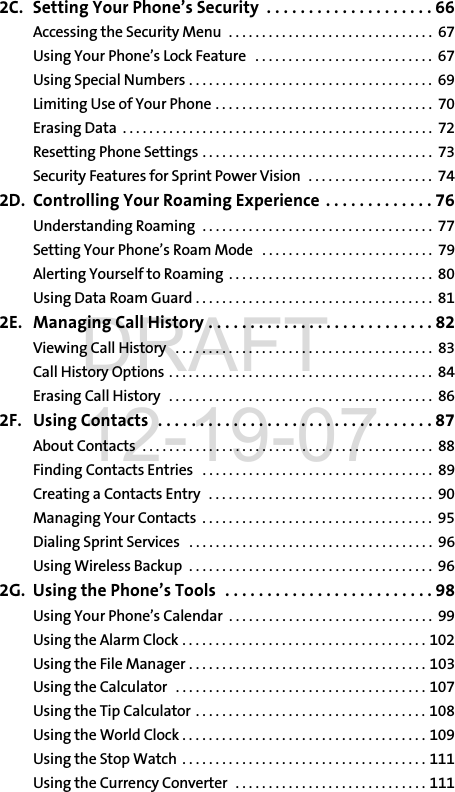


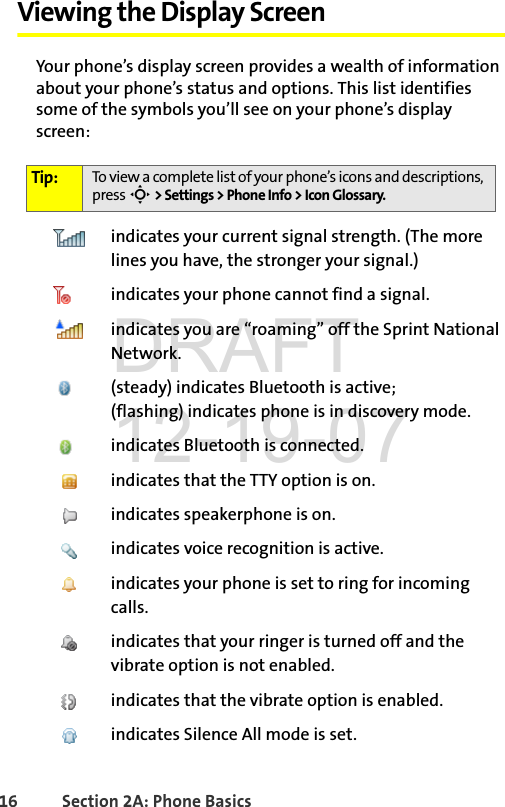


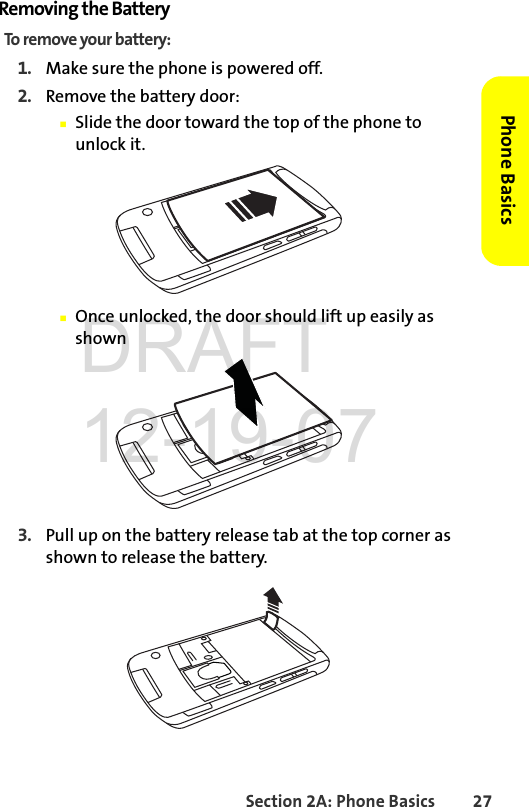

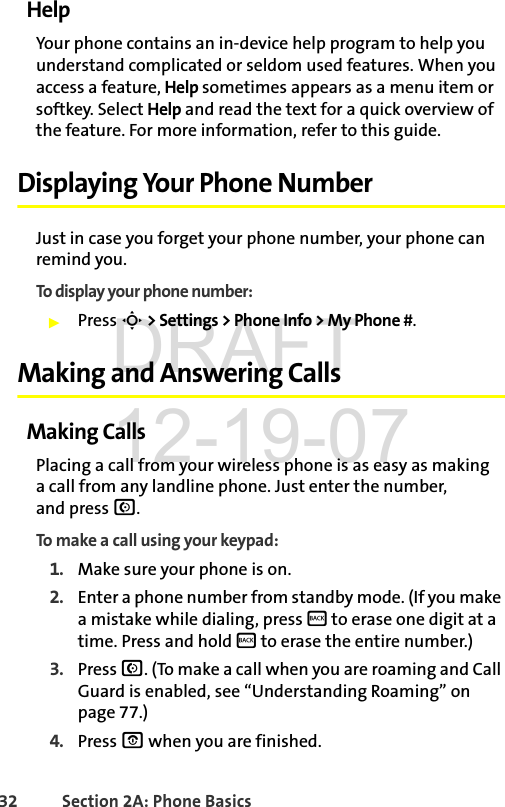


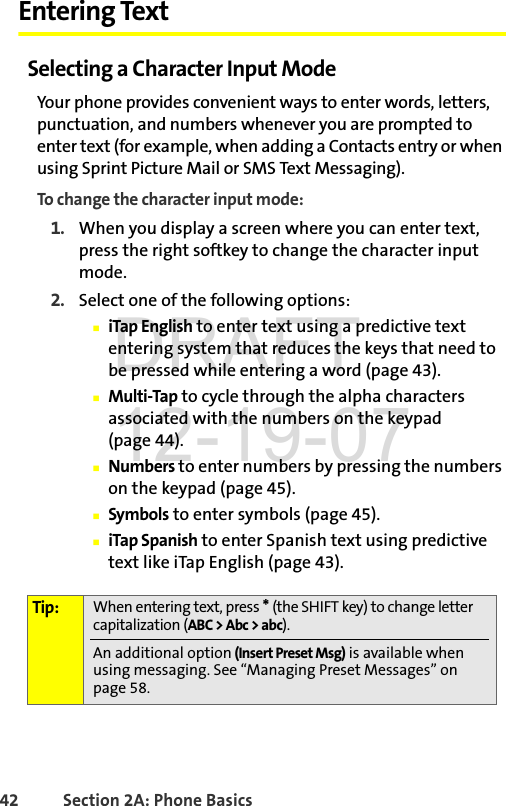


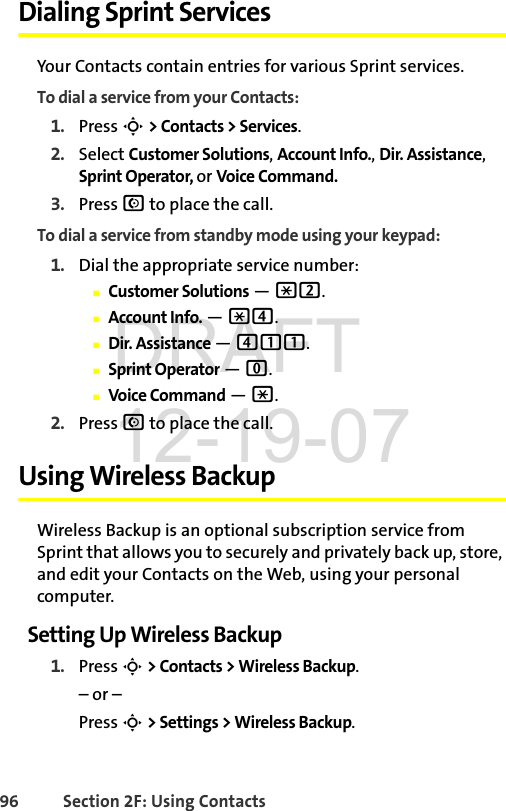
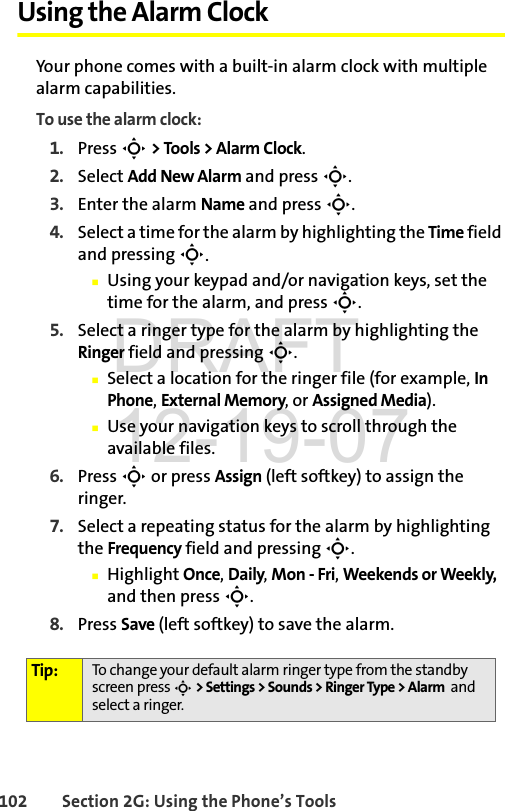
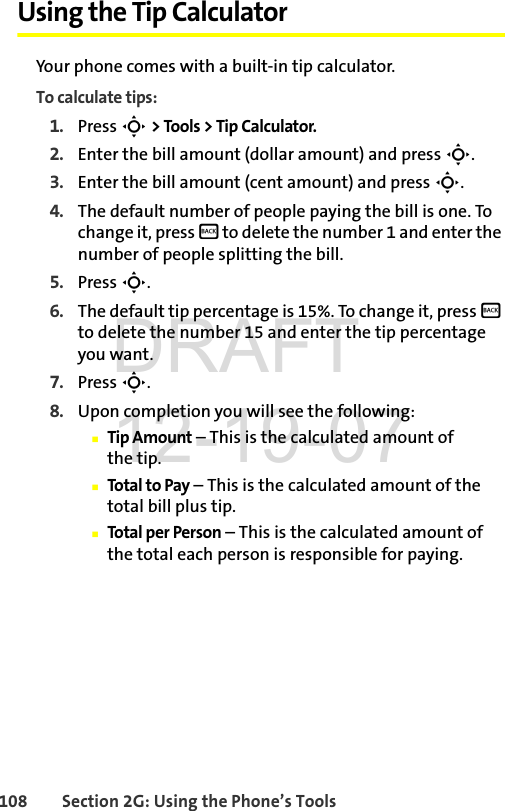
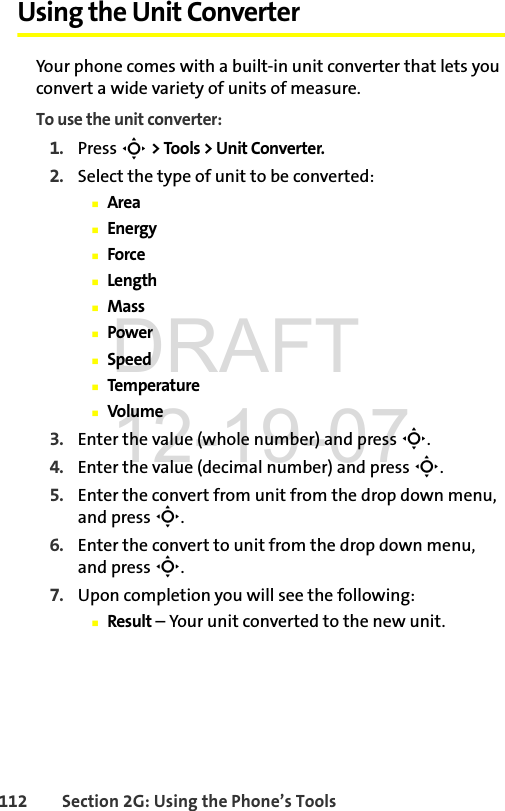
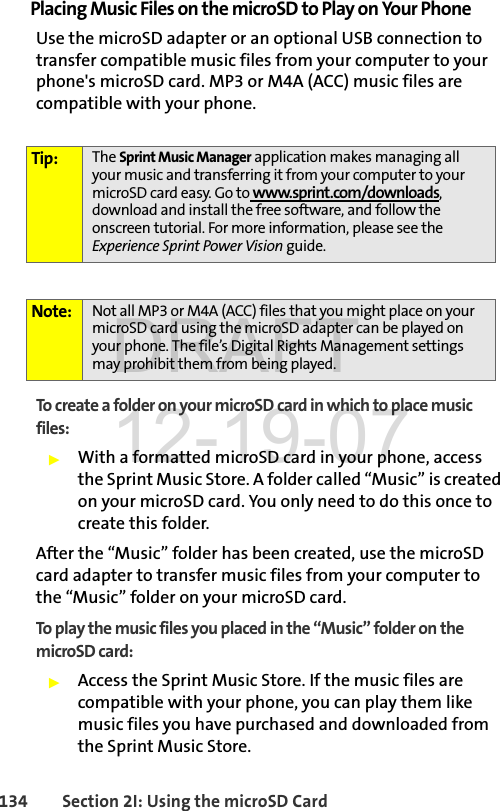
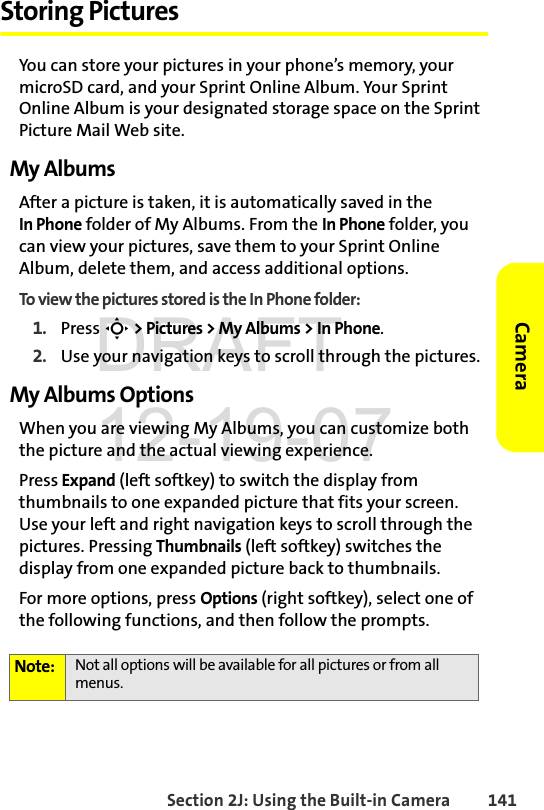
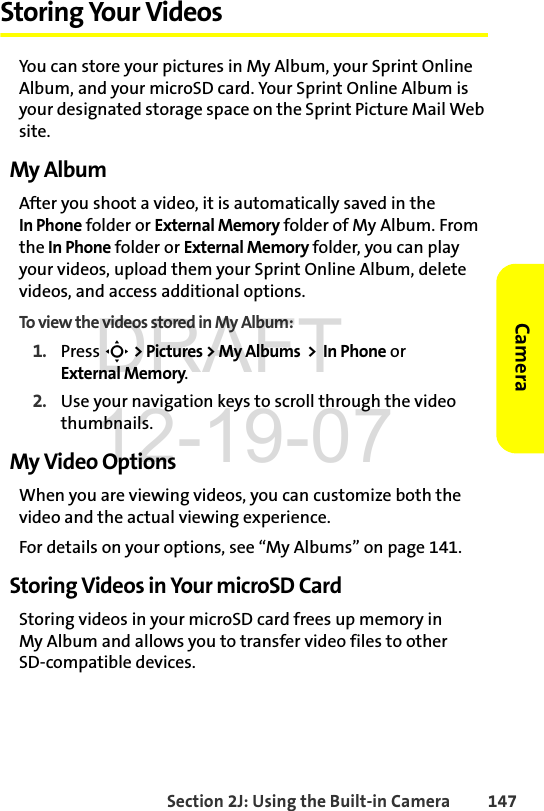
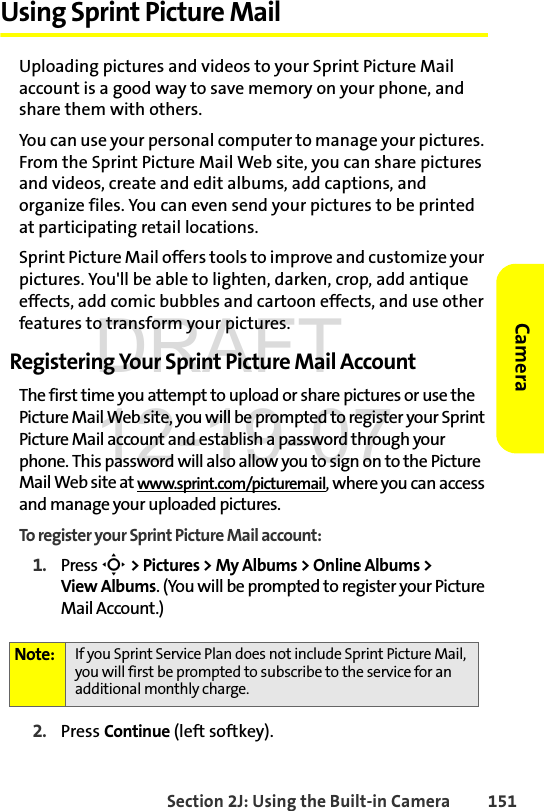
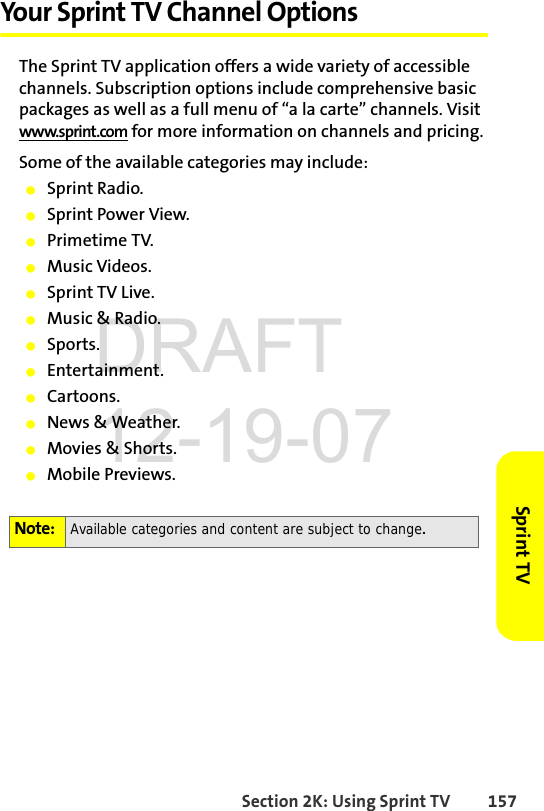
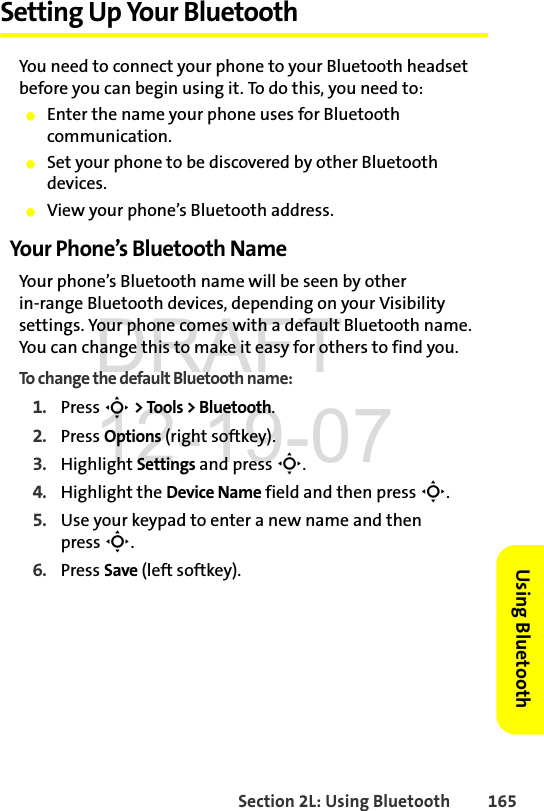
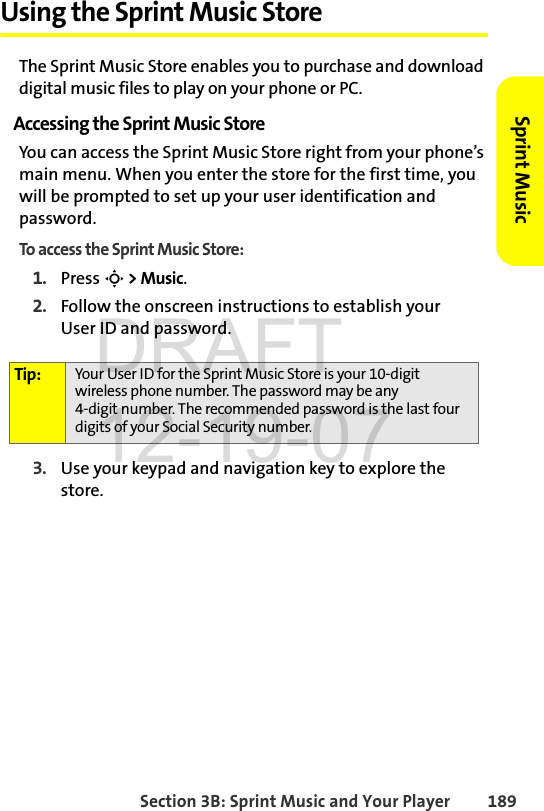
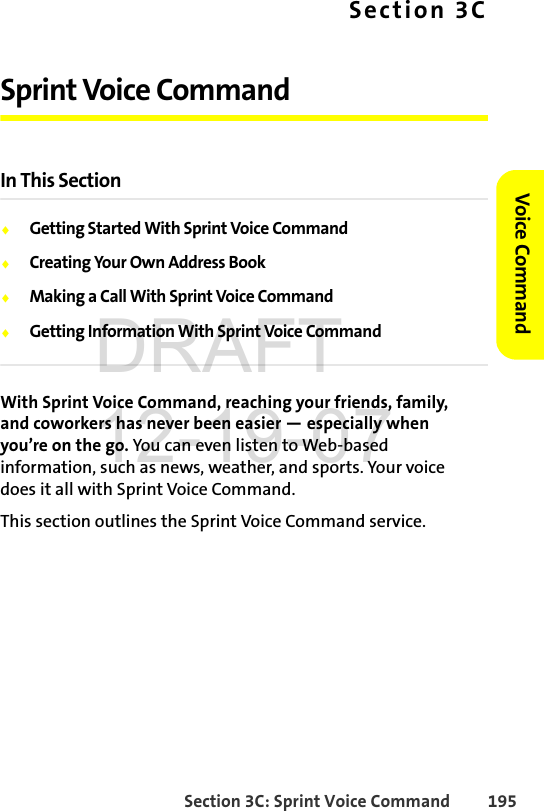
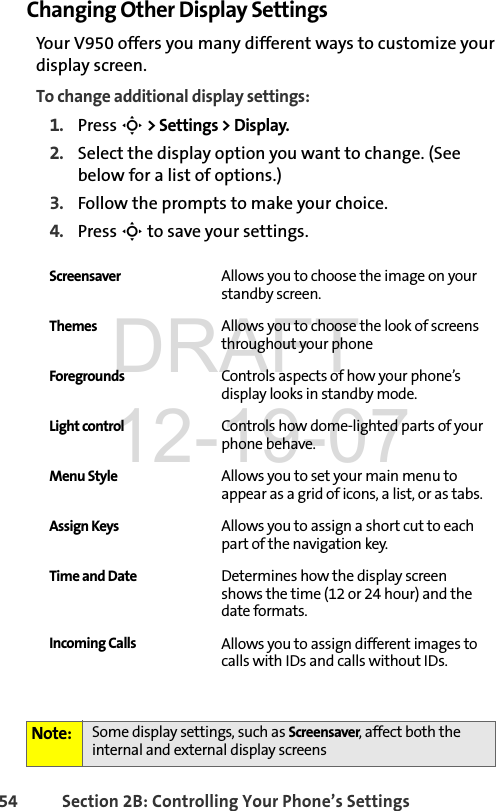
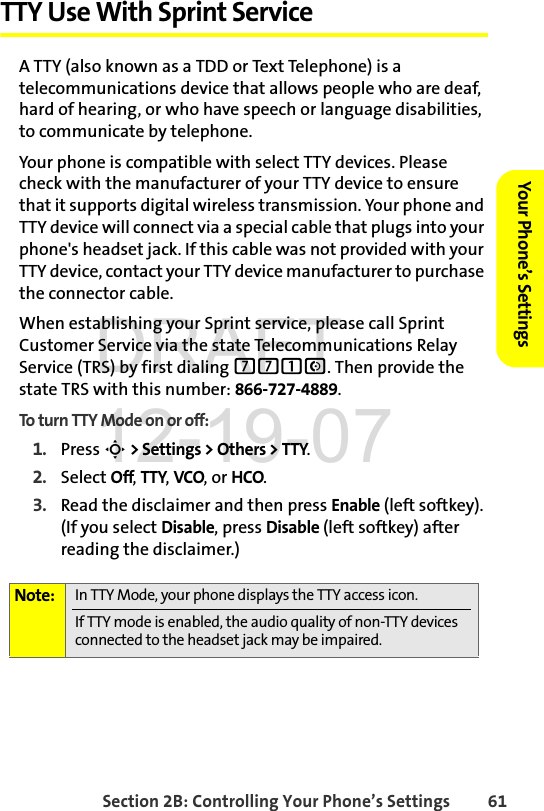
![Section 2A: Phone Basics 45Phone Basicsthe cursor automatically advances to the next space after two seconds or when you enter a character on a different key.Characters scroll in the following order: Entering Numbers and SymbolsTo enter numbers:ᮣSelect the Numbers mode and press the appropriate key. (See“Selecting a Character Input Mode” on page 42.)To enter symbols:ᮣSelect the Symbols mode. (See“Selecting a Character Input Mode” on page 42.) To enter a symbol, press the appropriate key indicated on the display screen.1. , @ 1?!*#2A B C 23D E F 34G H I 45J K L 56M N O 67P Q R S 78T U V 89W X Y Z 900 + (shift)#[function]*SpaceDRAFT 12-19-07](https://usermanual.wiki/Motorola-Mobility/T56JA1/User-Guide-901246-Page-63.png)


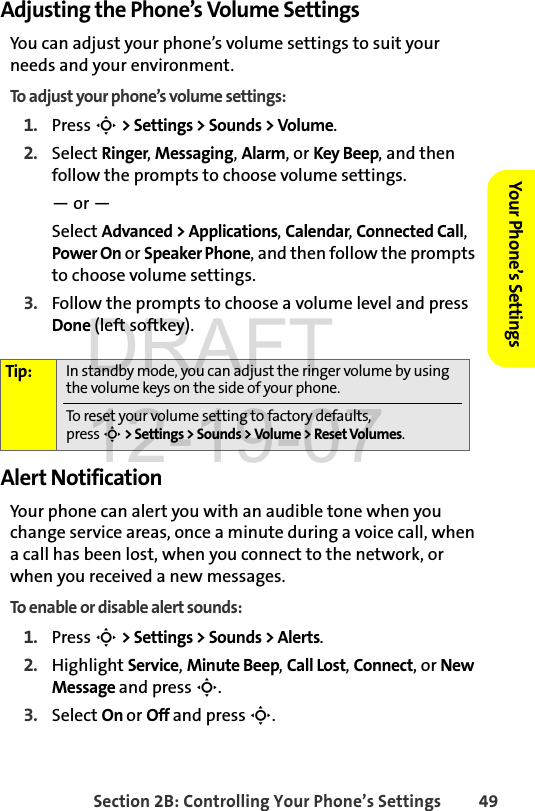


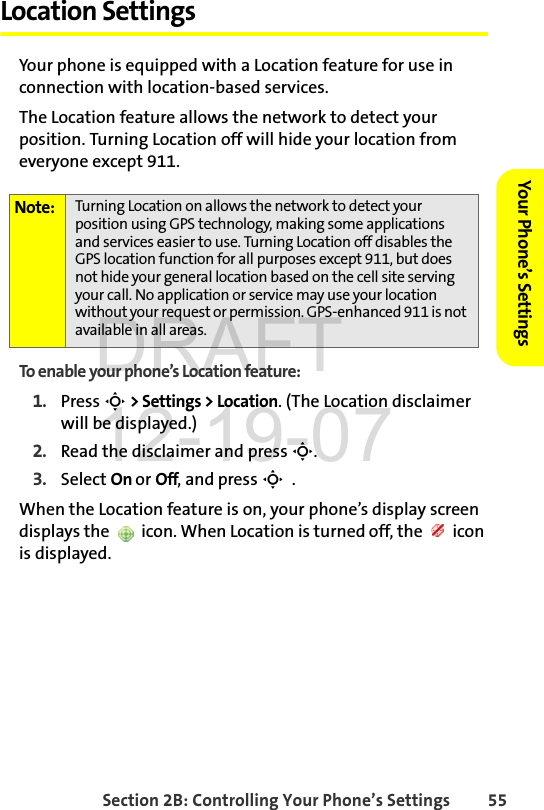


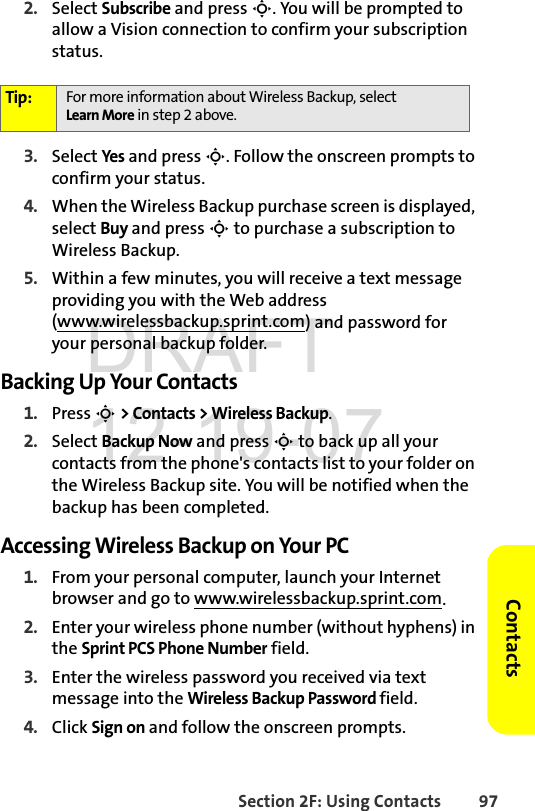
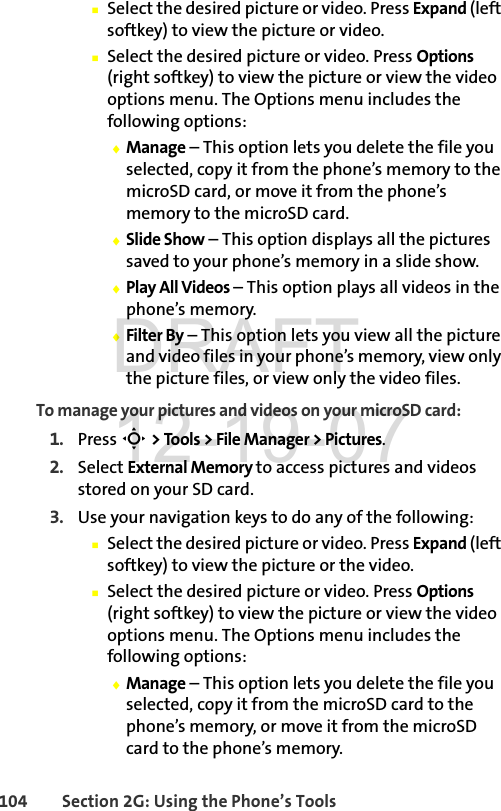
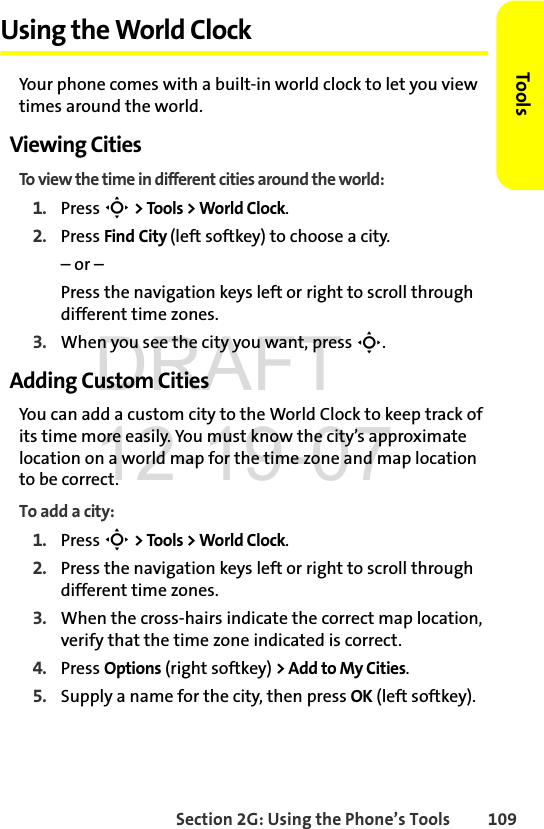
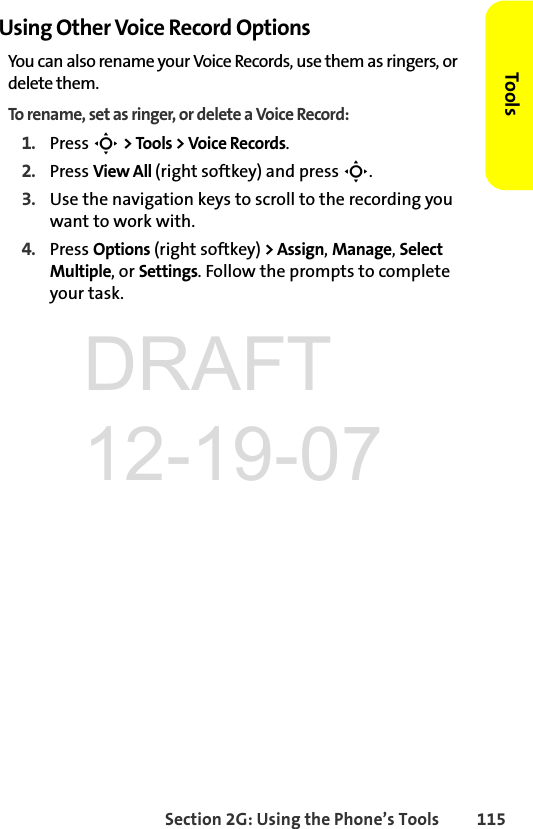
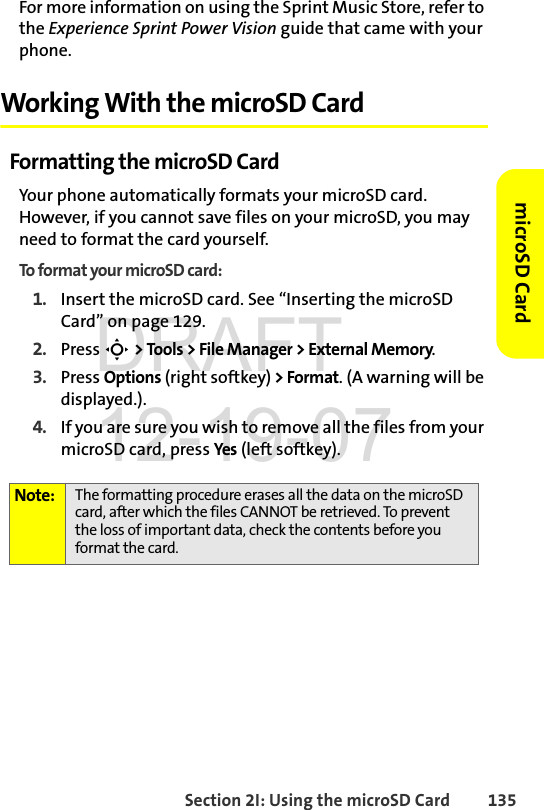
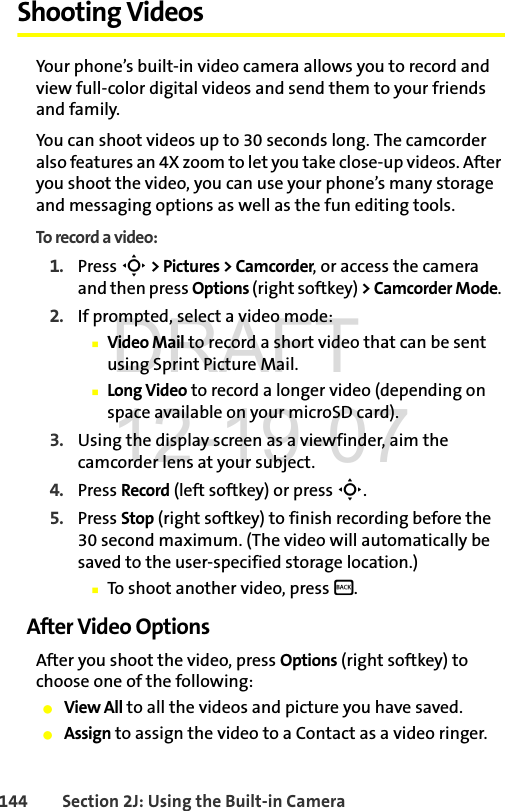
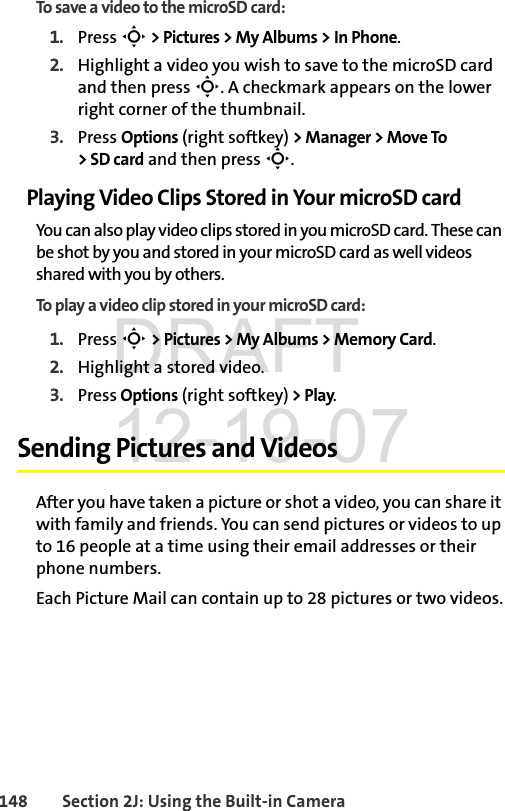
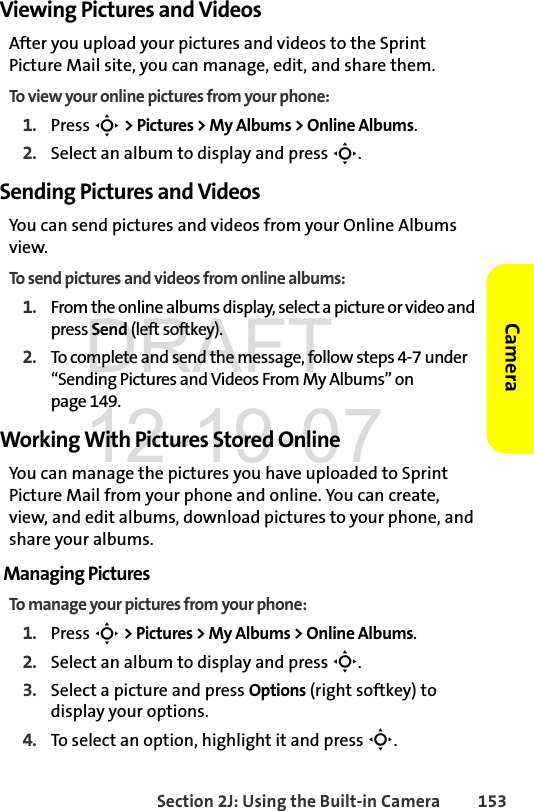
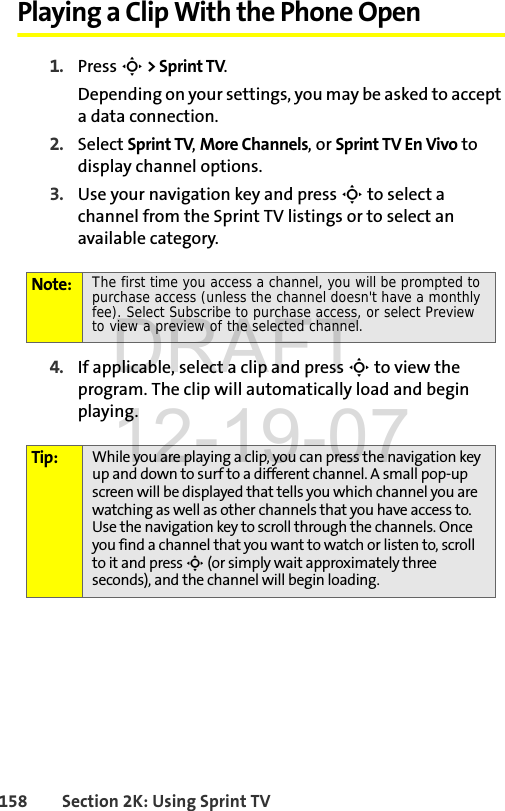
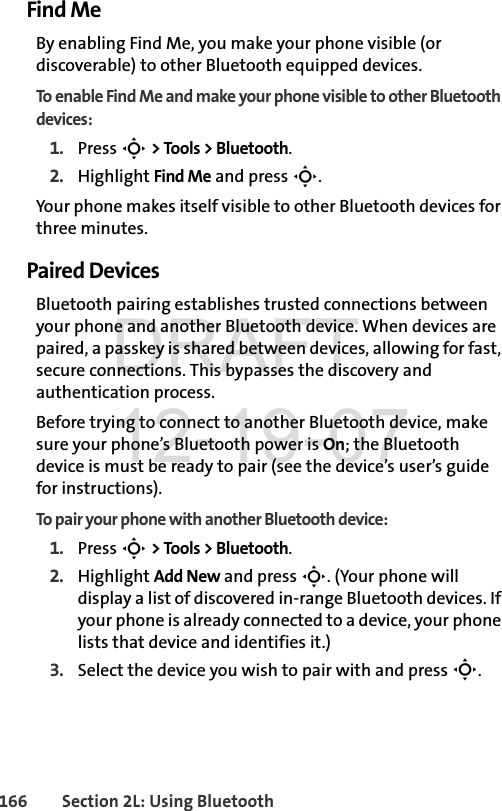
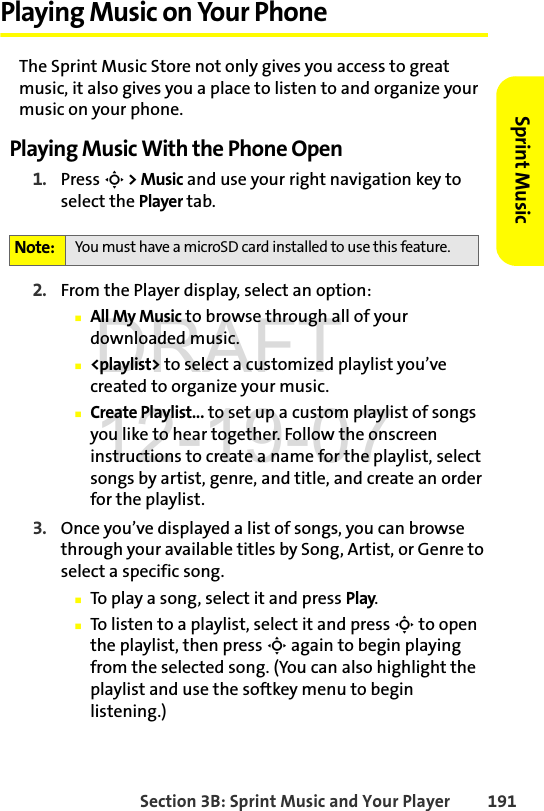
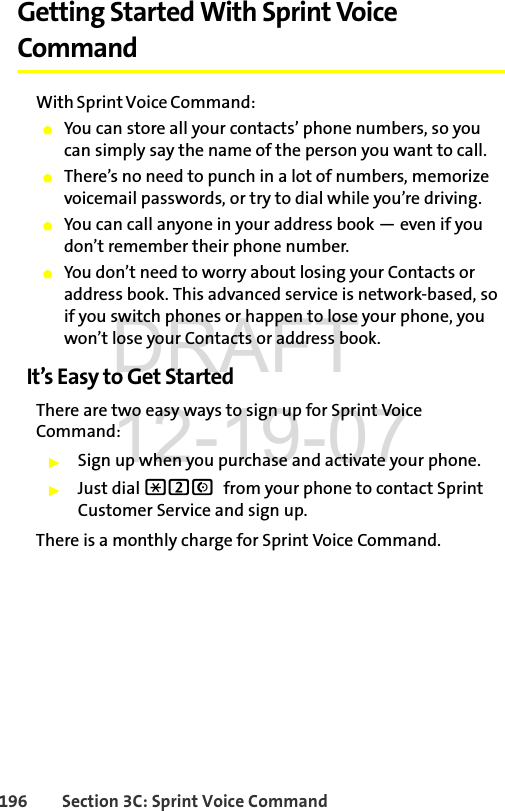
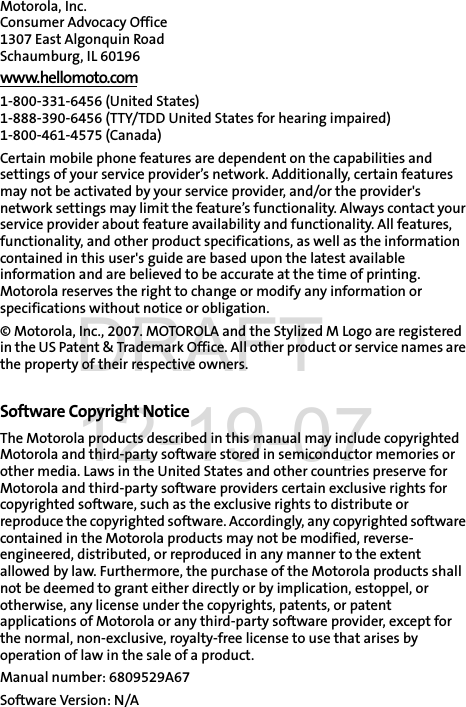
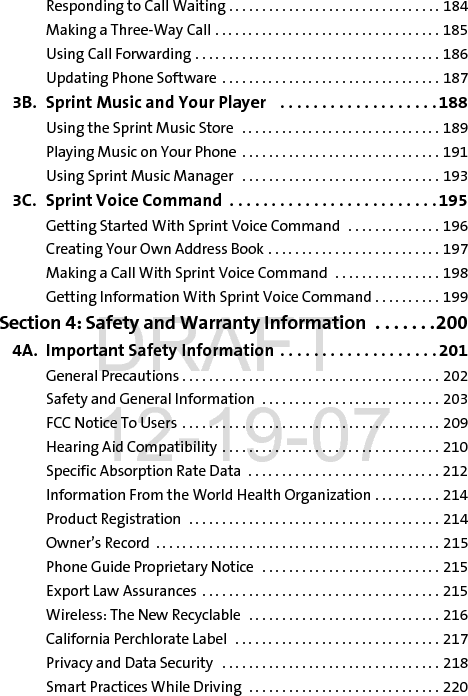
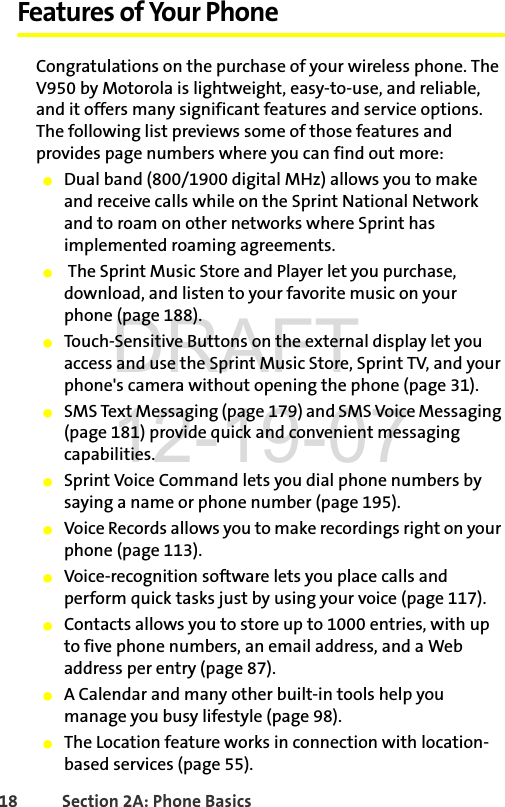
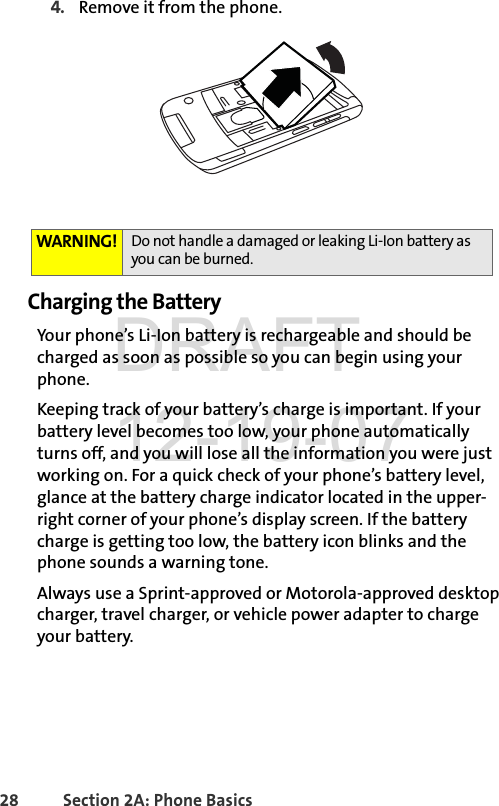
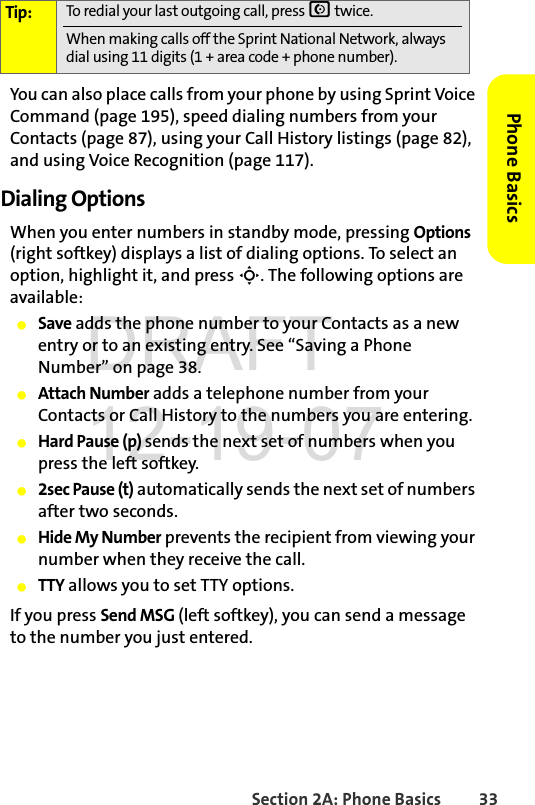
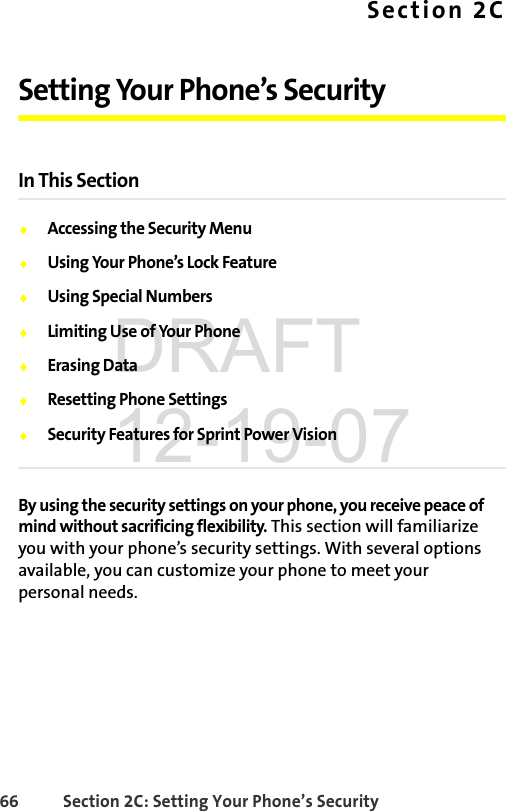
![Section 2B: Controlling Your Phone’s Settings 63Your Phone’s SettingsPhone Setup OptionsShortcutsYour phone offers you the option of assigning shortcuts to your favorite or often-used functions. Pressing the navigation key up, down, left, or right in standby mode launches your personally designated shortcuts. To assign your shortcuts:1. Press S > Settings > Display > Assign Keys.2. Select the navigation key direction and press S.3. Select the desired shortcut and press S.Call Answer ModeYou can determine how to answer incoming calls on your phone.To set call answer mode:1. Press S > Settings > Others > Call Setup > Answer Options.2. To select an option, highlight it and press S.ⅢOpen allows an incoming call to be answered by opening the phone when it is closed.ⅢAny Key allows an incoming call to be answered by pressing any key.Ⅲ[TALK] Key allows an incoming call to be answered only by pressing N.Tip: You can choose to show or hide the navigation keys on your screen. Go to S > Settings > Display > Foregrounds > Navigation Key Display and select Hide or Show. If you choose to hide the shortcuts, you can still use them by pressing the appropriate navigation key. DRAFT 12-19-07](https://usermanual.wiki/Motorola-Mobility/T56JA1/User-Guide-901246-Page-81.png)
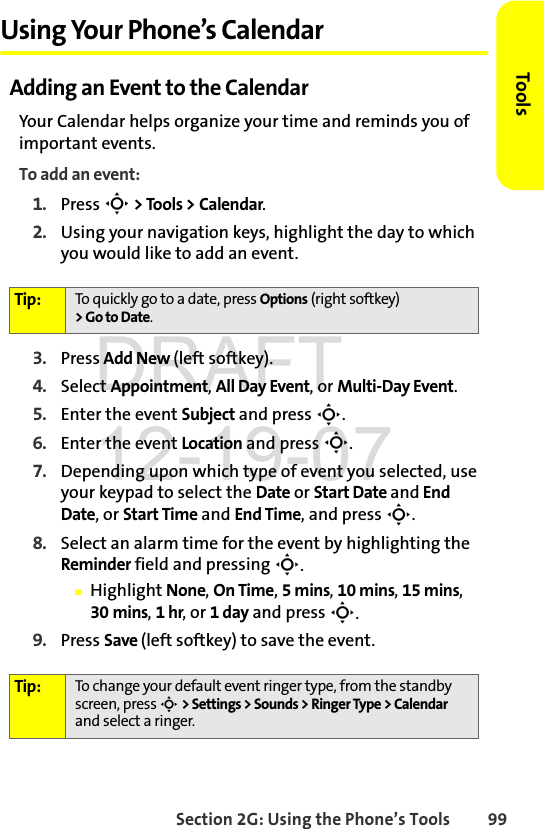
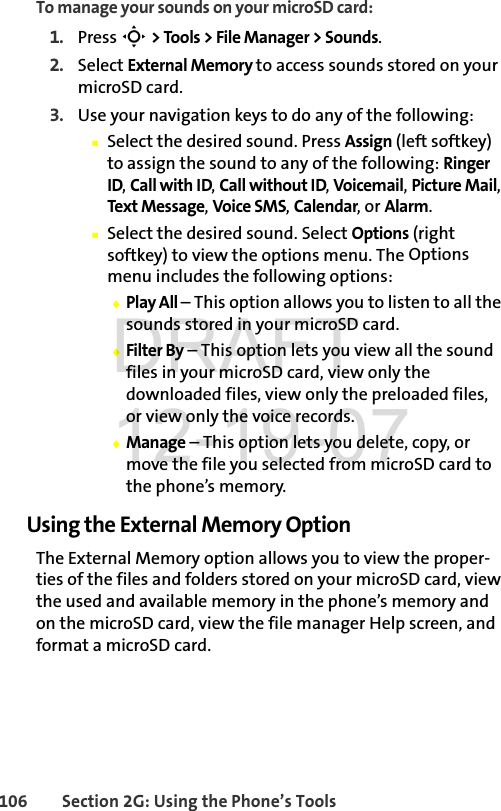
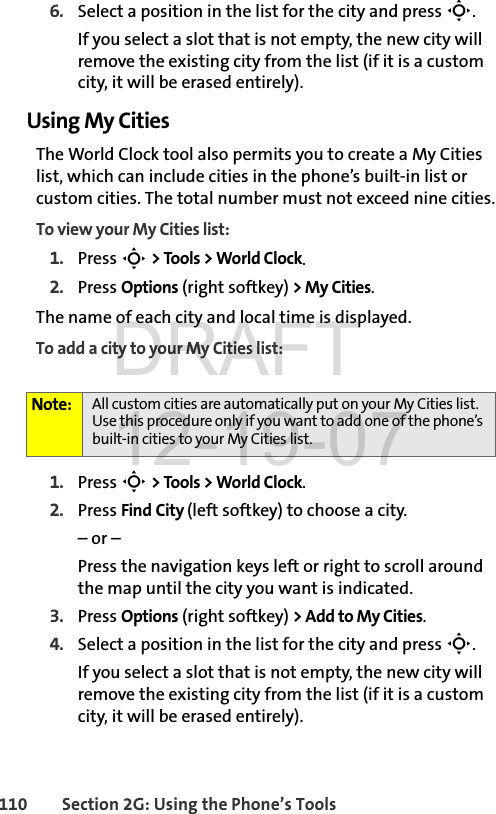
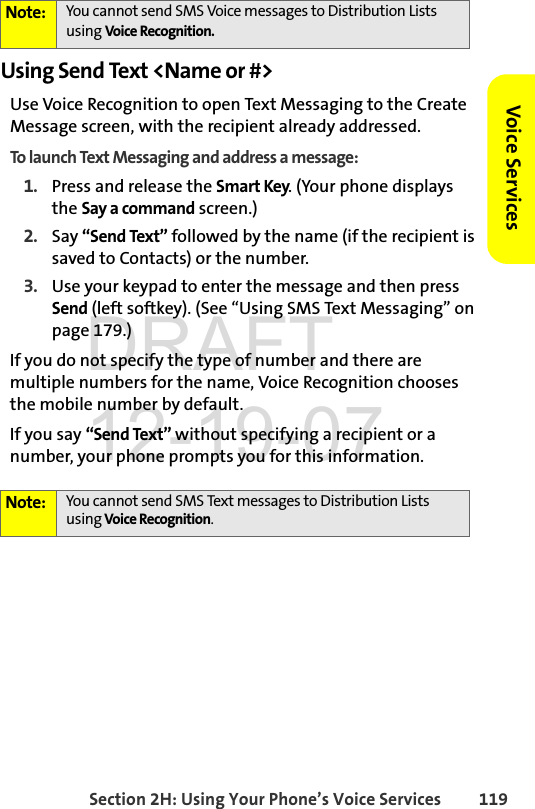
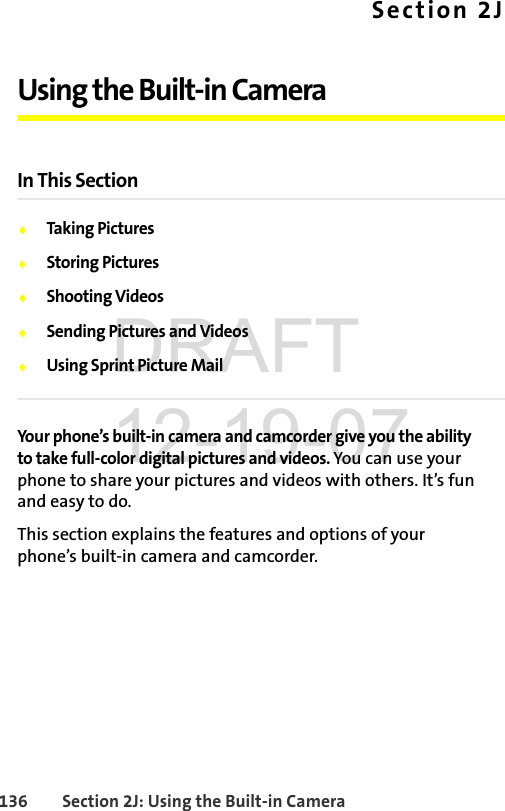
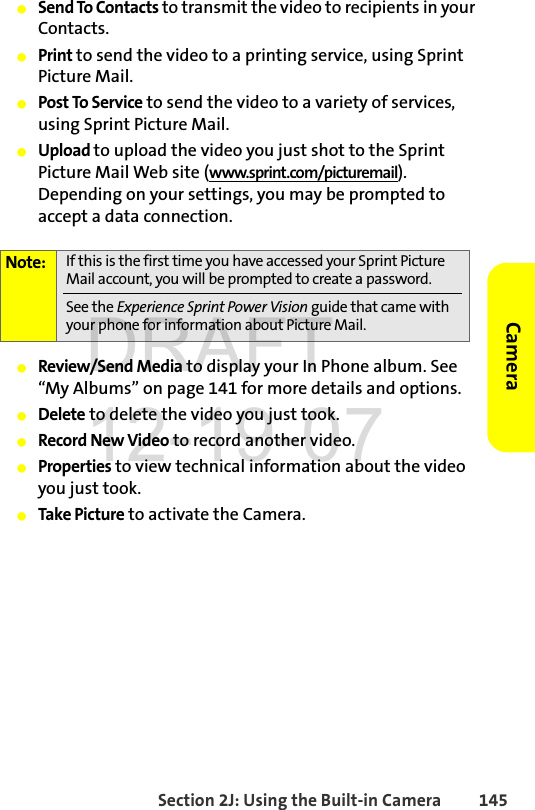
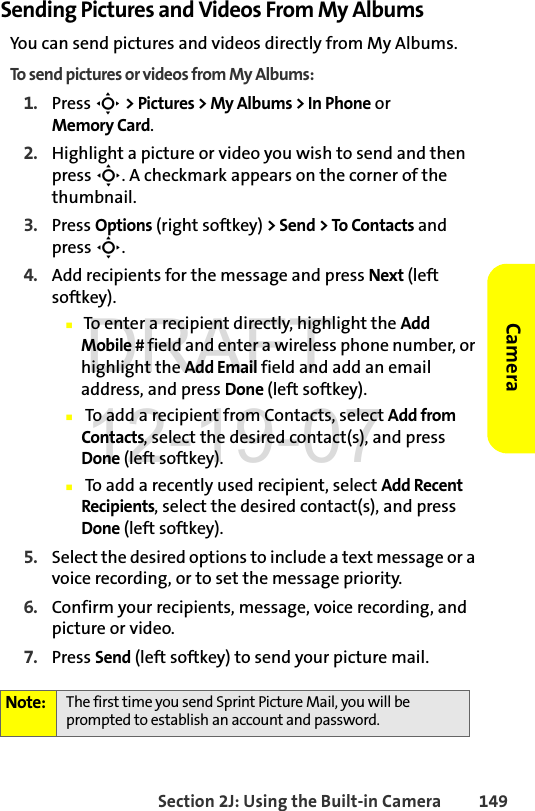
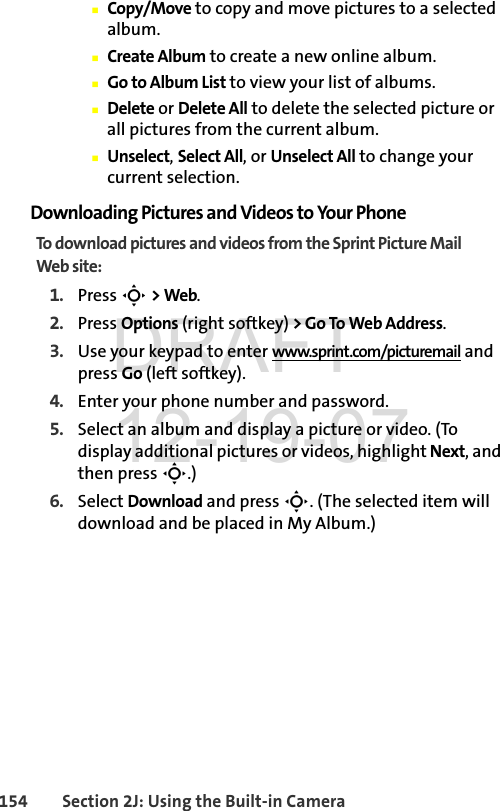
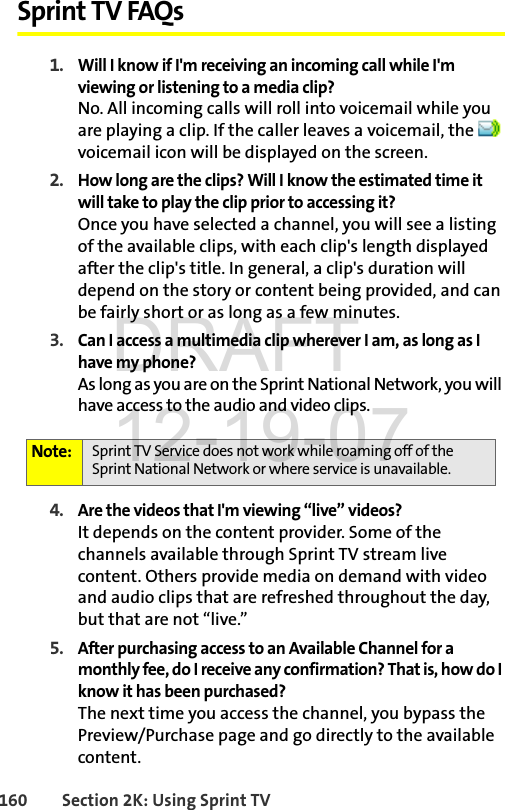
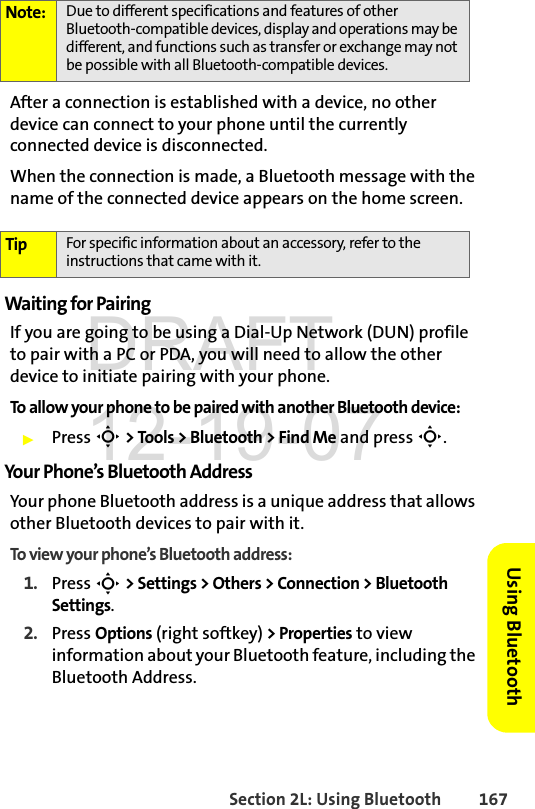
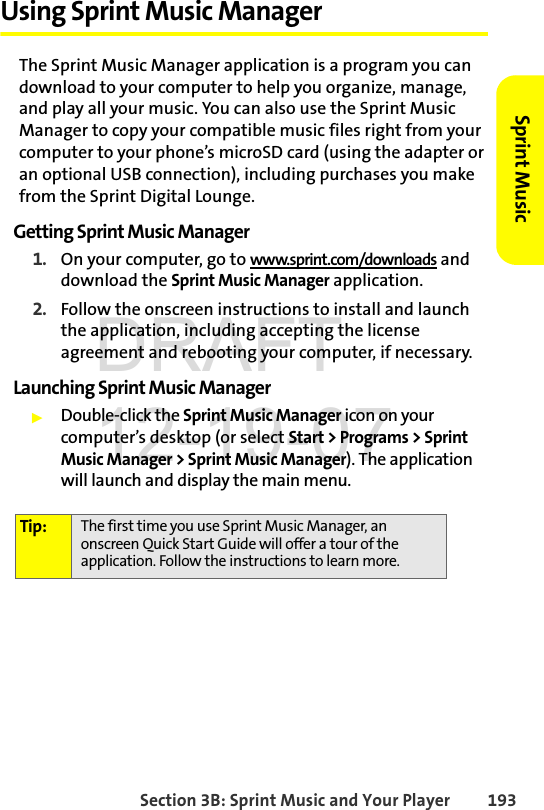
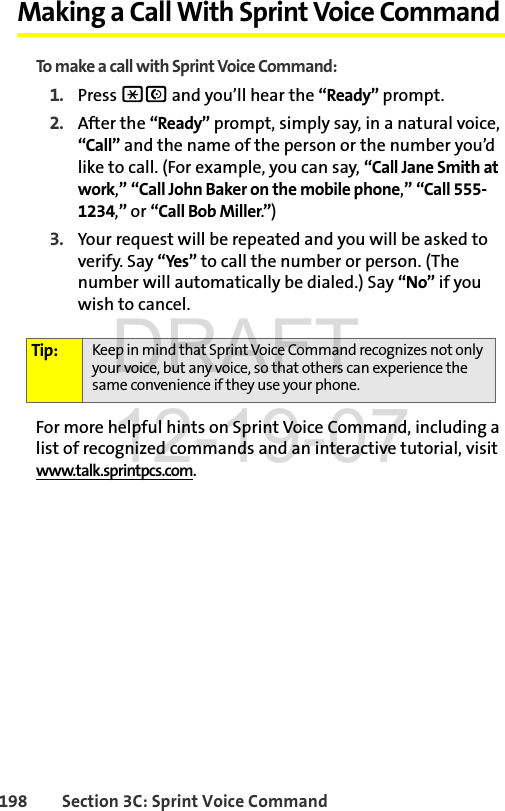
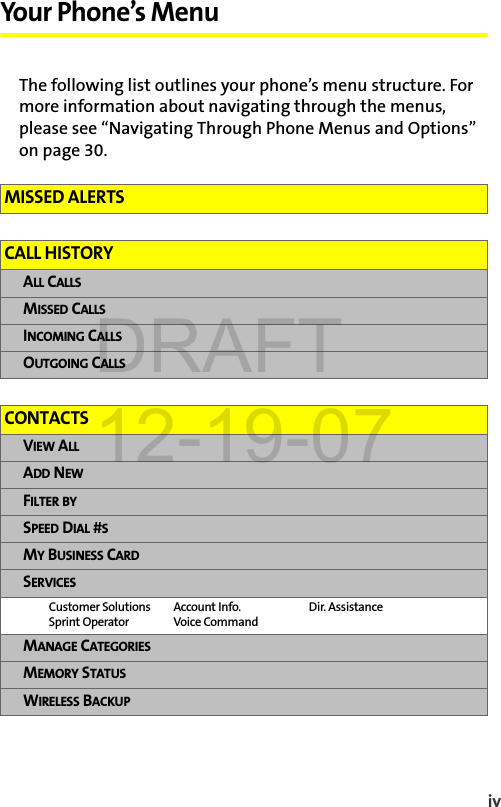
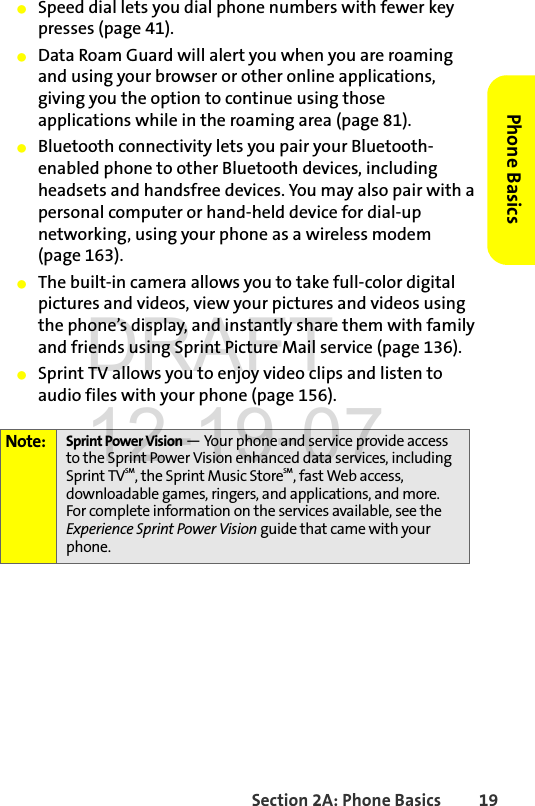
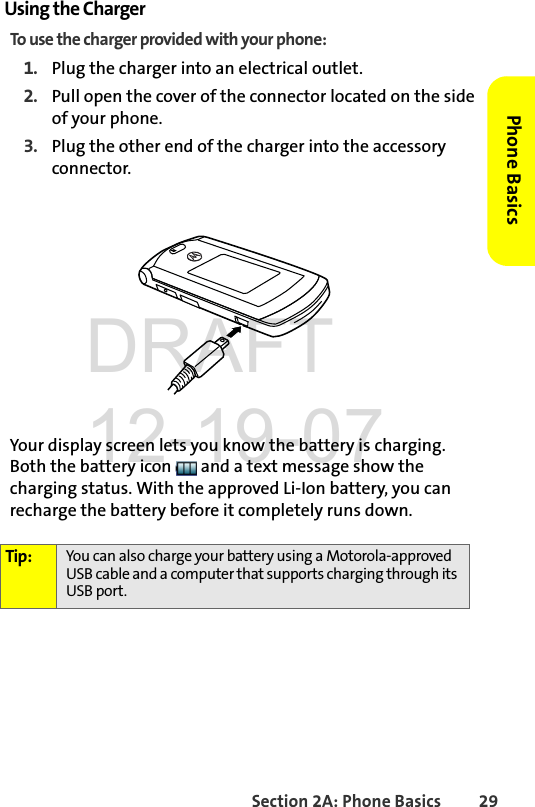
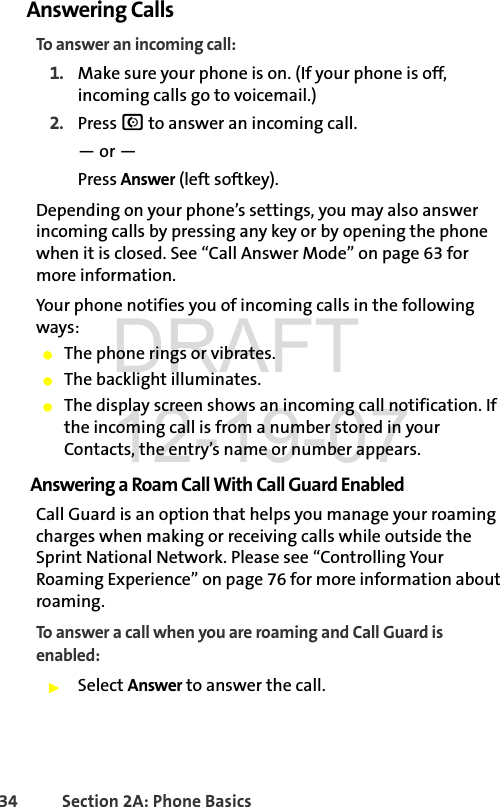
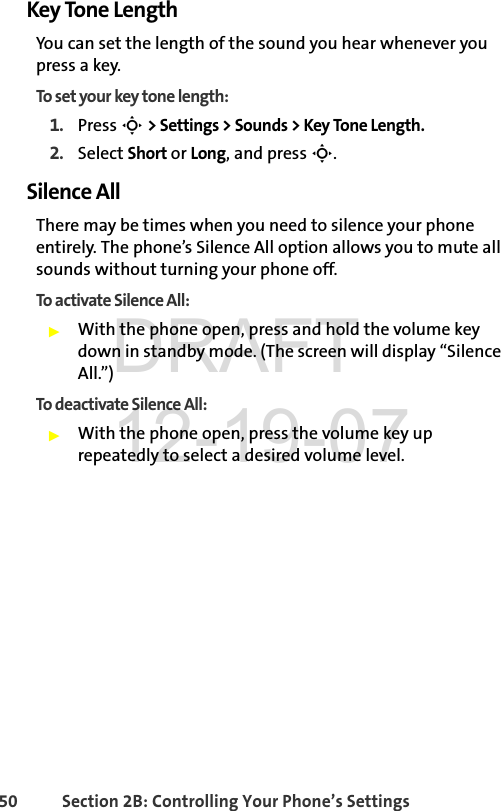
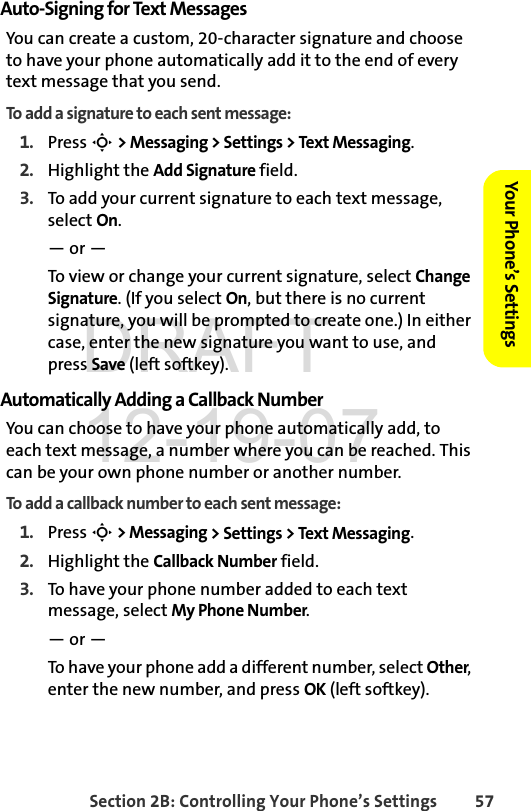
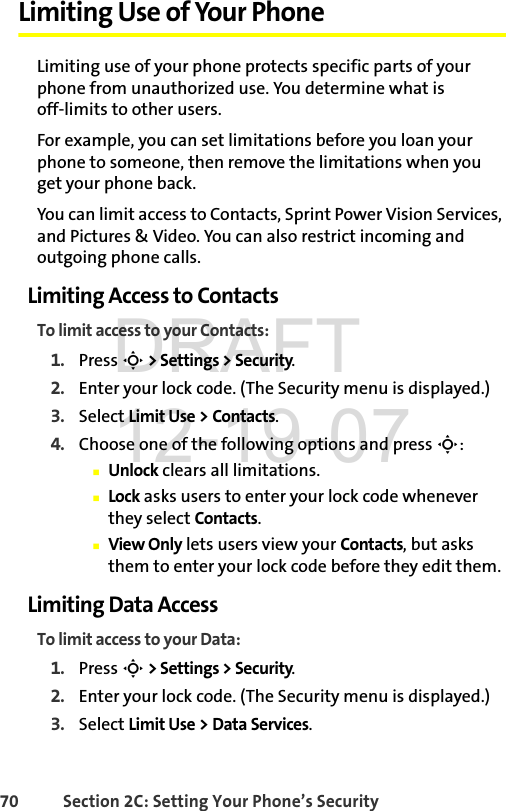
![64 Section 2B: Controlling Your Phone’s SettingsCalling OptionsYou can set up your phone to make dialing numbers quick and easy. To set special options to make dialing easier:1. Press S > Settings > Others > Call Setup. 2. Select the calling option you want to use. (See below for a list of options.) 3. Follow the prompts to make your choice. 4. Press S to save your settings. Abbreviated Dial Allows you to dial numbers sharing the same beginning digits by dialing only the last four. Enter the first five or six digits (for example, area code and prefix) you want to prepend when using Abbreviated Dialing. Answer Options Allows you to select [TALK] Key, Any Key, or Open to answer the phone.Auto Answer Automatically picks up incoming calls when connected to an optional hands-free car kit. (Auto-Answer picks up calls even if you are not present.)Auto Redial Redials a number if a call did not connect as a result of network difficulties.Speed Dial Allows you to dial entries using fewer key presses. DRAFT 12-19-07](https://usermanual.wiki/Motorola-Mobility/T56JA1/User-Guide-901246-Page-82.png)


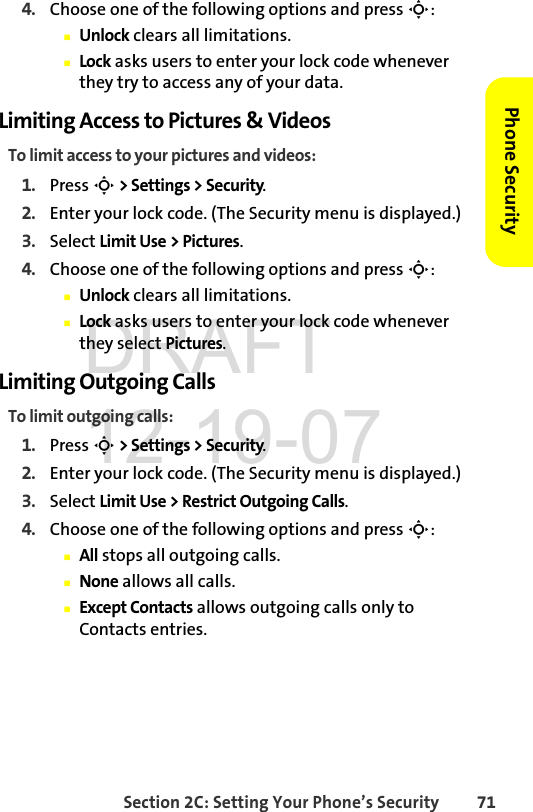


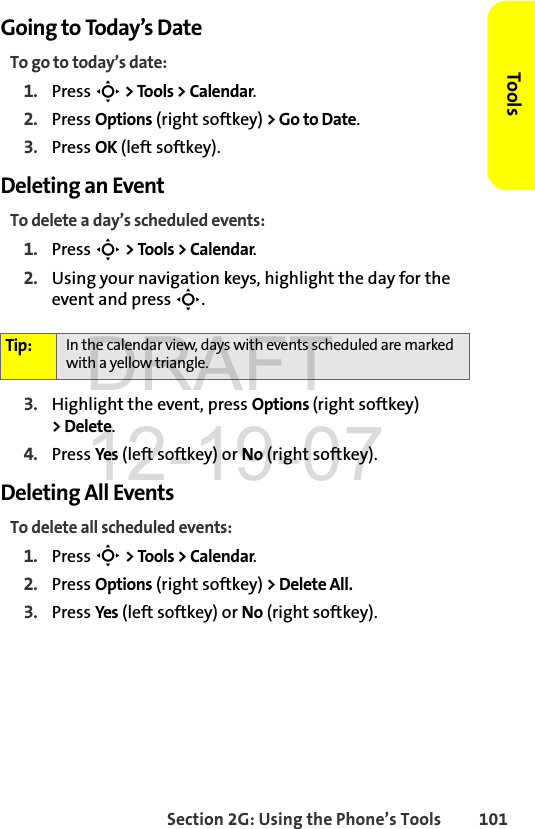
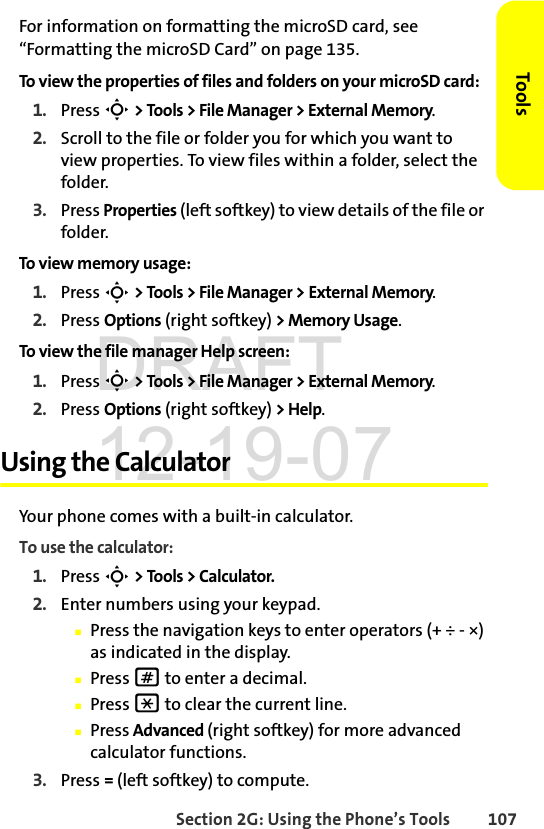
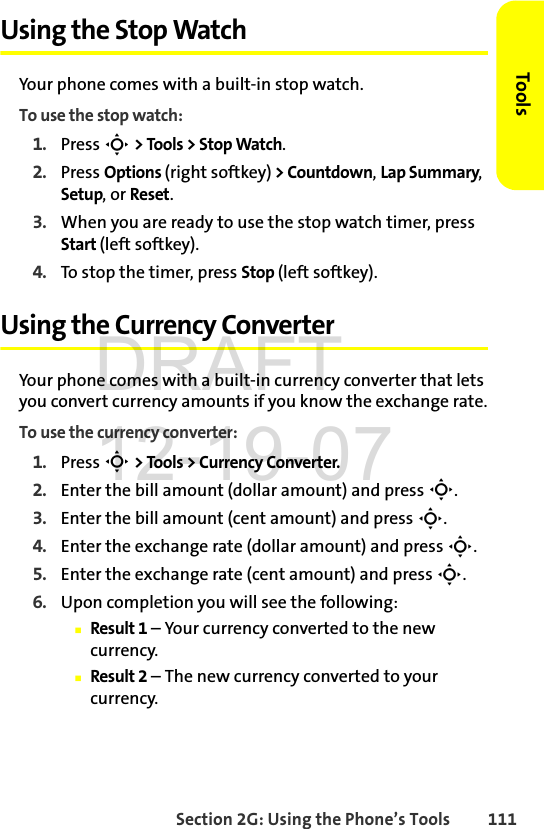
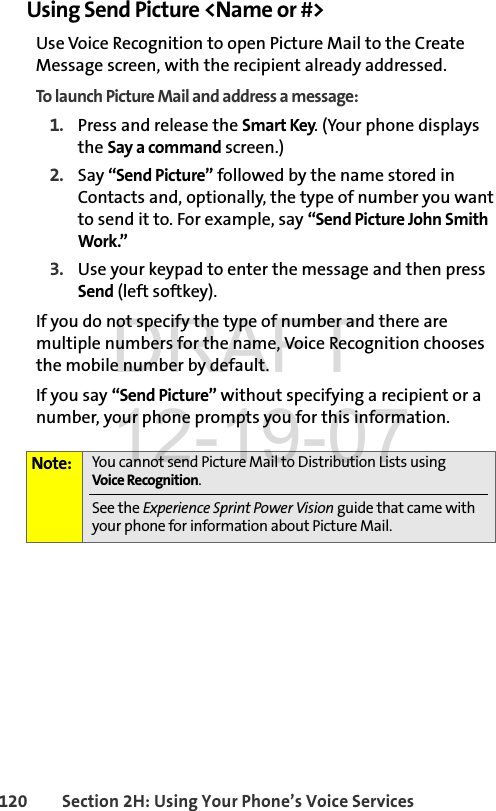
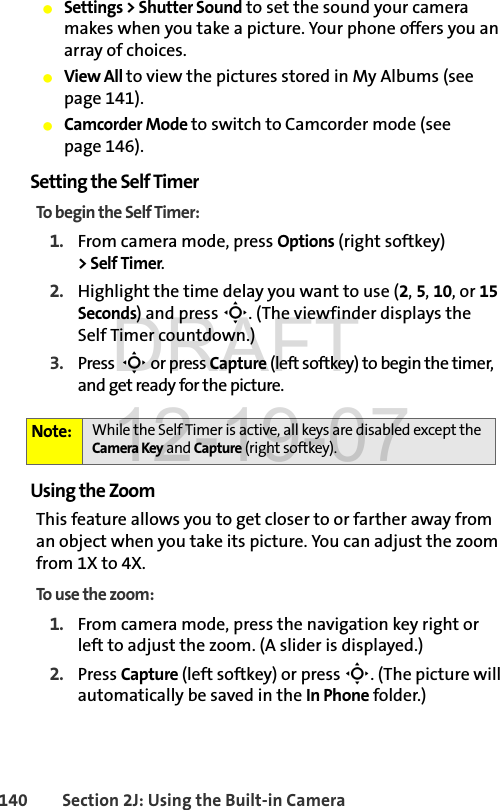
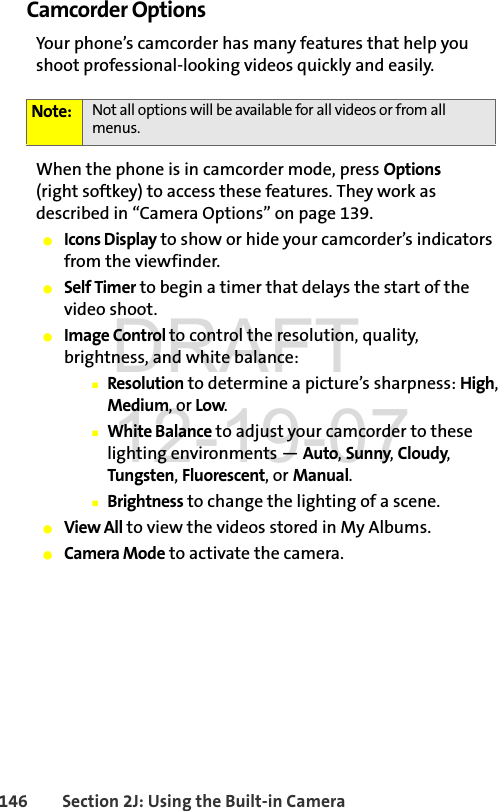
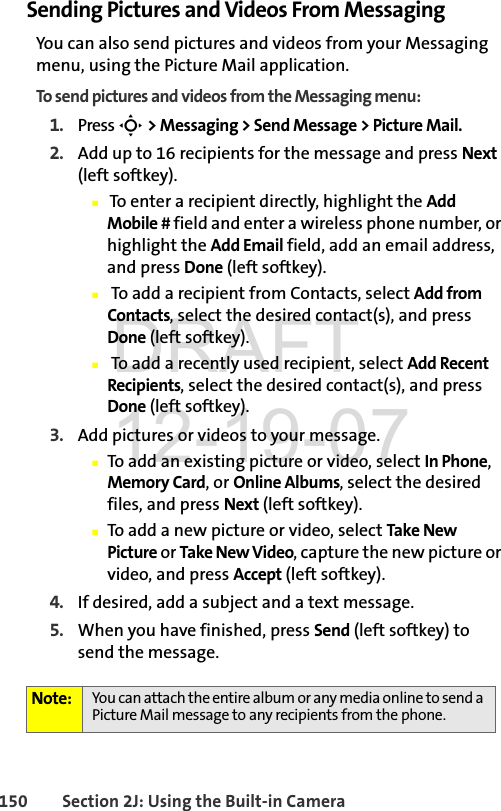
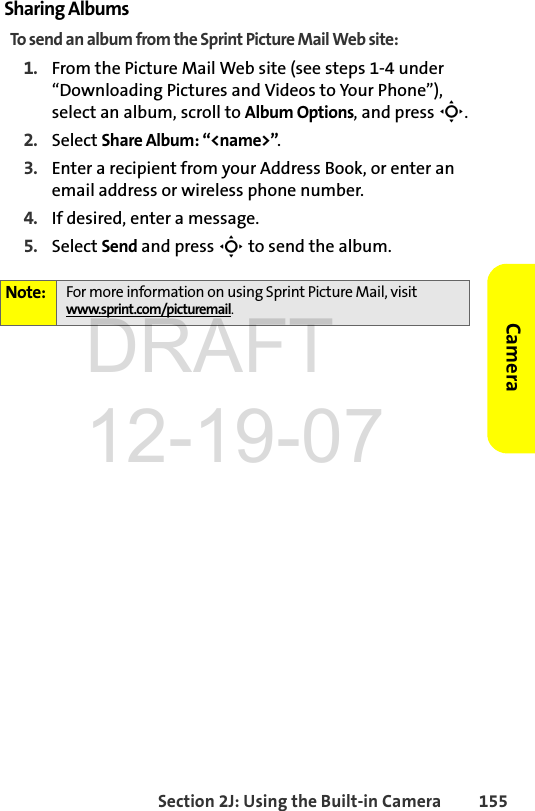
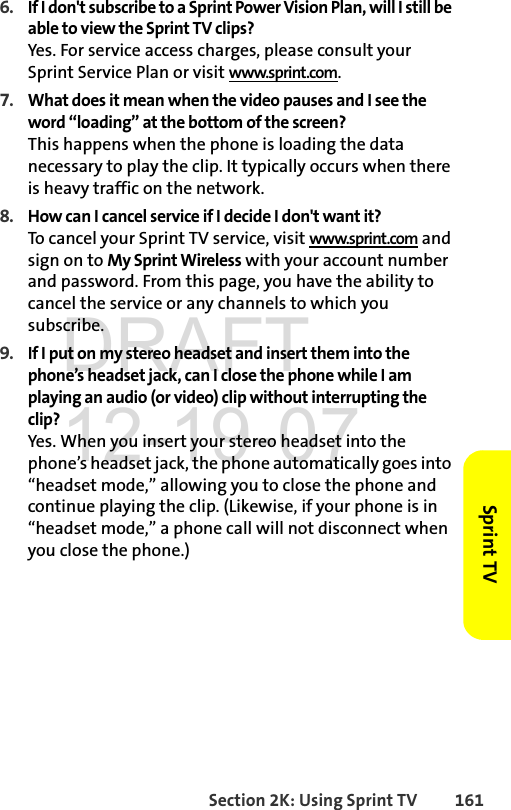
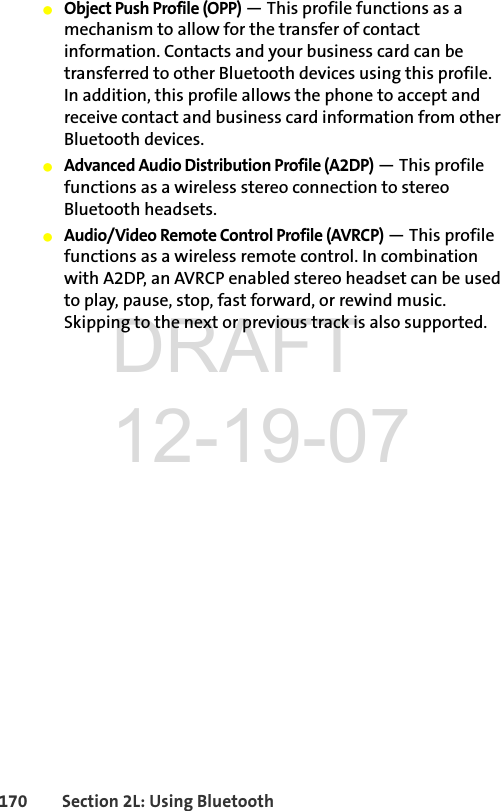
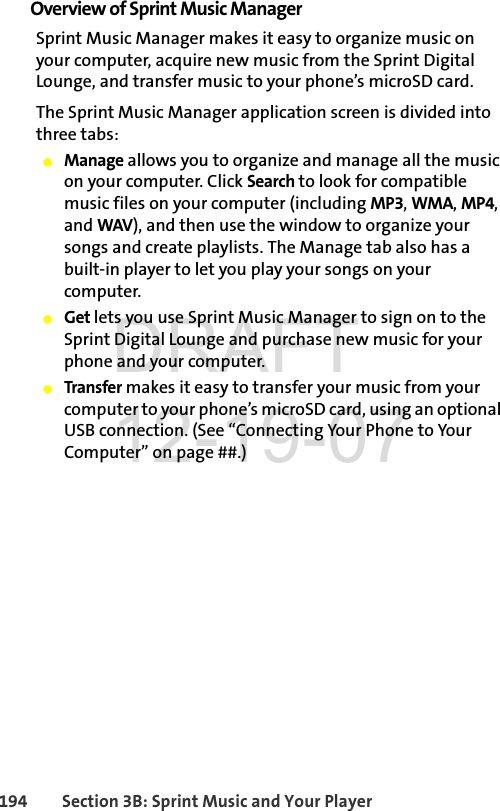
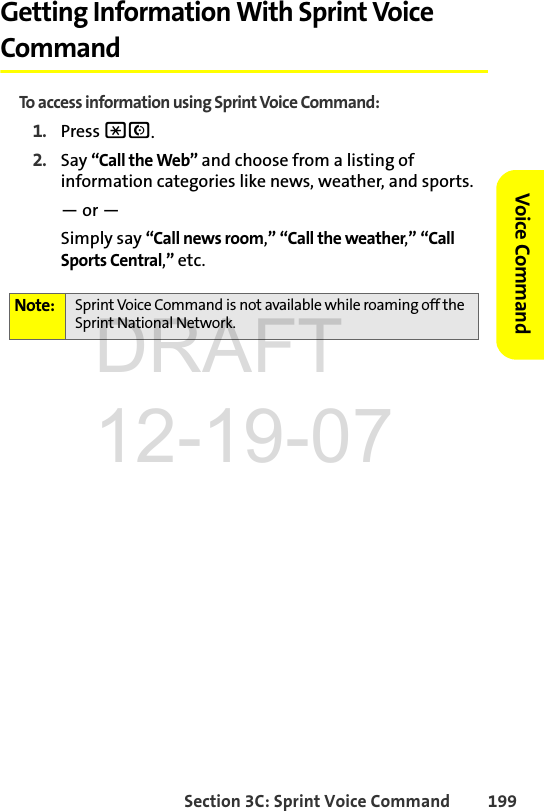
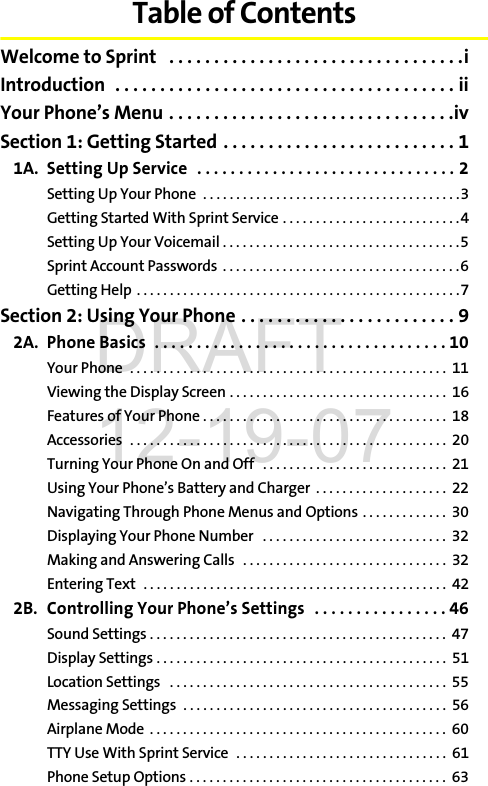
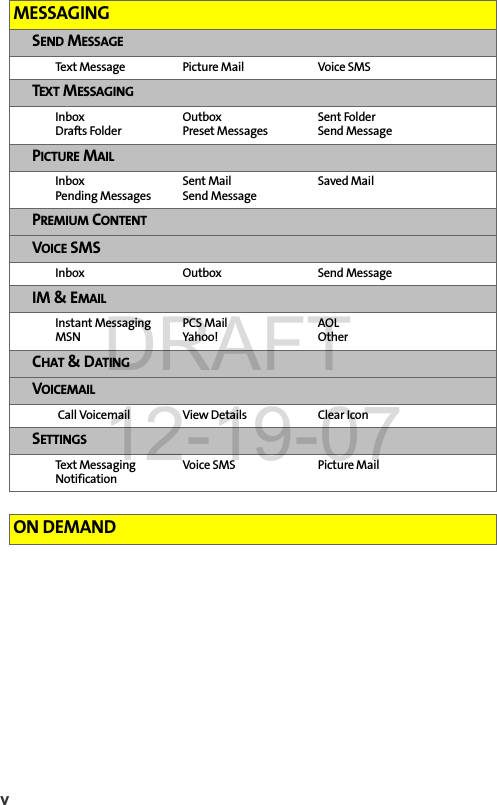
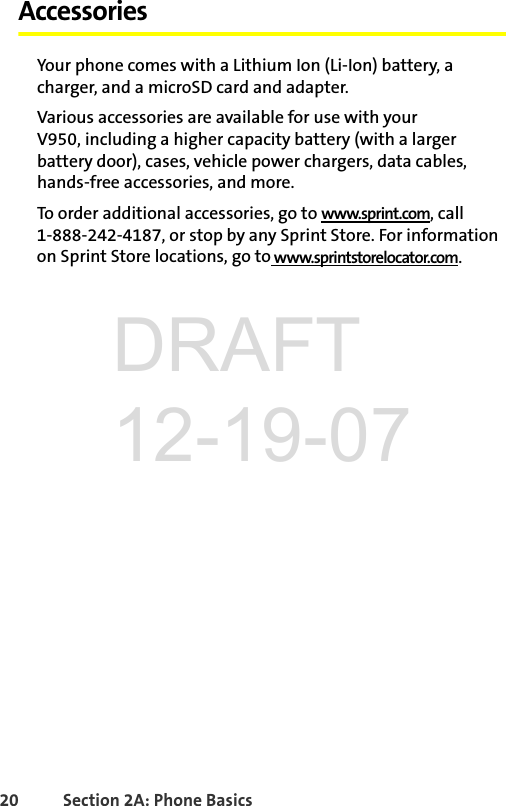
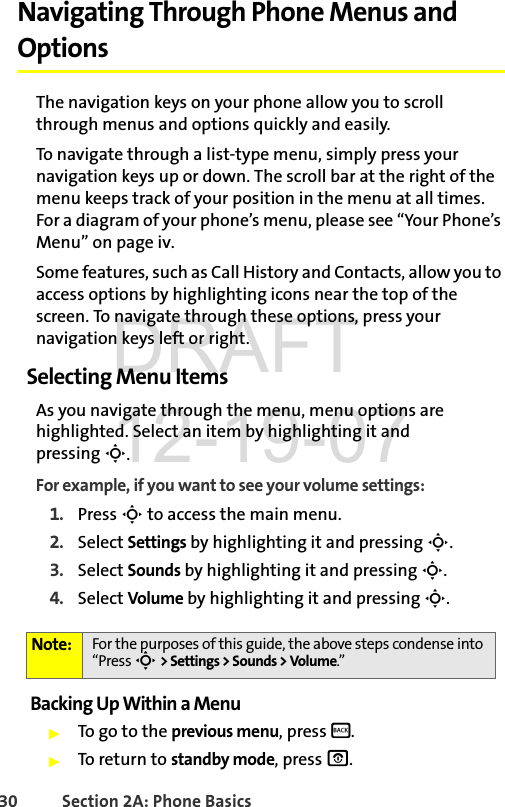
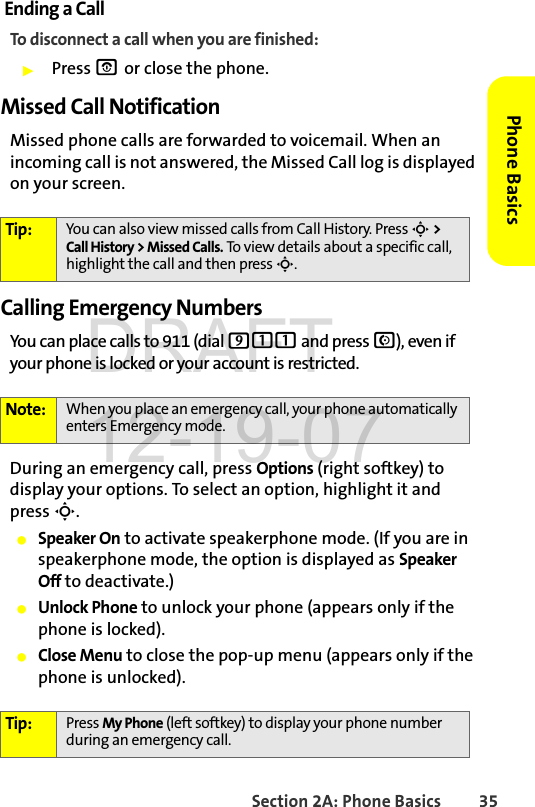
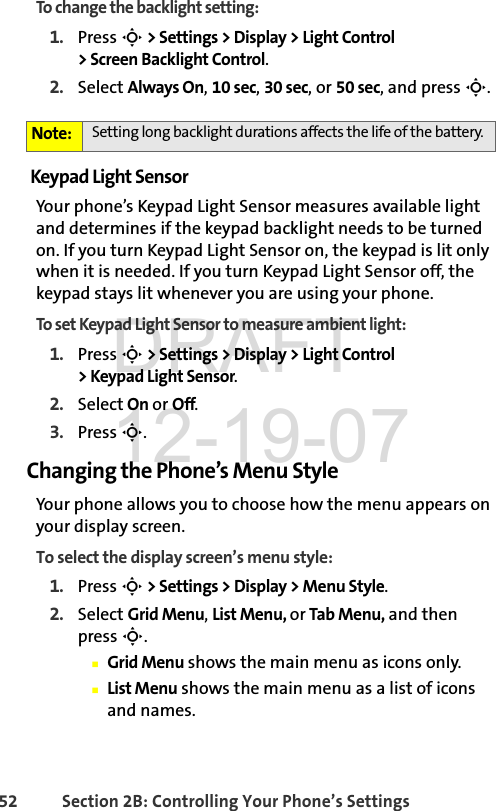
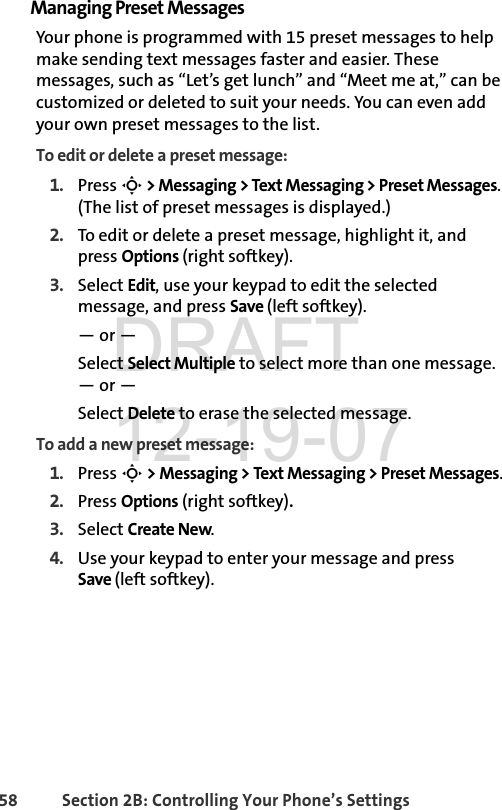
![Section 2F: Using Contacts 95ContactsManaging Your ContactsOrganize your Contacts entries by assigning them to Categories. Your phone has some already defined — General, Family, Friends, and Work. You can also create your own. To view your Categories: ᮣPress S > Contacts > Manage Categories.To create your own custom Category: 1. Press S > Contacts > Manage Categories.2. Press Add New (right softkey).3. Enter the name of the new Category. 4. Highlight Add Members and press S.5. Highlight each entry you want to add to this Category and press S after each selection. A checkmark appears next to each selected entry. 6. Press Done (right softkey) to save the membership.7. To assign a special ringer to this Category, highlight Assign and press S. 8. Use your navigation keys to scroll through the available files. (To hear a ringer, press Options [right softkey] > Listen.)9. Press Assign (left softkey).10. Press Save (left softkey) to save the Category. Viewing Memory StatusTo view how much memory you currently have available for new entries: ᮣPress S > Contacts > Memory Status.DRAFT 12-19-07](https://usermanual.wiki/Motorola-Mobility/T56JA1/User-Guide-901246-Page-113.png)