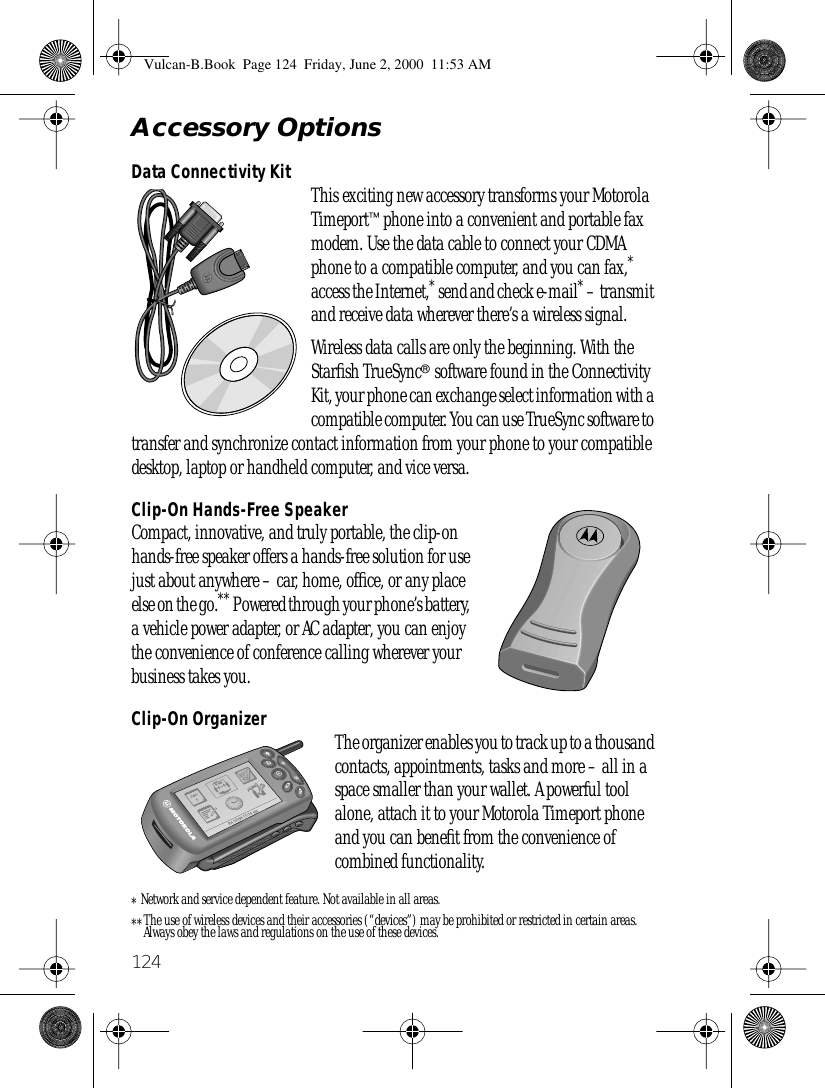
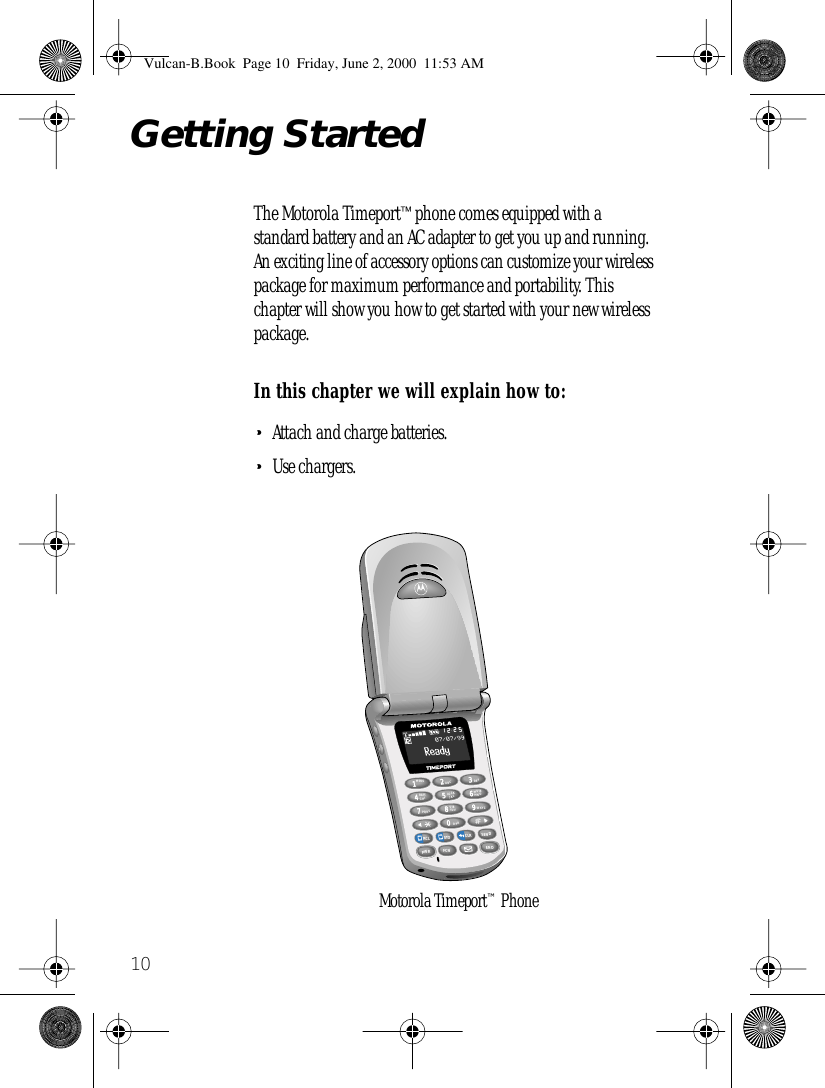
Motorola Mobility T56ZZ2 Portable Cellular Transceiver User Manual ZZ2 EX08
Motorola Mobility LLC Portable Cellular Transceiver ZZ2 EX08
UserManual.wiki
>
Motorola Mobility
>
T56ZZ2 User Manual
Exhibit 8 Users Manual
Navigation menu
Upload a User Manual
Namespaces
Wiki Guide
HTML
PDF
Info
Views
User Manual
Discussion / Help
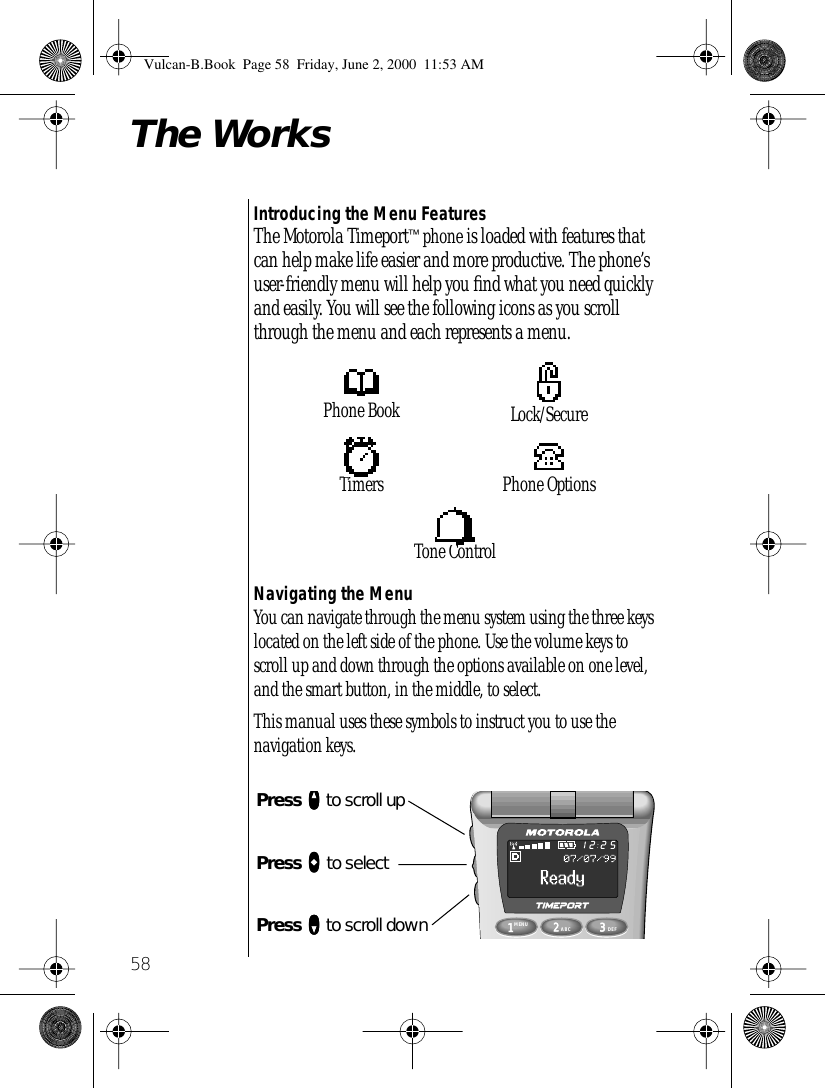
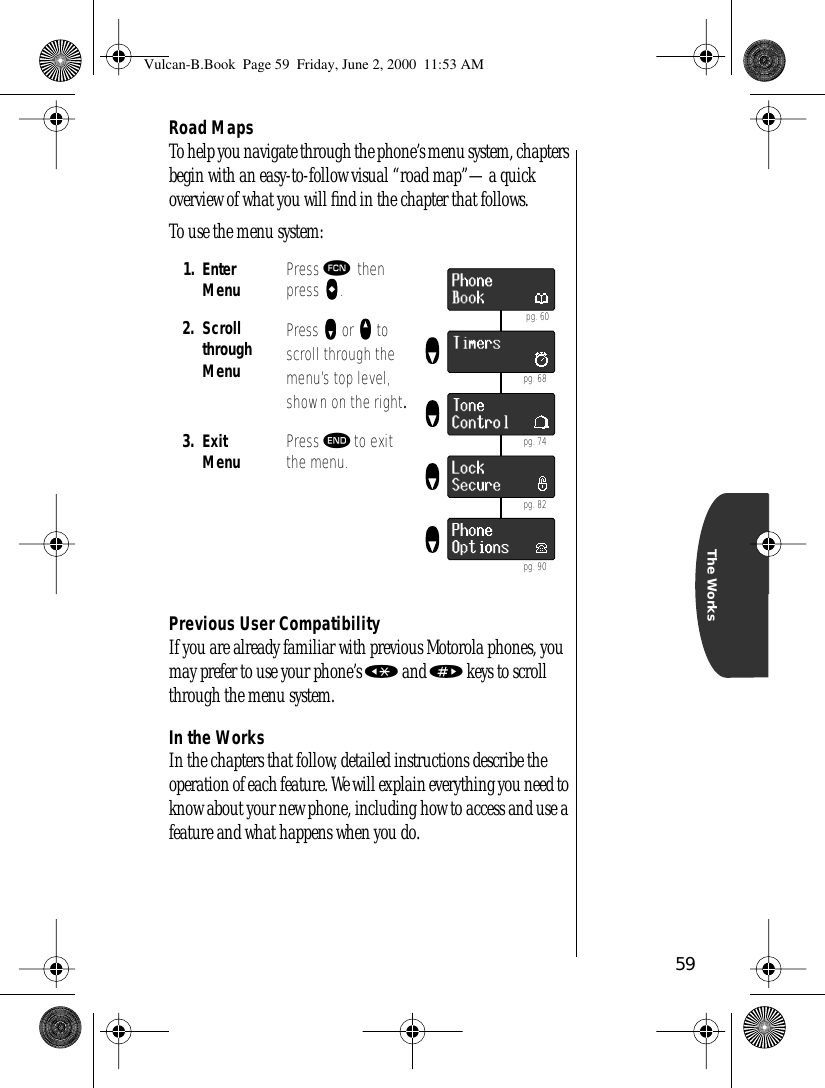
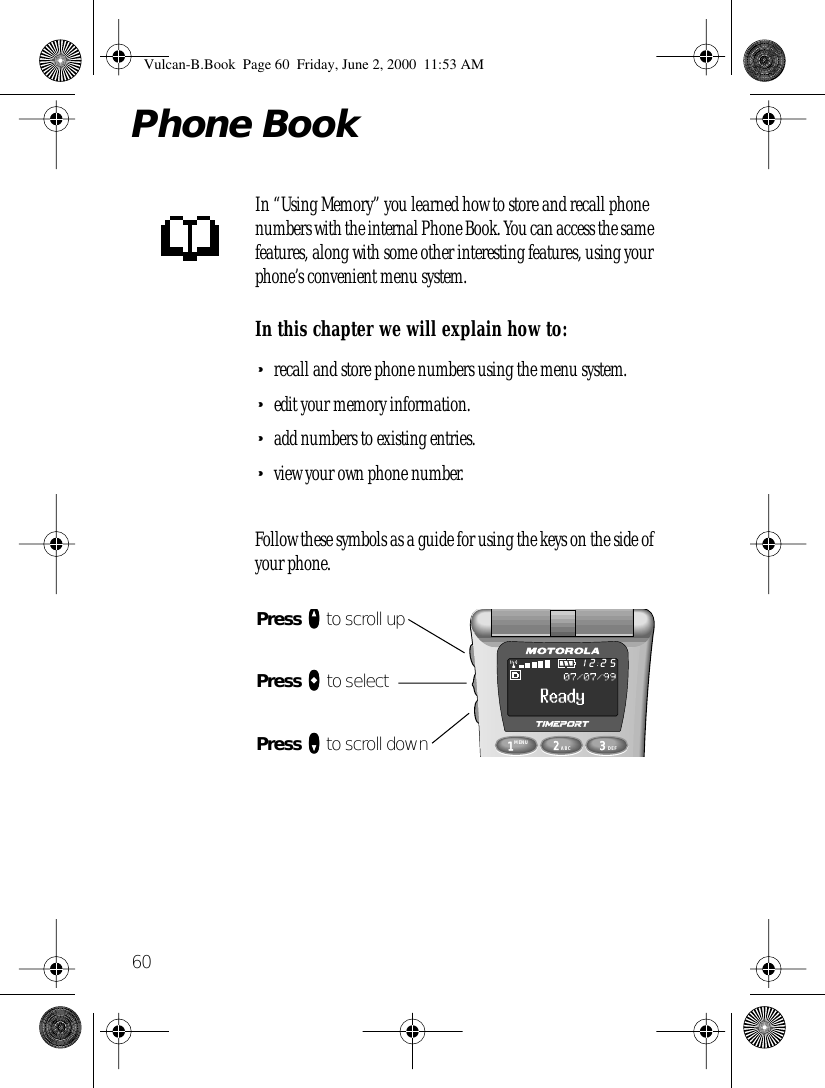
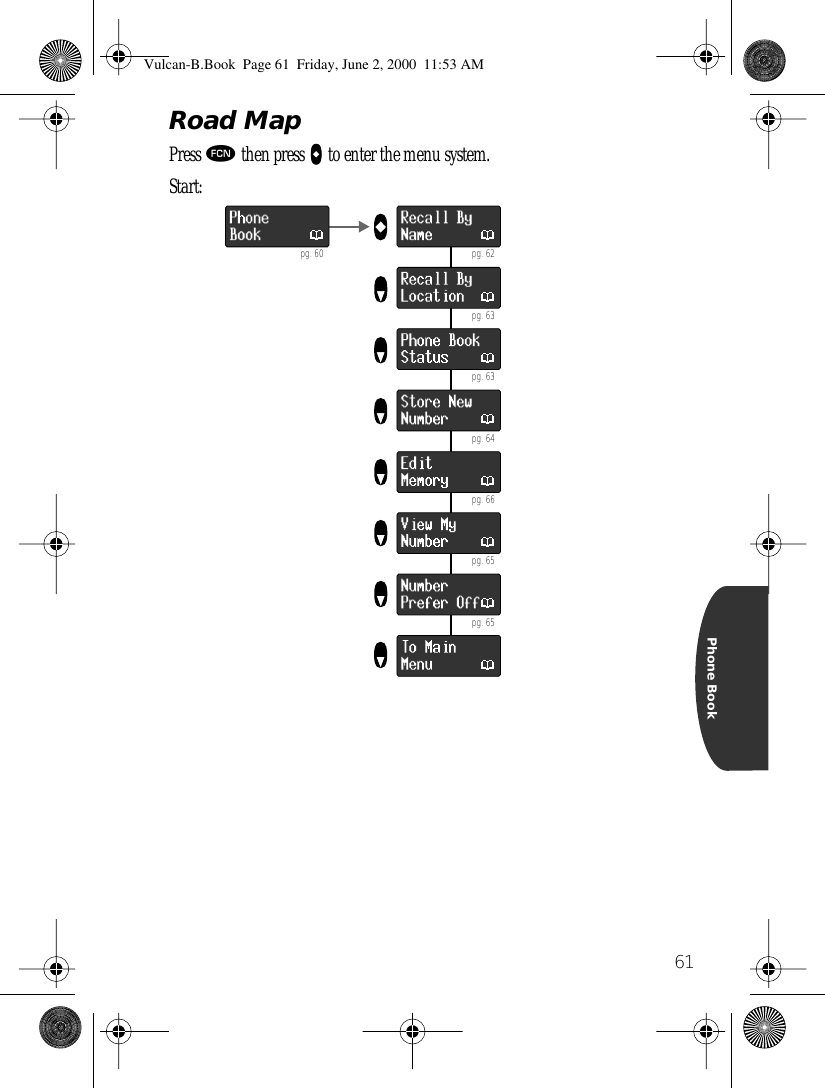
Navigation


![37Using MemoryEntering NamesWhen the display shows Alpha or Press §, you can use the keypad to produce any letter in the alphabet. Use the letters printed on the key as a guide. For example, press ¤ to enter the letters “A,” “B,” or “C” as shown:To enter a name into the Phone Book:1. Enter Letter Press a key as many times as necessary to enter a letter. The next letter on the key will appear with each press.Toggle Case Press qqqq or zzzz to switch between upper and lowercase.2. Advance Cursor After each character, press » to advance the cursor to the next space.Clear Letter Press Ç to erase a letter if you make a mistake.Back Space Press « to move the cursor backward if you would like to insert a letter earlier in the sequence.3. Enter Marks Press ⁄ to scroll through the available punctuation marks: <space> 1 . @ / : ' , ? ! - _ # * " $ % & + ; = \ ( ) < > [ ].4. Finish Storing Enter up to 24 letters, including spaces. Press aaaa when you are finished. Your phone will confirm the entry by displaying the information stored.2ABCpress 1 time to insert an "A"press 2 times to insert a "B"press 3 times to insert a "C"press 4 times to insert a "2"Vulcan-B.Book Page 37 Friday, June 2, 2000 11:53 AM](https://usermanual.wiki/Motorola-Mobility/T56ZZ2/User-Guide-136155-Page-38.png)