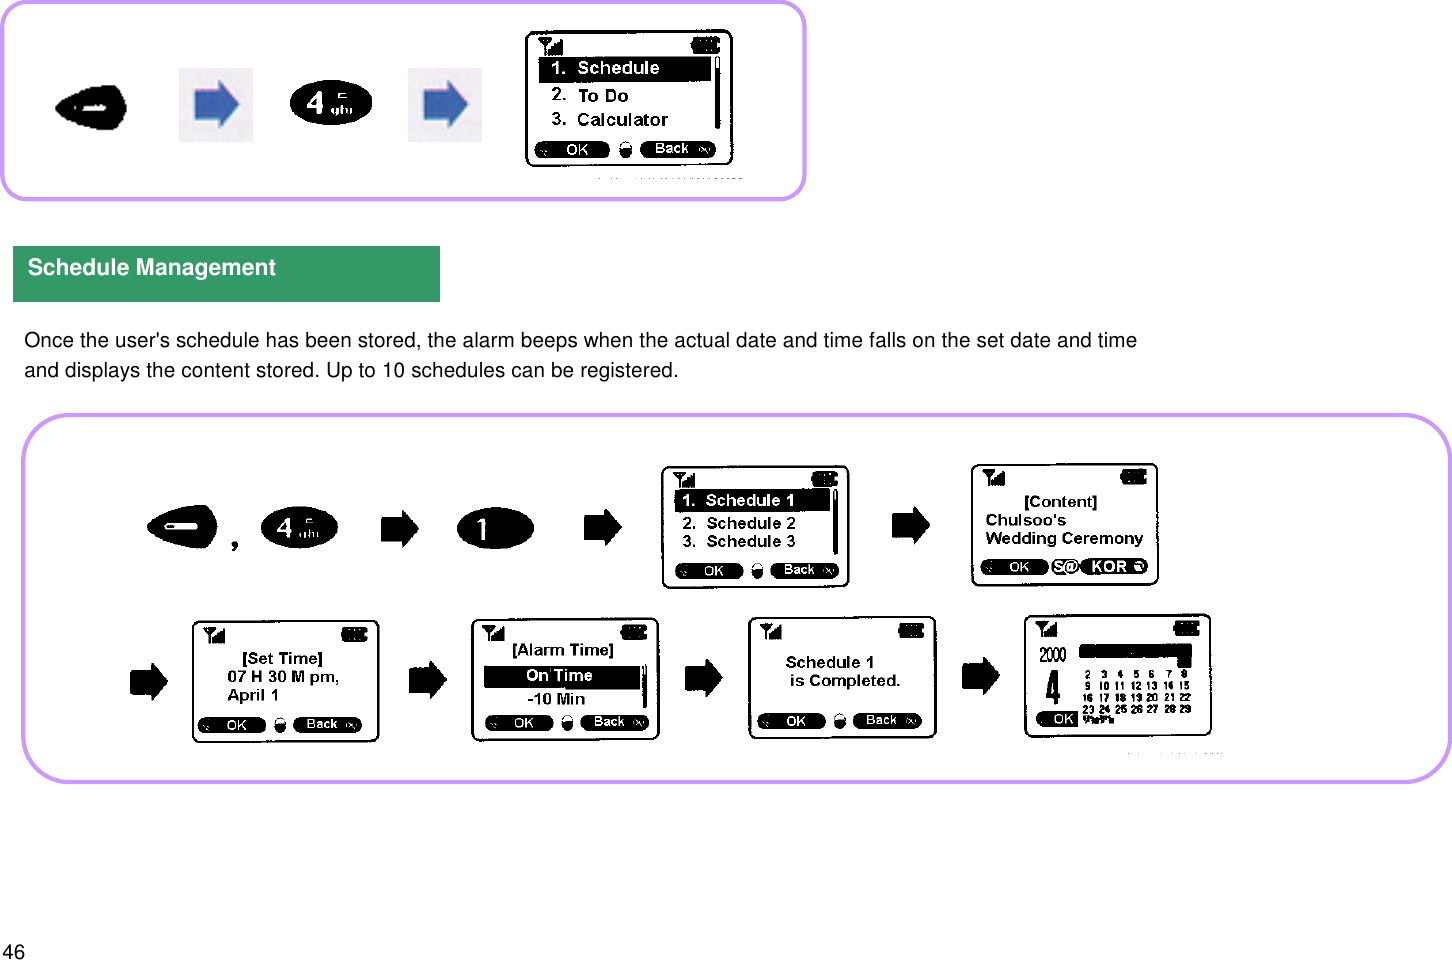
Motorola Mobility T5AE1 Portable Cellular Transceiver User Manual AE EX08
Motorola Mobility LLC Portable Cellular Transceiver AE EX08
UserManual.wiki
>
Motorola Mobility
>
T5AE1 User Manual
Exhibit 8 Users Manual
Navigation menu
Upload a User Manual
Namespaces
Wiki Guide
HTML
PDF
Info
Views
User Manual
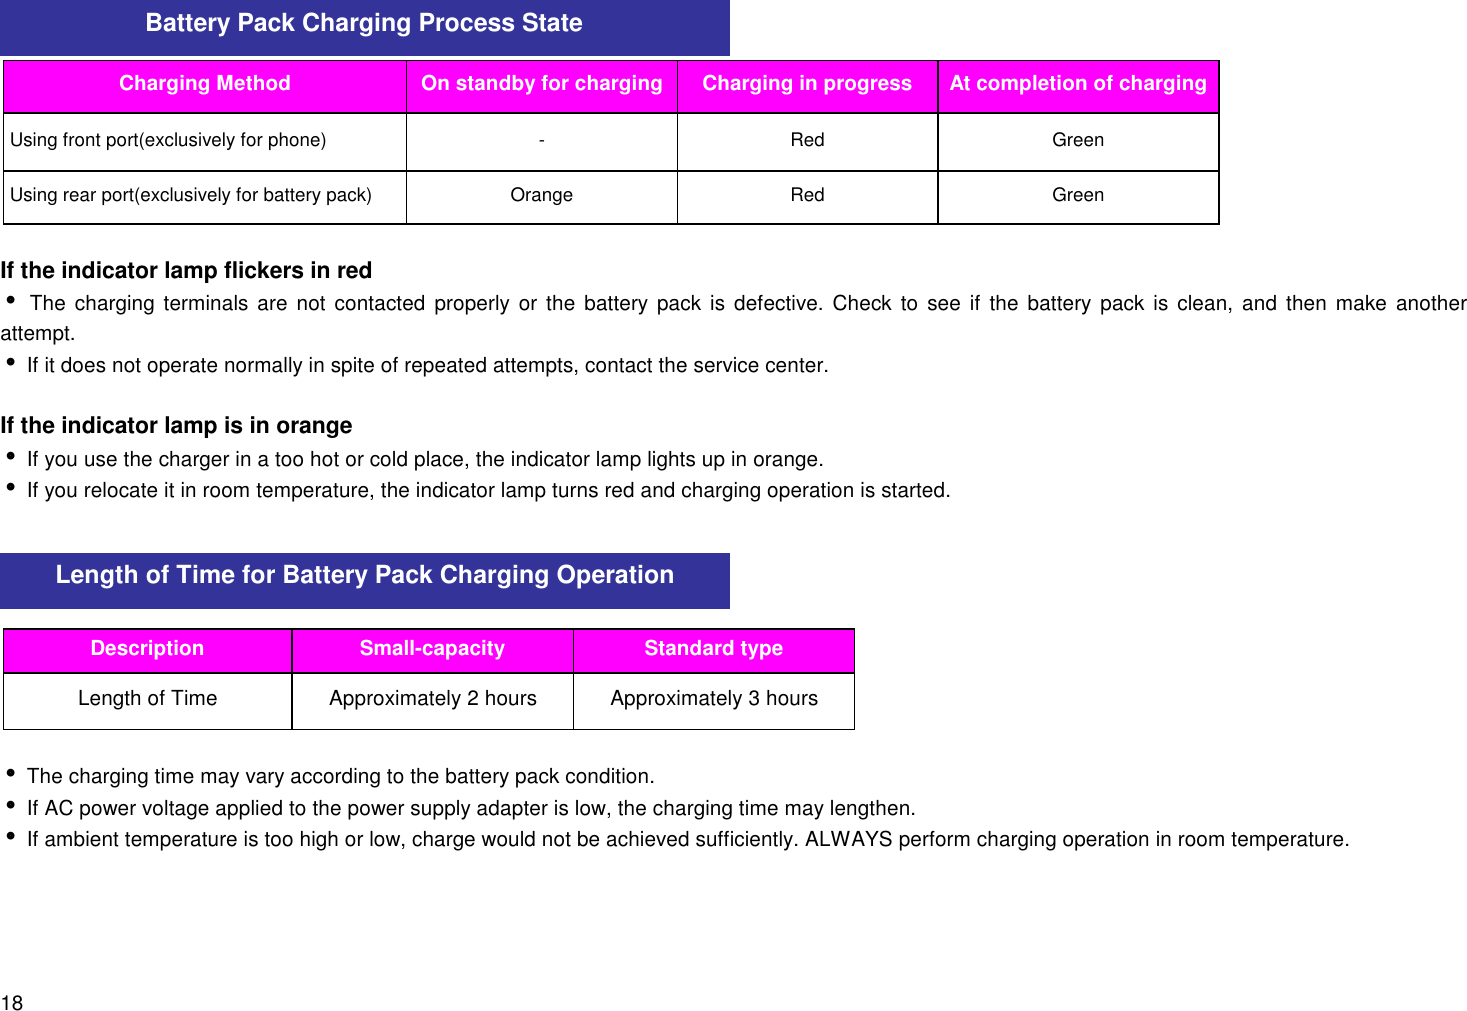
Discussion / Help
Navigation


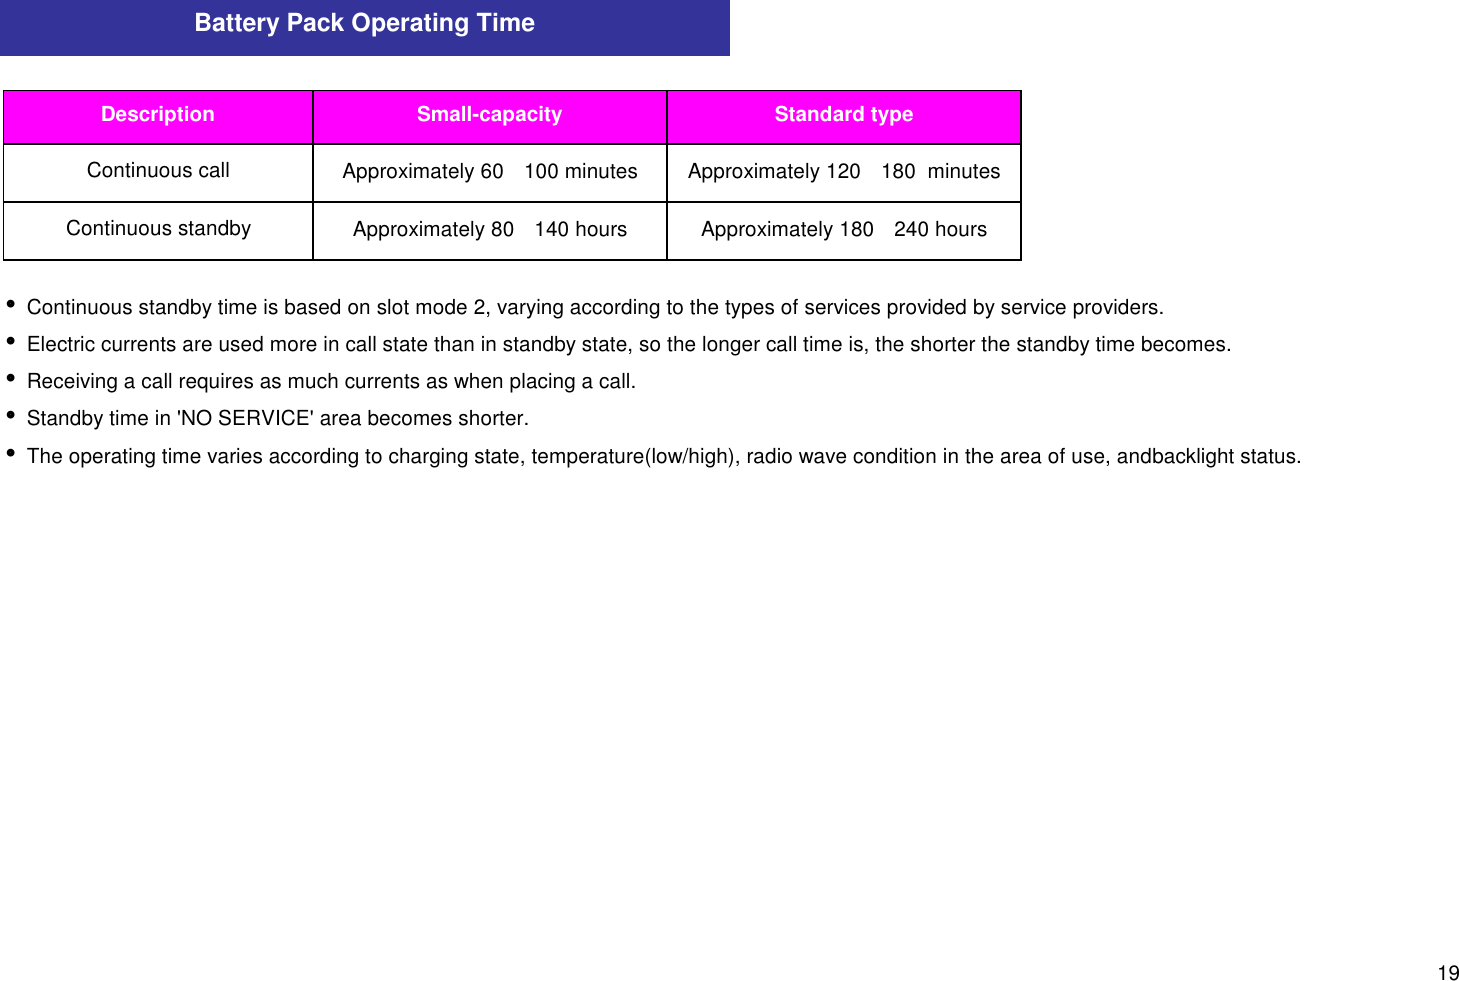
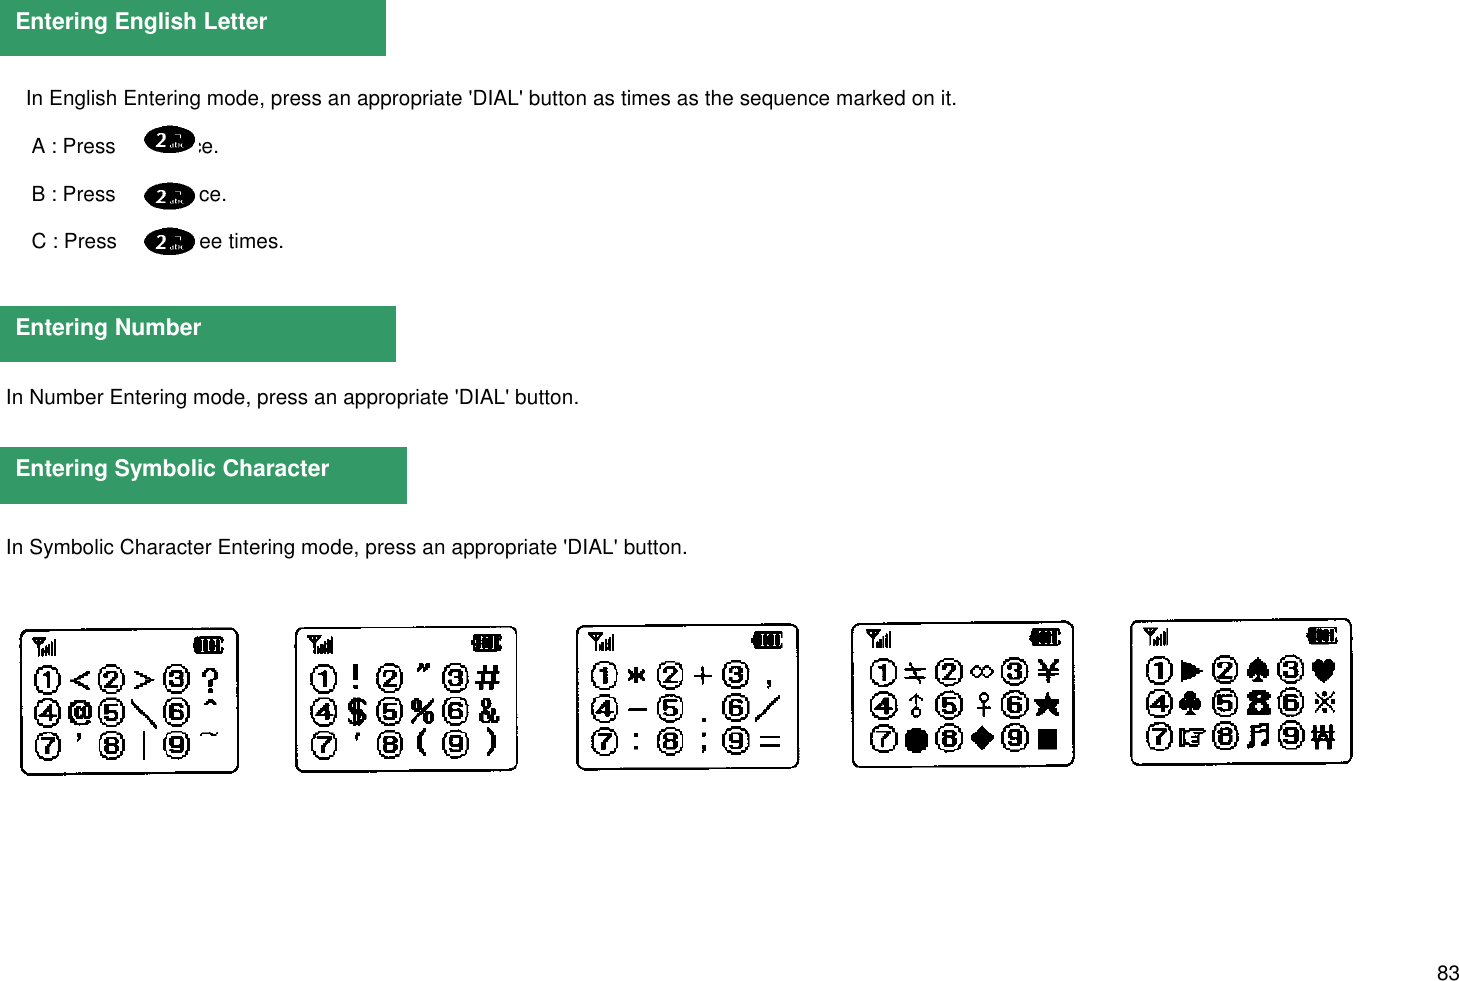
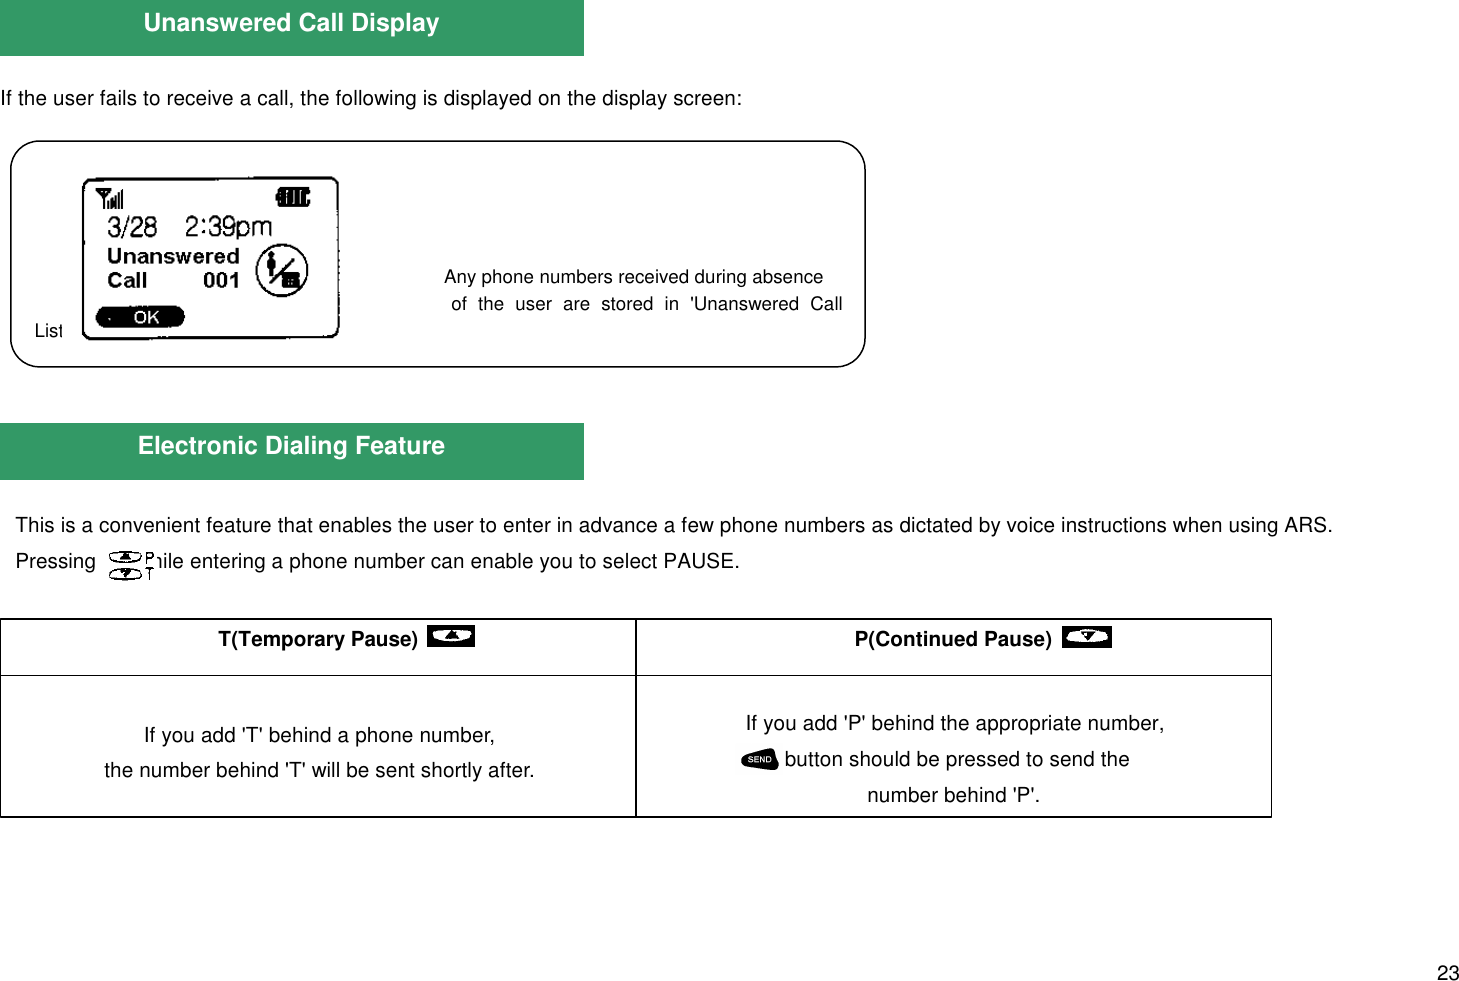
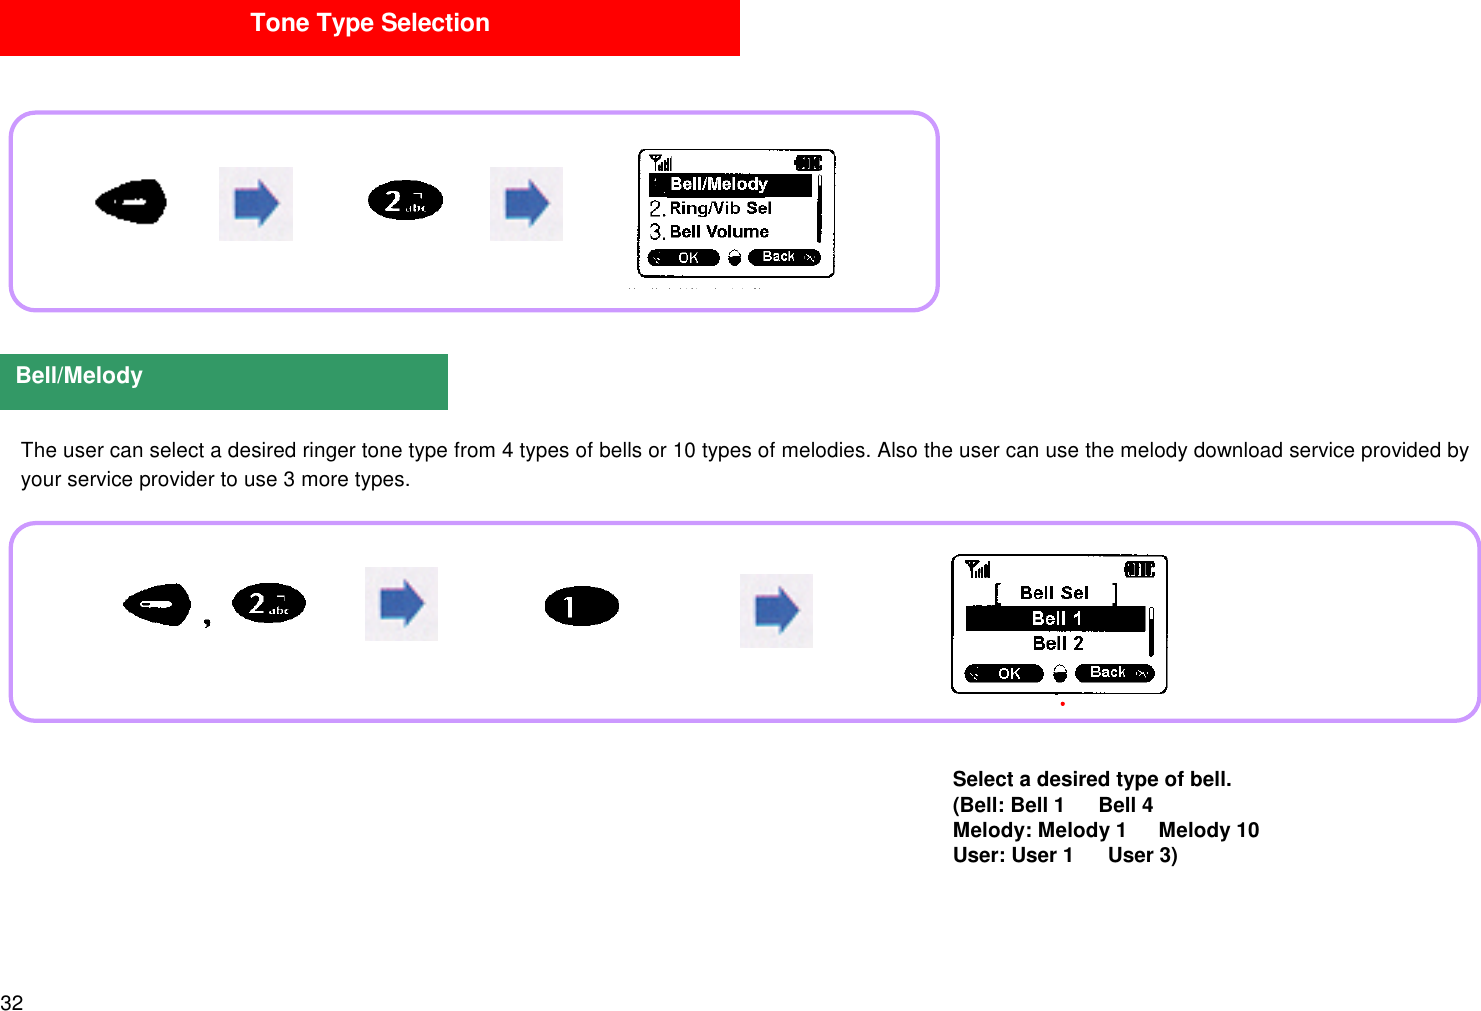
![22Other call placing modesTurbo dialing: Press and hold the last number of the desired phone number set up in a memory location. (See p.25.)Electronic dialing: Used conveniently for ARS.Emergency dialing: Call can be placed even with the phone set to 'Lock' mode. (See p.56.)Voice dialing: You can use your own voice to place a call without pressing [Dial] buttons. (See pp.63.) After the call, close the flip or press (END).]Placing a CallPress the desiredarea code andphone number.Receiving a CallIf vibrator or lamp is set, the phoneproduces vibration or the lamp flashes.If the flip remains open, press any button.(except for END button)After the call,close the flip orpress .The phoneaudibly rings.Open the flipto receive a call.After the call,close the flip orpress .](https://usermanual.wiki/Motorola-Mobility/T5AE1/User-Guide-121432-Page-23.png)
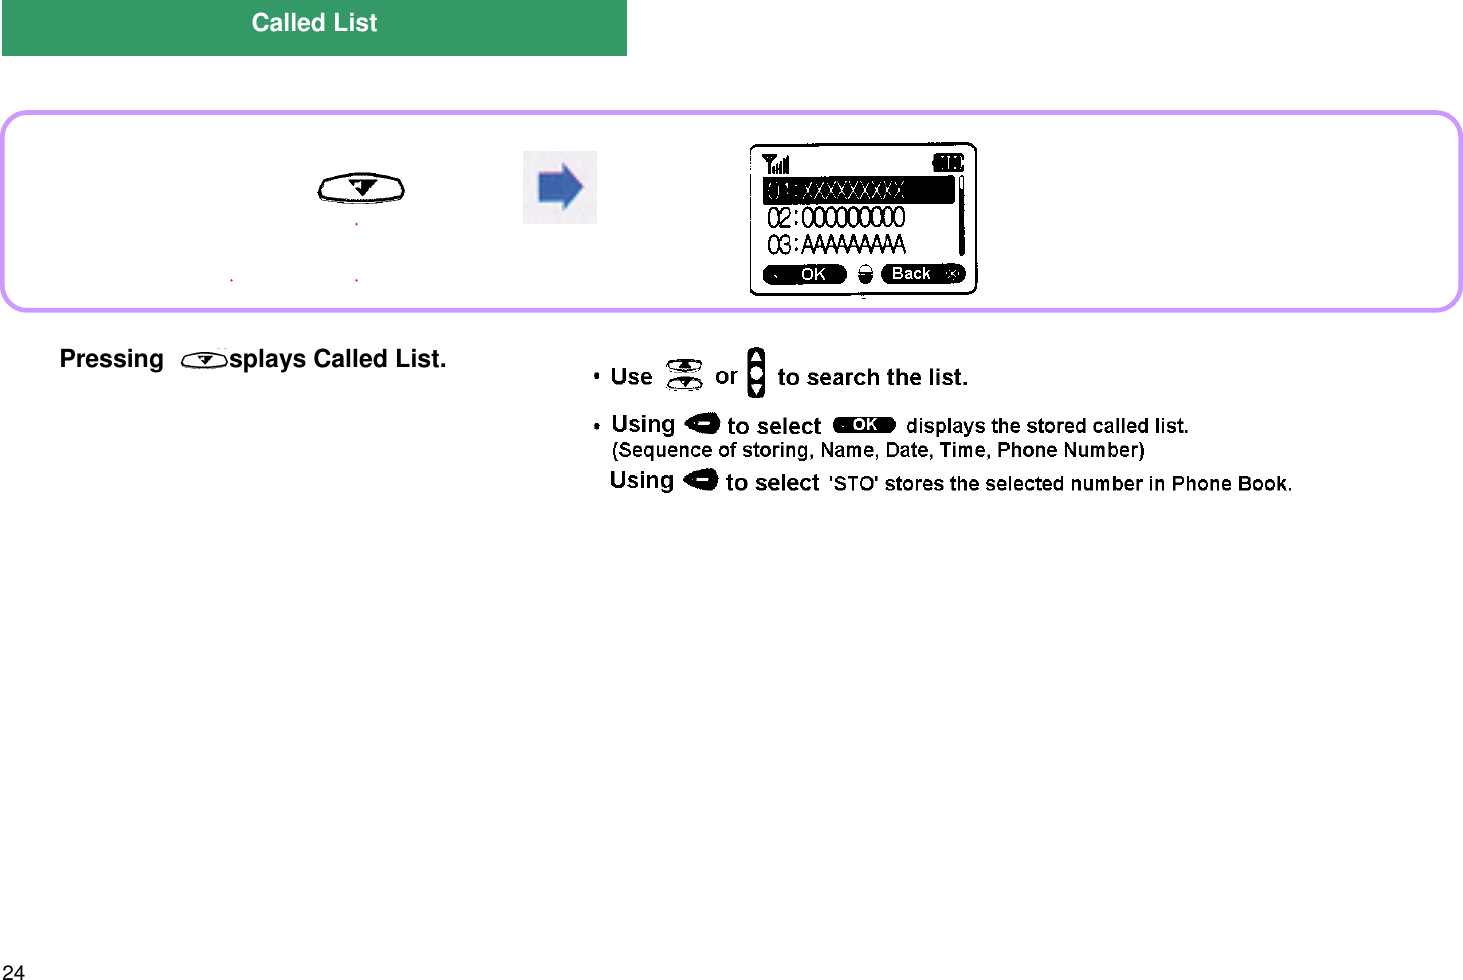
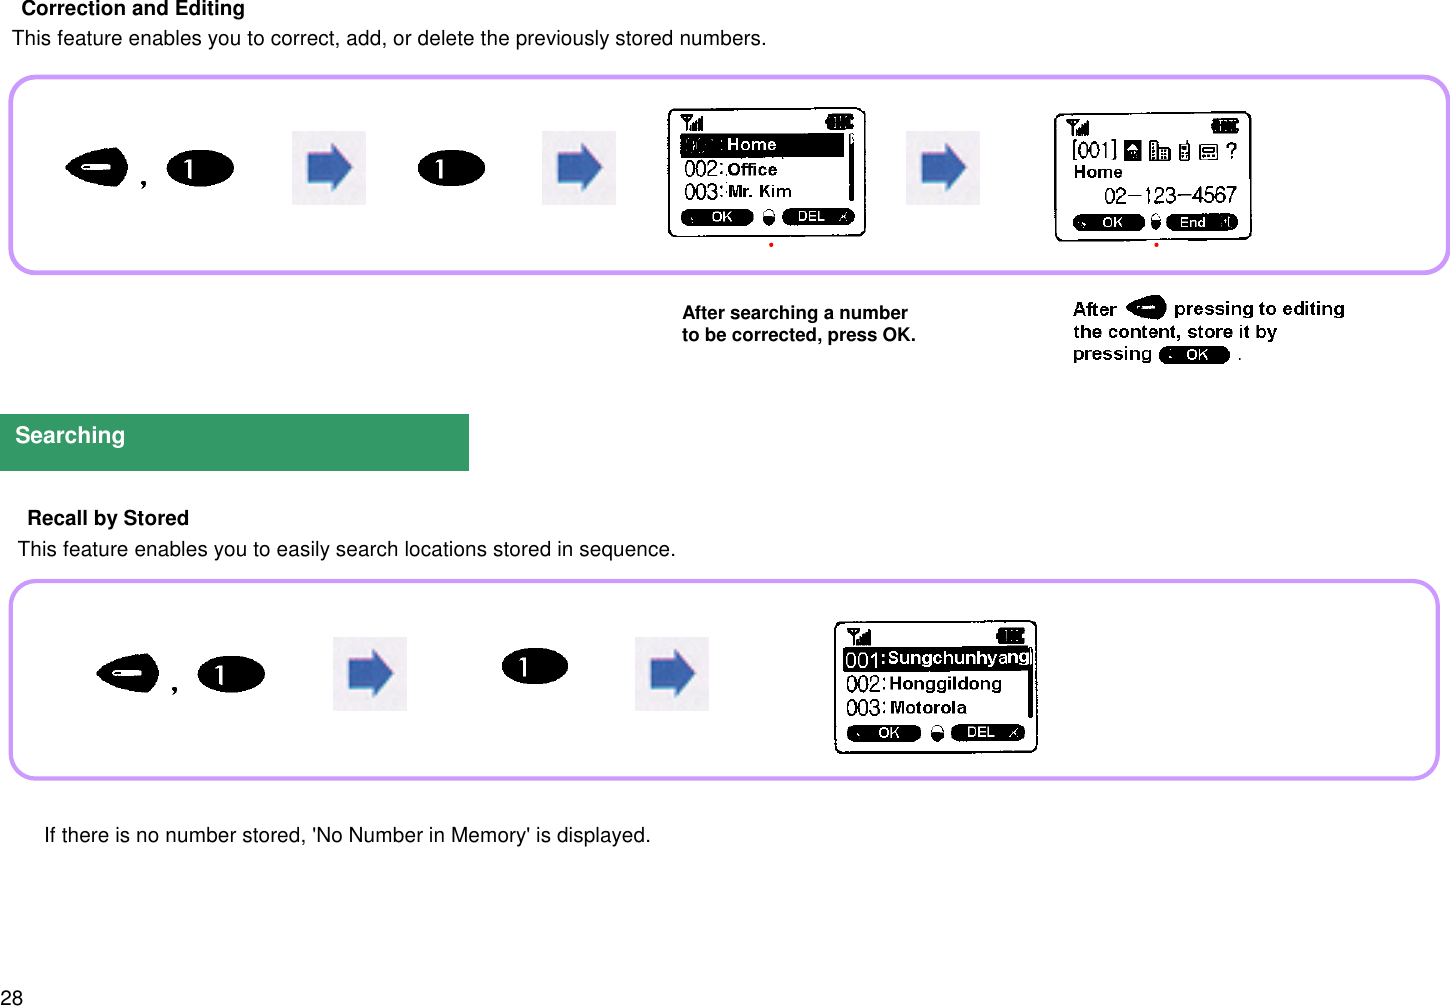
![26This feature is used to display a stored called list in the sequence of name. You can store frequently used phone numbers and use easily search mode toplace a call. Up to five phone numbers for each name can be stored or searched. To store phone numbers in Phone BookPhone BookTo Store Phone Numbers in Phone BookPress [OK] to selecta desired category.Message is displayed andthen [Enter Number] is displayed.Entera phonenumber.Specify'MemoryLocation'.Entera 'Name'.](https://usermanual.wiki/Motorola-Mobility/T5AE1/User-Guide-121432-Page-27.png)


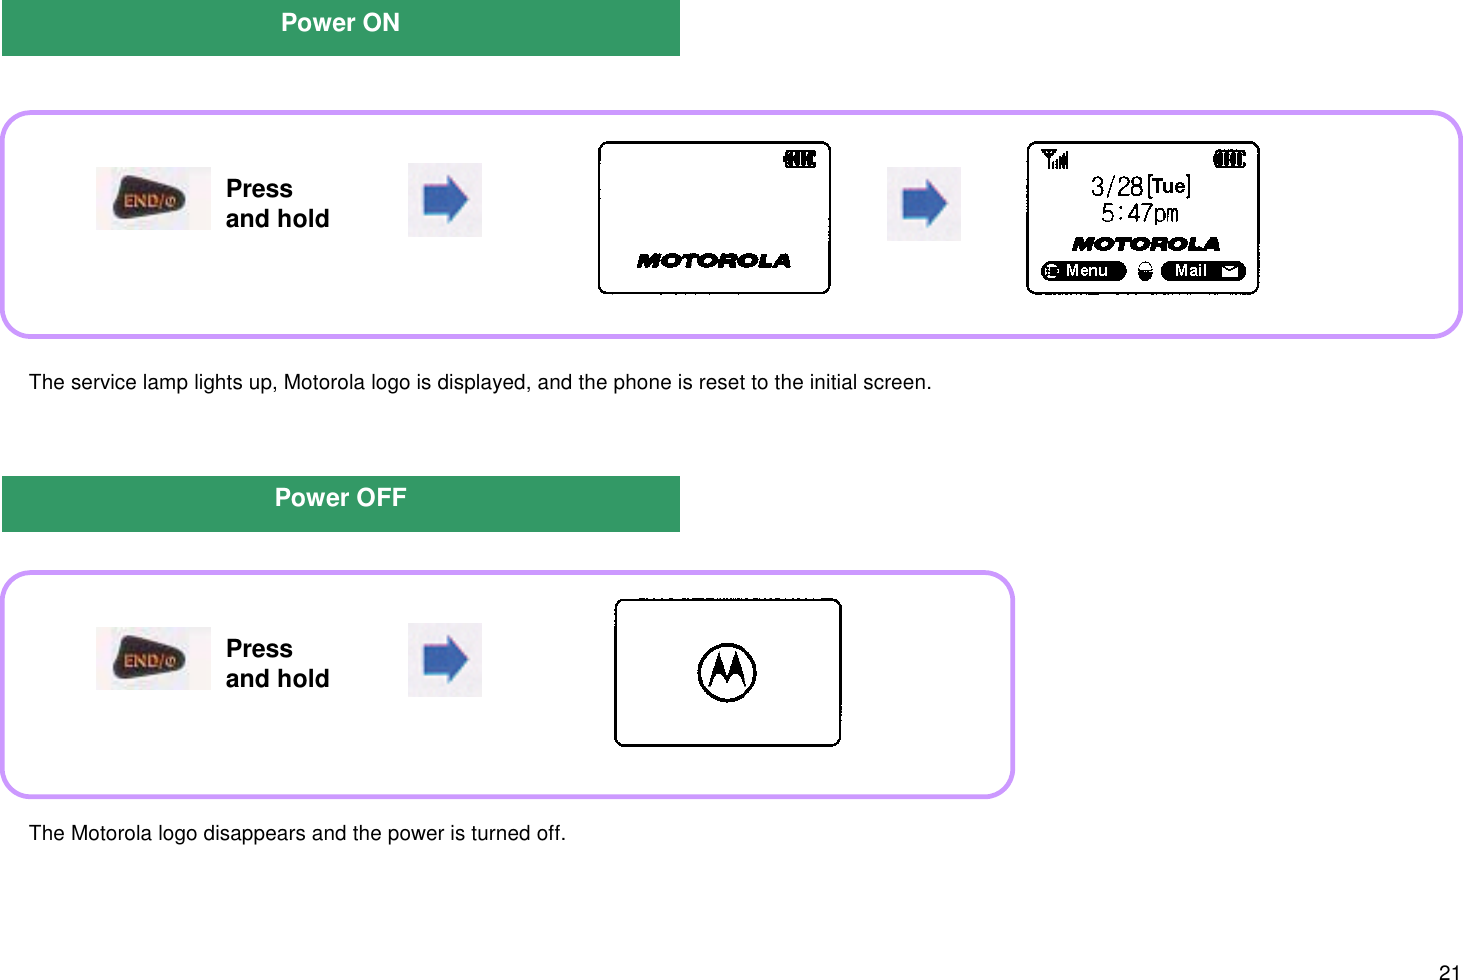
![58 <Setting Lock On> <Setting Lock Off> You can place a call to the numbers stored as emergency calls even if the phone has been set to Lock Mode.Emergency CallChanging Lock CodePressing andholding button setsLock Mode.Enter 'Lock Code'of 4 digits in LockMode and select [UNLOC].,Enter'Lock Code'.Deleting Emergency Call NumberiA number stored in Emergency Call is not displayed on the screen.iUp to 3 emergency call number can be stored.iTo delete an emergency call number, move the cursor onto the appropriate number and then press .](https://usermanual.wiki/Motorola-Mobility/T5AE1/User-Guide-121432-Page-59.png)
![6462p With this feature set up, your phone recognizes your voice and places a call without your pressing [Dial] buttons. Register the name of a called party to whom you want to make a call using voice dial.Storing VoiceSay the name twice as dictated by voiceinstructions.After entering a phone number, store it.(Up to 10 voice dials can be stored in the list.)Stored List/Deletion](https://usermanual.wiki/Motorola-Mobility/T5AE1/User-Guide-121432-Page-65.png)
![67 This feature enables the user to select 'EVRC' mode which is a voice quality enhancing technology built in the product.Changing Vocoder The content of recording is displayed in the sequence of date/time/recording time.Enter '6-digitLock code[000000]'.](https://usermanual.wiki/Motorola-Mobility/T5AE1/User-Guide-121432-Page-68.png)
![69 You can control the called party's voice heard through the receiver. You can enter and store a new phone number during a call. i A phone number stored in Called List can be stored in Phone Book after ending the call.Scratch Pad FeaturePhone BookPress during a call toadjust earpiece volume.(Earpiece volume: 5 steps)Enter aphone number.Press [STO] .](https://usermanual.wiki/Motorola-Mobility/T5AE1/User-Guide-121432-Page-70.png)
![71 This feature is used to mute the phone so that the called party cannot hear your private conversation during a call.During a call,press tomute [sending tone]. To clear 'Mute': Press again .i-touch Servicei-station Service](https://usermanual.wiki/Motorola-Mobility/T5AE1/User-Guide-121432-Page-72.png)
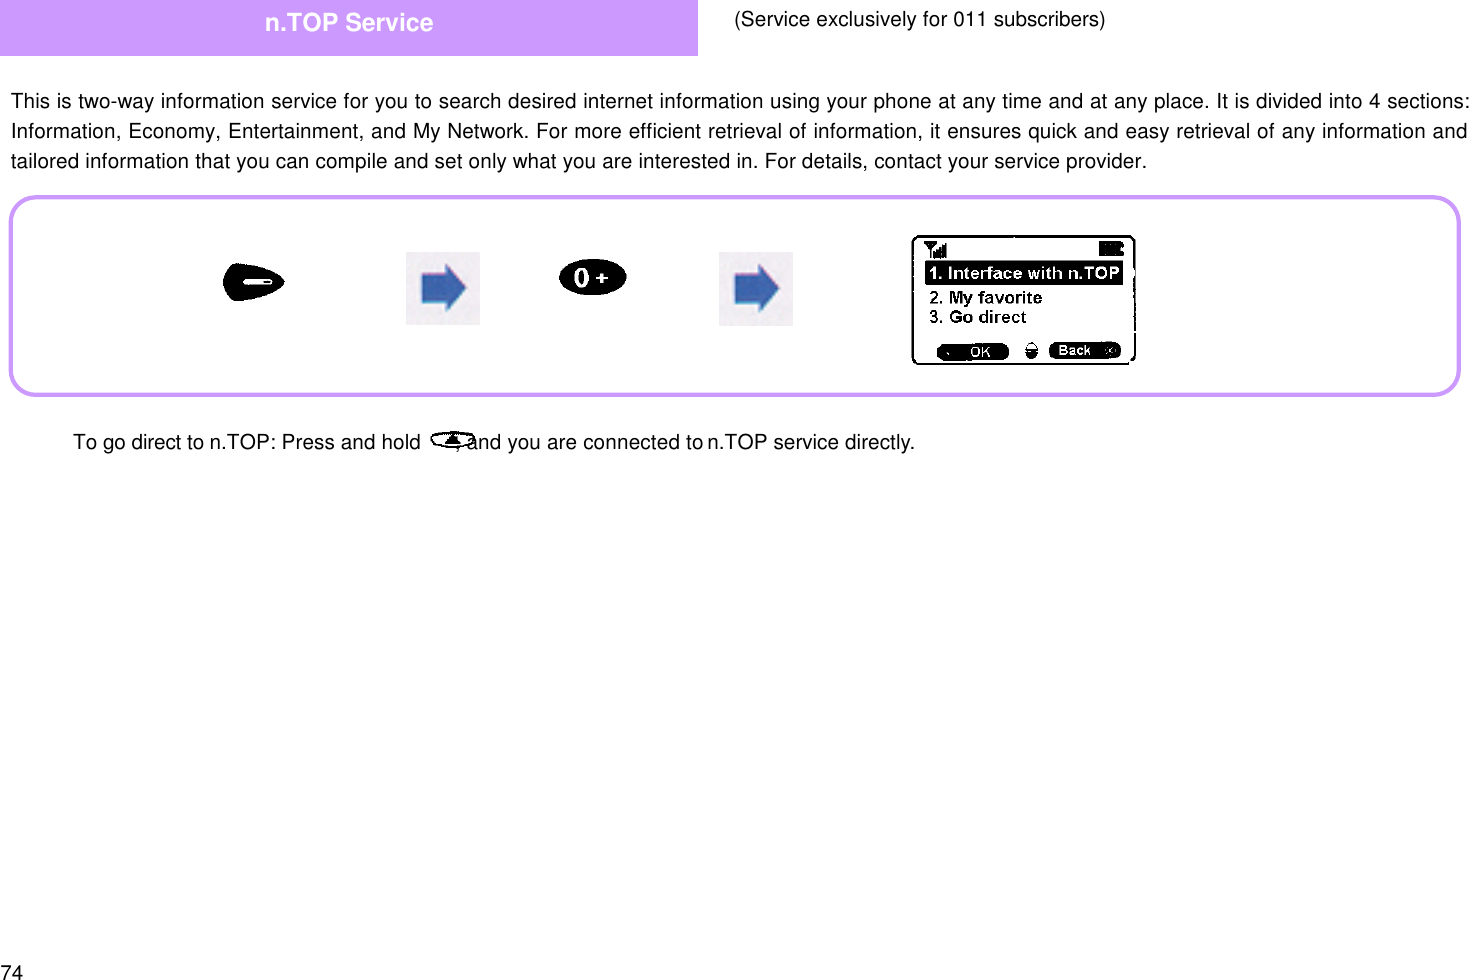
![73This is a comprehensive wired and radio portal service provided by Power Digital 017. Using this service, the user can gain access to Internet to easilysearch various information. It consists of 7 Networks including i-touch News, E-mail, Web site connection, My Book, My Home, Book Mark, and Servicesetting, so that the user can search various information efficiently. For details, contact your service provider.This provides SMS(Short Message Service) and state-of-the-art SMS feature(broadcasting/interactive) for the user to easily make inquiries/retrieval aboutdesired information. In addition, the user can set services such as the connection of voice information and tracking more easily. For details, contact yourservice provider.Pressing or [DIAL] buttons connects you to a desired service directly.i-station Service (Service exclusively for 017 subscribers) For support of i-touch service, S/W upgrade is a must. For details of upgrade, contact Motorola's Customer Support Center. If Key Lock is On, will not operate. Pressing or [DIAL] buttons connects you to a desired service directly.](https://usermanual.wiki/Motorola-Mobility/T5AE1/User-Guide-121432-Page-74.png)
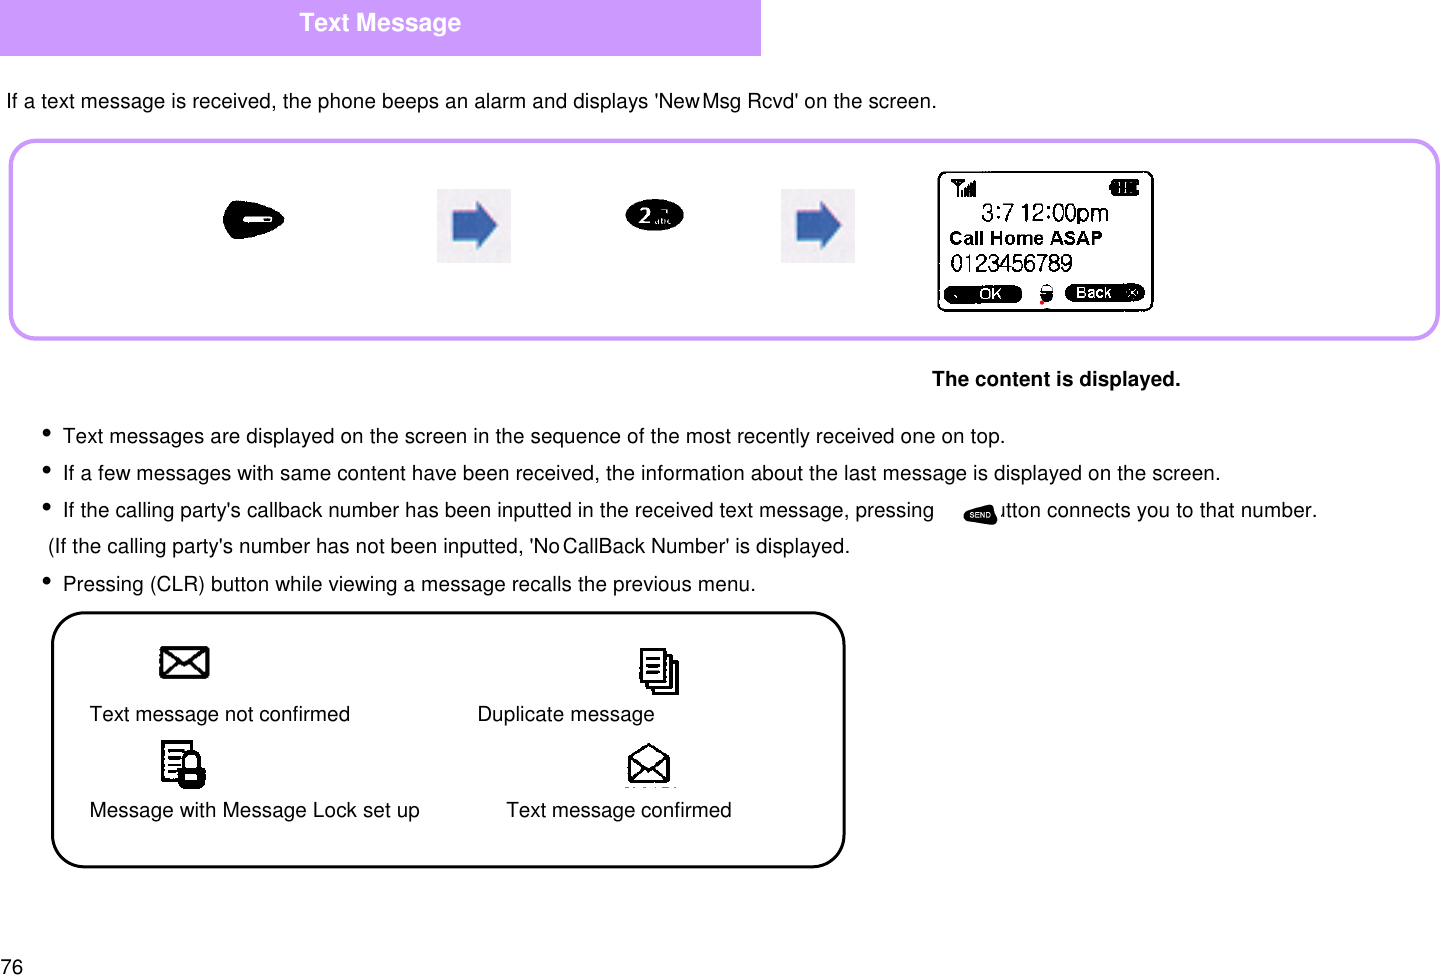
![75This feature is used to confirm voice message received through Voice Mail.This feature displays the number/time of the received voice message and a callback number(if the calling party has left it). If there is no voice message received, 'No Message' is displayed.Voice MessageConfirming Voice Message[MAIL ]Connecting a Calli Press to select [CONNECT]. If there is a callback number: Call is connected to the received callback number. If there is no callback number: Call is connected to Voice Mail.i If a few messages have been received, the information about the most recently received one is displayed.To Deletei Press to select [DEL].](https://usermanual.wiki/Motorola-Mobility/T5AE1/User-Guide-121432-Page-76.png)
![78 Once a message is stored, when you want to send the same message, you can select the stored message to send it without entering its content again. Character input method: See p.82.Sending a MessageSending a New Message[MAIL ] Enter ‘To’Input ‘Content’.Select ‘Send Mode’.(Normal/Fast/Urgent)](https://usermanual.wiki/Motorola-Mobility/T5AE1/User-Guide-121432-Page-79.png)
![79 This feature is used to edit and send the existing text messages stored, or stored messages. Up to 10 messages can be stored. If the message fails to be sent, 'Not Sent' is displayed and you are prompted whether or not to send it again. If you want to re-send it, select a desired send mode and start re-sending.Sending a Stored MessageAfter selecting a stored message,if its content is displayed, select it.[MAIL ]Input ‘To’Input ‘From’.Select ‘Send Mode’.](https://usermanual.wiki/Motorola-Mobility/T5AE1/User-Guide-121432-Page-80.png)
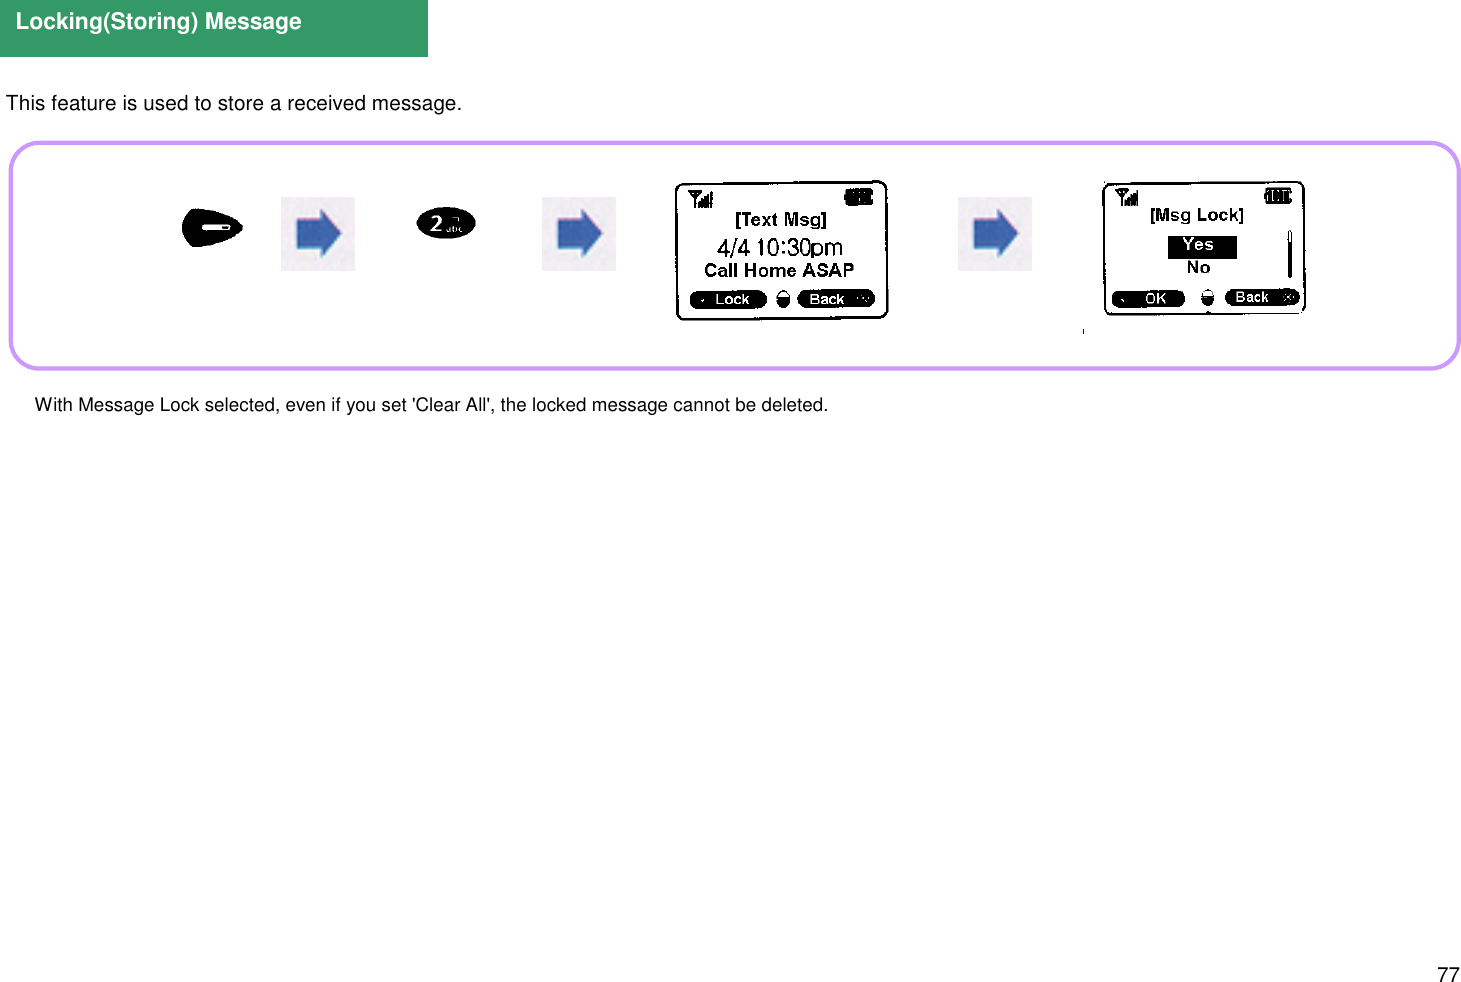
![80 A message with 'Msg Lock' set up cannot be deleted even if 'Delete Msg' is selected. To delete a message with 'Msg Lock' set up, you should clear 'Msg Lock' first.Deleting a MessageClearing Message Lock[MAIL ]To clear Message Lock, press on the screen after the message is displayed and then select 'No' from the Message Lock settings.](https://usermanual.wiki/Motorola-Mobility/T5AE1/User-Guide-121432-Page-81.png)
![81 This feature is used to sound an alert to inform the user that a message has been received. This feature is used to specify the content to be displayed on the screen when a message is received.Answering Mode SetupRemind Tone SetupViewing a Message[MAIL ][MAIL ] View Content: The content of a received message is displayed on the screen. Basic Info: The kind of a received message and callback number are displayed.](https://usermanual.wiki/Motorola-Mobility/T5AE1/User-Guide-121432-Page-82.png)