Motorola Mobility T6EE1 Licensed Portable w/ Bluetooth User Manual Exhibit 8 Users Manual
Motorola Mobility LLC Licensed Portable w/ Bluetooth Exhibit 8 Users Manual
Contents
- 1. Exhibit 8 Users Manual
- 2. Exhibit 8a Users Manual
- 3. Supplemental Users Manual Response to TC4252 and TC4253
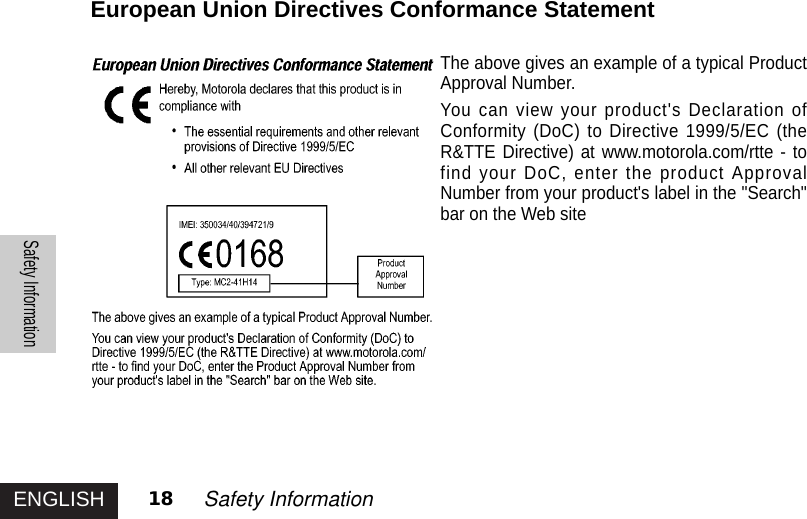
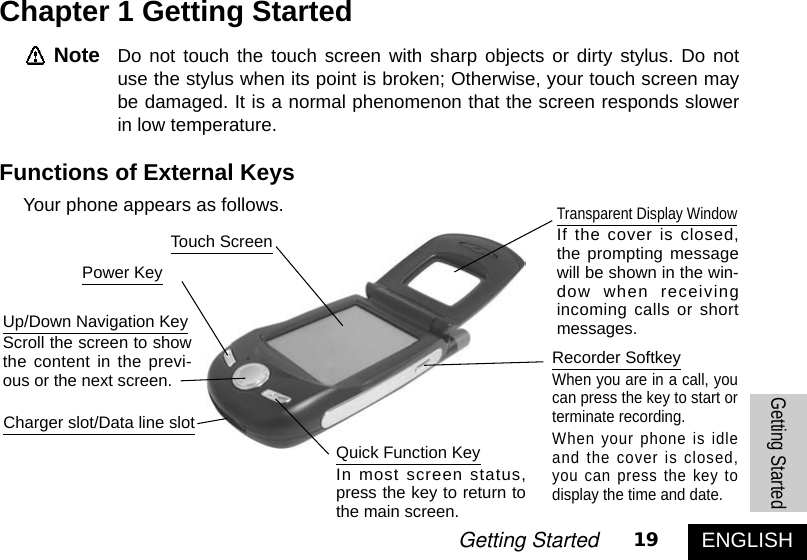
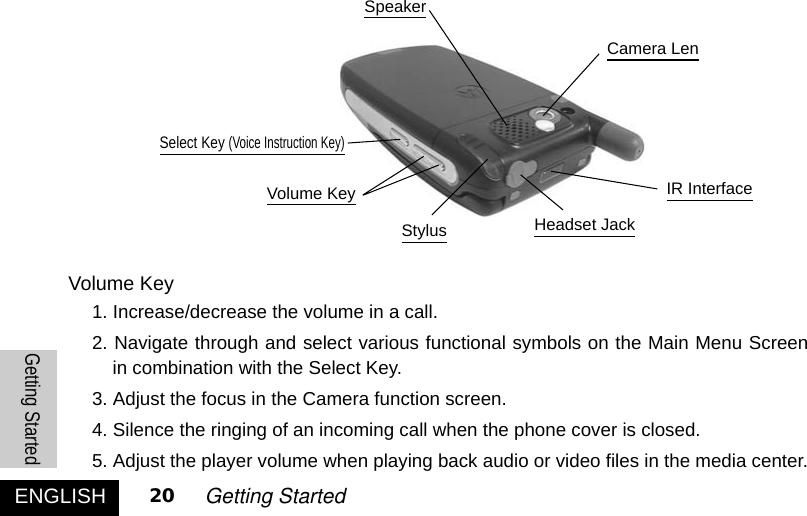
Exhibit 8 Users Manual

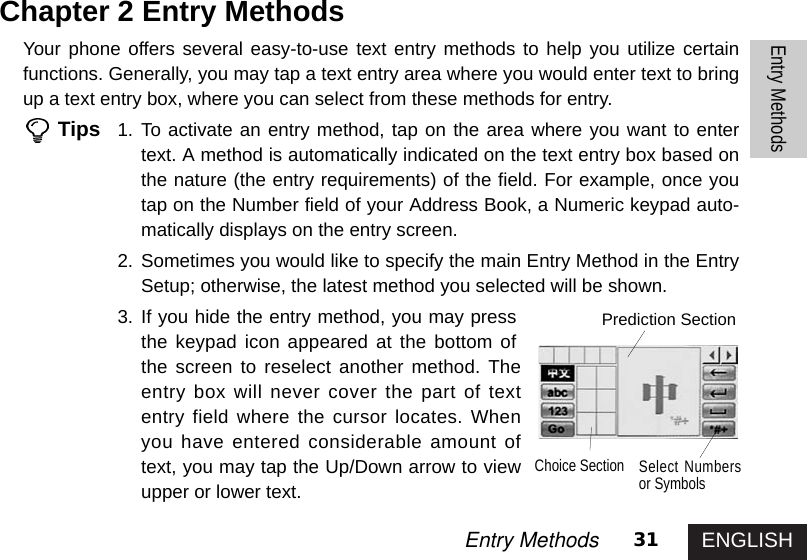
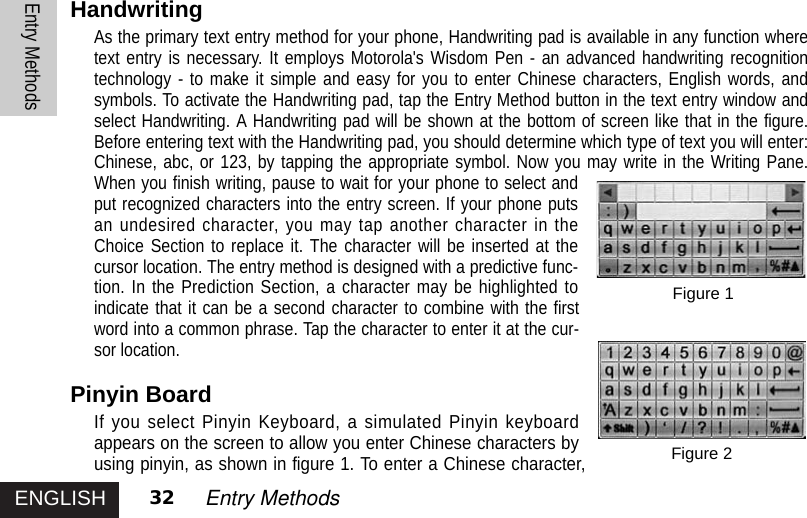
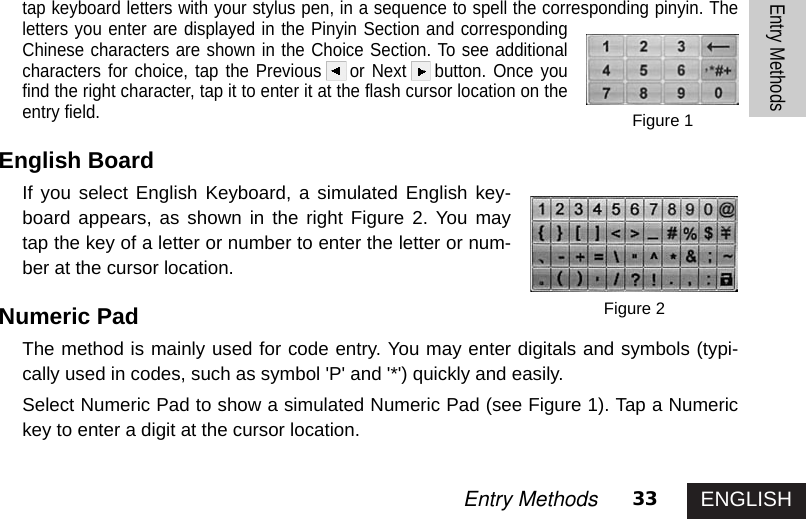


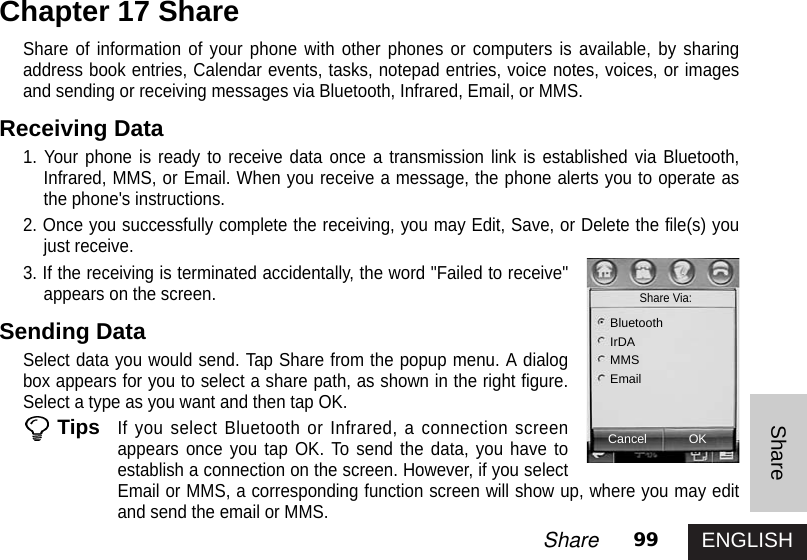
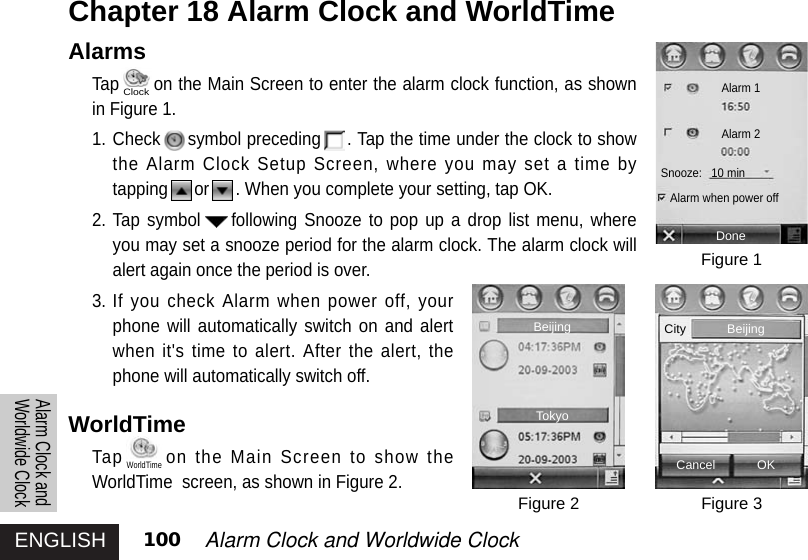
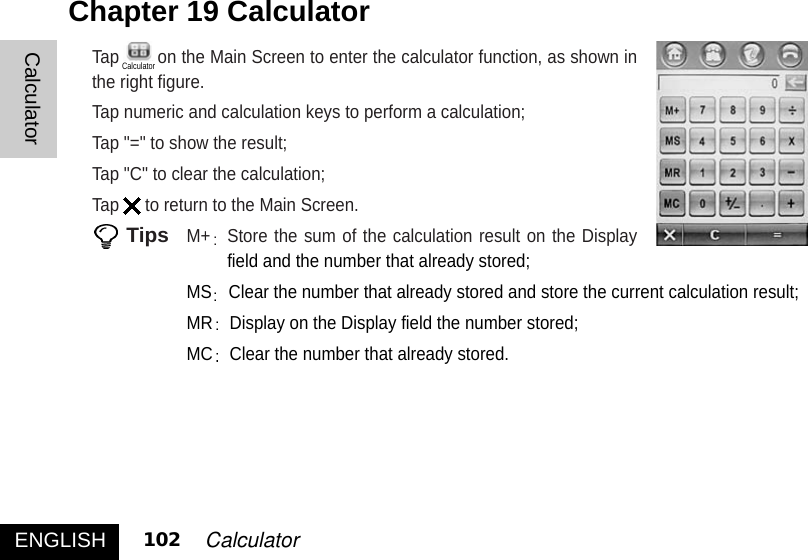

![ENGLISH105BluetoothBluetooth2.Select Bluetooth from the List. The screen shows a Device List. Select therecipient from the Device List. If the recipient does not available in theDevice List, select Search and choose the device from the searching result;3.Tap Send. Sometimes you may need to enter the password as appropriateto initiate the message transmission. On completing the transmitting, yourphone shows "Transmission to [xxx]"; 4. Tap OK to return to the file screen. Receiving a MessageIf connection to a Bluetooth device is ready, your phone will alert you assoon as a message is received. Take a V-file for example, as shown in the right figure, youmay operate as follows: 1. Tap OK. If necessary, your phone displays a Password Entry Screen. Enter the password fordevice connection and tap OK;2. If you enter a correct password, your phone will indicate the message transmission status.On completing, you may view the message just received from the Indication Screen.TipsIf you have just received a document, you may select a location from the IndicationScreen for storage. Enter the correct password whenever necessary. When thereceiving is successful completed, you may directly view the message you justreceived.Find MeSearchDevice ListAccept a file fromA768?Cancel OKA768](https://usermanual.wiki/Motorola-Mobility/T6EE1.Exhibit-8-Users-Manual/User-Guide-454548-Page-106.png)