Motorola Mobility T6ES1 Portable PCS GSM Transceiver User Manual UG C330 GSM
Motorola Mobility LLC Portable PCS GSM Transceiver UG C330 GSM
UserManual.wiki
>
Motorola Mobility
>
T6ES1 User Manual
>
Exhibit 8 Users Manual
Contents
1.
Exhibit 8 Users Manual
2.
Supplemental Response to TC4167
Exhibit 8 Users Manual
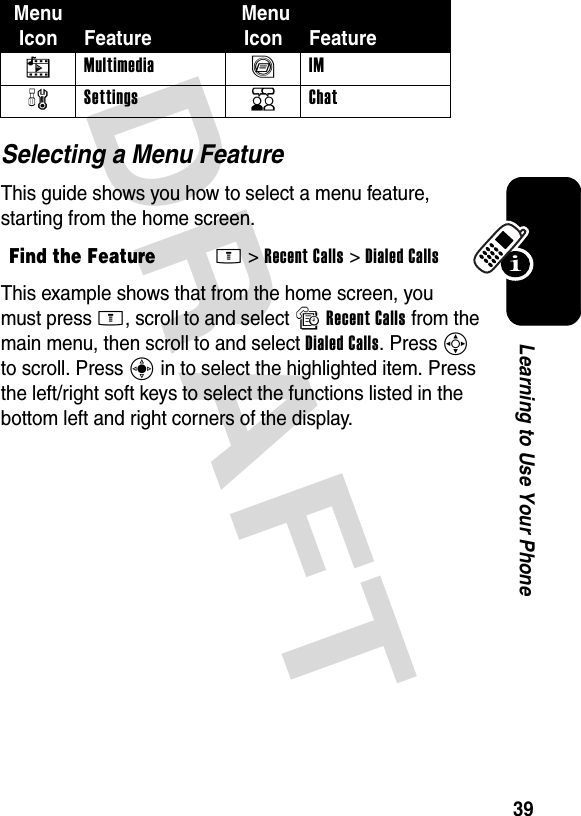
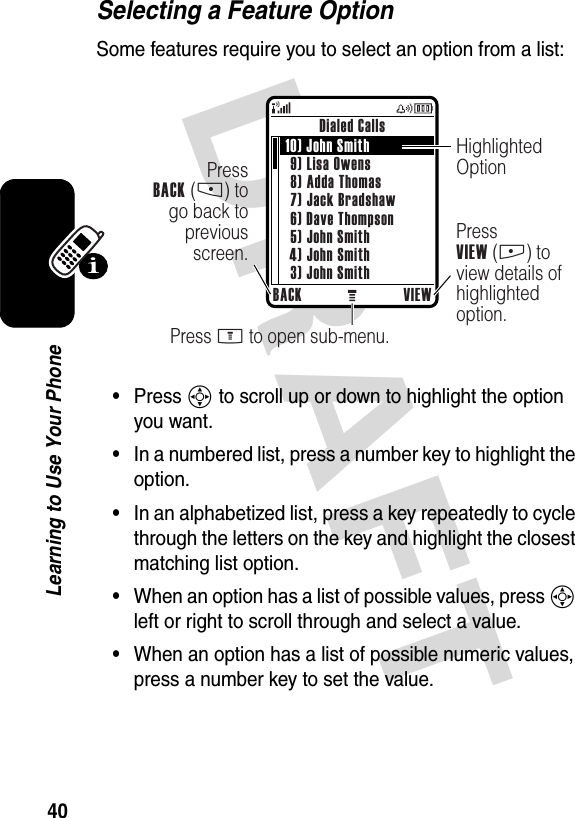
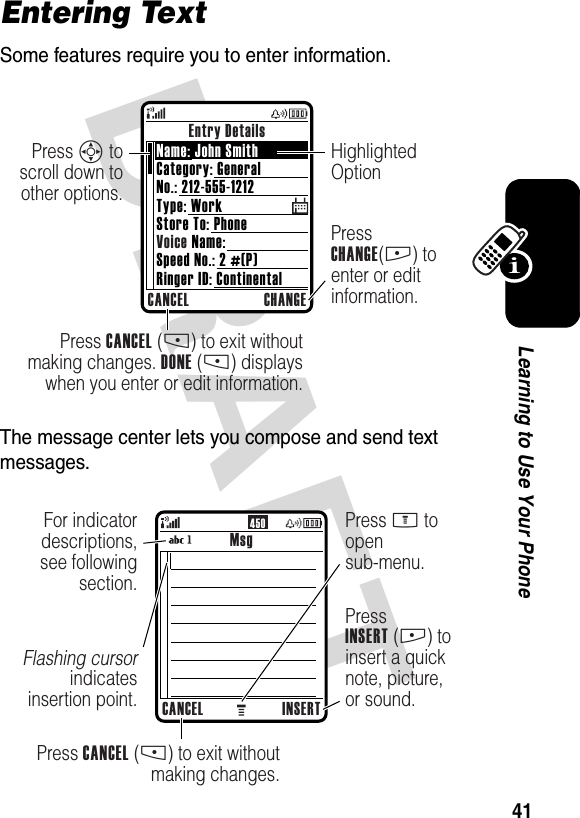
Navigation menu
Upload a User Manual
Namespaces
Wiki Guide
HTML
PDF
Info
Views
User Manual
Discussion / Help
Navigation
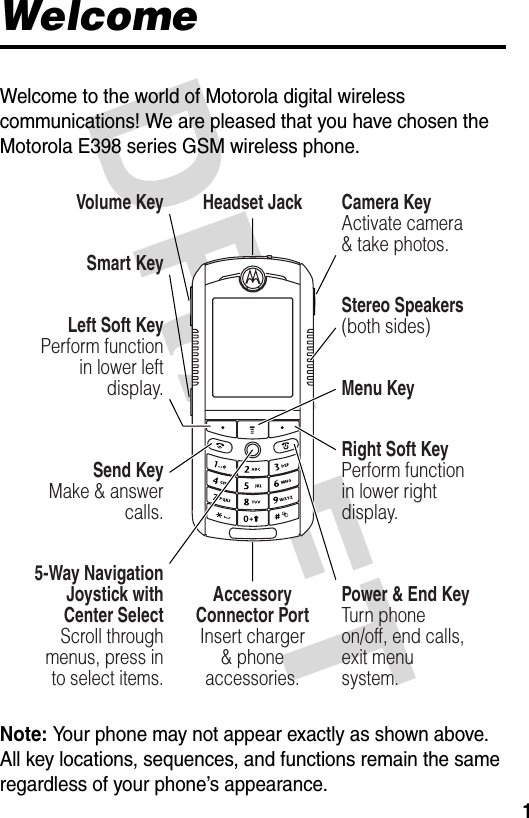
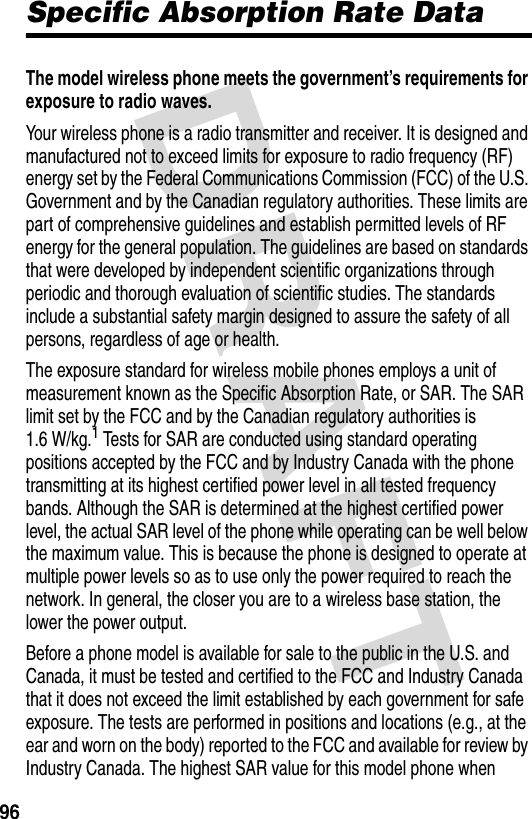
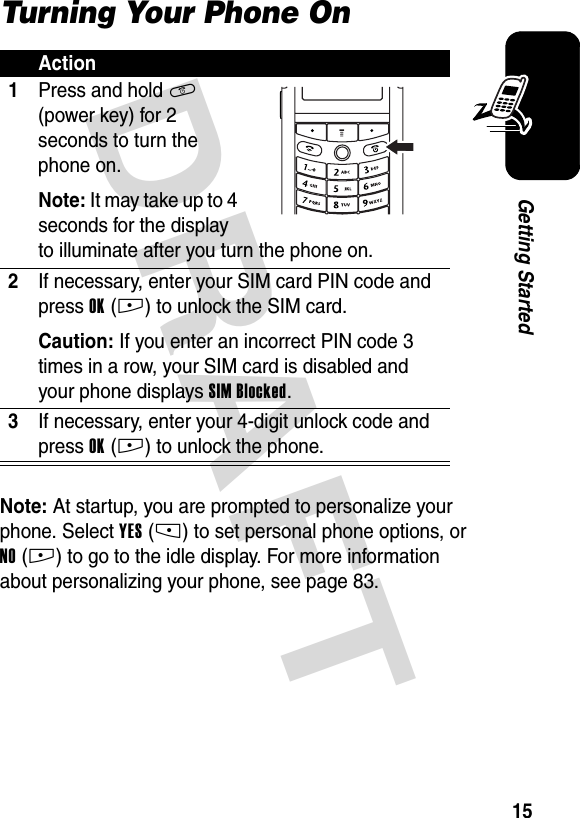
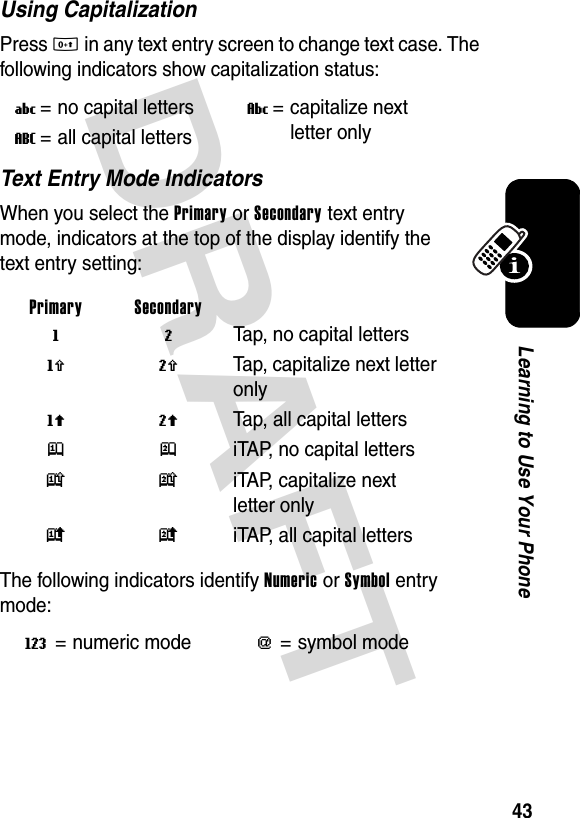
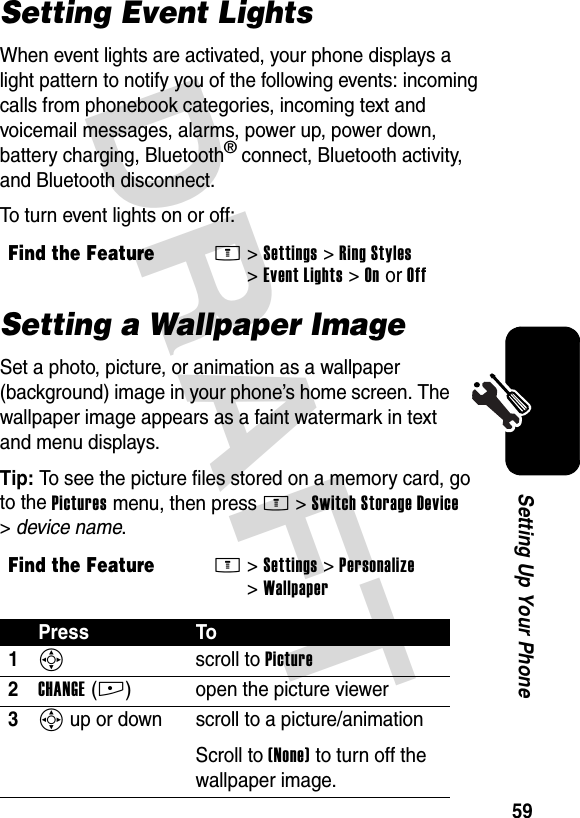
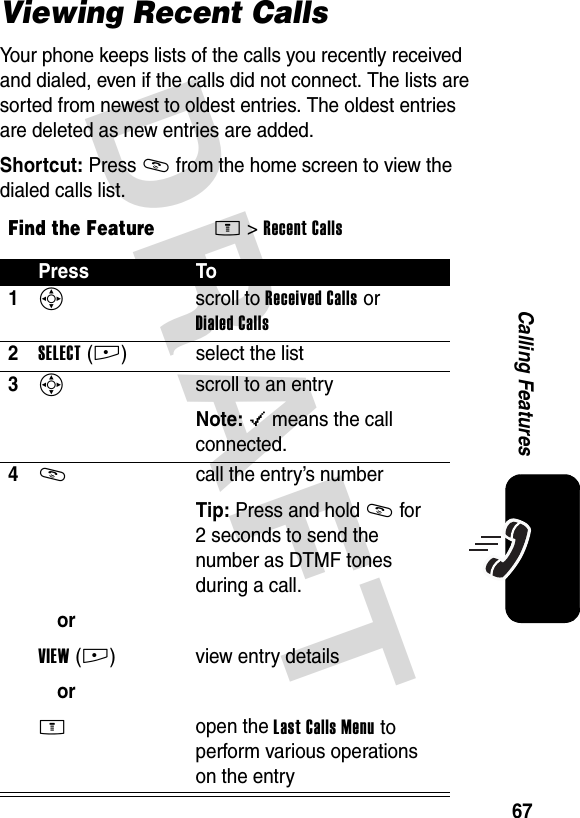
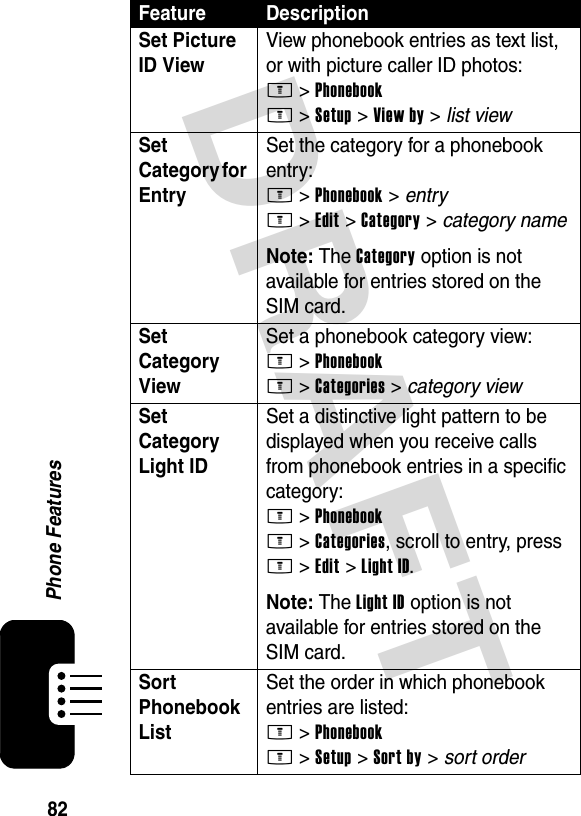
![DRAFT 2Check It Out!Feature DescriptionUse Memory Card Set the memory location you want to use to store and retrieve files:Go to a multimedia menu (such as Pictures or Sounds), then press M>Switch Storage Device > device name.Play Music Play a song on your phone:M >Multimedia >Sounds>song nameCreate Playlist Create a playlist of songs to play on your phone:M >Multimedia >Sounds>[New Playlist]032385o.epsCamera KeyActivate camera & take photos.MirrorAim camera lens for self portraits.Camera LensIntegrated Short-Range FlashStereo Speakers(both sides)](https://usermanual.wiki/Motorola-Mobility/T6ES1.Exhibit-8-Users-Manual/User-Guide-425141-Page-3.png)
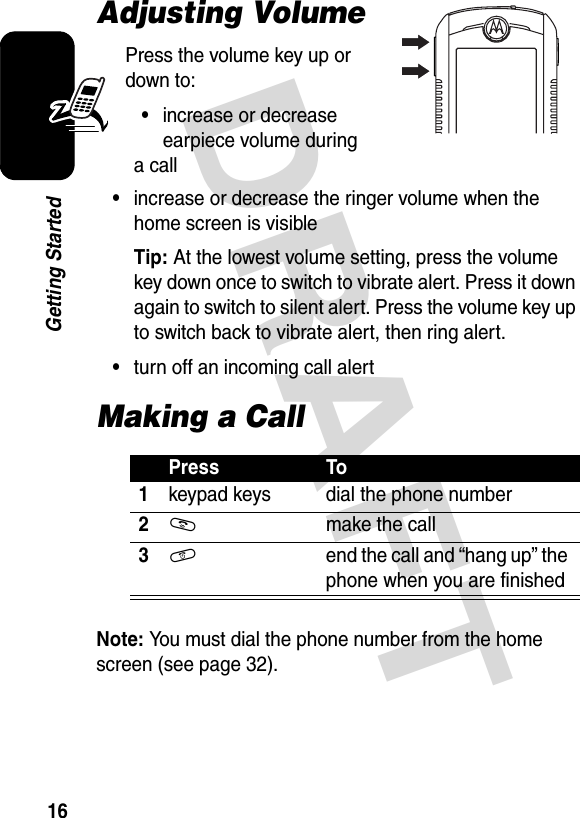
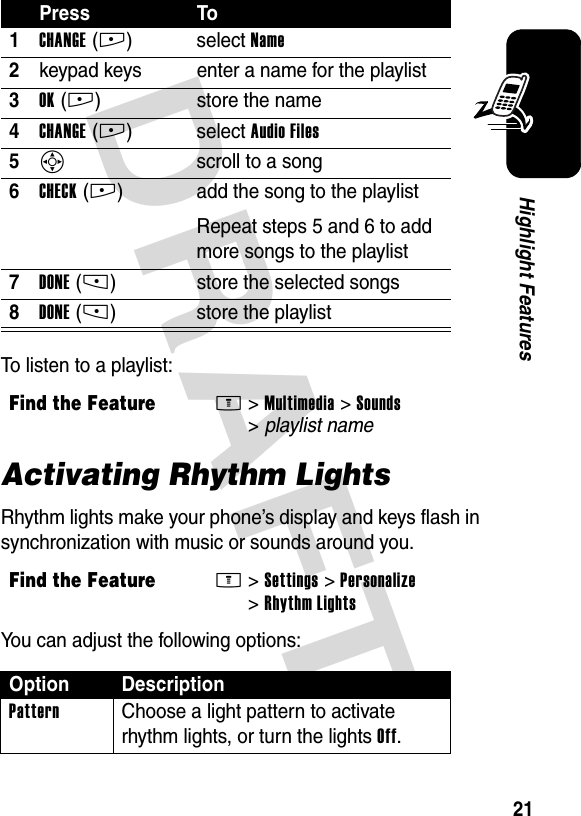
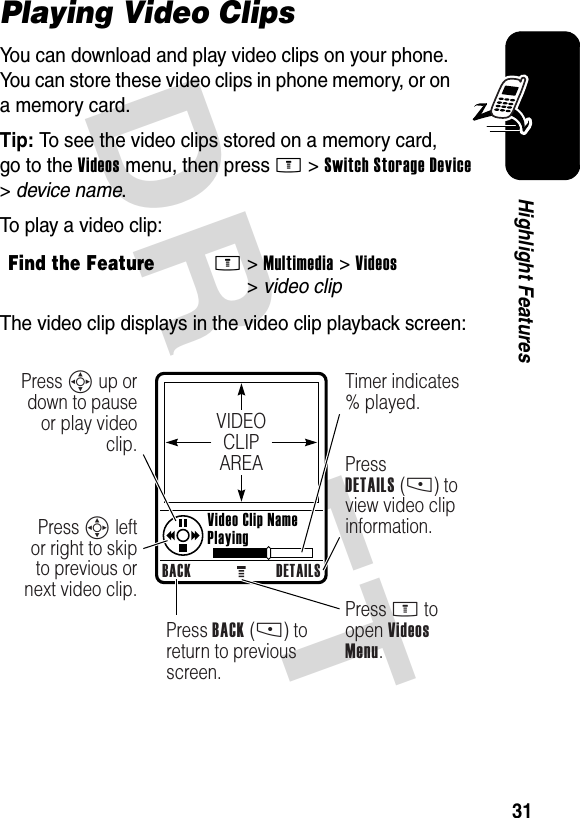
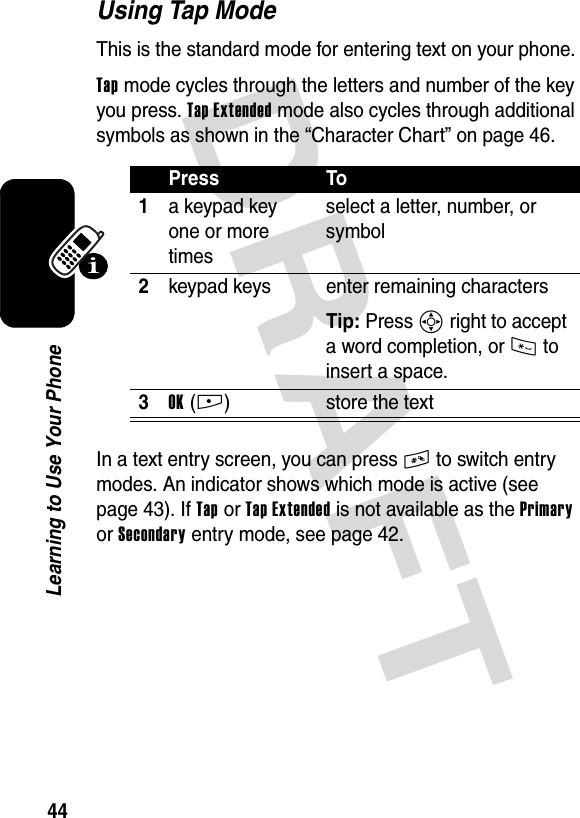
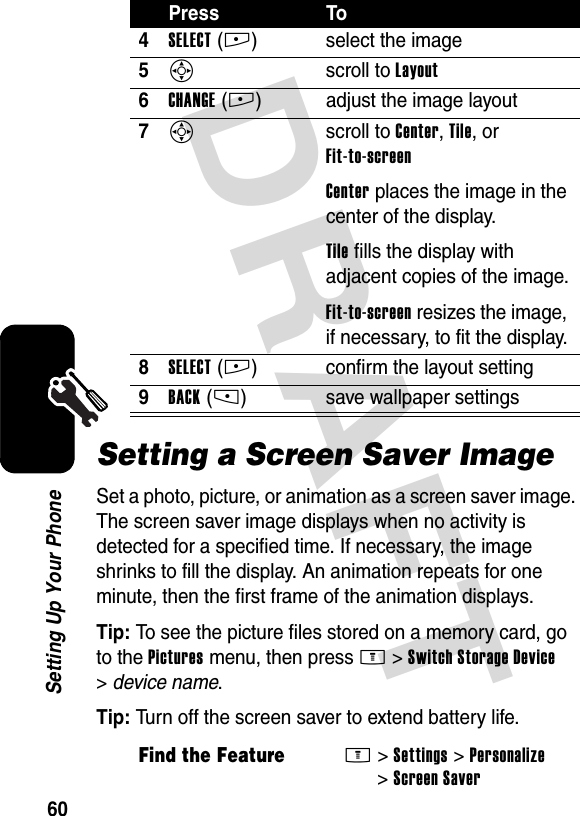
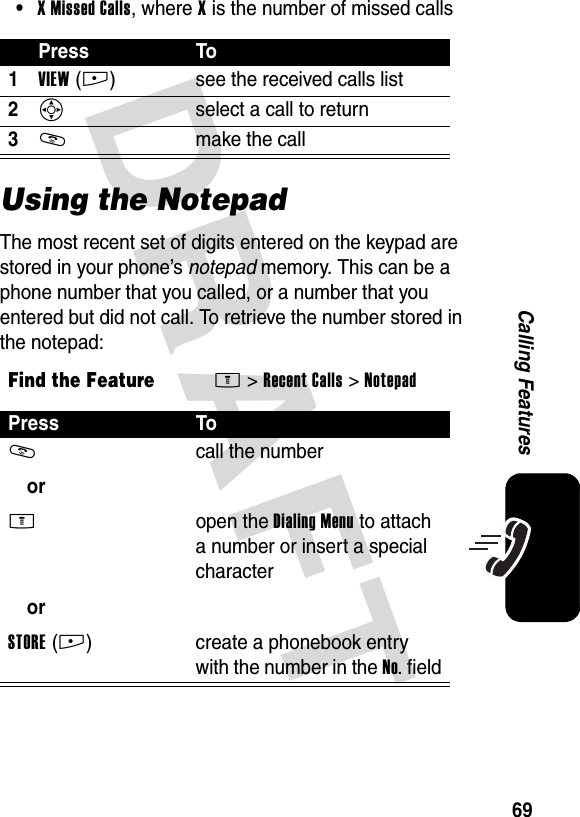
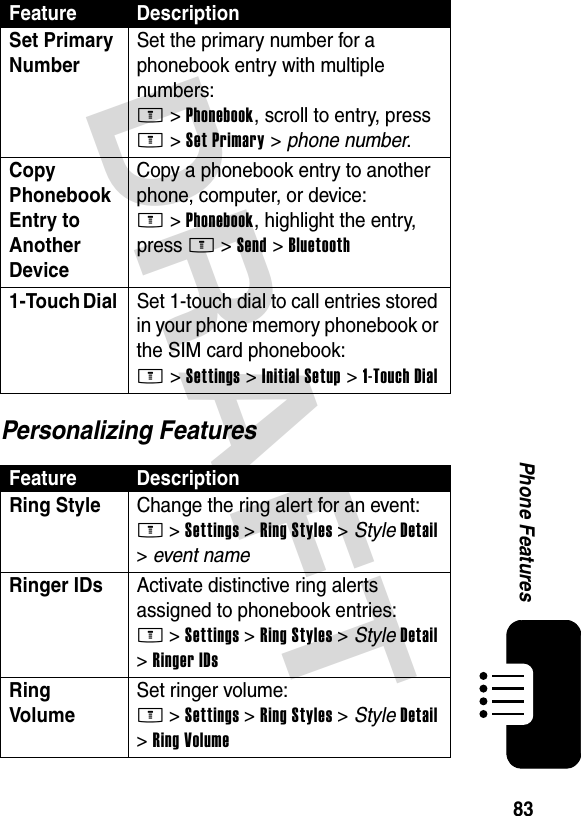
![DRAFT 3Rhythm Lights Activate rhythm lights to flash in sync with the sounds around you:M >Settings >Personalize >Rhythm LightsRing Lights Choose ring lights for incoming calls:M >Settings >Ring Styles >Ring Lights >light patternWireless Connection Set up a Bluetooth® wireless connection to a headset accessory, car kit, or external device:M >Settings >Connection >Bluetooth Link >Handsfree >[Look For Devices]Take Photo (With Flash)Press the camera key to activate the camera. Press M>Flash >On to activate the flash. Point lens at subject, then press the camera key to take a photo.Send Photo Send a photo to a phone number or email address:Press STORE(+) >Send In Message.Phone Skin Apply a different skin to the phone display:M >Settings >Personalize >Skin > skinSend Multimedia Message Send a multimedia message with pictures, animations, sounds, and videos:M >Messages >Create Message >New Multimedia MsgPlay Video Clip Play a video clip:M >Multimedia >Videos > video clipFeature Description](https://usermanual.wiki/Motorola-Mobility/T6ES1.Exhibit-8-Users-Manual/User-Guide-425141-Page-4.png)

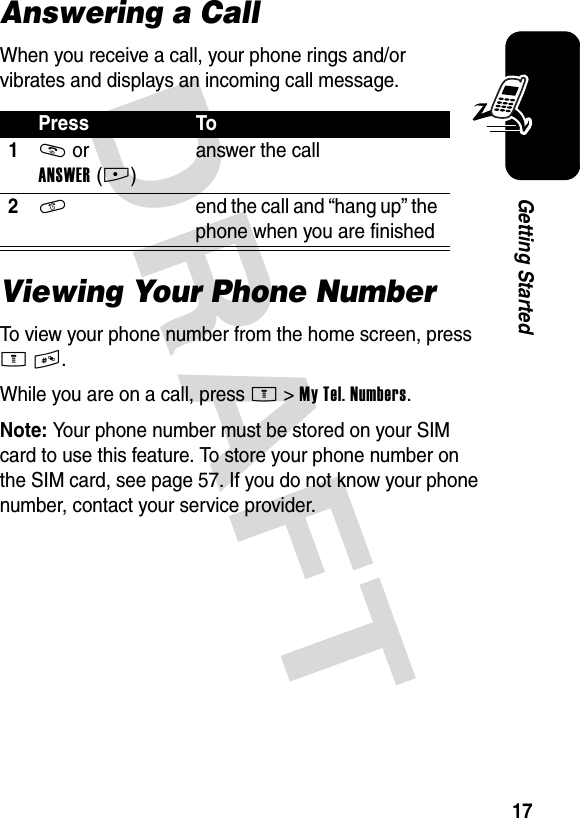
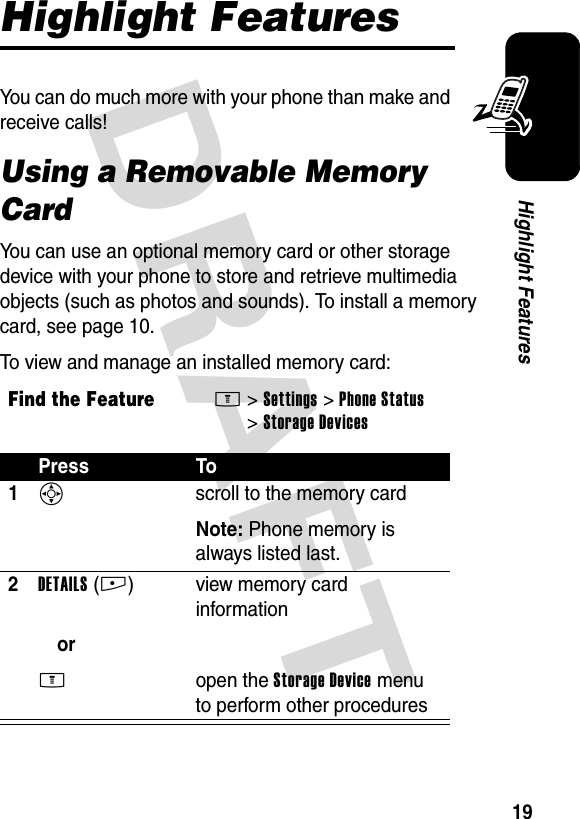
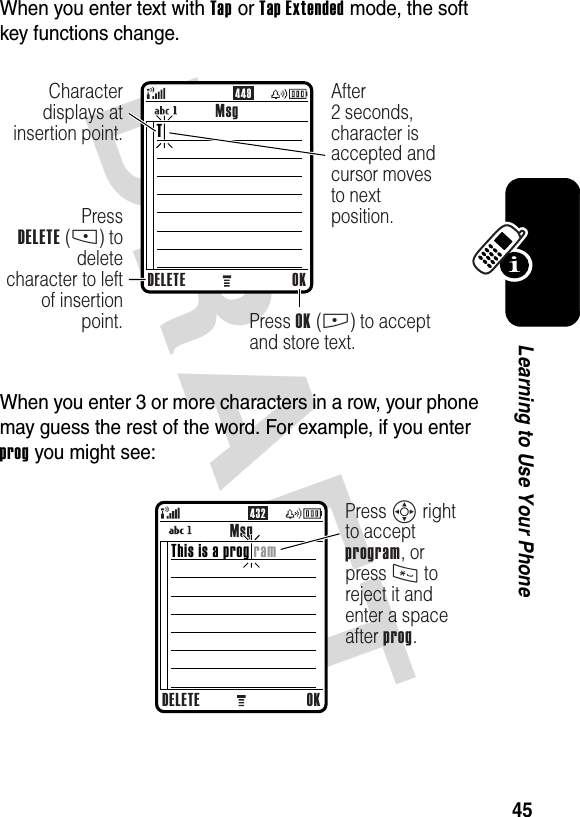
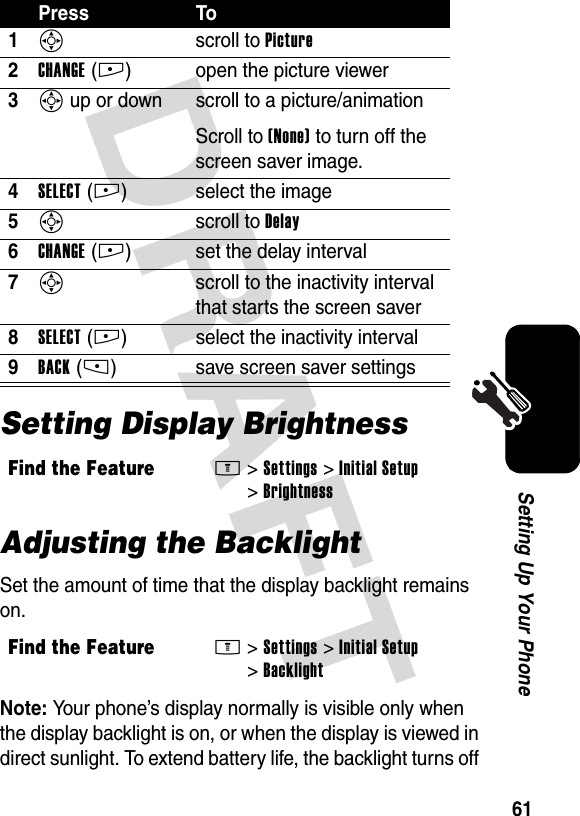
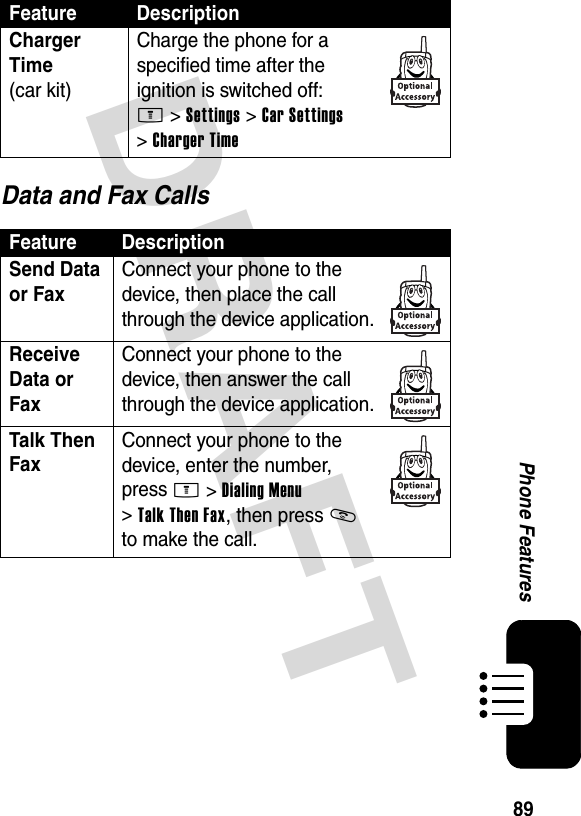
![DRAFT 20Highlight FeaturesThe Storage Device menu can include the following options:When a memory card is installed on your phone, the phone prompts you to select a storage device when you download or store a multimedia object.To view the contents of a memory card, go to the multimedia menu for a specific object type (such as Pictures or Sounds), then press M>Switch Storage Device >device name.Creating a Music PlaylistYou can download and play a variety of different types of ring tones and music on your phone. You can store these sound files in phone memory, or on a memory card.Tip: To see the sound files stored on a memory card, go to the Sounds menu, then press M>Switch Storage Device >device name.You can create a playlist of selected songs that play in the order you specify. Playlists you create are stored in the Sounds menu.To create a playlist:Option DescriptionFormat Format the memory card.Rename Rename the memory card.Find the FeatureM>Multimedia >Sounds >[New Playlist]](https://usermanual.wiki/Motorola-Mobility/T6ES1.Exhibit-8-Users-Manual/User-Guide-425141-Page-21.png)
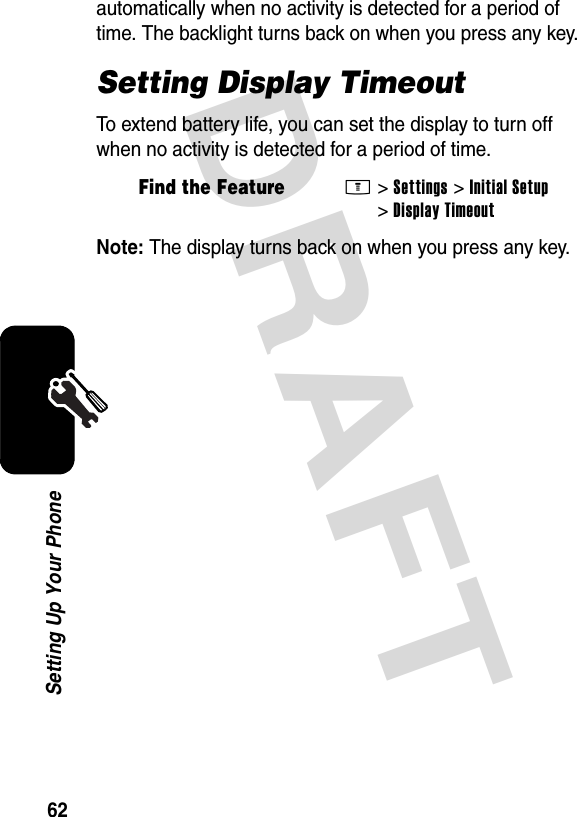
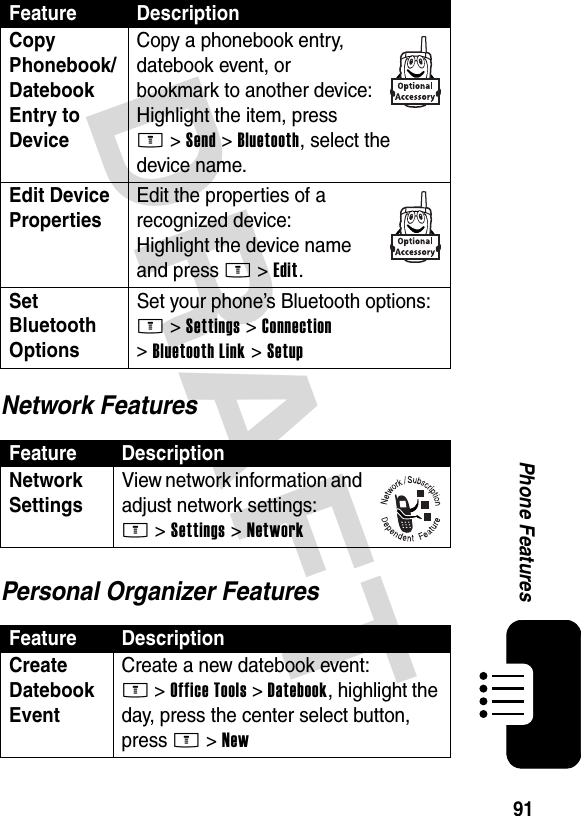
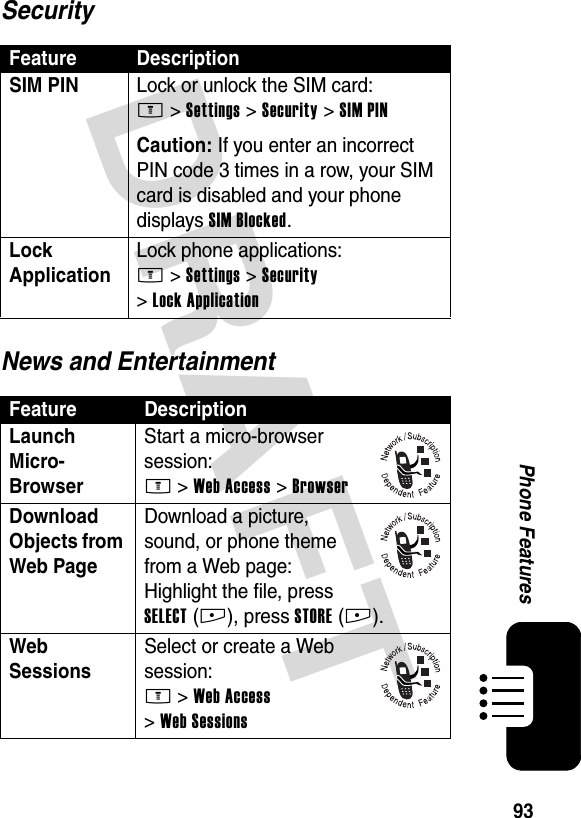
![DRAFT 23Highlight FeaturesSetting Up a Bluetooth® Wireless ConnectionYour phone supports Bluetooth wireless connections. You can set up a wireless link with a Bluetooth-enabled headset accessory, speakerphone, or handsfree car kit, or connect to a computer or hand-held device to exchange and synchronize data.Searching for Other DevicesTo connect your phone to a headset accessory or handsfree device:Your phone displays a list of device(s) located within range of the phone. If your phone is already connected to a device, your phone lists the connected device and identifies it with a o (in use) indicator.To connect to a device, highlight the device name and press SELECT(+).The device may request permission to bond with your phone. Select YES(-) and enter the correct PIN code to create a secure connection with the device. When the connection is made, the à (Bluetooth) indicator or a Bluetooth Connected message displays in the home screen.Find the FeatureM>Settings >Connection >Bluetooth Link >Handsfree >[Look For Devices]](https://usermanual.wiki/Motorola-Mobility/T6ES1.Exhibit-8-Users-Manual/User-Guide-425141-Page-24.png)
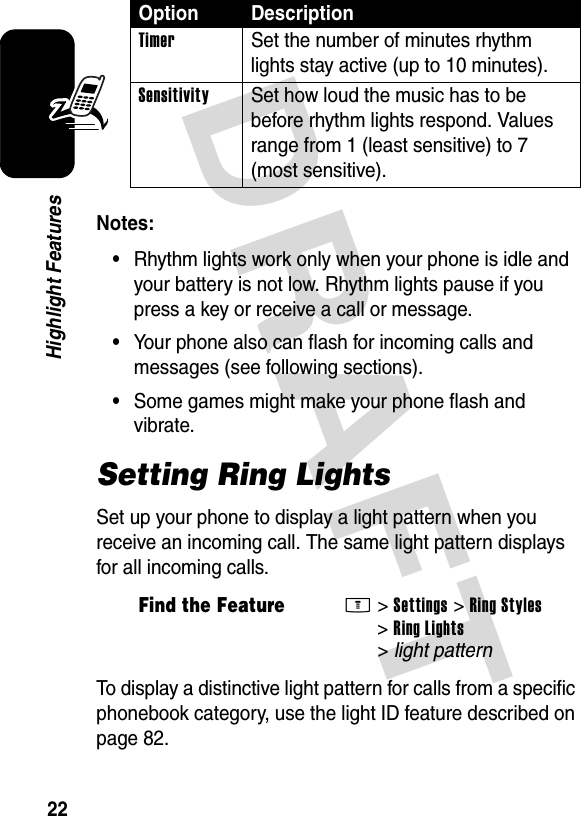
![DRAFT 24Highlight FeaturesCopying Objects to Another DeviceYou can use a Bluetooth wireless connection to copy a picture, sound, phonebook entry, datebook event, or bookmark from your phone to another phone, computer, or hand-held device.Copying a Multimedia ObjectHighlight the object on your phone that you want to copy to the other device, then press M>Copy.Select a recognized device name listed in the Object Exchange menu, or [Look For Devices] to search for the device to which you want to copy the object.Copying a Phonebook Entry, Datebook Event, or BookmarkHighlight the item on your phone that you want to copy to the other device, then press M>Send >Bluetooth.Select a recognized device name listed in the Object Exchange menu, or [Look For Devices] to search for the device to which you want to copy the item.Taking and Sending a PhotoShortcut: Press the camera key to activate the camera. Press the camera key again to take a photo.To activate your phone’s camera using the menu system:Tip: When you want to take photos in low-light settings, press M>Flash >On to activate the built-in flash.Find the FeatureM>Multimedia >Camera](https://usermanual.wiki/Motorola-Mobility/T6ES1.Exhibit-8-Users-Manual/User-Guide-425141-Page-25.png)
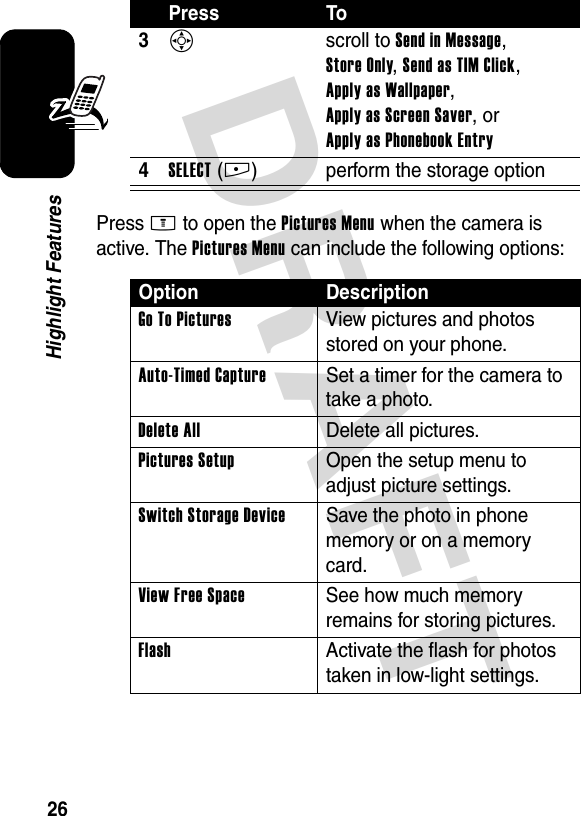
![DRAFT 29Highlight Features15S scroll to a Send To option:Highlight [One Time Entry] to enter one or more phone numbers and/or email addresses.Highlight [New Phonebook Entry] to enter a number/address and add it to the phonebook.Or highlight an existing phonebook entry.16SELECT(+)orADD(+)select [One Time Entry] or [New Phonebook Entry]add a phonebook entry to the list of recipients17DONE(-) store the numbers/addresses18S scroll to Subject19CHANGE(-)select Subject20keypad keys enter the subject21OK(+) store the subject22CHANGE(-)select Attachments to attach a file to the message, if desired23S scroll to Picture, Voice Record, Sound, or VideoPress To](https://usermanual.wiki/Motorola-Mobility/T6ES1.Exhibit-8-Users-Manual/User-Guide-425141-Page-30.png)
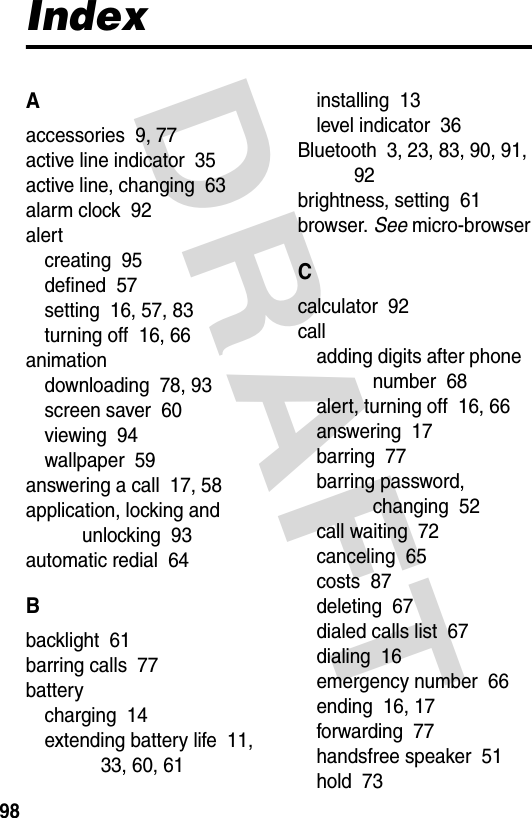
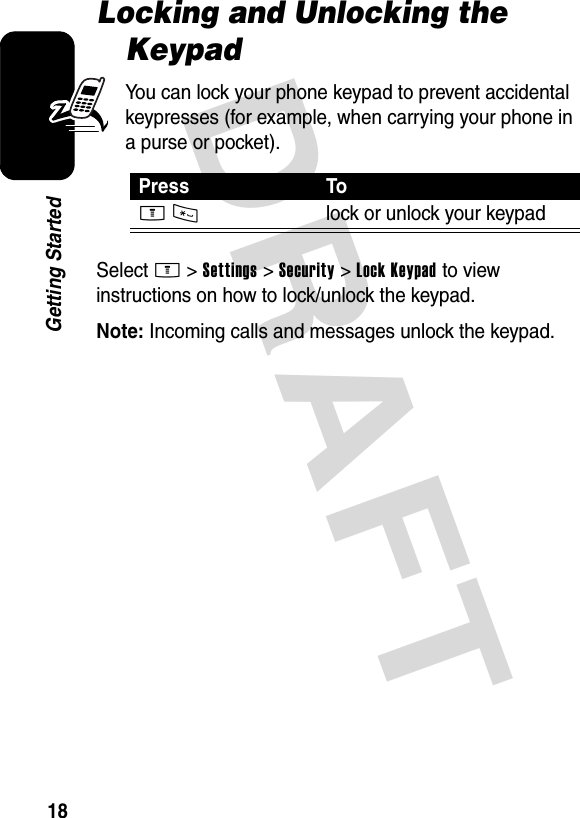
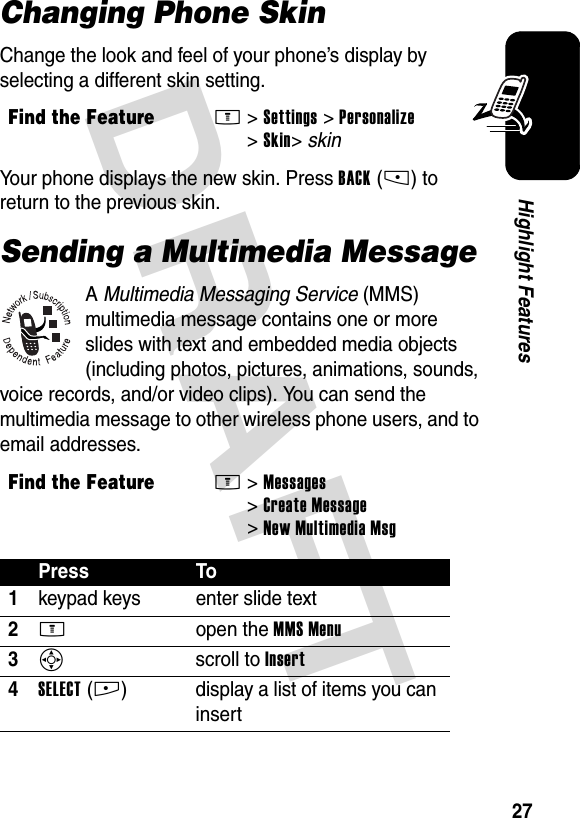
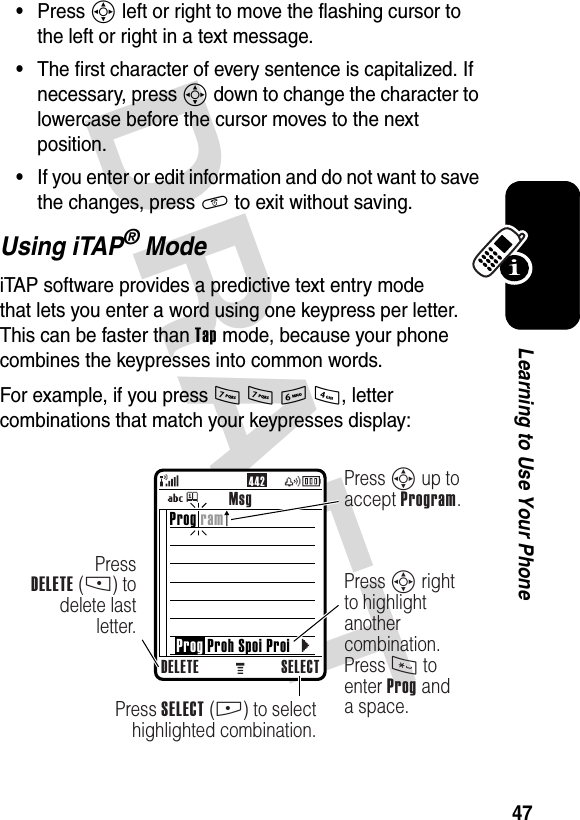
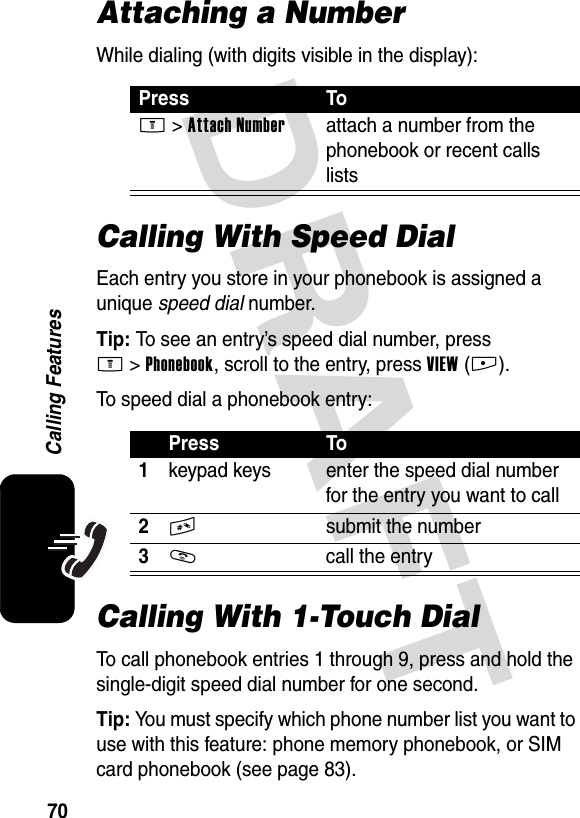
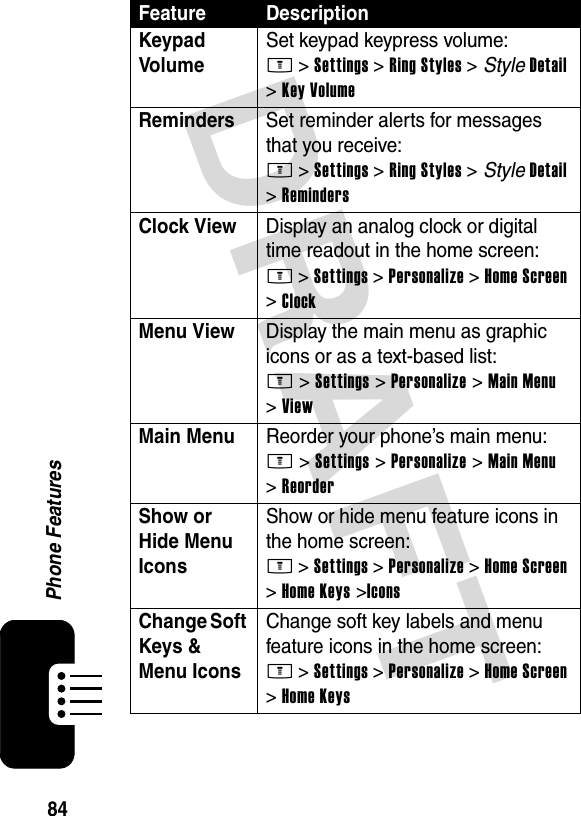
![DRAFT 46Learning to Use Your PhoneIf you want a different word (such as progress), continue pressing keypad keys to enter the remaining characters.Character ChartUse this chart as a guide for entering characters with Tap Extended mode.Note: This chart may not reflect the exact character set available on your phone. In an email or Web address editor, 1 first shows common characters for that editor.Tap Mode Text Entry Rules•Press a keypad key repeatedly to cycle through its characters.1 . 1 ? ! , @ _ & ~ : ; " - ( ) '¿ ¡ % £ $ ¥ + x * / \ [ ]= > < # §2 a b c 2 ä å á à â ã α β ç3 d e f 3 δ ë é è ê φ4 g h i 4 ï í î γ5 j k l 5 λ6 m n o 6 ñ ö ø ó ò ô õ ω7 p q r s 7 π ß σ8 t u v 8 θ ü ú ù û9 w x y z 9 ξ ψ0 change text case, for capital letters * enter a space (hold to enter a return) # change text entry mode (hold for default)](https://usermanual.wiki/Motorola-Mobility/T6ES1.Exhibit-8-Users-Manual/User-Guide-425141-Page-47.png)
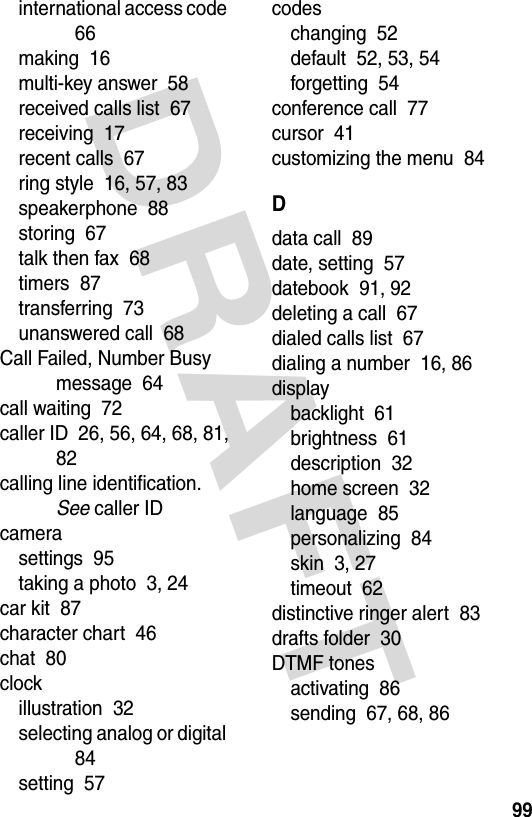
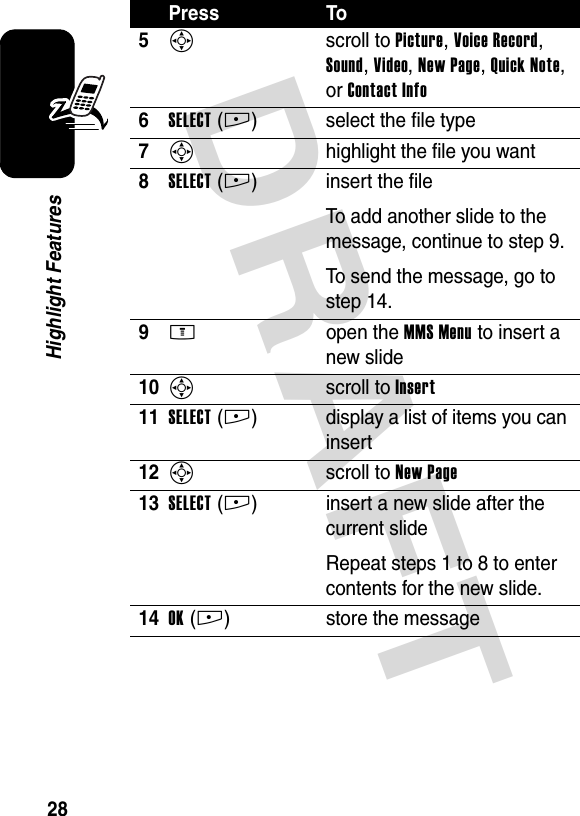
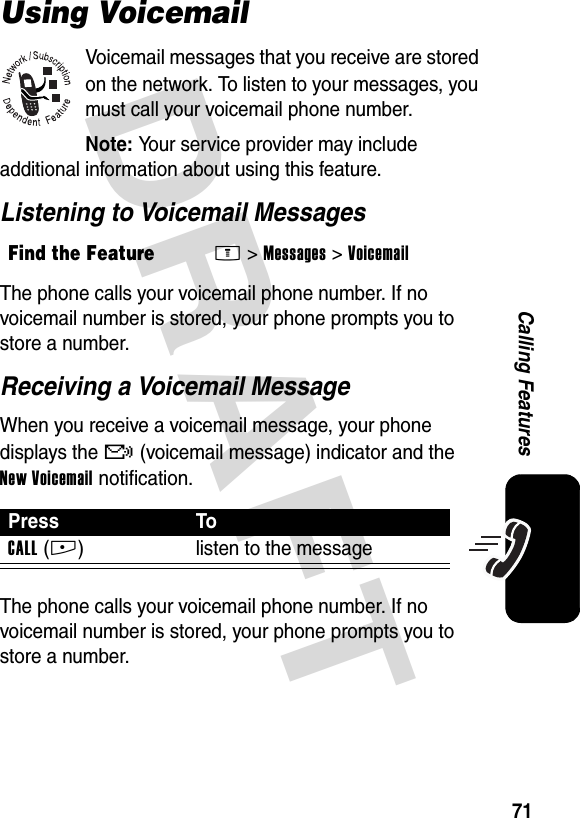
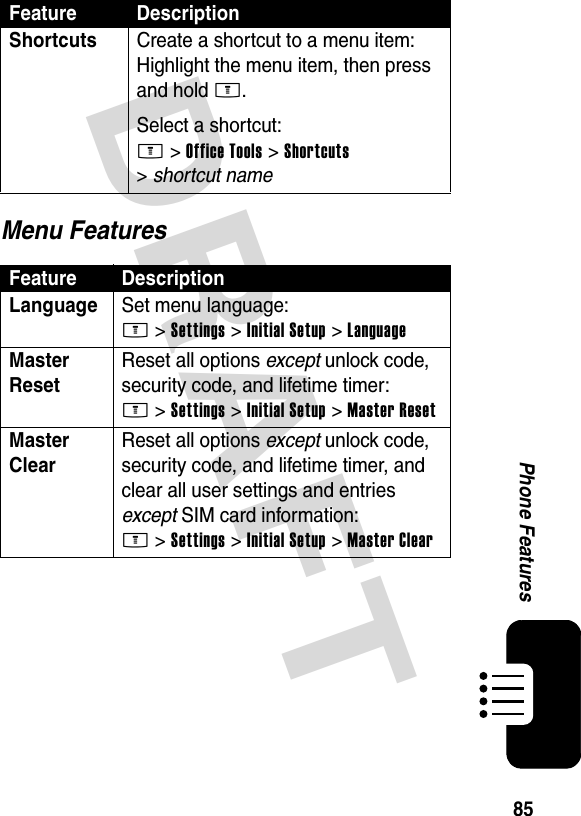
![DRAFT 50Learning to Use Your PhoneSymbol ChartUse this chart as a guide for entering characters with symbol mode.Note: This chart may not reflect the exact character set available on your phone. In an email or Web address editor, 1 first shows common characters for that editor.Deleting Letters and WordsPlace the cursor to the right of the text you want to delete, and then:1 . ? ! , @ _ & ~ : ; " - ( ) ' ¿¡ % £ $ ¥ 2 @ _ \3 / : ;4 " & '5 ( ) [ ] { }6 ¿ ¡ ~7 < > =8 $ £ ¥ 9 # % *0 + - x * / = > < # §* enter a space (hold to enter a return) # change text entry mode (hold for default) ActionPress DELETE(-) to delete one letter at a time.Hold DELETE(-) to delete the entire message.](https://usermanual.wiki/Motorola-Mobility/T6ES1.Exhibit-8-Users-Manual/User-Guide-425141-Page-51.png)


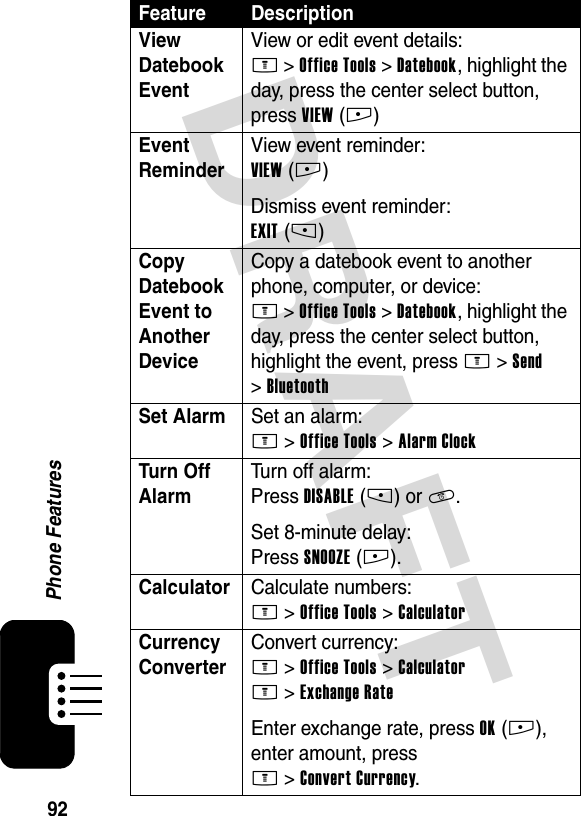
![DRAFT 90Phone FeaturesBluetooth® Wireless ConnectionsFeature DescriptionSet Up a Wireless Connection Set up a Bluetooth wireless connection to a headset accessory, car kit, or external device:M >Settings >Connection >Bluetooth Link >Handsfree >[Look For Devices]Make Phone Visible to Other Device Allow an unknown Bluetooth device to discover your phone:M >Settings >Connection >Bluetooth Link >Setup >Find MeConnect to Recognized Device Connect to a recognized handsfree device:M >Settings >Connection >Bluetooth Link >Handsfree >device nameDisconnect From Device Disconnect from a device:Highlight the device name and press DROP(+).Switch to Device During Call Switch to a headset or car kit during a call:M>Use BluetoothCopy Multimedia Object to Device Copy a multimedia object to another device:Highlight the object, press M>Copy, select the device name.](https://usermanual.wiki/Motorola-Mobility/T6ES1.Exhibit-8-Users-Manual/User-Guide-425141-Page-91.png)
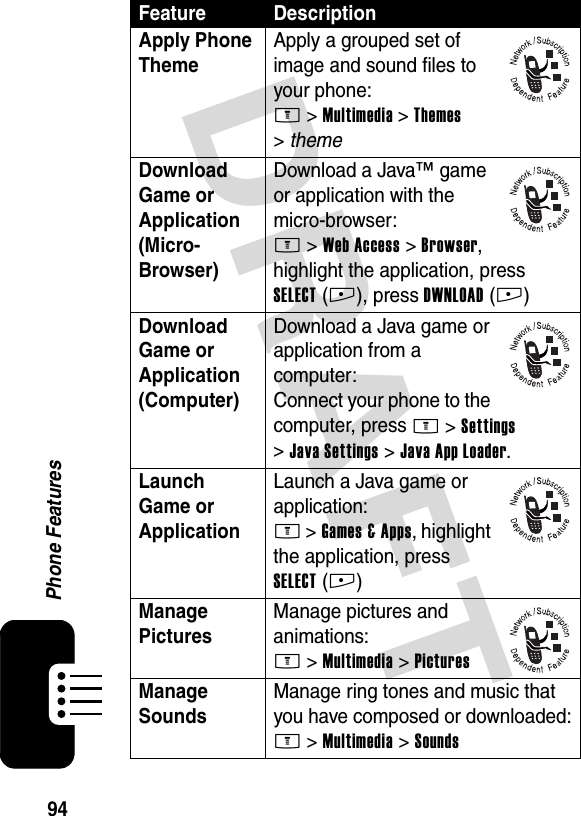
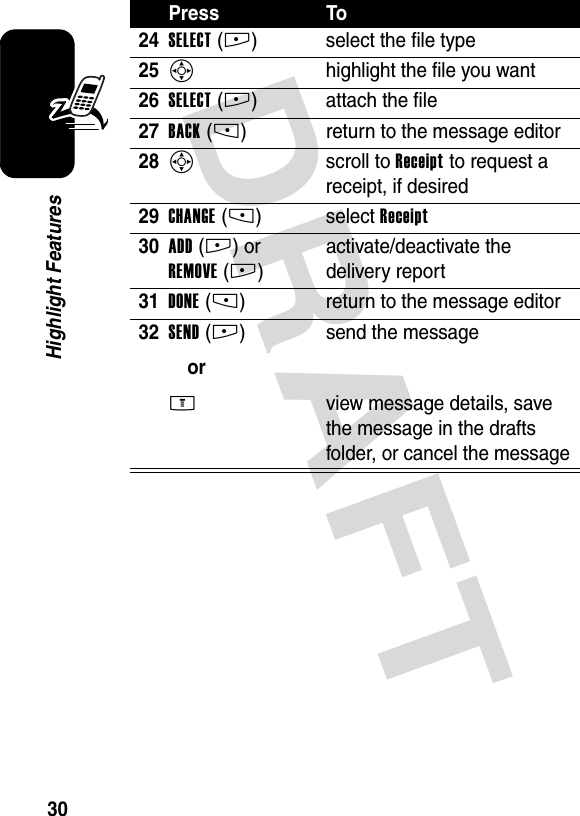
![DRAFT 95Phone FeaturesManage Video Clips Manage video clips:M >Multimedia >VideosEdit Sounds With MotoMixer Edit MIDI-based songs that you can use with your phone:M >Multimedia >MotoMixer >[New Mix] or mix file nameCreate Ring Tones Create iMelody ring tones that you can use with your phone:M >Multimedia >Sounds >[New iMelody]Camera Adjust light level and other settings for the integrated camera:M >Multimedia >CameraM >Pictures SetupFeature Description](https://usermanual.wiki/Motorola-Mobility/T6ES1.Exhibit-8-Users-Manual/User-Guide-425141-Page-96.png)