Motorola Solutions 89FT5816 Astro Digital XTS2500 Hand Help Portable User Manual 95C05 O XTS2500 800MHz Mod3
Motorola Solutions, Inc. Astro Digital XTS2500 Hand Help Portable 95C05 O XTS2500 800MHz Mod3
Contents
- 1. User Manual
- 2. Addendum to Users Manual
User Manual
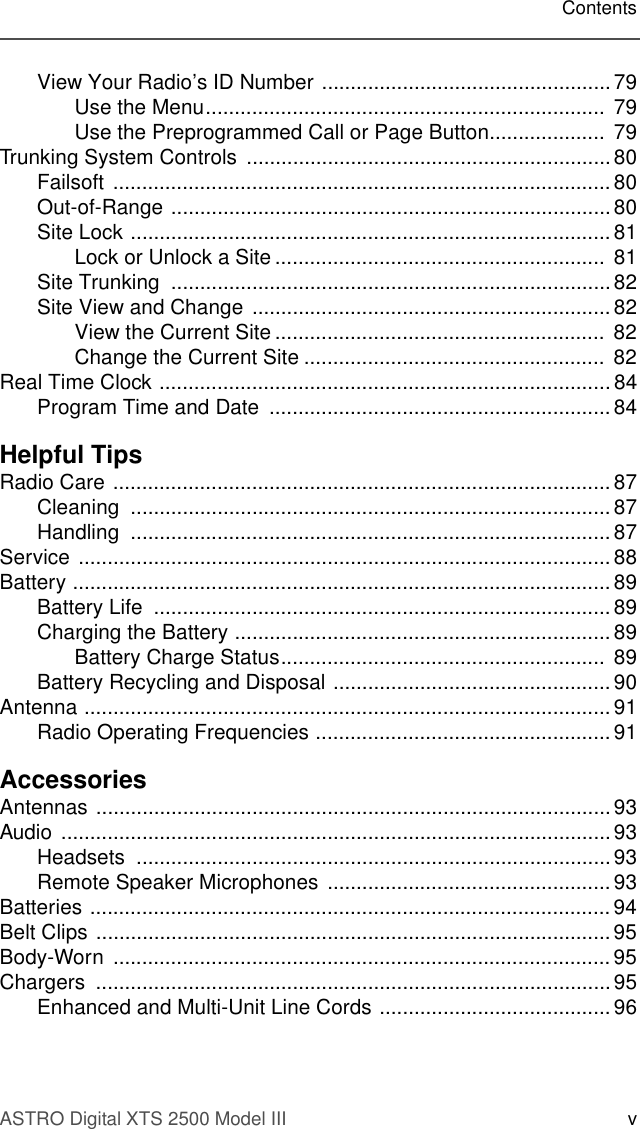

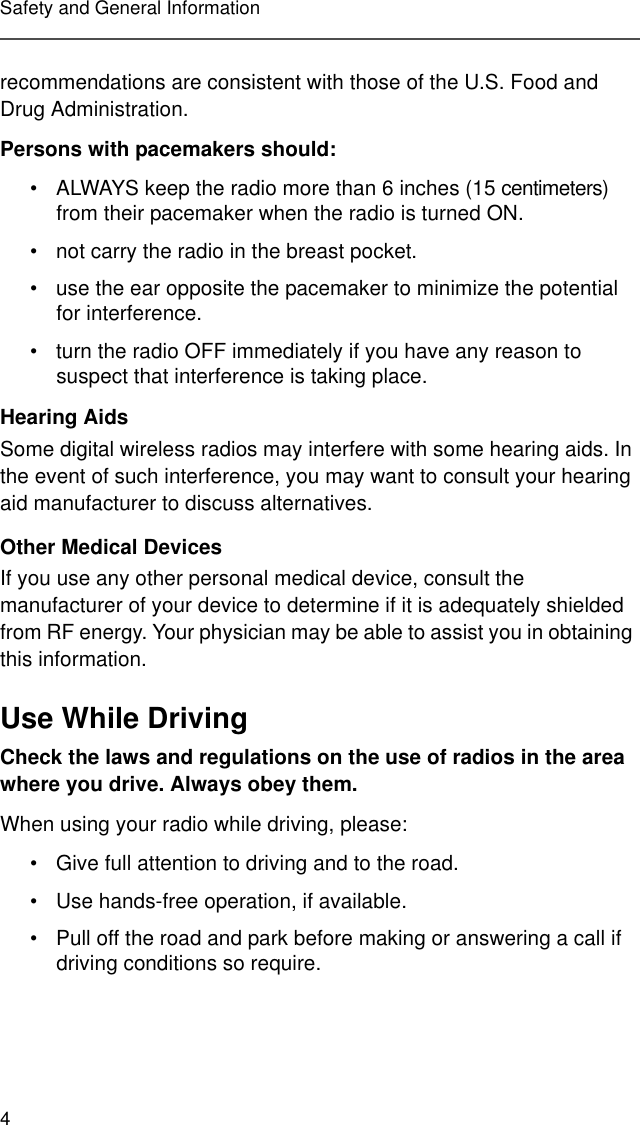
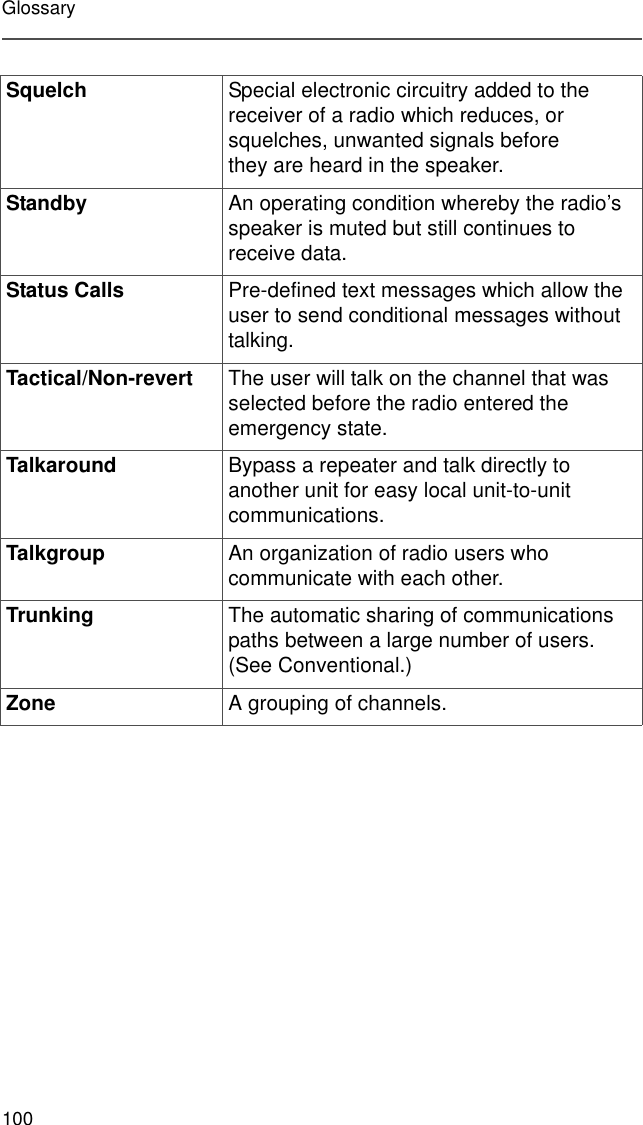
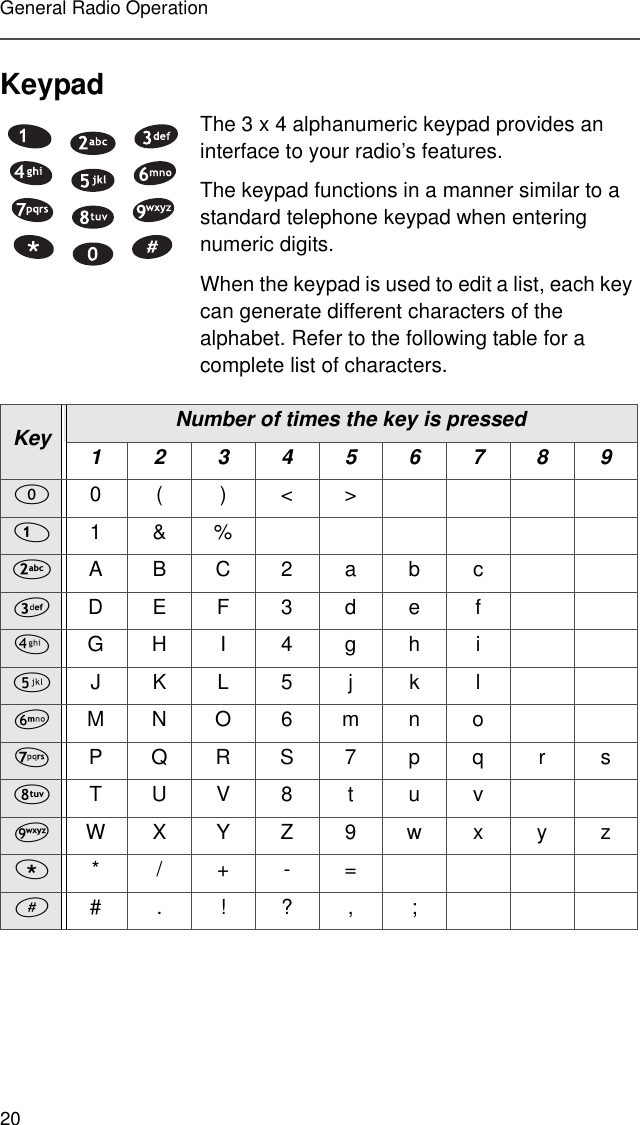
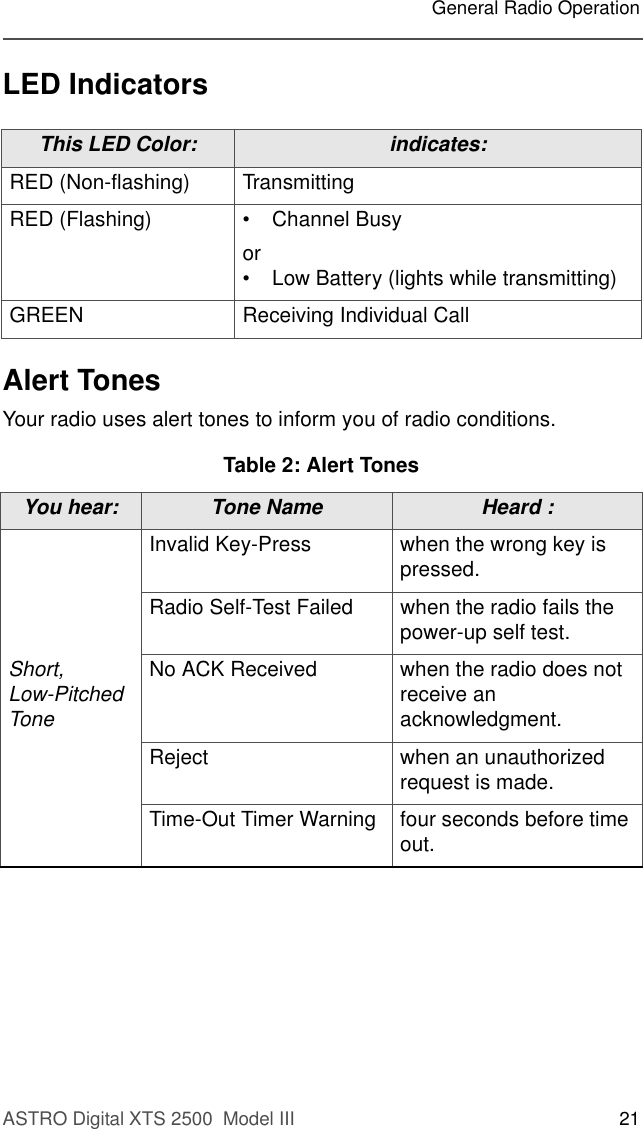
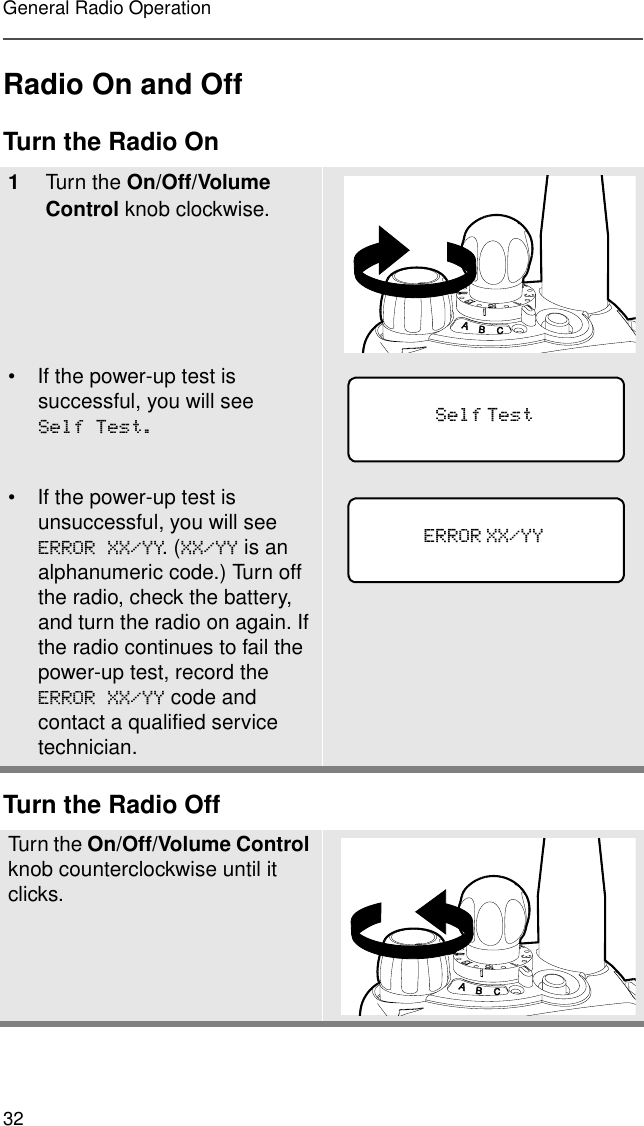
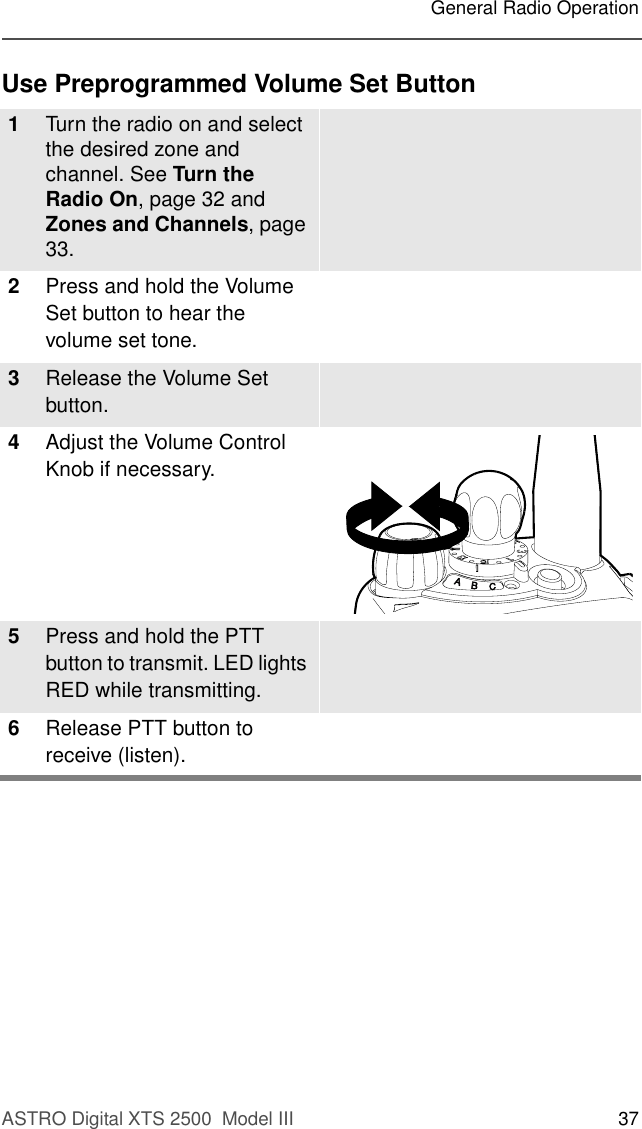
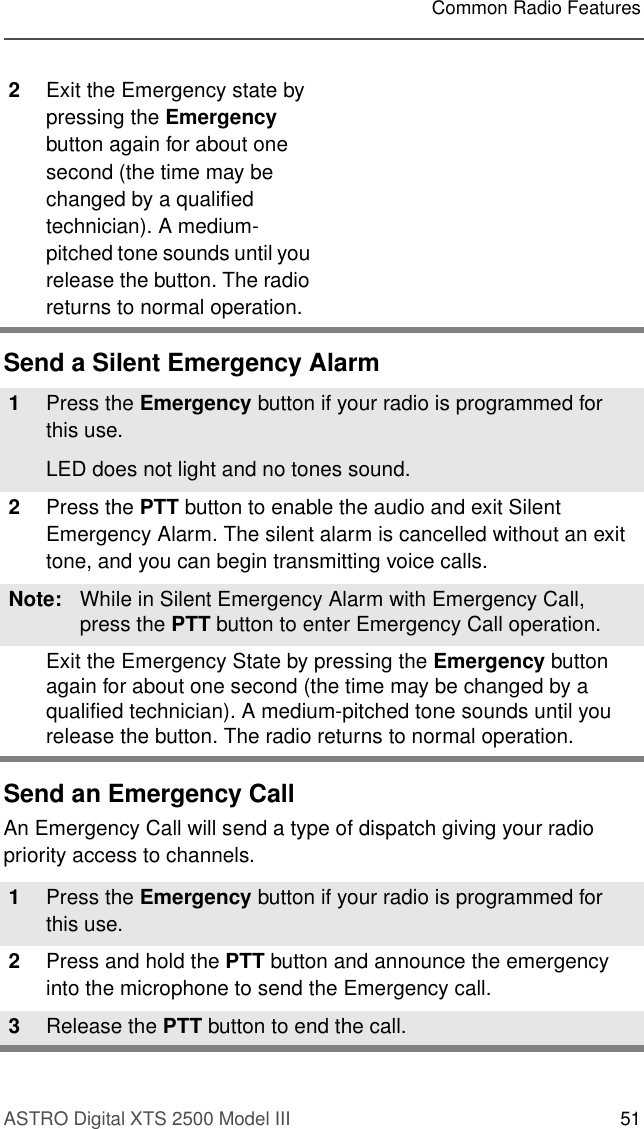
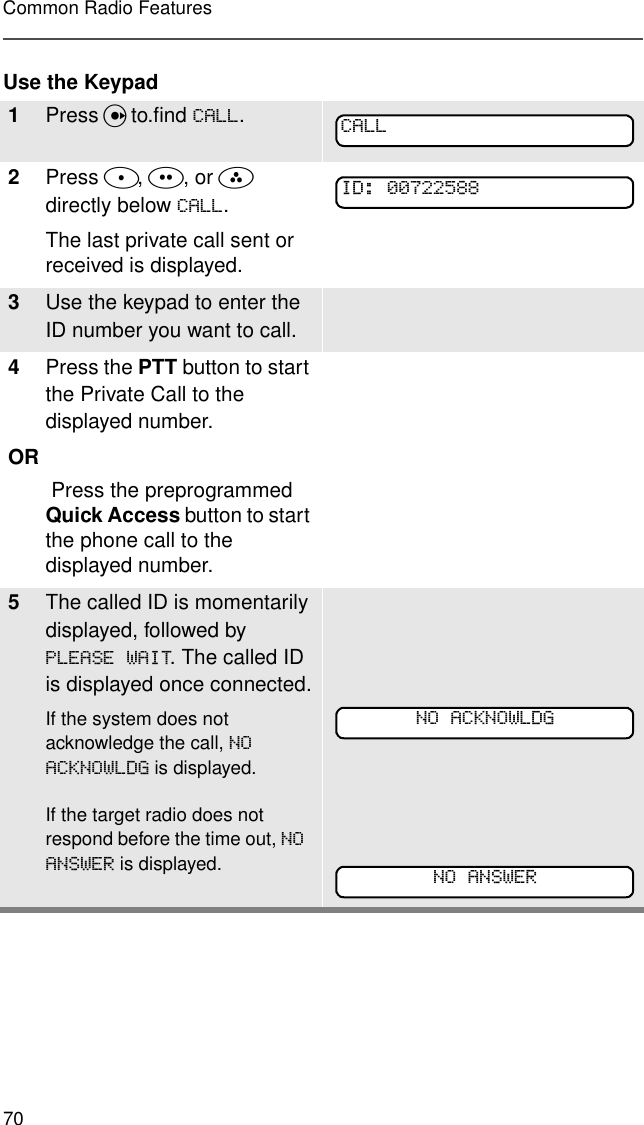
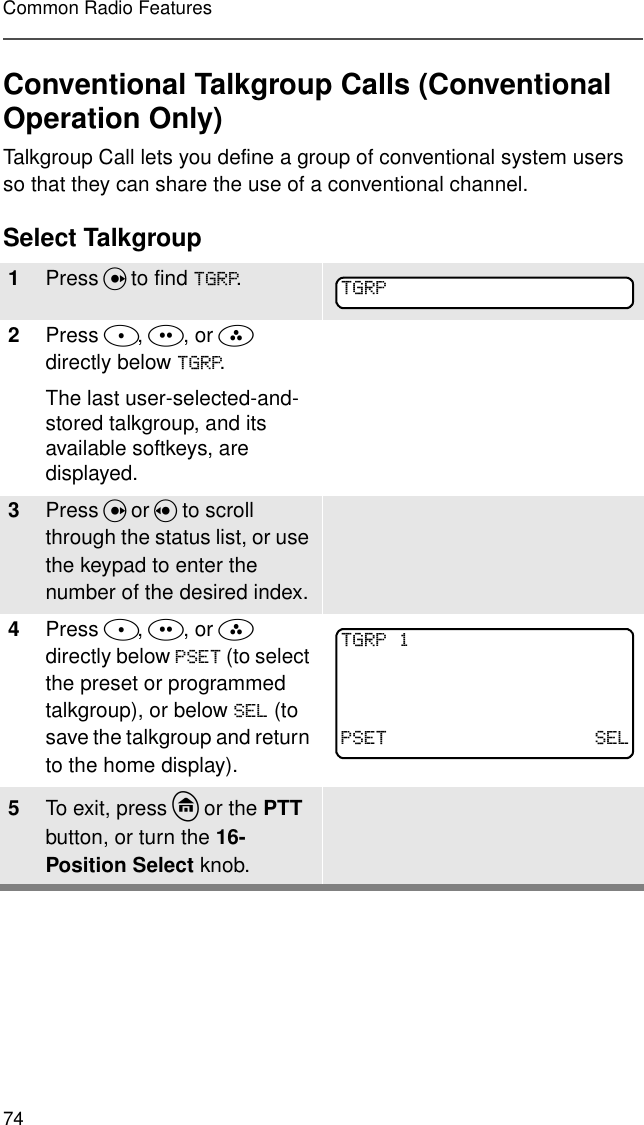
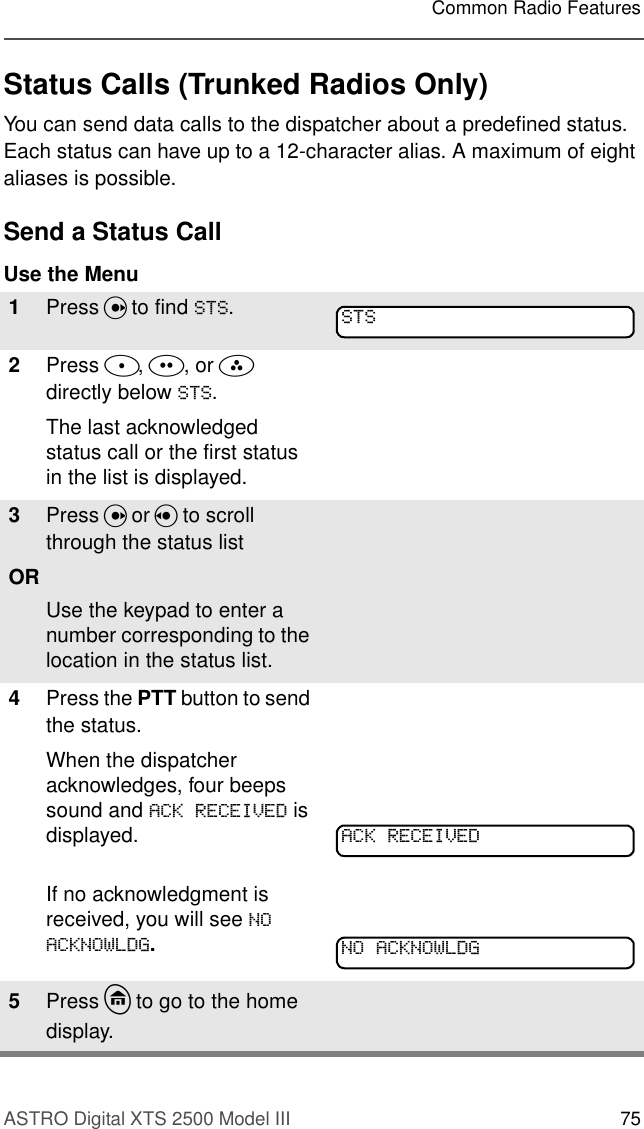
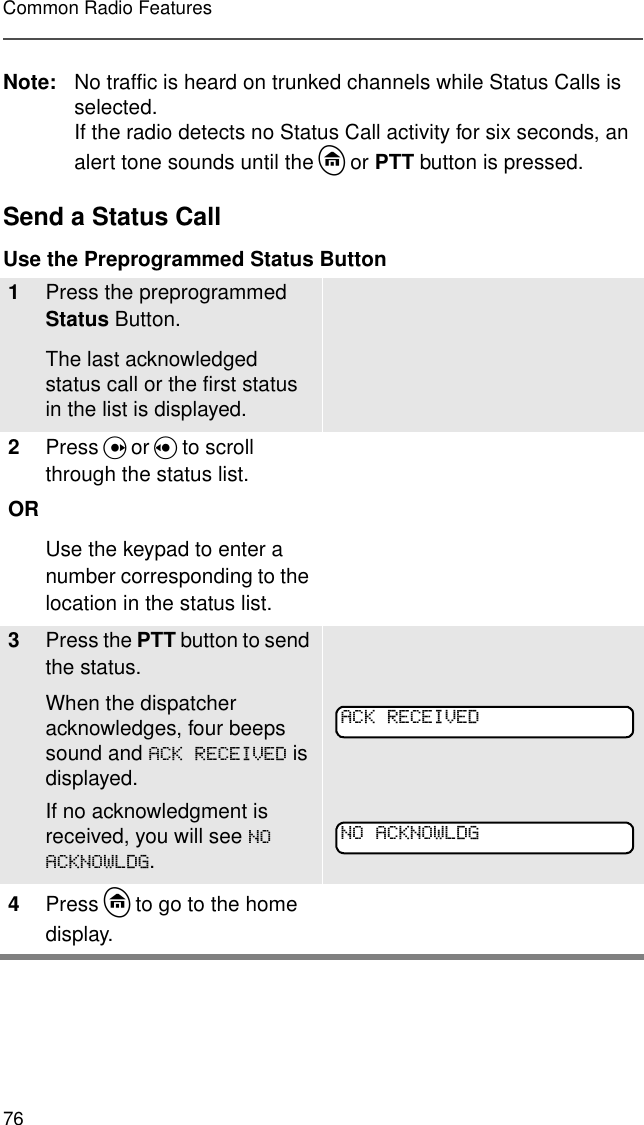
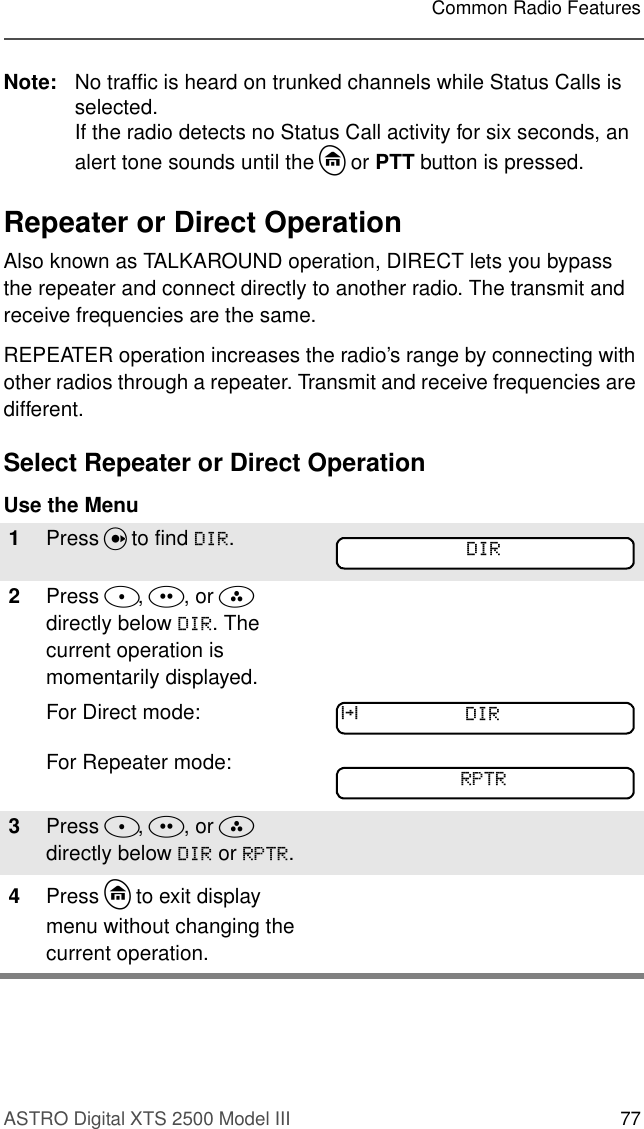
![ASTRO Digital XTS 2500 Model III 7Safety and General InformationIntrinsically Safe Radio InformationFMRC Approved EquipmentAnyone intending to use a radio in a location where hazardous concentrations of flammable materials exist (hazardous atmosphere) is advised to become familiar with the subject of intrinsic safety and with the National Electric Code NFPA 70 (National Fire Protection Association) Article 500 (hazardous [classified] locations).An Approval Guide, issued by Factory Mutual Research Corporation (FMRC), lists manufacturers and the products approved by FMRC for use in such locations. FMRC has also issued a voluntary approval standard for repair service (“Class Number 3605”).FMRC Approval labels are attached to the radio to identify the unit as being FM Approved for specified hazardous atmospheres. This label specifies the hazardous Class/Division/Group along with the part number of the battery that must be used. Depending on the design of the portable unit, this FM label can be found on the back or the bottom of the radio housing. The FM Approval mark is shown here.FMAPPROVEDMAEPF-24560-O](https://usermanual.wiki/Motorola-Solutions/89FT5816.User-Manual/User-Guide-166764-Page-17.png)

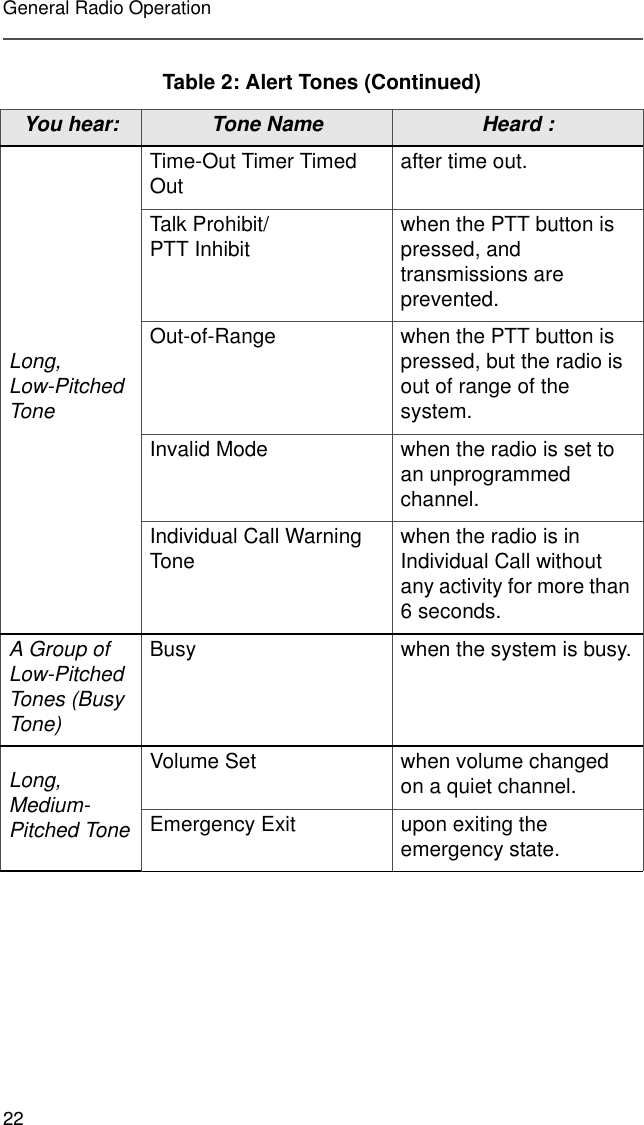
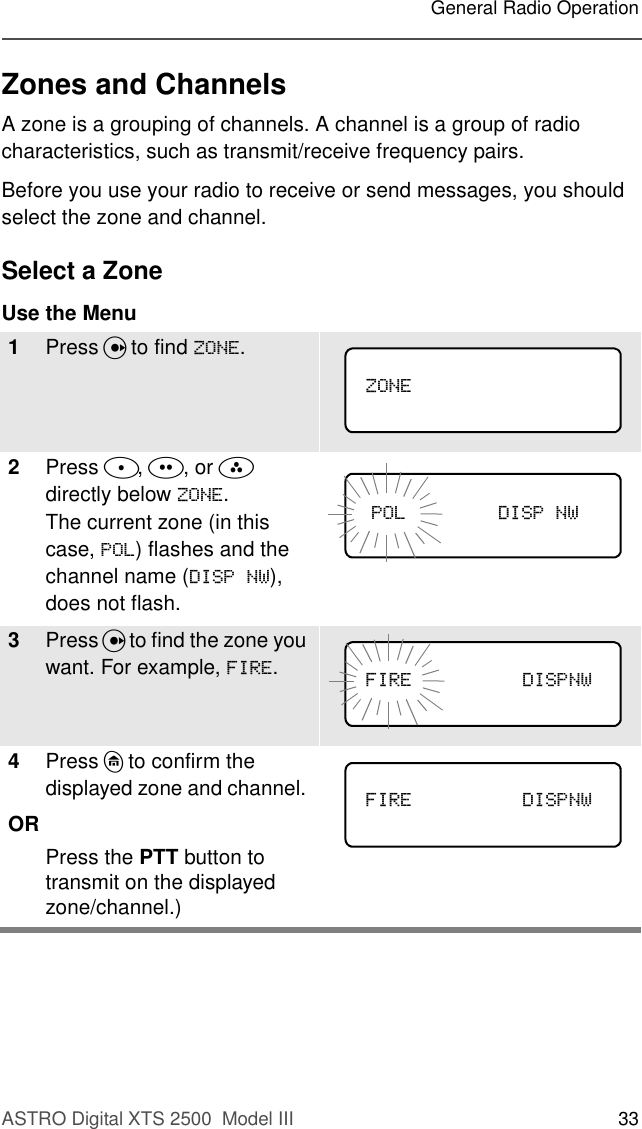

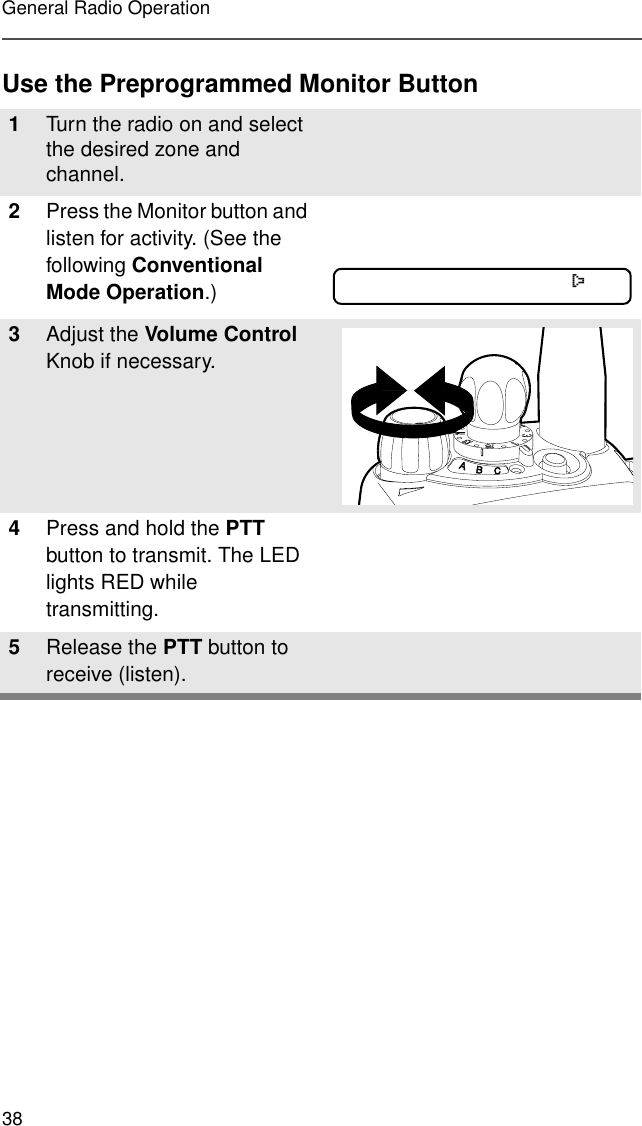

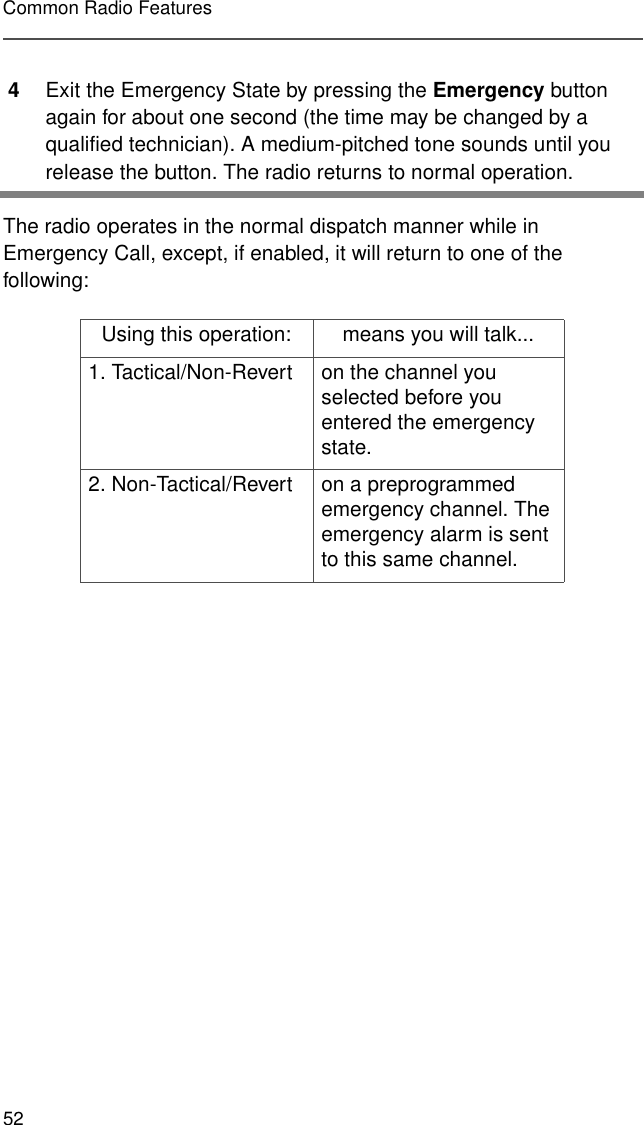
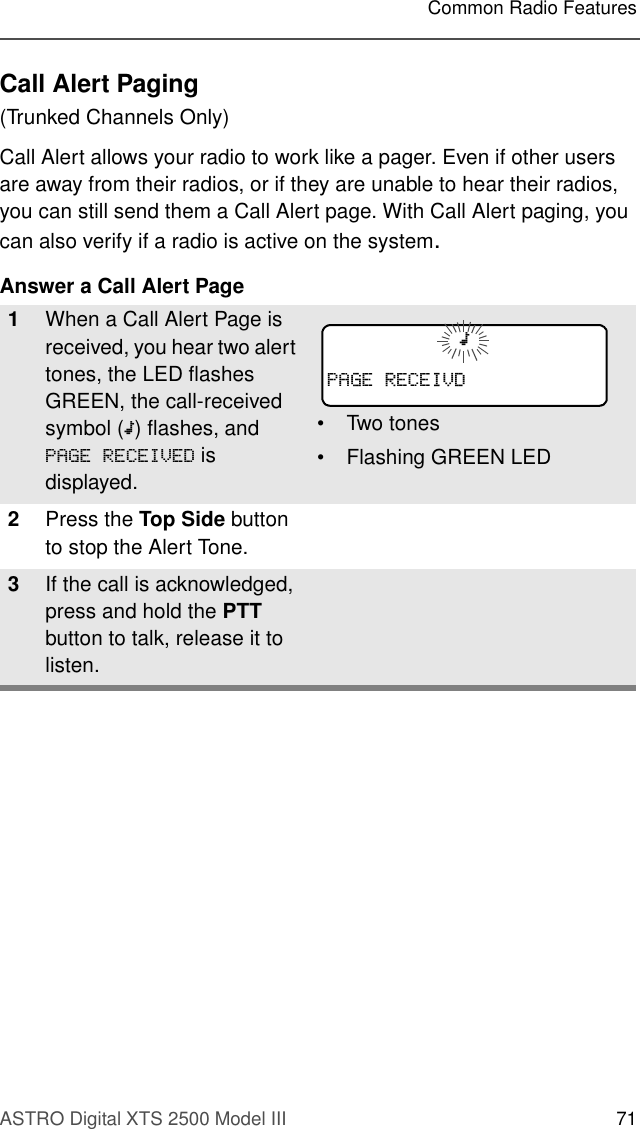

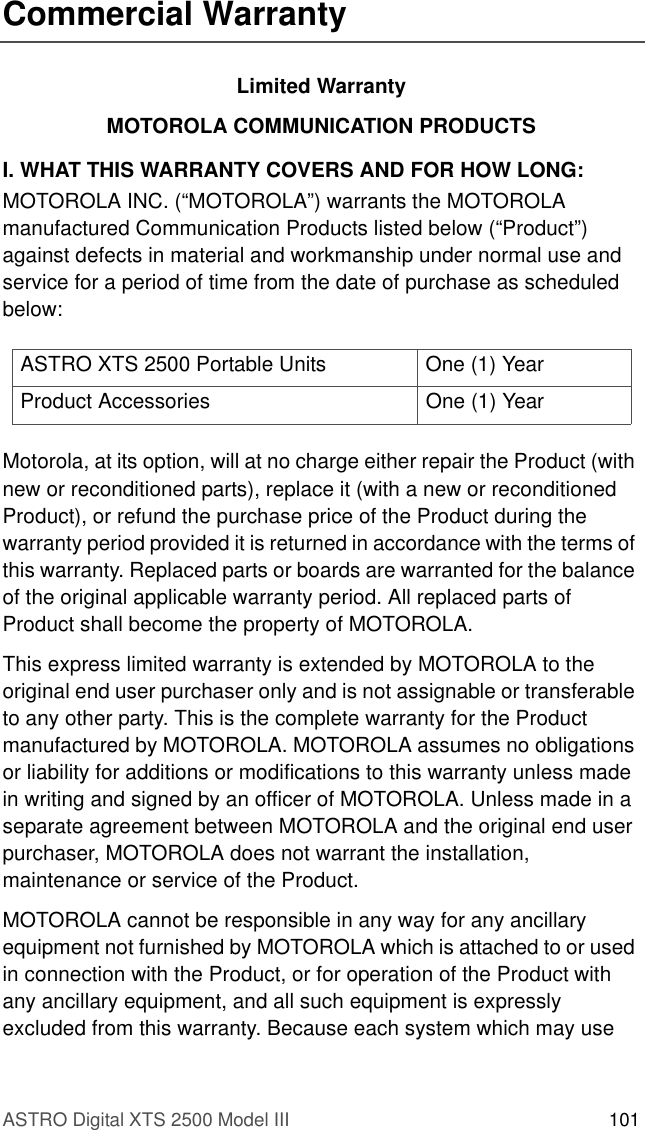
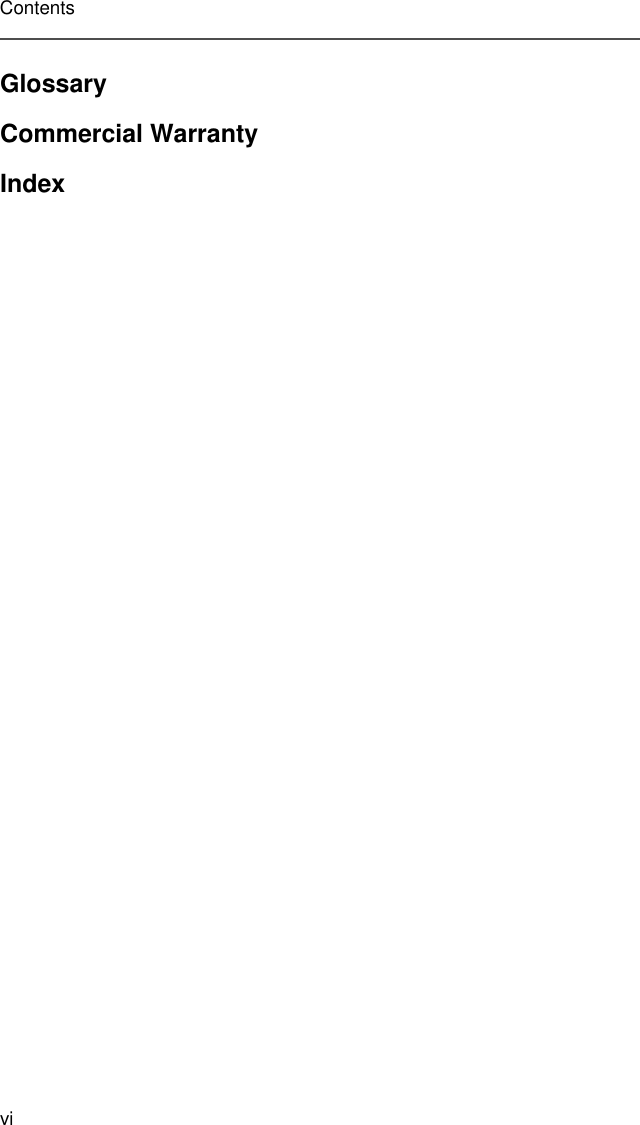
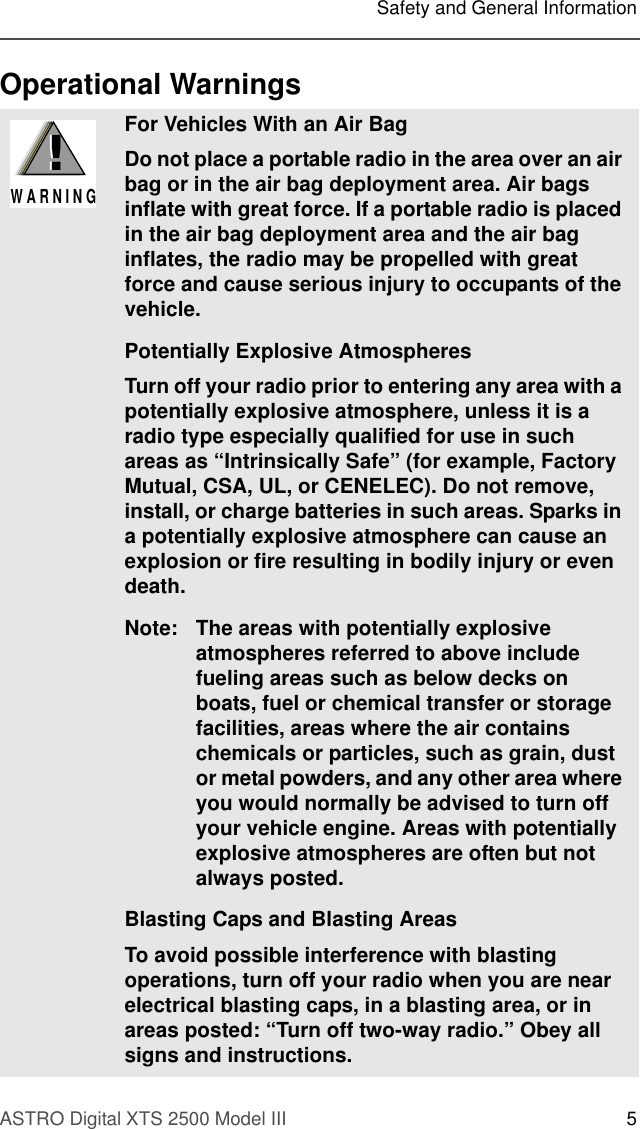
![ASTRO Digital XTS 2500 Model III 89Helpful TipsBatteryBattery LifeBattery life is determined by several factors. Among the more critical are the regular overcharge of batteries and the average depth of discharge with each cycle. Typically, the greater the overcharge and the deeper the average discharge, the fewer cycles a battery will last. For example, a battery which is overcharged and discharges 100% several times a day, will last fewer cycles than a battery that receives less of an overcharge and is discharged to 50% per day. Further, a battery which receives minimal overcharging and averages only 25% discharge, will last even longer.Charging the Battery Motorola batteries are designed specifically to be used with a Motorola charger and vice-versa. Charging in non-Motorola equipment may lead to battery damage and void the battery warranty. Motorola-authorized battery chargers may not charge batteries other than the ones listed on page 55.The battery should be at about 77°F (25°C) (room temperature), whenever possible. Charging a cold battery (below 50° F [10°C]) may result in leakage of electrolyte and ultimately in failure of the battery. Charging a hot battery (above 95°F [35°C]) results in reduced discharge capacity, affecting the performance of the radio. Motorola rapid-rate battery chargers contain a temperature-sensing circuit to ensure that batteries are charged within the temperature limits stated above.Battery Charge StatusYour radio can indicate your battery’s charge status by the following: LED and Sounds• you see the LED flash red when the PTT Button is pressed indicating low battery• you hear a low-battery “chirp” (short, high-pitched tone)](https://usermanual.wiki/Motorola-Solutions/89FT5816.User-Manual/User-Guide-166764-Page-99.png)