Motorola Solutions 89FT5843 iDEN i930 WITH WiDEN AND GSM User Manual i930NextelWelcomeGuide
Motorola Solutions, Inc. iDEN i930 WITH WiDEN AND GSM i930NextelWelcomeGuide
UserManual.wiki
>
Motorola Solutions
>
89FT5843 User Manual
users manual
Navigation menu
Upload a User Manual
Namespaces
Wiki Guide
HTML
PDF
Info
Views
User Manual
Discussion / Help
Navigation
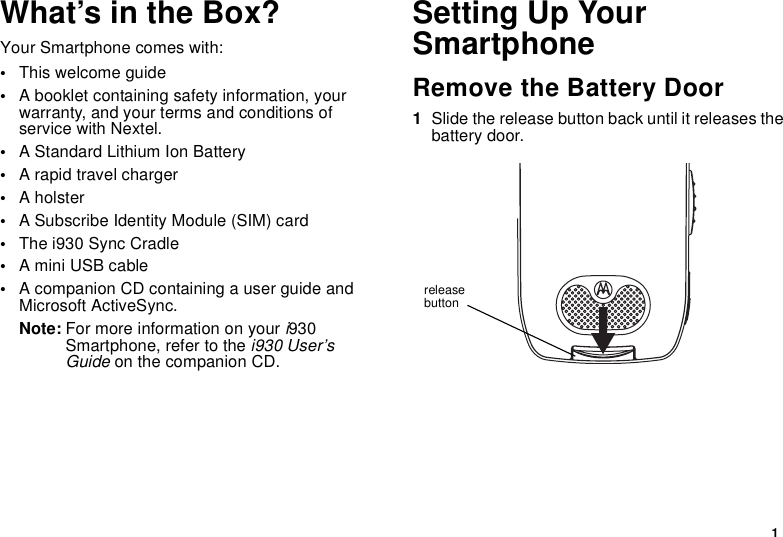

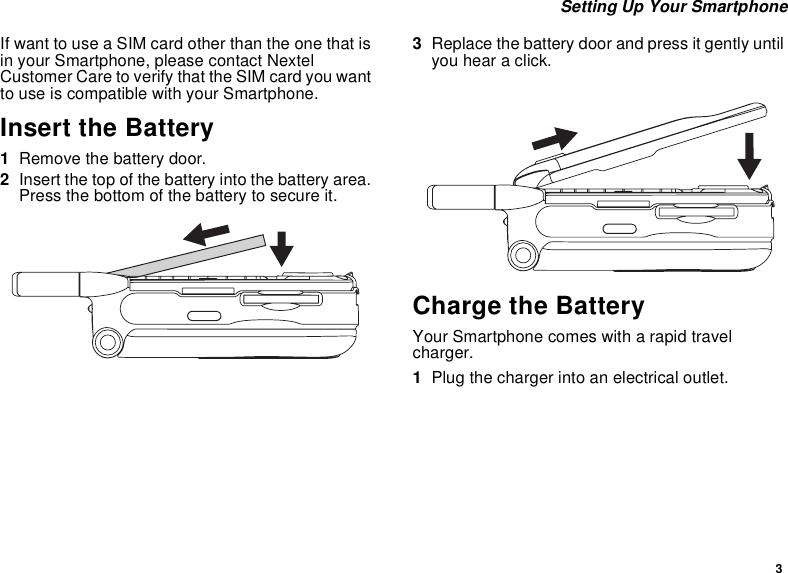
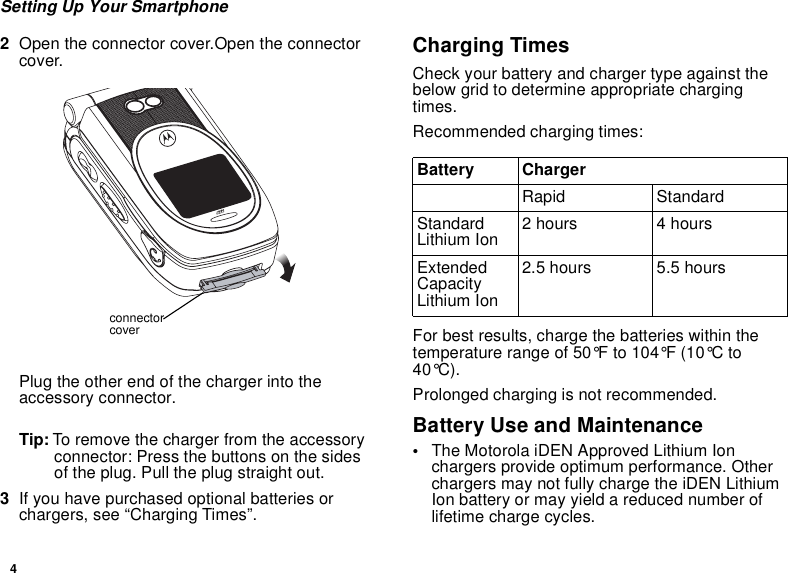
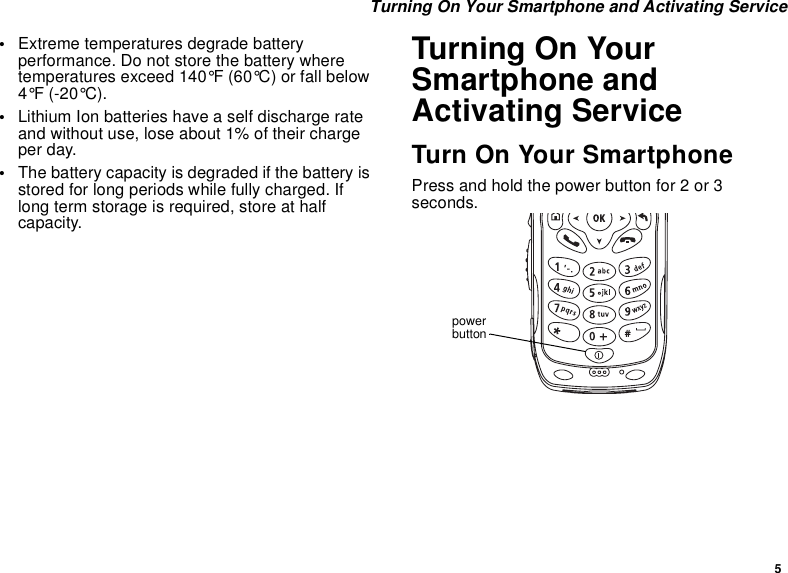
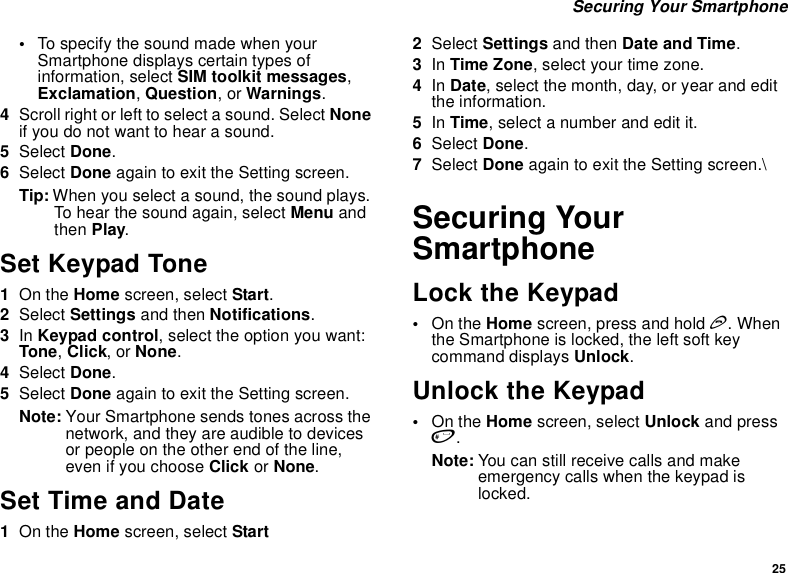
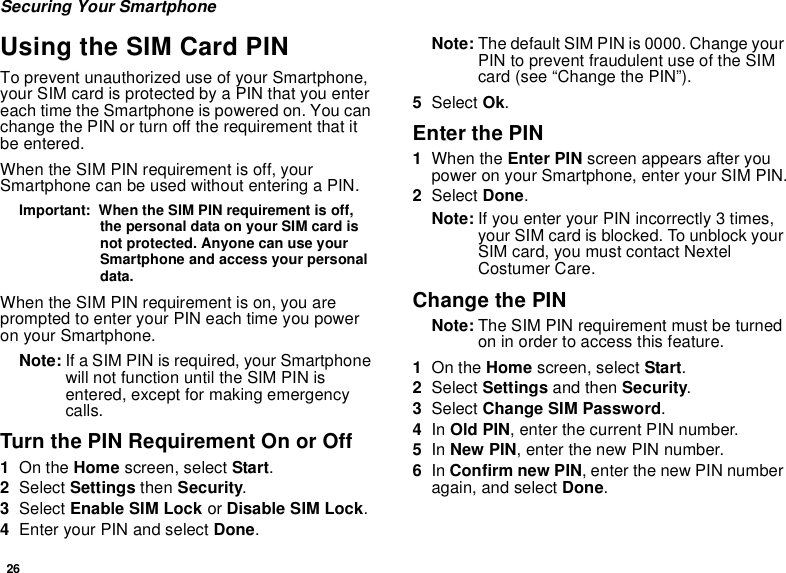
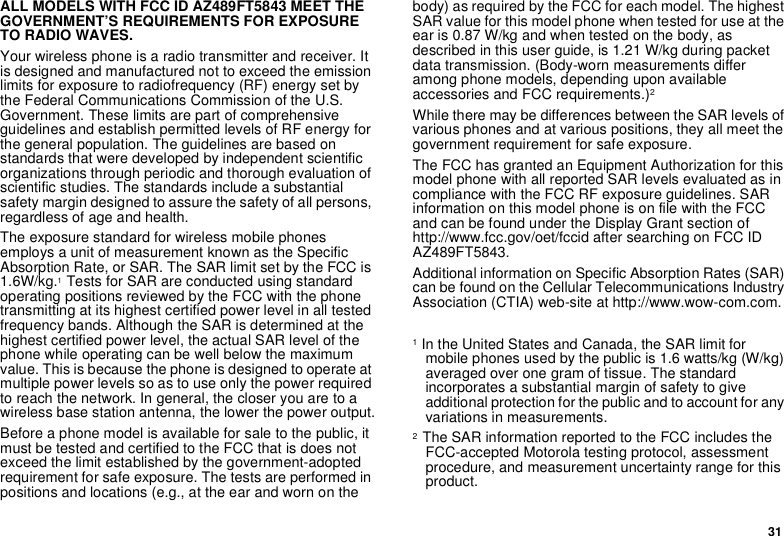
![6Making the Nextel Customer Care Number Easy to FindActivate ServiceAs your Smartphone connects to the network, you will see a connecting message. When the idle screen appears, the Smartphone is ready to use.[All service activation, enabling security, and phone programming instructions needed from Nextel.]Turn Off Your SmartphonePress and hold the power button for 2 or 3 seconds.Backlight DimmingTo save power, your Smartphone’s display screen dims after 10 seconds of inactivity. At short time after that, if there is still no activity, the screen goes complete dark.To bring the screen back to full brightness, press any key.Making the Nextel Customer Care Number Easy to FindThe number your call to speak to Nextel Customer Care is stored on your SIM card when you receive your Smartphone.To make this number easier to access, when you start using you Smartphone, copy the contacts on you SIM card to Contacts in your Smartphone:1On the Home screen, select Start.2Select SIM Manager and then Copy to Contacts.3Select Menu and then Select. 4Select All. 5Select Copy.[Graphic showing Home screen here. I need to know what Nextel is shipping as the default Home screen style.]](https://usermanual.wiki/Motorola-Solutions/89FT5843/User-Guide-546708-Page-12.png)

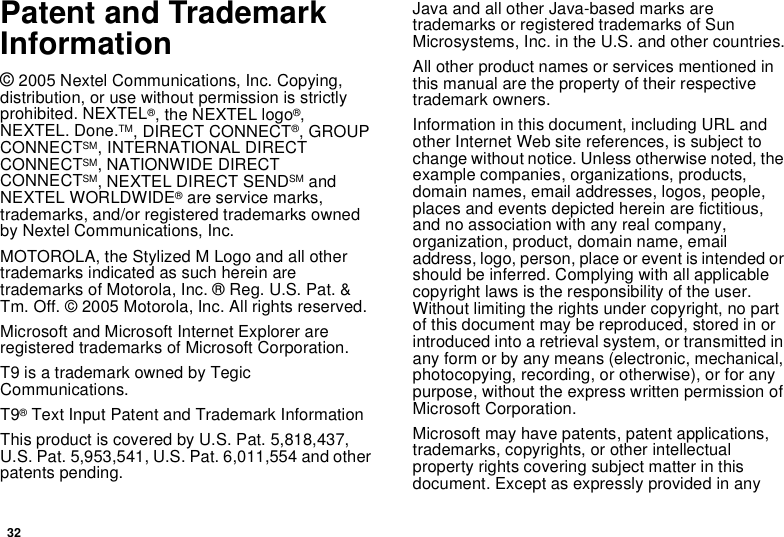
![19 Using Nextel® Voice MailUsing Nextel® Voice MailNote: To receive voice mail messages, you must first set up your voice mail box.Note: If you are bringing your phone number from another carrier, we suggest you set up your voice mail box after the number you brought to Nextel is active on your Nextel phone and your temporary phone number is deactivated. If you set up your voice mail box prior to this, all messages and all settings (including your greeting and password) will be lost when the number you have brought to Nextel becomes active.Setting Up Your Voice Mail Box Using your i930 phone, dial your 10-digit Nextel Personal Telephone Number (PTN). For example: 7035557777. Follow the system instructions to create a new 4- to 7-digit password, record your name, and record a greeting. When the system says, “Thank you for using Nextel Voice Mail,” your mailbox is set up.If you are calling from a phone other than your i930, dial your 10-digit Nextel PTN. When you hear the greeting, press the star key to access your voice mail box. The system will prompt you to enter your password. Enter the last seven digits of your Nextel PTN. For example: 5557777. This is your temporary password.You are in the main voice mail menu when you hear the options listed below. •To play your messages, press 1. (This option plays only if you have new or saved messages.)•To record a message, press 2.•To change your greeting, press 3.•To access your personal options, press 4.If you press * while you are in a sub-menu, you will go to the previous menu. If you press **, you will go to the main voice mail menu. From the main voice mail menu, press # to exit voice mail. At any time, you may end the call by pressing e.Receiving a Voice Mail MessageWhen you receive a new voice mail message, the new voice mail icon [icon] appears at the top of the display.](https://usermanual.wiki/Motorola-Solutions/89FT5843/User-Guide-546708-Page-25.png)
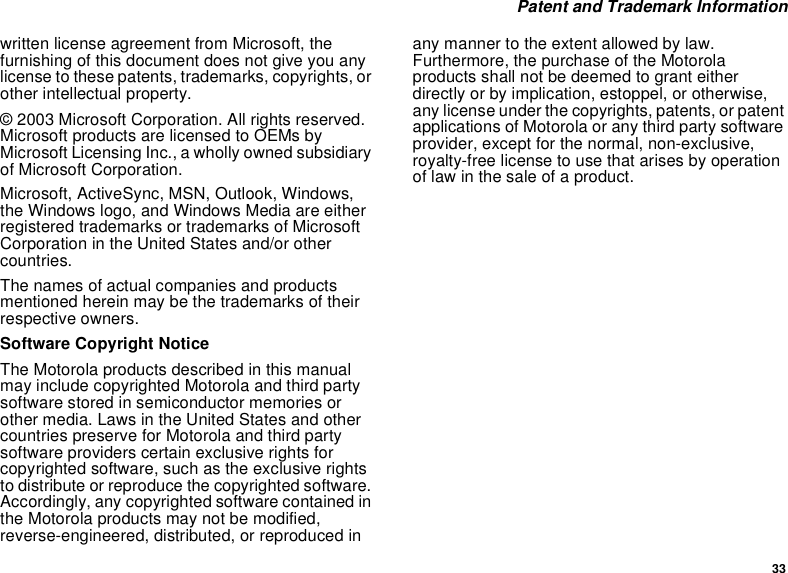
![20Setting up an Email AccountRetrieving a Voice Mail MessageYou have 2 ways to retrieve your voice mail messages:•Highlight the voice mail message area on the Home screen and press O.•Press and hold 1, which is the speed dial number reserved for your voice mail number. This calls your voice mail number.Follow the instructions to retrieve your messages.Setting up an Email AccountIf you have an email account with an Internet service provider, you can send and recieve email directly from your Smartphone.[Here we will have instructions on how to set up an email account -- possible just a URL. The Microsoft Smartphone guideline discuss creating a new account for the Smartphone or setting up for an existing account. Nextel users will probably also want to know how to set up for a web-based email account or a corporate account, (e.g., eer016@email.mot.com). I need Nextel’s inputs.]Using Web-Based EmailIf you have an email account that is accessed from a webpage on you desktop computer, you can also access this account on your Smartphone.Start Pocket Internet Explorer1On the Home screen, select Start.[This depends on what Home screen style Nextel ships as the default. If you ship one that shows a voice mail message area, we’ll show a graphic and point out where to highlight.]](https://usermanual.wiki/Motorola-Solutions/89FT5843/User-Guide-546708-Page-26.png)