Motorola Solutions 89FT5845 iDEN i415 User Manual i415BoostMobile
Motorola Solutions, Inc. iDEN i415 i415BoostMobile
UserManual.wiki
>
Motorola Solutions
>
89FT5845 User Manual
>
USER MANUAL 1
Contents
1.
USER MANUAL 1
2.
USER MANUAL 2
USER MANUAL 1
Navigation menu
Upload a User Manual
Namespaces
Wiki Guide
HTML
PDF
Info
Views
User Manual
Discussion / Help
Navigation
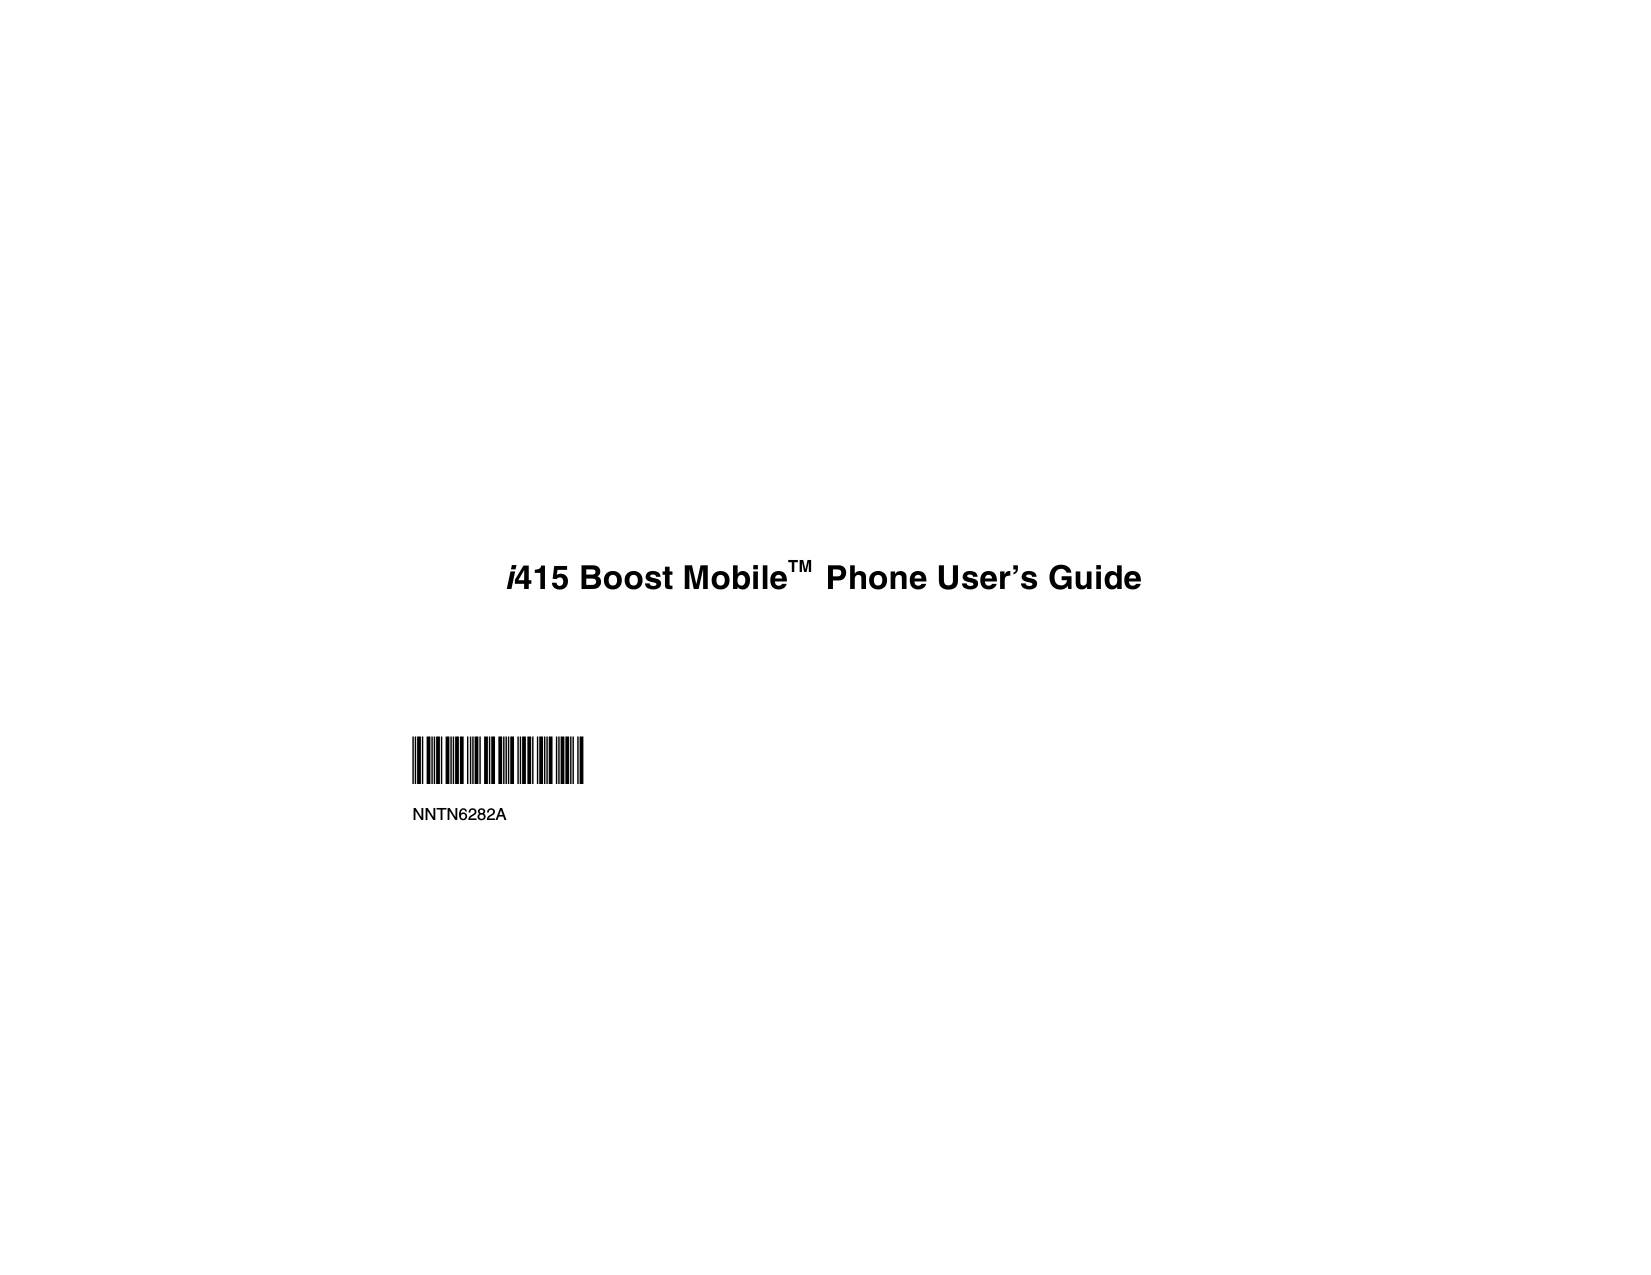
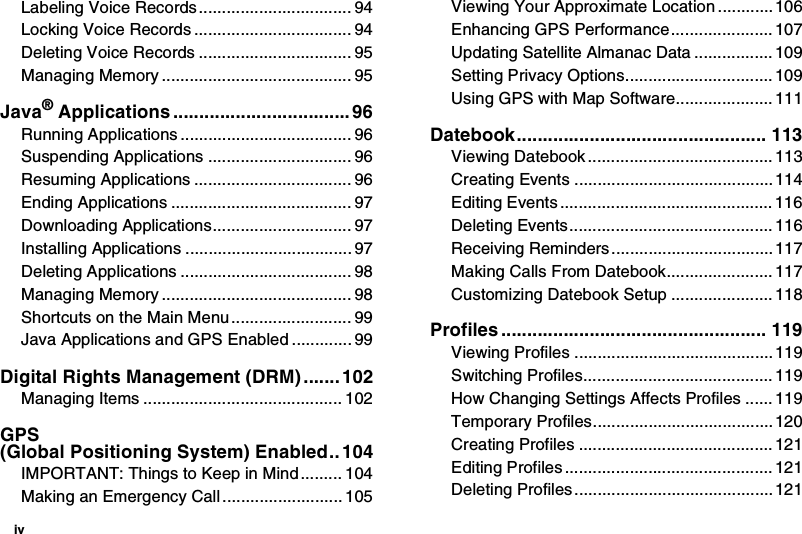

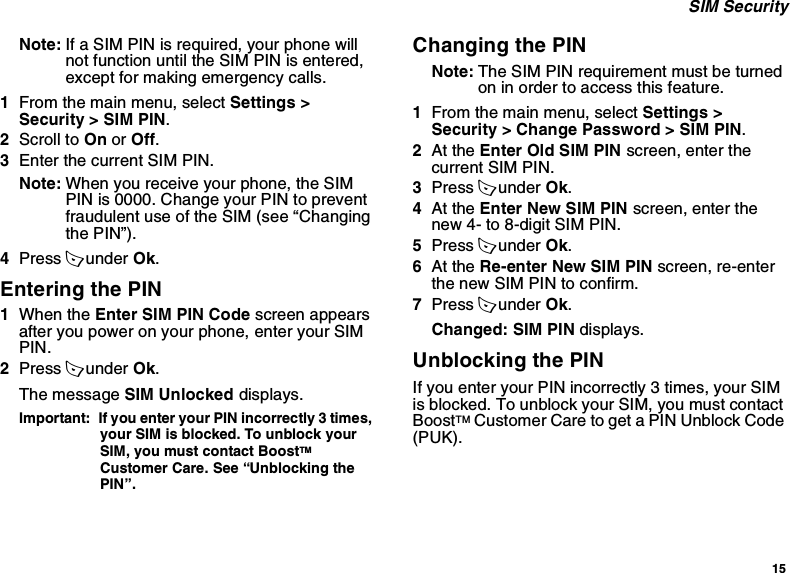
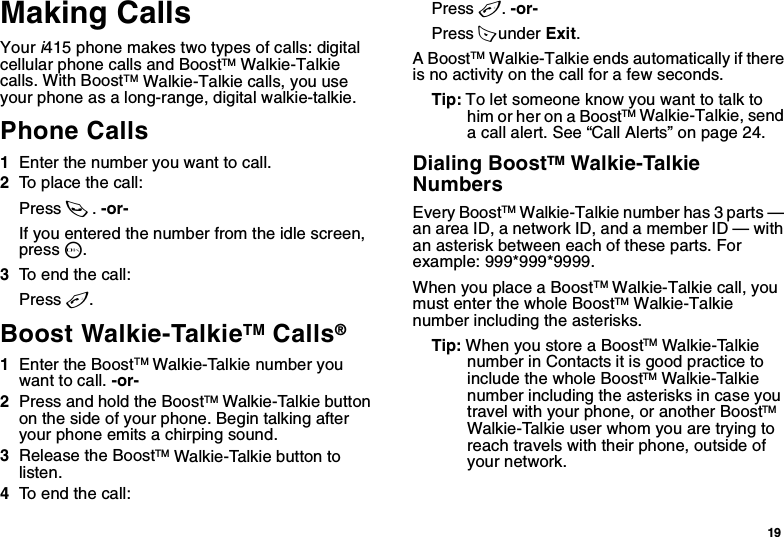

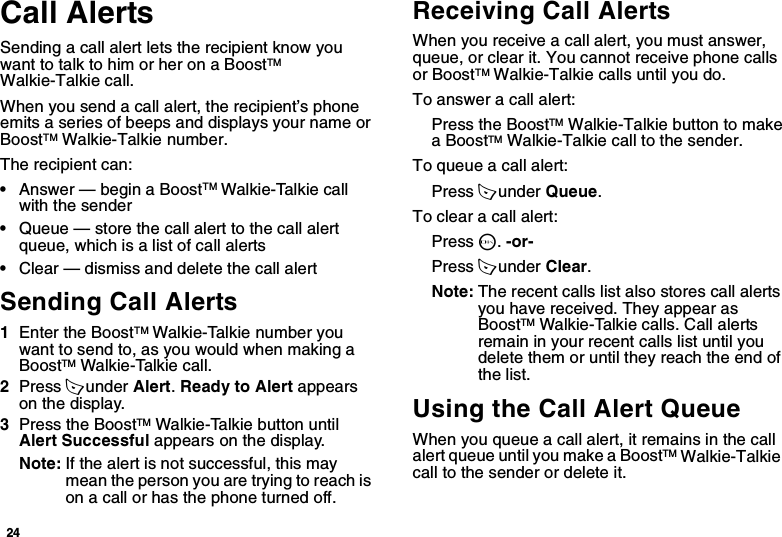

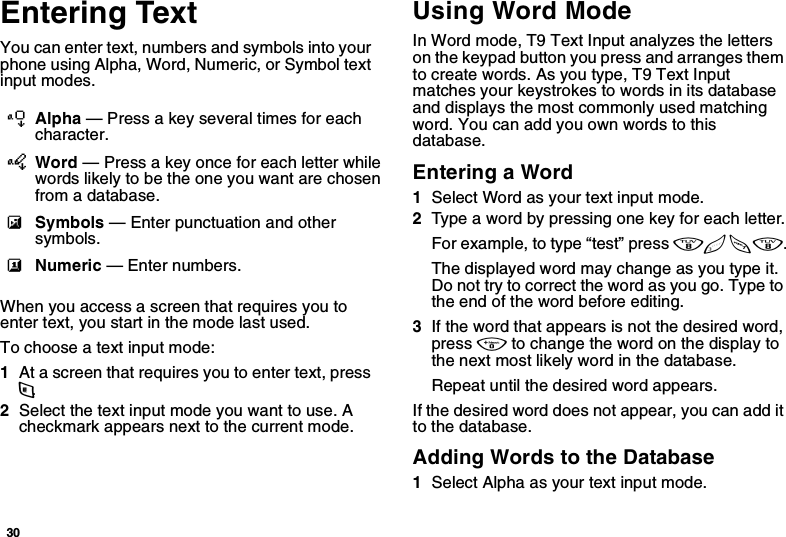
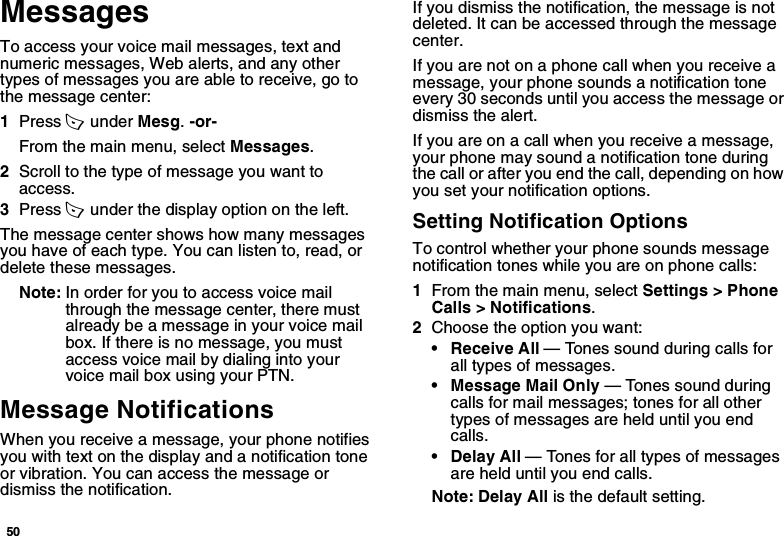
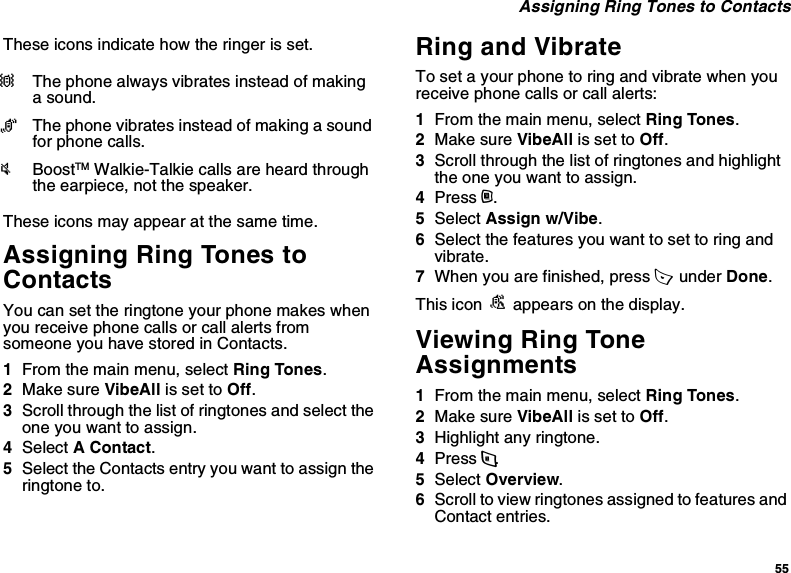
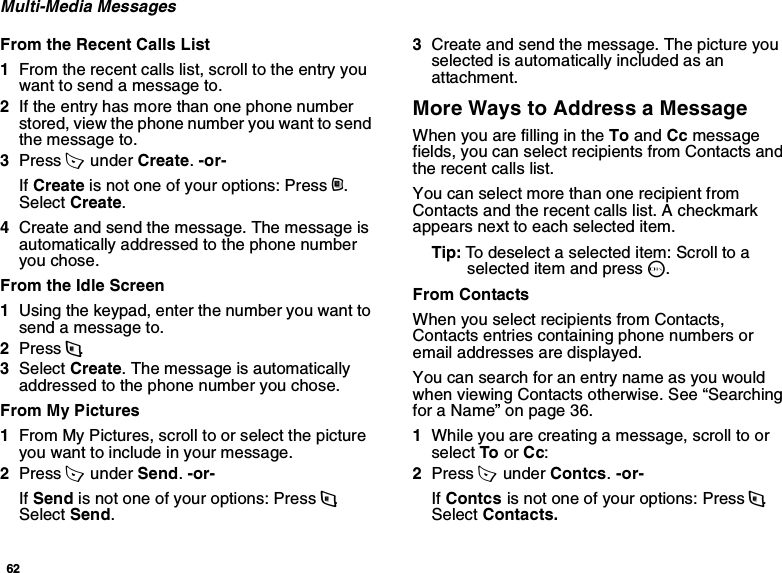
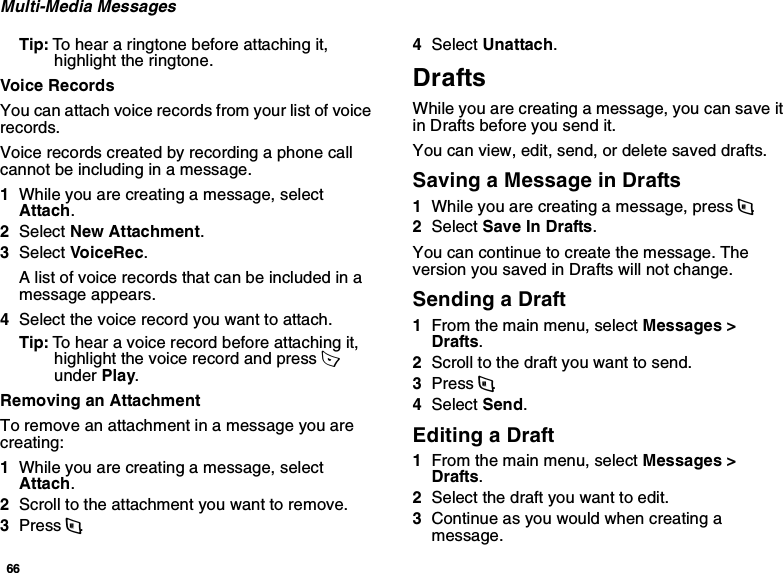
![28Recent CallsChoosing Picture View or List ViewYou can set your phone to show the picture associated with each item as you view the recent calls list or show the list without pictures.1From the recent calls list, press m.2Select Recent Calls View.3Select List View to show the recent calls list without pictures. -or-Select Picture View to show the picture associated with each entry.Storing Items to Contacts1From the recent calls list, scroll to or select the item you want to store.2Press A under Store. -or-If Store is not one of your options: Press m. Select Store or Update Contacts.Tip: If the item you want to store is a call, Store does not appear if the number is already stored in Contacts.3To store the item as a new entry, select [New Contact]. -or-To store the number to an existing entry, select the entry.Note: Storing My Info or contact information from another phone to a Contacts entry that has a name assigned to it does not change the name of the Contacts entry.4If the item you want to store is a call, you must assign a Contacts type to the number:With the Contacts type field highlighted, scroll left or right to display the Contacts type you want to assign the number.5If you want to add more information to the entry, follow the applicable instructions in “Creating Entries” on page 33.6Press A under Save.Deleting ItemsTo delete an item from the recent calls list:1From the recent calls list, scroll to or select the item you want to delete.2Press A under Delete. -or-If Delete is not one of your options: Press m. Select Delete.3Press O or press A under Yes to confirm.To delete all items on the recent calls list:1From the recent calls list, press m.2Select Delete All.](https://usermanual.wiki/Motorola-Solutions/89FT5845.USER-MANUAL-1/User-Guide-555303-Page-35.png)
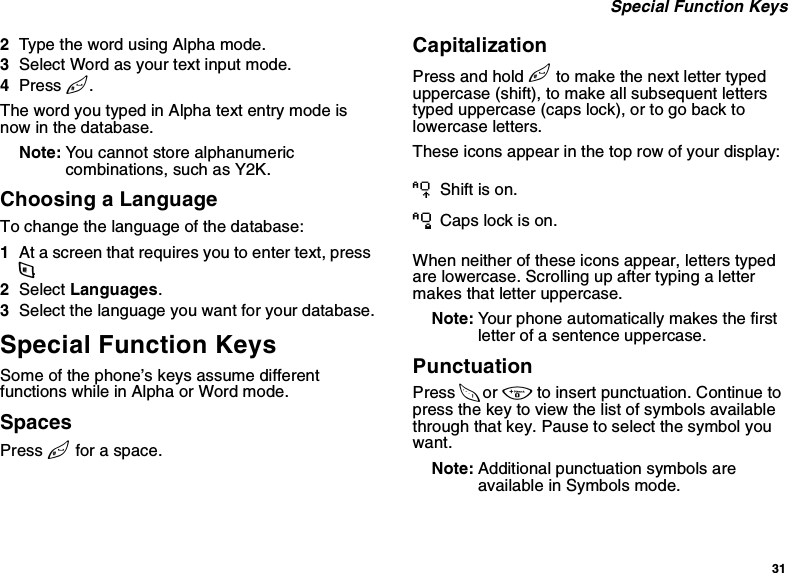
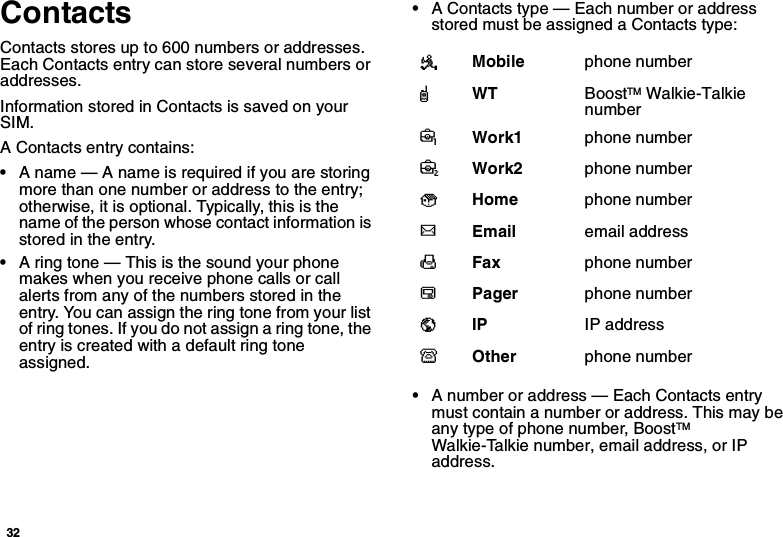
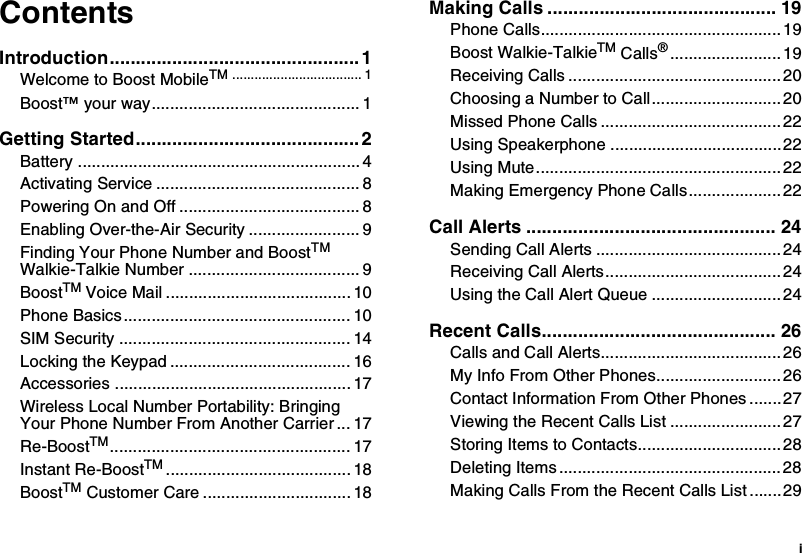
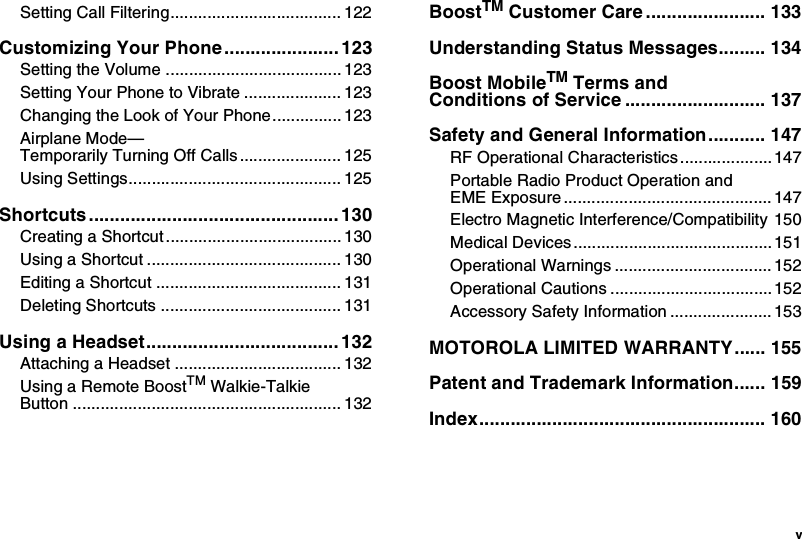
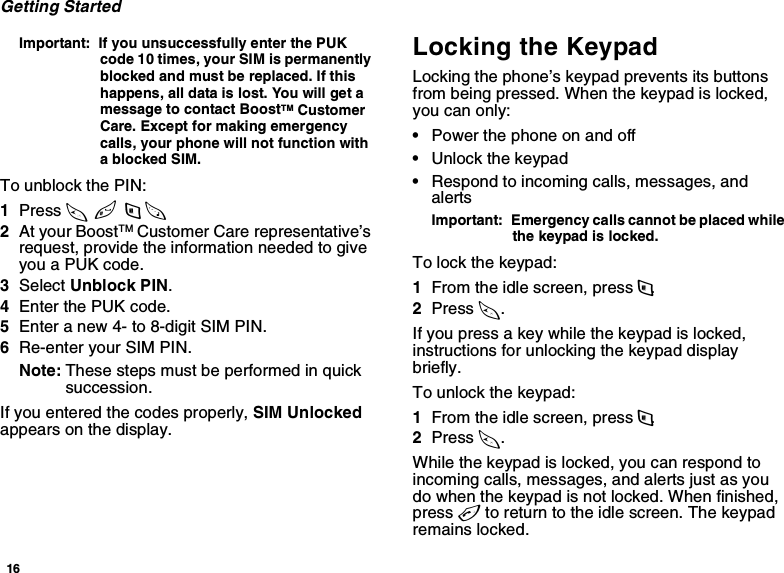
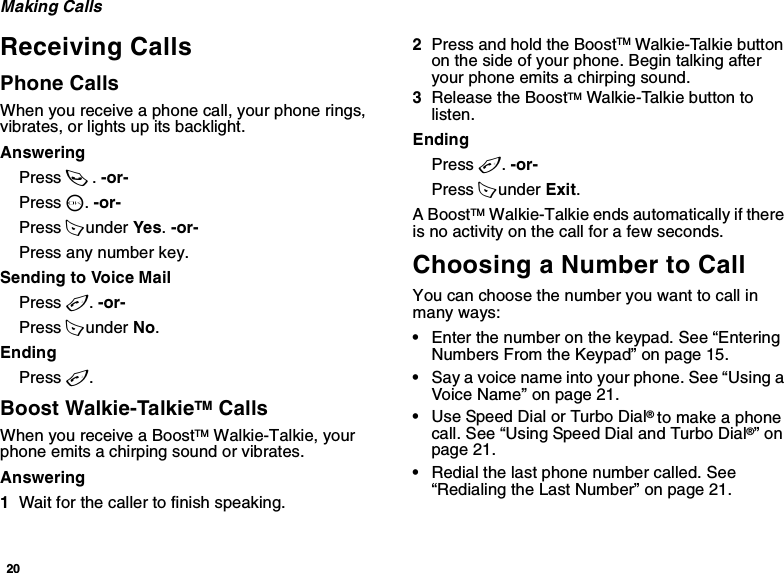
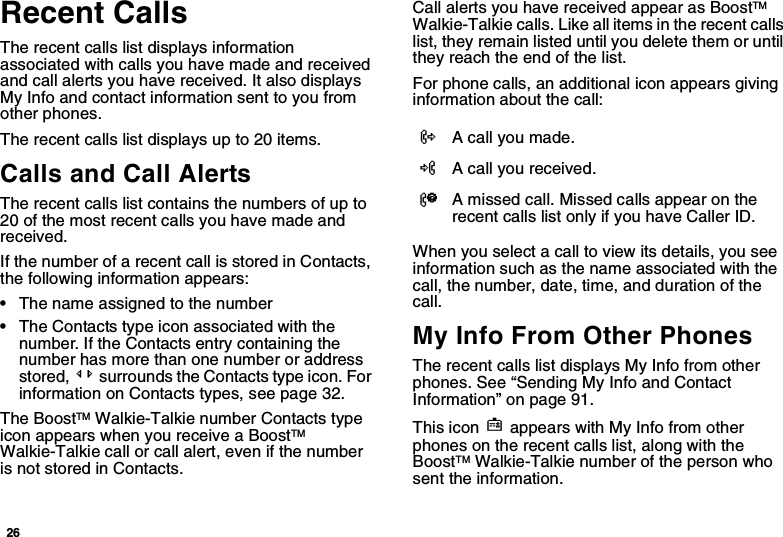
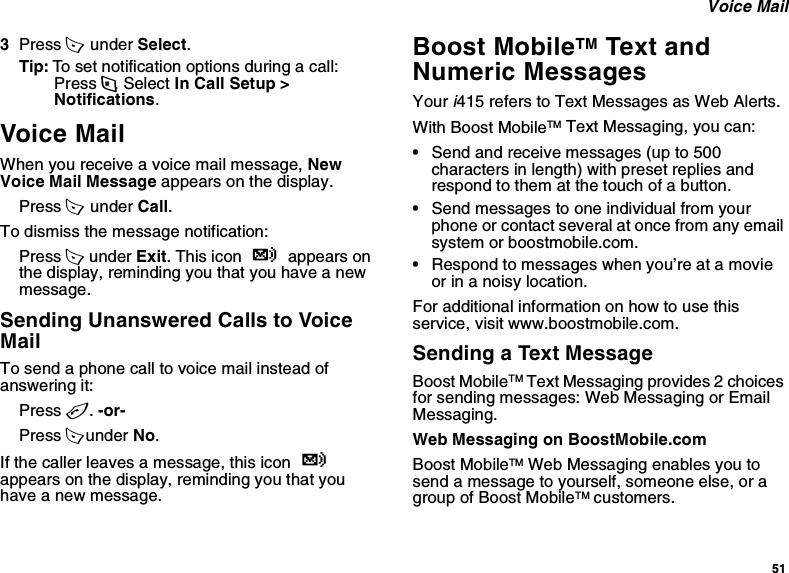
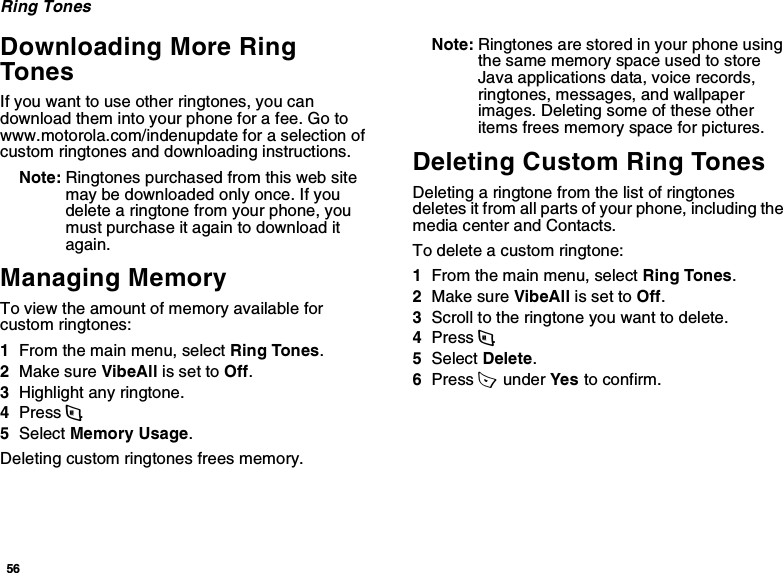
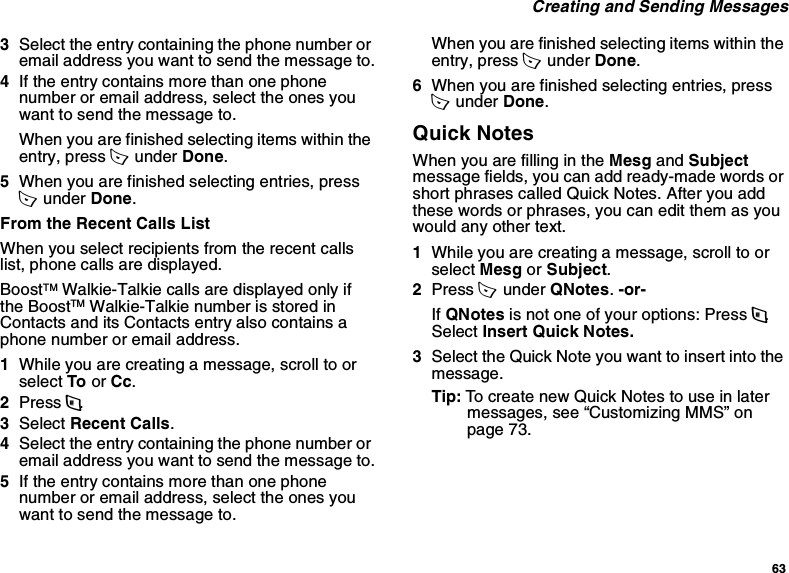
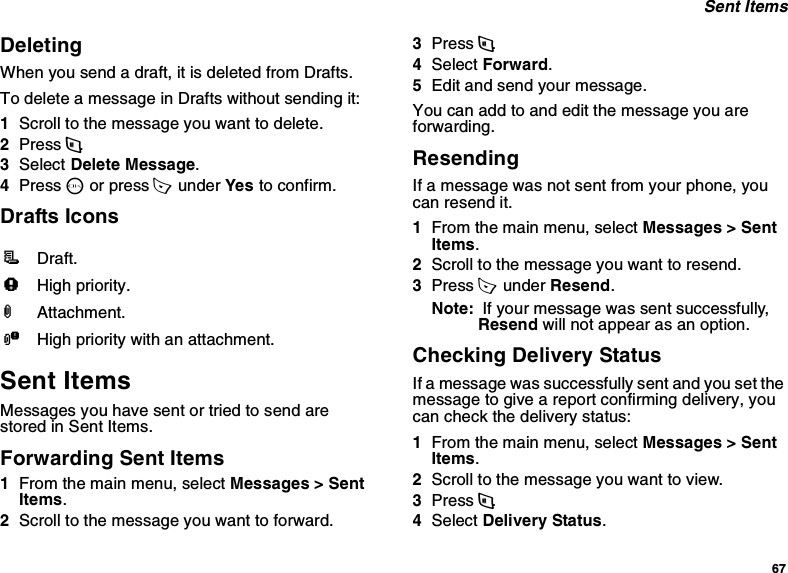
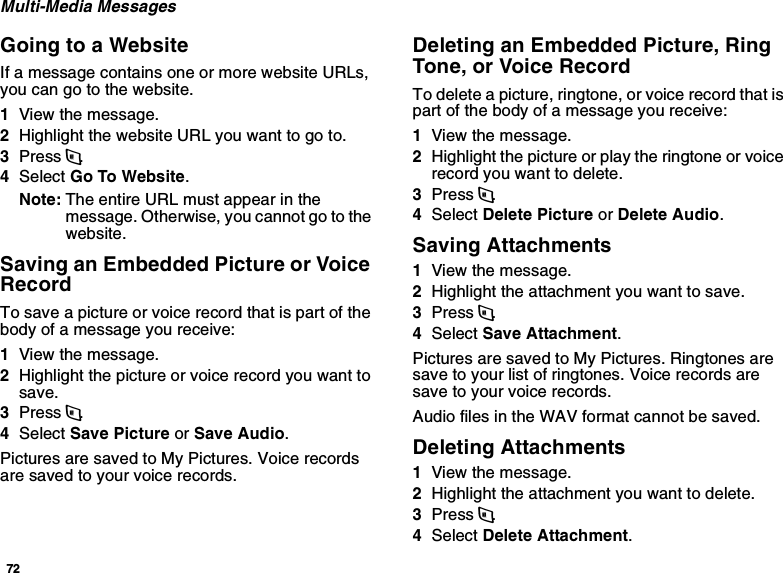
![33 Accessing ContactsNote: You can store numbers up to 64 digits long, but every 20 digits must be separated by a pause or wait. See “Creating Pauses and Waits” on page 37.•A Speed Dial number — When you store a phone number, it is assigned a Speed Dial number. You can accept the default Speed Dial number or change it.•A voice name — If you create a voice name for a number, you can then dial that number by saying the voice name into your phone. This icon P appears to the left of the Contacts type icon if a voice name is assigned.Accessing ContactsFrom the main menu, select Contacts. -or-If you are on a call: Press m. Select Contacts.Creating EntriesA number or address and a Contacts type are required for all Contacts entries. Other information is optional. You may enter the information in any order by scrolling through the entry details.After you have entered the number or address, Contacts type, and any other information you want, you can press A under Save to save the entry to Contacts.To cancel a Contacts entry at any time press, e to return to the idle screen.To create a Contacts entry:1To access the entry details screen:Select Contacts > [New Contact]. -or-From the Contacts list, press m. Select New.2If you want to assign a name to the entry:Select Name.Enter the name. See “Entering Text” on page 30. When you are finished, press O.Tip: Press A under Browse to select a name already in Contacts.3If you want to assign a ring tone to the entry, select [Ringer]. See “Assigning a Ring Tone” on page 34.4To assign a Contacts type to the number or address being stored:Select the Contacts type field.Select the Contacts type you want to assign.5To store a number or address:Select the # field (or ID for an email address, or IP for an IP address).](https://usermanual.wiki/Motorola-Solutions/89FT5845.USER-MANUAL-1/User-Guide-555303-Page-40.png)
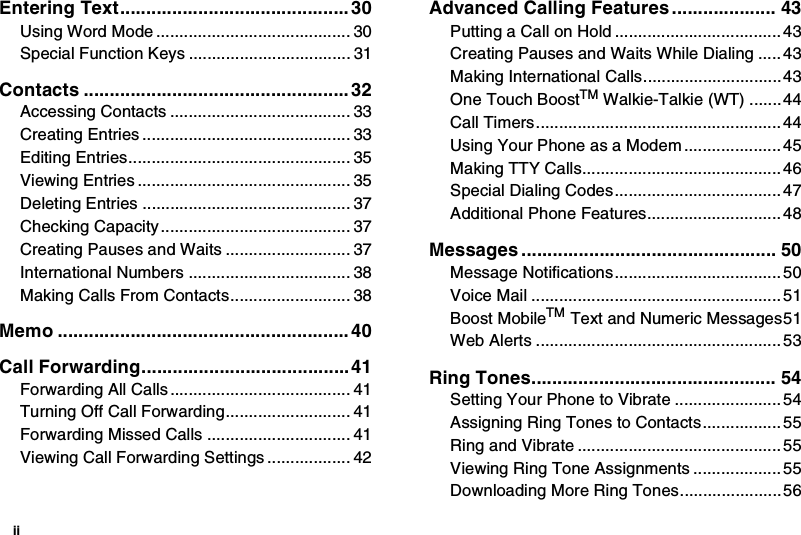
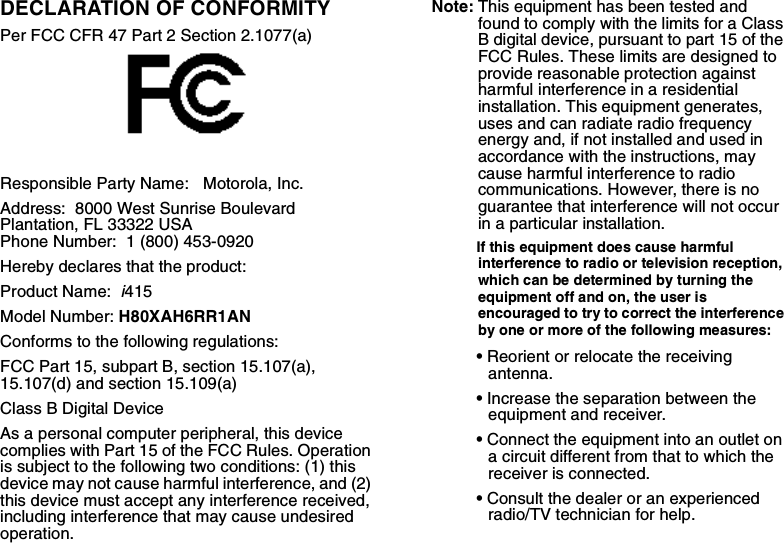
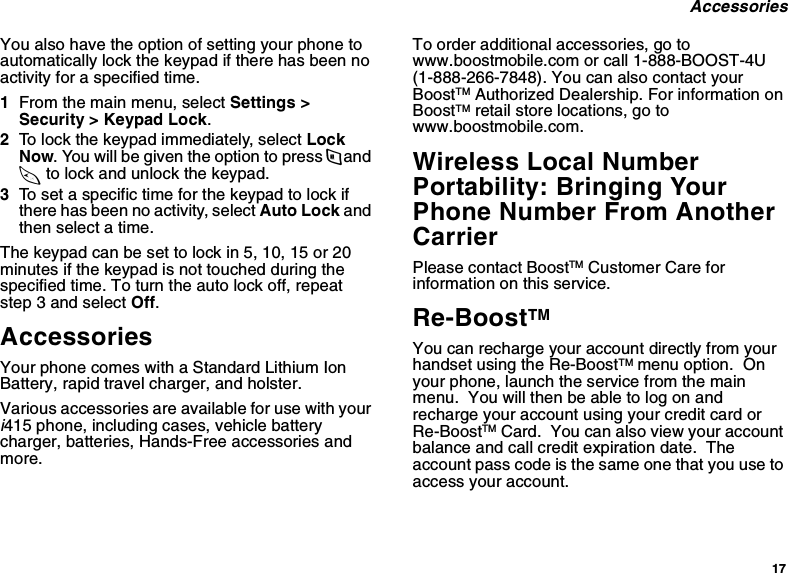
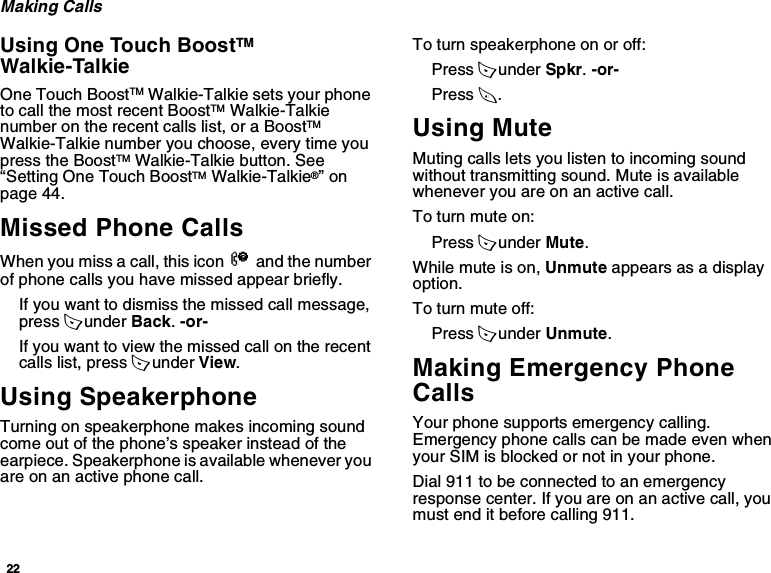
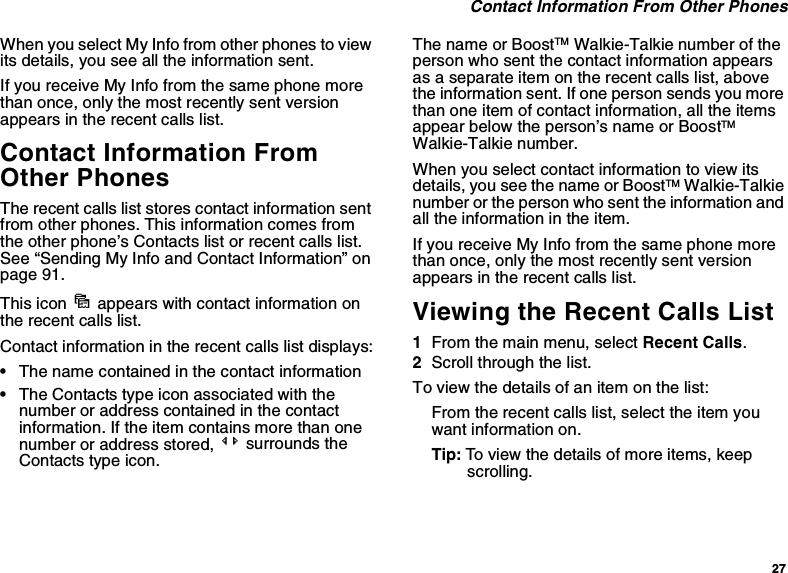
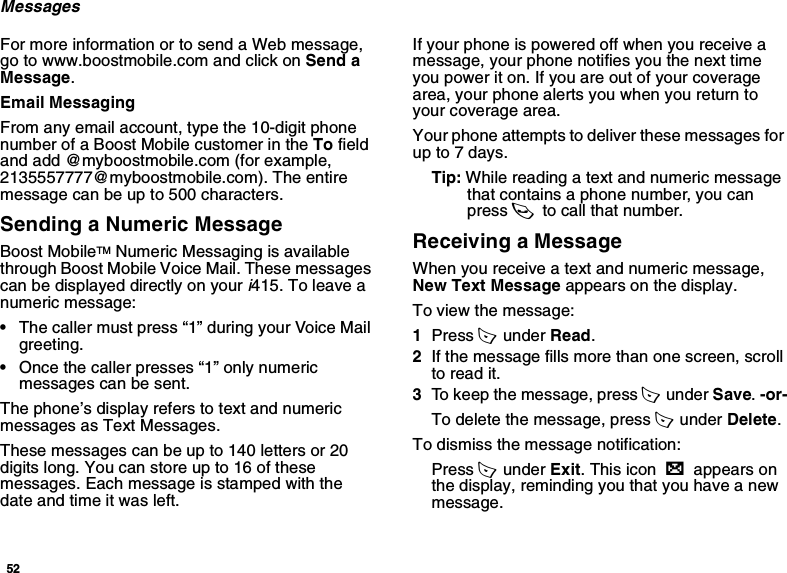
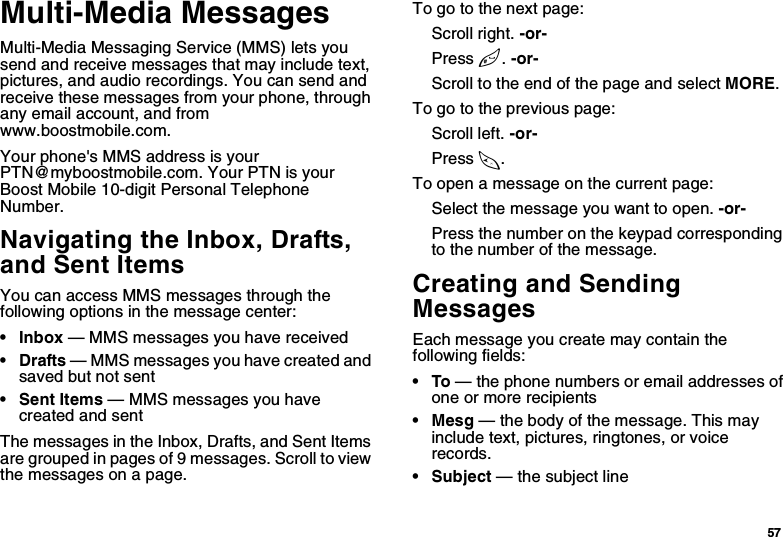
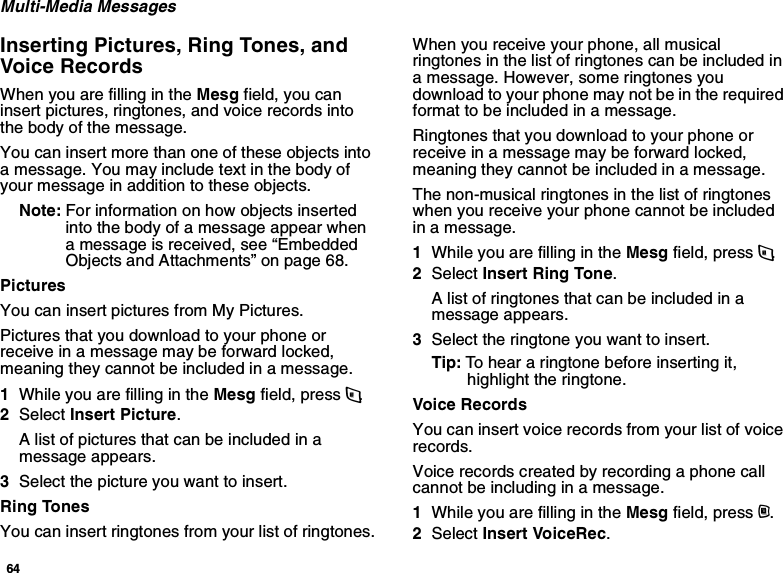
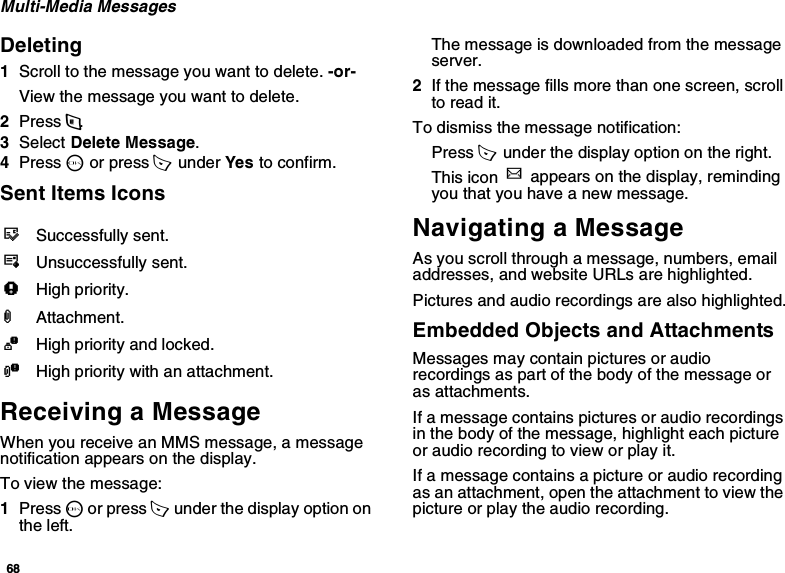
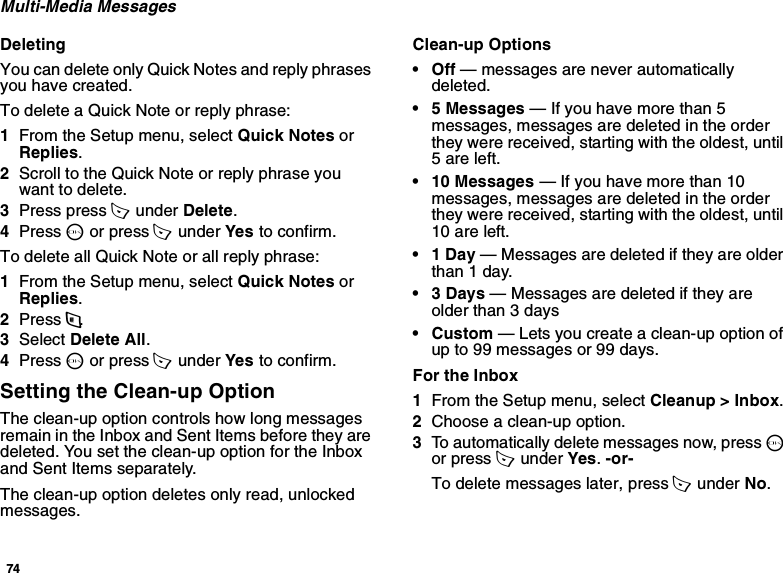
![34ContactsEnter the number or address. For phone numbers, use the 10-digit format. For email addresses, see “Entering Text” on page 30. Tip: Press A under Browse to select a number or address from Contacts, the recent calls list, or Memo.When you are finished, press O.6If you want to change the default Speed Dial number or a create a voice name for the entry, select [Options]. See “Assigning a Speed Dial Number or Voice Name”.7If you want to add more numbers or addresses to the entry:Scroll past the information you already entered.Enter the additional information for the entry using step 3 through step 6. You must assign a name to the entry, if you have not already.8Press A under Done.Assigning a Ring Tone1If you have not already, select [Ringer].2If you want to assign a ringtone from the list of ringtones:With Ringer highlighted, scroll left or right to choose a ring tone. -or-Select Ringer. Select the ring tone you want to assign.3When you are finished, press A under Back.Assigning a Speed Dial Number or Voice Name1If you have not already, select [Options].2The default Speed Dial number assigned to a phone number is displayed in the Speed # field. This is always the next available Speed Dial location.If you want to assign the phone number to a different Speed Dial location:With the Speed # field highlighted, press O.Press A under Delete to delete the current Speed Dial number.Enter the new Speed Dial number using the keypad.When you are finished, press O.3If you want to create a voice name for a phone number, select Vo ice Name.As directed by the screen prompts, say and repeat the name you want to assign to the number. Speak clearly into the microphone.4When you are finished, press A under Back.](https://usermanual.wiki/Motorola-Solutions/89FT5845.USER-MANUAL-1/User-Guide-555303-Page-41.png)
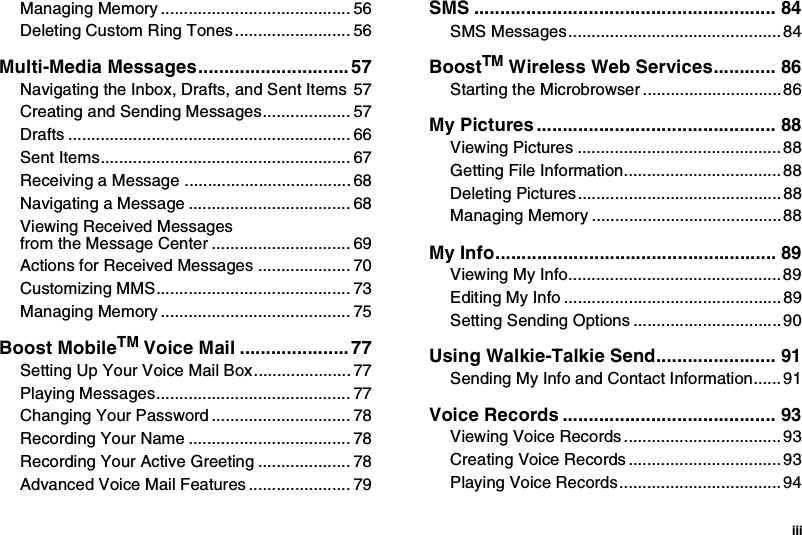
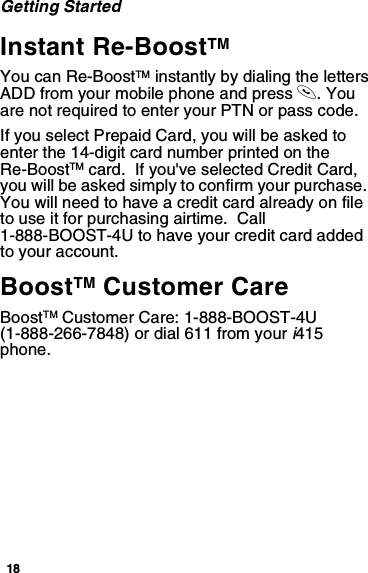
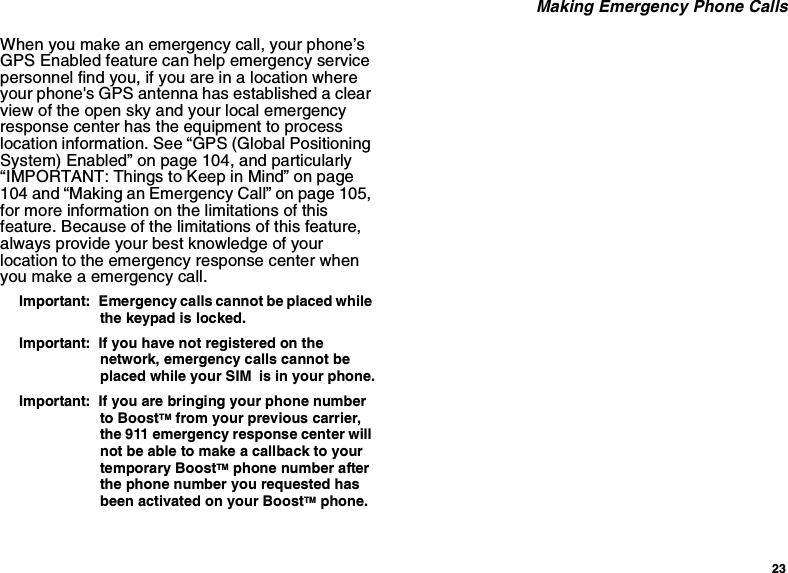
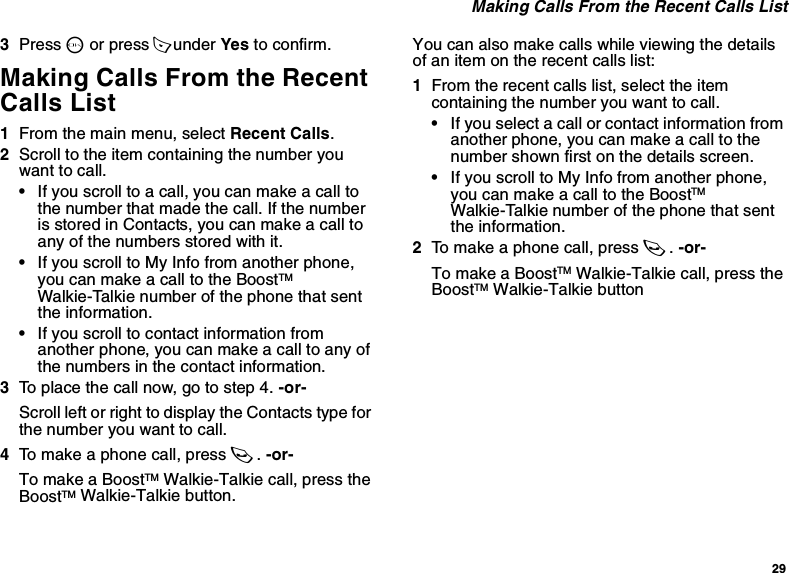
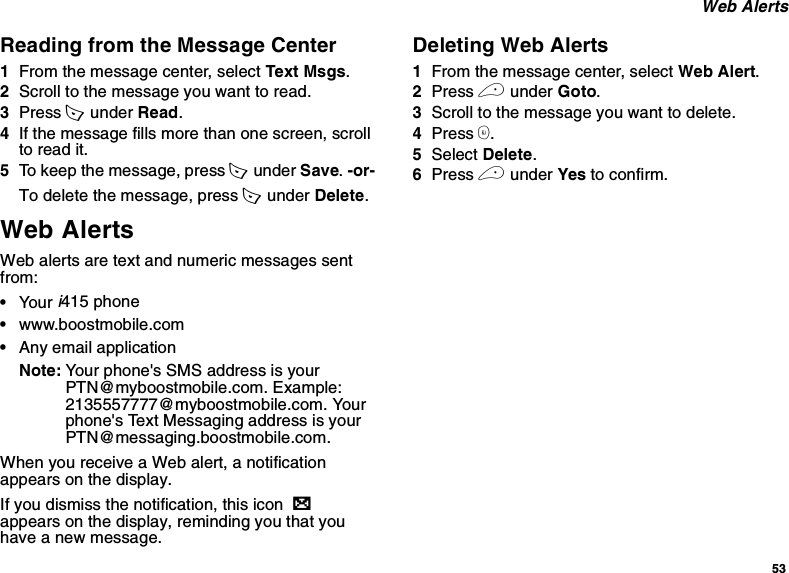
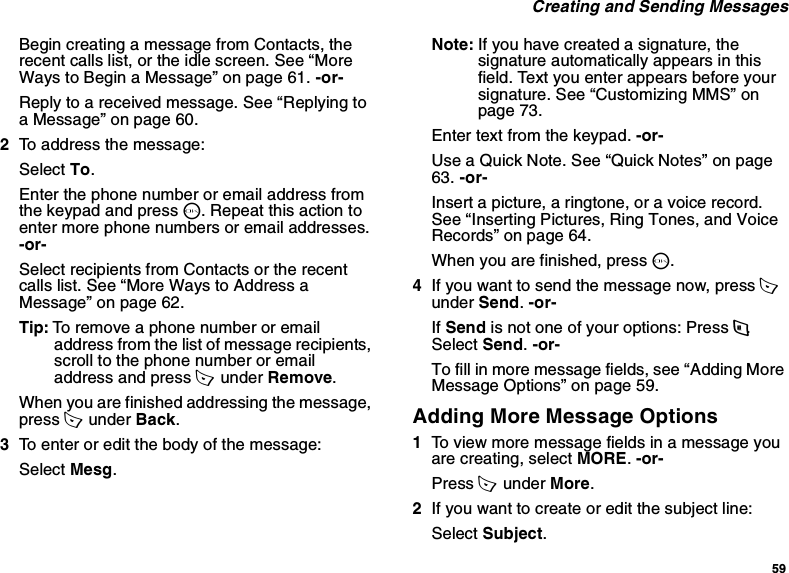
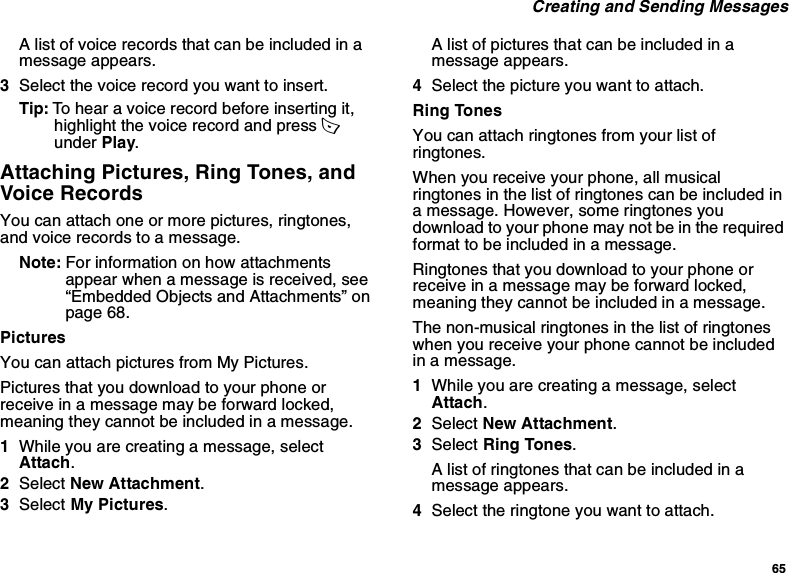
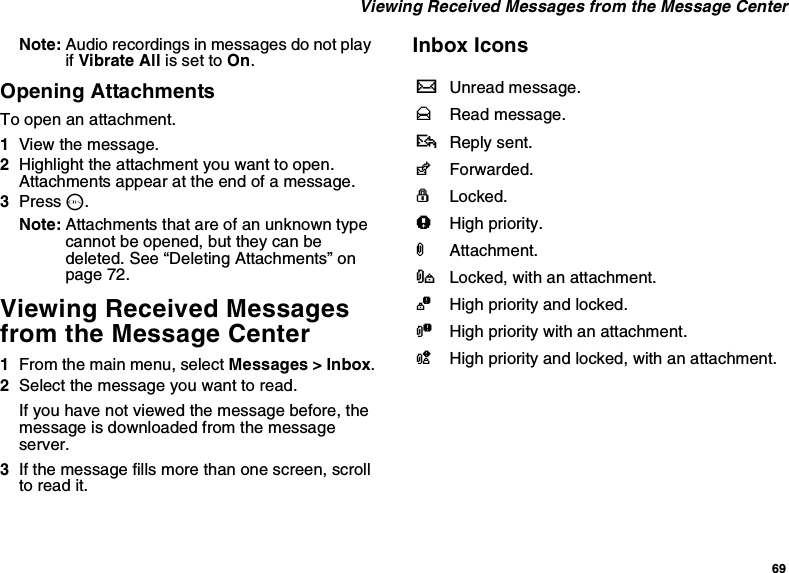
![40MemoMemo lets you store a number, make a call to that number, and save it to Contacts.To create a memo:1From the main menu, select Memo.2Enter the number using your keypad.3Press O.To view the memo later:1From the main menu, select Memo.To delete the memo:1From the main menu, select Memo.2Press and hold A under Delete.To edit the memo:1From the main menu, select Memo.2Enter the new number.3Press O.To make a call to the memo number:1From the main menu, select Memo.2To make a phone call, press s. -or-To make a BoostTM Walkie-Talkie call, press the Boost Walkie-Talkie button.To store the memo number to Contacts:1From the main menu, select Memo.2Press m.3Select Store to Contacts.4To store the number as a new entry, select [New Contact]. -or-To store the number to an existing entry, select the entry.5With the Contacts type field highlighted, scroll left or right to display the Contacts type you want to assign the number.6If you want to add more information to the entry, follow the applicable instructions in “Creating Entries” on page 33.7Press A under Done.](https://usermanual.wiki/Motorola-Solutions/89FT5845.USER-MANUAL-1/User-Guide-555303-Page-47.png)


![58Multi-Media Messages•Attach — one or more attachments. These may be pictures, ringtones, or voice records.•Cc — the phone numbers or email addresses of more recipients•Priority — sets the priority of the message to normal or high.•Report — lets you receive a report confirming that your message was delivered.• Valid Until — sets a date after which no more attempts are made to deliver the message.To send a message, you must address it to at least one recipient. All other message fields are optional.You can fill in the message fields in any order.Entering TextIn message fields that require you to enter text, you can begin entering the text from the keypad when the field is highlighted.While entering text, you can always choose a text input mode from the context-sensitive menu.For information on ways to enter text from the keypad, see “Entering Text” on page 30.Message SizeYou can create and send messages of up to 30 KB, including attachments.To see the size of a message you are creating:1Scroll to any field in the message.2Press m.3Select Message Size.Sending or CancelingTo send the message at any time after it has been addressed:Press A under Send. -or-If Send is not one of your options: Press m. Select Send.To cancel the message at any time:At the message screen, press A under Cancel. -or-Press e to cancel the message and save it in Drafts.Creating a Message1To begin creating a message:From the main menu, select Messages > [Create Mesg]. -or-Select [Create Mesg] from Inbox, Drafts, or Sent Items. -or-](https://usermanual.wiki/Motorola-Solutions/89FT5845.USER-MANUAL-1/User-Guide-555303-Page-65.png)

![61 Creating and Sending MessagesWhen you reply to a message you received, some of the fields in your reply message are filled in automatically:•To — the phone number or email address of the sender of the message you are replying to. If you are sending a reply to all, some recipients may be in this field.•Mesg — the first 40 characters of the message you are replying to. Text you add to the body of your message appears above this.•Subject — “Re:” followed by the subject line of the message you are replying to, if any.•Cc — If you are sending a reply to all, some recipients may be in this field.To reply to a message:1View the message you want to reply to. -or-If you have already viewed the message, scroll to it.2To reply to the sender only, press A under Reply. -or-To reply to the sender and all recipients: Press m. Select Reply All.3A list of short phrases is displayed. Select any of these phrases to add it to the body of your messages. -or-Select [Create Reply] to begin the body of your message without using any of these phrases.4Edit any message fields you want to change.5Send the message.Tip: To create new reply phrases to use in later reply message, see “Customizing MMS” on page 73.More Ways to Begin a MessageIn addition to beginning a message from the message center, you can begin a message from Contacts, the recent calls list, or the idle screen.From Contacts1From the Contacts list, scroll to the entry containing the phone number or email address you want to send the message to.2Scroll left or right to view the Contacts types until you see the icon for the phone number or email address you want to send a message to.3Press A under Create. -or-If Create is not one of your options: Press m. Select Create Mesg.4Create and send the message. The message is automatically addressed to the phone number or email address you chose.](https://usermanual.wiki/Motorola-Solutions/89FT5845.USER-MANUAL-1/User-Guide-555303-Page-68.png)
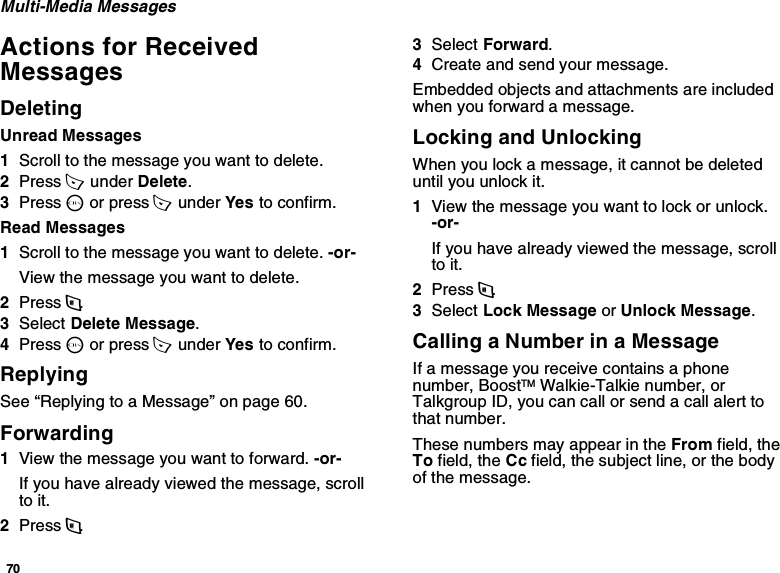
![71 Actions for Received MessagesMaking a Phone Call1View the message.2Highlight the phone number you want to call.3Press s.Making a BoostTM Walkie-Talkie Call1View the message.2Highlight the BoostTM Walkie-Talkie number you want to call.3Press the PTT button.Sending a Call Alert1View the message.2Highlight the BoostTM Walkie-Talkie number or Talkgroup ID you want to alert.3Press m.4Select Alert.5Press the PTT button.Making a GroupTM Call1View the message.2Press m.3Highlight the Talkgroup ID you want to call.4Select Talkgroup.5Press the PTT button.Storing Message Information To ContactsIf a message you receive contains a phone number, BoostTM Walkie-Talkie number, Talkgroup ID, or an email address, you can store this information to Contacts.These numbers may appear in the From field, the To field, the Cc field, the subject line, or the body of the message.1View the message.2Highlight the number or email address you want to save.3Press m.4Select Save Number or Save E-mail.5To store the number or email address as a new entry, select [New Contact]. -or-To store the number or email address to an existing entry, select the entry.6With the Contacts type field highlighted, scroll left or right to display the Contacts type you want to assign the number or email address.7If you want to add more information to the entry, follow the applicable instructions in “Creating Entries” on page 33.8Press A under Done.](https://usermanual.wiki/Motorola-Solutions/89FT5845.USER-MANUAL-1/User-Guide-555303-Page-78.png)
![73 Customizing MMS5Press O or press A under Yes to confirm.Customizing MMSThe Setup menu lets you customize MMS for your phone:•Friendly Name — Enter text here to create a friendly name. Your friendly name is the name displayed in the From field on other iDEN phones when they receive messages from you.•Signature — Enter text here to create a signature. Your signature is text that is automatically inserted at the end of all messages you create. You can edit the text before sending the message.•Quick Notes — lets you create new Quick Notes and edit or delete Quick Notes you have created.• Replies — lets you create new reply phrases and edit or delete reply phrases you have created.•Cleanup — controls how long messages remain in the Inbox and Sent Items before they are deleted. See “Setting the Clean-up Option” on page 74.To access the Setup menu:1From the main menu, select Messages.2With [Create Mesg] highlight, press m.3Select Setup.Tip: This option is available from many context-sensitive menus when you are using MMS.New Quick Notes and Reply PhrasesCreating1From the Setup menu, select Quick Notes or Replies.2Select [New Note] or [New Reply]. -or-Press A under New.3Enter text from the keypad.4When you are finished, press O.EditingYou can edit only Quick Notes and reply phrases you have created.1From the Setup menu, select Quick Notes or Replies.2Select the Quick Note or reply phrase you want to edit.3Edit the text.4When you are finished, press O.](https://usermanual.wiki/Motorola-Solutions/89FT5845.USER-MANUAL-1/User-Guide-555303-Page-80.png)
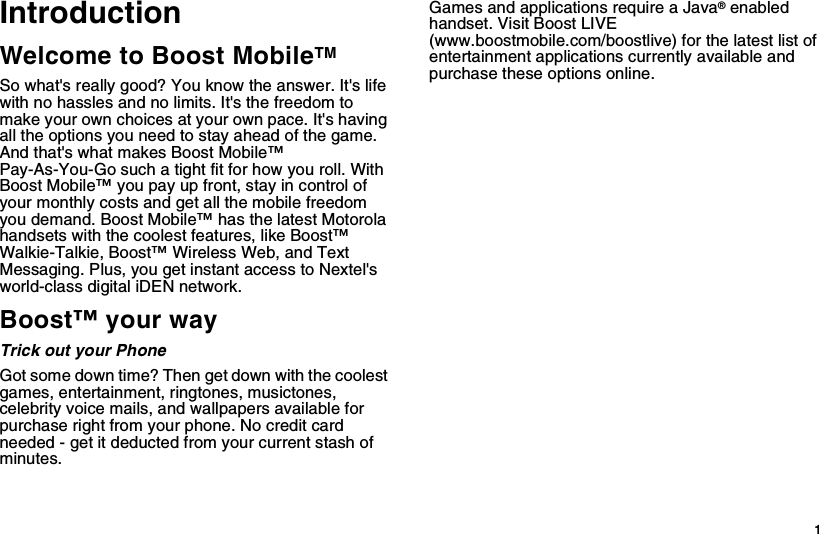
![75 Managing MemoryFor Sent Items1From the Setup menu, select Cleanup > Sent Items.2Choose a clean-up option.3To automatically delete messages now, press O or press A under Yes. -or-To delete messages later, press A under No.Choosing to Delete Messages LaterIf you choose to delete messages later, rather than at the time you set the clean-up option, the type of clean-up option you set determines when messages are deleted.If you set an option that cleans up messages according to how many you have, messages are deleted when you exit the message center after setting the option.If you set an option that cleans up messages according to how old the messages are, messages are deleted when you power on your phone.Managing MemoryAll messages in the Inbox, Drafts, and Sent Items share the same memory space.Note: The content of a message in the Inbox is not stored in your phone’s memory until the message is read. Unread messages use very little memory.To view your used memory, free memory, and memory capacity:1From the main menu, select Messages.2With [Create Mesg] highlight, press m.3Select Setup > Memory Size.Tip: This option is available from many context-sensitive menus when you are using MMS.To free memory, delete messages.To delete many messages at once, see “Deleting All Messages”.To set messages to be deleted automatically, see “Setting the Clean-up Option” on page 74.](https://usermanual.wiki/Motorola-Solutions/89FT5845.USER-MANUAL-1/User-Guide-555303-Page-82.png)