Motorola Solutions 89FT5855 iDEN i325 WITH MOTOTalk User Manual i325ConchProMot
Motorola Solutions, Inc. iDEN i325 WITH MOTOTalk i325ConchProMot
UserManual.wiki
>
Motorola Solutions
>
89FT5855 User Manual
USERS MANUAL
Navigation menu
Upload a User Manual
Namespaces
Wiki Guide
HTML
PDF
Info
Views
User Manual
Discussion / Help
Navigation


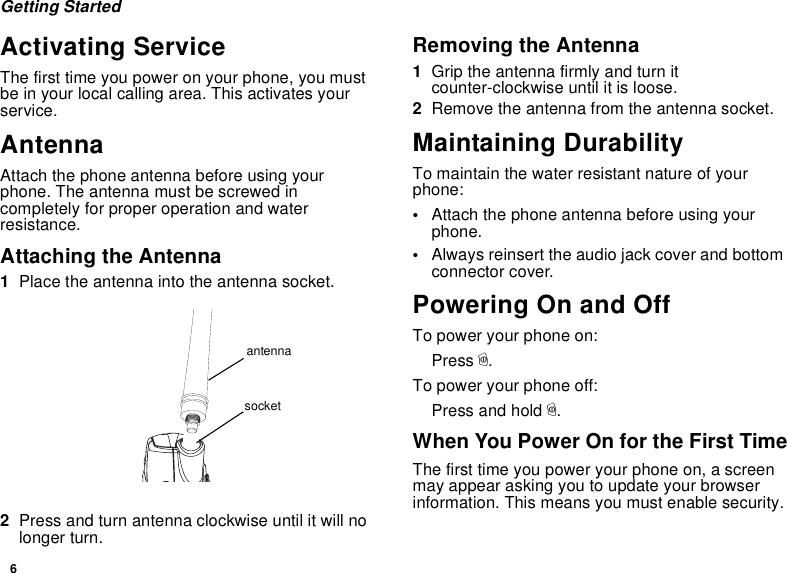
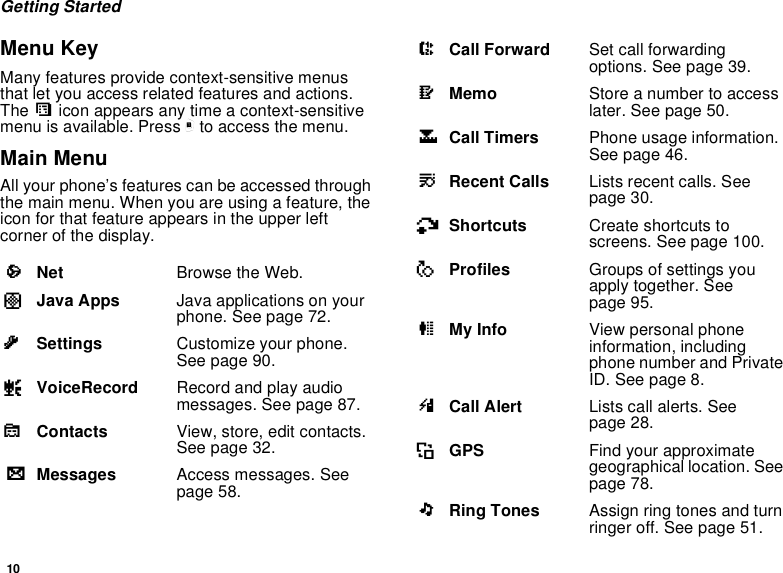


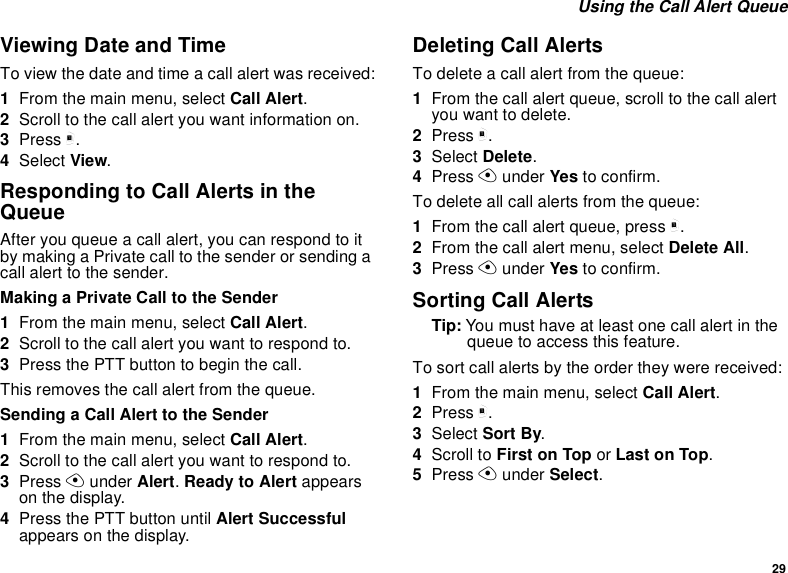
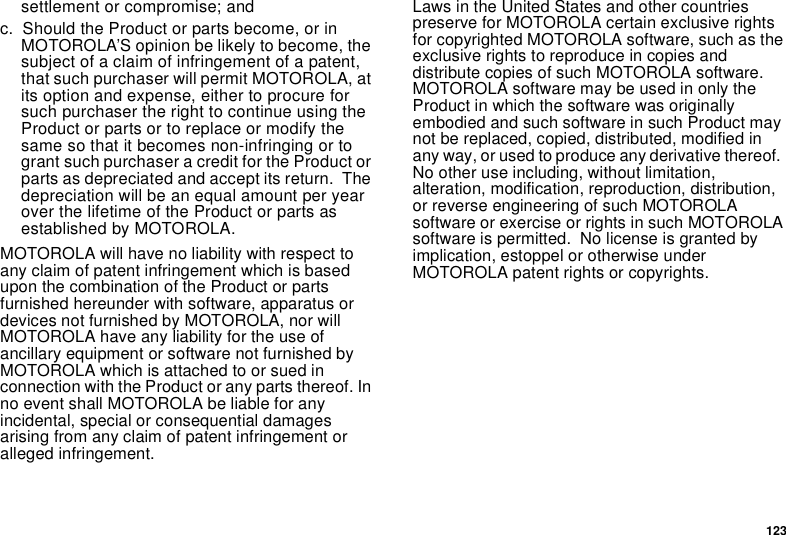
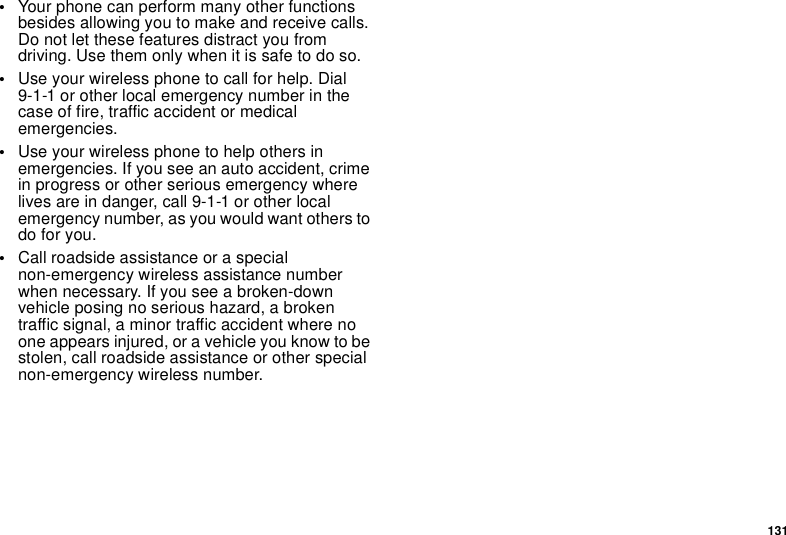
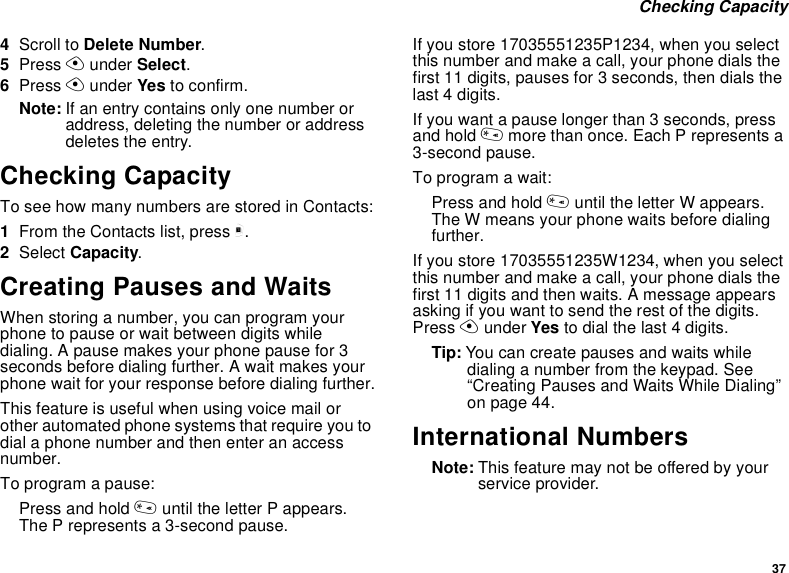
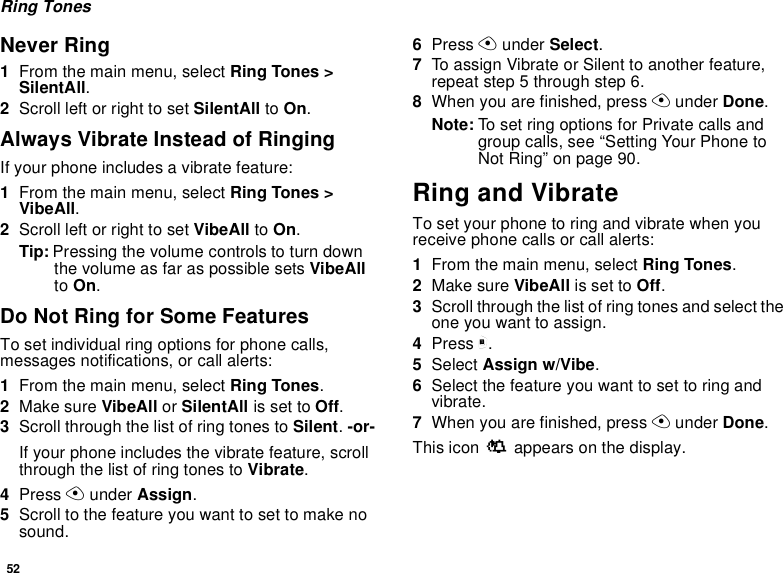
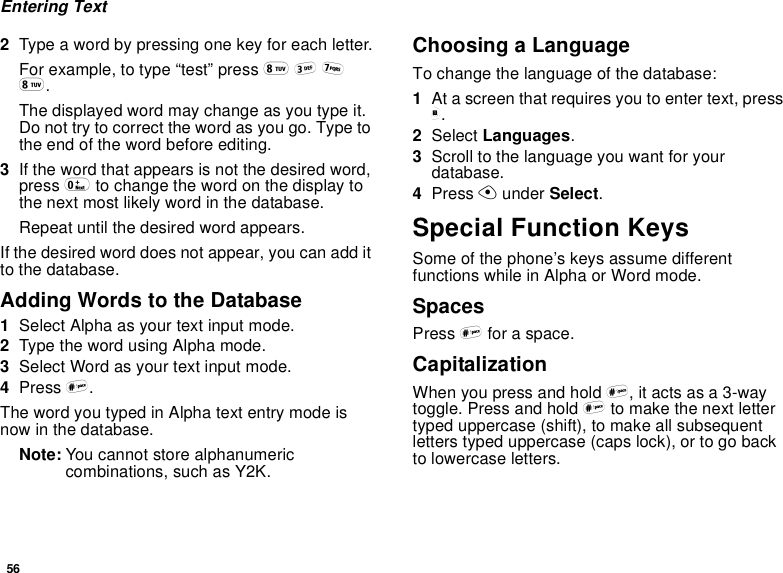
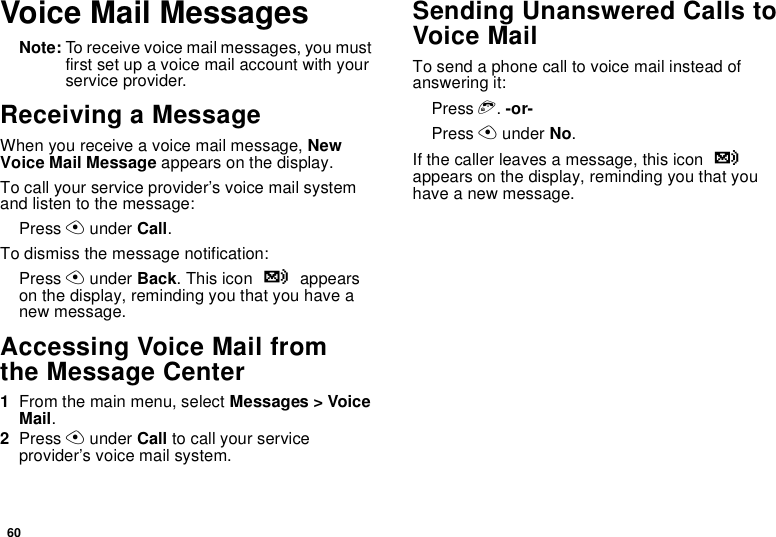
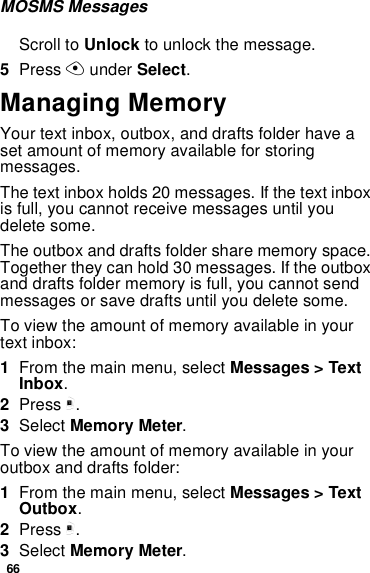
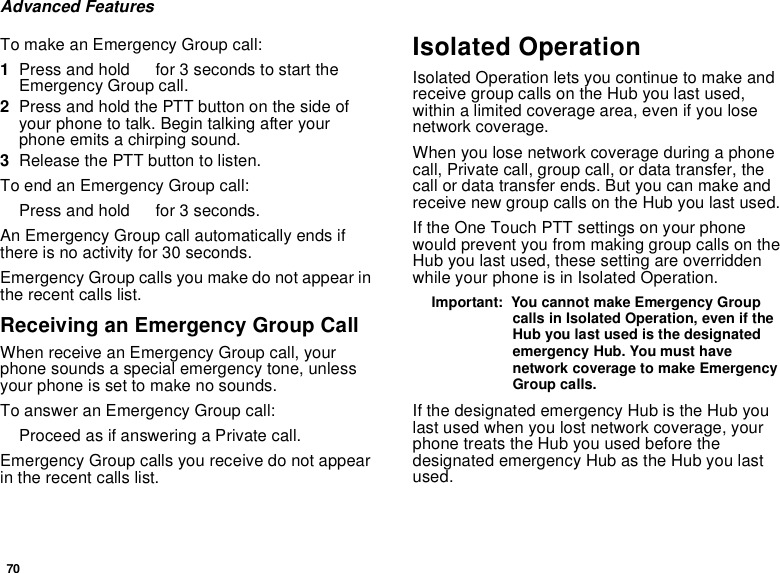
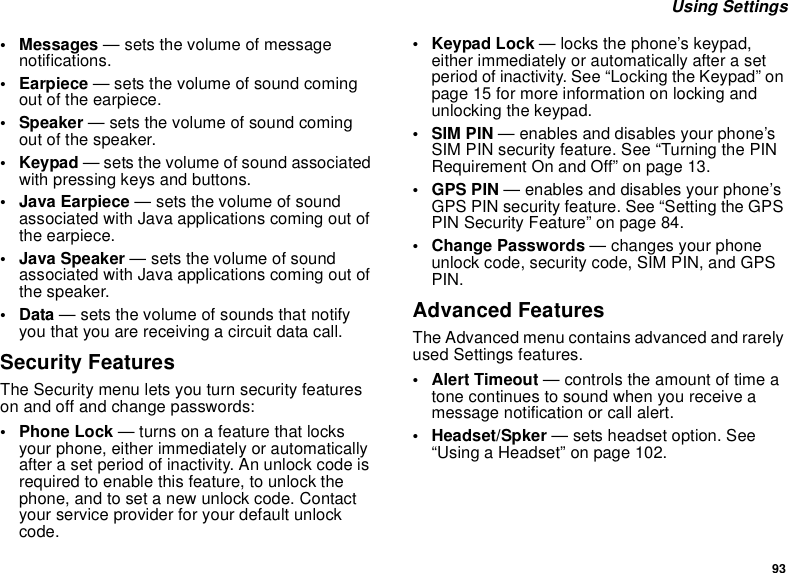
![31Deleting Recent Calls3To store the number as a new entry, select [NewContact].-or-To store the number to an existing entry, selectthe entry.4With the Contacts type field highlighted, scrollleft or right to display the Contacts type you wantto assign to the number. For information onContacts types, see page 32.5If you want to add more information to the entry,follow the applicable instructions in “CreatingEntries” on page 34.6Press Aunder Done.Deleting Recent CallsTo delete a call:1From the recent calls list, scroll to the call youwant to delete.2Press m.3Select Delete.4Press Aunder Yes to confirm.To delete all calls:1From the recent calls list, press m.2Select Delete All.3Press Aunder Yes to confirm.](https://usermanual.wiki/Motorola-Solutions/89FT5855/User-Guide-738436-Page-41.png)
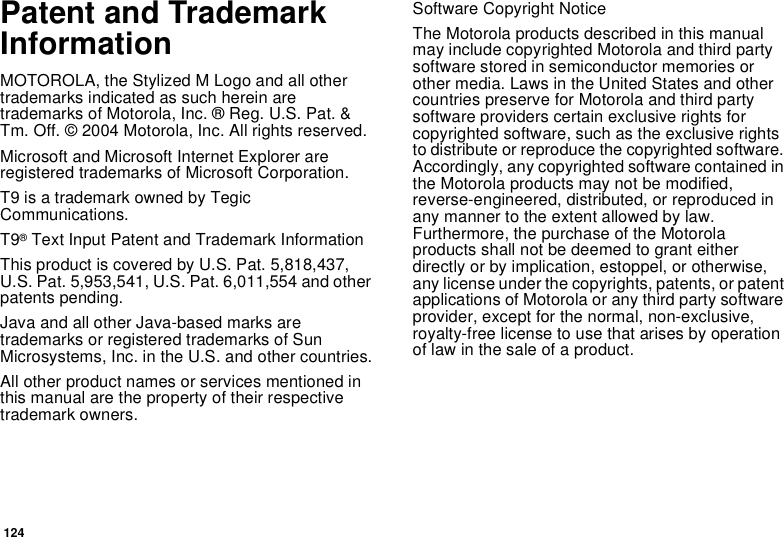
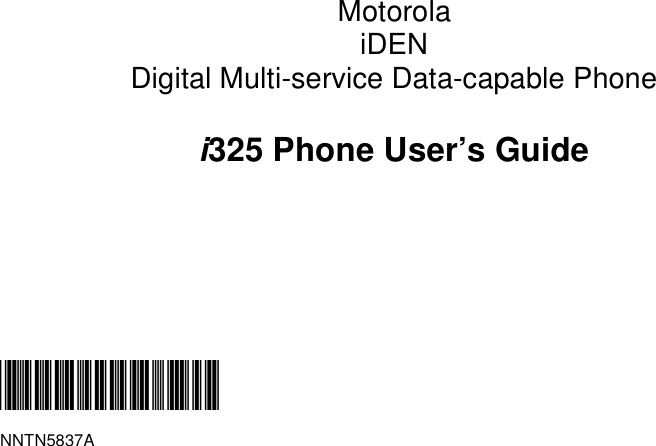
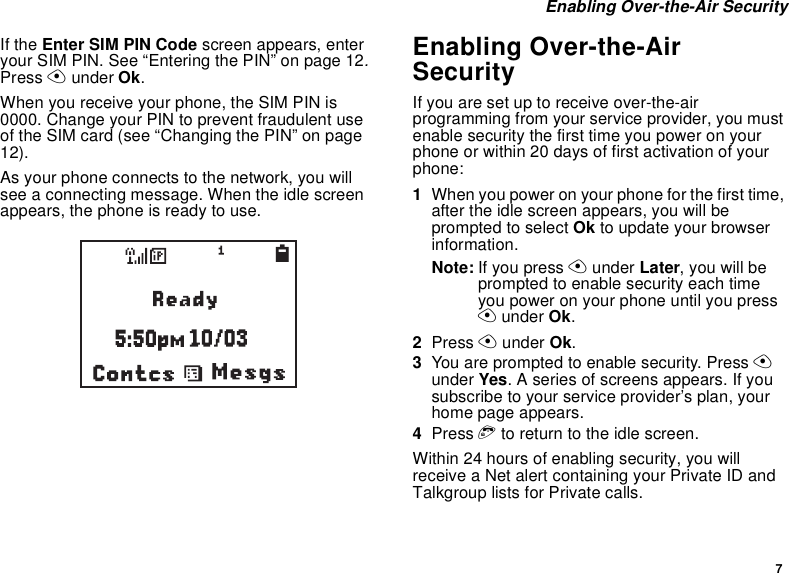
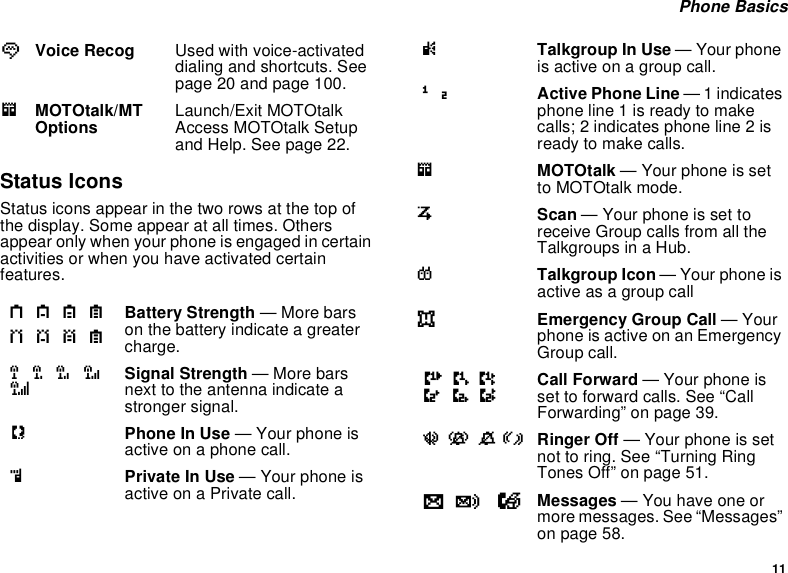
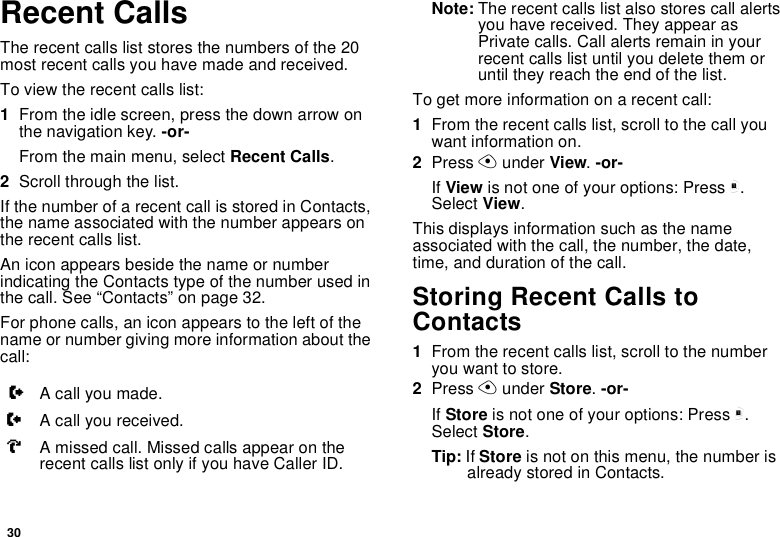
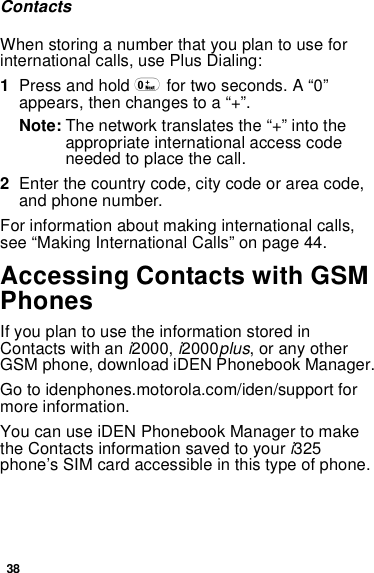
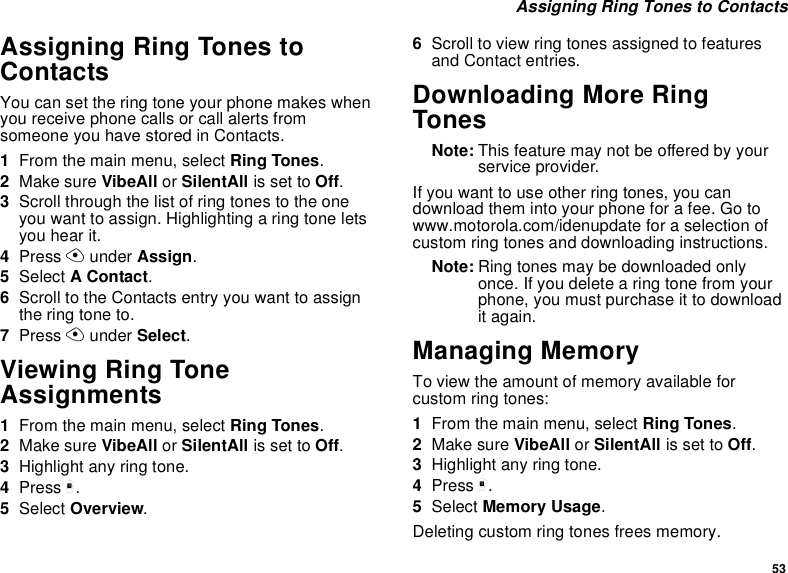
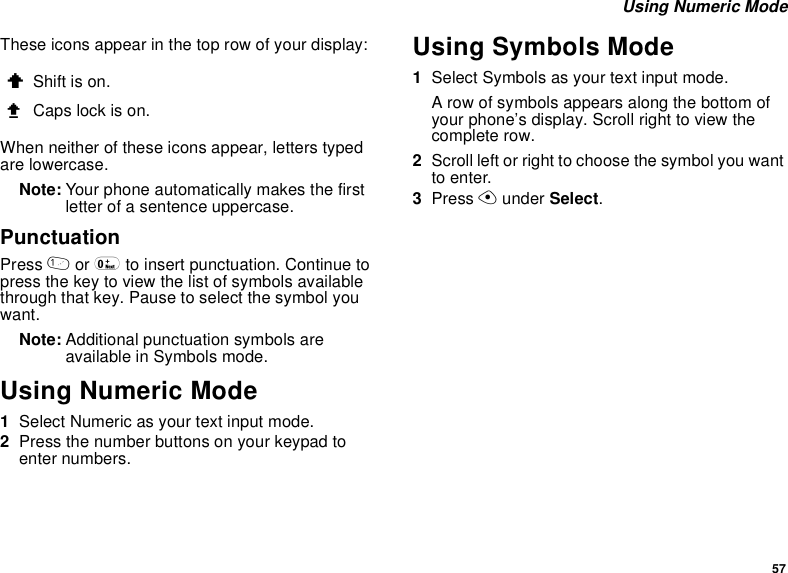
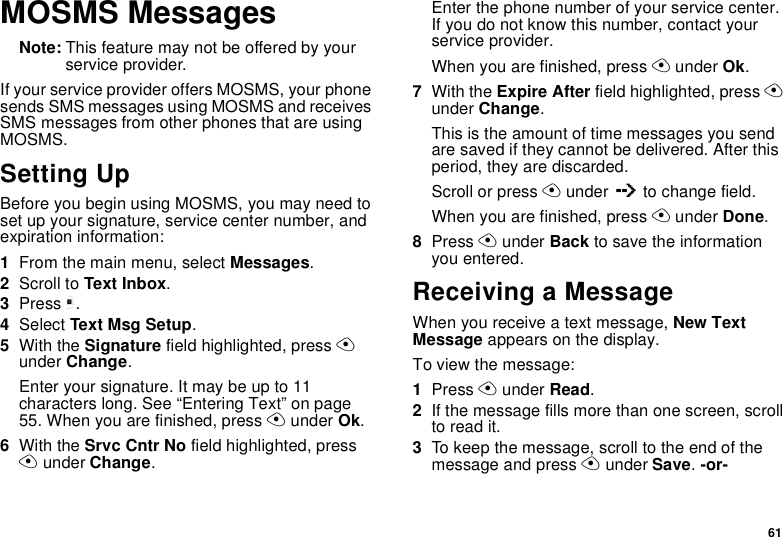
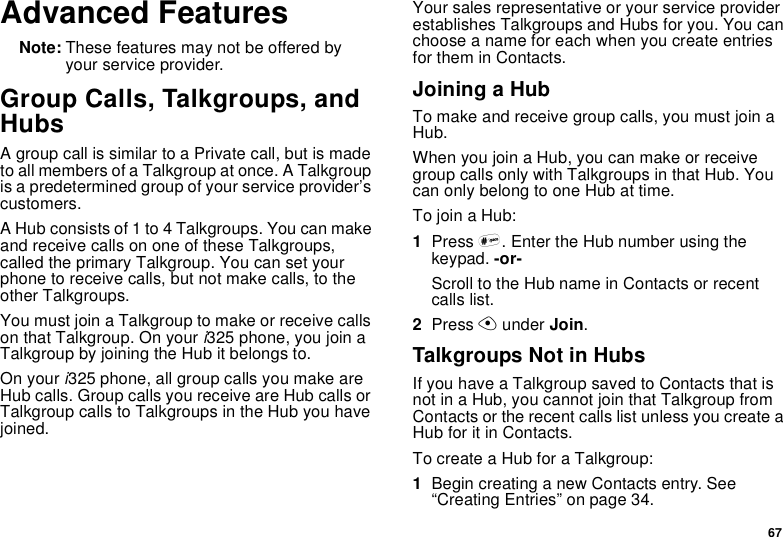
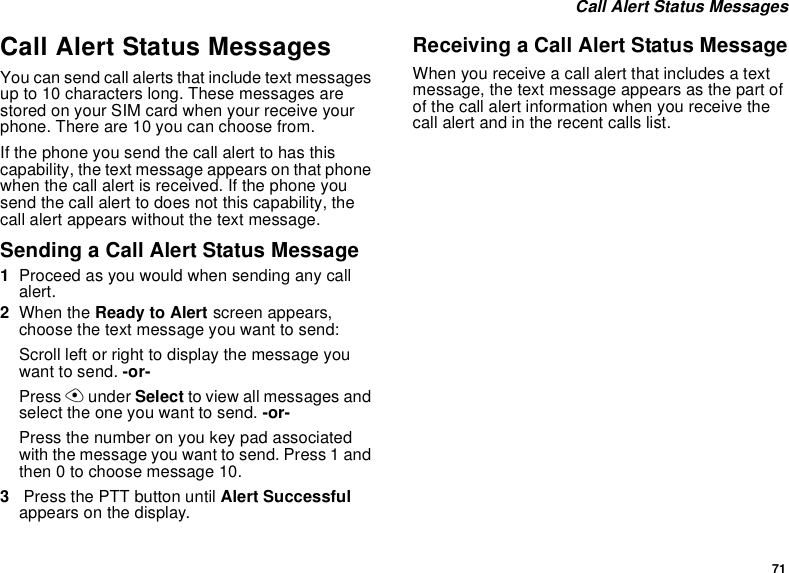
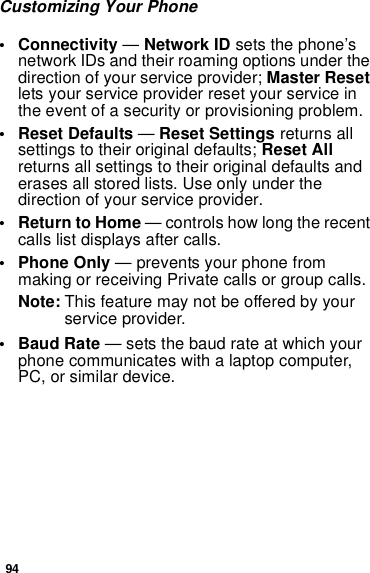
![34ContactsShowing Only Private IDs and GroupsTo set Contacts to show only entries that containPrivate IDs and entries for Talkgroups and Hubs:1From the Contacts list, press m.2Select Filter.3With Prvt/Grp/Hub highlighted, press AunderSelect.To set Contacts to show all entries:1From the Contacts list, press m.2Select Filter.3With Show All highlighted, press AunderSelect.Creating EntriesA number or address and a Contacts type arerequired for all Contacts entries. Other informationis optional. You may enter the information in anyorder by scrolling through the entry details.After you have entered the number or address,Contacts type, and any other information you want,you can press Aunder Done to save the entry toContacts.To cancel a Contacts entry at any time press, etoreturn to the idle screen.Tip: In some fields that require you to enterinformation, you can begin entering theinformation from the keypad instead ofpressing Aunder Change.To create a Contacts entry:1To access the entry details screen:Select Contacts > [New Contact].-or-From the Contacts list, press m.ScrolltoNew.Press Aunder Select.2Ifyouwanttoassignanametotheentry:With the Name field highlighted, press AunderChange.Enter the name. See “Entering Text” on page55. When you are finished, press Aunder Ok.3Ifyouwanttoassignaringtonetothename:With the Ringer field highlighted, press Aunder Change.Scroll to the ring tone you want to assign. PressAunder Select.4ToassignaContactstypetothenumberoraddress being stored:With the Contacts type field highlighted, pressAunder Change.](https://usermanual.wiki/Motorola-Solutions/89FT5855/User-Guide-738436-Page-44.png)
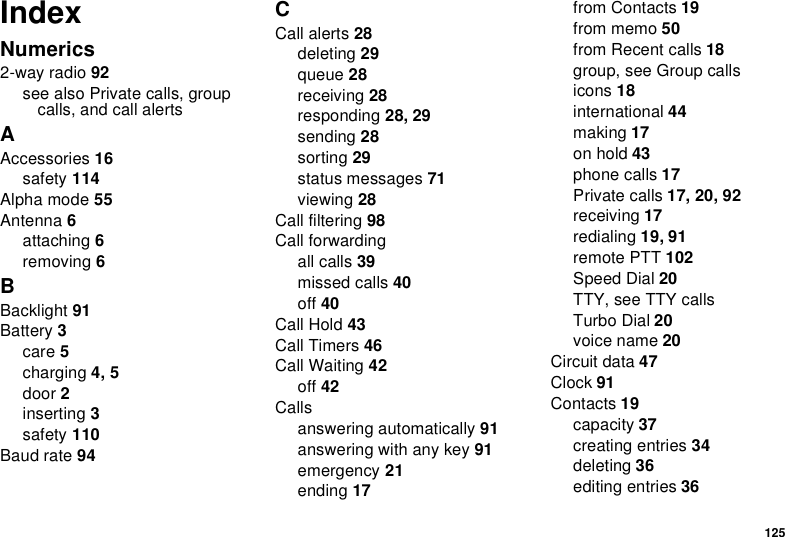
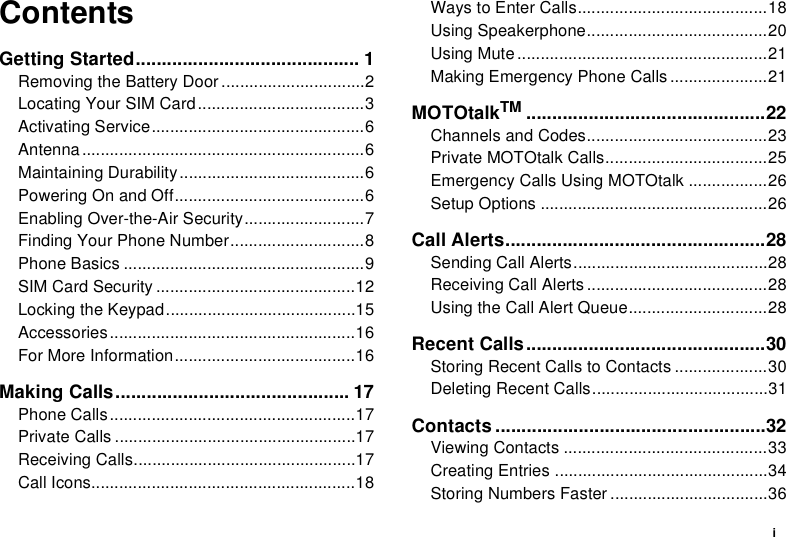
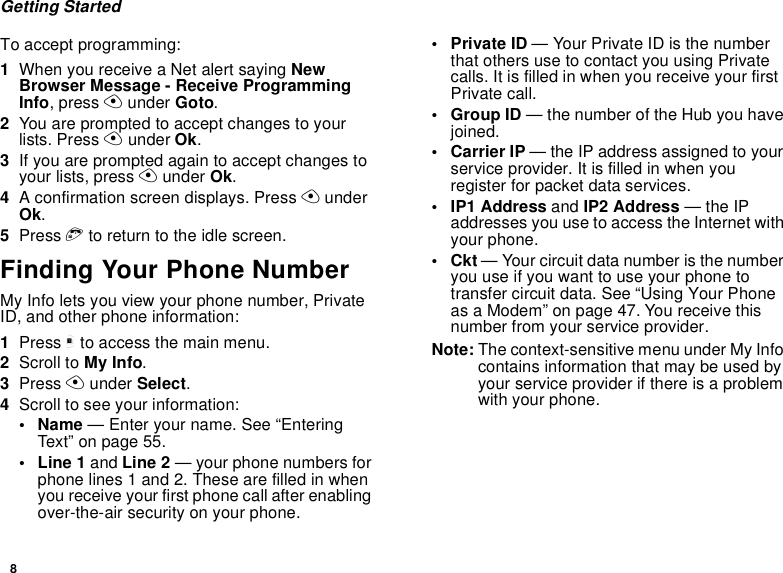
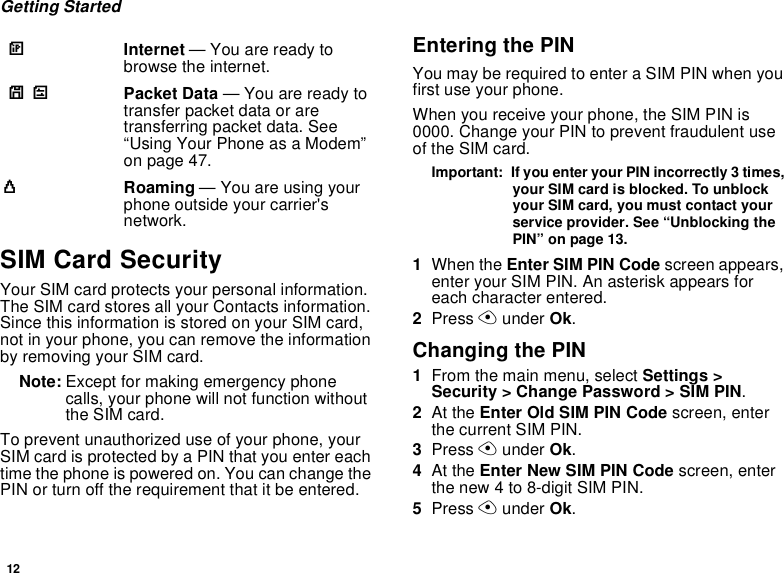
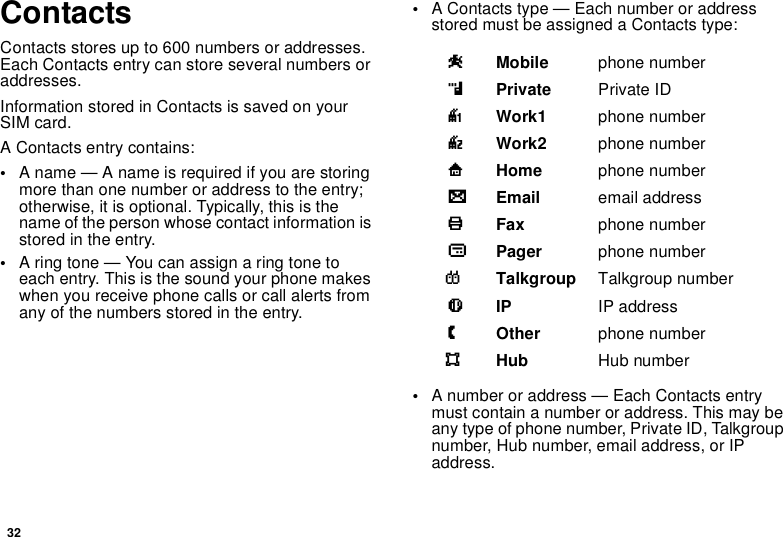
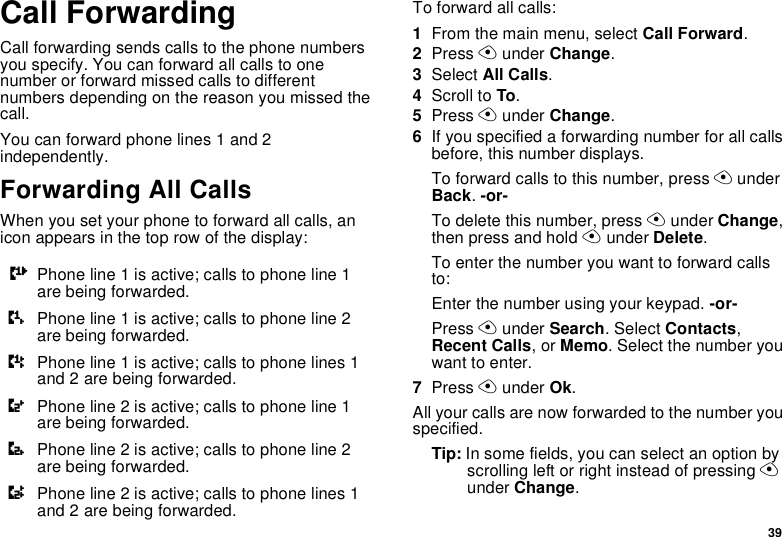
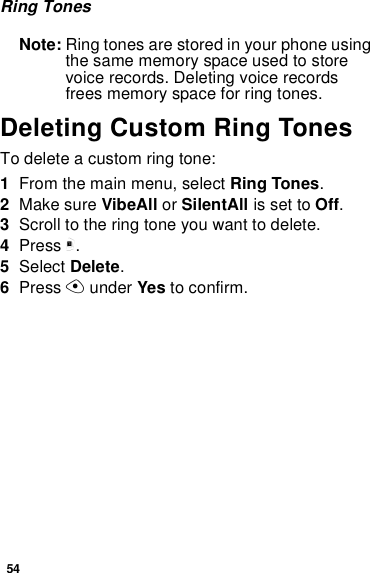
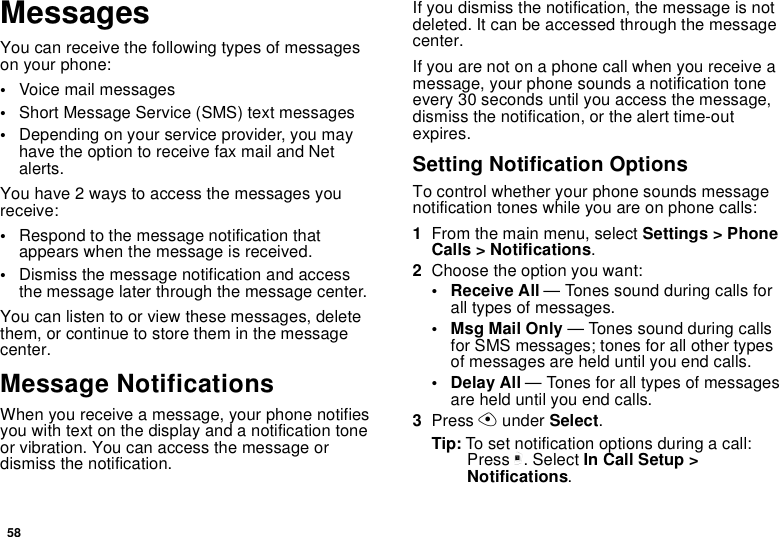
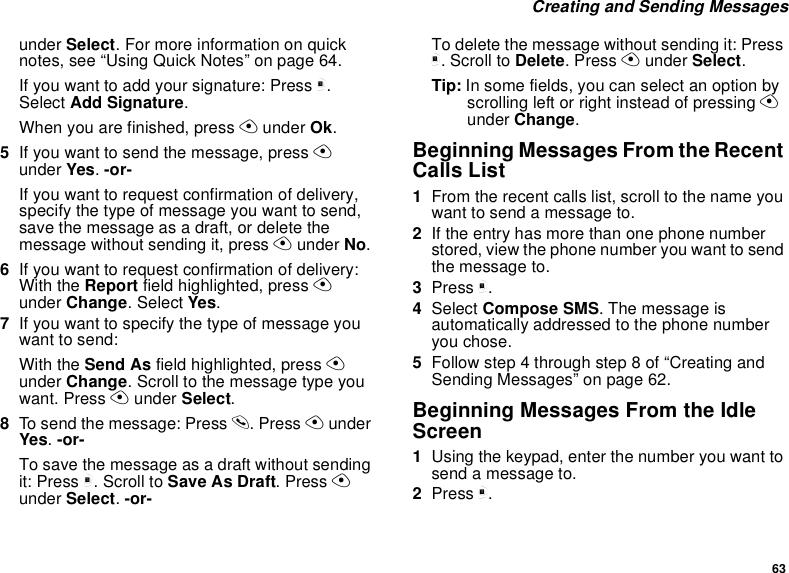
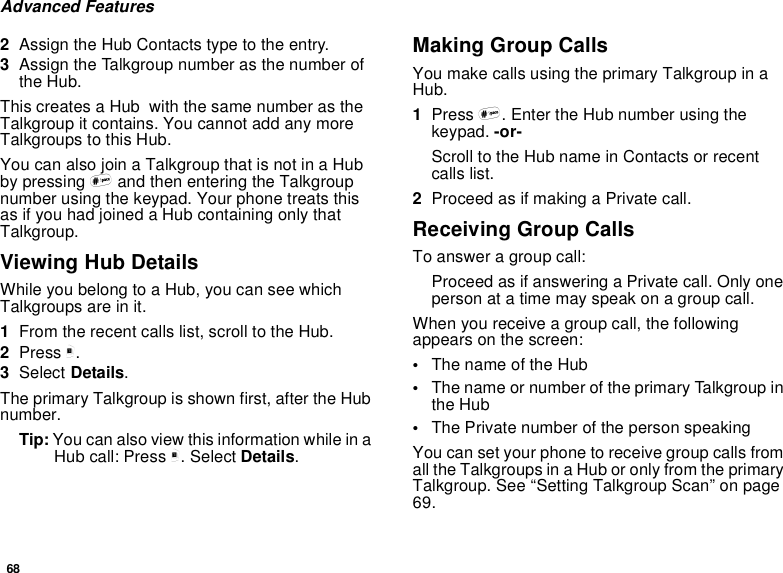
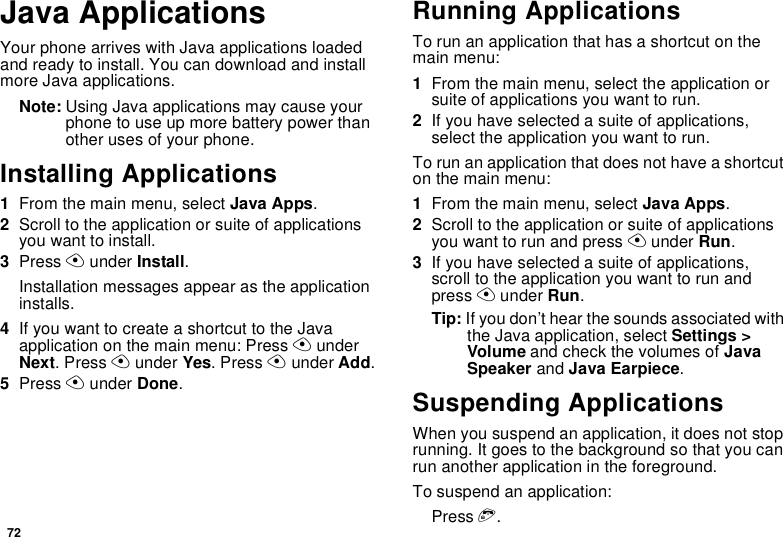
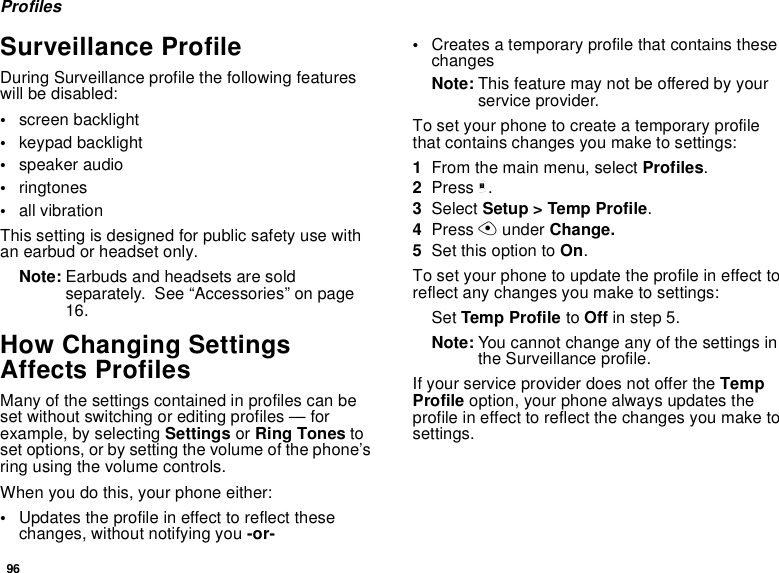
![35Creating EntriesScroll to the Contacts type you want to assign.Press Aunder Select.5To store a number or address:With the #field highlighted (or ID for an emailaddress, or IP for an IP address), press Aunder Change.Enter the number or address. For phonenumbers, use the 10-digit format. For emailaddresses, see “Entering Text” on page 55.Tip: Press Aunder Browse to select a numberor address from Contacts, the recent callslist, or Memo.When you are finished, press Aunder Ok.6Ifyouwanttoassignmoreoptionstothenumber, press Aunder Change with the[Options] field highlighted. See “AssigningOptions”.7If you want to add more numbers or addressesto the entry:Scroll past the information you already entered.Enter the additional information for the entryusingstep2throughstep6.Youmustassignaname to the entry, if you have not already.8Press Aunder Done.Assigning Options1If you have not already, press Aunder Changewith the [Options] field highlighted.2The default Speed Dial number assigned to aphone number is displayed in the Speed # field.This is always the next available Speed Diallocation.Ifyouwanttoassignthephonenumbertoadifferent Speed Dial location:With the Speed # field highlighted, press Aunder Change.Press and hold Aunder Delete to delete thecurrent Speed Dial number.Enter the new Speed Dial number using thekeypad.When you are finished, press Aunder Ok.3Ifyouwanttocreateavoicenameforaphonenumber, scroll to Voice Name and press Aunder Record.As directed by the screen prompts, say andrepeat the name you want to assign to thenumber. Speak clearly into the microphone.4When you are finished, press Aunder Back.](https://usermanual.wiki/Motorola-Solutions/89FT5855/User-Guide-738436-Page-45.png)
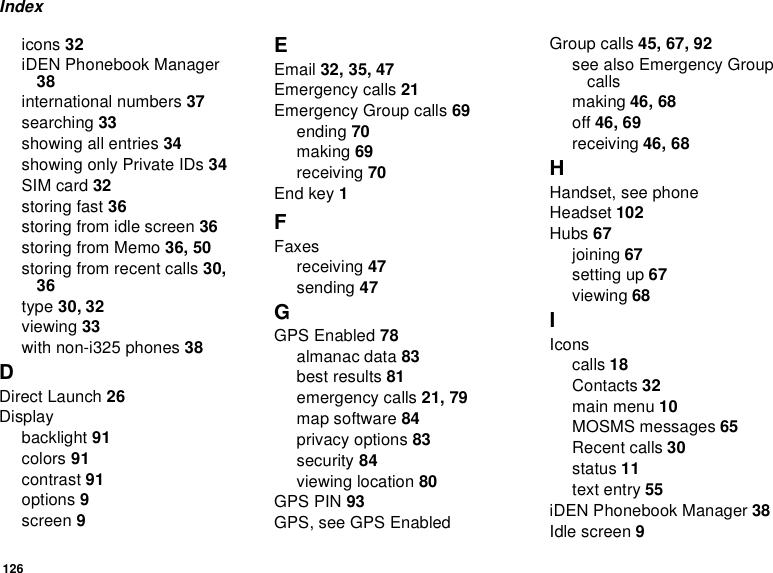
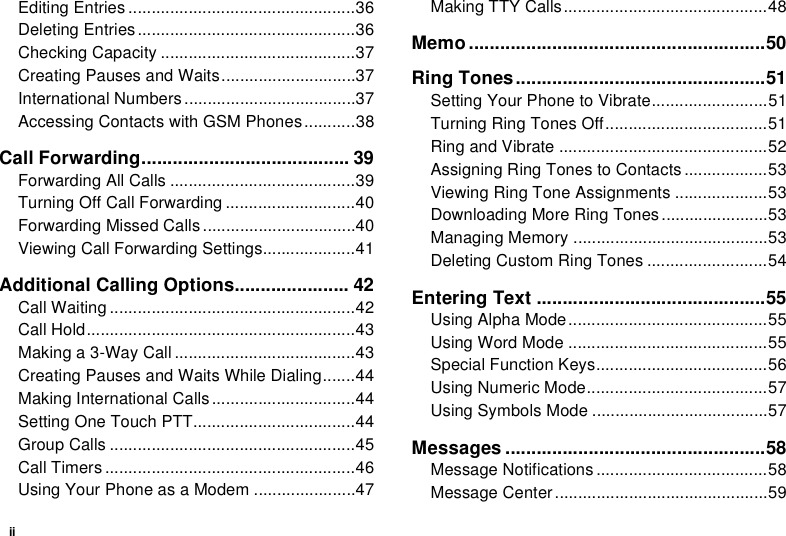
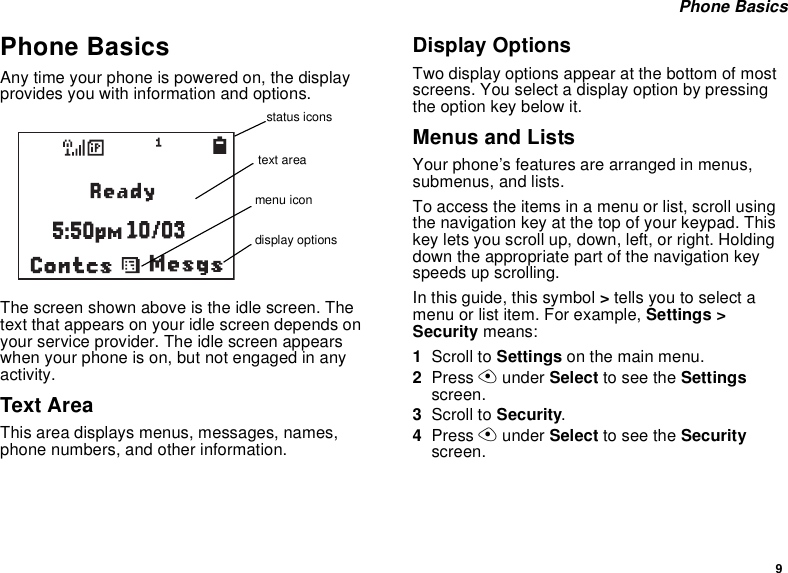
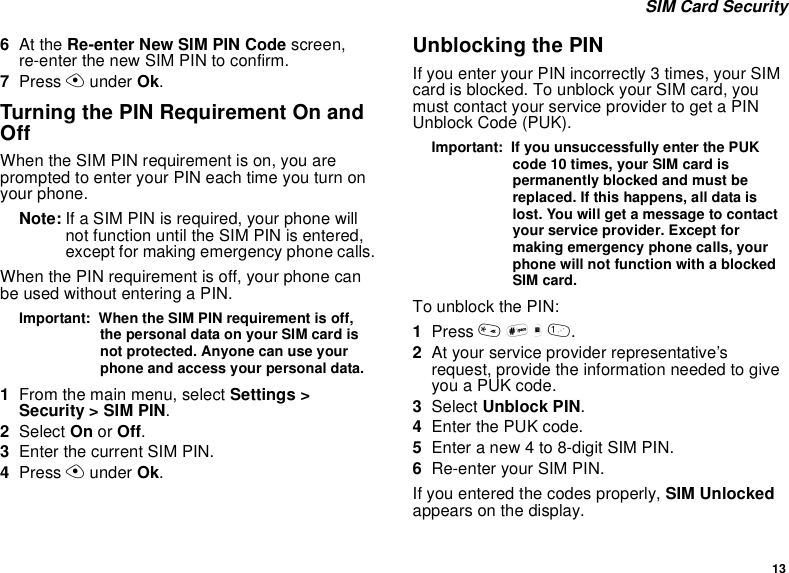
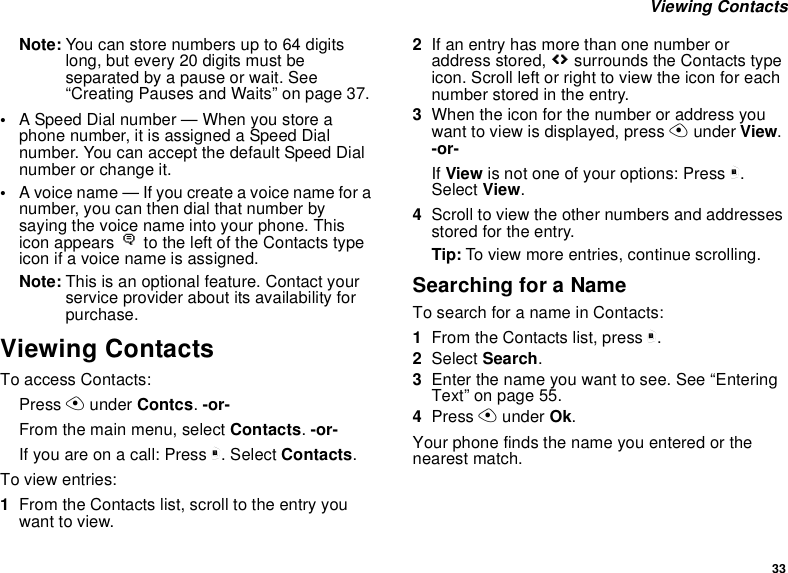
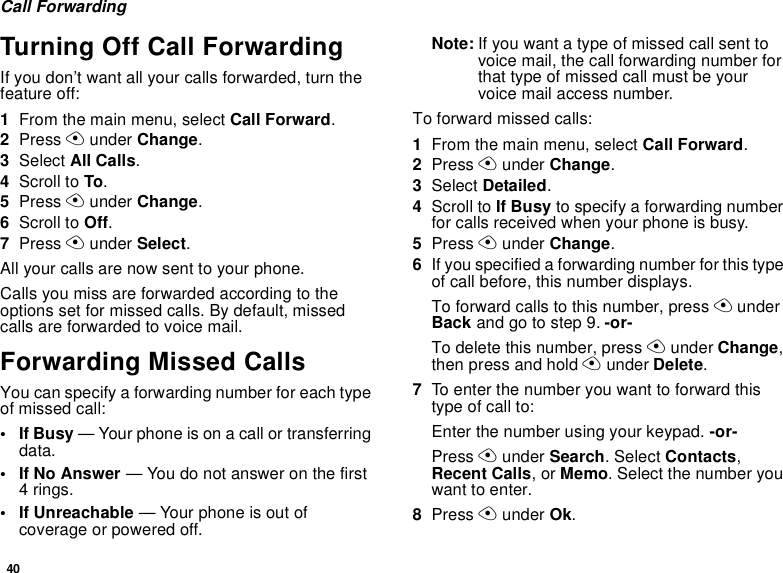
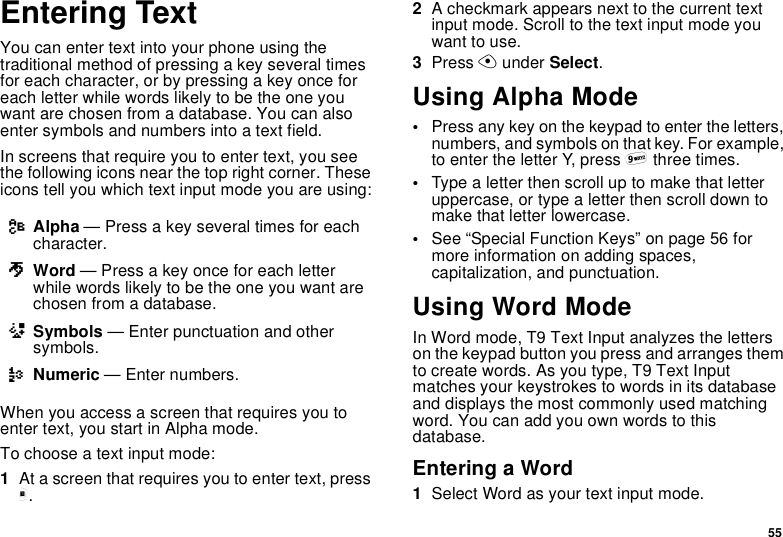
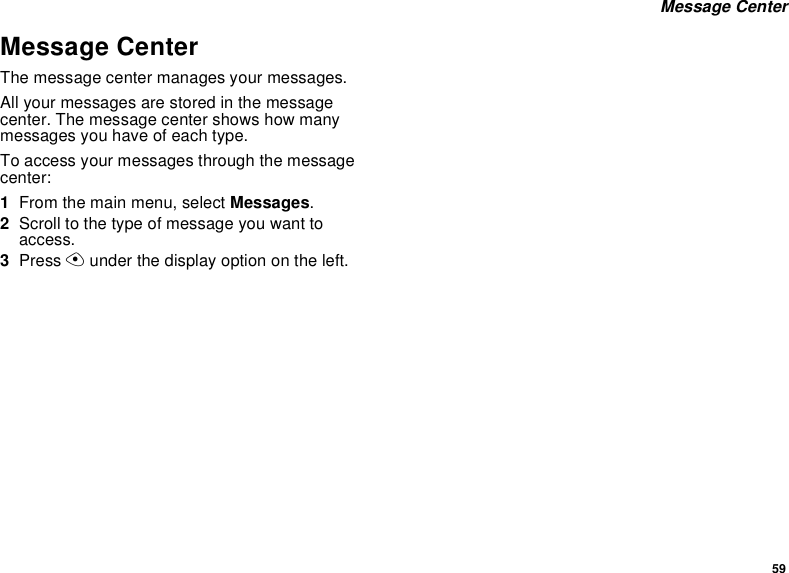
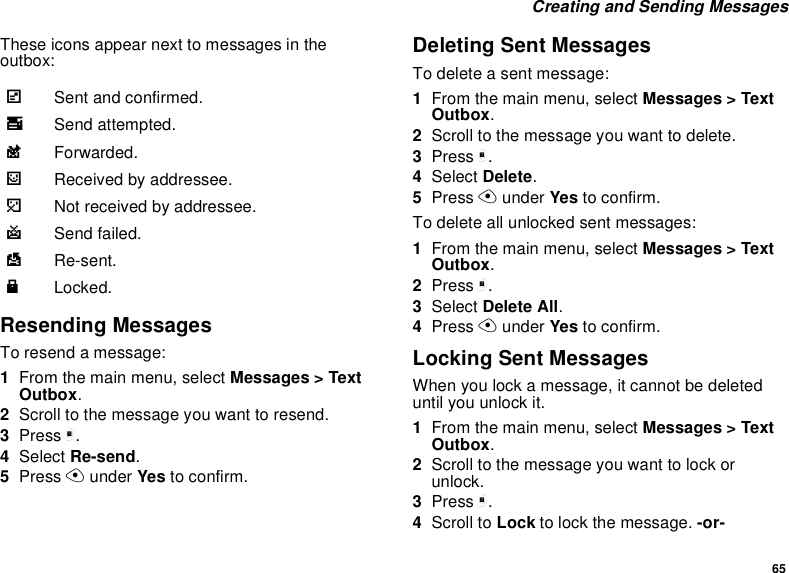
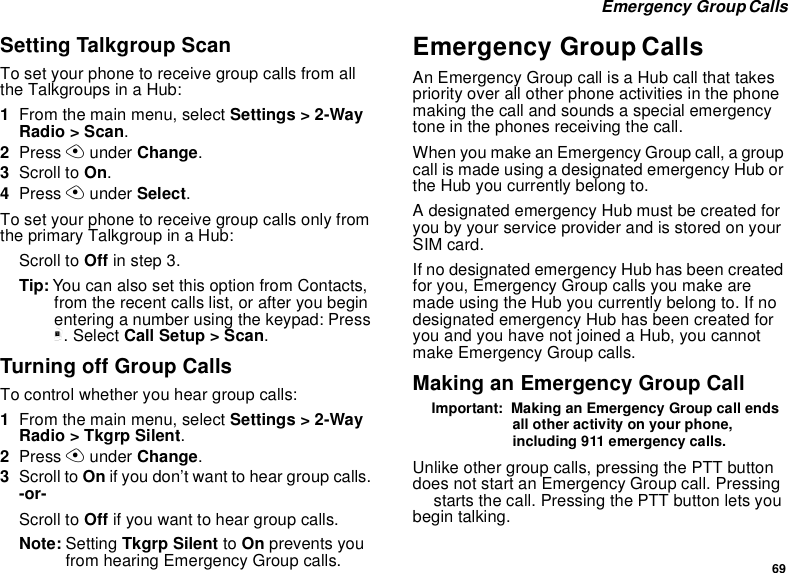
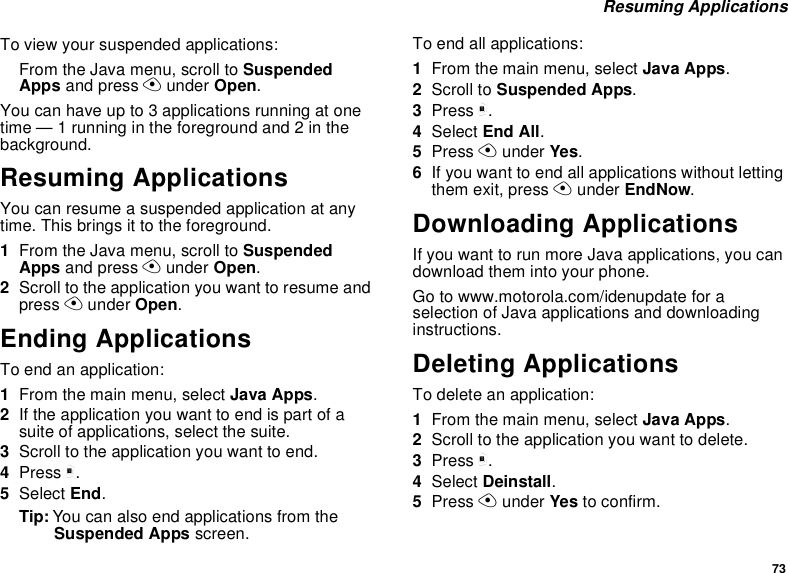
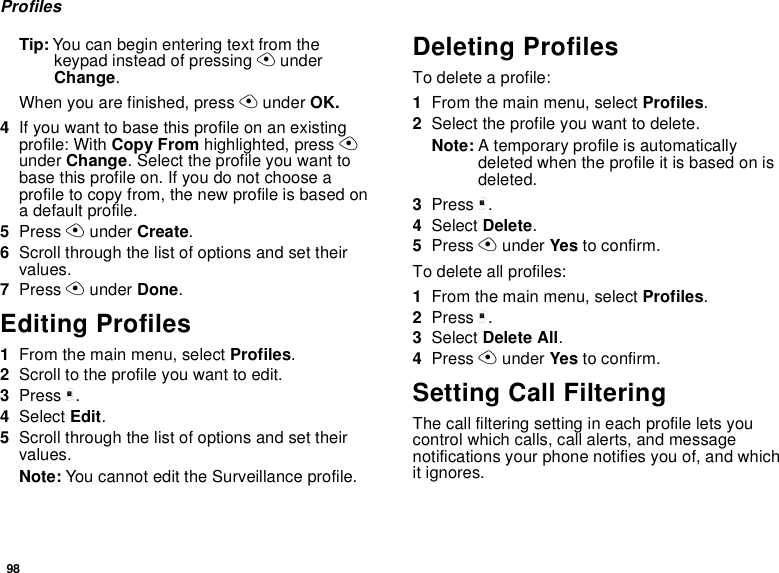
![36ContactsStoring Numbers FasterTo store numbers to Contacts from the recent callslist, see “Storing Recent Calls to Contacts” on page30.To store numbers to Contacts from Memo, see“Memo” on page 50.To store numbers to Contacts from the idle screen:1Use the keypad to enter the number you want tostore.2Press m.3Select Store Number.4To store the number as a new entry, select [NewContact].-or-To store the number to an existing entry, selectthe entry.5With the Contacts type field highlighted, scrollleft or right to display the Contacts type you wantto assign to the number.6If you want to add more information to the entry,follow the applicable instructions in “CreatingEntries” on page 34.7Press Aunder Done.Editing Entries1From the Contacts list, scroll to the entry youwant to edit.2Press m.3Select Edit. The entry details screen displays.4Follow the applicable instructions in “CreatingEntries” on page 34 to edit the various fields.Deleting EntriesDelete an Entry1From the Contacts list, scroll to the entry youwant to delete.2Press m.3To delete the entire entry, scroll to DeleteContact.4Press Aunder Select.5Press Aunder Yes to confirm.Delete a Number or Address1From the Contacts list, scroll to the entry thatcontains the number or address you want todelete.2Scroll left or right to display the Contacts type forthe number you want to delete.3Press m.](https://usermanual.wiki/Motorola-Solutions/89FT5855/User-Guide-738436-Page-46.png)


![50MemoMemoletsyoustoreanumber,makeacalltothatnumber, and save it to Contacts.To create a memo:1From the main menu, select Memo.2Enter the number using your keypad.3Press Aunder Store.Toviewthememolater:1From the main menu, select Memo.To delete the memo:1From the main menu, select Memo.2Press and hold Aunder Delete.3Press Aunder Store.To edit the memo:1From the main menu, select Memo.2Enter the new number.3Press Aunder Store.To make a call to the memo number:1From the main menu, select Memo.2To make a phone call, press s.-or-To make a Private call, press the PTT button.To store the memo number to Contacts:1From the main menu, select Memo.2Press m.3Press Aunder Select.4To store the number as a new entry, select [NewContact].-or-To store the number to an existing entry, selectthe entry.5With the Contacts type field highlighted, scrollleft or right to display the Contacts type you wantto assign to the number.6If you want to add more information to the entry,follow the applicable instructions in “CreatingEntries” on page 34.7Press Aunder Done.](https://usermanual.wiki/Motorola-Solutions/89FT5855/User-Guide-738436-Page-60.png)
![62MOSMS MessagesTo delete the message, scroll to the end of themessage and press Aunder Delete.To dismiss the message notification:Press Aunder Exit.Thisiconwappears onthe display, reminding you that you have a newmessage.If your phone is powered off when you receive atext message, your phone notifies you the nexttime you power it on. If you are out of yourcoverage area, your phone alerts you when youreturn to your coverage area.Tip: While reading a text and numeric messagethat contains a phone number, you canpress sto call that number.Reading from the MessageCenter1From the main menu, select Message > TextInbox.2Scroll to the message you want to read.3Press Aunder Read.4If the message fills more than one screen, scrollto read it.5To keep the message, press Aunder Save.-or-To delete the message, scroll to the end of themessage and press Aunder Delete.Tip: To see more choices, including replying tothe message, press m.Creating and SendingMessages1From the main menu, select Messages > TextInbox>[CreateMsg].-or-From the main menu, select Messages > TextOutbox > [Create Msg].2Press Aunder Create.3To address the message:Use the keypad to enter the phone number ofthe person you want to send the message to.-or-Press Aunder Browse.SelectContacts,Recent Calls,orMemo. Enter the number fromContacts, the recent calls list, or Memo, as youwouldwhenmakingacall.When you are finished, press Aunder Ok.4Enter the text of the message. See “EnteringText”onpage55.-or-To use a quick note: Press Aunder Browse.Scroll to the quick note you want. Press A](https://usermanual.wiki/Motorola-Solutions/89FT5855/User-Guide-738436-Page-72.png)
![64MOSMS Messages3Select Compose SMS. The message isautomatically addressed to the phone numberyou chose.4Follow step 4 through step 8 of “Creating andSending Messages” on page 62.Using Quick NotesQuick notes are short, pre-written text messagesthat you can create, edit, and send. You can storeup to 20 quick notes. A quick note may be up to 30characters long.To create a quick note:1From the main menu, select Messages > QuickNotes > [New Quick Note].2Press Aunder Create.Enter text. See “Entering Text” on page 55. -or-To choose from pre-installed notes: Press Aunder Browse. Scroll to the note you want.Press Aunder Select.3Press Aunder Store.Tip: For more options, including sending thequick note, press m.Using DraftsWhen you save a message as a draft, it is saved inthedraftsfolder.Youmusthaveadraftsavedtohave a drafts folder.To edit a draft:1From the main menu, select Messages > DraftsFolder.2Press Aunder Change.3To edit the fields you want to change, followstep3throughstep8in“CreatingandSendingMessages” on page 62.If you have a draft saved, you can create moredrafts in the drafts folder:1From the main menu, select Messages > DraftsFolder > [Create Msg].2Press Aunder Create.3Followstep3throughstep7in“CreatingandSending Messages” on page 62.4Scroll to Save As Draft.Using the OutboxMessagesyouhavesentarestoredintheoutbox.](https://usermanual.wiki/Motorola-Solutions/89FT5855/User-Guide-738436-Page-74.png)

![87Voice RecordsNote: This is an optional feature. Contact yourservice provider about its availability forpurchase.A voice record is a recording you make with yourphone and can play back. You can record notes toyourself or phone calls.Your phone can store up to 20 voice records.Creating Voice RecordsTorecordanotetoyourself:1From the main menu, select VoiceRecord.2With [New VoiceRec] highlighted, press Aunder Record.3Say the message you want to record into themicrophone.Tip: To stop recording before you are finished,press m, then select Pause.Tostartrecording again, press Aunder Resume.To stop recording and discard the voicerecord at any time, press Aunder Cancel.4When you are finished recording, press Aunder Stop.To add to the end of voice record:1From the main menu, select VoiceRecord.2Scroll to the voice record you want to add to.3Press m.4Select Add To.5When you are finished recording, press Aunder Stop.To record a phone call:1Whileonanactivecall,pressm.2Select Record.3When you are finished recording, press Aunder Stop.Note: Recording of phone calls is subject toapplicable laws regarding privacy andrecording of phone conversations.Playing Voice Records1From the main menu, select VoiceRecord.2Scroll to the voice record you want to play.3Press Aunder Play.4To stop the voice record while it is playing, pressAunder Back.Tip: To fast forward, scroll right. To rewind, scrollleft. To pause or resume, press any numberkey.](https://usermanual.wiki/Motorola-Solutions/89FT5855/User-Guide-738436-Page-97.png)
![88Voice RecordsLabeling Voice RecordsWhen you create a voice record, it is labeled withthe time and date it was recorded. You can thenrename it with a custom label.1From the main menu, select VoiceRecord.2Scroll to the voice record you want to label.3Press m.Select Label.4Enter the label you want to assign. See“Entering Text” on page 55.5Press Aunder Ok.Deleting Voice RecordsTo delete a voice record:1From the main menu, select VoiceRecord.2Scroll to the unlocked voice record you want todelete.3Press m.4Select Delete.5Press Aunder Yes to confirm.To delete all voice records:1From the main menu, select VoiceRecord.2Scroll to any voice record.3Press m.4Select Delete All.5Press Aunder Yes to confirm.Locking Voice RecordsWhen you lock a message, it cannot be deleteduntil you unlock it.1From the main menu, select VoiceRecord.2Scroll to the message you want to lock orunlock.3Press m.4Scroll to Lock to lock the message. -or-Scroll to Unlock to unlock the message.When a voice record is locked, this icon lappears next to it.Managing MemoryTo view the amount of memory available for voicerecords:1From the main menu, select VoiceRecord.2With [New VoiceRec] highlighted, press m.Select Memory.-or-With any voice record highlighted, press m.Select Memory.](https://usermanual.wiki/Motorola-Solutions/89FT5855/User-Guide-738436-Page-98.png)

![97Temporary ProfilesTemporary ProfilesIf your phone is set to create temporary profiles, atemporary profile is created when you makechanges to settings without switching or editingprofiles.A temporary profile is based on the profile in effectwhen you made the changes, but reflects thechanged settings. Making more changes furtherupdates the temporary profile, for as long as it is ineffect.A temporary profile stays in effect until you switchprofiles, power off your phone, or delete it (or theprofile it is based on) from the list of profiles.If you do not store a temporary profile, it is deletedwhen you switch profiles or power off your phone.A temporary profile is automatically given the samename as the profile it is based on, but with anasterisk (*) in front of it.When you view a temporary profile’s settings, theoptions that differ from the profile it is based onhave an asterisk in front of them.Storing a Temporary ProfileTo store a temporary profile as a new profile:1From the main menu, select Profiles.2Scroll to the temporary profile.3Press m.4Select StoreAsNew.5Enter the name you want to give the profile. See“Entering Text” on page 55.When you are finished, press Aunder OK.To overwrite the profile the temporary profile isbased on:1From the main menu, select Profiles.2Scroll to the temporary profile.3Press m.4Select Store Changes.The temporary profile is stored with the name ofthe profile it is based on. The profile it is based on,as it existed before you made changes to settings,is gone.Creating Profiles1From the main menu, select Profiles.2Select [New Profile].-or-Scroll to any profile. Press m. Select New.3Enter the name you want to give the profile. See“Entering Text” on page 55.](https://usermanual.wiki/Motorola-Solutions/89FT5855/User-Guide-738436-Page-107.png)
![100ShortcutsShortcuts lets you access most menu options bypressing a number on your keypad (1 through 9) orsaying the voice name of the shortcut. You createtheshortcutandthenuseittotakeyoutothatscreen any time.Creating a ShortcutNote: When you receive your phone, all numberkeys may already be assigned toshortcuts. If this is the case, you cancreate new shortcuts by deleting orreplacing existing shortcuts.1Go to the menu item you want to create ashortcut for.Forexample,ifyouwanttocreateashortcuttothe screen for creating a new Contacts entry:From the main menu, select Contacts,thenhighlight [New Contact].2Press and hold muntil a confirmation screenappears.3Press Aunder Yes.4With key highlighted, press Aunder Change.5Press the number key you want to assign to theshortcut.6Press Aunder Ok.7Ifyouwanttorecordavoicenamefortheshortcut: With Voice highlighted, press AunderRecord. As directed by the screen prompts, sayand repeat the name you want to assign to thenumber. Speak clearly into the microphone.Note: This is an optional feature. Contact yourservice provider about its availability forpurchase.8Press Aunder Done.9If the number key you chose is already assignedto a shortcut, a prompt appears asking if youwant to replace the existing shortcut.Press Aunder Yes to replace the existingshortcut. -or-Press Aunder No ifyouwanttokeeptheexisting shortcut and assign another number keyto the shortcut.Using a ShortcutIf you know the shortcut number:1From the idle screen, press m.2On your keypad, press the number assigned tothe shortcut.](https://usermanual.wiki/Motorola-Solutions/89FT5855/User-Guide-738436-Page-110.png)