Motorola Solutions 89FT7078 Smart phone User Manual LEX L10i Mission Critical Handheld User Guide
Motorola Solutions, Inc. Smart phone LEX L10i Mission Critical Handheld User Guide
UserManual.wiki
>
Motorola Solutions
>
89FT7078 User Manual
>
User Manual
Contents
1.
User Manual LEV L10i
2.
User Manual LEV L10ig
3.
User Manual Statments
4.
User Manual LEX-L10ig
5.
User Manual Warning Statements
6.
User Manual LEX-L10i
7.
Users Manual LEX-L10I
8.
Users Manual LEX-L10IG
9.
Users Manual Regulatory Leaflet
10.
User Manual Regulatory Leaflet
11.
User Manual
User Manual
Navigation menu
Upload a User Manual
Namespaces
Wiki Guide
HTML
PDF
Info
Views
User Manual
Discussion / Help
Navigation


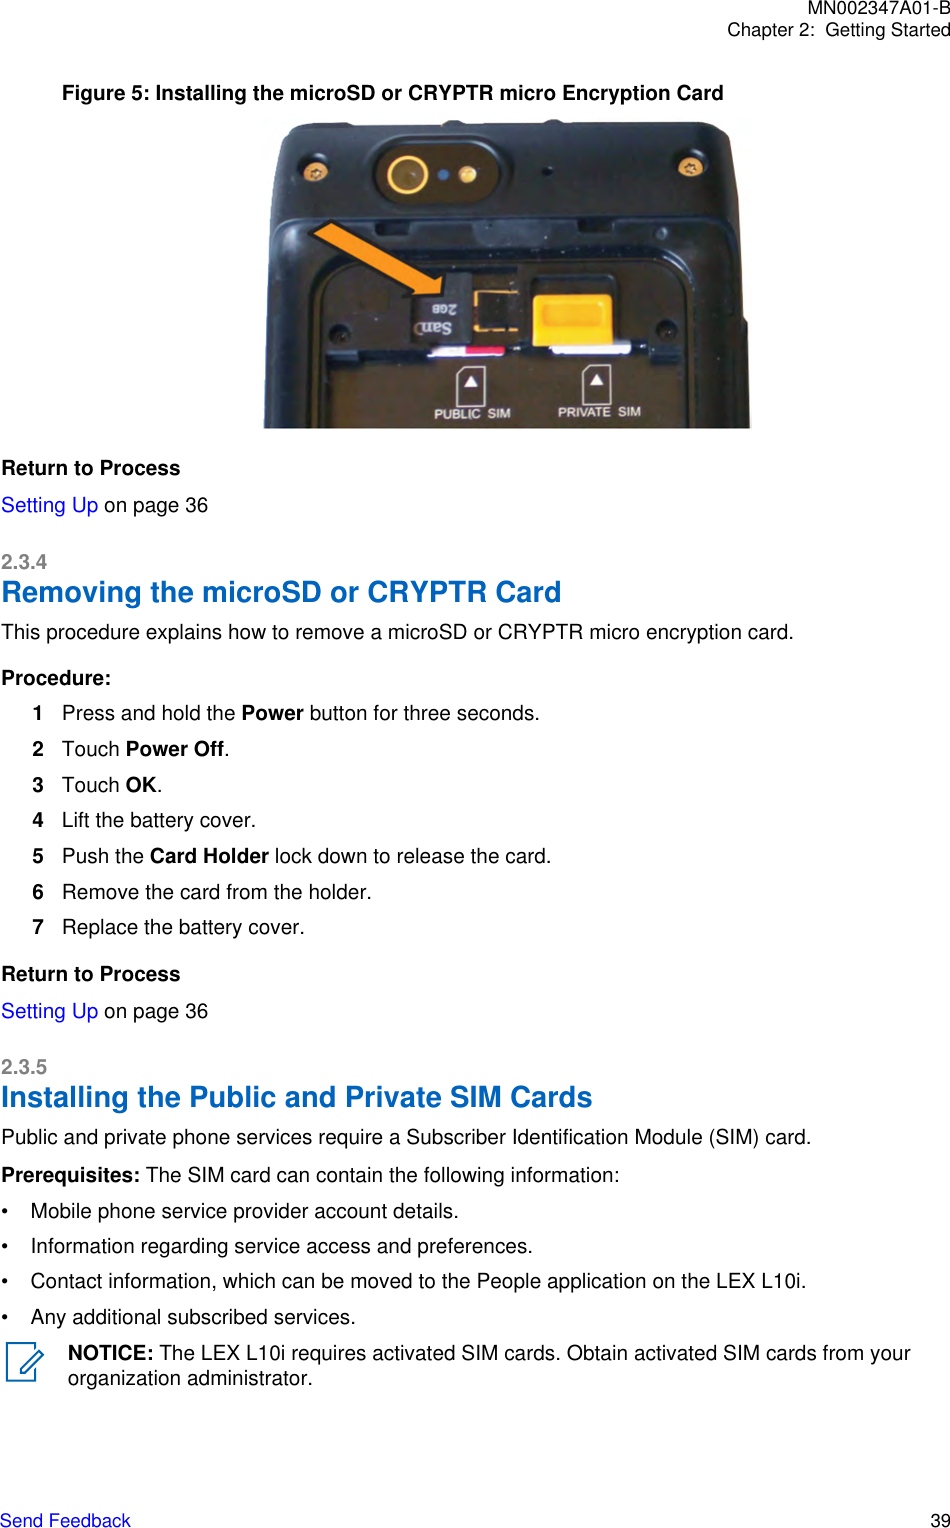
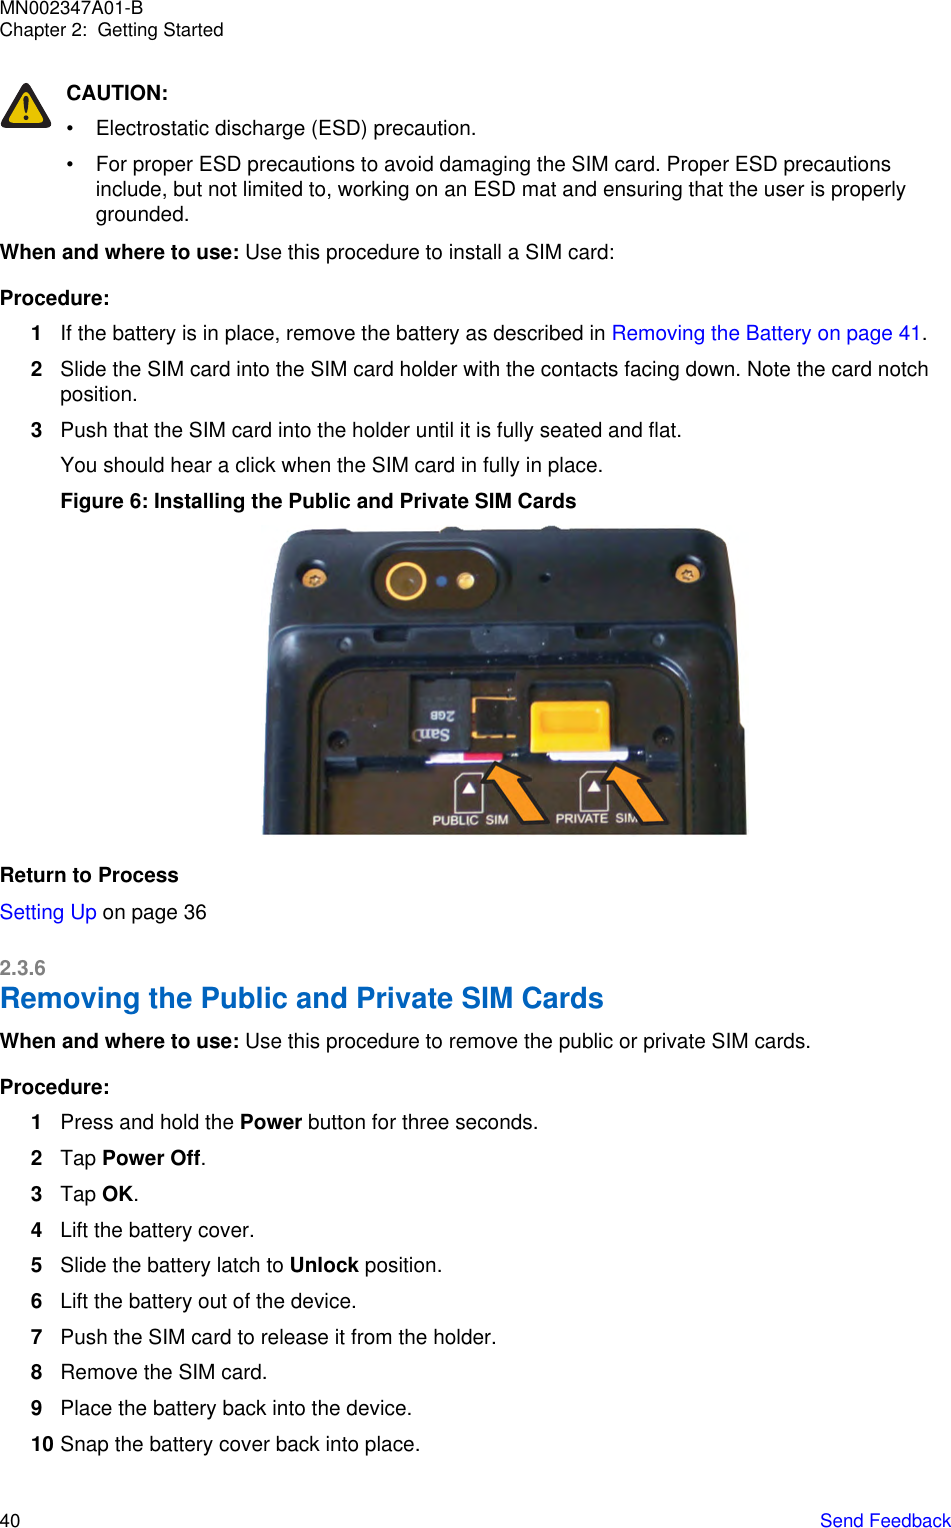
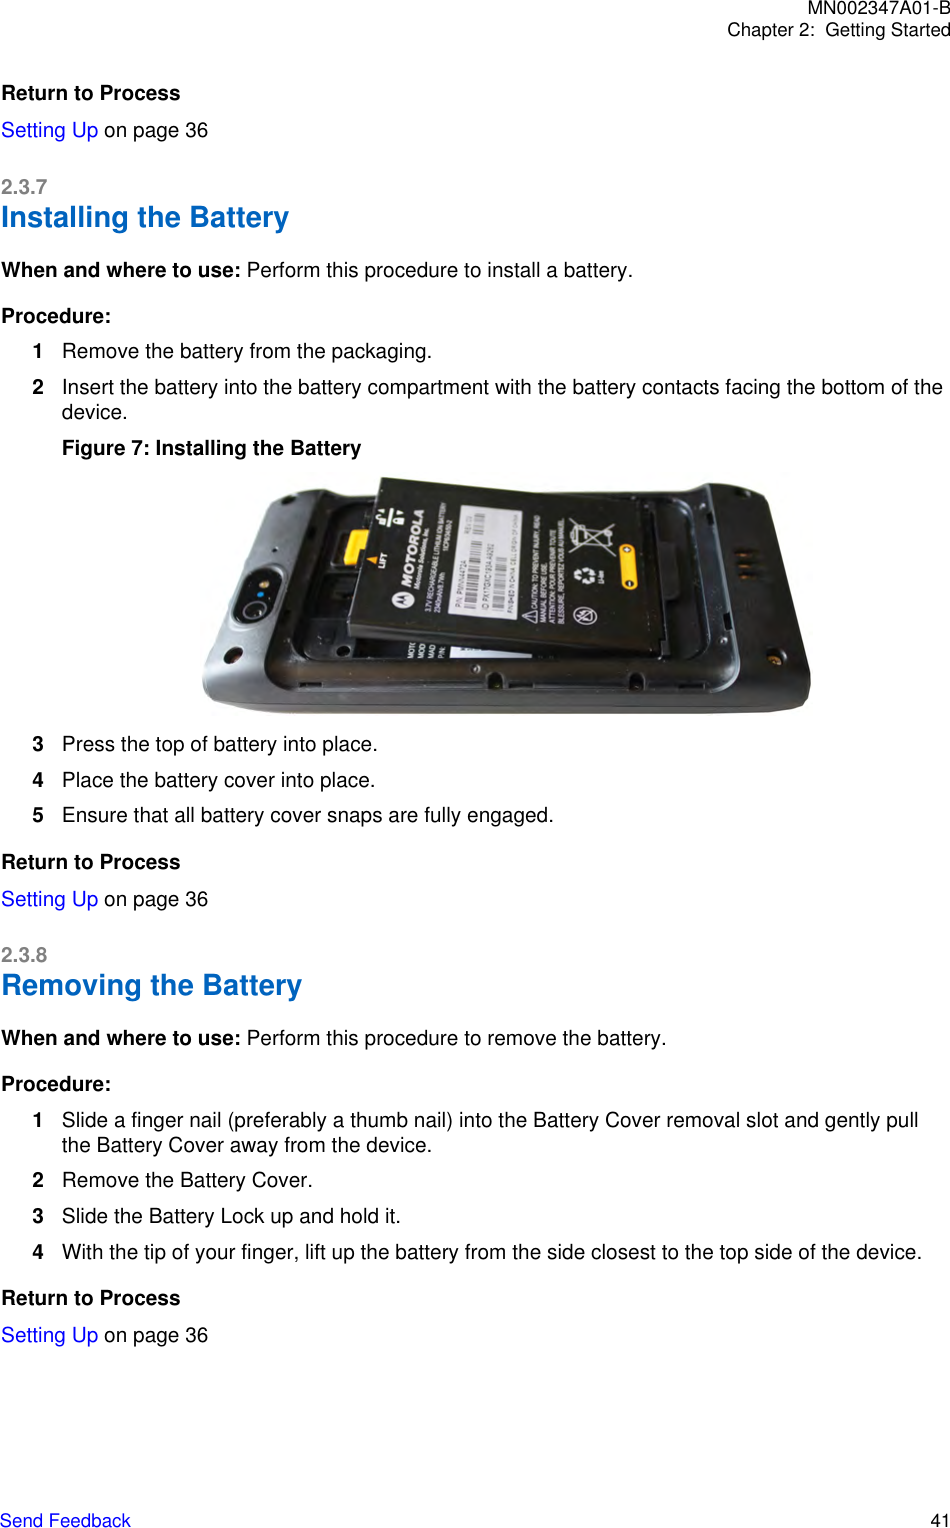
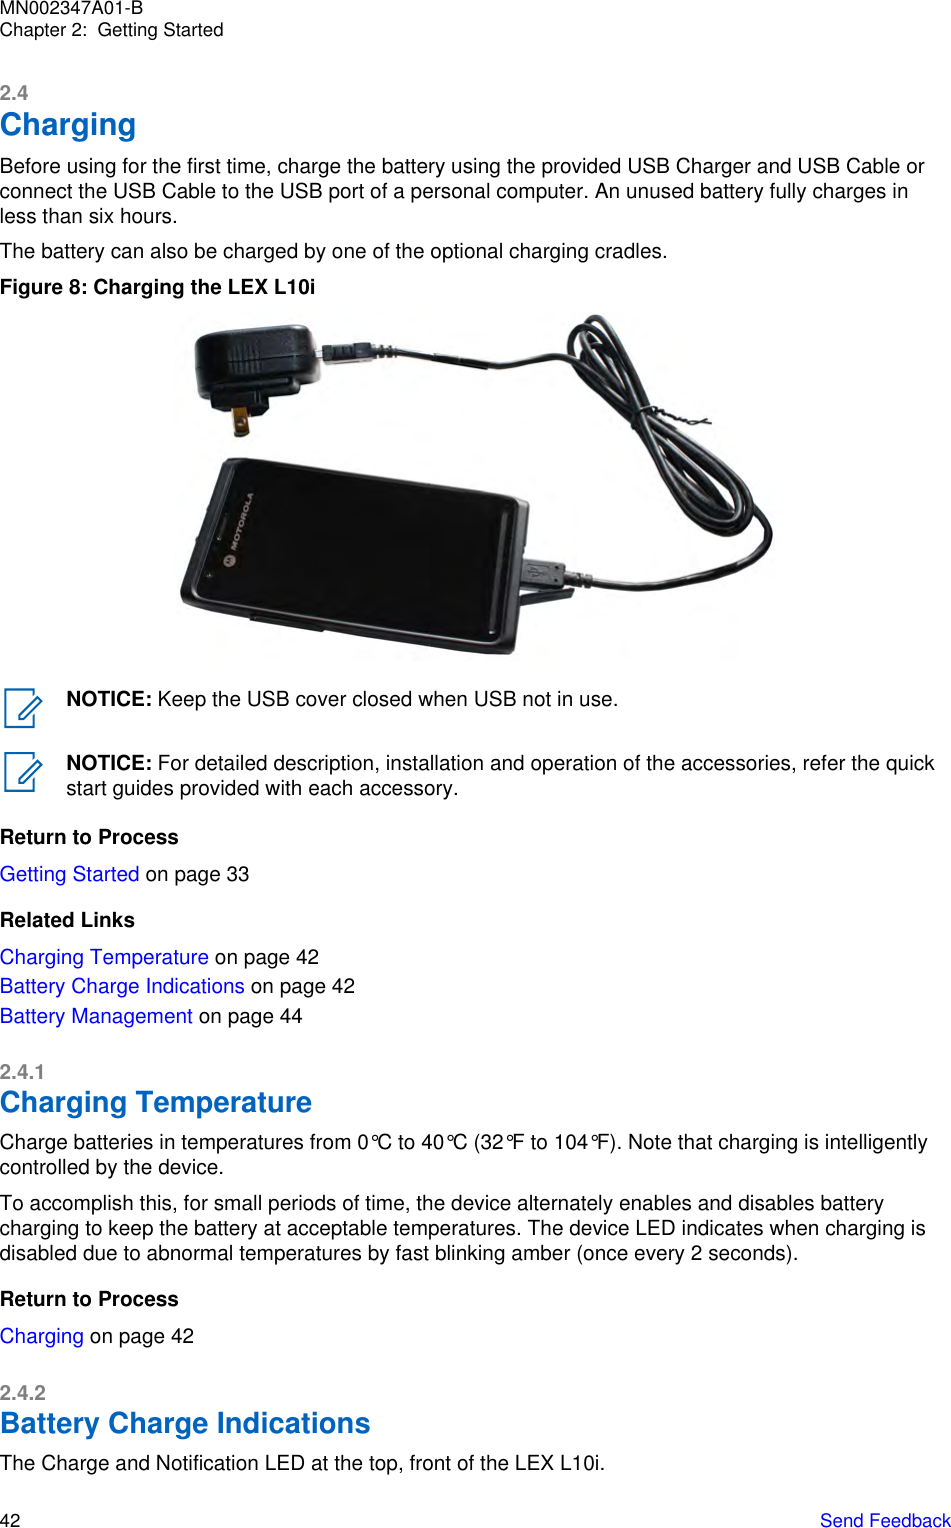


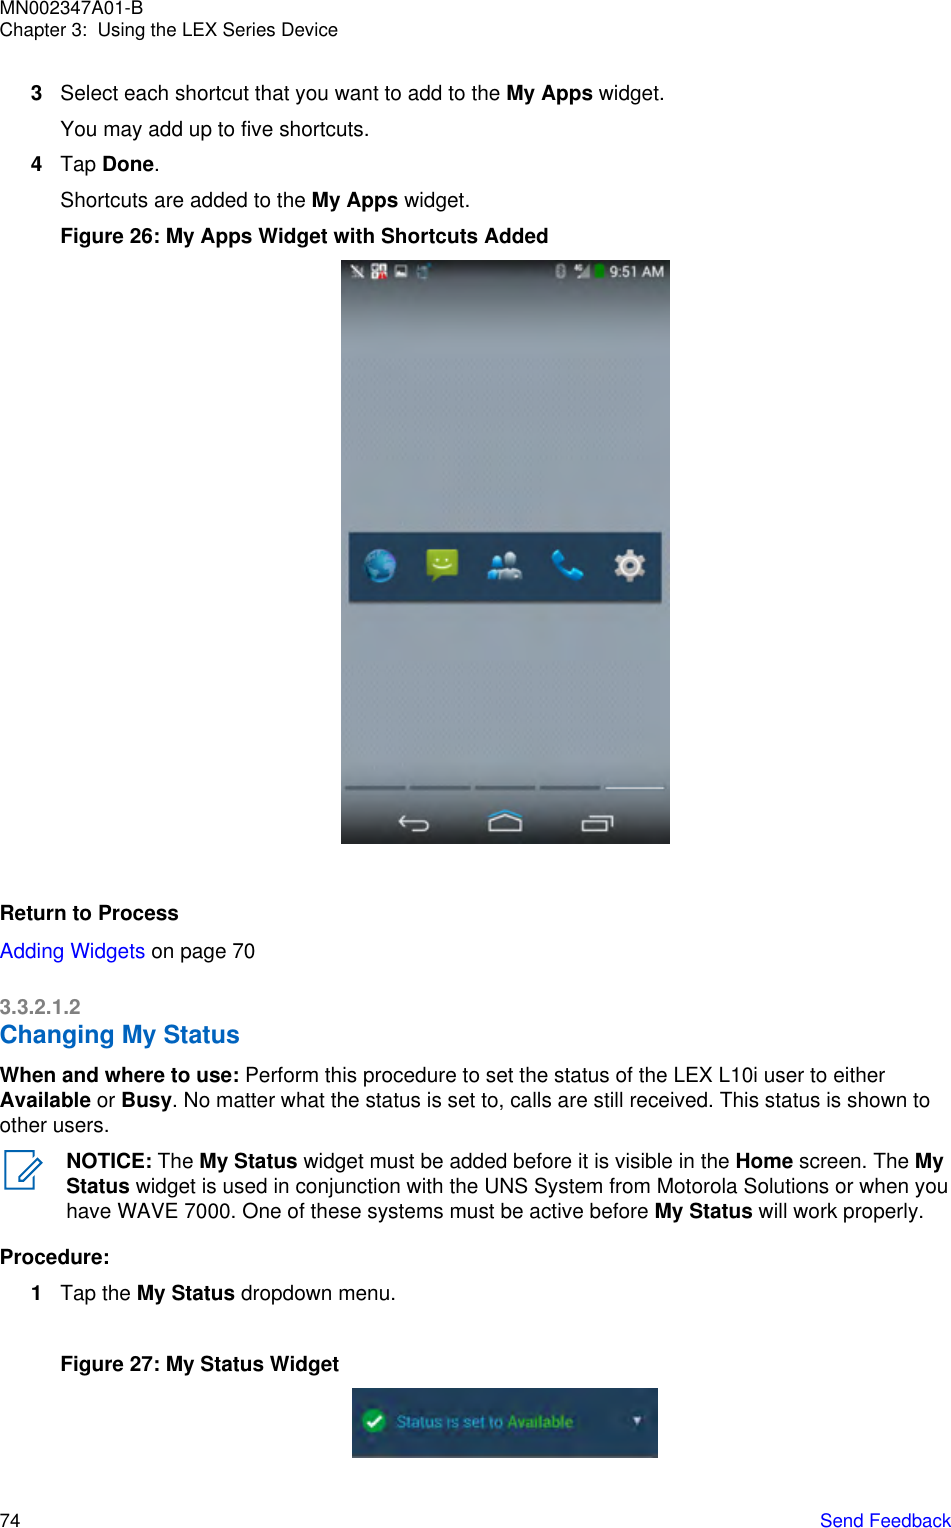
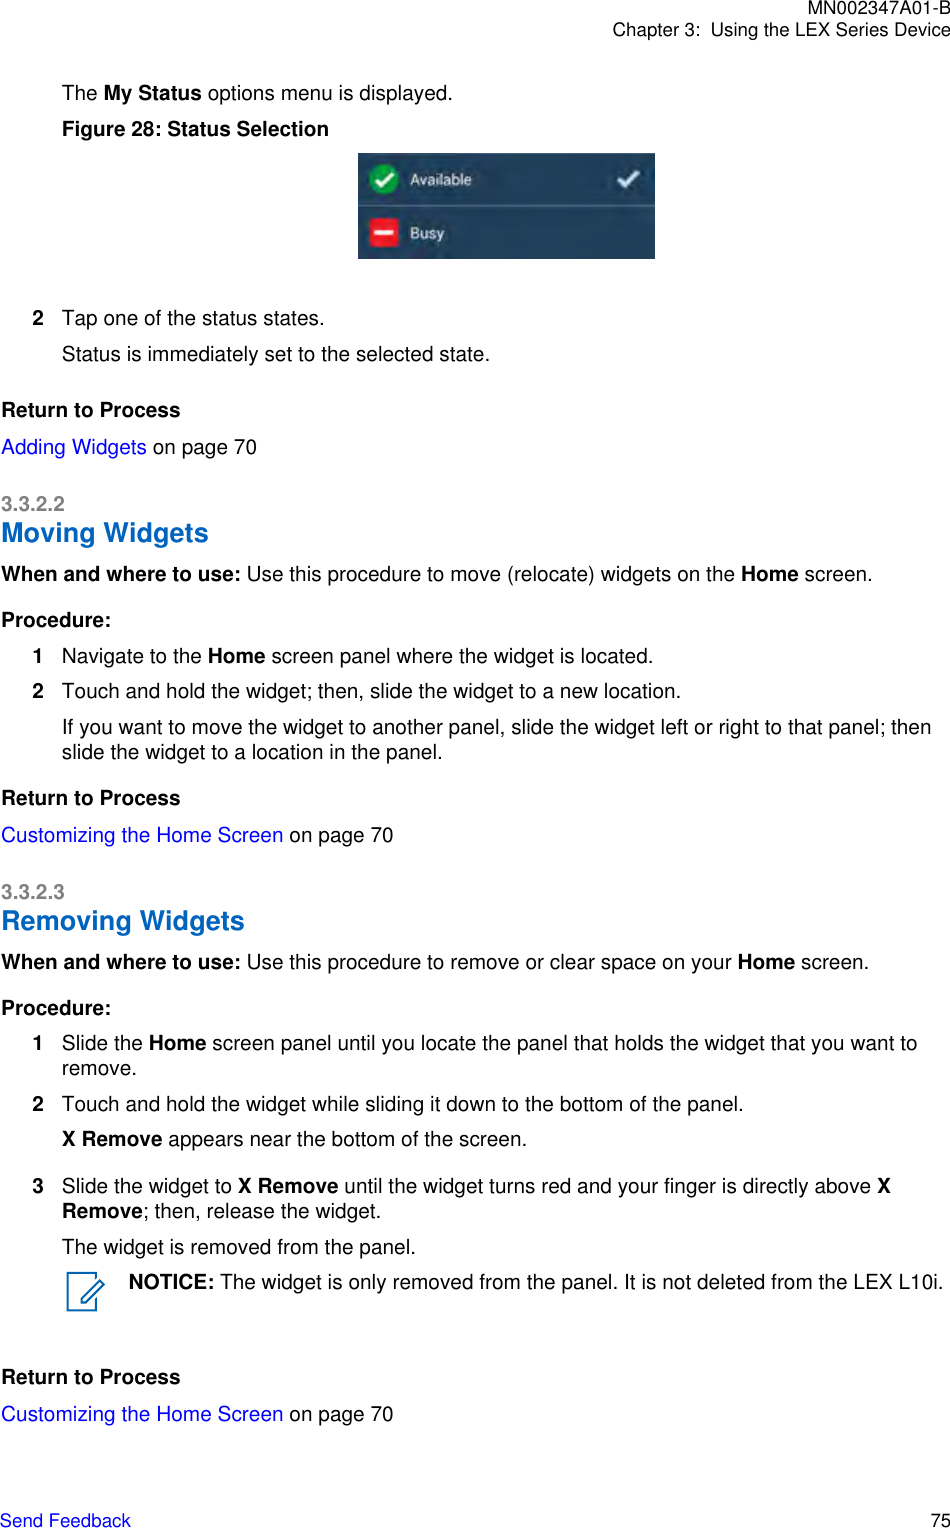
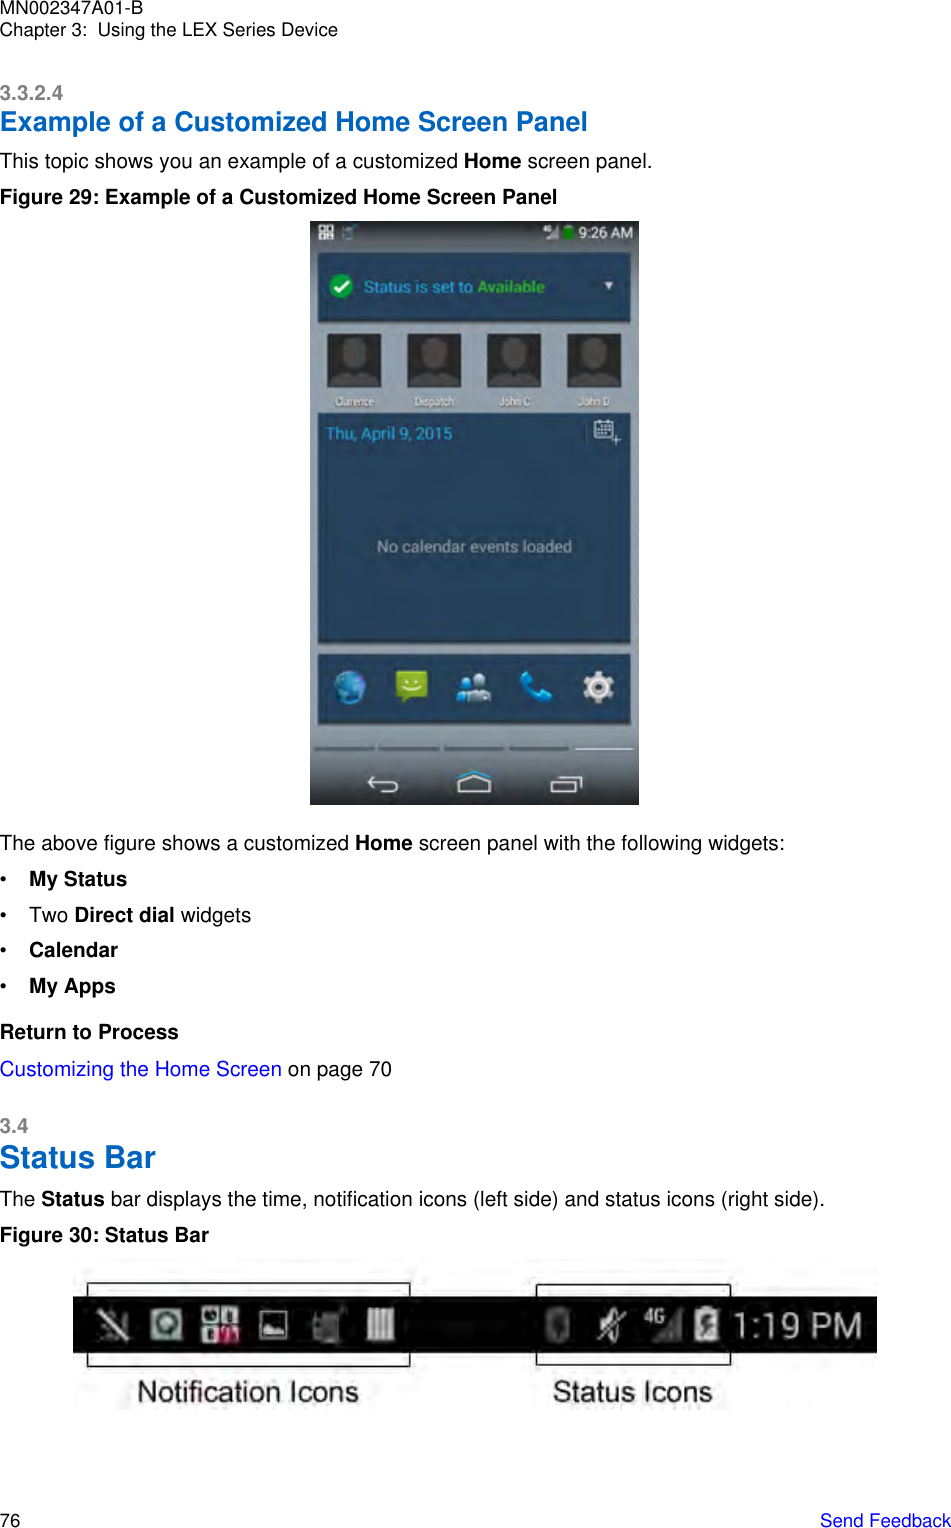
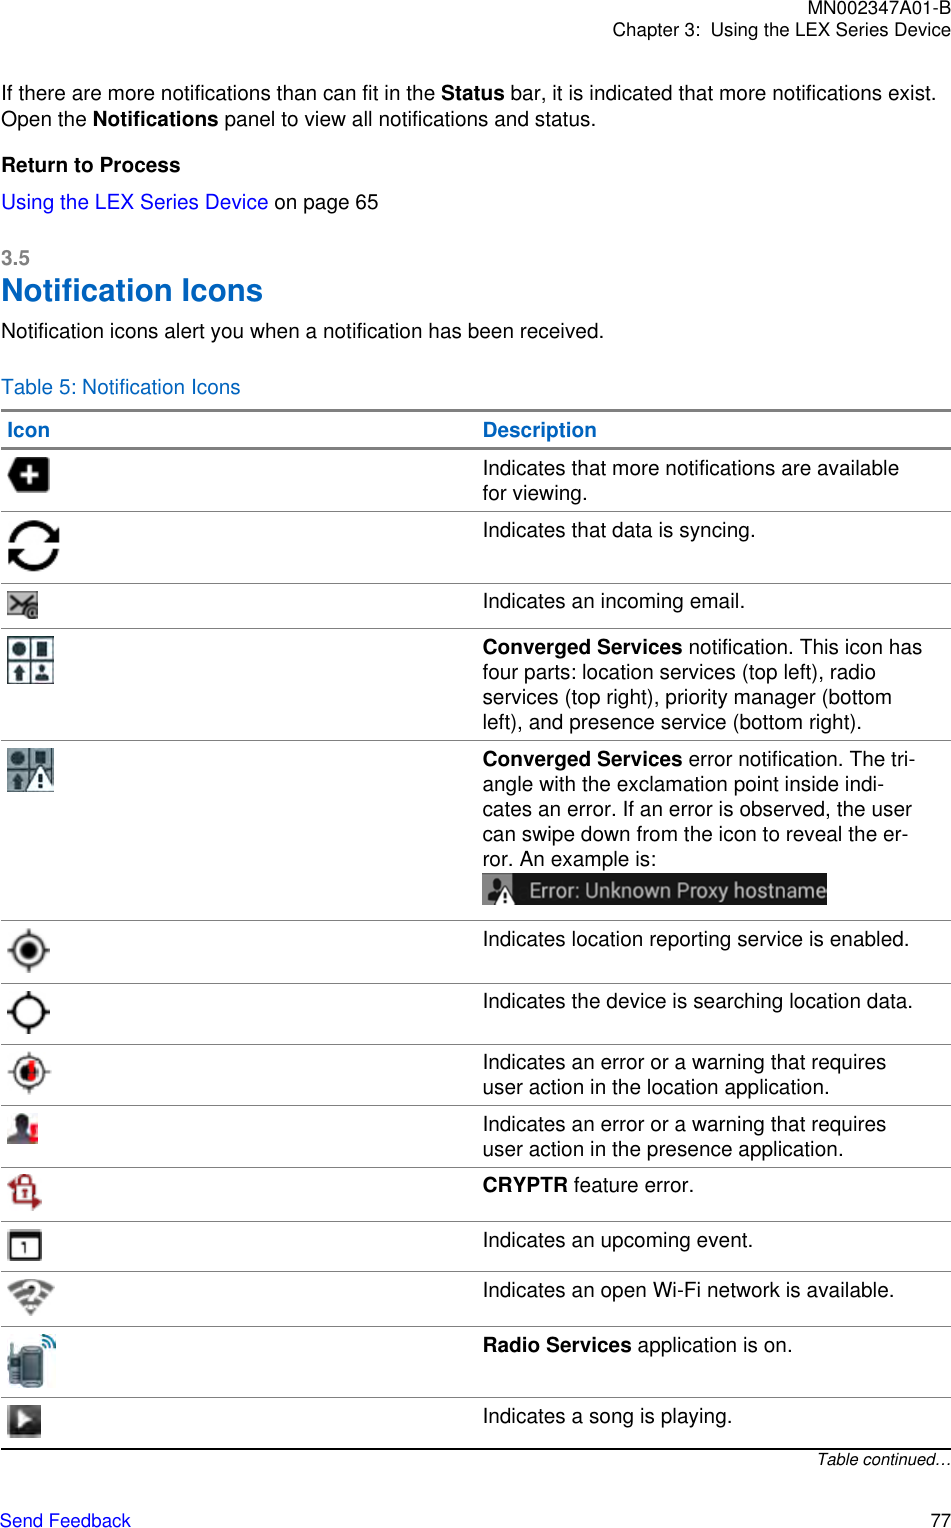


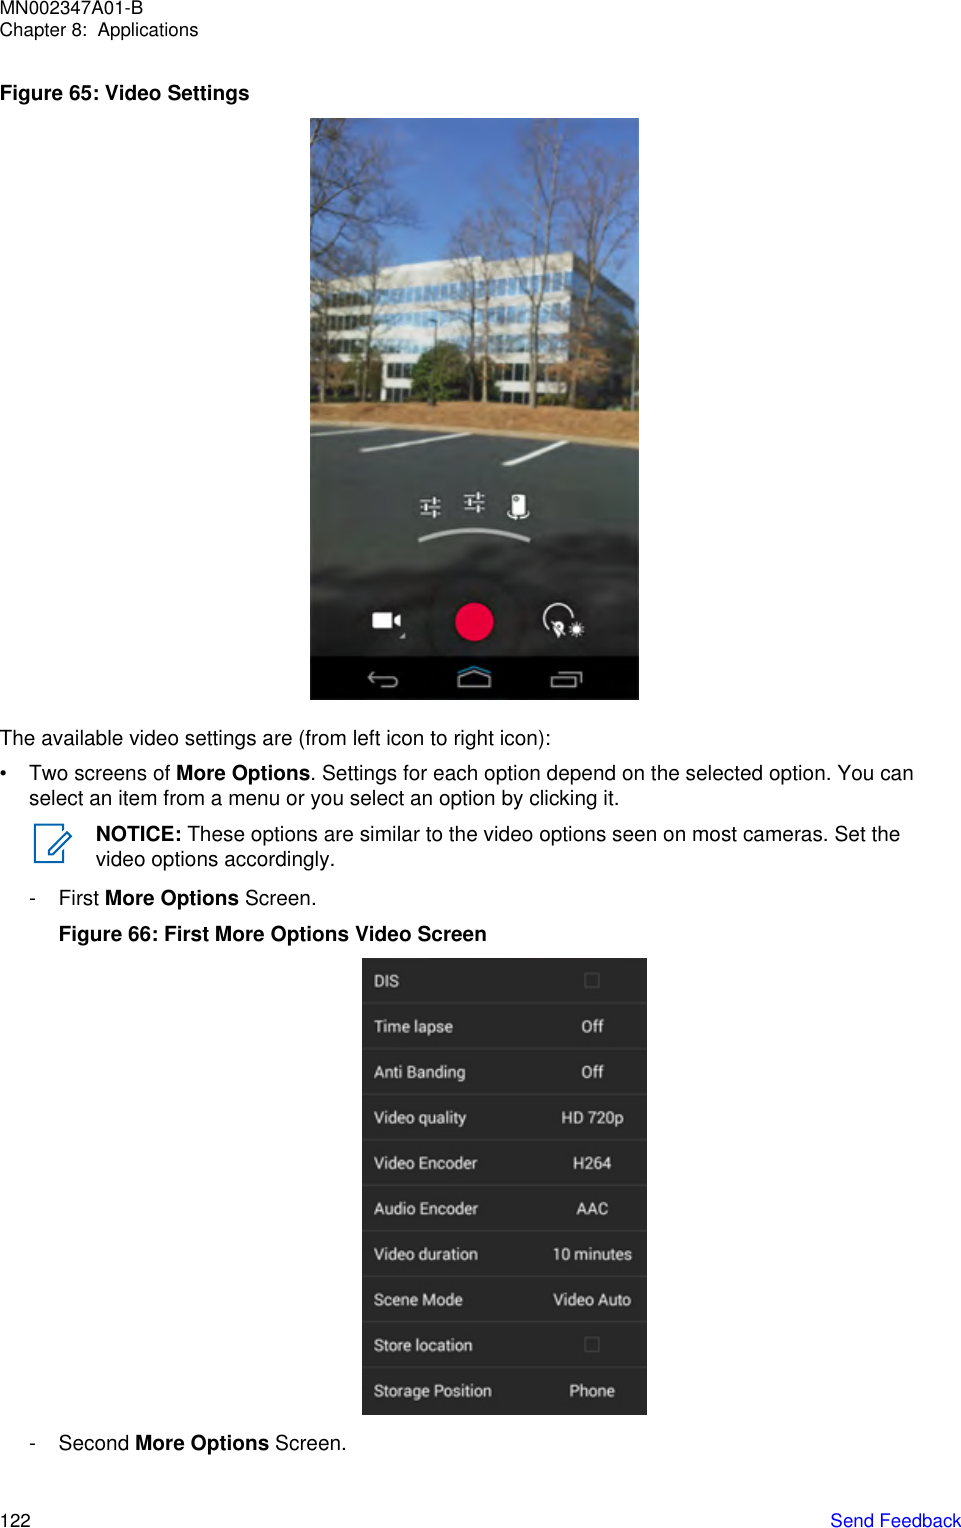
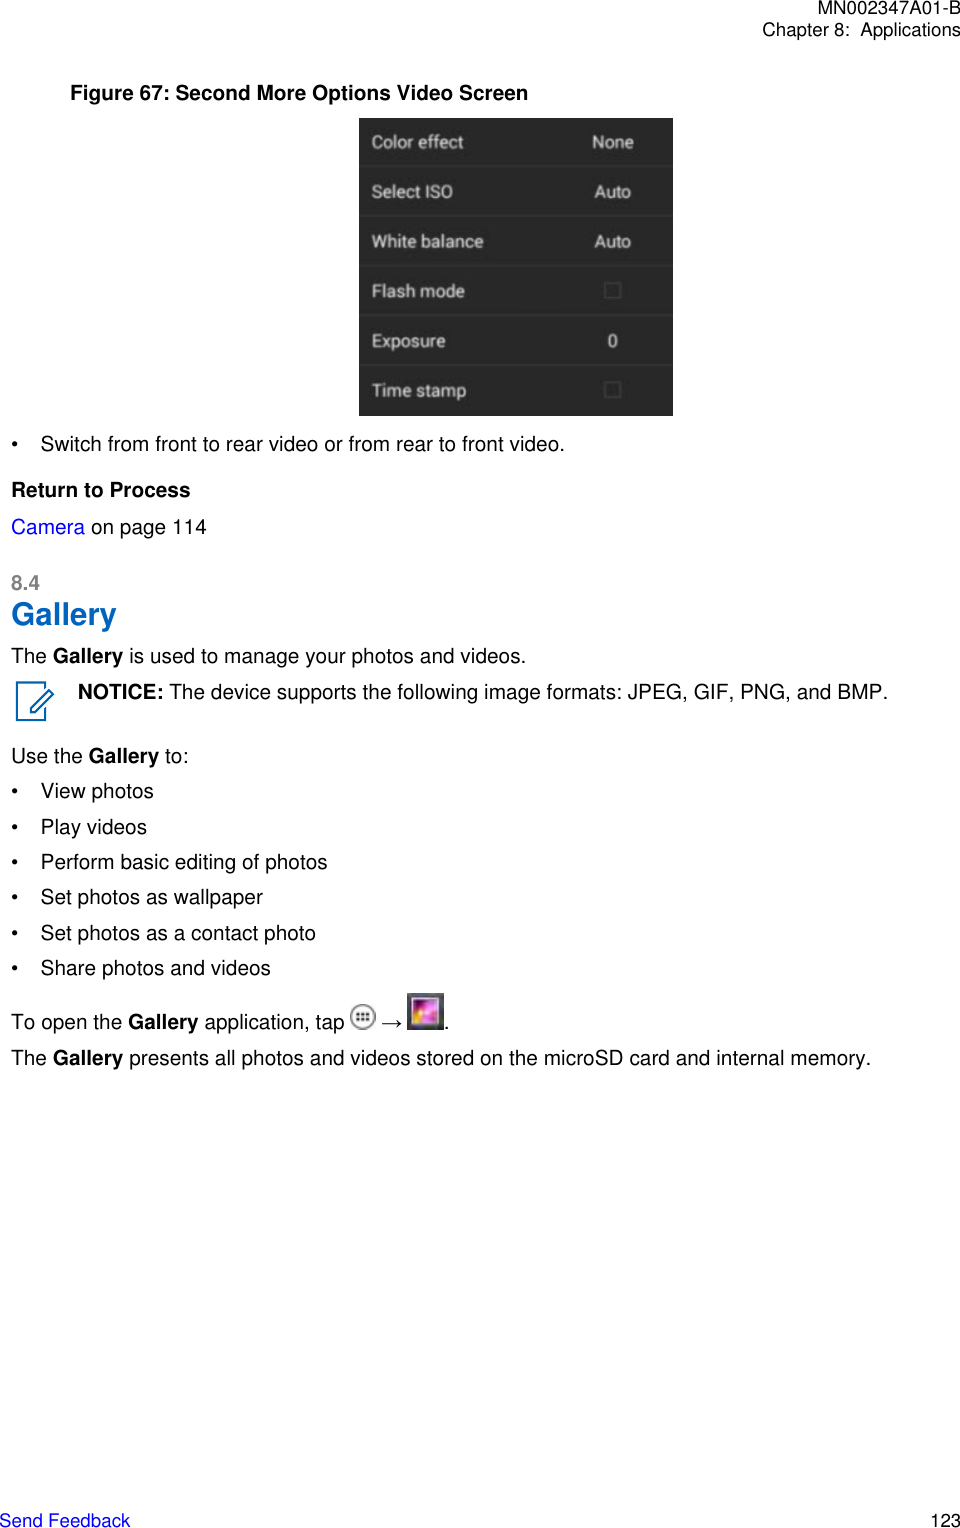
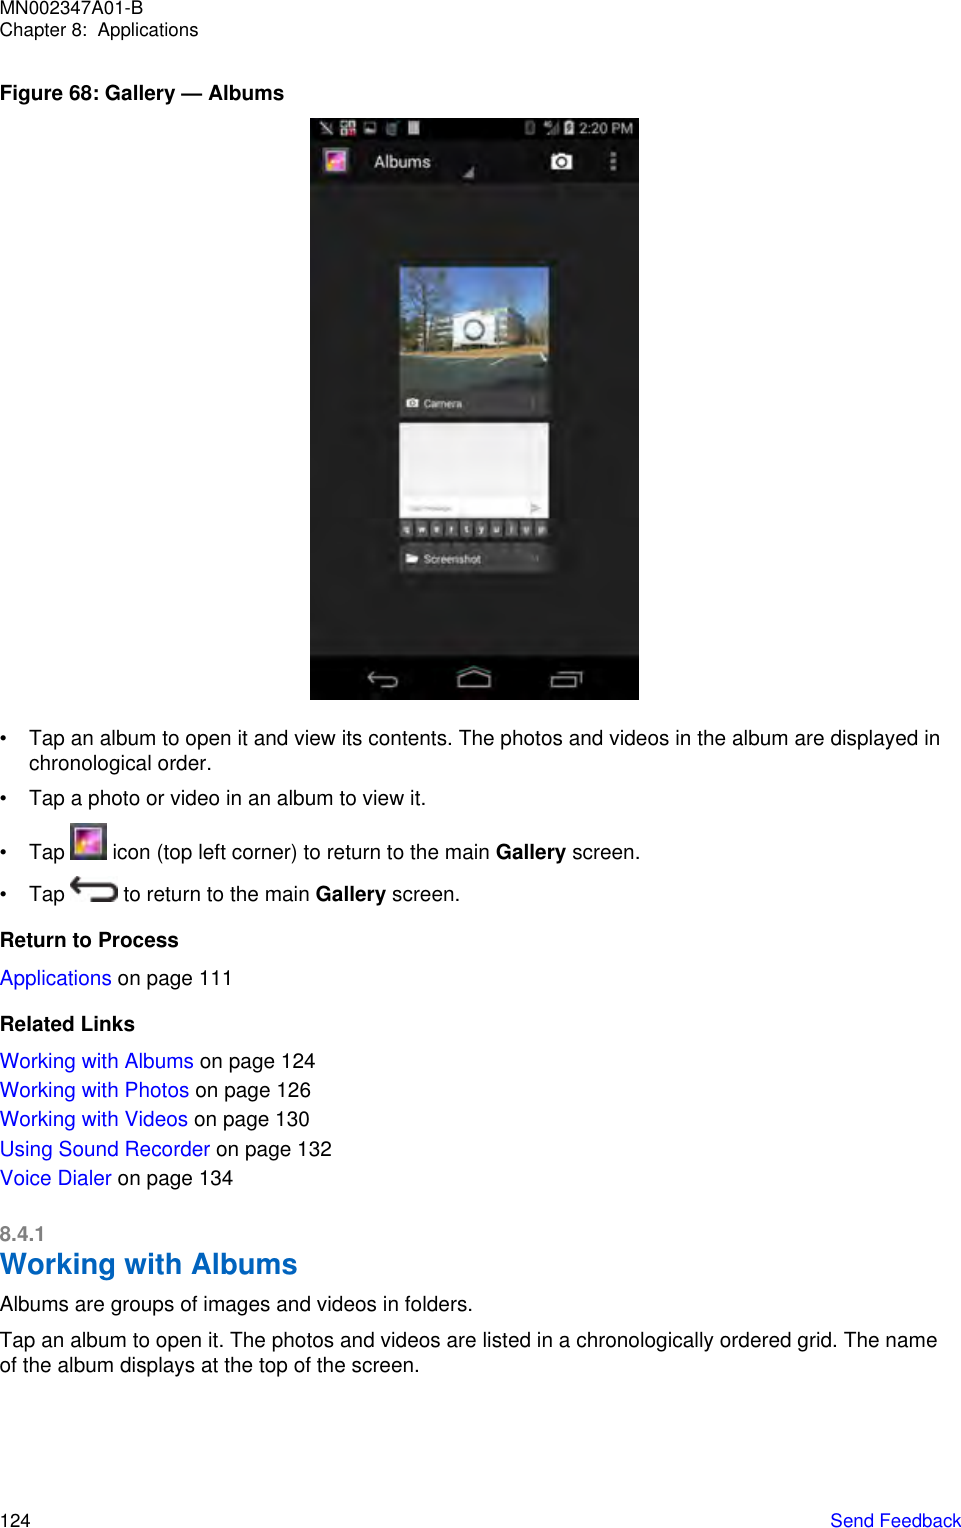
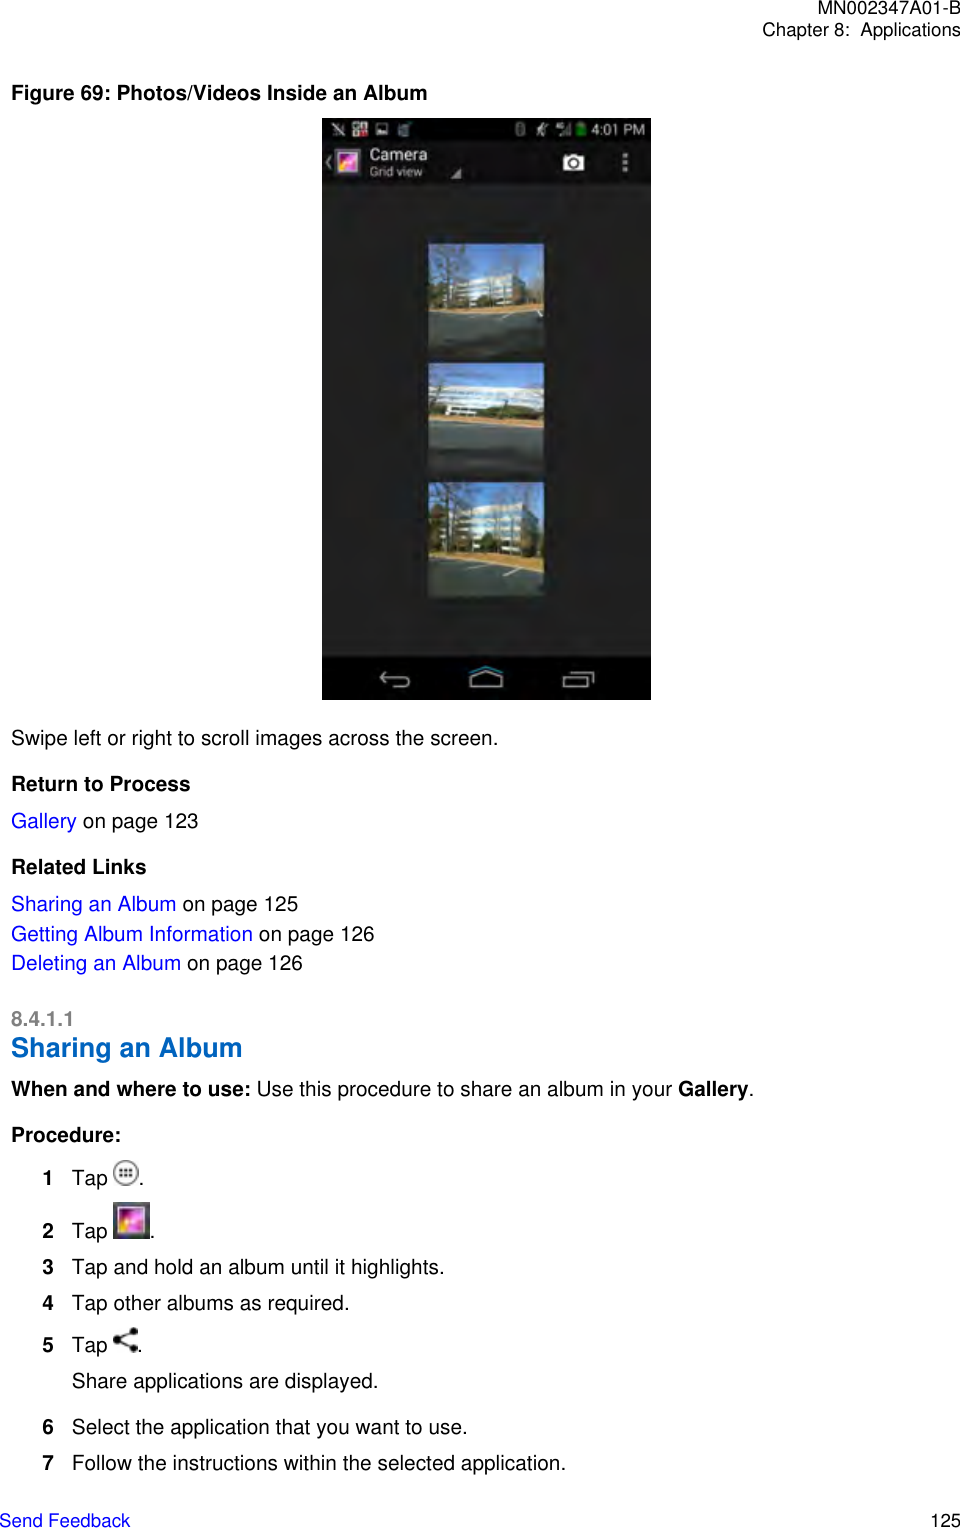
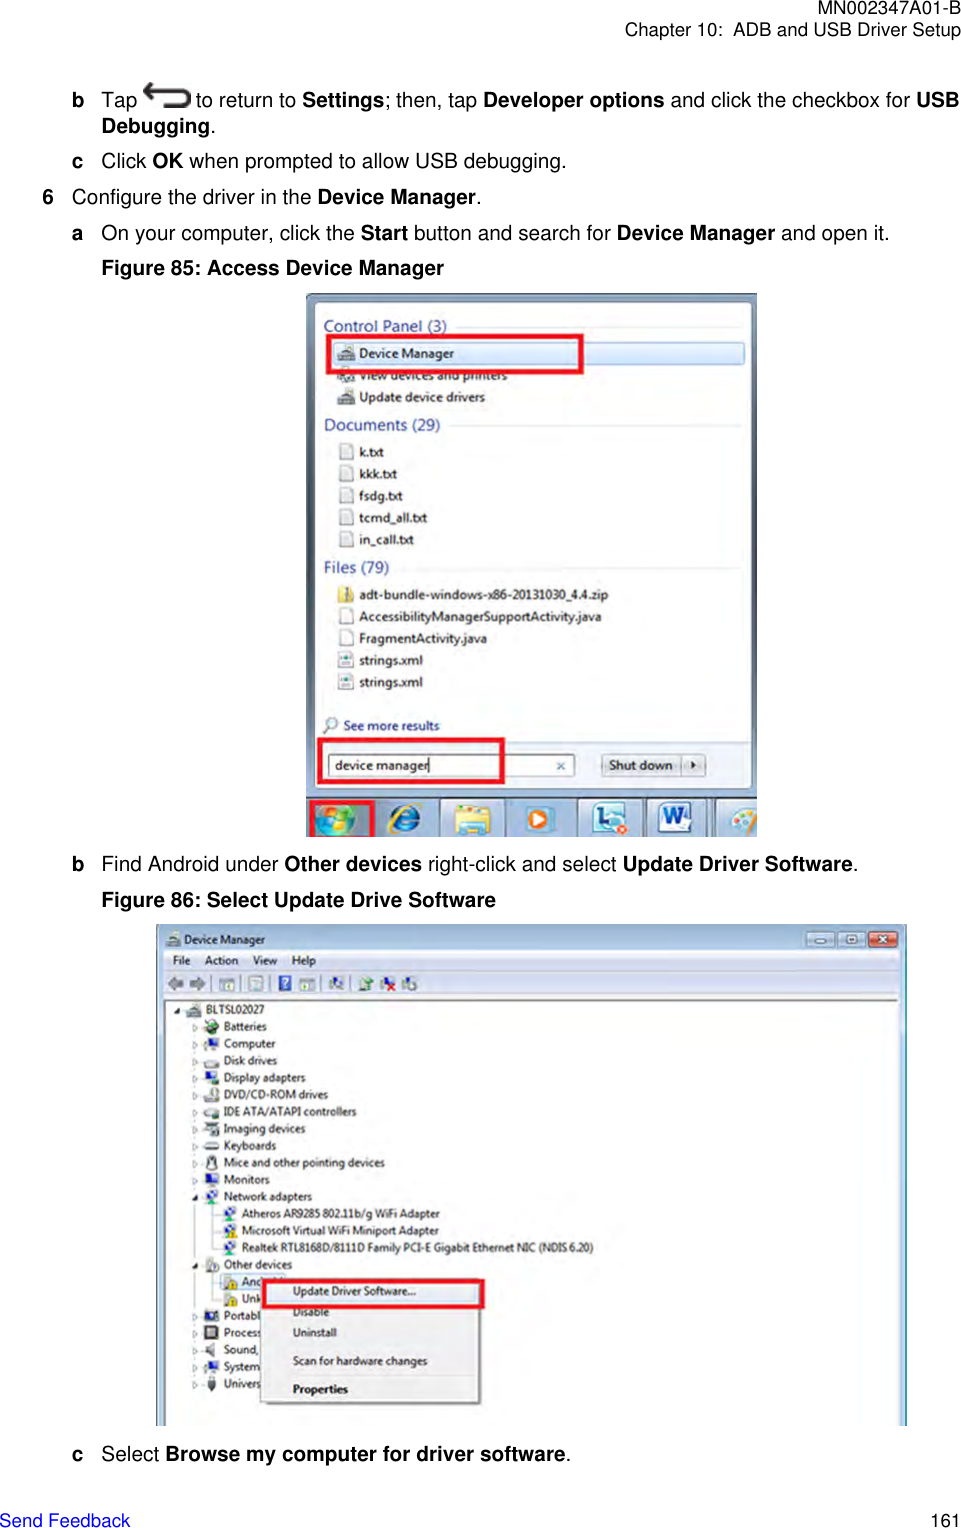
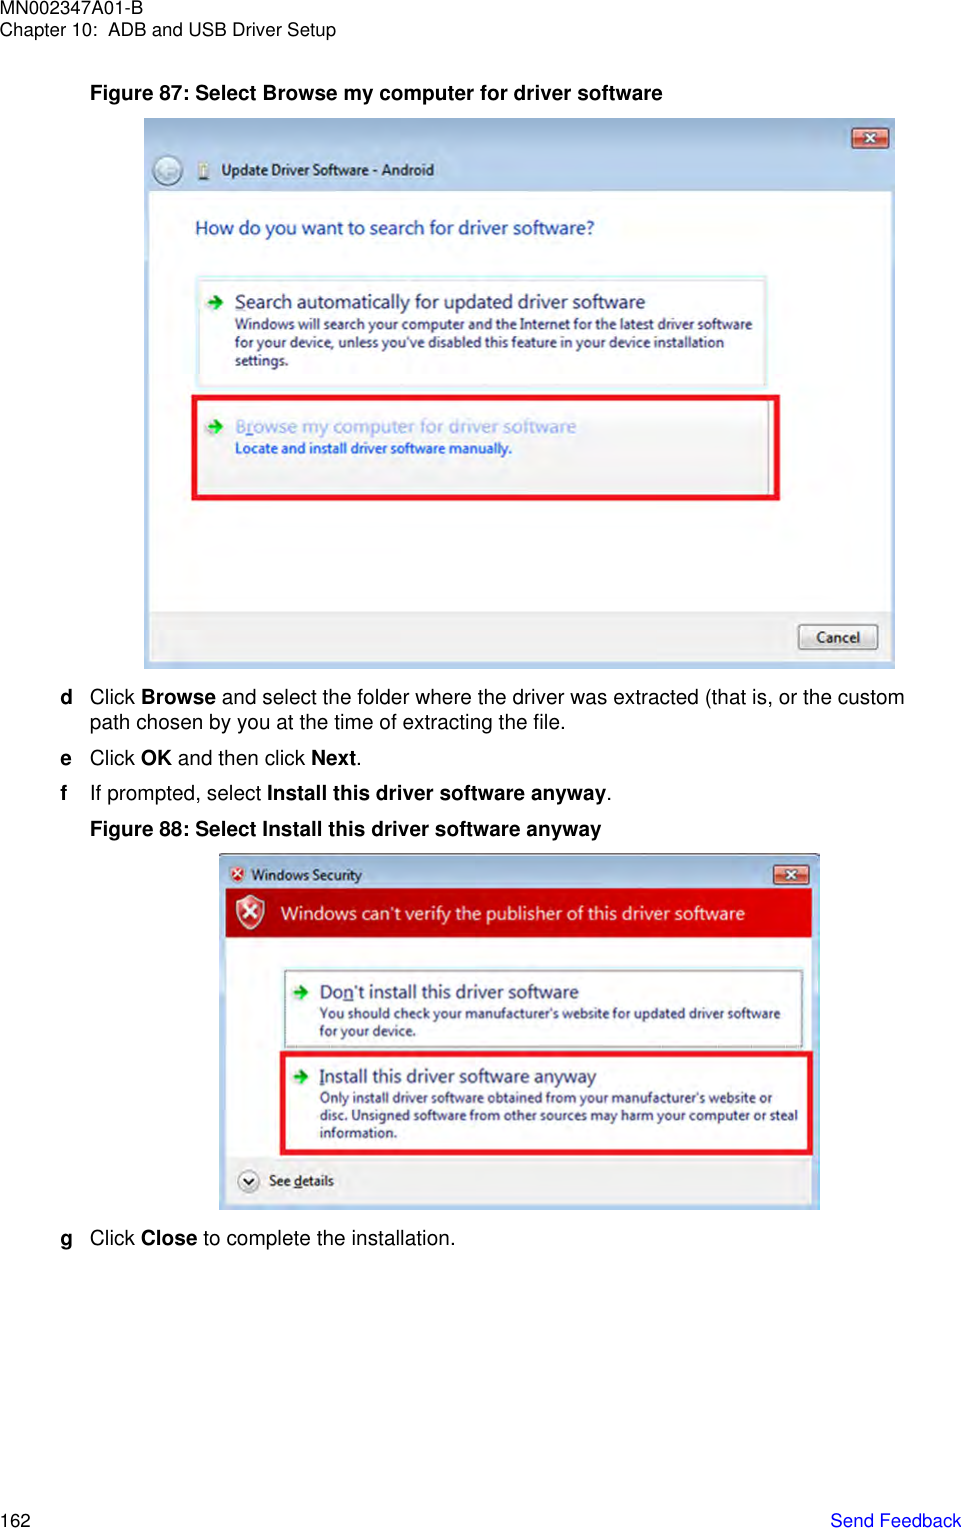
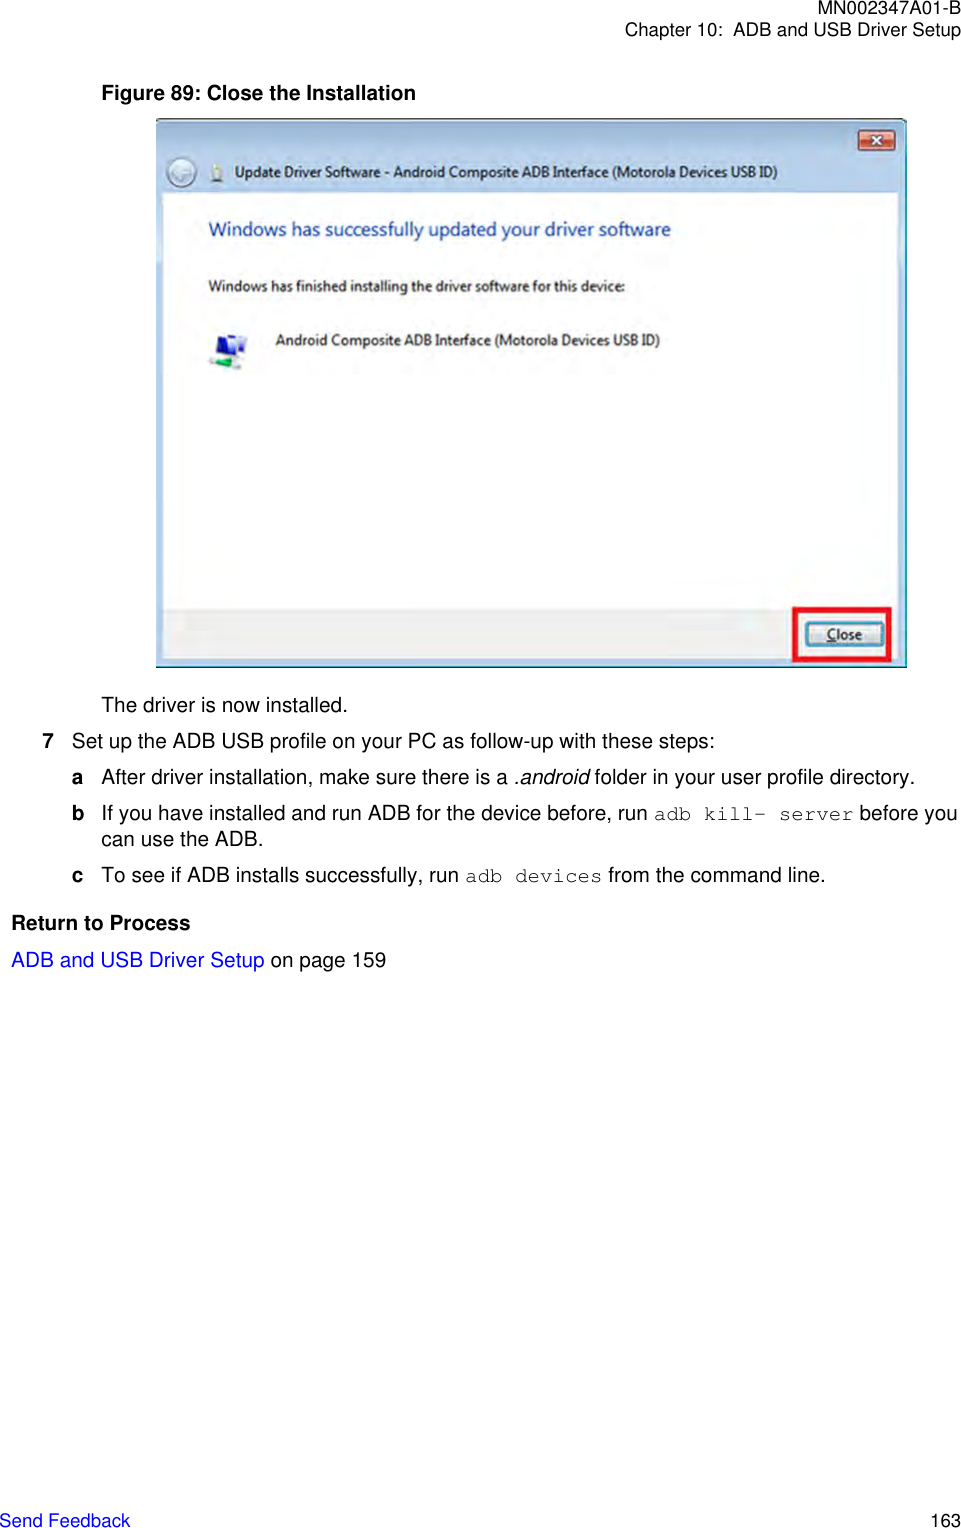
![8.4.5.3Dialing by NumberWhen and where to use: Use this procedure to dial a number using the phone number.Procedure:1From the Home screen, tap .2Tap or press the call button on a Bluetooth headset.3Say Dial<[phone number]>.4In the Voice Dialer dialog box, tap the number that displays.The call is initiated.Return to ProcessVoice Dialer on page 1348.4.5.4Opening an ApplicationWhen and where to use: Use this procedure to open an application.Procedure:1From the Home screen, tap .2Tap or press the call button on a Bluetooth headset.3Say Open<[application name]>.4In the Voice Dialer dialog box, tap the application name.The application opens.Return to ProcessVoice Dialer on page 134MN002347A01-BChapter 8: Applications136 Send Feedback](https://usermanual.wiki/Motorola-Solutions/89FT7078.User-Manual/User-Guide-3172388-Page-136.png)