Motorola Solutions 89FT7620 ML900 Mobile Notebook PC w/ Bluetooth Transmitter User Manual ML900NOA CRV R01 NOA 1 2
Motorola Solutions, Inc. ML900 Mobile Notebook PC w/ Bluetooth Transmitter ML900NOA CRV R01 NOA 1 2
UserManual.wiki
>
Motorola Solutions
>
89FT7620 User Manual
Users Manual
Navigation menu
Upload a User Manual
Namespaces
Wiki Guide
HTML
PDF
Info
Views
User Manual
Discussion / Help
Navigation
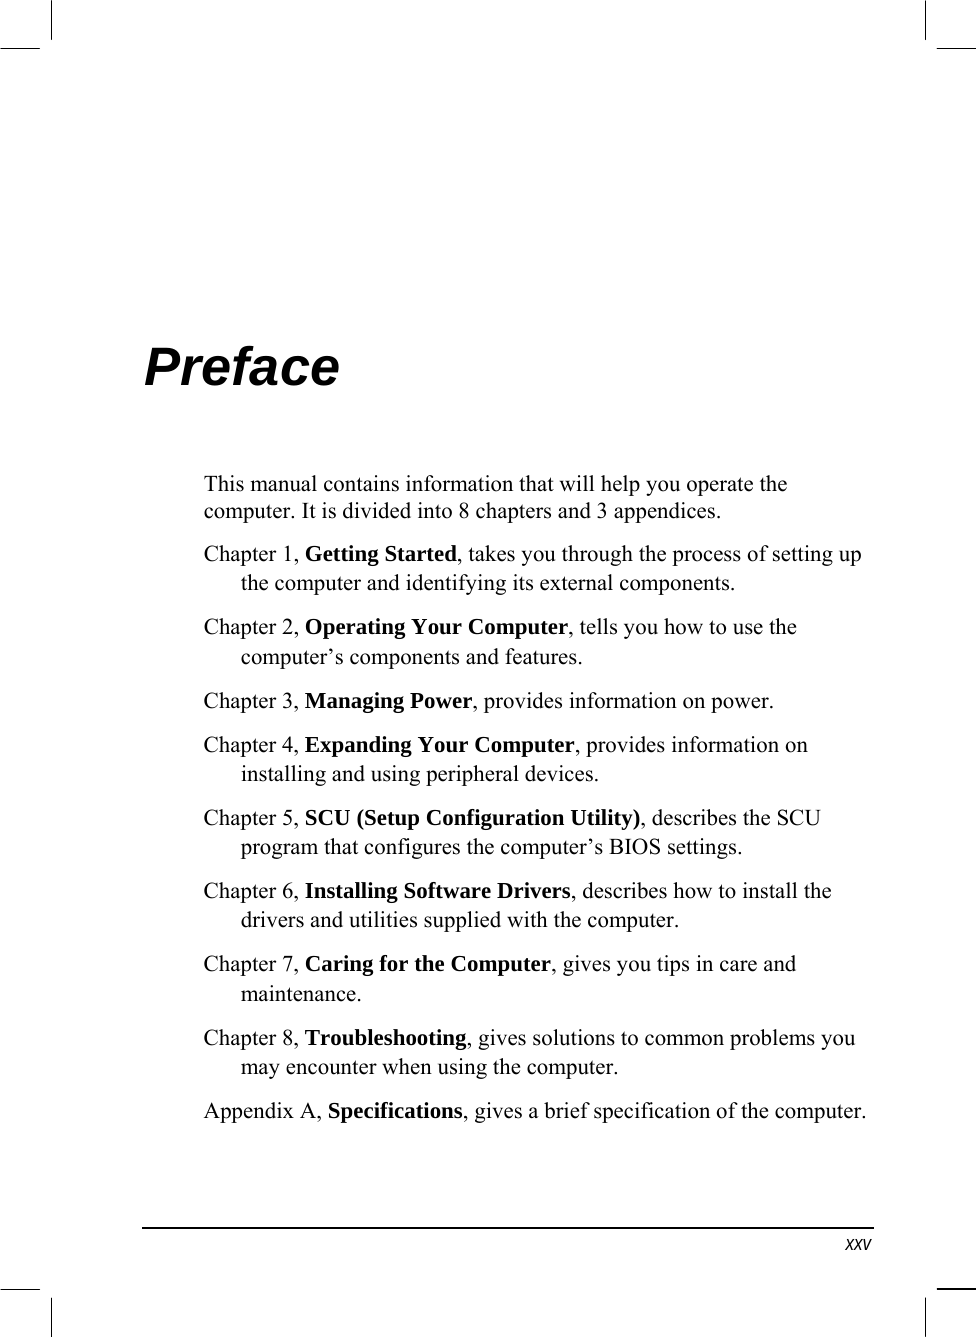


![6-8 Installing Software Drivers 2. When you use Windows Media Player to play a video file, the screen many flashes ina very short time. This behavior can occur if there are problem with video. To resolve the issue, you could set the configuration in Windows Media Player, use the following steps: Step 1. In Windows Media Player, SLECT[Tools] -Æ [Options….] on menu. Step 2. SELECT [ Performance] Æ Click [Advanced….]](https://usermanual.wiki/Motorola-Solutions/89FT7620/User-Guide-761900-Page-109.png)
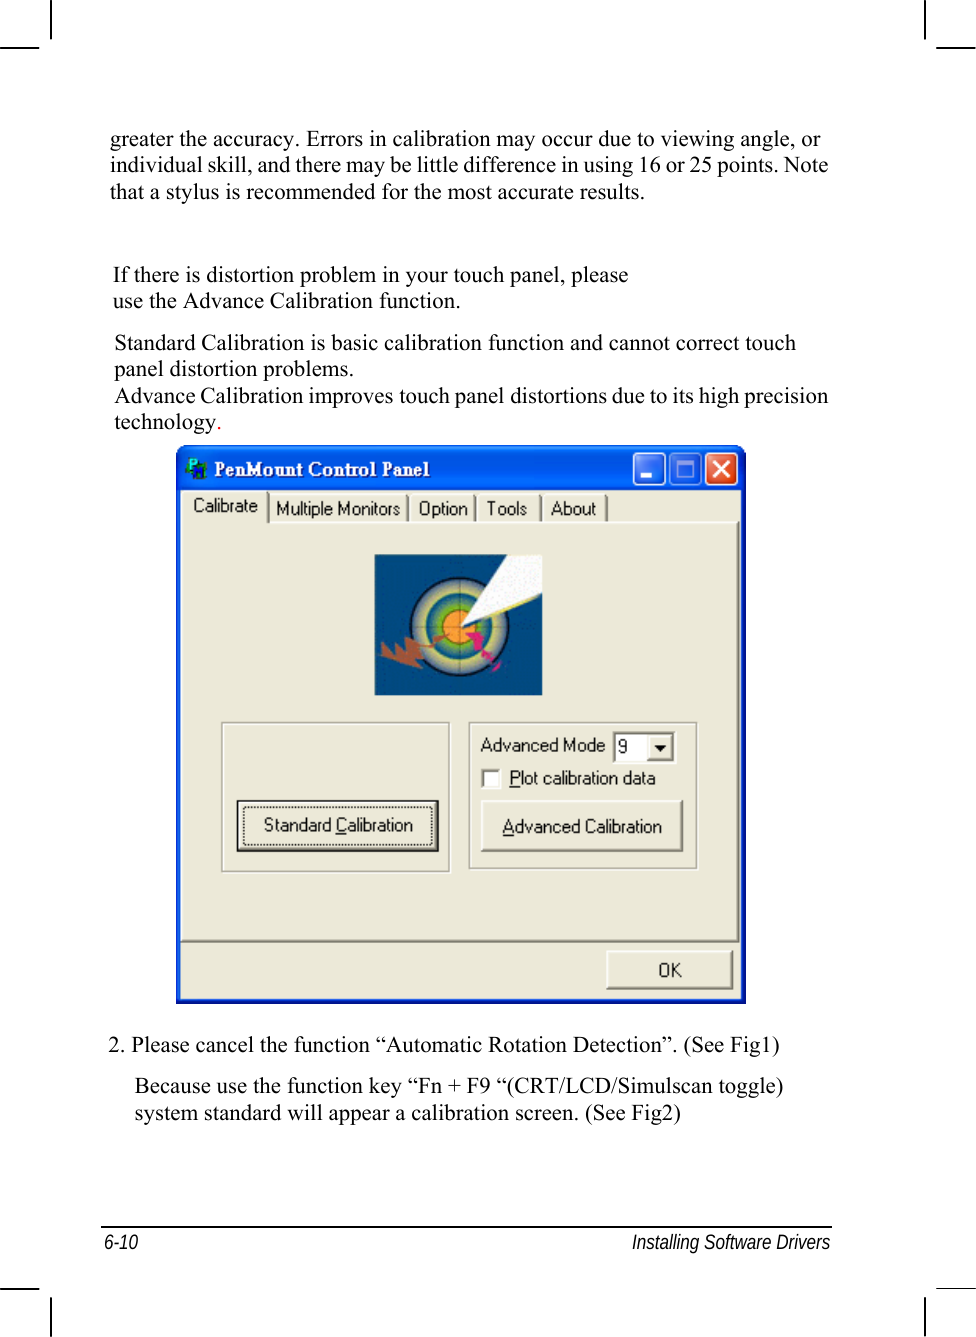
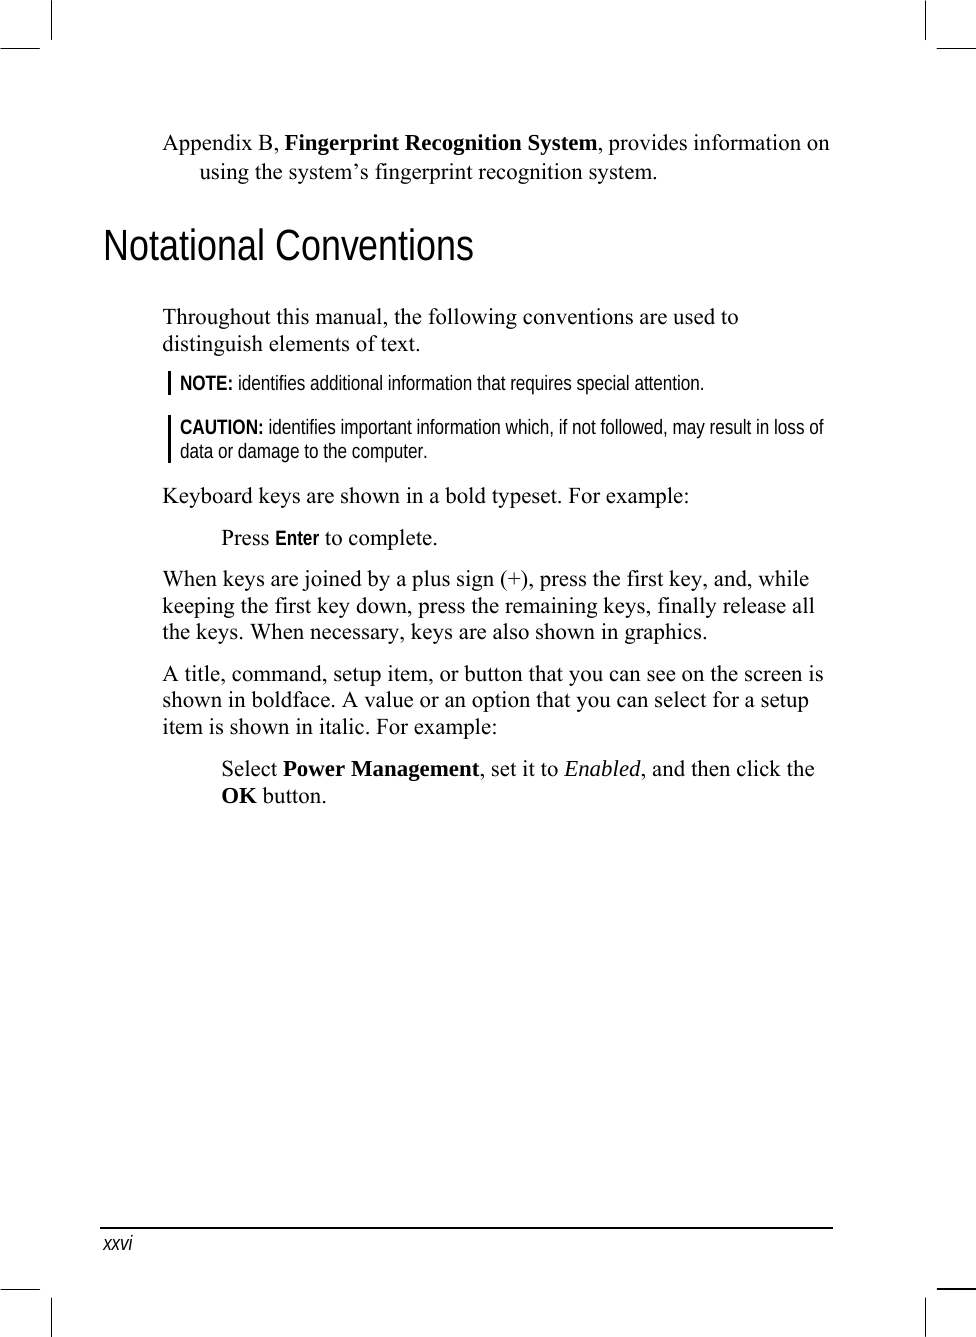
![Installing Software Drivers 6-9 3. CANCEL [Use overlays]->Click [OK]. Step 4. Close the Windows Media Player, and then restart the Windows Media Player. 1. Panel Calibration Standard Calibration The Standard Calibration function lets you match the touch screen to your display so that the point you touch is accurately tracked on screen. Standard calibration only requires four points for calibration and one point for confirmation. Under normal circumstances Standard Calibration is all you need to perform an accurate calibration. Advanced Calibration The Advanced Calibration function improves the accuracy of calibration by using more involved engineering calculations. Use this function only if you have tried the Standard Calibration and there is still a discrepancy in the way the touch screen maps to the display. You can choose 4, 9, 16 or 25 points to calibrate, though we suggest that you first try 9 points, if it is still not tracking well then try 16 or 25 points. The more points you use for calibration, the](https://usermanual.wiki/Motorola-Solutions/89FT7620/User-Guide-761900-Page-110.png)