Motorola Solutions 99FT3004 GTX 900MHz Mobile Radio User Manual Exhibit 9B
Motorola Solutions, Inc. GTX 900MHz Mobile Radio Exhibit 9B
Contents
- 1. Exhibit 9A
- 2. Exhibit 9B
Exhibit 9B

USER’SGUIDE
GTX™
Privacy Plus®
TRUNKED MOBILE RADIO

, Motorola, GTX, Digital Private-Line are trademarks of Motorola.
© 1999 by Motorola, Inc., Radio Products Group
1000 W. Washington St.
Printed 1999. All Rights Reserved.

1
English
CONTENTS
Introduction
General Information............................................................................................................... 3
Warnings, Cautions, and Notes............................................................................................. 3
Multiple Selection .................................................................................................................. 4
Talkgroup Selection............................................................................................................... 4
Features and Advantages of Trunking................................................................................... 4
Getting Started
Controls, Buttons, Indicators, and Connectors...................................................................... 5
Display Icons......................................................................................................................... 6
Display Character Summary ................................................................................................. 7
Alert Tone Indicators ............................................................................................................. 8
Basic Radio Operation
Turning the Radio On / Off .................................................................................................. 10
Trunked Modes.................................................................................................................... 10
Selecting a Trunked Mode ............................................................................................. 10
Receiving a Call (Trunked Mode)................................................................................... 11
Transmitting on a Trunked Mode.................................................................................... 11
Failsoft Operation (Trunked Modes)............................................................................... 12
Conventional Channels ....................................................................................................... 12
Selecting a Conventional Channel................................................................................. 12
Receiving a Call (Conventional Channels)..................................................................... 12
Transmitting on a Conventional Channel ....................................................................... 13
Monitoring ......................................................................................................................14
Call Alert Operation
Introduction.......................................................................................................................... 15
Sending a Call Alert ............................................................................................................15
Receiving a Call Alert..........................................................................................................16
Trunked Private Conversation™ Call Operation
Introduction.......................................................................................................................... 17
Sending a Private Conversation Call................................................................................... 17
Receiving a Private Conversation Call ................................................................................ 17
Trunked Enhanced Private Conversation™ Call Operation (900 MHz only)
Introduction.......................................................................................................................... 18
Sending an Enhanced Private Conversation Call................................................................ 18
Receiving an Enhanced Private Conversation Call............................................................. 19
Trunked Telephone Operation
Introduction.......................................................................................................................... 20
Making a Telephone Call..................................................................................................... 20
Answering a Telephone Call................................................................................................ 21
GTX Privacy Plus Mobile Radio User Guide

2
English
SmartZone Features
Introduction.......................................................................................................................... 22
Site Lock / Unlock................................................................................................................ 22
Enabling Site Lock ......................................................................................................... 22
Enabling Site Unlock...................................................................................................... 22
Forced Site Search..............................................................................................................23
SmartZone Forced Site Search
Introduction.......................................................................................................................... 23
Scan Operation
Introduction.......................................................................................................................... 24
Turning Scan On/Off............................................................................................................ 24
Programming/Viewing a Scan List ...................................................................................... 24
Nuisance Delete.................................................................................................................. 25
Talkback Delay .................................................................................................................... 25
Off-Hook Suspend Scan...................................................................................................... 25
Additional Features
Horn/Lights.......................................................................................................................... 26
Announcement Call............................................................................................................. 26
Data Compatability..............................................................................................................26
Accessories................................................................................................................................................27
Important General Safety Information
Restrictions ......................................................................................................................... 28
Operational Warnings.......................................................................................................... 28
Exposure to Radio Frequency Energy ................................................................................ 29
Electromagnetic Interference/Compatibility......................................................................... 30
General Safety Information ................................................................................................. 31
Troubleshooting................................................................................................................... 32
Parts Information................................................................................................................. 33
Computer Software Copyrights ........................................................................................... 33
GTX Privacy Plus Mobile Radio User Guide

3
English
GENERAL INFORMATION
Thank you for purchasing the Motorola GTX Privacy Plus®mobile
radio. GTX mobile radios has ten (10) trunked modes with eight (8)
talkgroups in each trunked mode, and ten (10) conventional chan-
nels and are available in the 800 MHz and 900 MHz frequency
ranges. Intelligent and flexible software increased the radio’s capa-
bility and permits many of the radios features to be customized for
you.
ARNING:
When installing or removing the mobile radio from the
vehicle, the radio must be turned off.
WARNINGS, CAUTIONS, AND NOTES
Throughout the text in this publication, you will notice the use of
Warnings,Cautions,andNotes. These notations are used to
emphasize that safety hazards exist, and care must be taken or
observed.
ARNING:
An operational procedure, practice, or condition, etc.,
which may result in injury or death if not carefully
observed.
AUTION:
An operational procedure, practice, or condition, etc.,
which may result in damage to the equipment if not care-
fully observed.
OTE:
An operational procedure, practice, or condition, etc., which is essential
to emphasize.
!W
This user guide describes the way a standard radio works.
Since standard operation may be changed by programming -
both concerning the Functions which the radio includes and
the Buttons used to activate them - the way your radio oper-
ates may differ from what is described here.
If in doubt, contact the person in charge of your radio system
or your local service representative.
!W
!C
N
Introduction

4
English
MULTIPLE SELECTION
Each trunked mode may have its own unique set of talkgroups, Call
Alert paging, and Private Conversation calls. After a trunked mode
has been selected, there is a delay of approximately one second
before the radio can receive or transmit calls.
TALKGROUP SELECTION
A trunked system can be divided into different talkgroups. This
enables the system owner to organize the talkgroups into commu-
nication groups according to function. Members of a specific talk-
group hear only messages intended for their talkgroup. For
example, if talkgroup B is selected, you will not receive messages
for talkgroup E.
FEATURES AND ADVANTAGES OF TRUNKING
The GTX mobile radio can operate on both trunked and conven-
tional radio systems. Conventional typically refers to radio-to-radio
communication, sometimes through a repeater.
A trunked radio system allows a large number of users to share a
relatively small number of frequencies without interfering with each
other.
The air time of all the repeaters in the trunked system is pooled,
which maximizes the amount of air time available to any one radio,
and minimizes channel congestion.
Some of the overall key benefits of a Motorola Trunked Radio Sys-
tem are:
•No channel monitoring required prior to transmission.
•Improved system access.
•Automatic channel selection.
•Increased privacy among members of the same group.
•Only one attempt is required to access the system. If all chan-
nels are busy, the call request enters a queue and the central
controller automatically assigns the next available channel. Two
(2) medium-pitched tones followed by one (1) high-pitched tone
sounds when the call can be made.
Introduction

5
English
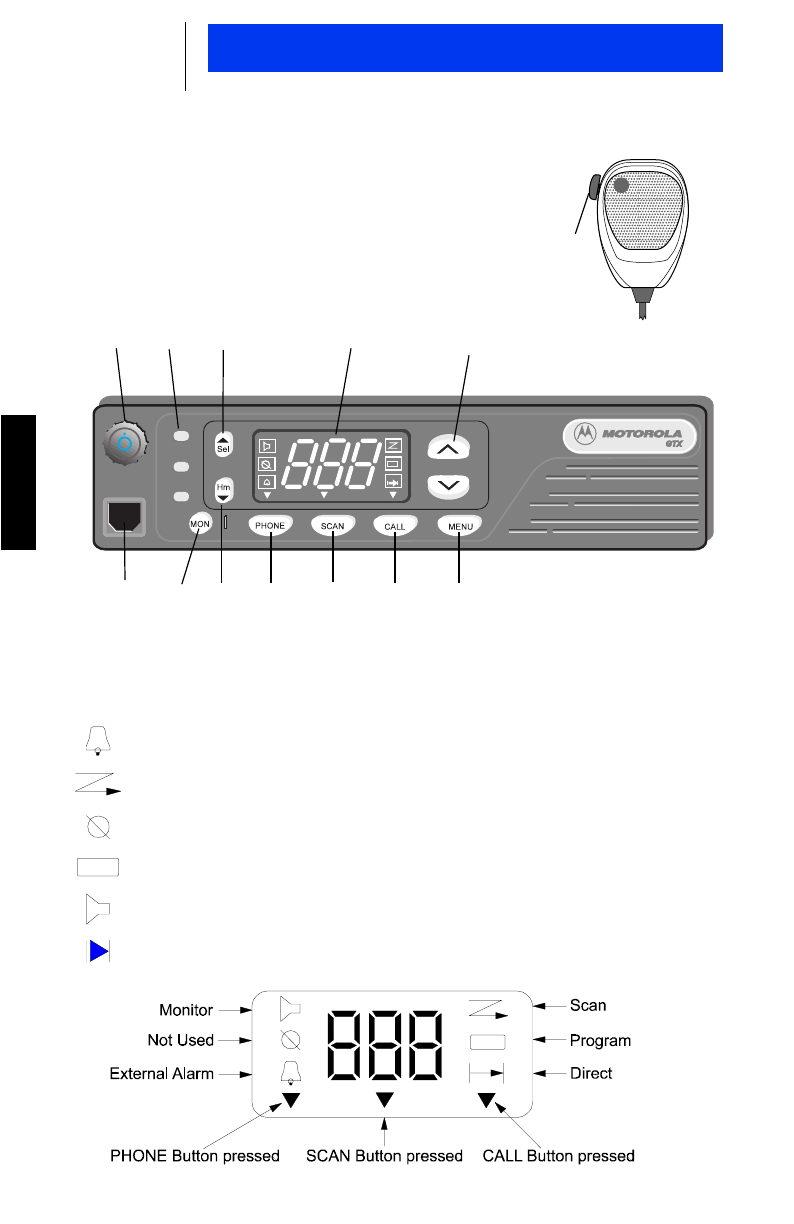
CONTROLS, BUTTONS, INDICATORS, AND CONNECTORS
1. Radio ON/OFF Volume Control Knob
2. LED (Light Emitting Diode) Indicators
•RED: lights continuously when the radio is transmitting.
•YELLOW: lights continuously when the radio is receiving.
•Not used
3. Select Button : Press to:
•select a displayed feature
•select a system
4. 3-Character Display
5. Talkgroup Select Buttons : Press to select a talkgroup
6. Push-to-Talk (PTT) Button
7. Microphone Jack
8. Monitor Button : Press to monitor a channel
9. Home Button : Press to:
•exit a feature
•exit a system or menu
•select a system
10. Phone Button : Press to answer or make a telephone call
11. Scan Button : Press to turn scan on or off
12. Call Button : Press once to make a Private Call, press
twice to make a Call Alert Call
13. Menu Button : Press to display the menu features
Sel
Hm
Getting Started
6
English
Getting Started
DISPLAY ICONS
The display icons which appear on the display are:
External Alarm Selected
Scanning
Not in Use
Programming
Monitor
Direct
6
123 4
9
710 11 12 13
5
8
7
English
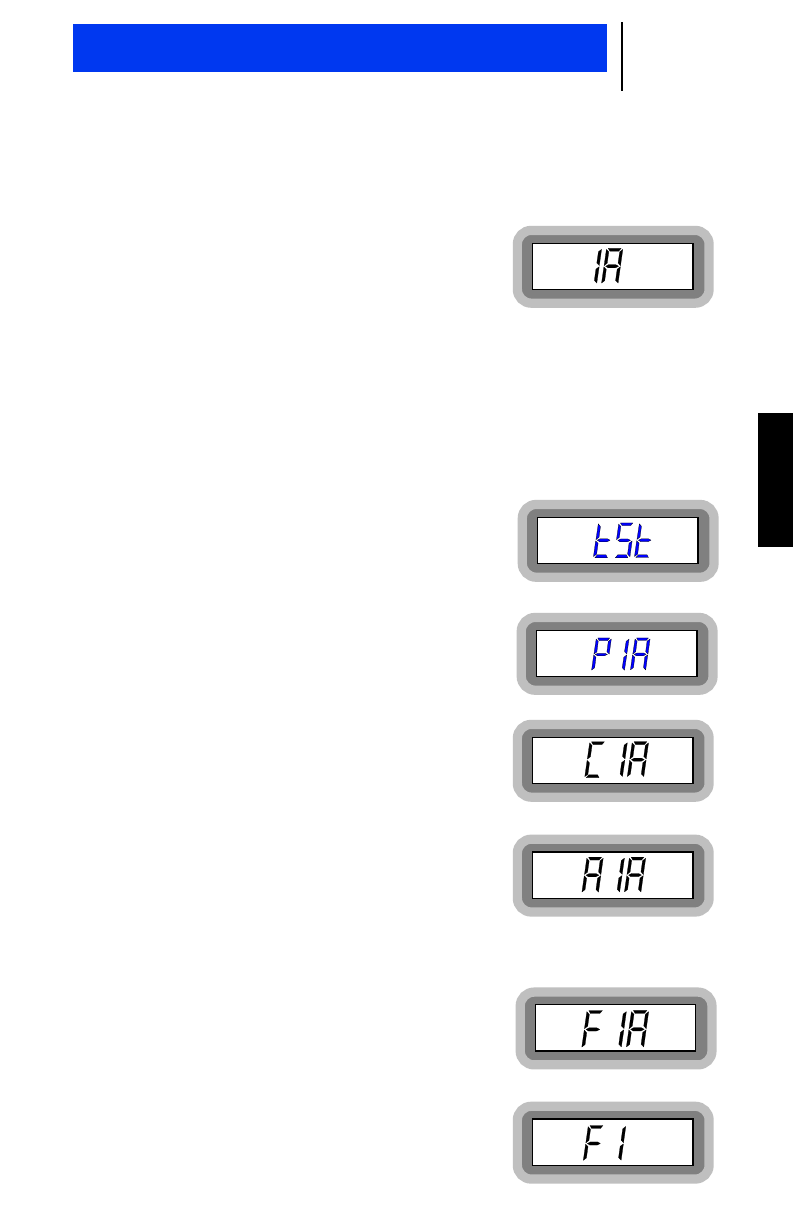
DISPLAY CHARACTER SUMMARY
The GTX Privacy Plus radio has a 3-character display.
•Trunked modes appear on the left side
of the display. This can be any digit
between 0 and 9 (0=mode 10).
•Talkgroups appear on the right side of the display. This can be
any letter between A and P.
•Conventional Channels sequentially follow the last trunked mode
and appear as 2-digit numbers on the right side of the display.
The indication that the radio is on a conventional channel is seen
when the display shows no letter or special character.
Self test
When the radio is turned on, this display
appears while the self test is in process.
Telephone Interconnect
This display indicates you have received
an in-coming phone call.
Private Conversation Call
This display indicates you have received an
incoming private conversation phone call.
Call Alert
This display indicates that you have
received a Call Alert.
Failsoft
This display indicates that the radio is in
failsoft per talkgroup in a trunked mode
and will convert to a conventional channel
until the system is properly operating.
This display indicates that the radio is in
failsoft per trunked modeand will convert
to a conventional channel until the system
is properly operating.
Getting Started

8
English
Getting Started
ALERT TONE INDICATORS
The GTX radio generates a number of audible tones to indicate
radio operating conditions:
Tone Indication Description
Very short, high-
pitch tone when
radio is first turned
on
Successful Power-
Up Indicates that the radio passed its
power-up self test and is ready for
use.
Continuous, low-
pitched tone when
radio is first turned
on
Unsuccessful Power-
Up Indicates that the radio failed its
power-up self test and is not ready
for use. Contact your nearest
Motorola Service Representative.
Two, medium-
pitched tones and
one, high-pitched
tone
Talk Permit or Call
Back Indicates you have access to trans-
mit. The radio holds access for
about three seconds. Press the
PTT and begin your transmission.
Continuous, low-
pitched tone when
PTT is pressed.
Talk Prohibit An unsuccessful attempt to access
the system. Try again later when in
a better location.
Short, high-pitch
tone Valid (Good) Key
Press Indicates that the key instruction
was accepted.
Short, low-pitch
tone Invalid (Bad) Key
Press Indicates that the key instruction
was rejected.
Continuous, low-
pitch tone when
PTT is pressed
Time-Out Timer
Warning Your radio’s time-out timer limits the
duration of your transmission time.
When you first hear this tone, you
have four seconds before the allot-
ted time will expire.
15-20 second high-
pitched tone Telephone Time-Out
Timer Warning Indicates that you have 15 to 20
seconds to complete your conver-
sation before the telephone call is
disconnected.
Continuous, low-
pitch tone Invalid Mode Indicates that an invalid or unpro-
grammed operation was performed
on the radio.
Faint “beeping” tone
every ten seconds Failsoft (Trunked
Systems Only) Indicates that the radio is operating
in the failsoft mode. Your can still
transmit and receive on conven-
tional channels until the system in
repaired.

9
English
Continuous,
medium-pitch tone
when PTT is
pressed
Out of Range Tone Indicates that the radio is out of
range from the selected Trunking
site.
Group of four
medium-pitch tones
every five seconds
Call Alert™ Indicates that your radio received a
Call Alert page.
Two, medium-
pitched tones Private Conversa-
tion™ Call Received Indicates that your radio received a
Private Conversation call.
Continuous, low-
pitched tone Disconnect Mode
Warning Reminder to exit Phone or Call
Alert modes. You may be missing
other types of calls. Press the
Phone or Call buttons to exit the
mode.
Repeated, short,
low-pitch tones
when PTT is
pressed.
Trunked System
Busy (Trunked Sys-
tems only)
Indicates that all available trunked
modes are busy. Release the PTT
button and listen for the call back
tone to transmit.
Repeated, short,
high-pitched tones. Call-Back Tone Indicates that you have 3 seconds
to press the PTT button to make
your call without getting another
busy signal.
Tone Indication Description
Getting Started

10
English
Basic Radio Operation
TURNING THE RADIO ON / OFF
1. Turn on the radio by turning the ON/OFF volume control knob
clockwise.
•The radio will go through a power-up self test. A good power-
up, high-pitched tone will sound to indicate that the radio has
passed the self-test.
•The last trunked mode and talkgroup or conventional
channel will appear on the display.
2. Adjust the volume to a comfortable listening level by turning the
knob clockwise or counter clockwise as required.
3. Turn off the radio by turning the ON/OFF volume control knob
counter clockwise.
TRUNKED MODES
Up to ten (10) trunked modes with eight (8) talkgroups in each
trunked mode can be programmed into the radio.
Selecting a Trunked Mode
1. Press the Select button or Home button until the desired
trunked mode is displayed.
2. Press the Talkgroup Select or buttons until the desired
talkgroup is displayed.
•A trunked mode/talkgroup is indicated by a digit and a letter.
Your radio is now set to receive and transmit calls on the selected
trunked mode.
Sel Hm

11
English
Receiving a Call (Trunked Modes)
1. Turn on the radio and select the desired trunked mode and talk-
group.
2. Listen until you hear activity, then then adjust the volume con-
trol for a comfortable listening level. Your radio is now set to
receive calls on the selected trunked mode.
•The YELLOW receive LED will light continuously while the
radio is receiving.
Transmitting on a Trunked Mode
1. Turn on the radio and select the desired trunked mode and talk-
group.
2. Hold the microphone in a verticle position at a distance of
about 1 to 2 inches (2.5 to 5 cm) from your mouth.
3. Press and hold the PTT button and speak slowly and clearly
into the microphone.
•If access to the trunked system was successful, you will hear
a short, high-pitched beep (the “talk permit” tone).
•The RED transmit LED will light continuously while the radio
is transmitting.
4. When your transmission is complete, release the PTT to listen.
OTE:
If you hear a busy tone (a series of short, low-pitch tones), release the
PTT button and wait for a call-back tone (a series of short, high-pitch
tones of equal length). When you hear the call-back tone, you will have
three seconds to press the PTT button, allowing you to make your call
without getting another busy signal.
If a continuous talk-prohibit tone is heard when the PTT button is
pressed, it means that the radio is out of range and you will not be able
to transmit.
N
Basic Radio Operation

12
English
Basic Radio Operation
Failsoft Operation (Trunked Modes)
The failsoft system ensures that you will continue to have radio
communications capability in case of a trunked system failure. Dur-
ing trunked operation, if the central trunking controller fails, the
radio will automatically switch to failsoft operation according to pre-
defined programming. In failsoft operation, your radio can transmit
and receive on a conventional, predetermined frequency. When
you are in failsoft operation, you will hear a faint beeping sound
every ten seconds. This feature is RSS programmable.
CONVENTIONAL CHANNELS
Up to ten (10) conventional channels can be programmed into the
radio.
Selecting a Conventional Channel
1. Press the Select button or Home button until the desired
conventional channel is displayed.
•A conventional channel is indicated by digits only.
Your radio is now set to receive and transmit calls on the selected
trunked mode.
Receiving a Call (Conventional Channels)
1. Turn on the radio and select the desired conventional channel.
2. Listen until you hear activity, then adjust the volume control for
a comfortable listening level.
OTE:
The squelch opening level setting may be reprogrammed at an autho-
rized service facility.
•The YELLOW transmit LED will light continuously while the
radio is transmitting.
Your radio is now set to receive calls on the selected conventional
channel.
Sel Hm
N

13
English
Transmitting on a Conventional Channel
1. Turn on the radio and select the desired conventional channel.
2. If the conventional channel on which you are transmitting is
programmed to receive PL (Private Line) or DPL (Digital Pri-
vate Line), ensure that the channel is not in use by listening for
activity. You can do this by monitoring a channel. Refer to the
Monitor instructions on page 14.
•The YELLOW indicator LED will light if the channel is in use.
Do not transmit if someone else is using the channel.
3. If Smart PTT is enabled, you do not need to listen for channel
activity before transmitting. Any attempt to transmit on a busy
channel will cause an invalid-mode tone to sound until the PTT
button is released.
4. When the channel is available, hold the microphone in a verti-
cle position at a distance of about 1 to 2 inches (2.5 to 5 cm)
from your mouth.
5. Press and hold the PTT button and speak slowly and clearly
into the microphone.
•The RED Transmit LED will light continuously while the radio
is transmitting.
6. When your transmission is complete, release the PTT to listen.
Basic Radio Operation

14
English
Basic Radio Operation
Monitoring
Monitor allows you to monitor the conventional channel for activity
when PL or DPL is activated (same as taking the microphone off
hook)
1. To turn Monitor ON, press the Monitor button or take the
microphone off hook.
•The monitor icon will display.
2. To turn Monitor OFF, press the Monitor button again or
place the microphone on-hook.
OTE:
The monitoring feature is available only when the radio is in conven-
tional mode and Coded Squelch PL or DPL is preprogrammed for the
receiver frequency.
N
15
English
INTRODUCTION
The Call Alert page feature enables your radio to function like a
pager (beeper). Your radio (as programmed by the Radio Service
Software [RSS]) can receive and respond to pages from other
radios. Up to eight (8) mobile IDs (identified as CA1 through CA8)
can be programmed into the radio.
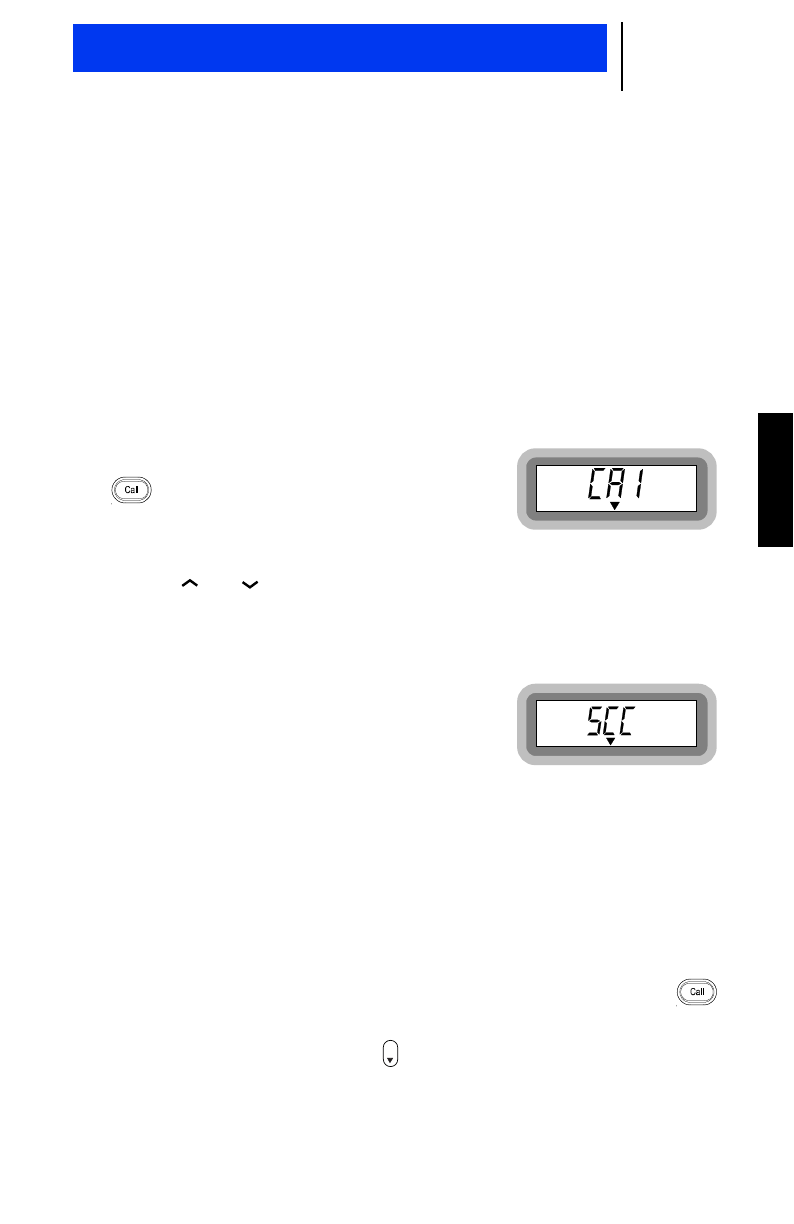
SENDING A CALL ALERT
The Call Alert feature allows the dispatcher or supervisory unit to
alert or page up to eight mobile units.
1. To send a Call Alert page, press the
Call button twice. The display will
indicate:
2. Select a mobile ID from the ID list by pressing the Talkgroup
Select or buttons.
3. Press the PTT button to select and send the Call Alert.
•The radio will beep once to indicate
that the Call Alert has been sent.
When the Call Alert has been
acknowledged the display will indi-
cate:
•The radio will sound four beeps and the display will automat-
ically return to the last selected trunked mode/talkgroup.
OTE:
If the radio is not in service or out of range, a low-pitch alert tone will
sound and the display will indicate
“noS”
. You may try this sequence
again when in range.
•An illegal function tone will sound after six (6) seconds of
inactivity. This is to alert you that important channel activity
may be missed if you remain in Call Alert. Press the
Call button to stop the tone.
4. To exit Call Alert, press the Home button.
N
Hm
Call Alert Operation

16
English
Call Alert Operation
RECEIVING A CALL ALERT
When the mobile unit receives a Call Alert
the display will indicate:
•The radio will beep continuously every four seconds until you
respond.
1. Press the PTT button to speak and release to listen.
OTE:
Call Alert pages cannot be received when the radio is engaged in voice
conversation, has been turned off, or is out of the system range.
If your radio is equipped with optional horn/lights alert, see the
description of
Horn/Lights
given on page 26.
N
17
English
INTRODUCTION
The Private Conversation Call feature allows you to have a conver-
sation that is heard only by two parties. Up to eight (8) mobile IDs
(identified as PC1 through PC8) can be programmed into the radio.
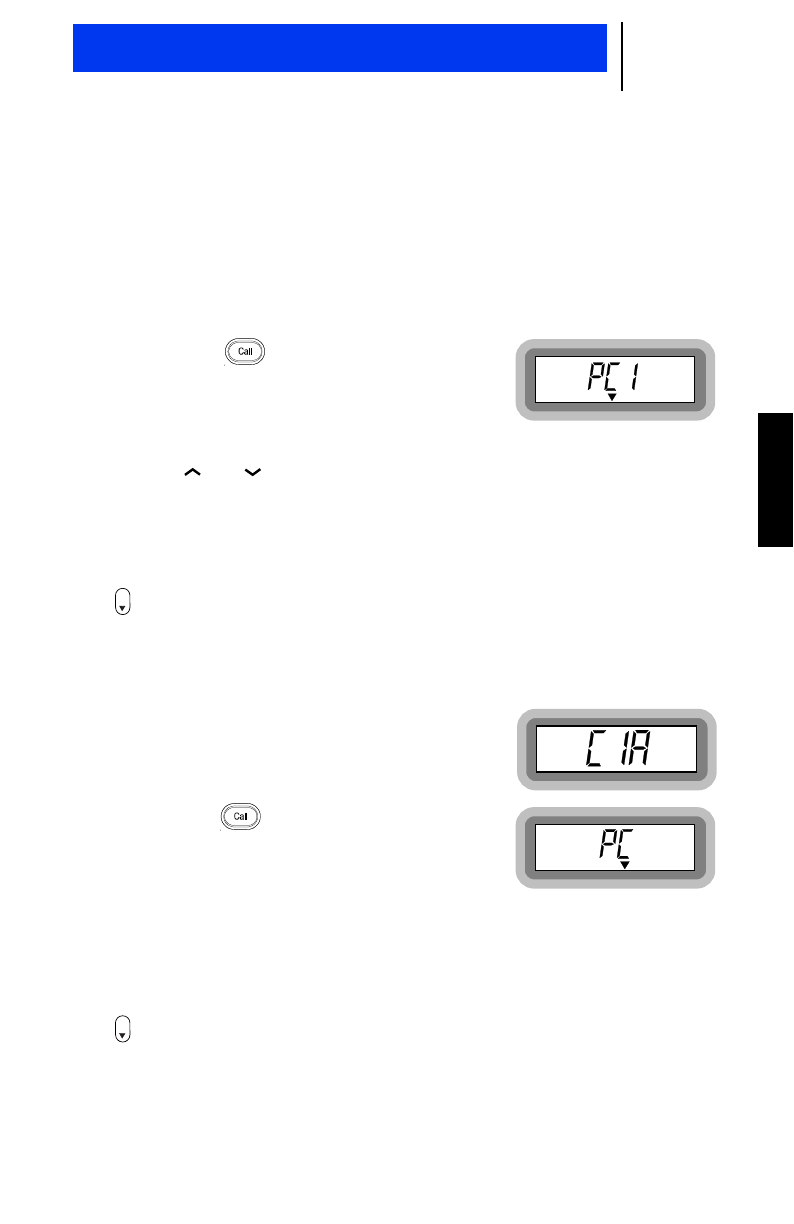
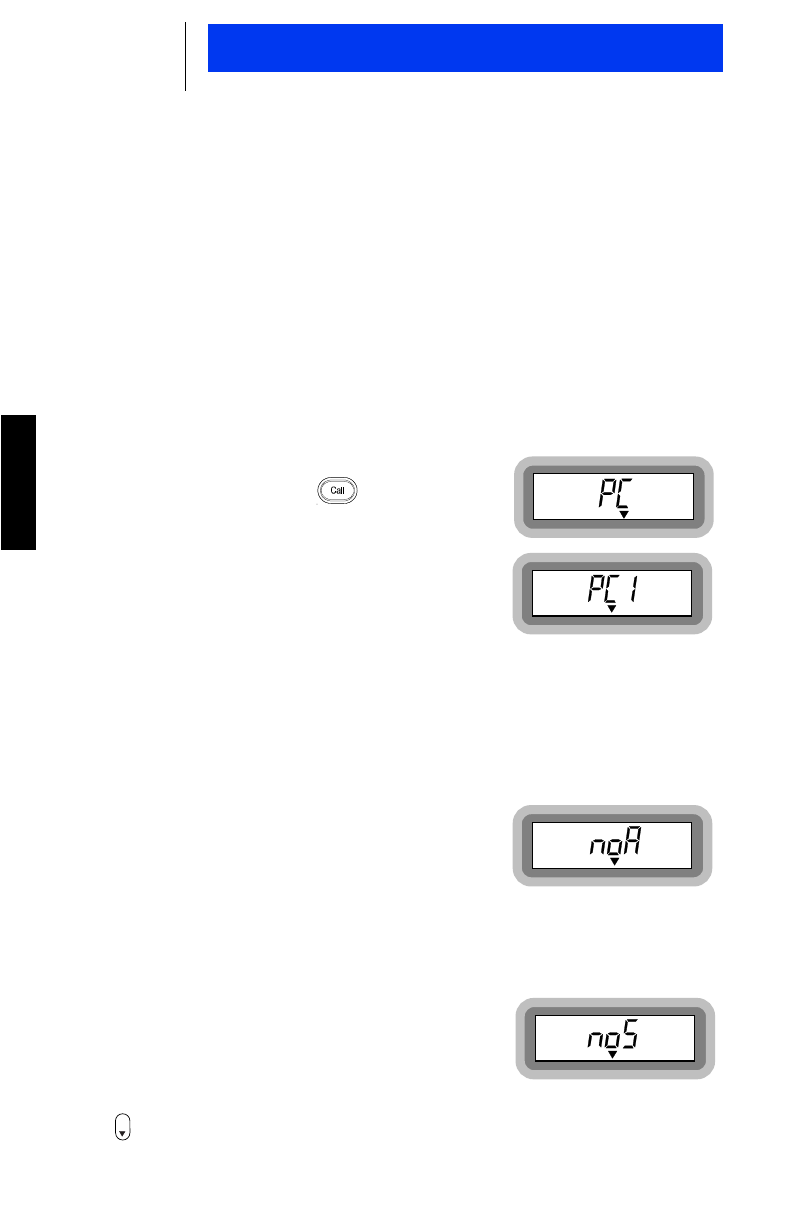
SENDING A PRIVATE CONVERSATION CALL
1. Press the Call button once to
activate Private Conversation Call.
The display will indicate:
2. Select a mobile ID from the ID list by pressing the Talkgroup
Select or buttons.
3. Press the PTT button to select and send the Private Conversa-
tion Call. Release to listen.
4. To return to the last selected trunked mode/talkgroup, press the
Home button.
RECEIVING A PRIVATE CONVERSATION CALL
•When a Private Conversation Call is
received, two beeps are heard and
the display will indicate:
1. Press the Call button. The dis-
play will indicate:
2. Press the PTT button to speak and
release to listen.
OTE:
If you press the PTT button before you press the Call button, the
response will be transmitted to everyone in the talkgroup.
3. To return to the last selected trunked mode/talkgroup, press the
Home button.
Hm
N
Hm
Trunked Private Conversation™ Call Operation
18
English
Trunked Enhanced Private Conversation™ Call Operation
(900 MHz Only)
INTRODUCTION
As with regular telephone calls, a conversation in an Enhanced
Private Conversation Call is heard only by the caller and called
party. With this feature, you are able to determine whether the
radio you are calling is in service. If the called party does not
answer your call, then you can choose to leave your radio’s ID (via
call alert) so that you can be called back.
SENDING AN ENHANCED PRIVATE CONVERSATION CALL
Calling the Last ID Number Transmitted or Received
1. When calling the last ID number
received, press the Call button
once. The display will indicate:
•When enhanced calling the last ID
number received, the display will
indicate:
2. When calling the last ID number transmitted, press the PTT
button. Release to listen.
•The last ID number will be transmitted. If the radio you are
calling is “on-the-air”, you will hear a telephone-type ring for
20 seconds.
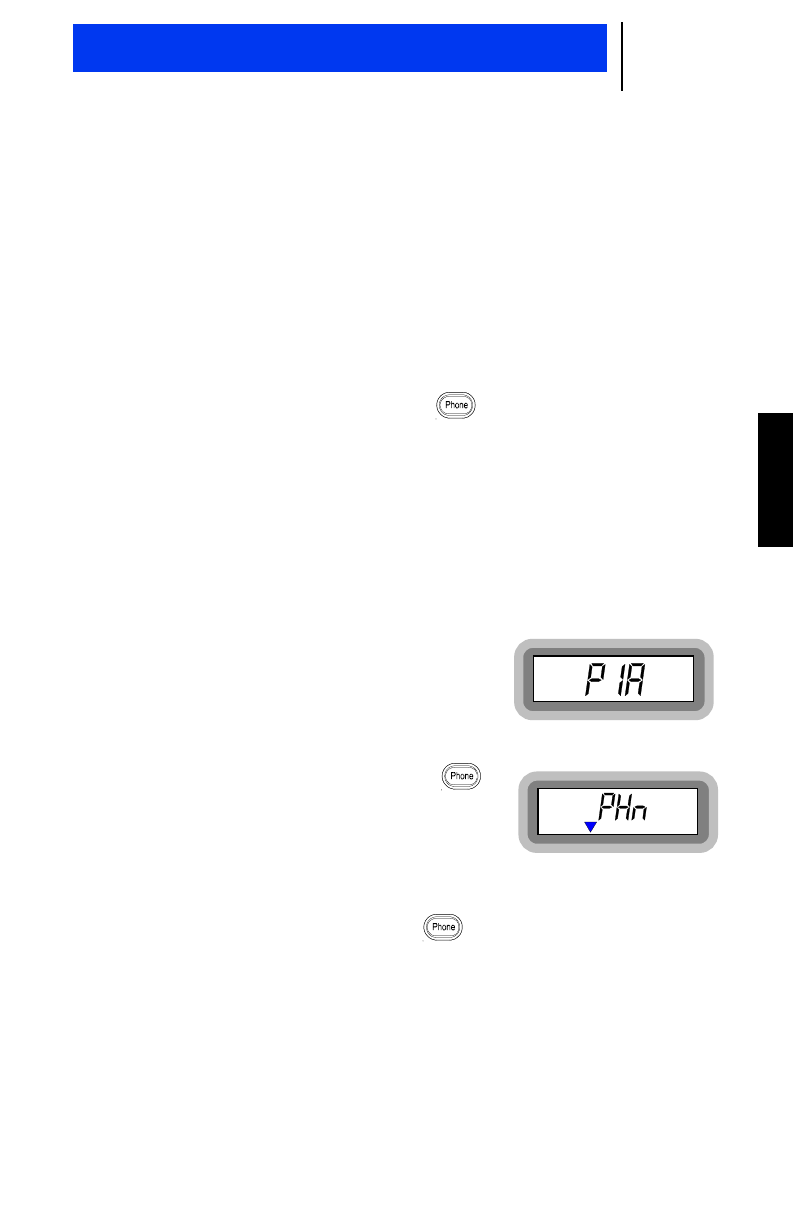
3. If the party you are calling does not
answer in 20 seconds, the display will
indicate:
•The telephone ring will stop and a continuous low-pitched
alert tone will sound. You can send a call alert page or hang
up.
•If the radio you are calling is not in
service or out of range, the display
will indicate:
4. To return to the last selected trunked mode/talkgroup, press the
Home button.
Hm
19
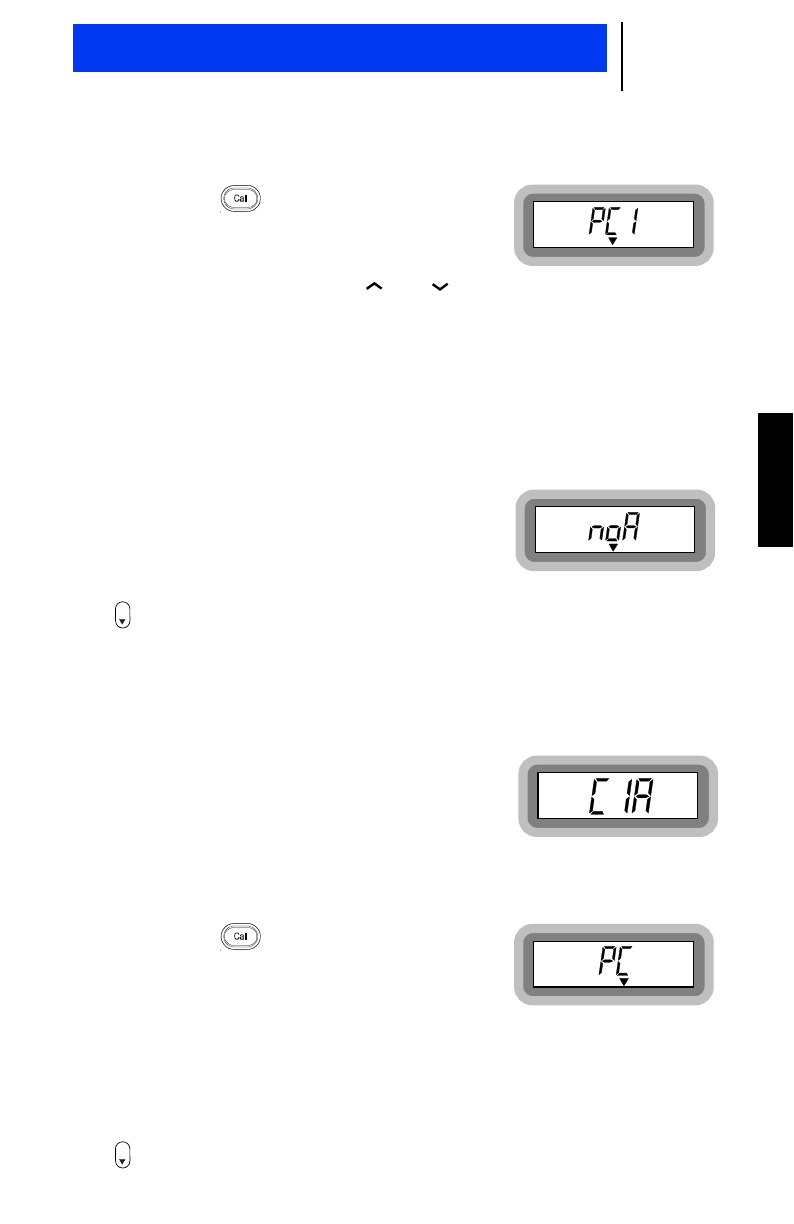
English
Scrolling to an ID Number in the List
1. Press the Call button. The dis-
play will indicate:
2. Use the Talkgroup Select or buttons to scroll to a partic-
ular ID number in the list.
3. Press the PTT button to select and send the Private Conversa-
tion Call. Release to listen.
•If the radio you are calling is on the air, you will hear a tele-
phone-type ring.
4. If the party does not answer the call
within 20 seconds, the display will indi-
cate:
5. To return to the last selected trunked mode/talkgroup, press the
Home button.
RECEIVING AN ENHANCED PRIVATE CONVERSATION CALL
•When you receive a Private Conver-
sation Call, you will hear two alert
tones which are repeated every five
seconds for a duration of 20 sec-
onds. The display will indicate:
OTE:
You have 20 seconds to answer the call before the radio automatically
returns to the Home display
1. Press the Call button. The dis-
play will indicate:
OTE:
If you press the PTT button before pressing the Call button, the
response will be transmitted to everyone in the talkgroup.
2. Press the PTT button to speak and release to listen.
3. To return to the last selected trunked mode/talkgroup, press the
Home button.
Hm
N
N
Hm
Trunked Enhanced Private Conversation™ Call Operation
(900 MHz Only)
20
English
Trunked Telephone Operation
INTRODUCTION
Your radio is equipped with a telephone interconnect option that
allows you to call land line telephones through the trunked system.
Calls made through the central controller are half-duplex operation
(speak or listen).
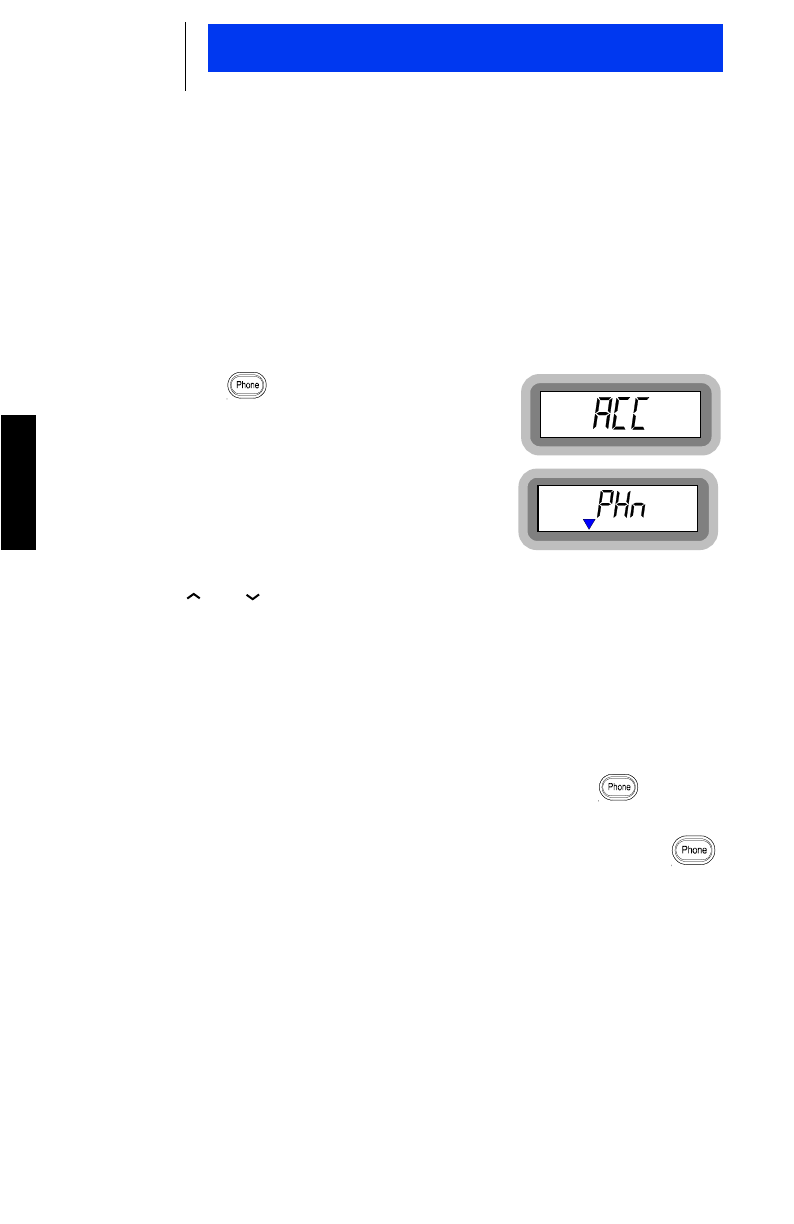
MAKING A TELEPHONE CALL (FULL INTERCONNECT CAPABILITY)
1. Press the Phone button. The
display will momentarily indicate:
•If a free channel is available, the
display will indicate:
2. Select a phone number from the list by using the Talkgroup
Select or buttons.
Or
, if you have a DTMF microphone,
you can enter the phone number manually using the keypad.
3. Press the PTT button to send the phone number.
•If phone access is successful, you will a dial tone, followed
by the phone number tones as they are being sent to the
repeater.
4. If you get a busy tone, hang-up by pressing the Phone
button and try again.
•If an illegal medium-pitched tone sounds when the
Phone button is pressed, it indicates that the telephone
interconnect option has not been enabled and the telephone
call cannot be made.
21
English
5. After the called party answers, inform him or her that you are
using a radio and that he or she must wait for you to finish
speaking (indicated by a soft beep) before replying. Proceed in
a normal push-to-talk manner by pushing the PTT button to talk
and release to listen.
•The maximum time period allowed for a telephone phone call
is RSS programmable. If a high-pitch tone sounds, it alerts
you that you have 15-20 seconds to complete your conversa-
tion before the call is disconnected.
6. To disconnect the call, press the Phone button.
•If the call is not disconnected, a continuous low-pitched tone
will sound. Until the call is disconnected, you will not be able
to receive calls of any type.
ANSWERING A TELEPHONE CALL
Standard telephone interconnect receive features are as follows:
•When a telephone call is received,
a ringing tone will sound, alerting
your to answer the call. The display
will indicate:
1. To answer the call, take the micro-
phone off the hook and press the
Phone button. The radio will be
removed from dispatch operation and
the display will indicate:
2. Press the PTT button to speak and release to listen.
3. To terminate the call, press the Phone button.
OTE:
If a mobile unit is equipped with the Horn/Lights feature, engage it
before you leave the vehicle. When a call is received, the vehicle’s horn
will sound or the lights will flash for six seconds.
N
Trunked Telephone Operation
22
English
SmartZone Features
INTRODUCTION
Limited SmartZone operation is available on your GTX mobile
radio. The two features that are offered are Site Lock/Unlock and
Forced Site Search. You may check with your local systems man-
ager to see if these features are relevant to your system.
SITE LOCK / UNLOCK
The Site Lock feature is useful for certain large, multi-site systems.
If you wish to use ONE physical site (tower) only on Automatic Mul-
tiple Site Selection (AMSS) systems, you can “lock” your radio onto
that site using the Site Lock feature.
This feature is especially useful if you will be operating in the
extreme boundary of your radio’s range. Enabling Site Lock will
cause your radio to always “look for” the desired site (tower)
instead of searching for other sites that are not close to your loca-
tion.
Enabling Site Lock
To keep the radio from searching for other sites (towers) when you
go out of range of your desired site, you can lock the radio onto a
specific site.
When you are within the range of the desired site (tower):
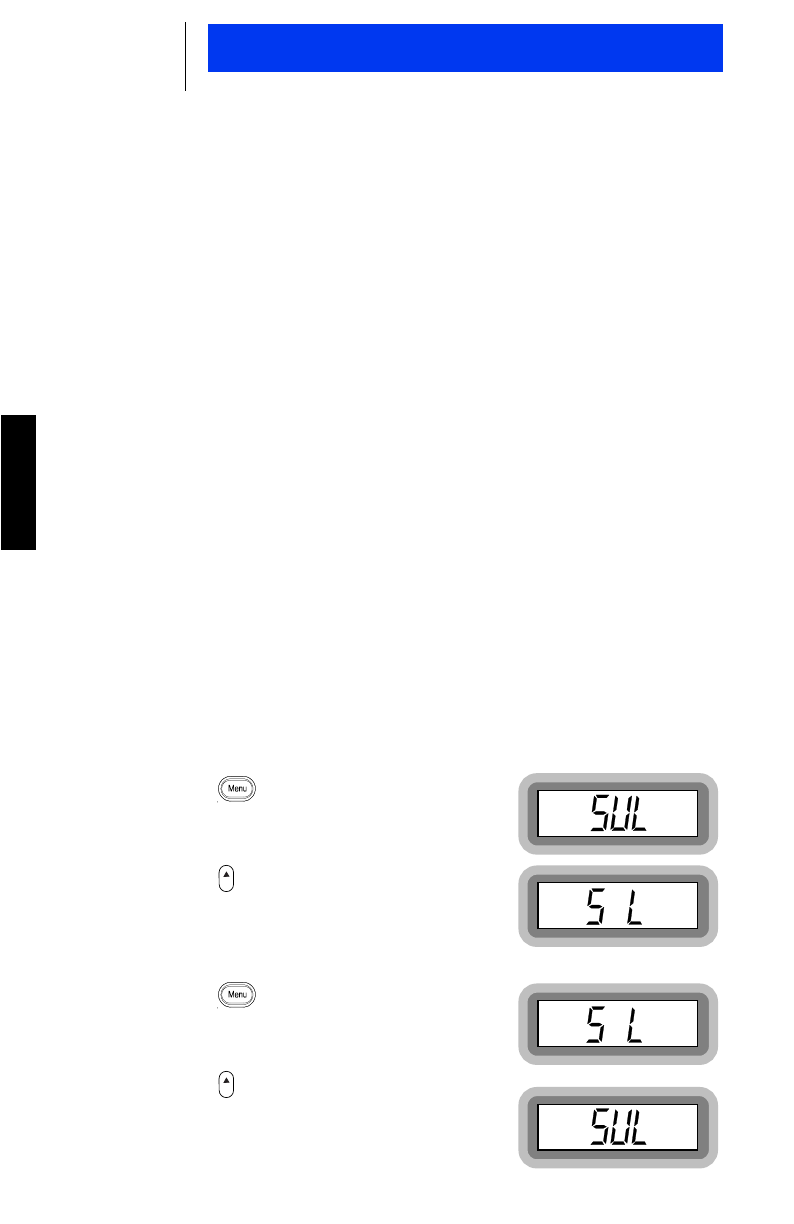
1. Press the Menu button until the
display will indicate:
2. Press the Select button to enable
Site Lock. The display will indicate:
Enabling Site Unlock
1. Press the Menu button until the
display indicates:
2. Press the Select button to enable
Site Unlocked. The display will indi-
cate:
Sel
Sel

23
English
FORCED SITE SEARCH
When you are in a poor coverage area and are not satisfied with
the automatic site selection of the radio, you can activate the
Forced Site Search function to manually scan for a new site.
The Forced Site Search feature can be activated in Site Lock Mode
or Site Unlock Mode and is enabled as follows:
1. Press the Menu button until the
display indicates:
2. Press the Select button to manu-
ally select a different site.
3. Repeat steps 1 and 2 to manually select another site.
A Forced Site Search can be activated during normal operation as
well as during a Call Alert Call, a Private Conversation Call, or a
Telephone Call.
Sel
SmartZone Features
24
English
Scan Operation
INTRODUCTION
The scan feature allows you to monitor activity on different trunked
modes and conventional channels by scanning a list of up to eight
(8) members. Trunked modes and conventional channels can be
included in a scan list by your dealer using the Radio Service Soft-
ware (RSS).
TURNING SCAN ON/OFF
1. To turn Scan ON, press the Scan button.
•The ( ) scan icon will be displayed, indicating scan is
active and the radio will scan for activity in the trunked
modes/talkgroups or conventional channels that are defined
in the scan list.
2. To turn Scan OFF, press the Scan button again.
OTE:
To initiate a call properly during scan mode, press the PTT button for a
few seconds.
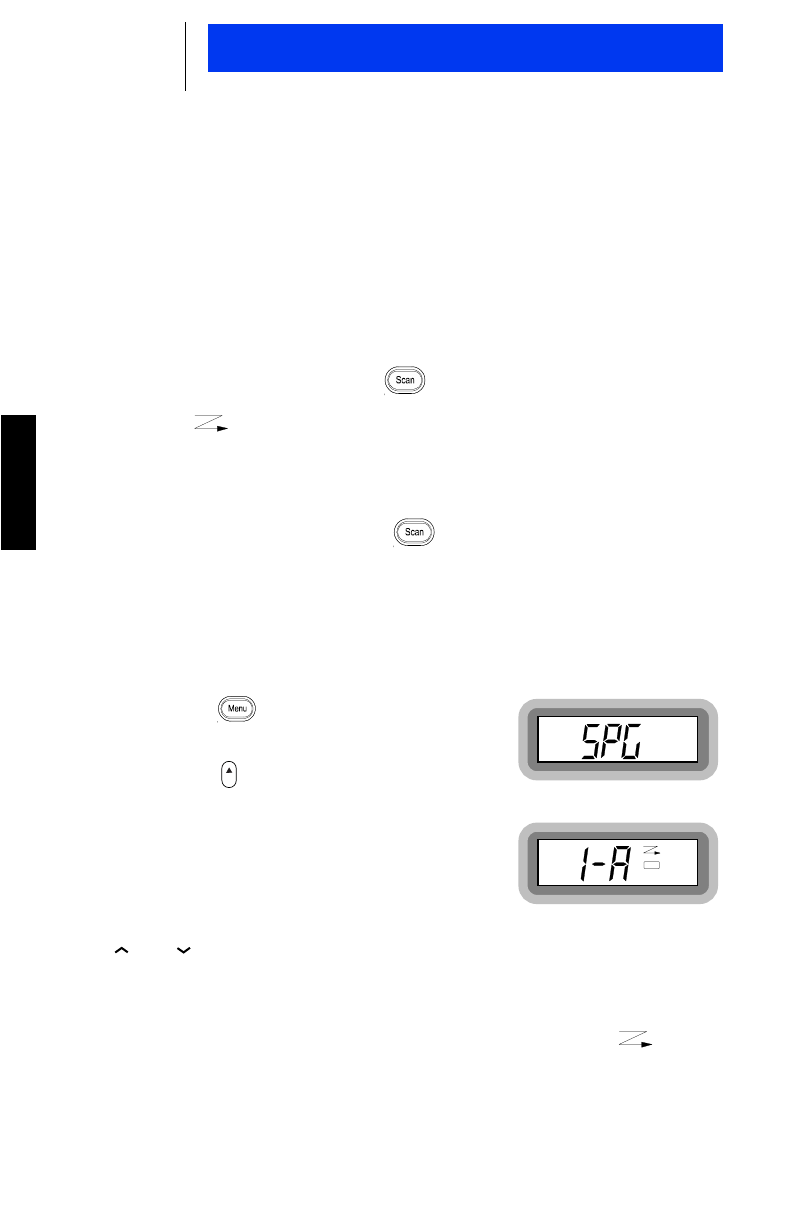
PROGRAMMING / VIEWING A SCAN LIST
1. Press the Menu button until the
display indicates:
2. Press the Select button to select
“Scan Programming/Viewing mode”.
•The radio will sound four quick
tones and the display will indicate:
3. When in scan programming, use the Talkgroup Select
or buttons to scroll through all trunked modes/talk-
groups and conventional channels.
•Trunked modes/talkgroups and conventional channels cur-
rently in the scan list will be indicated by the ( ) scan
icon.
N
Sel
25
English
Scan Operation
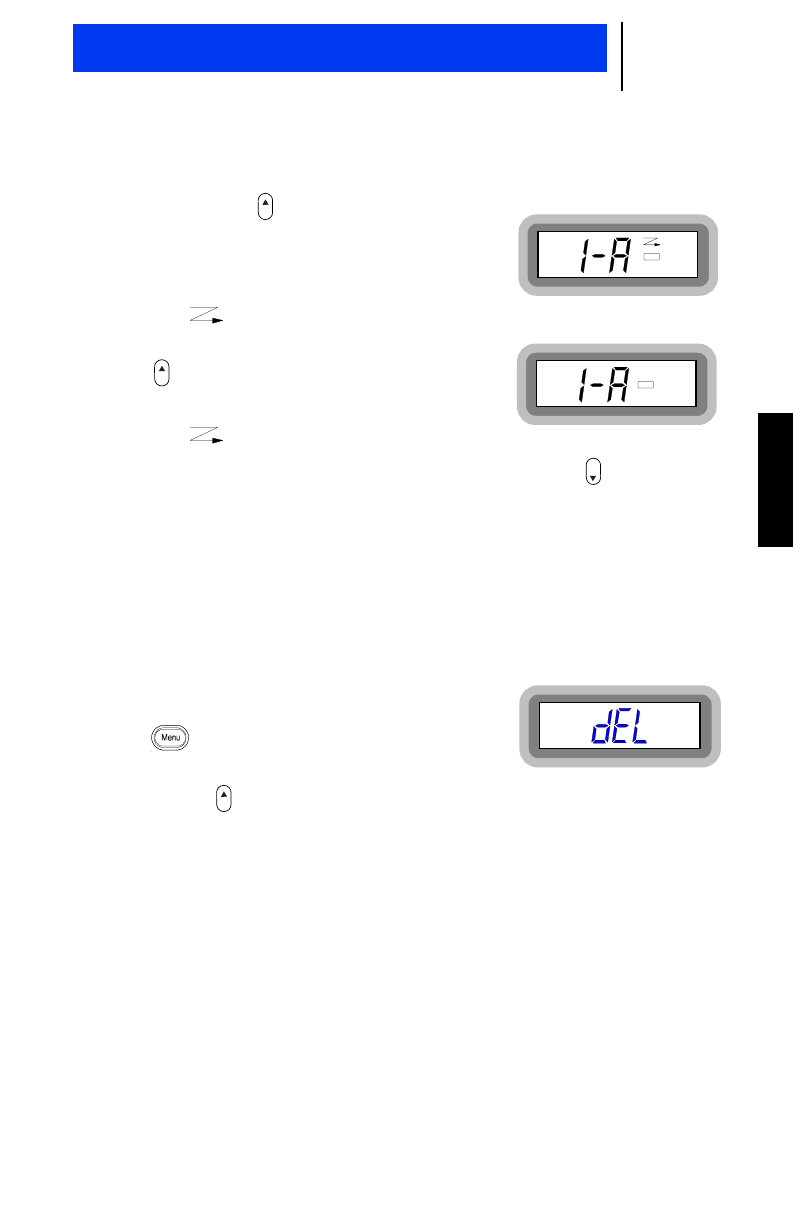
4. To add a trunked mode/talkgroup or
conventional channel into the scan
list, press the Select button when
the desired trunked mode/talkgroup or
conventional channel is displayed.
The display will indicate:
•The ( ) scan icon will appear.
5. To remove from the scan list, press
the Select button again. The dis-
play will indicate:
•The ( ) scan icon will disappear.
6. To exit the scan programming feature, press the Home but-
ton. The display will indicate the home display.
OTE:
A scan list is limited to eight members. An alert tone sounds if you
attempt to add more than eight members.
NUISANCE DELETE
1. When in scan mode, If you wish to
temporarily
delete an annoying
trunked mode/talkgroup or conven-
tional channel from the scan list, press
the Menu button until the display
indicates:
2. Press the Select button to enable Nuisance Delete.
3. To resume scanning of the temporarily deleted trunked mode/
talkgroup or conventional channel, you must exit and re-enter
scan mode.
TALKBACK DELAY
You may talkback during a detected activity for a pre-programmed
(RSS programmable) time period after the activity ends. After this
time period, the radio will resume scan.
OFF-HOOK SUSPEND SCAN
If this feature is enabled (RSS programmable), the radio will stop
scanning when the radio is off-hook. Scan will be resumed when
the microphone is replaced on-hook.
Sel
Sel
Hm
N
Sel
26
English
Additional Features
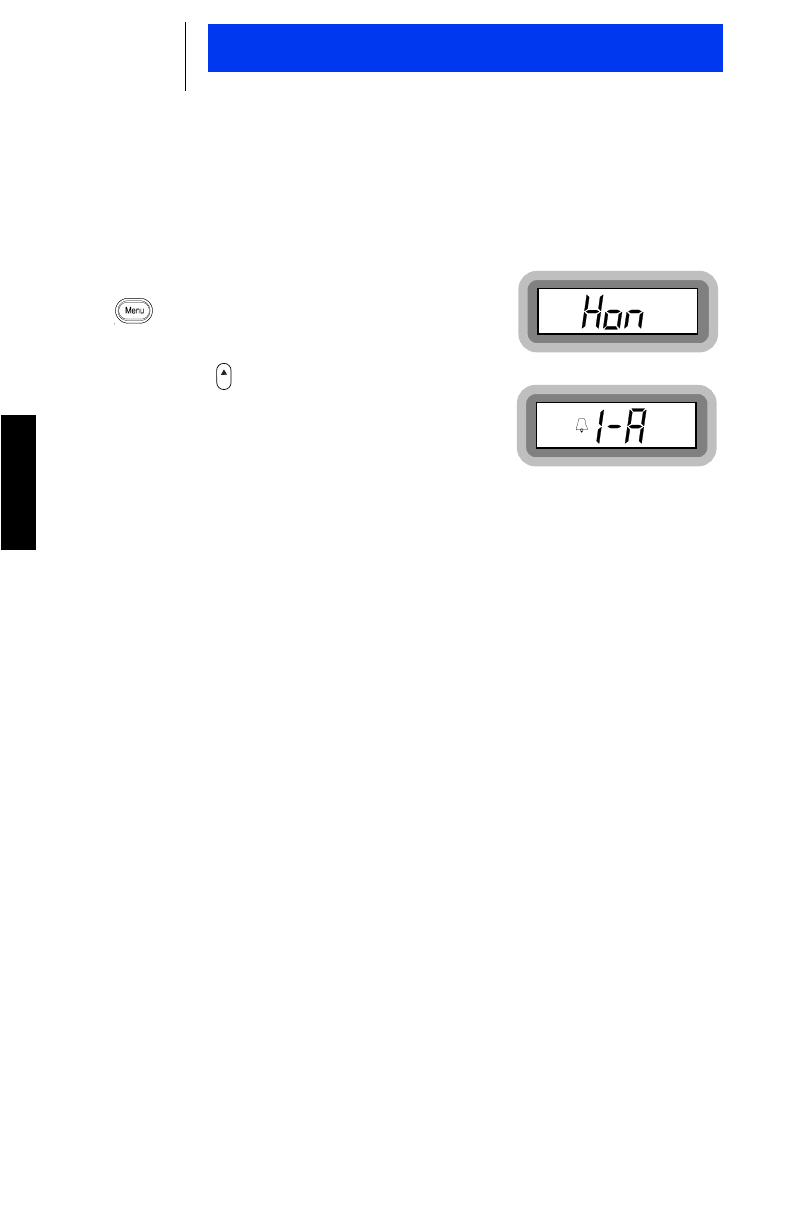
HORN / LIGHTS
When you are outside the vehicle, the radio’s horn/lights feature
will activate the vehicle’s horn/lights (if enabled) upon receiving an
incoming Call Alert or land to mobile telephone calls.
1. To activate “horn and lights” press the
Menu button until the display
indicates:
2. Press the Select button.
•The radio shows the Home display
with the horn/lights (bell) icon:
3. To disable - press any button.
ANNOUNCEMENT CALL
The Announcement Call feature allows a user to send an
announcement to a list of multiple talkgroups simultaneously. This
feature is RSS programable.
1. Select the dealer assigned talkgroup to send an Announce-
ment Call.
DATA COMPATABILITY (30 W / 35 W models only)
Your GTX mobile two-way radio supports standard data capability
using an external modem. Please contact your authorized Motorola
dealer for more information.
Sel

27
English
Motorola offers a number of accessories to enhance the productiv-
ity of your GTX mobile two-way radio. Many of the available acces-
sories are listed below. For a complete list, please contact your
authorized Motorola dealer.
Audio:
HMN3413 Compact Microphone
HMN1035 Heavy Duty Palm Microphone
HMN3013 DTMF Keypad Microphone
HMN3141 Handset with Hang-up Clip (30 W / 35 W only)
HLN9073 Hang-up Clip
Antennas:
HAF4002 806-900 MHz, 1/4 Wave Roof Mount
RRA4983 800 MHz, 3 dB Gain Roof Mount w/Teflon Cable
RRA4914 800 MHz, 3 dB Gain Roof Mount
RRA4935 900 MHz, 3 dB Gain w/14 ft. Cable
Control Station: (30 W / 35 W models only)
RLN4834 Control Station Package
HMN3000 Desk Microphone
GLN7318 Base Station Tray
HPN4001 Power Supply and Cable (25-60 W)
HKN9088 Mobile Mini-U Antenna Adapter
Public Address: (30 W / 35 W models only)
HLN3145 Public Address Kit
HKN9324 Speaker Cable, 15 ft.
HKN9323 Amplified Speaker Cable
HSN9326 External Speaker for Receiver Audio, 5 W
HSN1000 Amplified External Speaker, 6 W
Accessories

28
English
Important General Safety Information
RESTRICTIONS
Because this radio contains a transmitter, federal law prohibits
unauthorized, non-licensed personnel from adjusting or maintain-
ing it. If any operational difficulties should arise while using this
product, report them to authorized service personnel as soon as
possible.
ARNING:
Do not attempt any unauthorized modification to the radio
or accessories.
Read This Information Before Using Your Radio
OPERATIONAL WARNINGS
For Vehicles with an Air Bag
ARNING:
Do not place install a mobile radio in the area over an air
bag or in the air bag deployment area. Air bags inflate
with great force. If a mobile radio is installed in the air bag
deployment area and the air bag inflates, the radio may
be propelled with great force and cause serious injury to
occupants of the vehicle.
Installation of vehicle communication equipment should be per-
formed by a professional installer/technician qualified in the
requirements for such installations. An air bag’s size, shape and
deployment area can vary by vehicle make, model and front com-
partment configuration (e.g., bench seat vs. bucket seats).
Contact the vehicle manufacturer’s corporate headquarters, if nec-
essary, for specific air bag information for the vehicle make, model
and front compartment configuration involved in your communica-
tion equipment installation.
!
W
!
W

29
English
Potentially Explosive Atmospheres
ARNING:
Turn off your two-way radio when you are in any area with
a potentially explosive atmosphere. Sparks in a poten-
tially explosive atmosphere can cause an explosion or fire
resulting in bodily injury or even death.
Blasting Caps and Areas
ARNING:
To avoid possible interference with blasting operations,
turn off your radio when you are near electrical blasting
caps, in a blasting area, or in areas posted: “Turn off two-
way radio”. Obey all signs and instructions.
OTE:
The areas with potentially explosive atmospheres referred to above
include fueling areas such as: below decks on boats; fuel or chemical
transfer or storage facilities; areas where the air contains chemicals or par-
ticles, such as grain, dust or metal powders; and any other area where you
would normally be advised to turn off your vehicle engine. Areas with
potentially explosive atmospheres are often but not always posted.
EXPOSURE TO RADIO FREQUENCY ENERGY
Your Motorola two-way radio, which generates and radiates radio
frequency (RF) electromagnetic energy (EME), is designed to com-
ply with the following National and International Standards and
Guidelines regarding exposure of human beings to radio frequency
electromagnetic energy:
•Federal Communications Commission Report and Order No.
FCC 96-326 (August 1996)
•American National Standards Institute (C95.1 - 1992)
•National Council on Radiation Protection and Measurements
(NCRP-1986)
•International Commission on Non-Ionizing Radiation Protection
(ICNRP- 1986)
•European Committee for Electrotechnical Standardization (CEN-
ELEC):
– ENV 50166-1 1995 E – Human Exposure to Electromagnetic
Fields Low Frequency (0 Hz to 10 kHz)
– ENV 50166-2 1995 E – Human Exposure to Electromagnetic
Fields High Frequency (10 kHz to 300 GHz)
– Proceedings of SC211/B 1996 “Safety Considerations for
Human Exposure to EMFs from Mobile Telecommunication
!
W
!
W
N
Important General Safety Information

30
English
Important General Safety Information
Equipment(MTE)intheFrequencyRange30MHz-6GHz.”
(EMF - Electro-Magnetic Fields)
To assure optimal radio performance and to ensure that your expo-
sure to radio frequency electromagnetic energy is within the guide-
lines in the above standards, always adhere to the following
procedures:
Mobile Radio Operation and EME Exposure
To assure optimal radio performance and that human exposure to
radio frequency electromagnetic energy is within the guidelines ref-
erenced earlier in this document, transmit
only
when people inside
and outside the vehicle are at least the minimum distance away
from a properly installed, externally-mounting antenna.
Table 1 lists the minimum distance for several different ranges of
rated radio power.
Mobile Antenna Installation
Install the vehicle antenna
external
to the vehicle and in accor-
dance with:
•The requirements of the antenna manufacturer/supplier
•Instructions in the Radio Installation Manual.
ELECTROMAGNETIC INTERFERENCE/COMPATIBILITY
OTE:
Nearly every electronic device is susceptible to electromagnetic inter-
ference (EMI) if inadequately shielded, designed or otherwise config-
ured for electromagnetic compatibility.
•To avoid electromagnetic interference and/or compatibility con-
flicts, turn off your radio in any facility where posted notices
instruct you to do so. Hospitals or health care facilities may be
using equipment that is sensitive to external RF energy.
Table 1. Rated Power and Distance
Rated Power of Vehicle-installed
Mobile Two-Way Radios Minimum Distance from
Transmitting Antenna
7 to 15 Watts 1 Foot (30.5cm)
16 to 50 Watts 2 Feet (61cm)
More than 50 Watts 3 Feet (91.5cm)
N

31
English
GENERAL SAFETY INFORMATION
Driving
Check the laws and regulations on the use of communication
devices in the areas where you drive. Always obey them. Also,
when using your radio while driving, please:
•Give full attention to driving
•Use hands-free operation of the communication device, if avail-
able
•Pull off the road and park before making or answering a call if
driving conditions so require.
Children
Do not allow children to play with your radio. It is not a toy. Children
could hurt themselves or others (by poking themselves or others in
the eye with the antenna, for example). Children also could dam-
age the radio.
Important General Safety Information

32
English
Important General Safety Information
TROUBLESHOOTING
If you cannot communicate with your two-way radio, try the follow-
ing steps:
1. Checking the radio
•Be sure the radio is turned on and the mode selector is in the
proper position.
2. Check the accessories
•Check that the radio problem is not caused by accessories
improperly connected.
3. Review the user guide
•Review your user guide to ensure proper radio use.
4. Additional troubleshooting
•After following the above steps, if your radio still exhibits a prob-
lem, review your service agreement and call the applicable
Motorola service representative. Be prepared to provide the
product model number and the unit’s serial number.
Self Test Failure
•In case of self test failure, the invalid continuous tone is
sounded. If the radio still does not pass the self check, a problem
may exist in the radio. Contact the nearest Motorola service rep-
resentative.
OTE:
The power-up self check verifies that the radio’s microprocessor-based
systems are working, but it does not check all the RF components, nor
does it check the operation of all customer-specific features. Motorola
recommends that the functioning of the radio be checked periodically
by an authorized Motorola service representative.
N

33
English
PARTS INFORMATION
7:00 A.M. - 7:00 P.M. (Central Standard Time)
Monday through Friday (Chicago, U.S.A.)
To order parts:
1-800-422-4210
Accessories and Aftermarket Division
Attention: Order Processing
1313 E. Algonquin Road
Schaumburg, IL 60196
No International weekend service is available.
COMPUTER SOFTWARE COPYRIGHTS
The Motorola equipment described in this manual may include
copyrighted Motorola computer programs stored in semiconductor
memories or other media. Laws in the United States and other
countries preserve for Motorola certain exclusive rights for copy-
righted computer programs, including the exclusive right to copy or
reproduce in any form the copyrighted computer program. Accord-
ingly, any copyrighted Motorola computer programs contained in
the Motorola equipment described in this manual may not be cop-
ied or reproduced in any manner without the express permission of
Motorola. Furthermore, the purchase of Motorola equipment shall
not be deemed to grant either directly or by implication, estoppel,
or otherwise, any license under the copyrights, patents or patent
applications of Motorola, except for the normal nonexclusive, roy-
alty free license to use that arises by operation of law in the sales
of a product.
Important General Safety Information

34
English