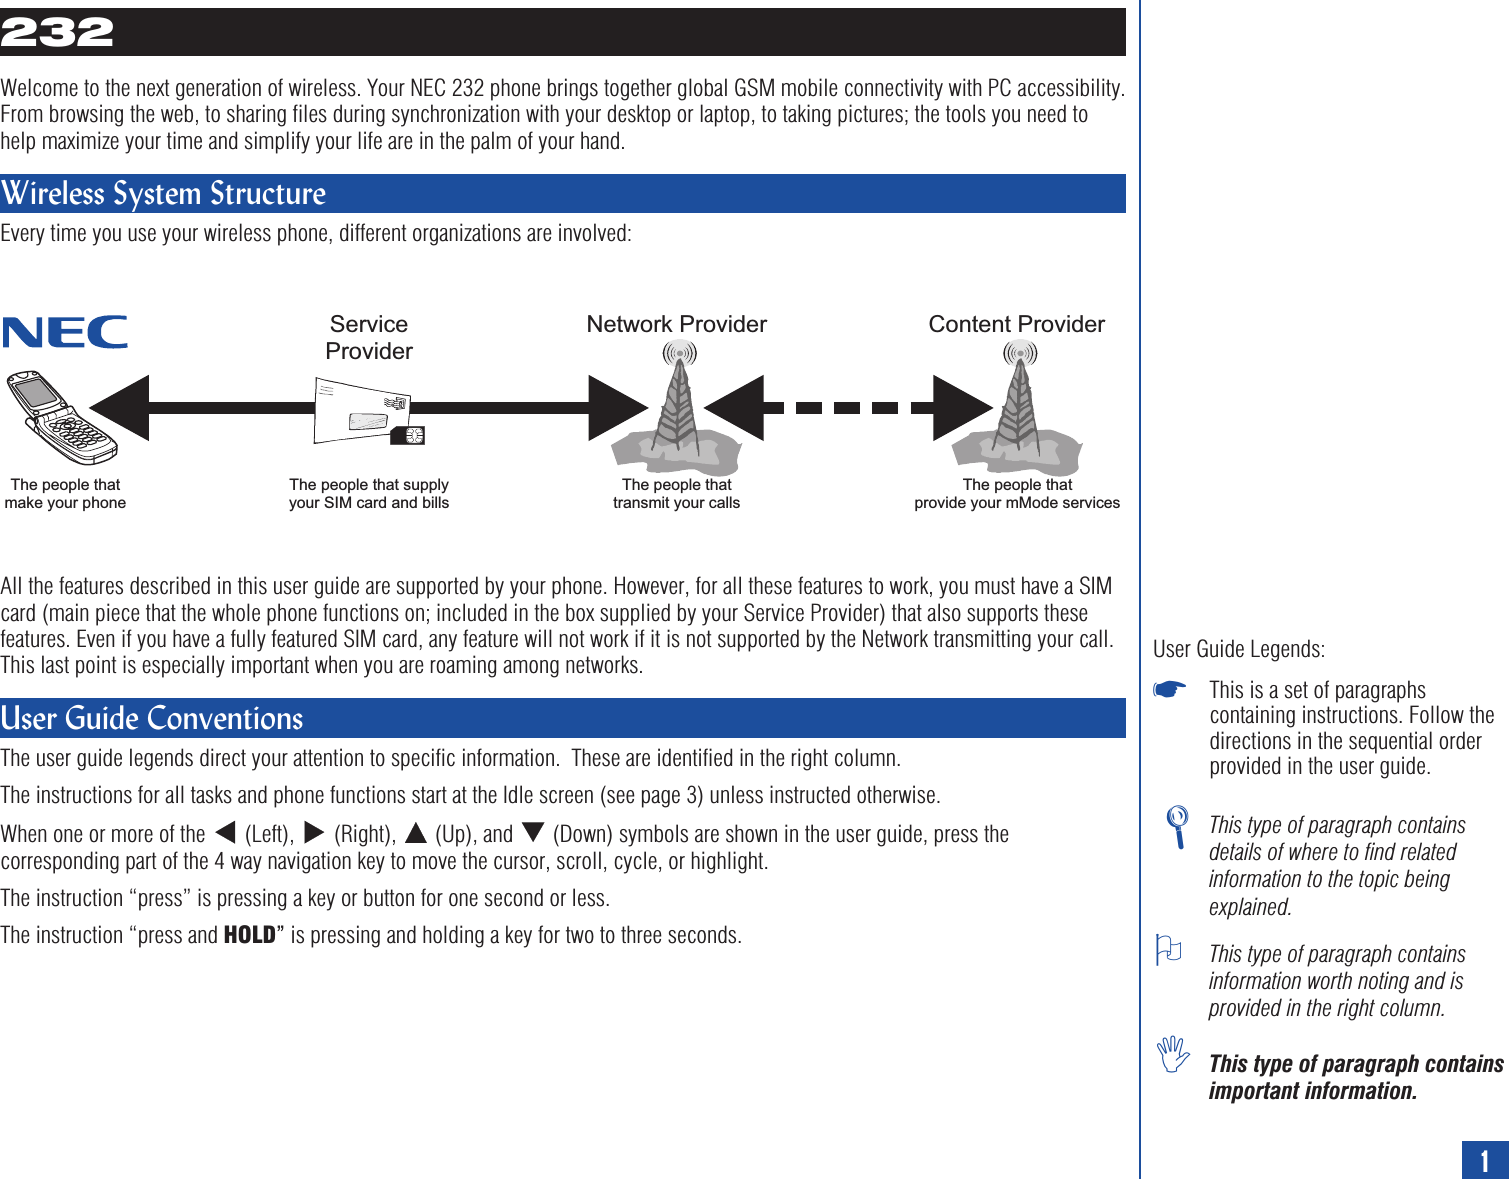
NEC of America KMP6J1N1 Dual-Band GSM Phone User Manual C a232 232 FCC vp
NEC Corporation of America Dual-Band GSM Phone C a232 232 FCC vp
UserManual.wiki
>
NEC of America
>
KMP6J1N1 User Manual
Users Manual
Navigation menu
Upload a User Manual
Namespaces
Wiki Guide
HTML
PDF
Info
Views
User Manual
Discussion / Help
Navigation


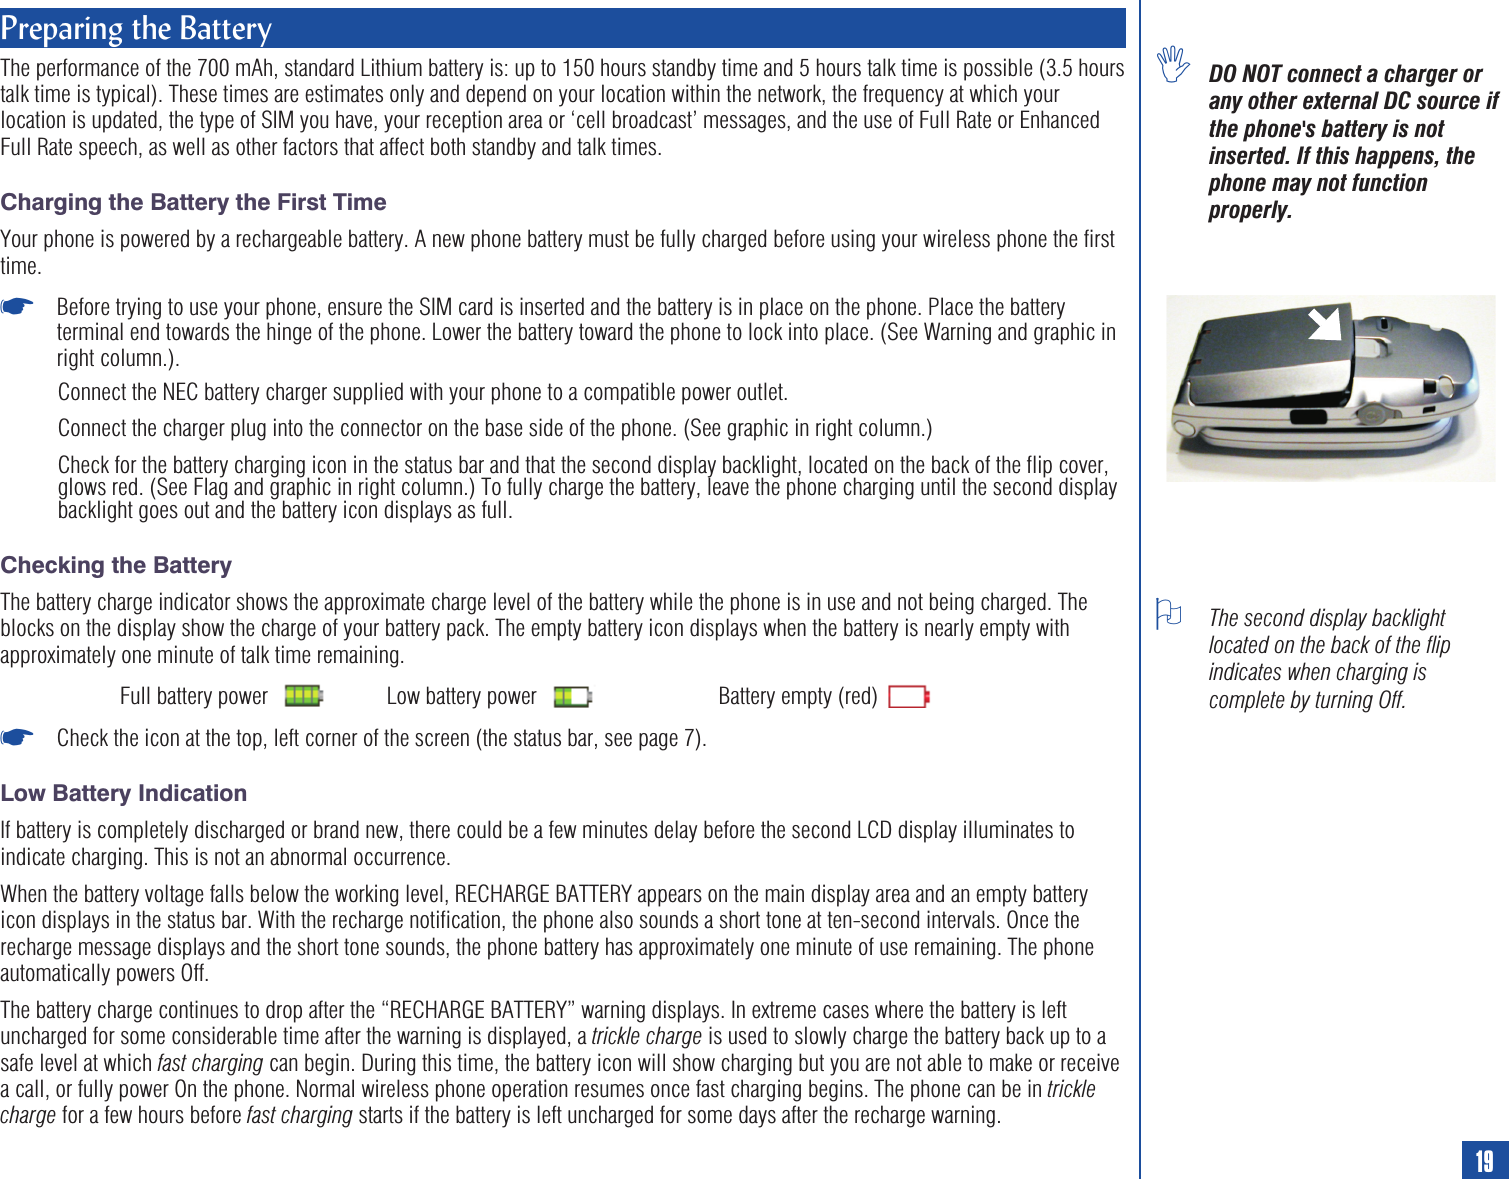


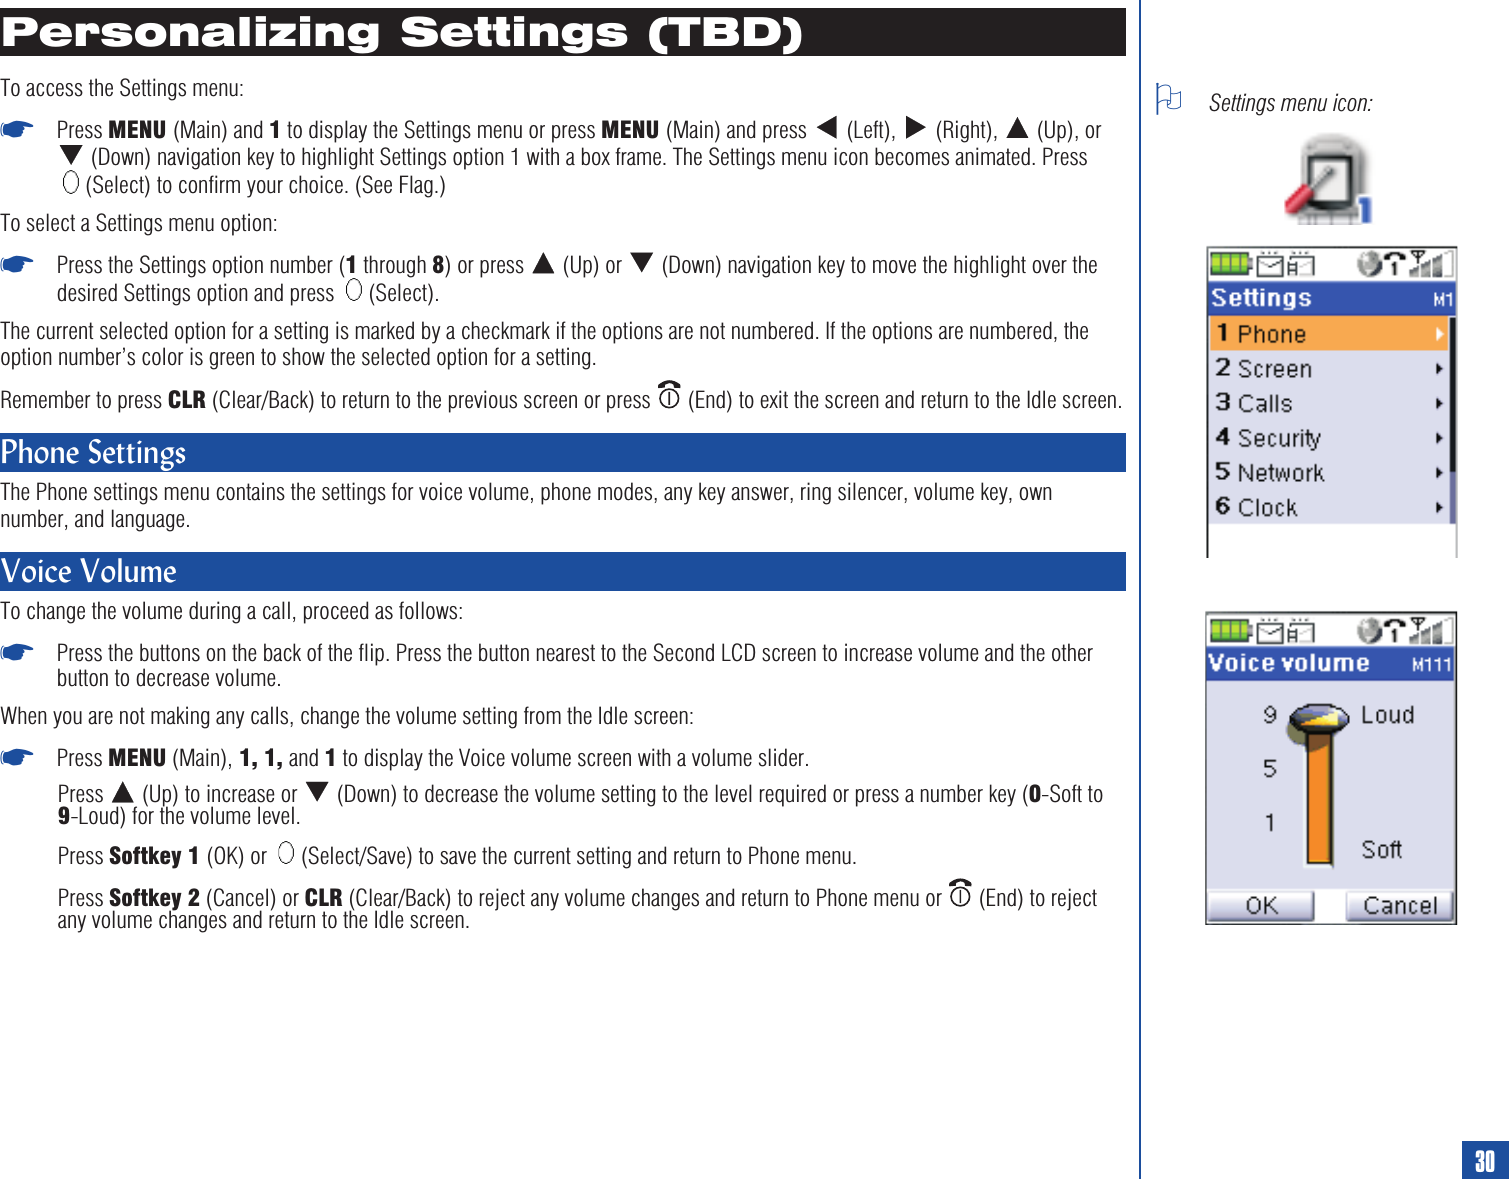

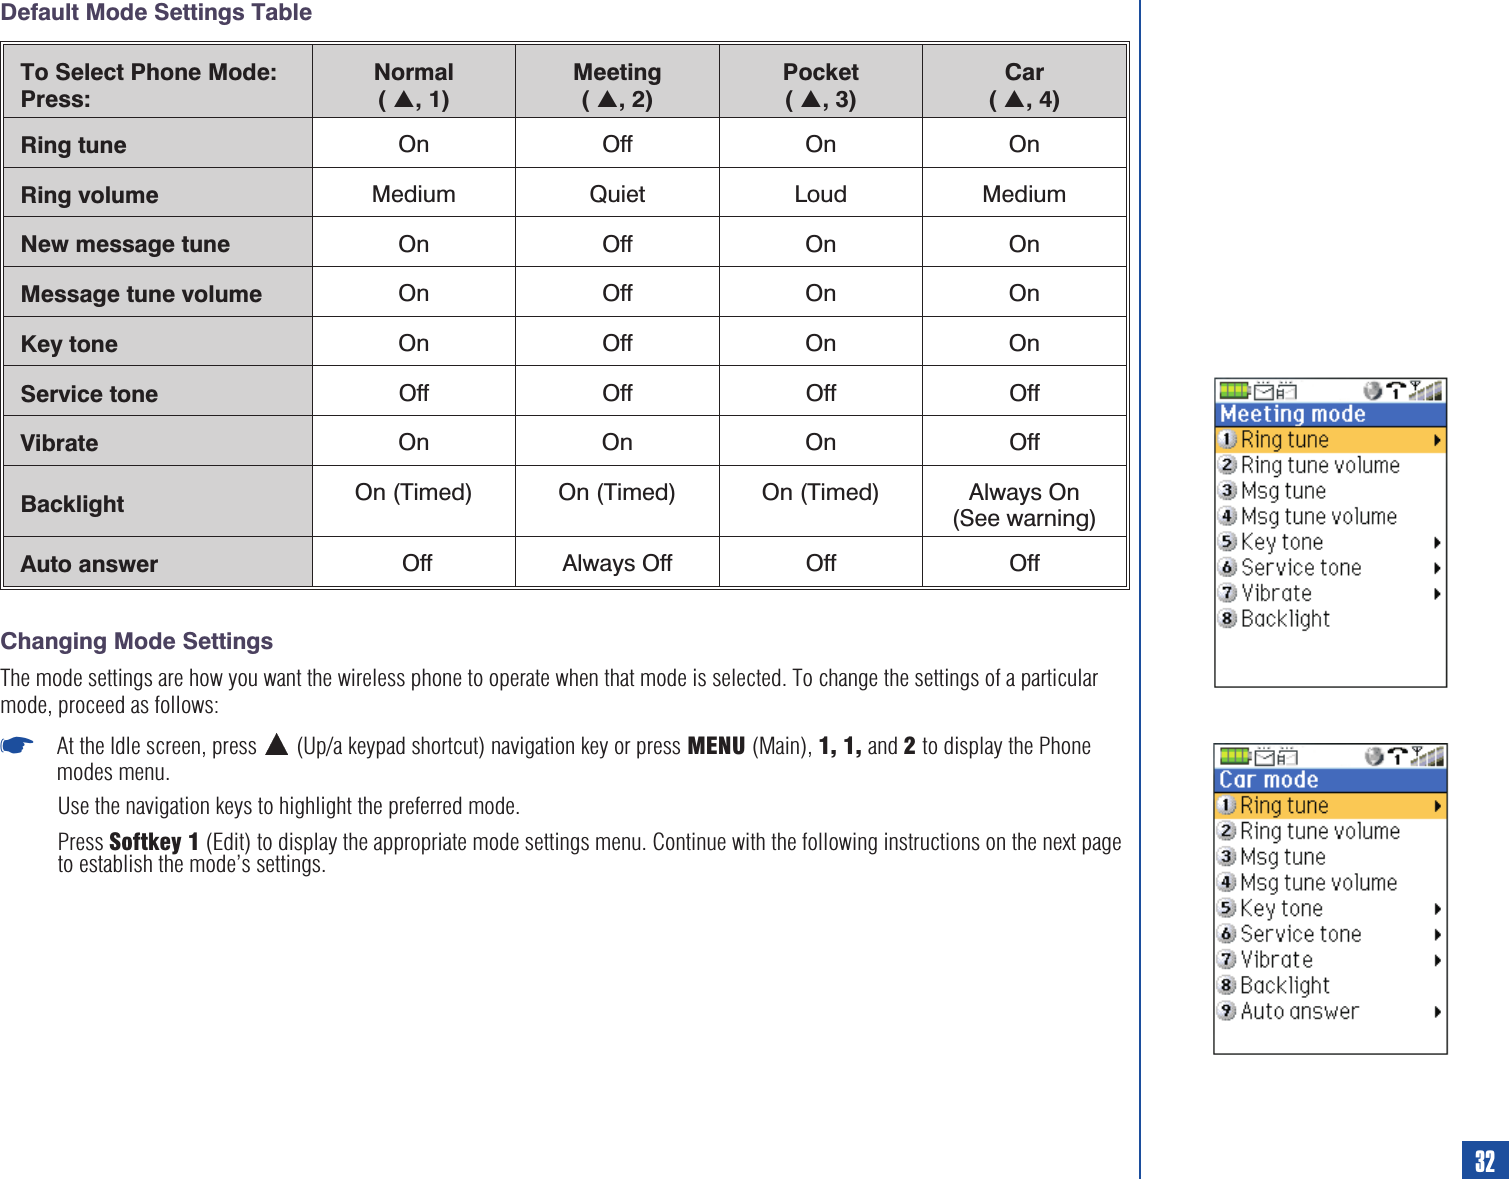
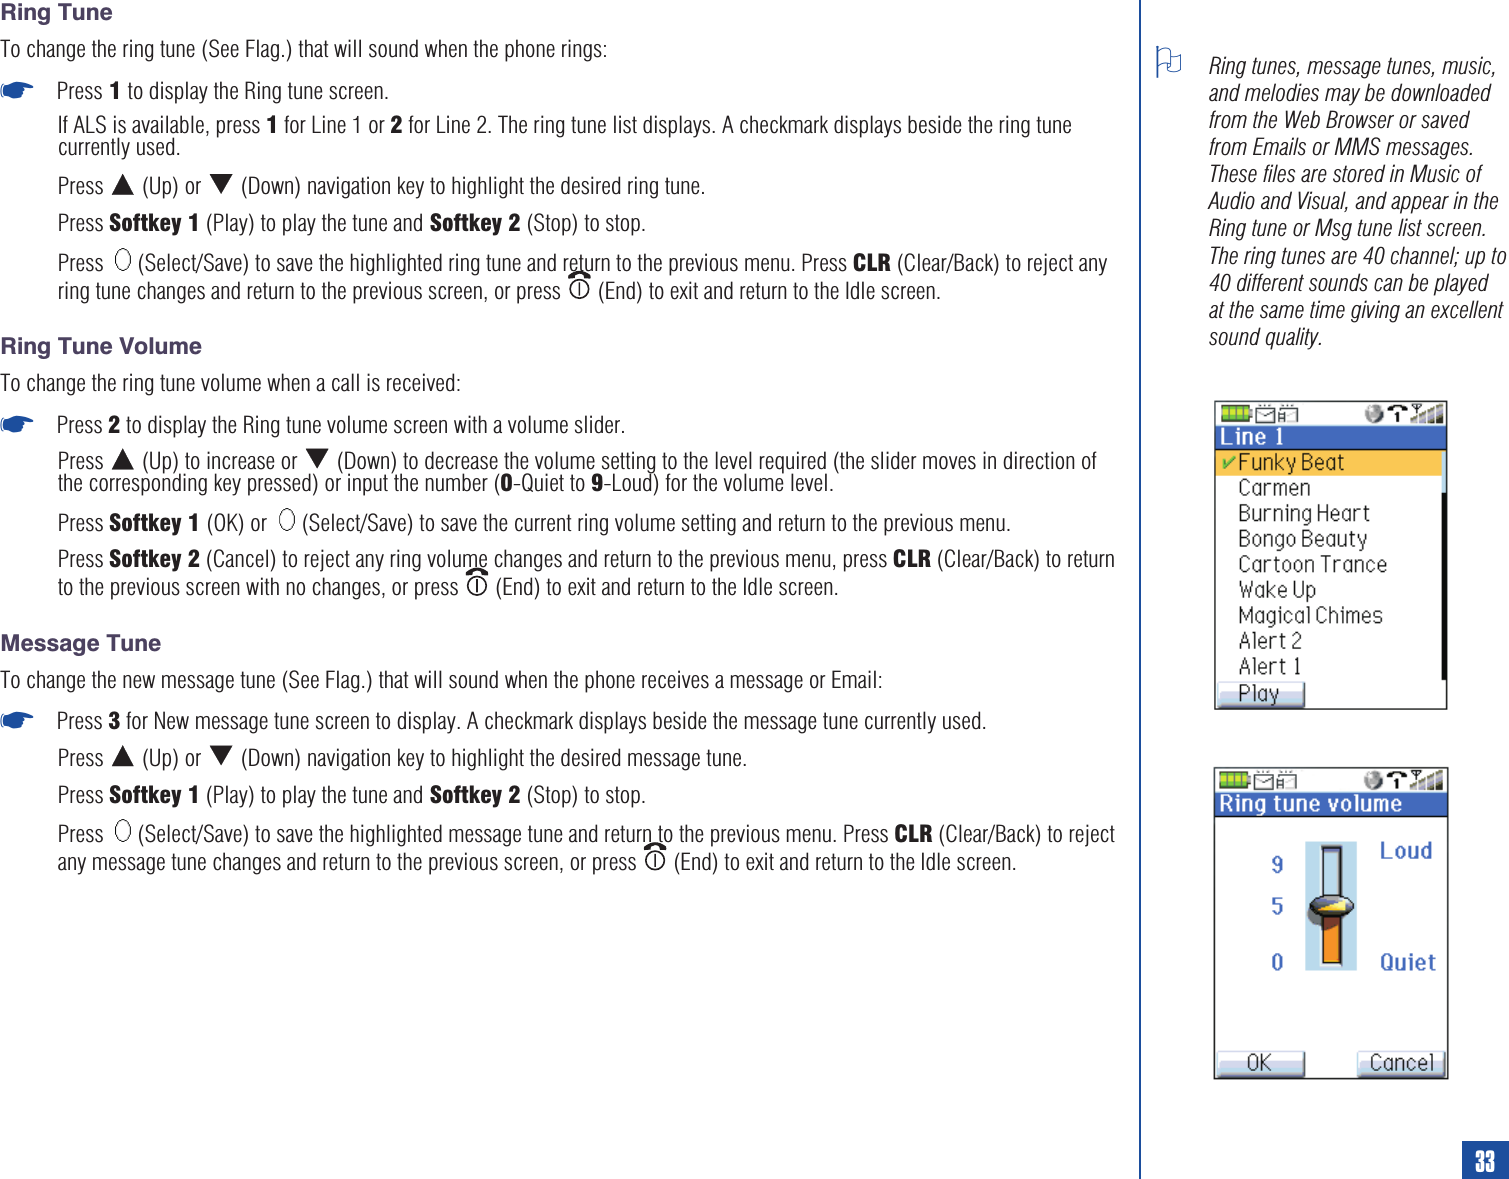
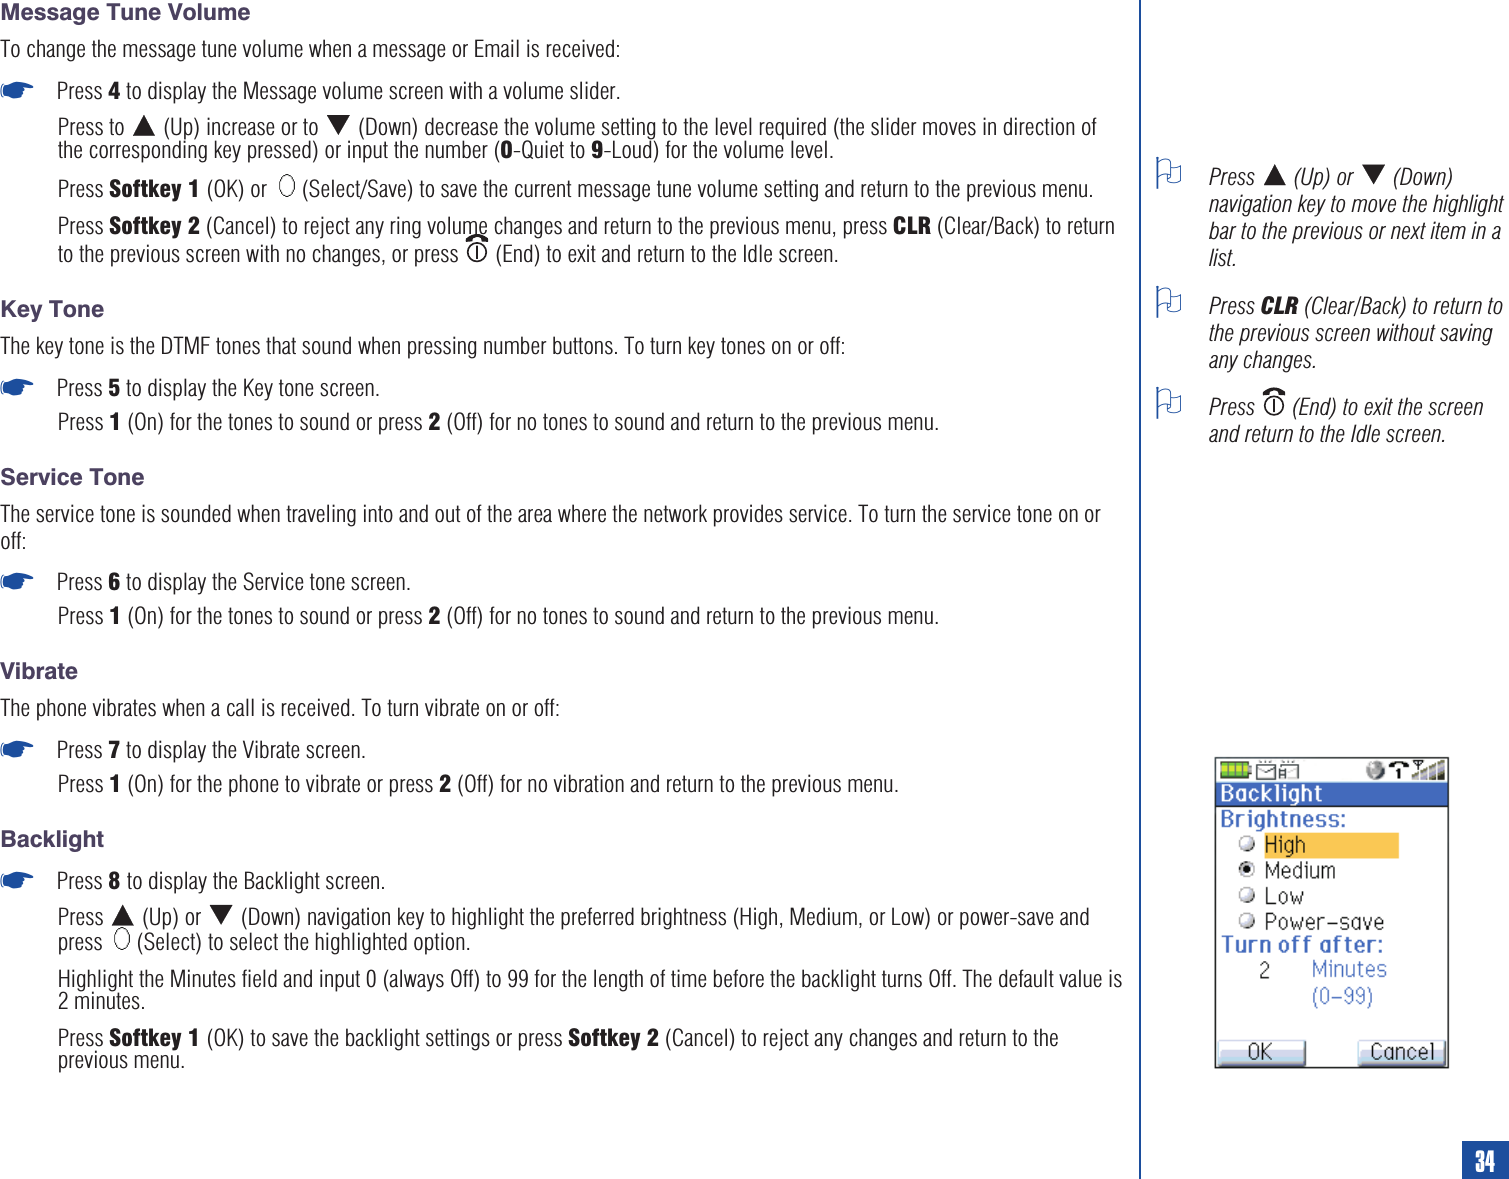
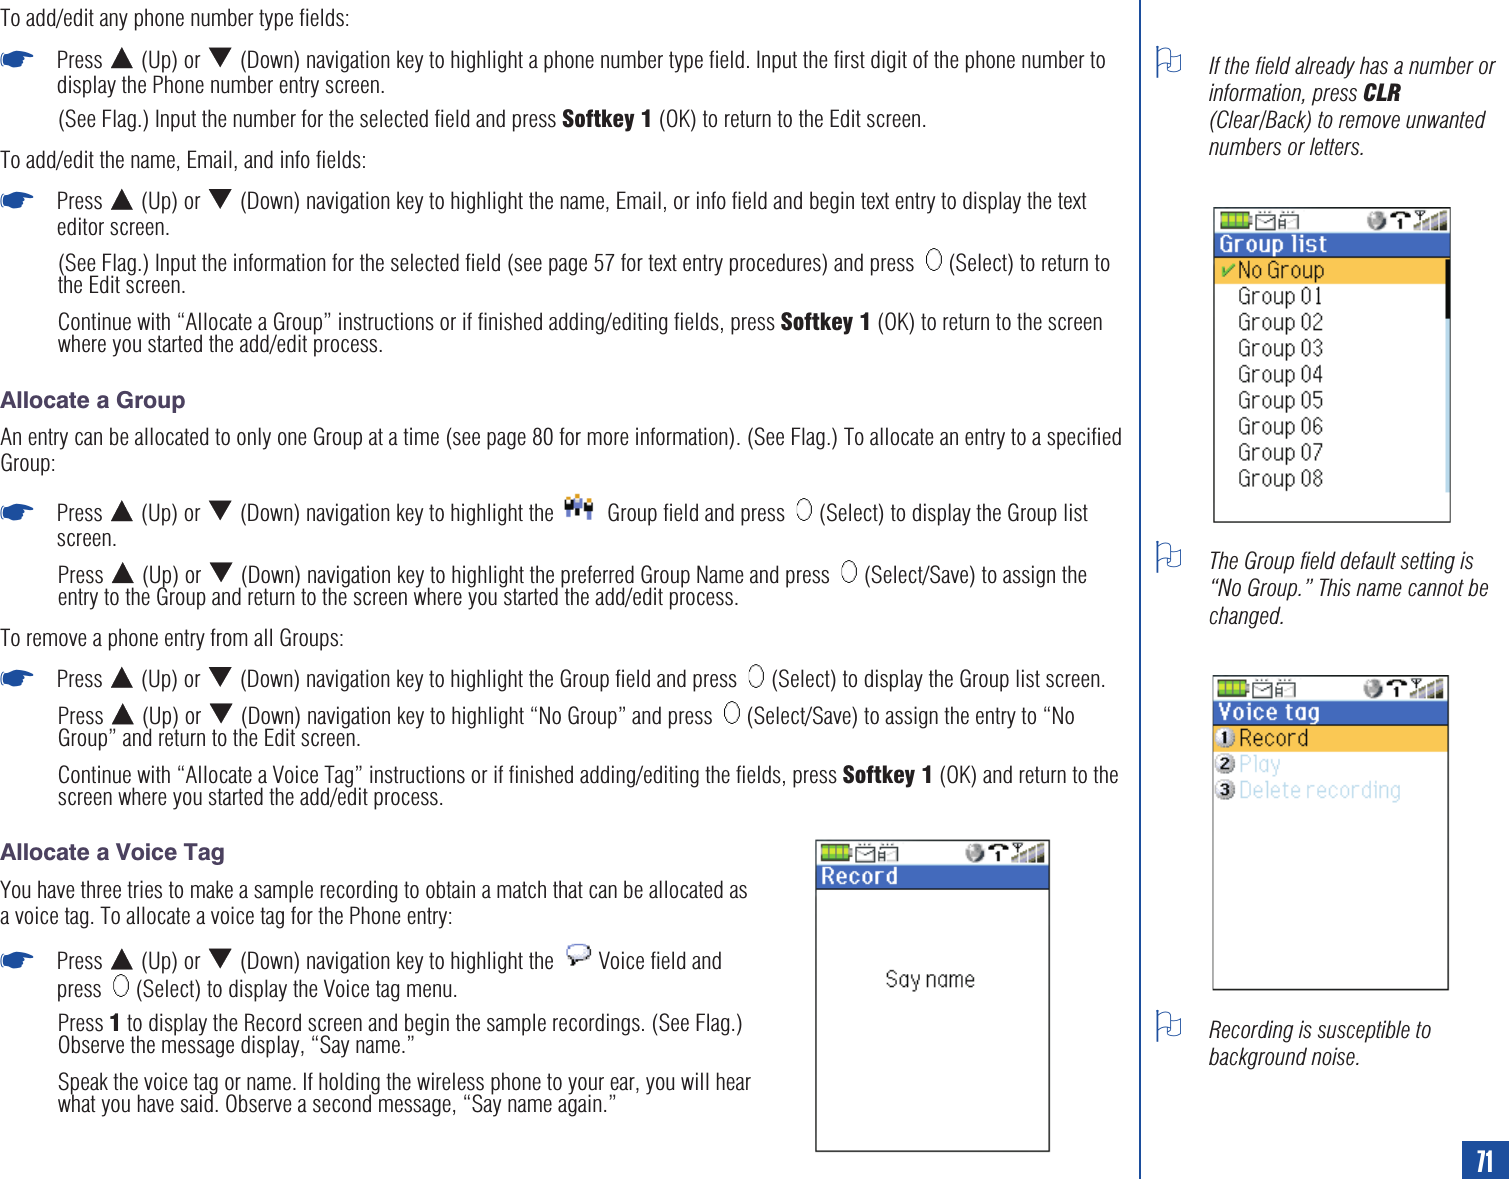
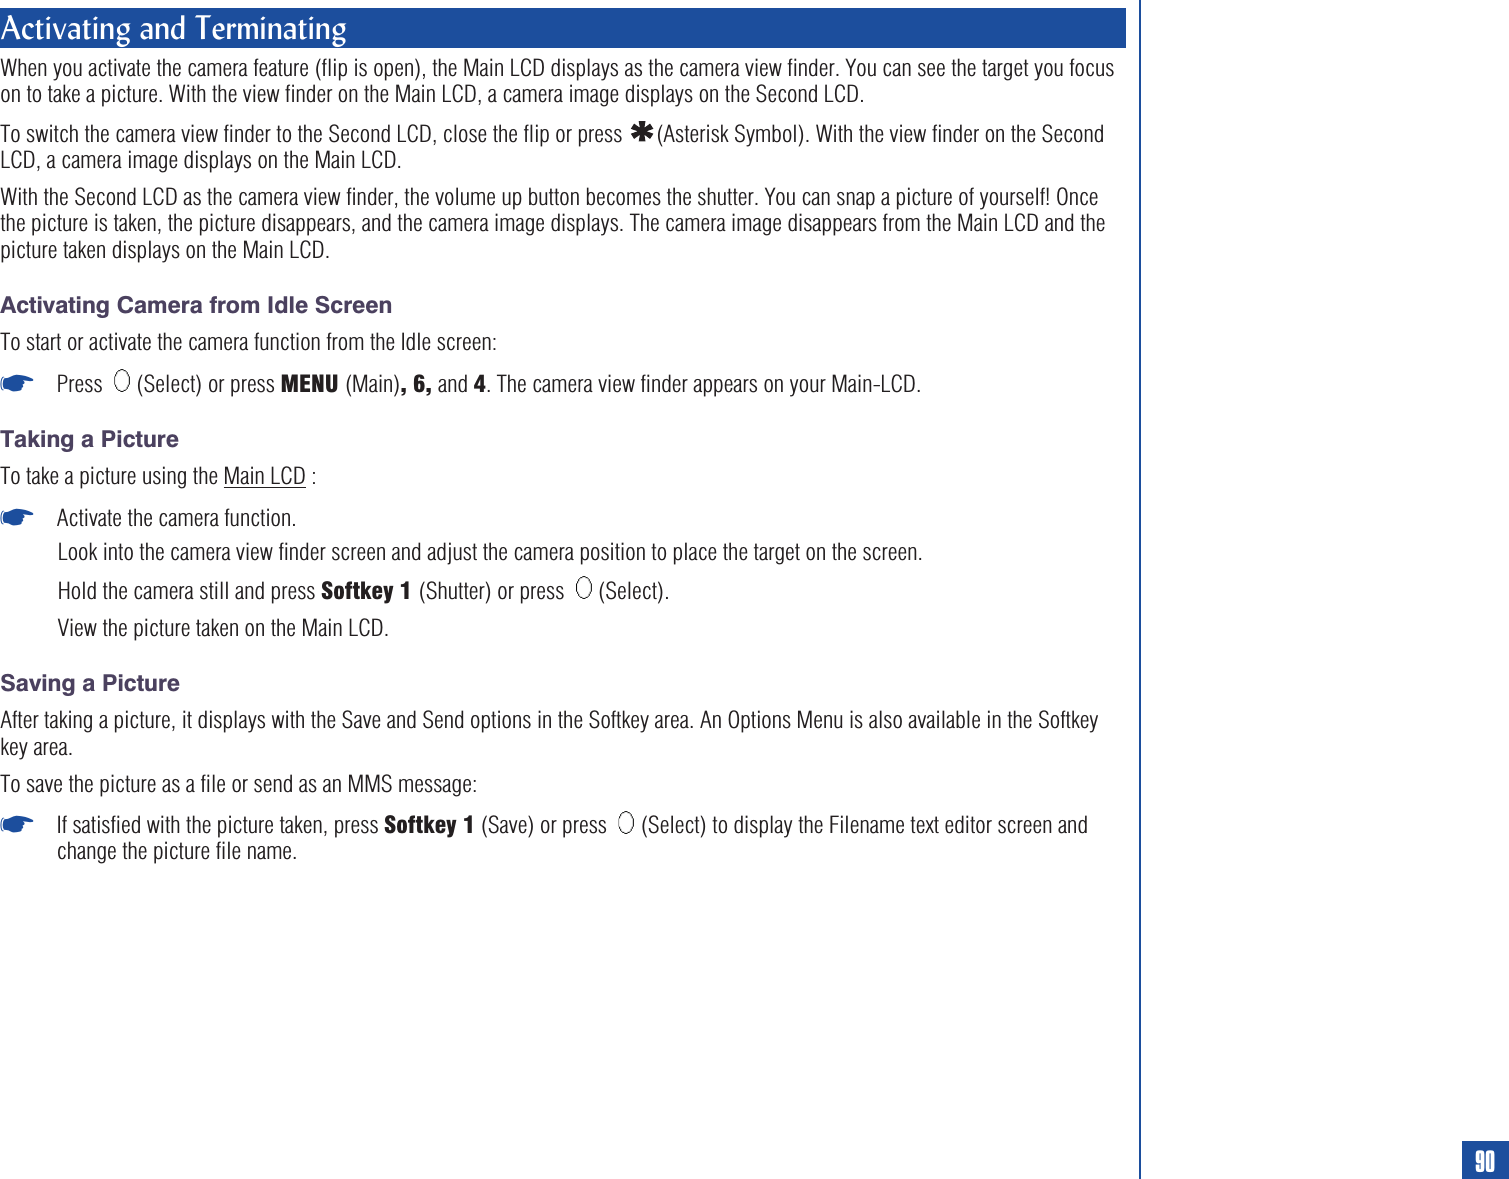
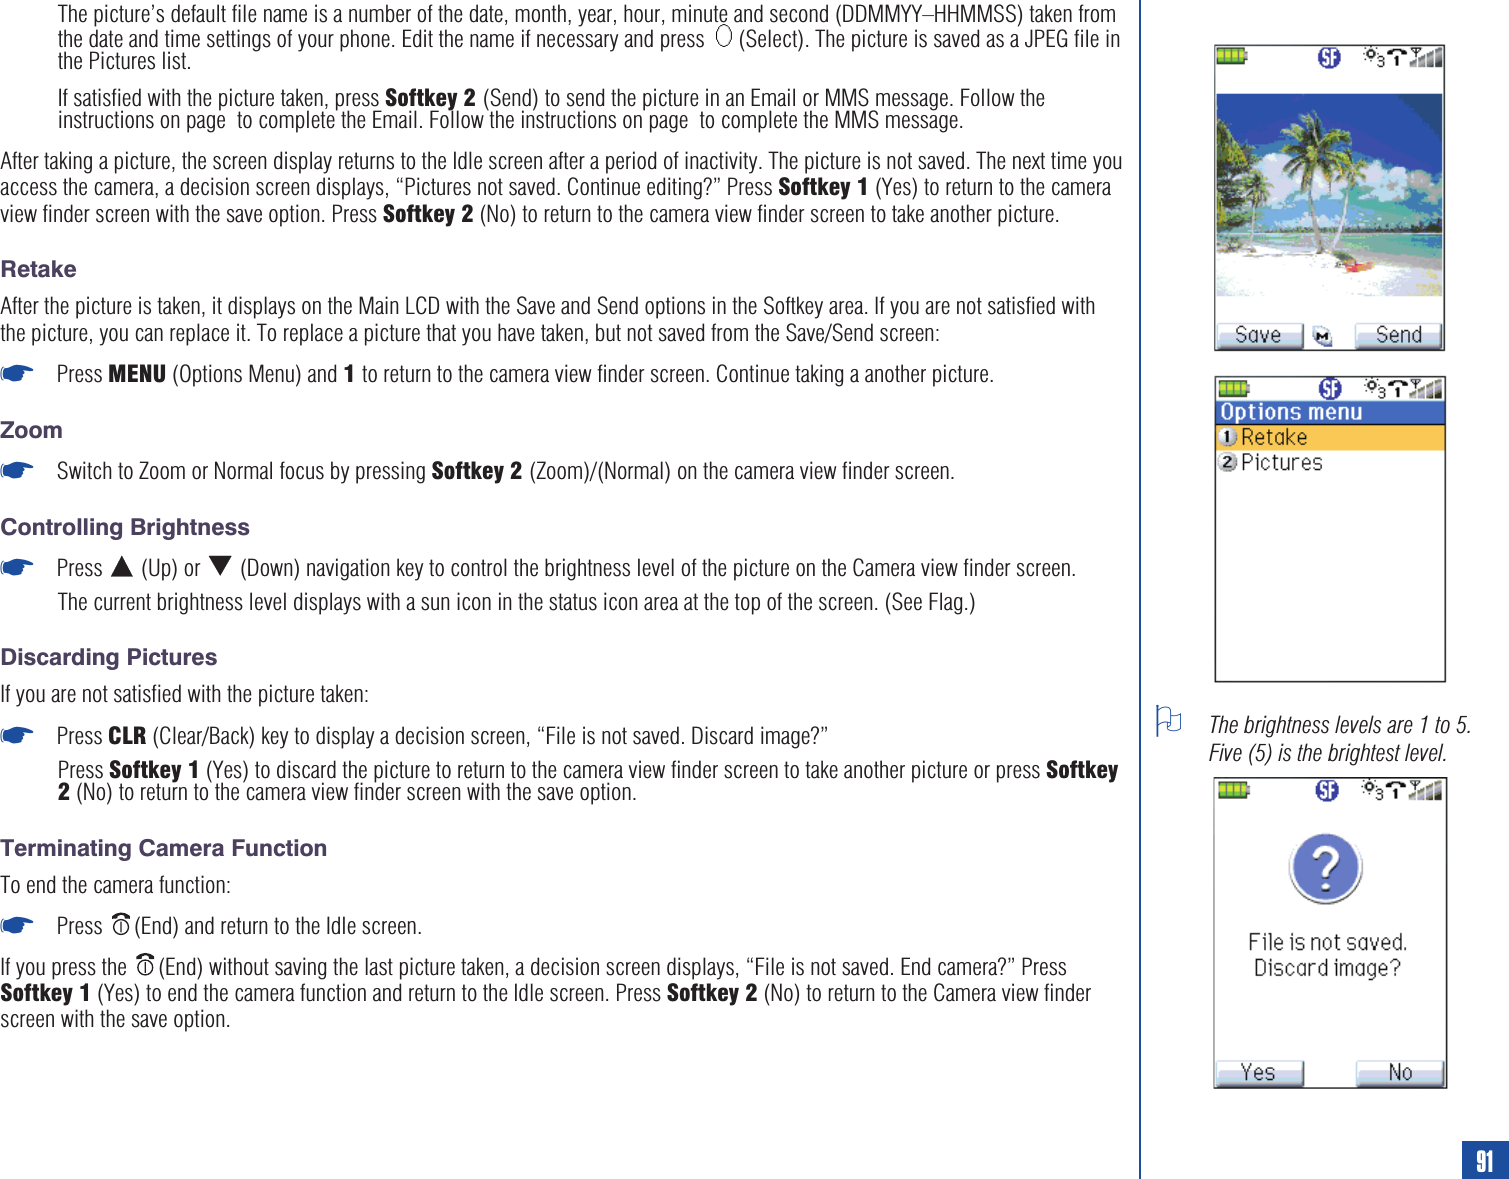
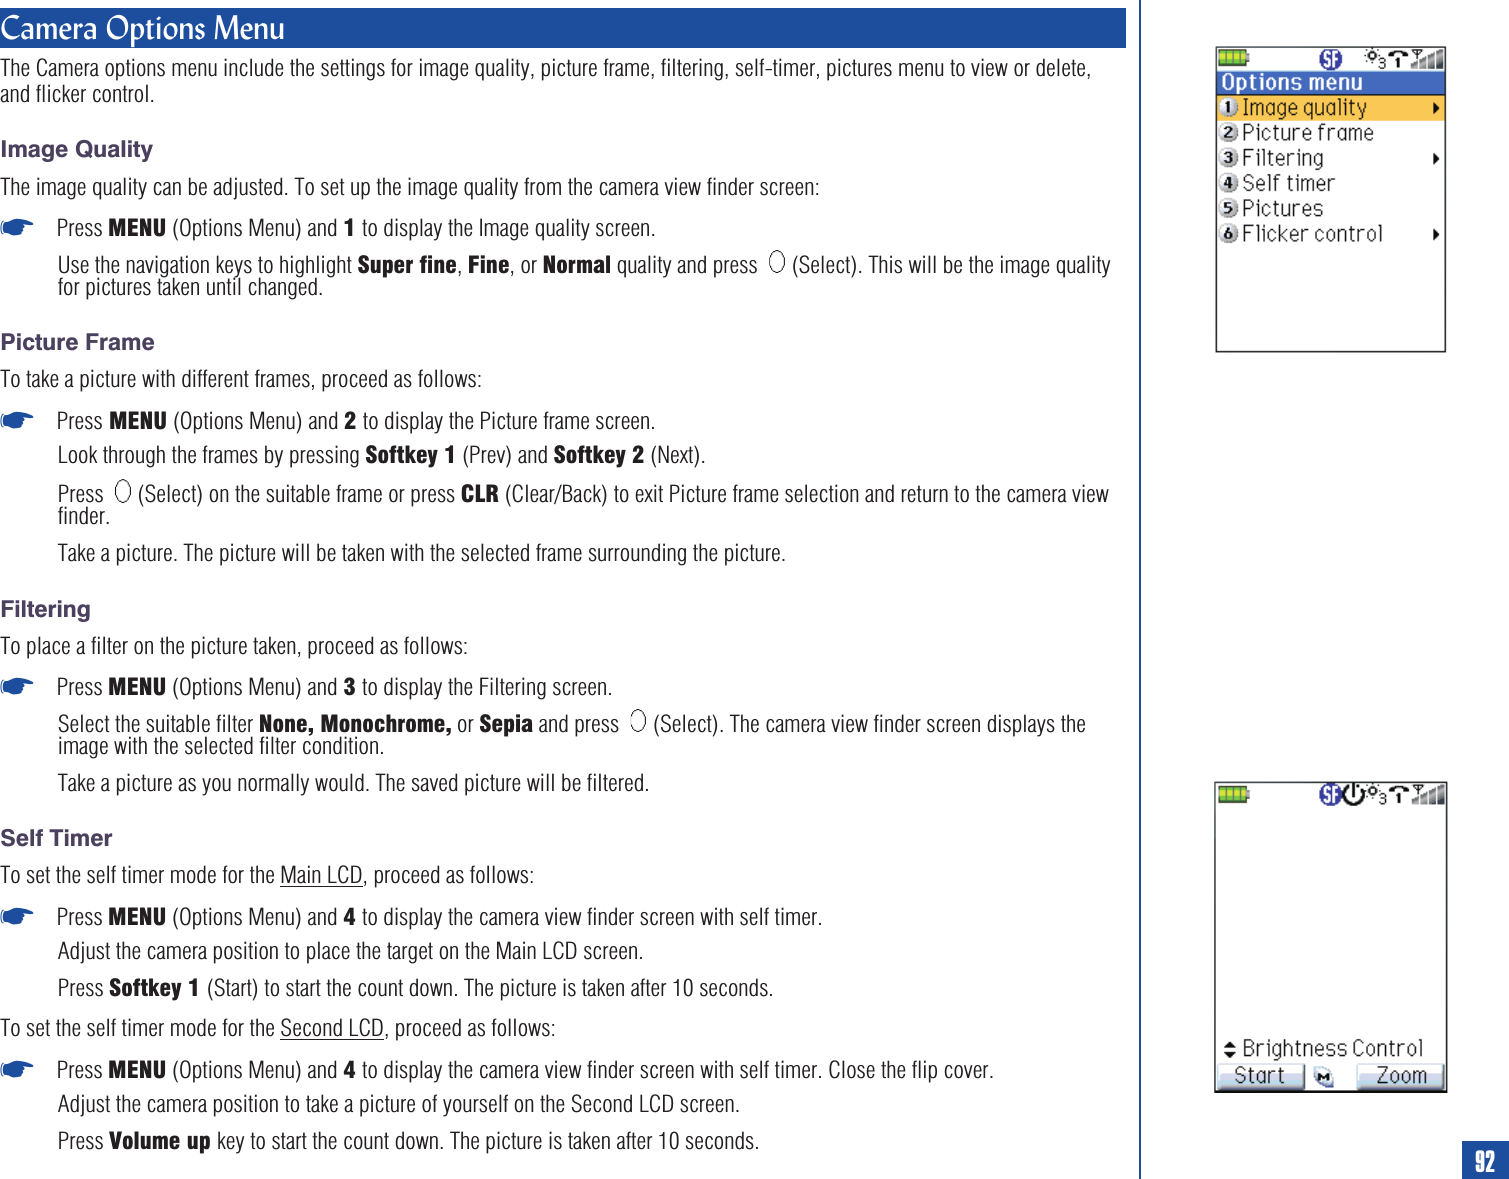
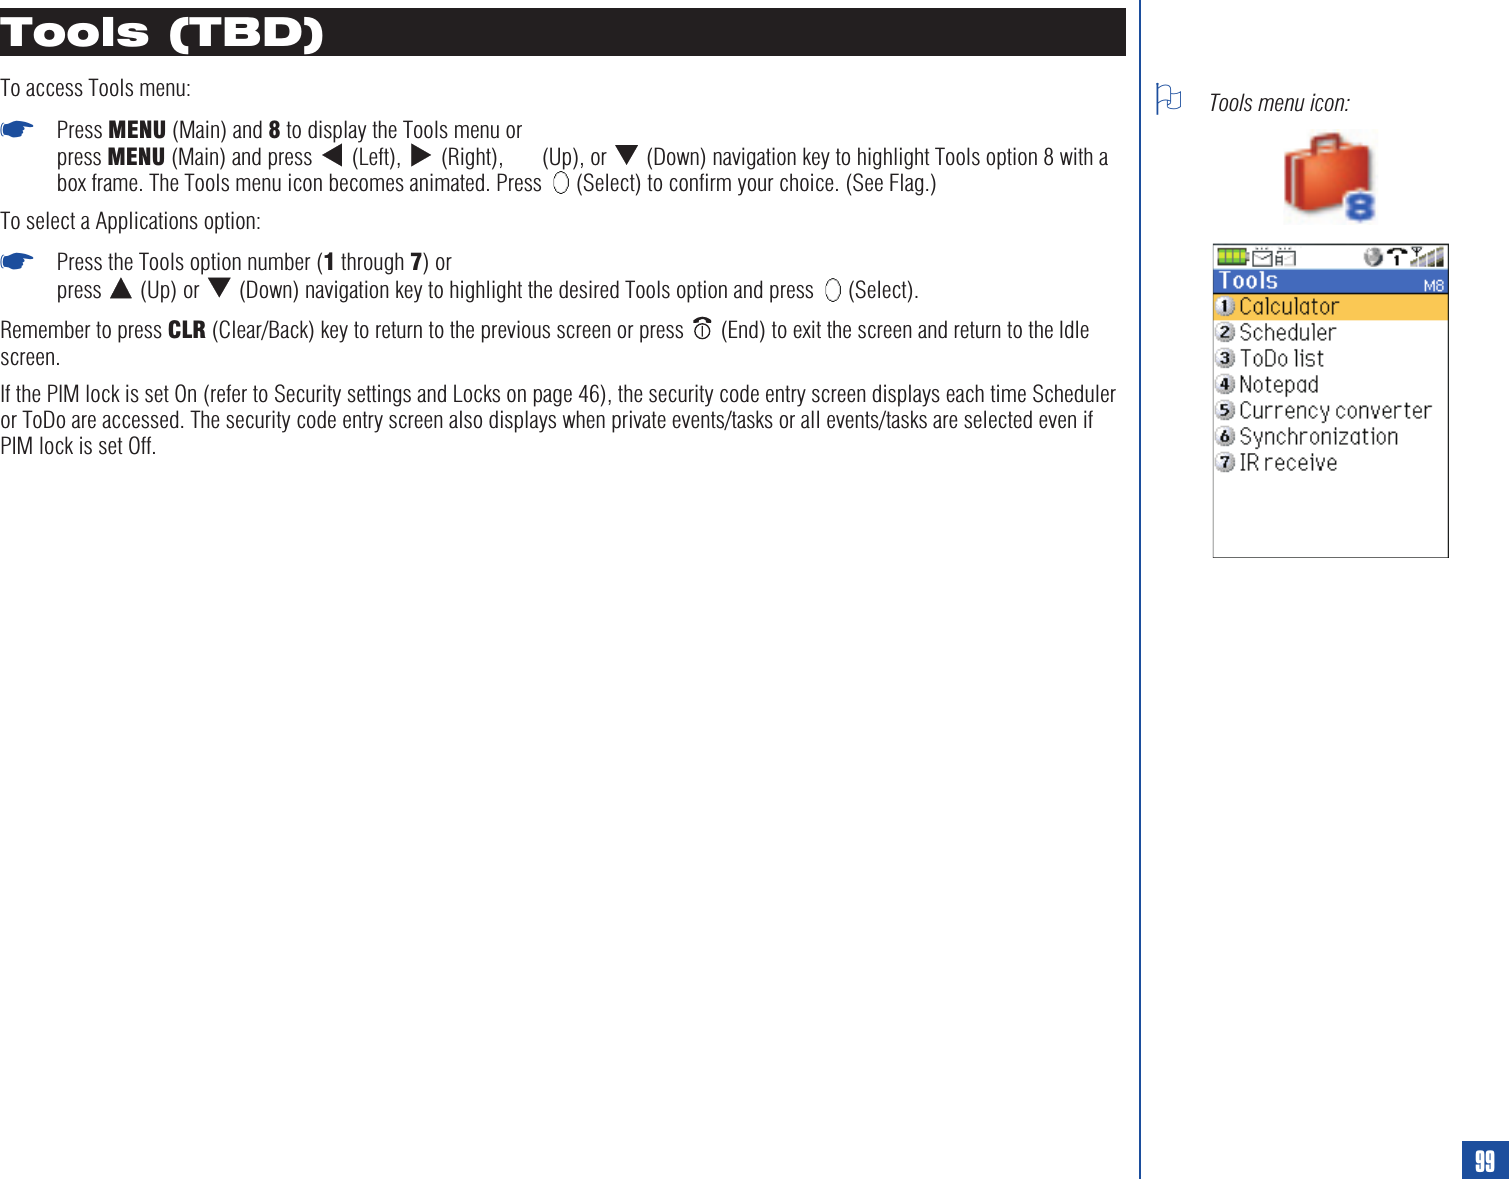
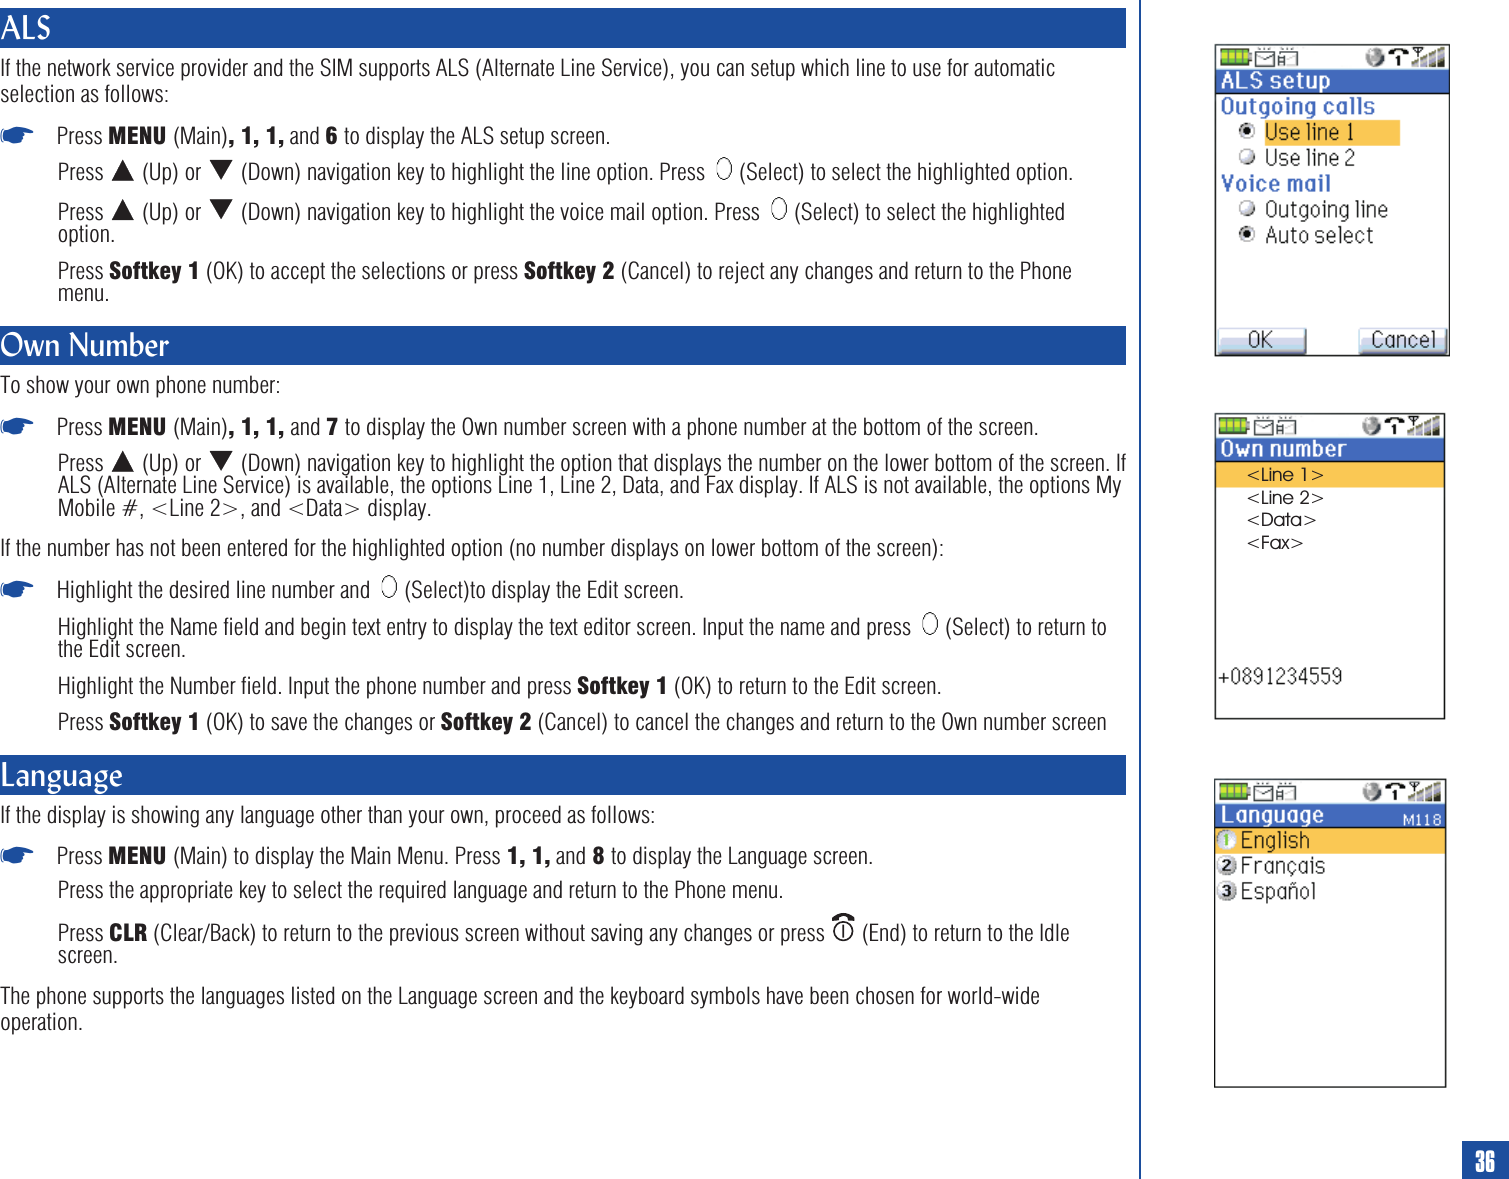
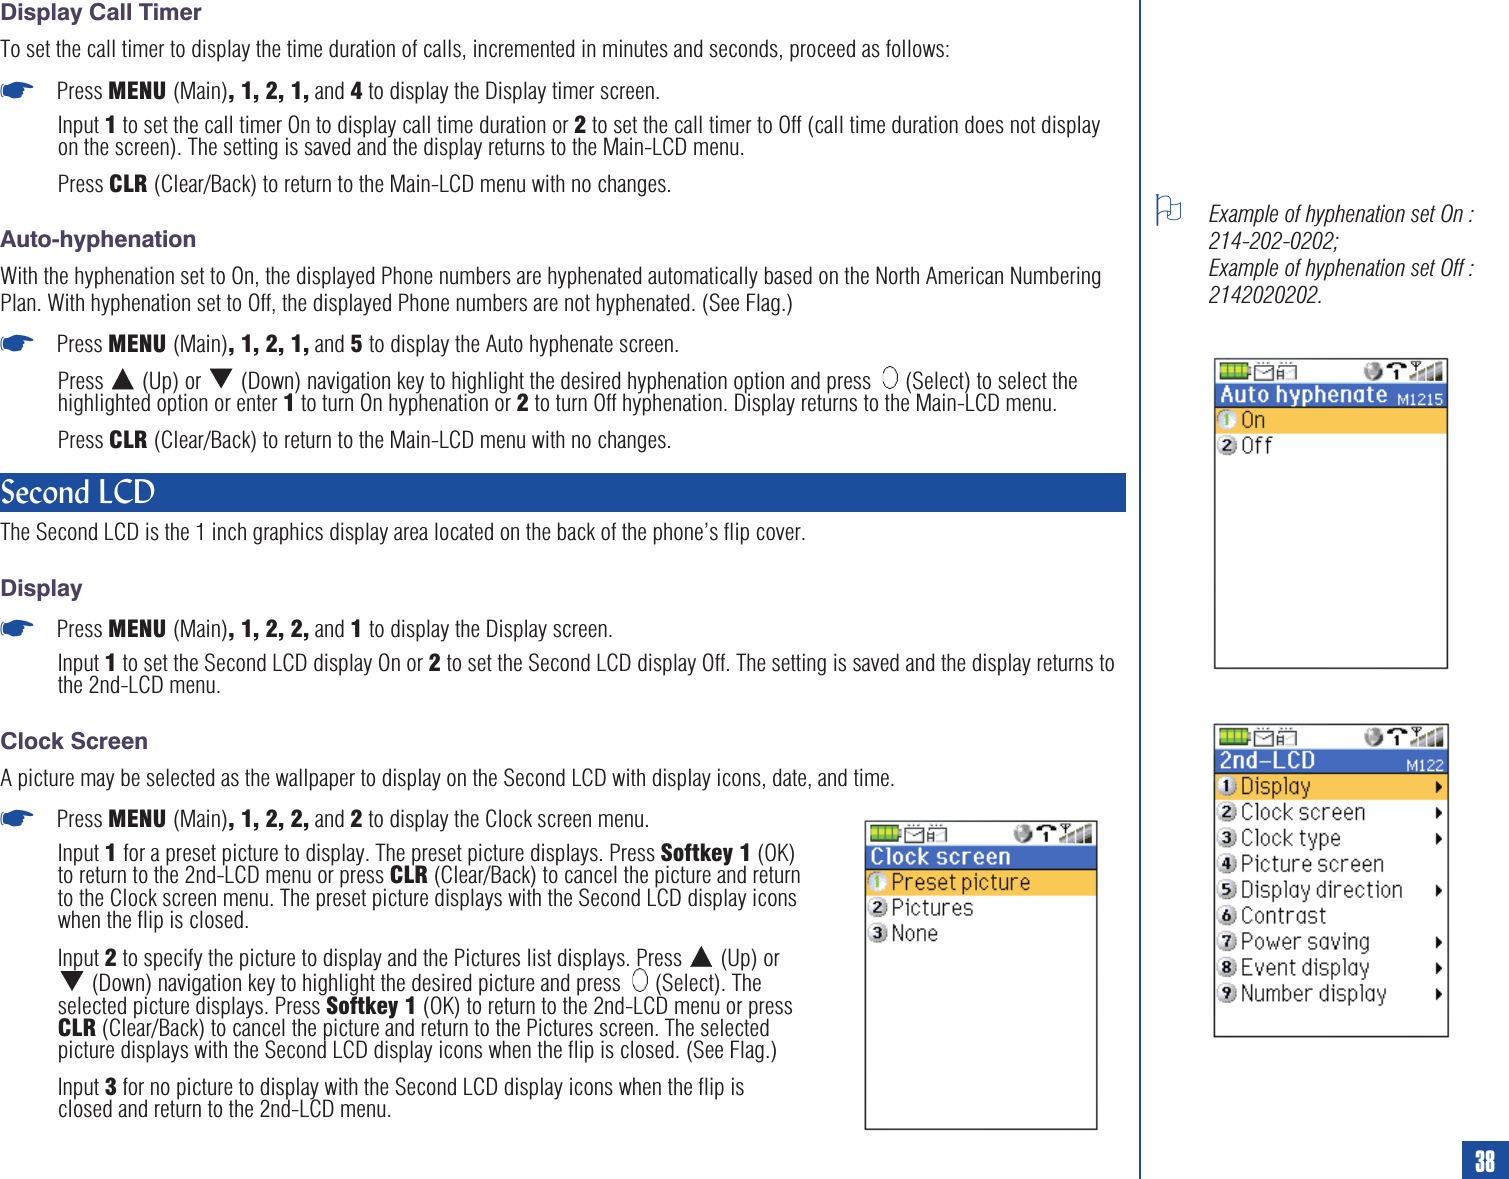
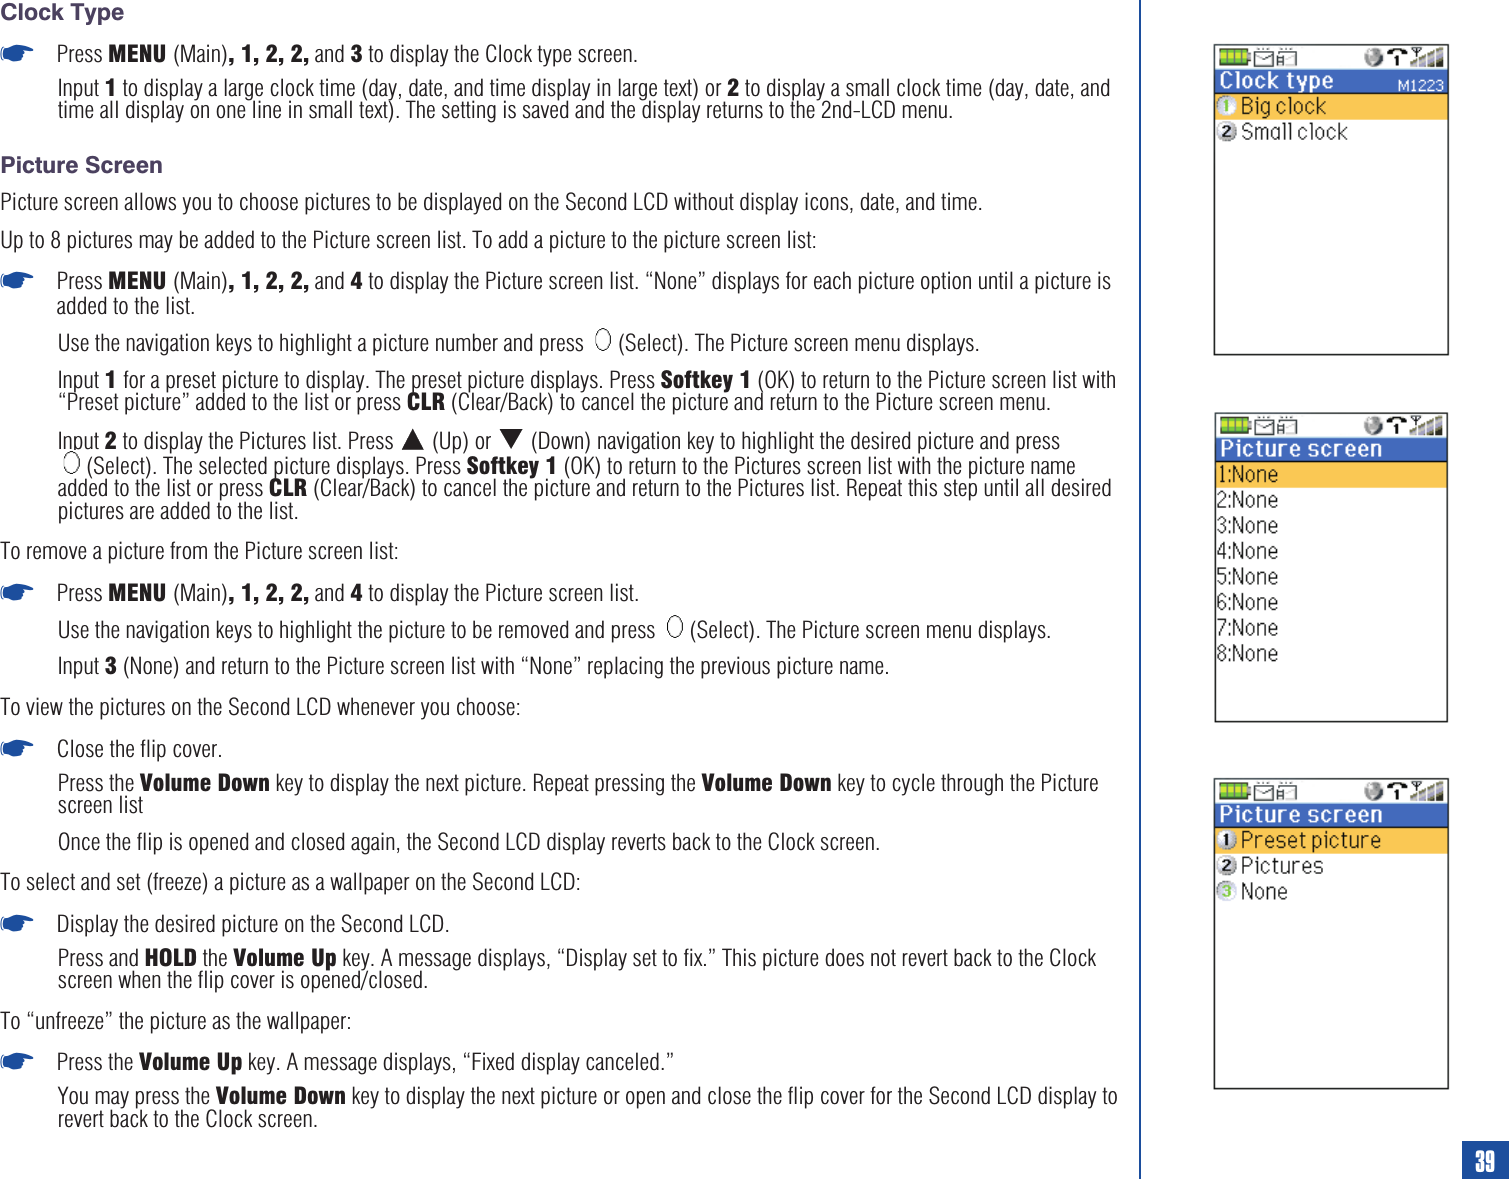
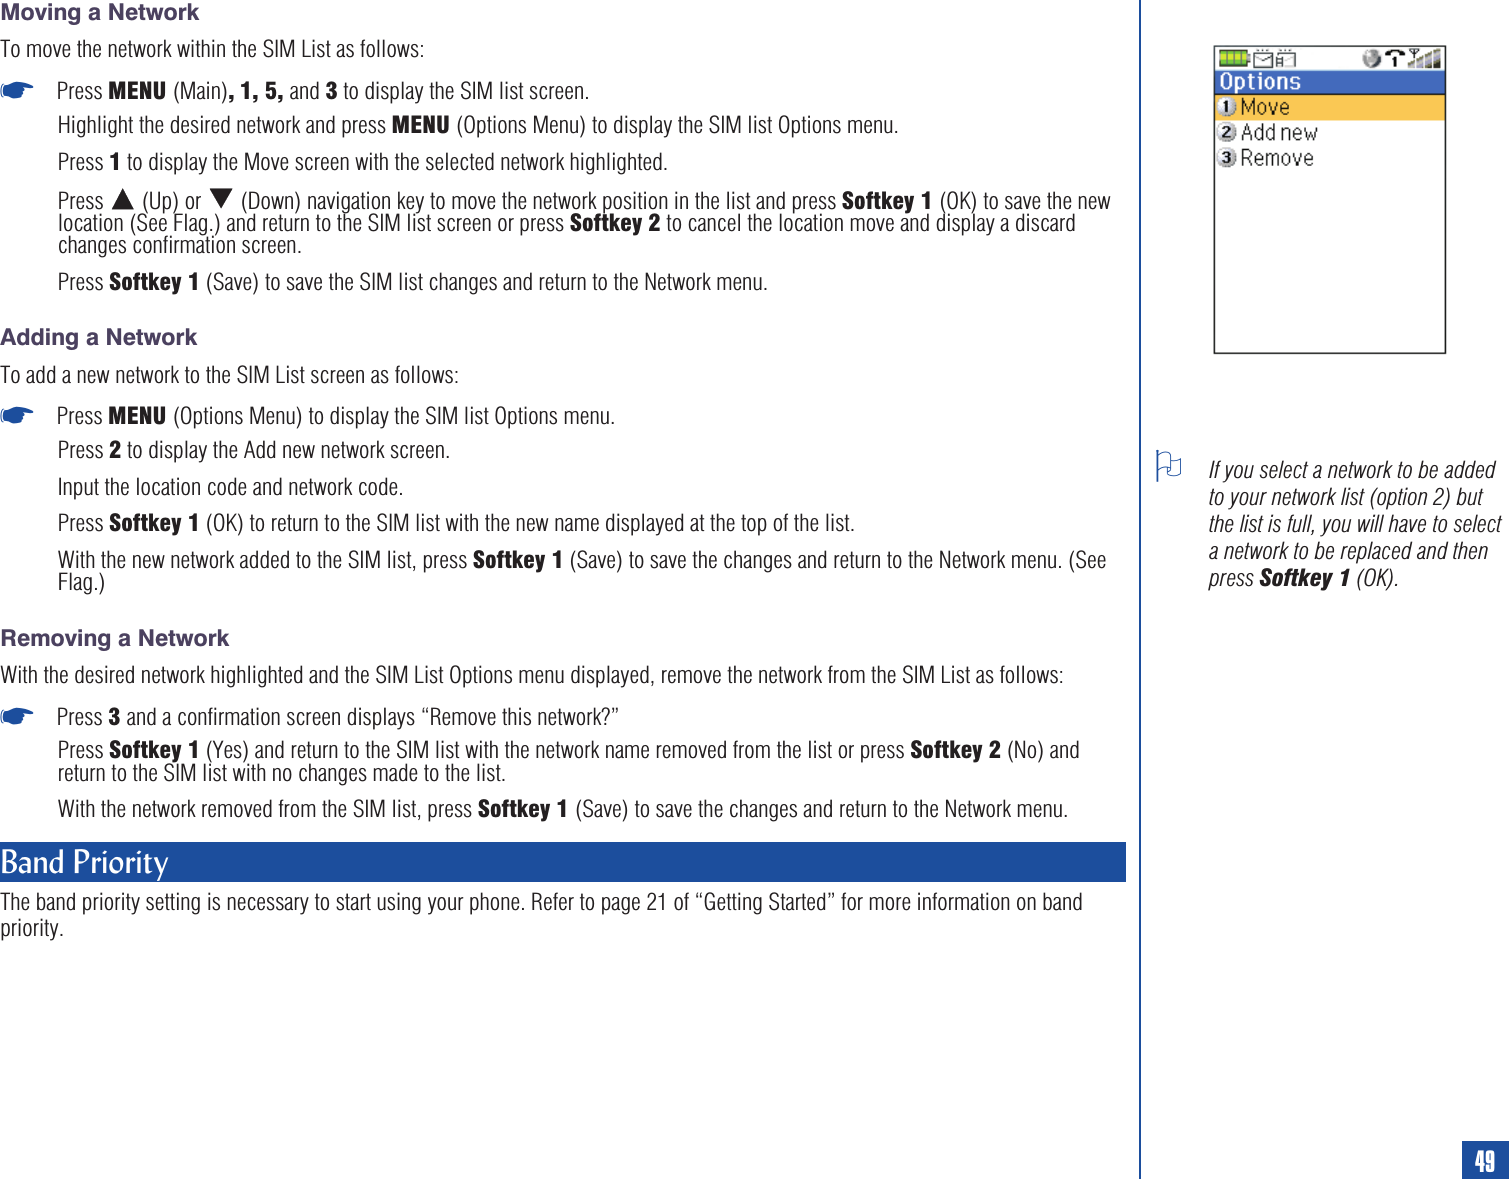
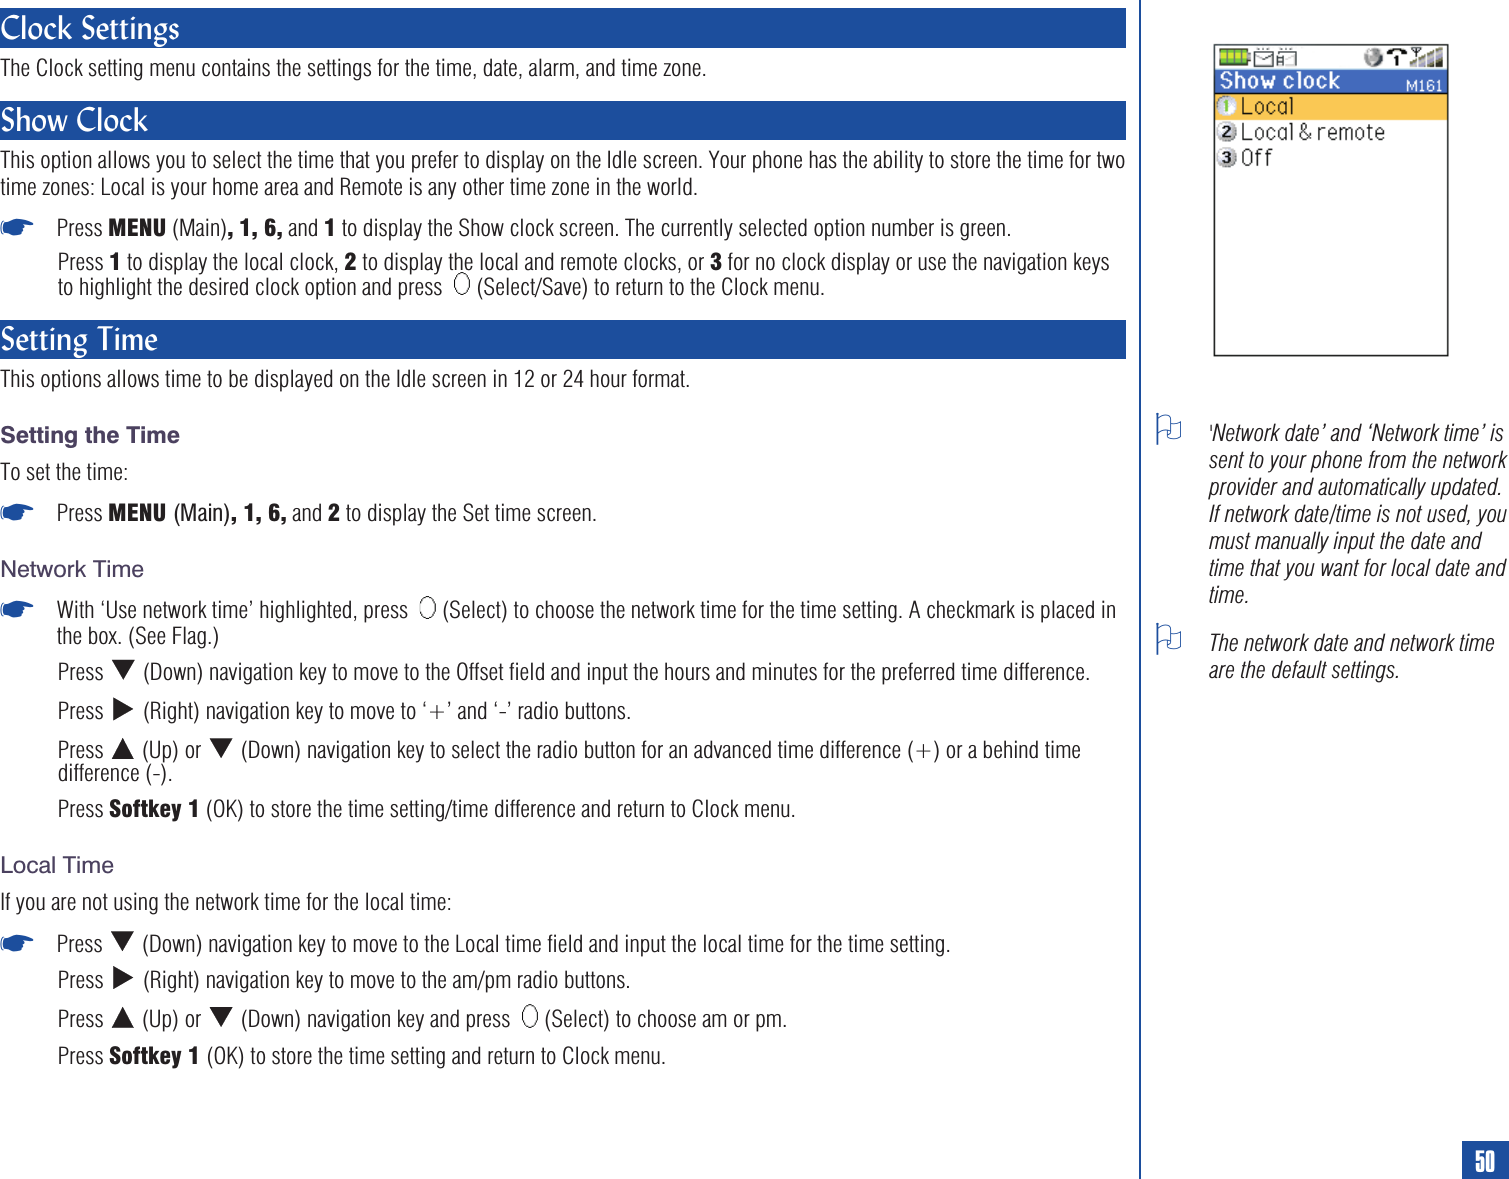
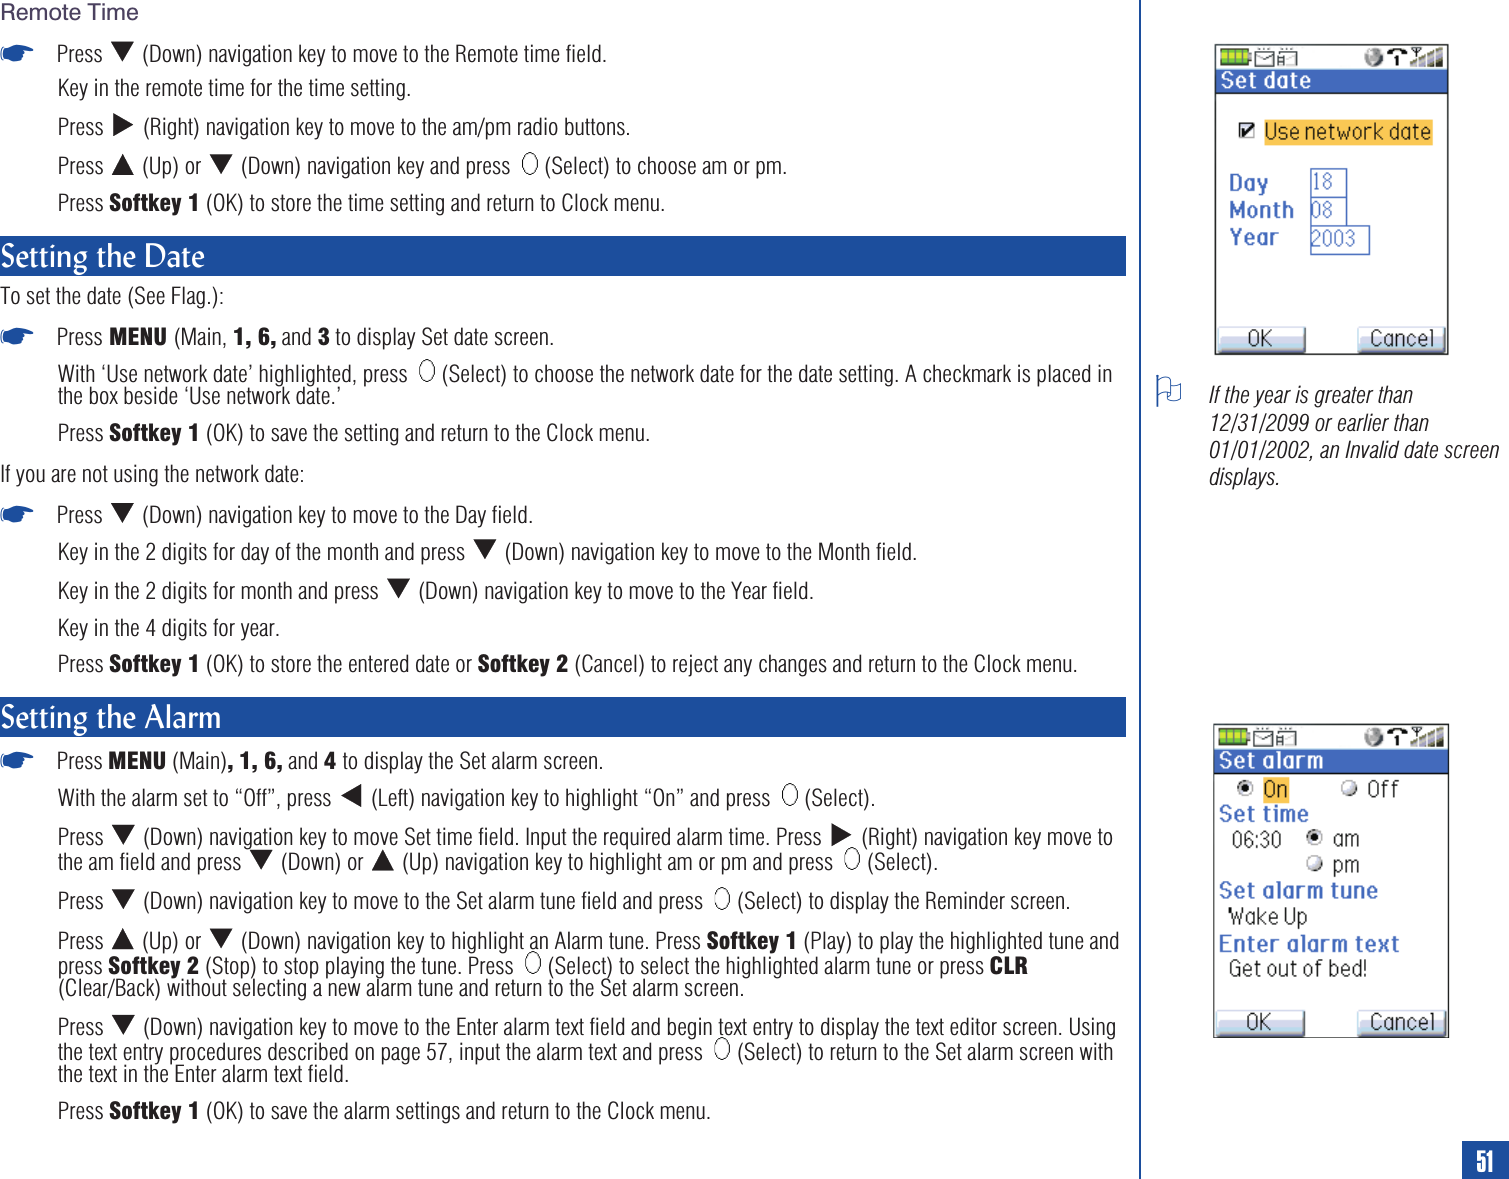
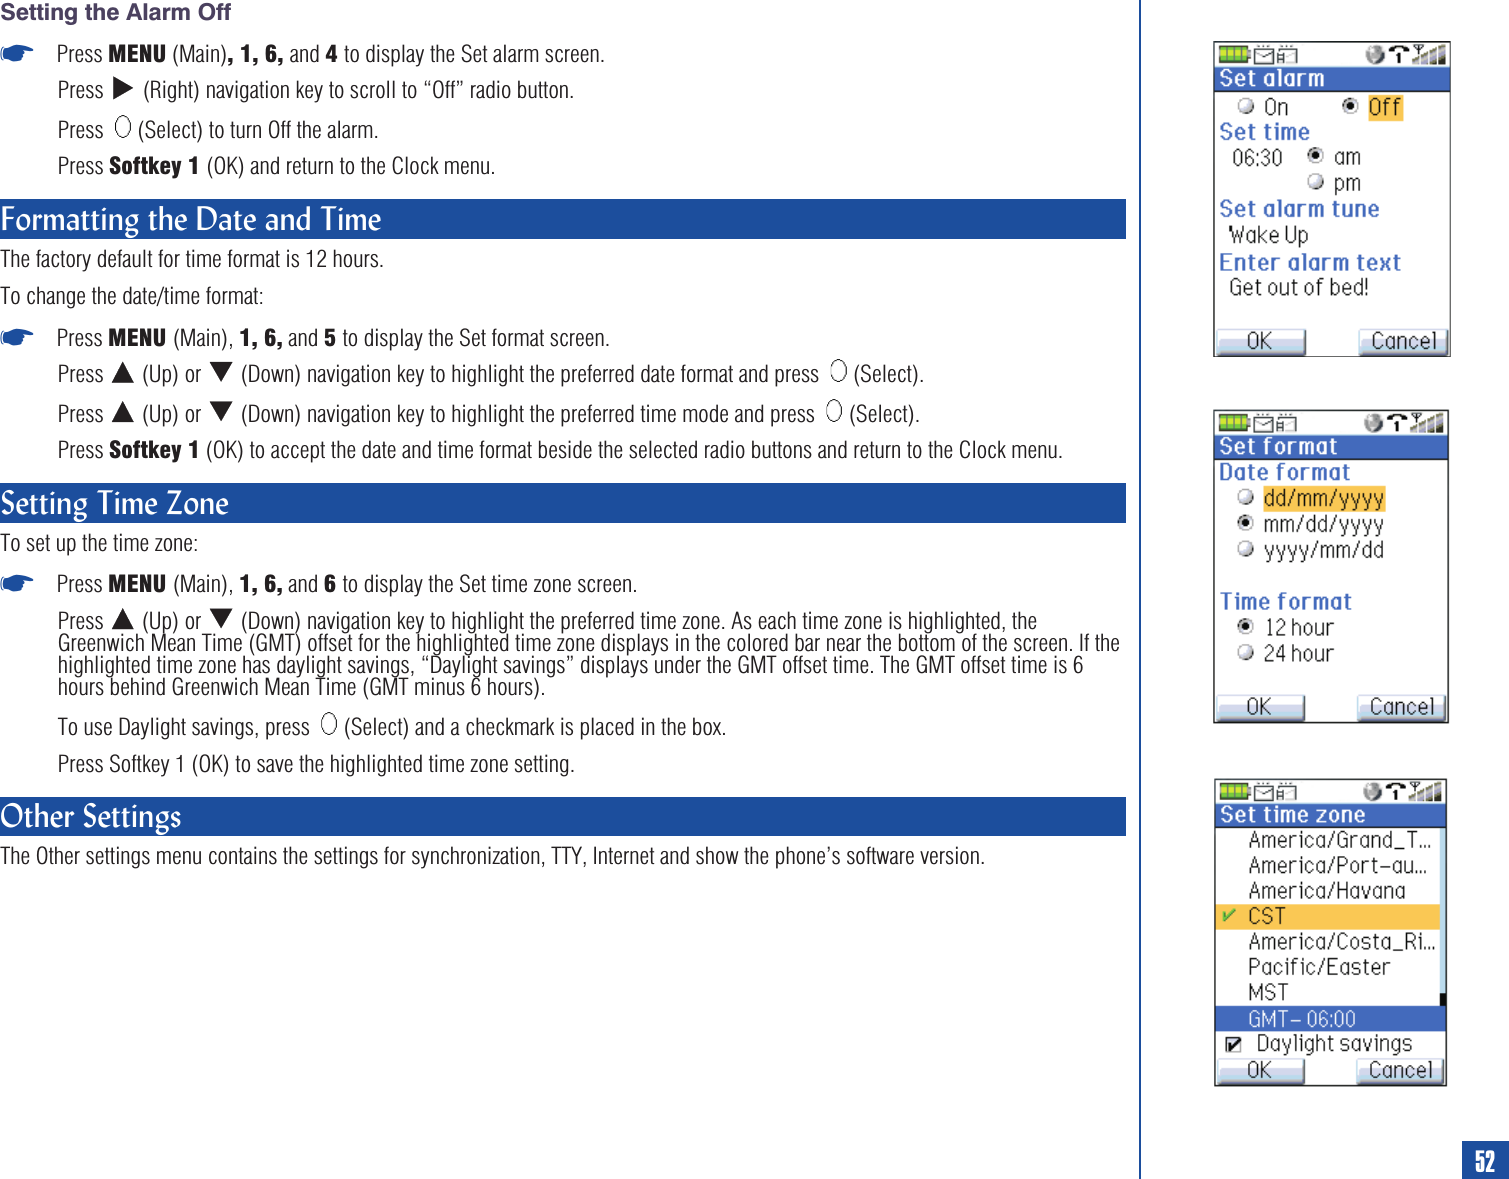
![Auto AnswerAuto Answer option displays only for Car Mode. The Auto answer feature allows a received call to be connected automatically if thewireless phone is in car mode with the hands-free accessory attached. The default setting is Off.*Press 9to display the Auto answer screen.Press 1(On) for automatic answering or press 2(Off) for no automatic answering and return to the previous menu.Any Key AnswerIf Any key answer feature is active (On), your phone connects to a received call by pressing any key [except the (End) or Softkey2]. When this feature is inactive (Off), the phone only connects to a received call by pressing the (Send) or Softkey 1 (Accept).However, if you already have a call in progress, the any key function does not apply; must press (Send) or Softkey 1 (Accept) toanswer the incoming call.To set up how you want to answer received calls, proceed as follows.Activate Any Key Answer Option*Press MENU (Main), 1, 1, 3, and 1to activate the any key answer feature and return to the Phone menu.Deactivate Any Key Answer Option*Press MENU (Main), 1, 1, and 3to display the Any key screen. Press 2(Off) to answer calls by pressing the (Send) andreturn to the Phone menu.Ring SilencerRing Silencer allows you to silence the ringer by pressing a volume button for a received call when the flip is closed. To silence the ringsound when the flip is open, press any key except (Send), (End/On-Off), Softkey 1, or Softkey 2. If you wish to answer the call,press (Send) to accept the call and begin your conversation.Activate Ring Silencer OptionPress MENU (Main), 1, 1, 4, and 1to activate the ring silencer feature and return to the Phone menu.Deactivate Ring Silencer Option*Press MENU (Main), 1, 1, and 4to display the Ring silencer screen. Press 2(Off) to turn ring silencer off and return to thePhone menu.Volume KeyVolume key allows using the volume keys on the back of the flip. (See Flag.) To enable or disable volume key:*Press MENU (Main), 1, 1, and 5to display the Volume key screen.Press 1to enable the use of the volume keys during a call or 2to disable the volume keys and return to the Phone menu.OWhen the Volume key setting isenabled, the volume keys can beused to:lToggle fixed display when phoneis folded.lDisplay Picture screen whenphone is idle.lSilence ring tune and stopvibrate alert for scheduler alarm.lSilence ring tune and stopvibrate alert for received calls.lAdjust the ring volume forreceived calls when ring silenceris off.lAdjust the ring volume forincoming messages.lAdjust voice volume settingduring a call.lAdjust ring tune preview volume.lAdjust playback volume of audiofiles in Audio and Visual.lTake pictures when phone is incamera mode.35](https://usermanual.wiki/NEC-of-America/KMP6J1N1/User-Guide-410409-Page-42.png)

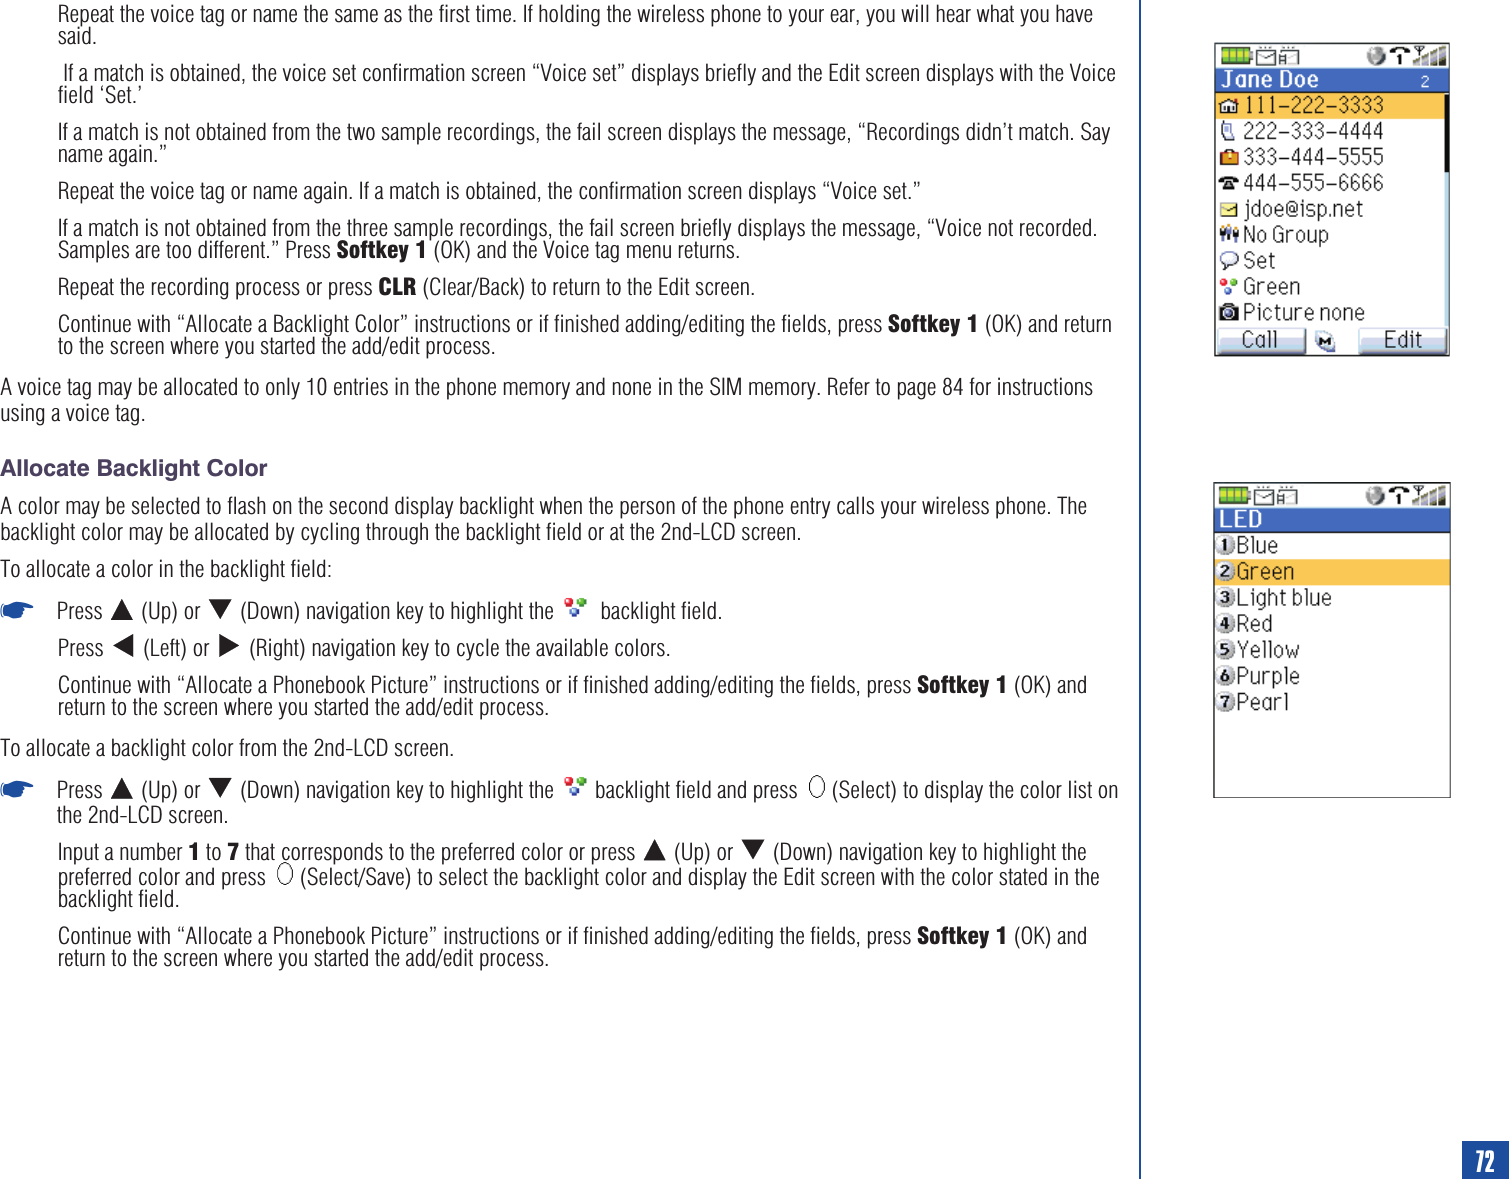
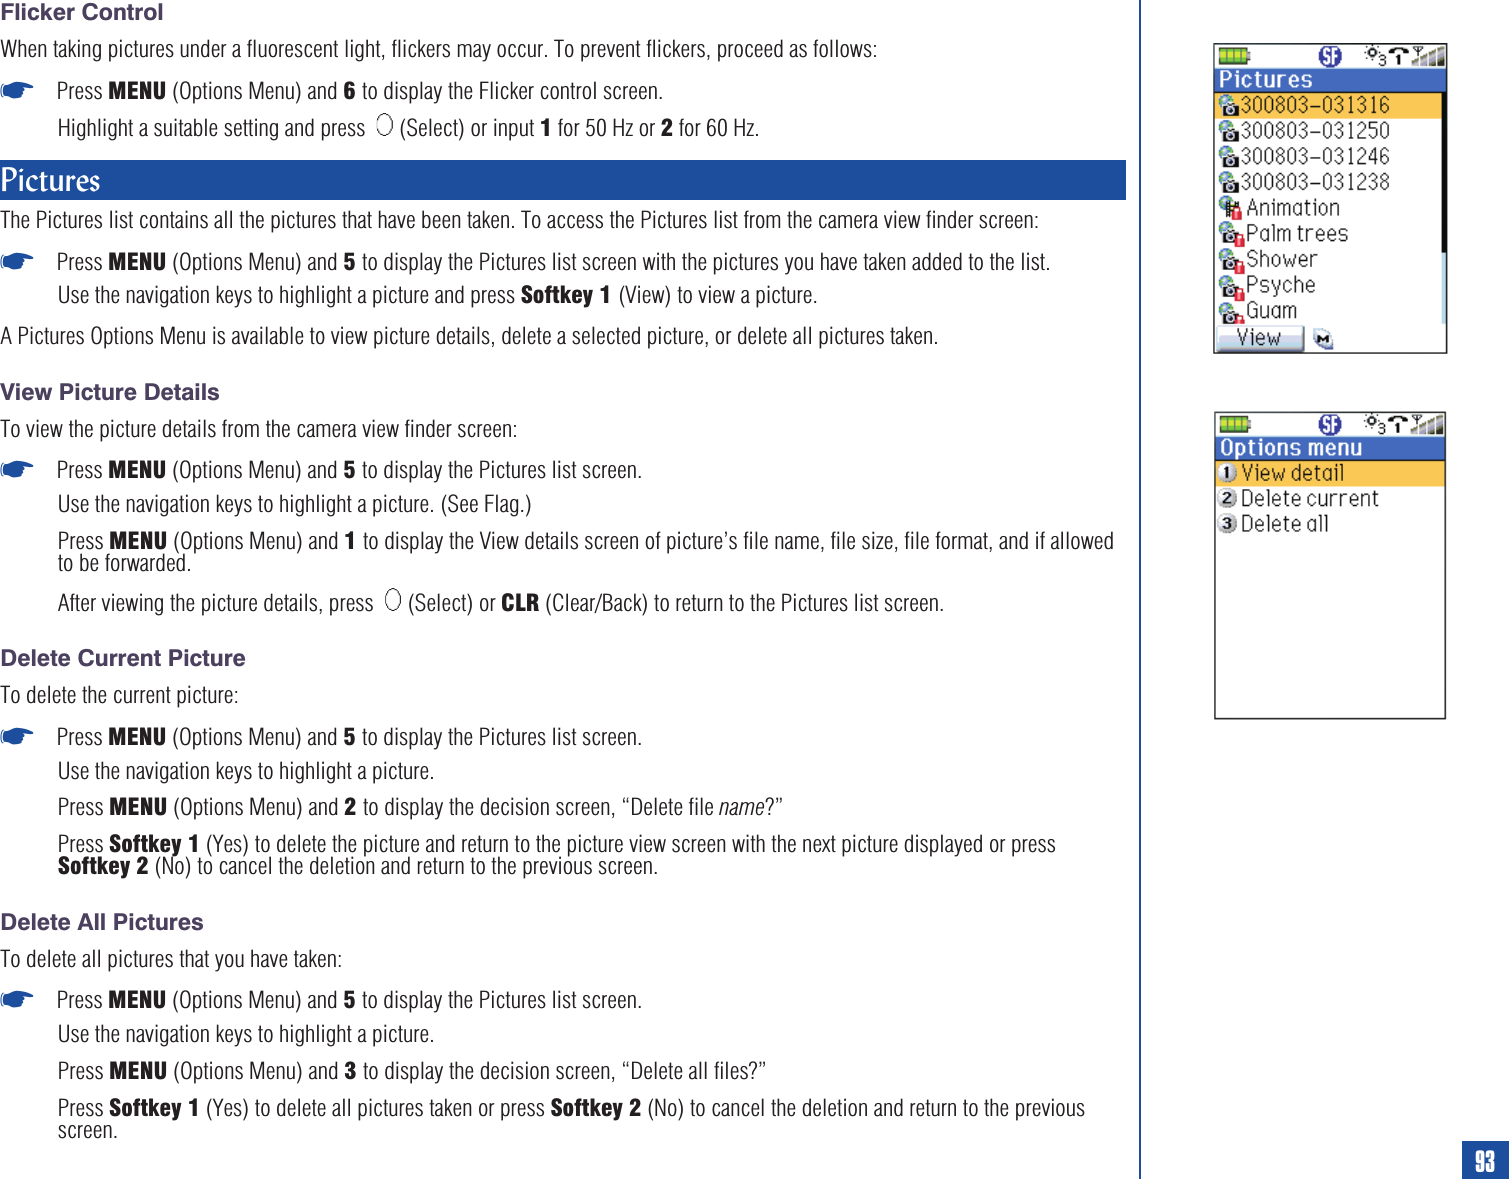
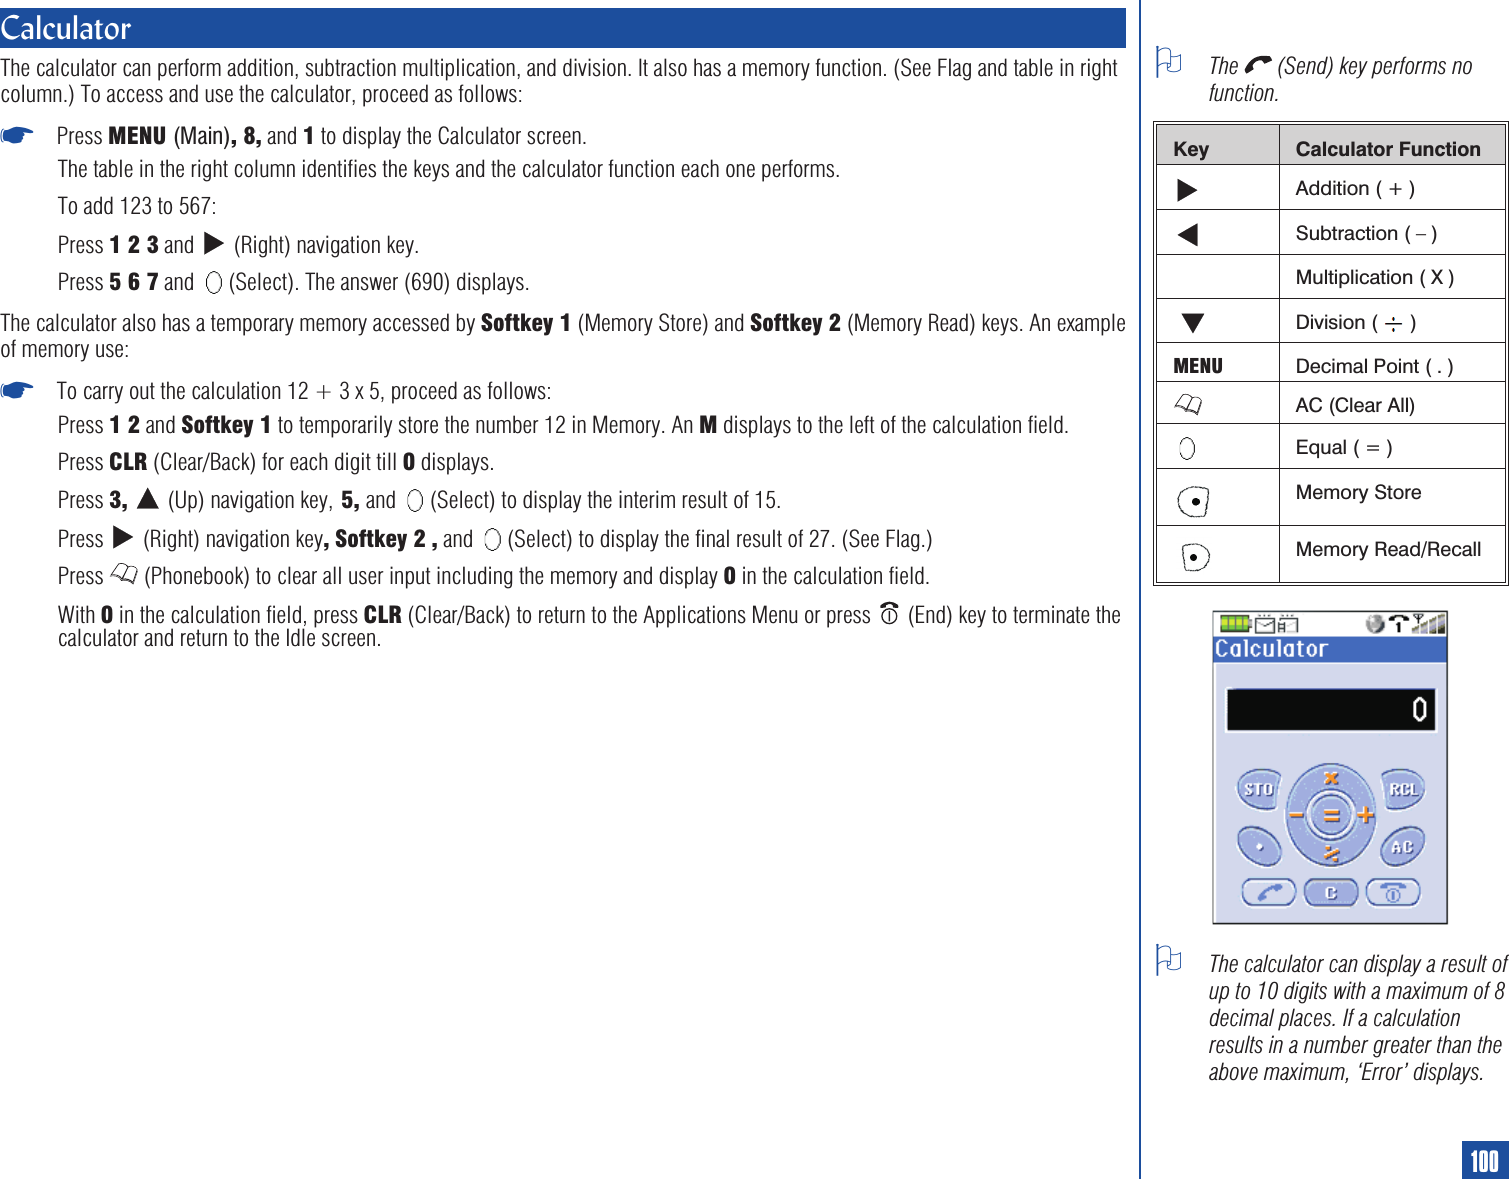
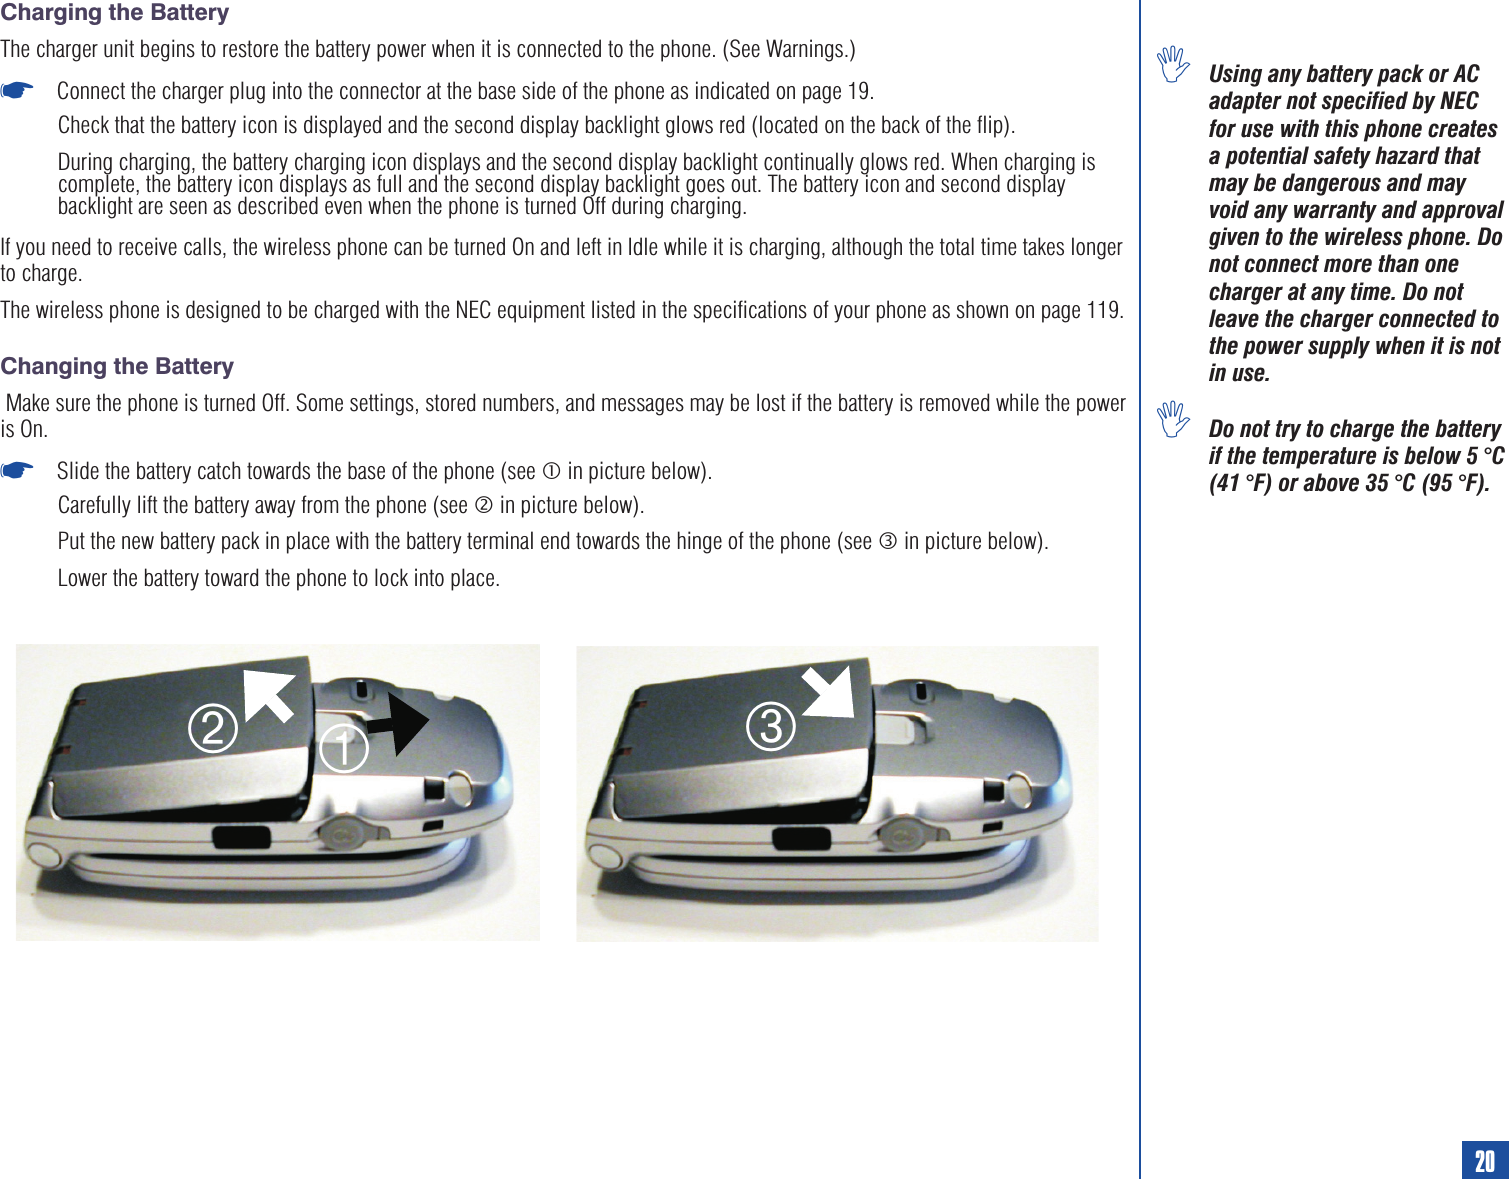
![Number Entry ScreensThere are two methods that a phone number may be entered to the Add new screen:lBlanklNumber pre-loadedBlank Entry ScreenTo display the Add new screen with blank fields (no number is entered in the Number field), proceed as follows:*Press the (Phonebook) until the preferred phonebook displays.Press Softkey 2 (Add new) to display the Add new screen. Continue with the instructions provided in “Storing Numbers andNames in Phonebook, Adding a New Name/Number” on page 68.Number Pre-loaded Entry ScreenTo input a number at the Idle screen and save it to a phonebook:*Input the phone number at the Idle screen.Press (Phonebook) to display the Add New screen with the phone number in the number field. Continue with the instructionsprovided in “Storing Numbers and Names in Phonebook, Adding a New Name/Number” on page 68.A number can be pre-loaded into the Add new screen from the Call Record Logs (Missed calls, Received calls, and Dialed calls). Tohighlight a call record and select it to add to a phonebook:*Press MENU (Main) and 7to display the Call records menu.Input the appropriate number: 2for Missed calls log, 3for Received calls log , or 4for the Dialed calls log. The respective calltype log screen displays.Press (Up) or (Down) navigation key to highlight an item in the list.Press MENU (Options Menu) and 2to copy the selected number to the Phone phonebook. The Add new screen displays withthe phone number in the number field. Continue with the instructions provided in “Storing Numbers and Names in Phonebook,Adding a New Name/Number” on page 68.To add a number or Email address to the Phone phonebook from message text:*Press (Right) navigation key to highlight the phone number or Email address [if there is more than one, press (Right) or(Left) navigation key to highlight the desired phone number or Email address] in the message text.Press MENU (Options Menu) and 1to automatically add the phone number or Email address to the Phone phonebook in the firstavailable location number.When adding a phone number or Email address from message text, the phonebook Add new screen does not display. The phonenumber or Email address is added to the Phone phonebook while the message remains displayed.Press (End) to exit the message screen.Press the (Phonebook) until the Phone phonebook displays and find the new entry made from the message text to add aname. Continue with the instructions provided in “Storing Numbers and Names in Phonebook, Adding a New Name/Number” onpage 68.67](https://usermanual.wiki/NEC-of-America/KMP6J1N1/User-Guide-410409-Page-74.png)