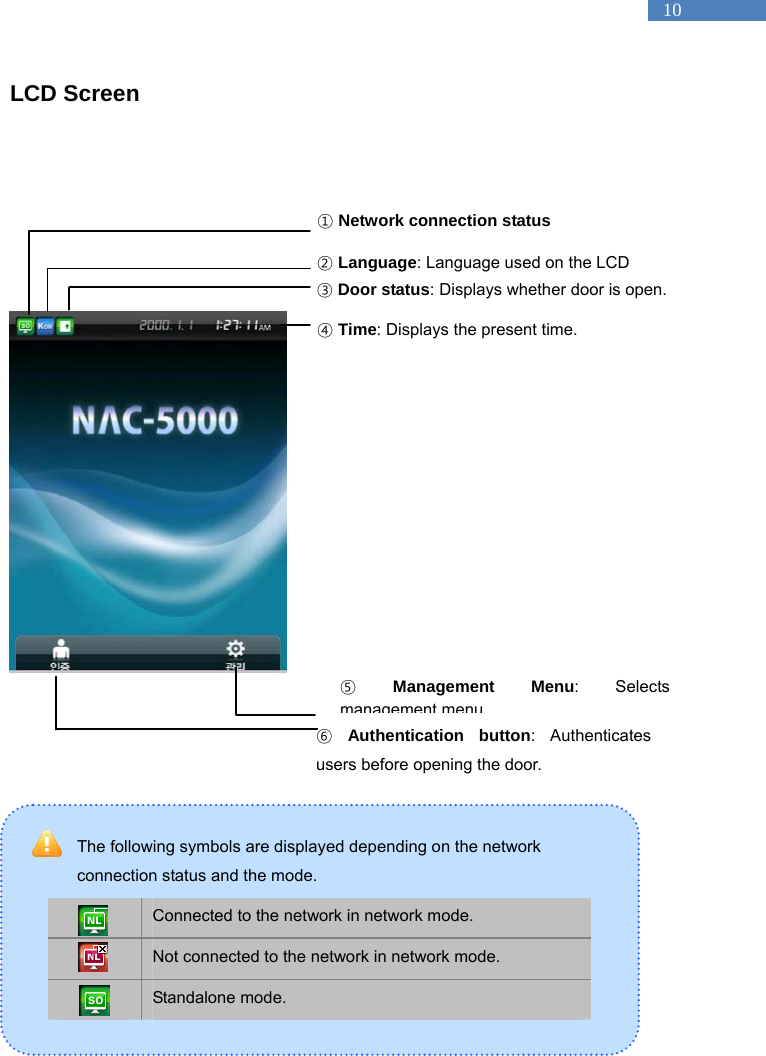
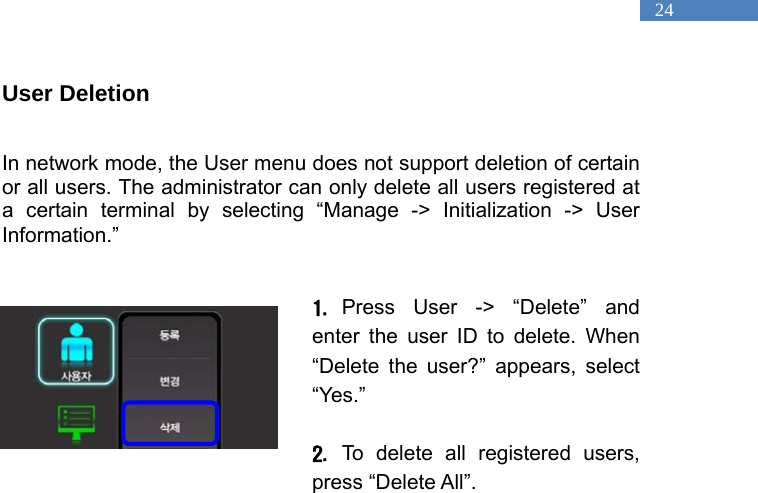
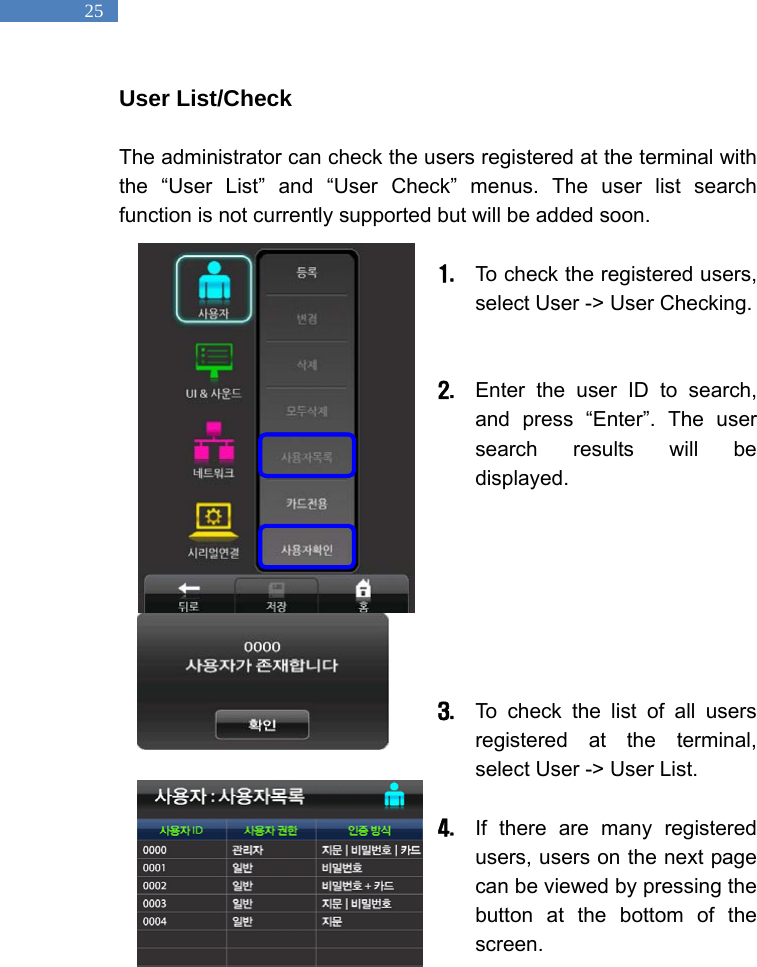
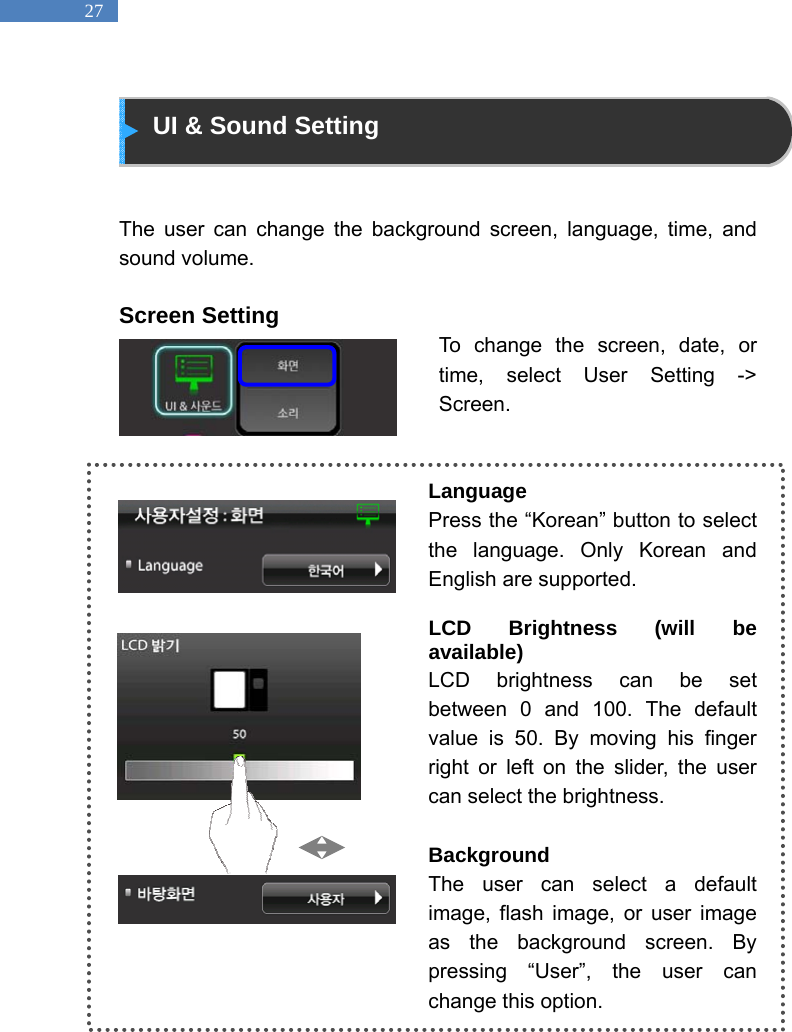
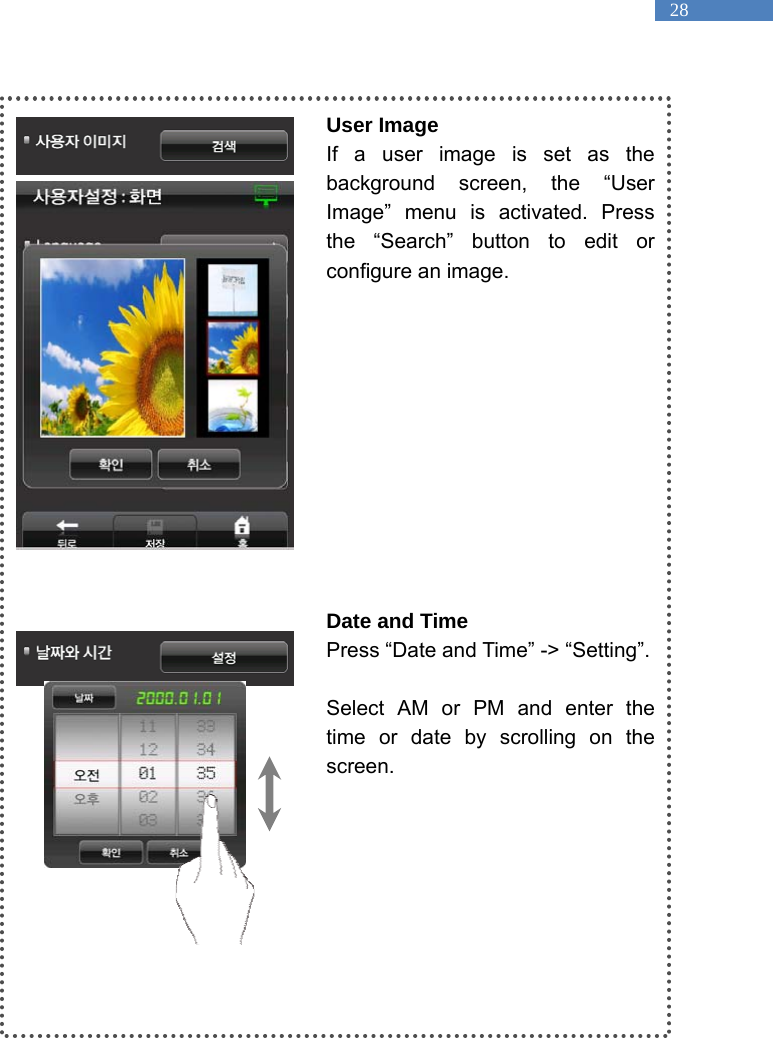
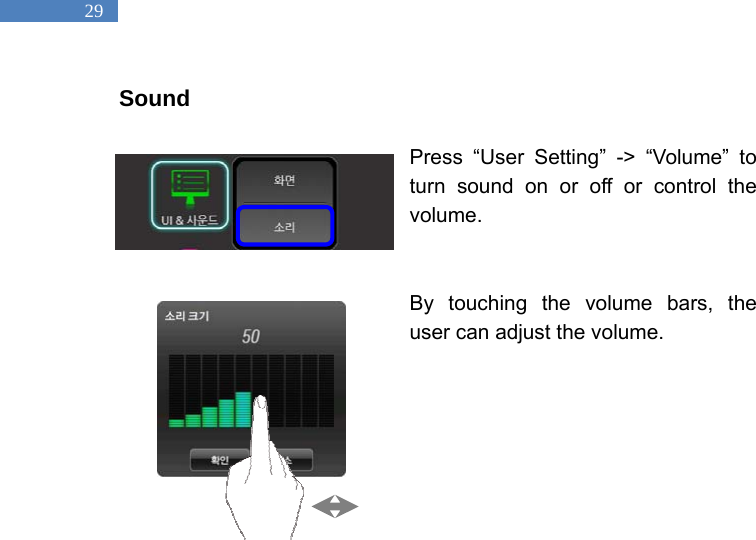
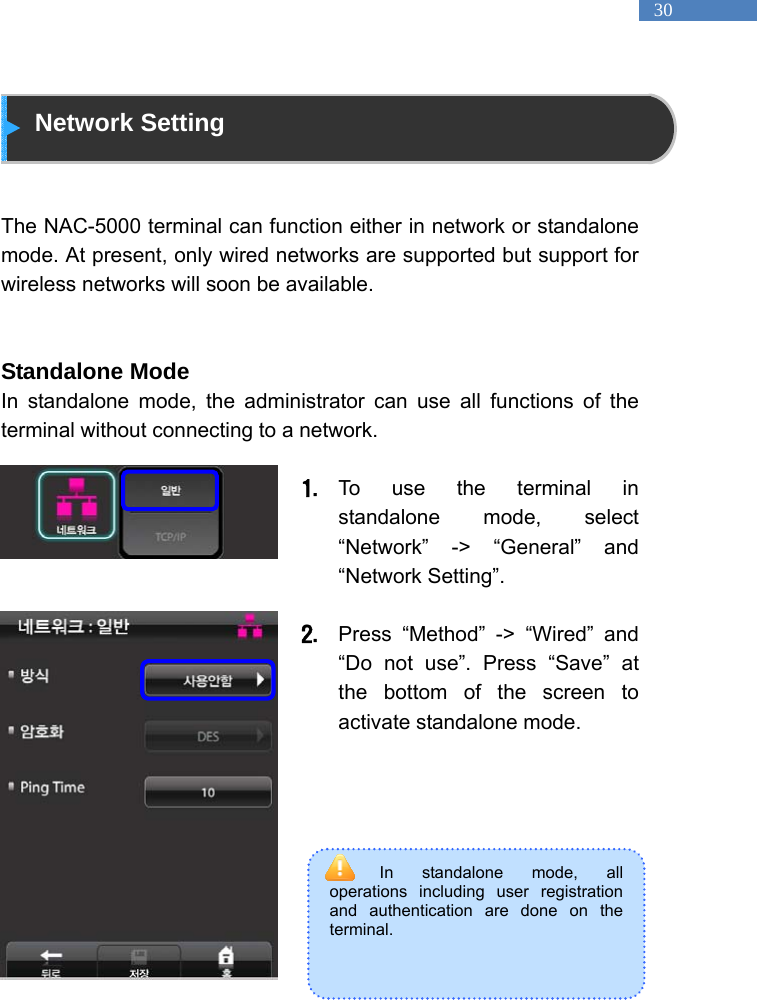
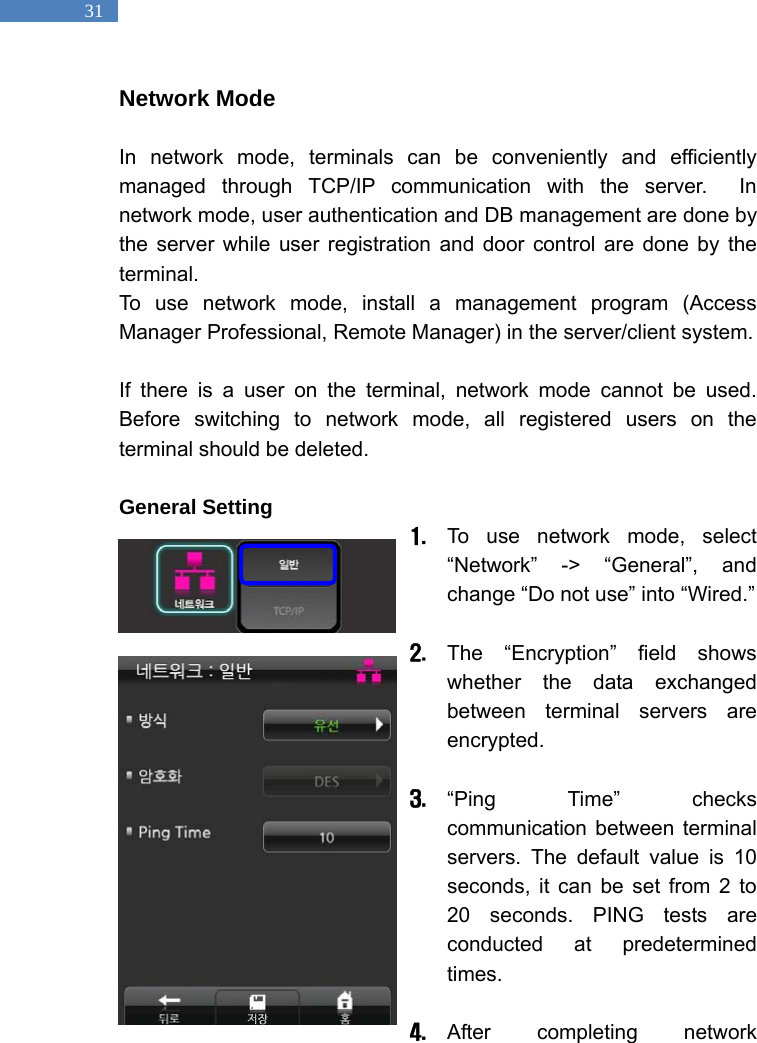
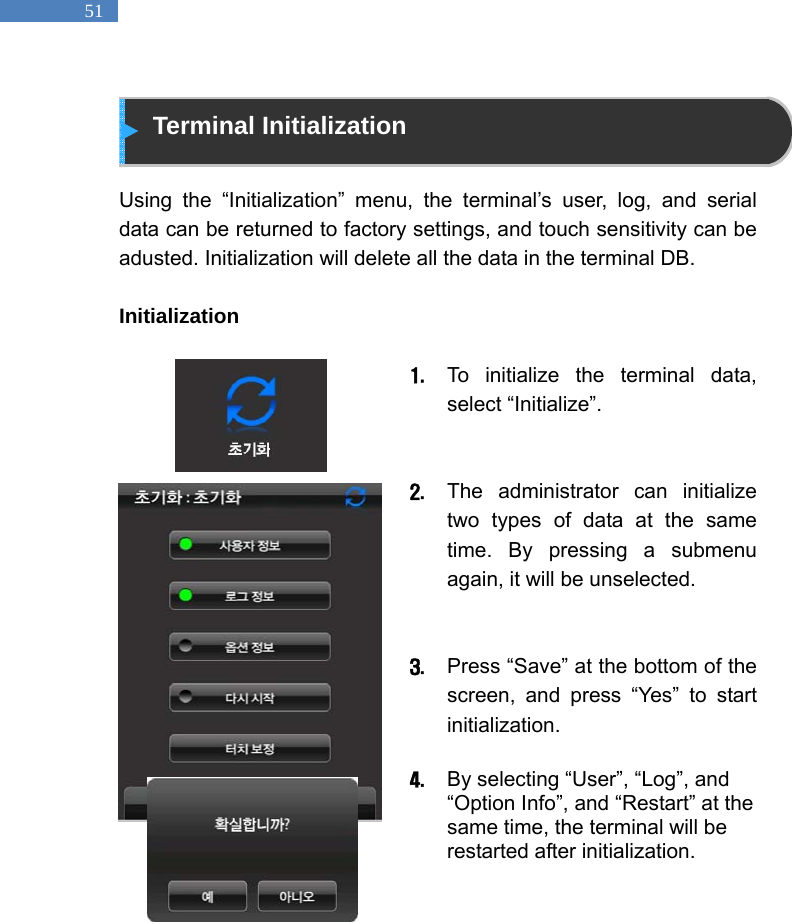
NITGEN and NAC-5000R COMMERCIAL User Manual
NITGEN & COMPANY COMMERCIAL
UserManual.wiki
>
NITGEN and
>
NAC 5000R User Manual
Users Manual
Navigation menu
Upload a User Manual
Namespaces
Wiki Guide
HTML
PDF
Info
Views
User Manual
Discussion / Help
Navigation


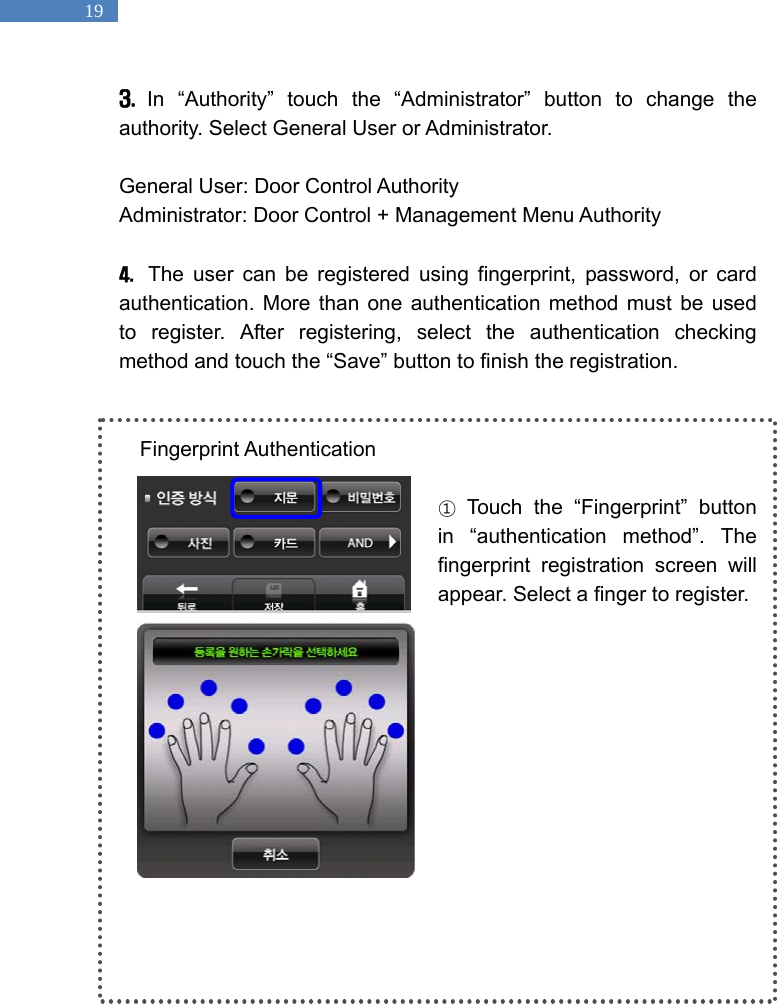
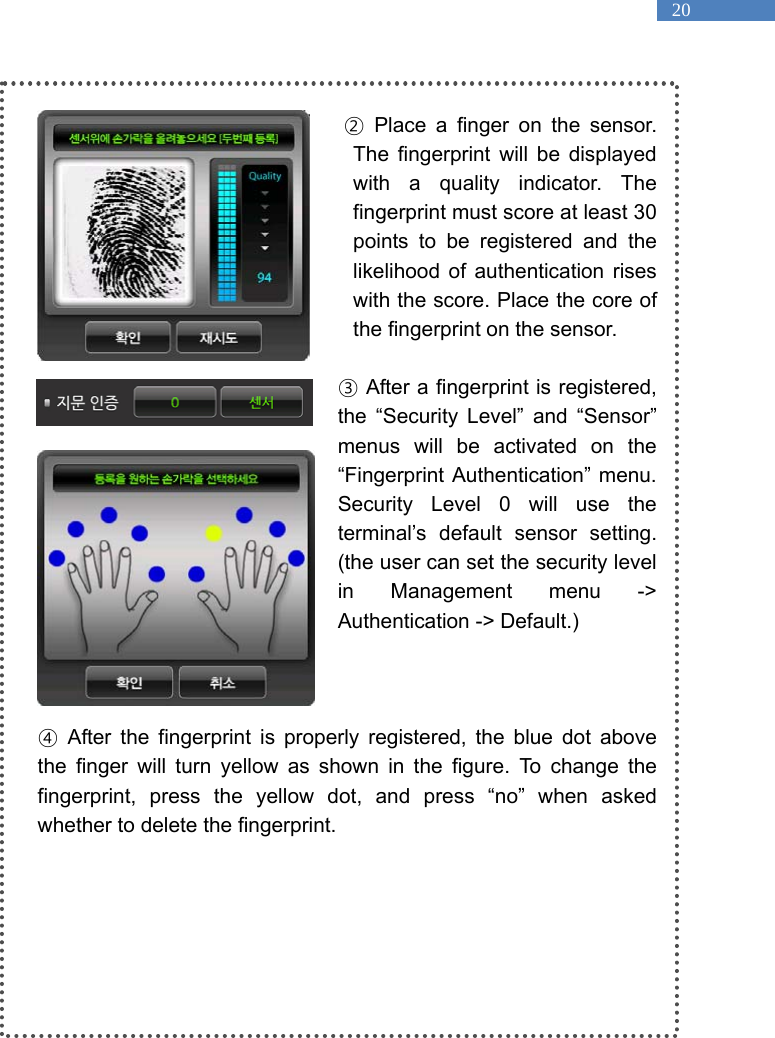


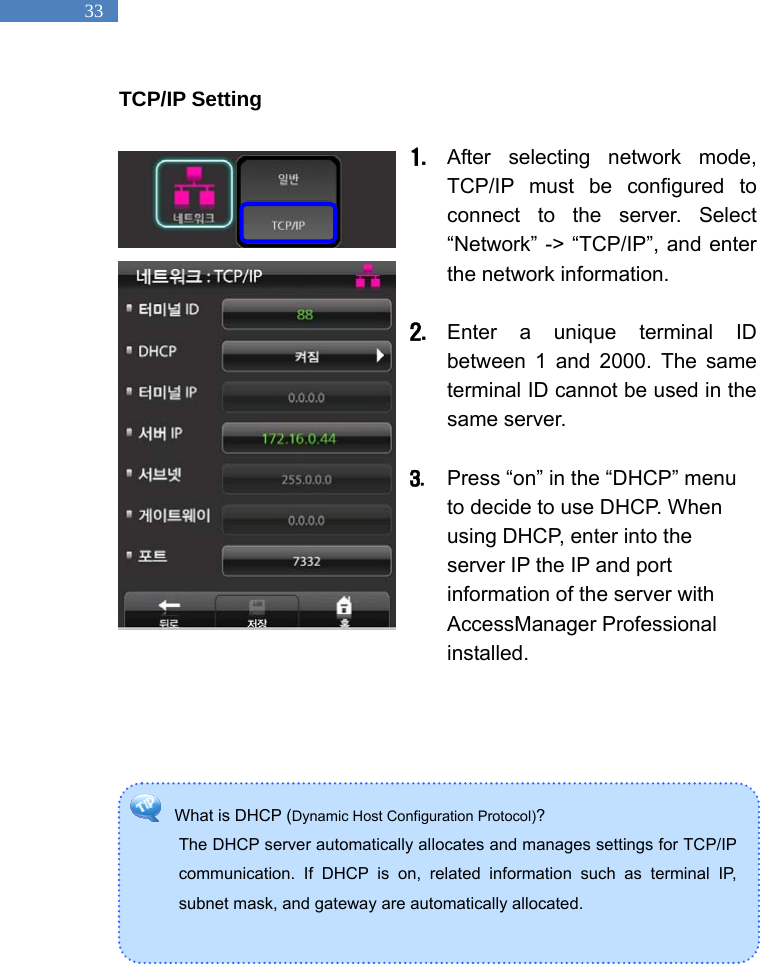
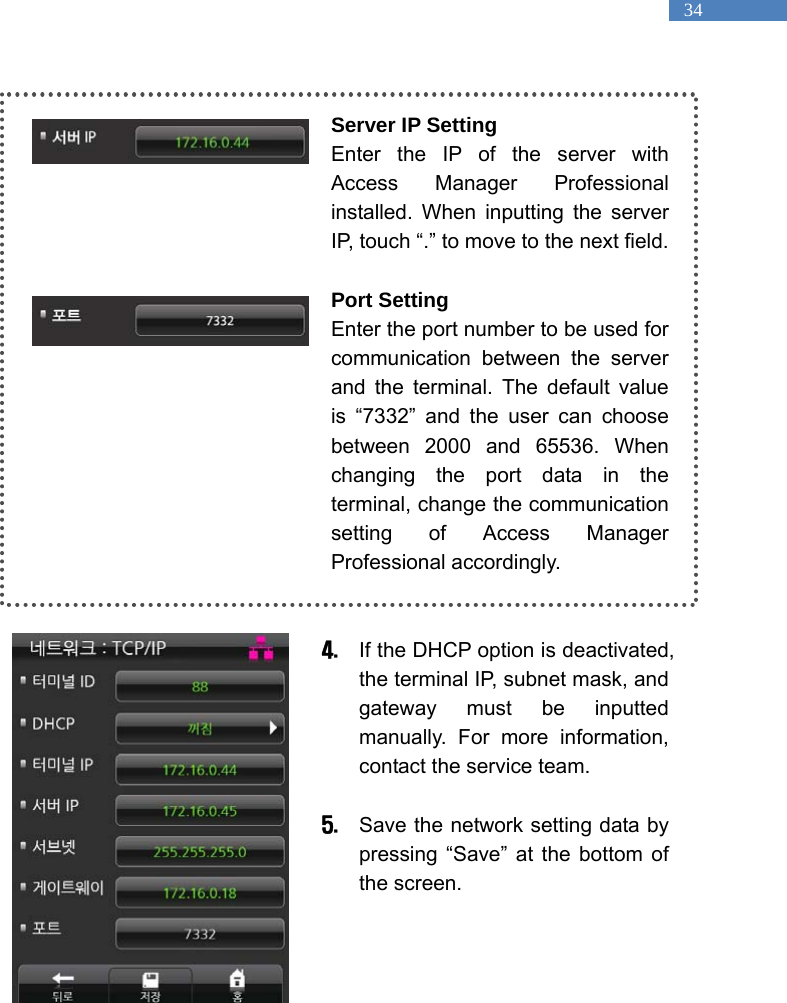

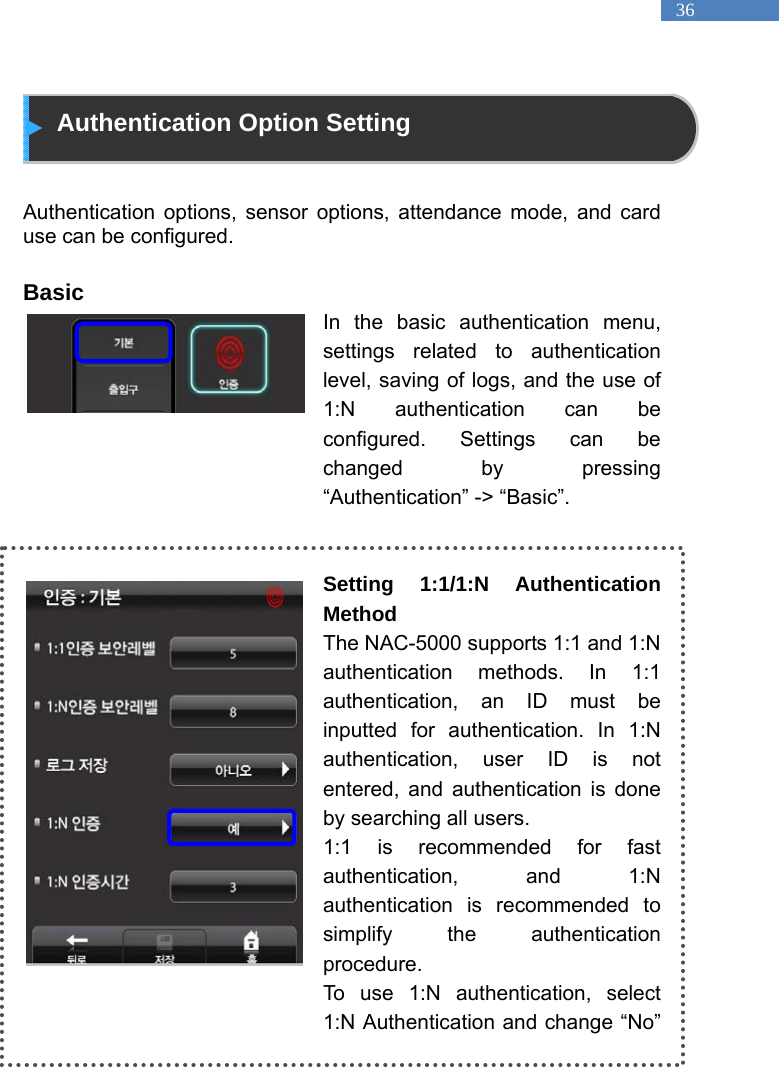


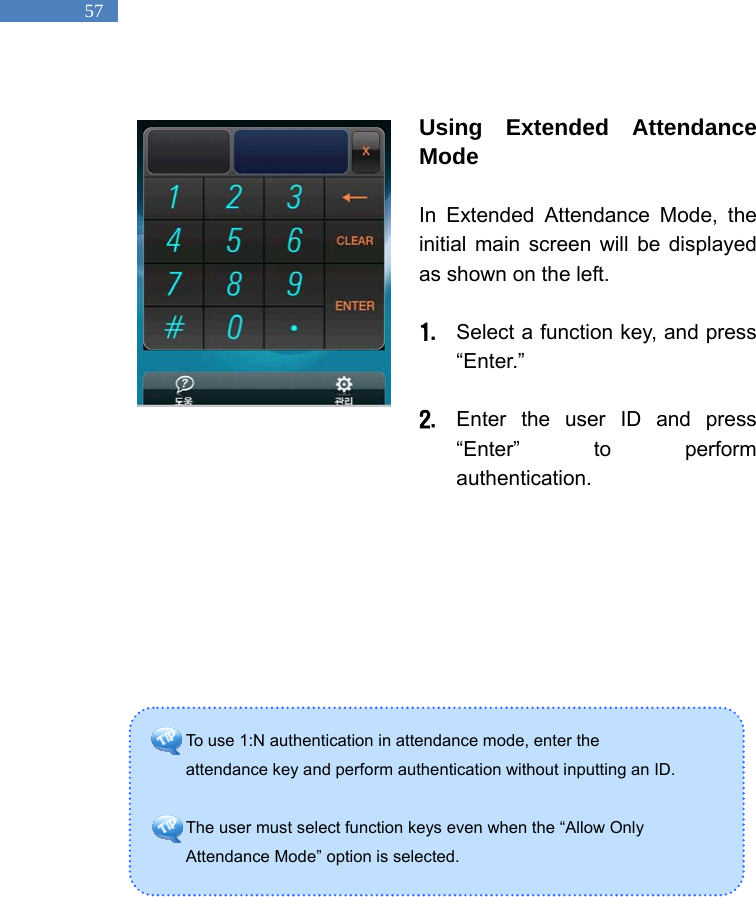
![56 Authentication in Attendance Mode In attendance mode, the user must select a function key and be authenticated for logs regarding entry and exit to be generated and sent to the server. Using Attendance Mode General/Simple In attendance mode, function keys are displayed on the lower-right of the initial screen. 1. In Simple or General Attendance mode, the user must press a function key and input his ID to be authenticated. Function keys are as follows: F1: Coming to work F2: Leaving work F3: Going out F4: Returning 2. After the user presses a function key, the key will be included in the server log data which will be used by the attendance management program. ManagF1 F2 [Attendance Mode - Simple] ManagF1 F2 F4 F3 [Attendance Mode - General]](https://usermanual.wiki/NITGEN-and/NAC-5000R/User-Guide-1088597-Page-56.png)