NMB Technologies 7D70 Cordless Keyboard User Manual book
NMB Technologies Corp. Cordless Keyboard book
UserManual.wiki
>
NMB Technologies
>
7D70 User Manual
Manual
Navigation menu
Upload a User Manual
Namespaces
Wiki Guide
HTML
PDF
Info
Views
User Manual
Discussion / Help
Navigation
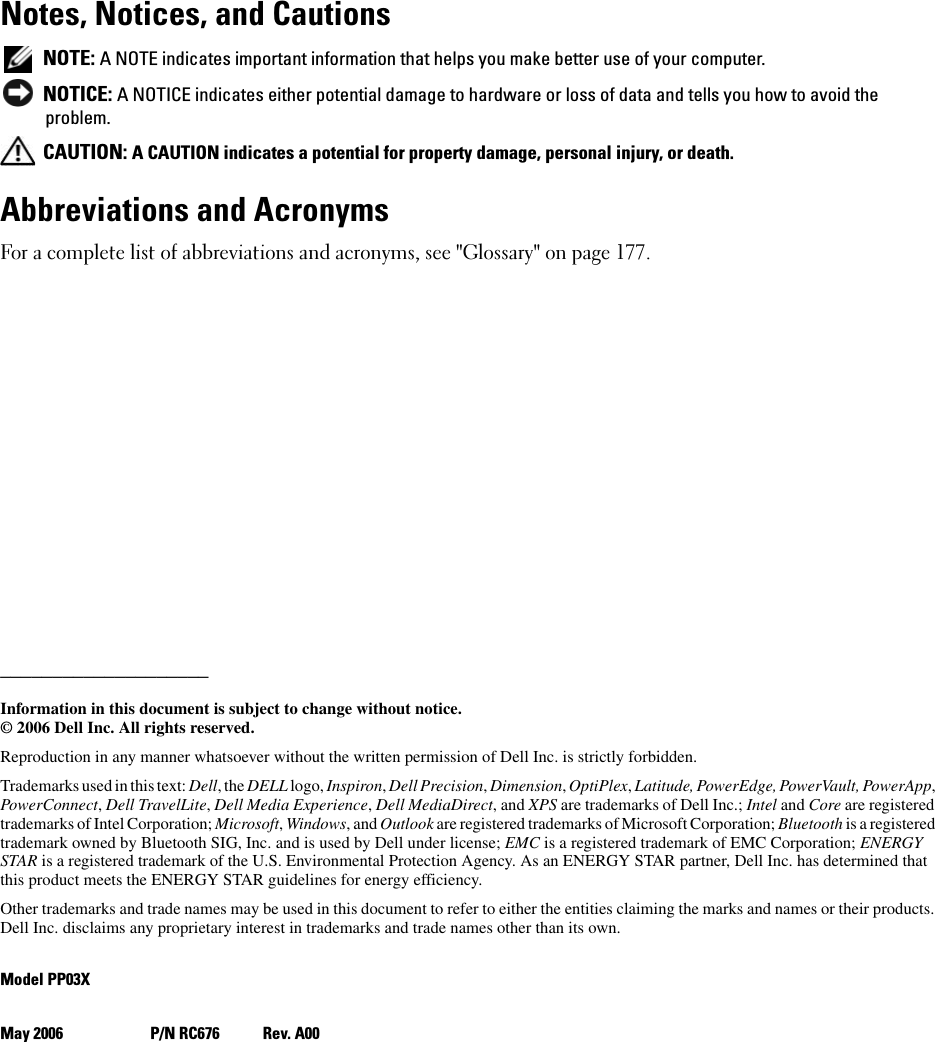
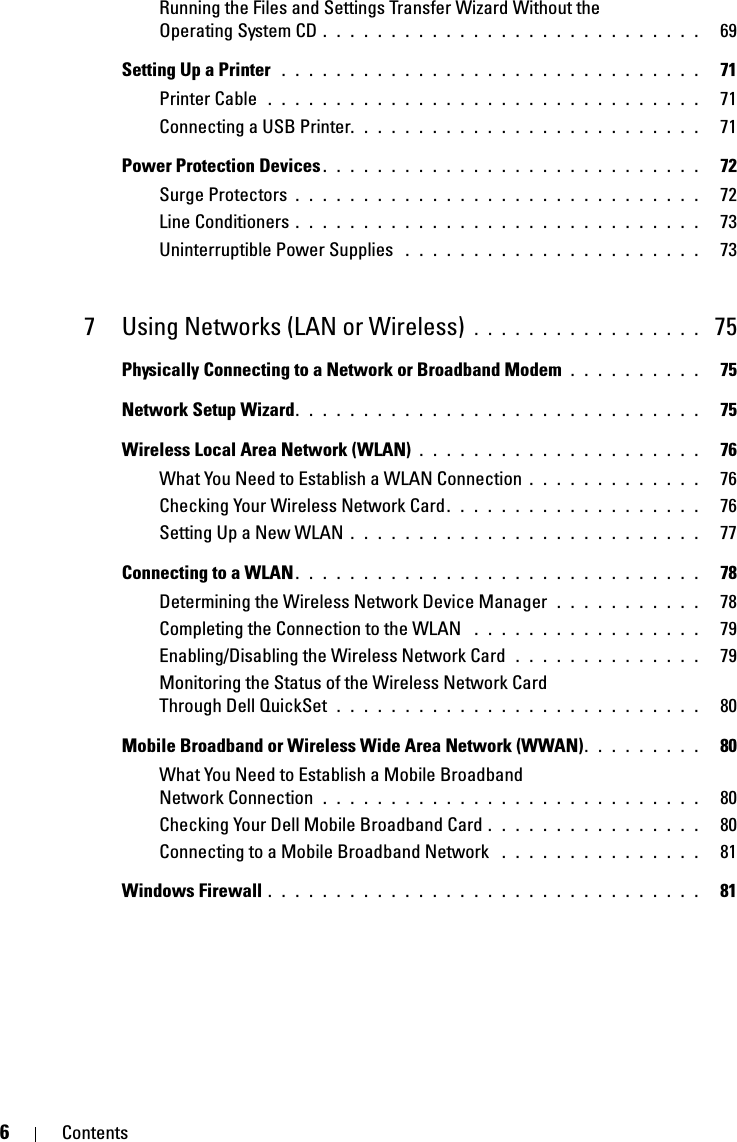


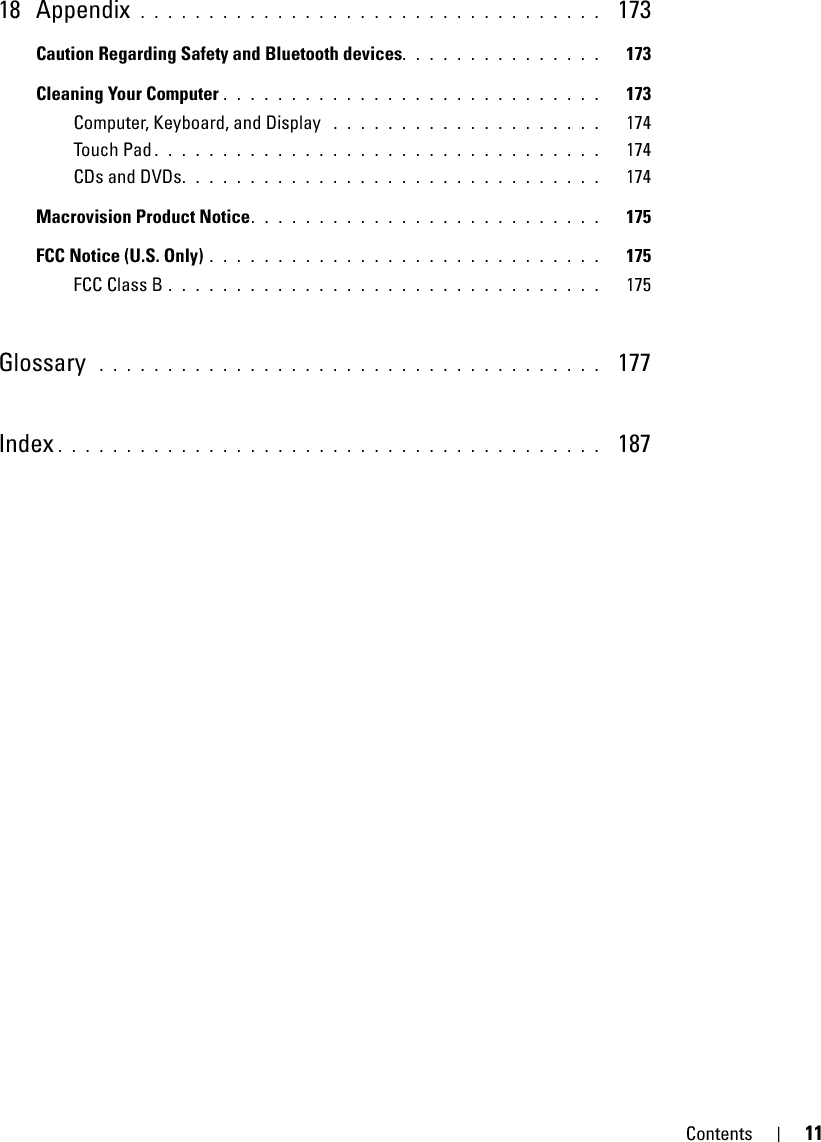


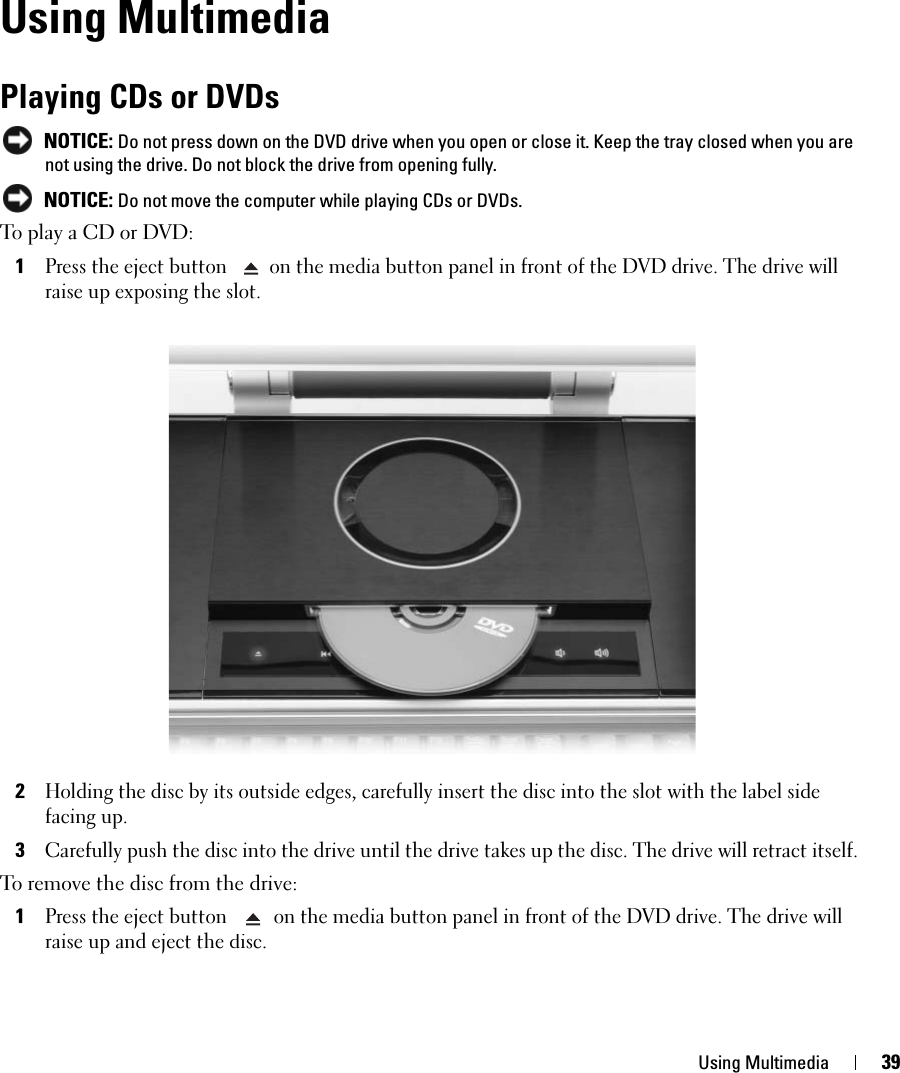
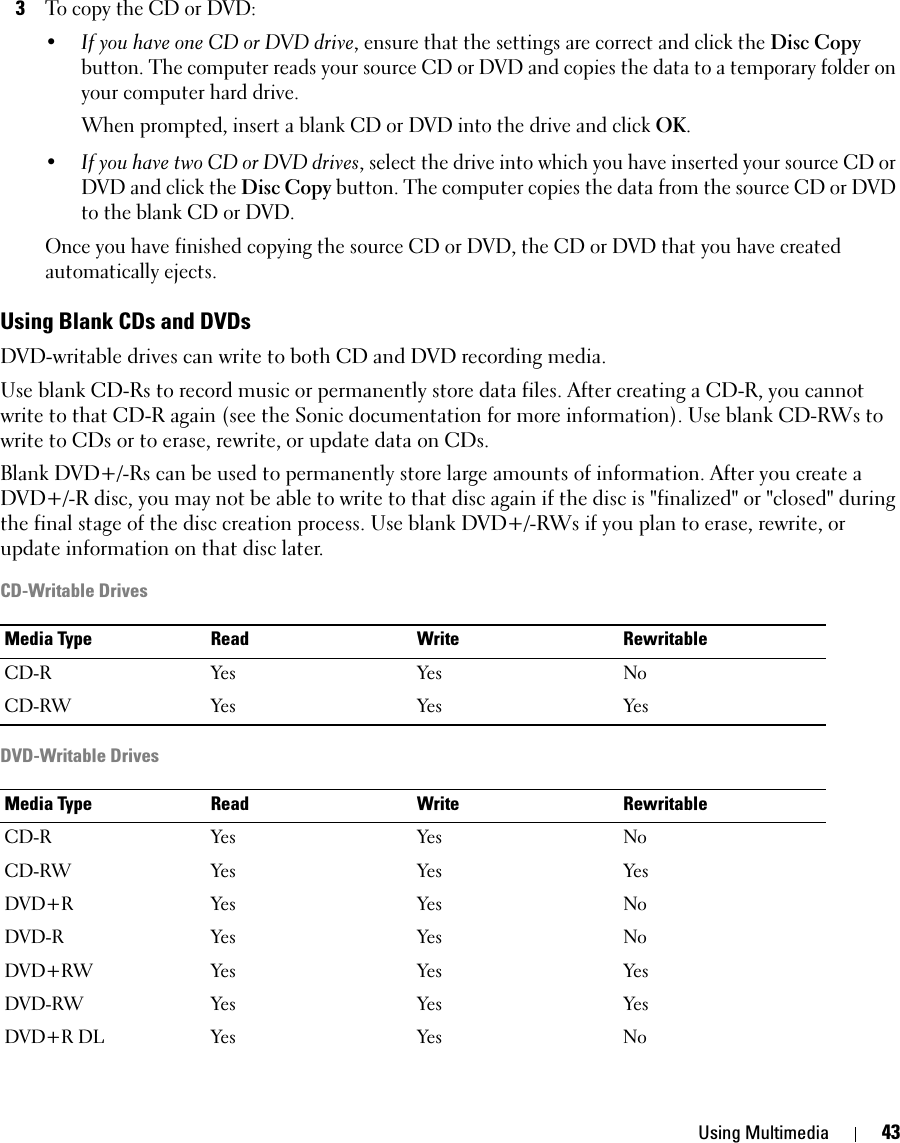


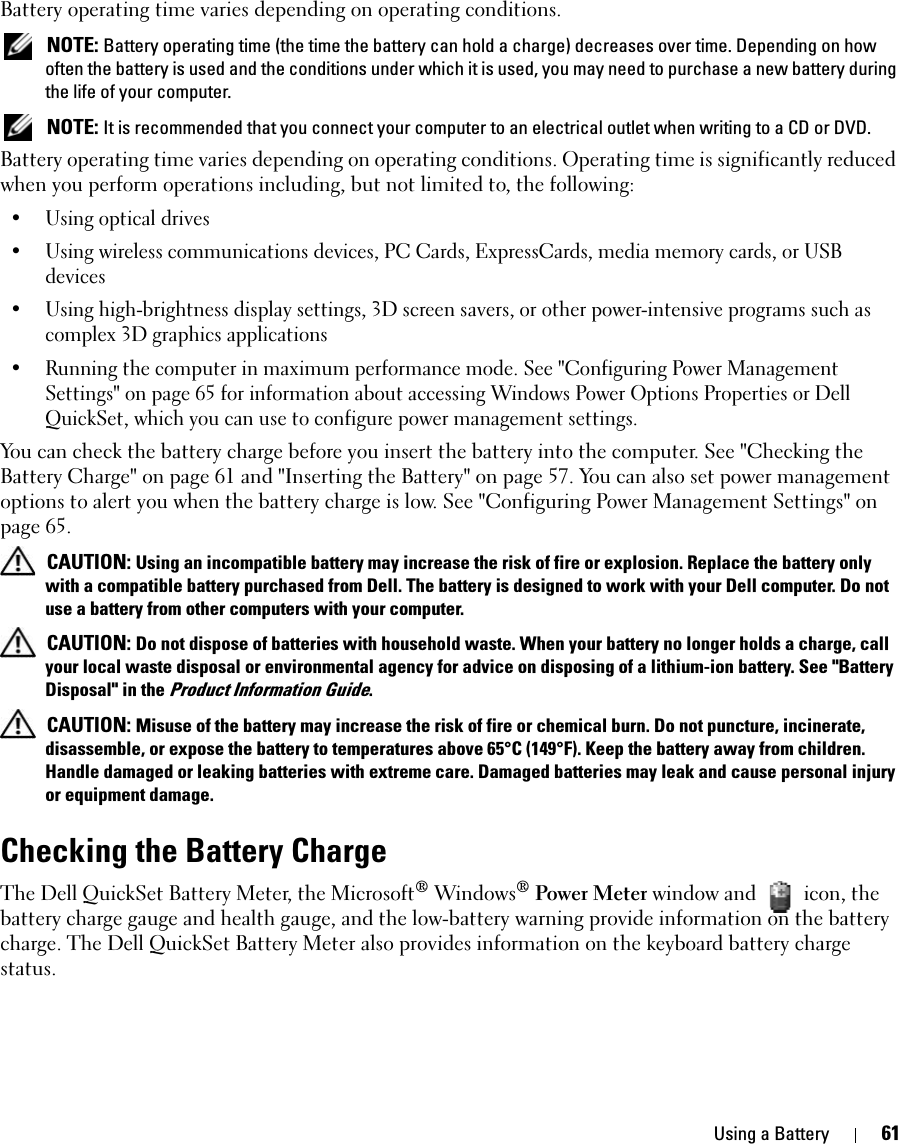
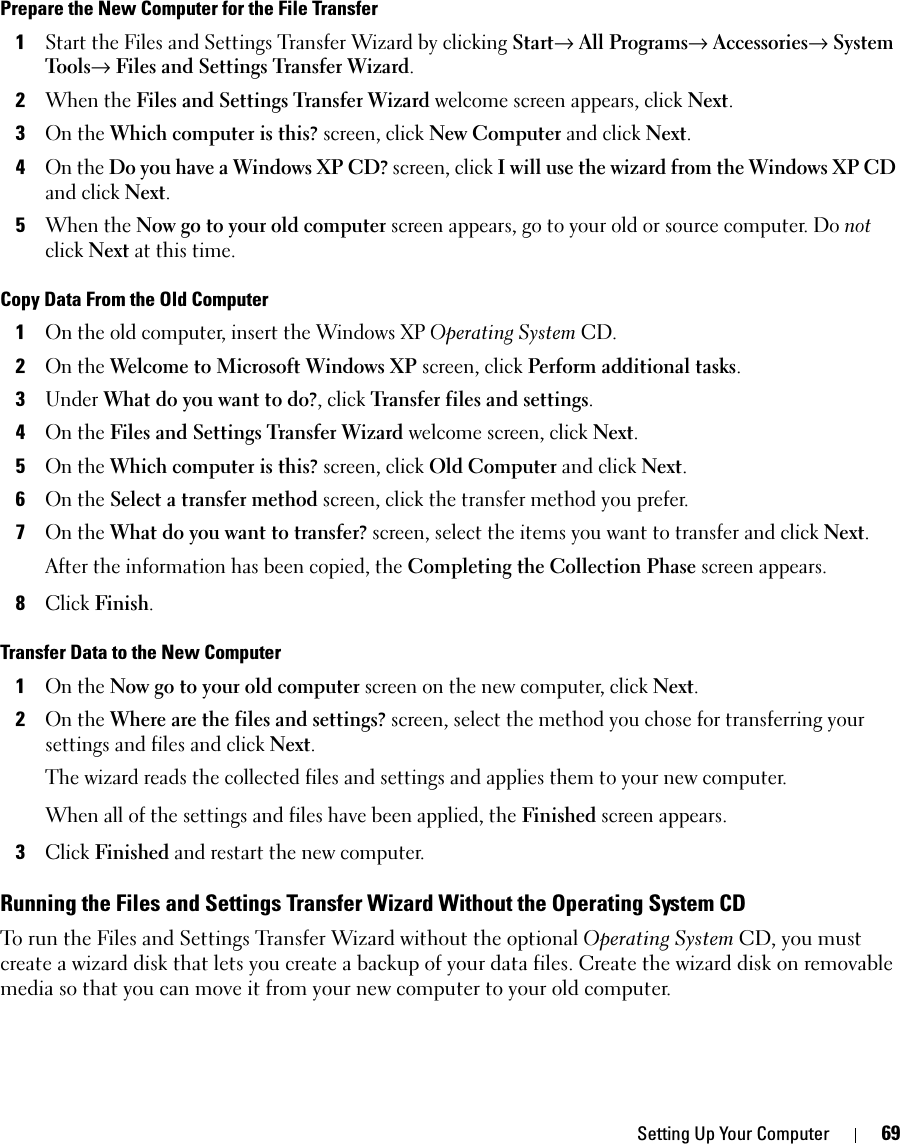

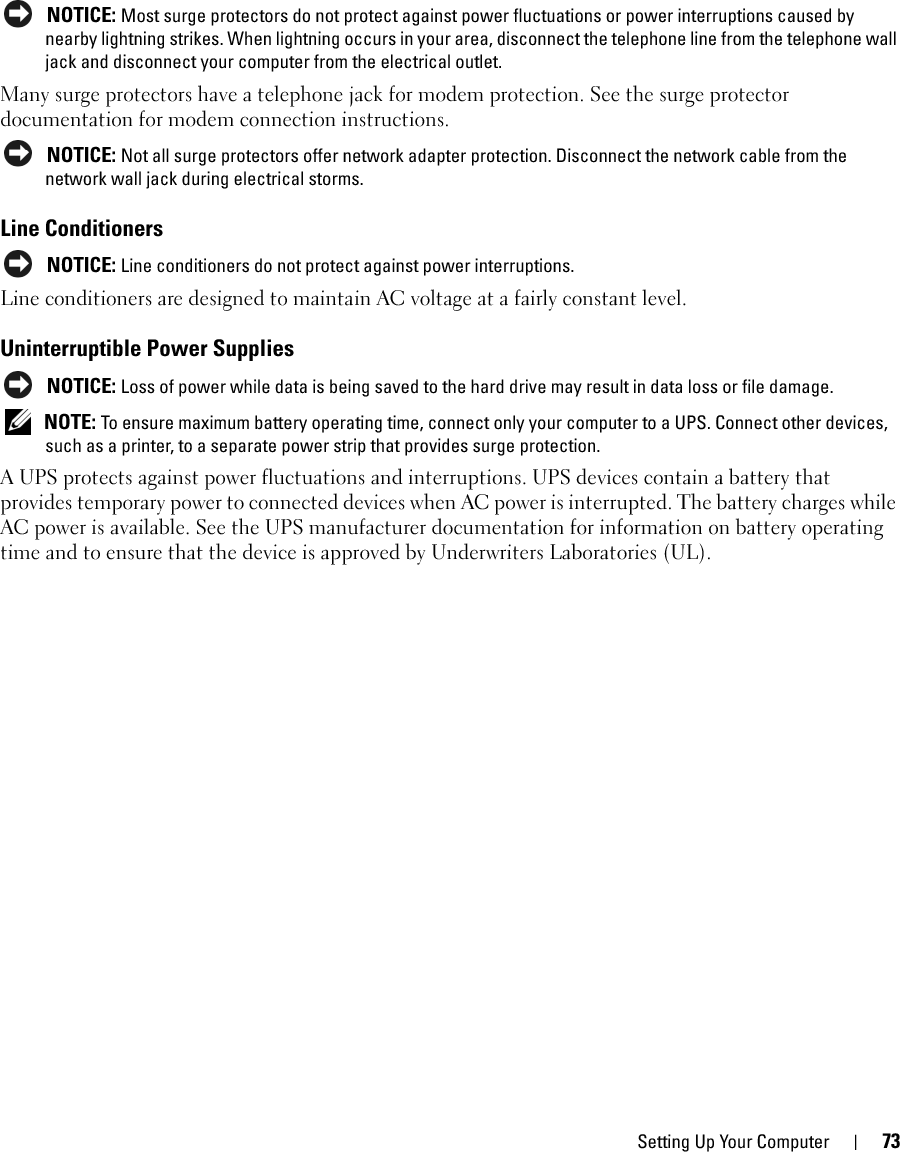
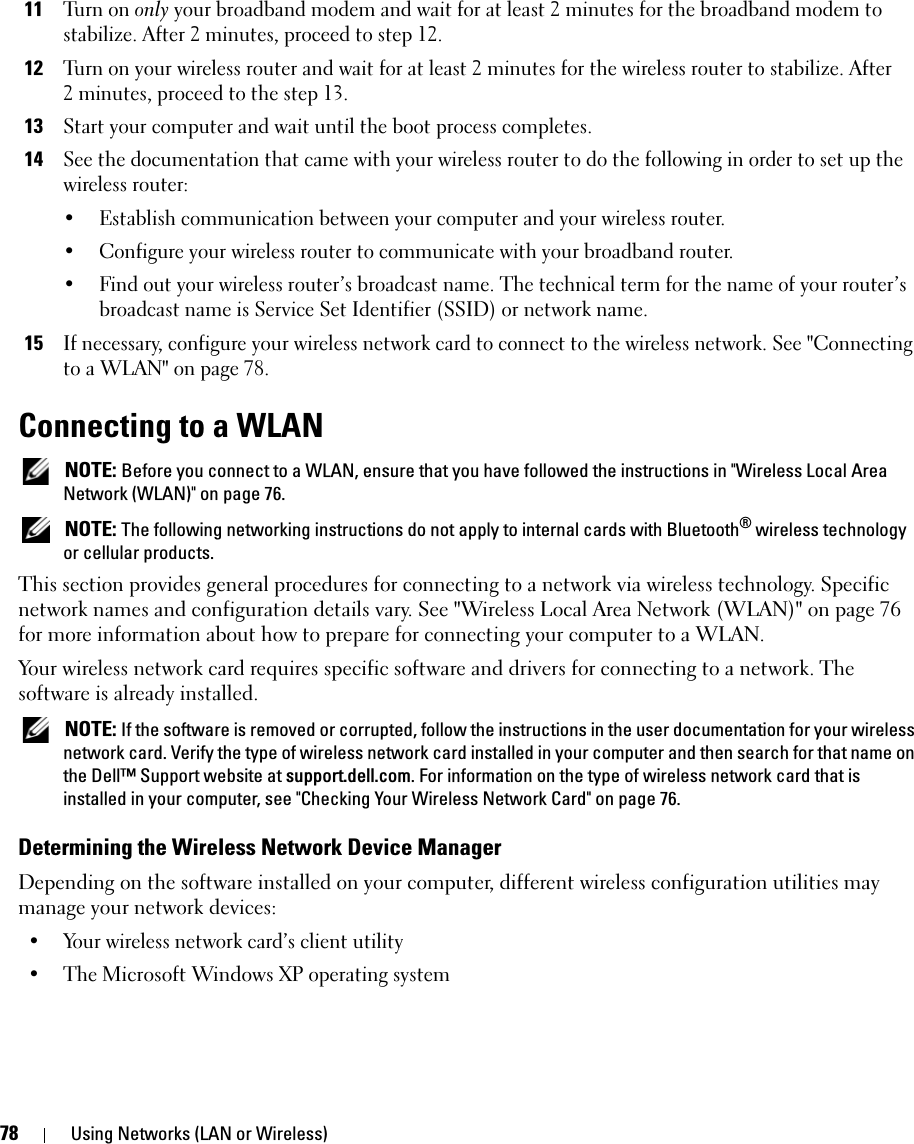
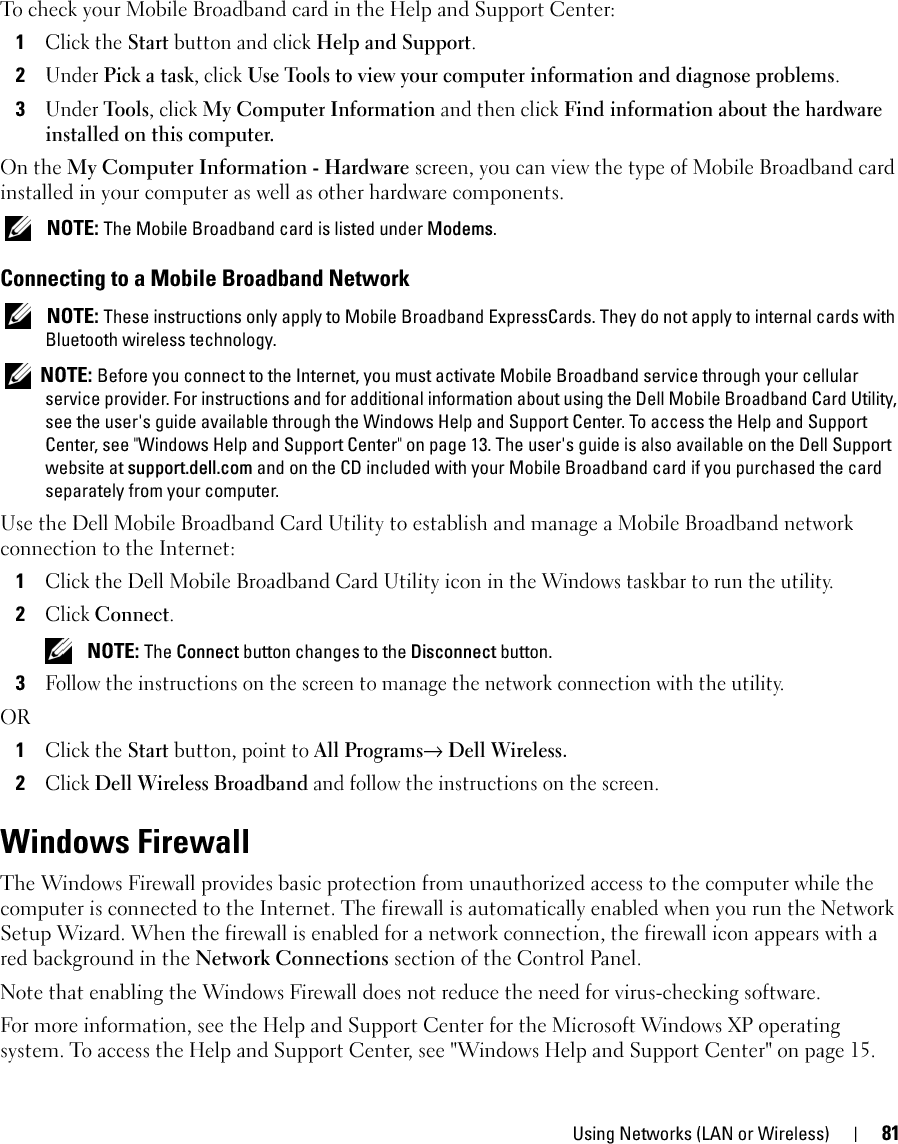

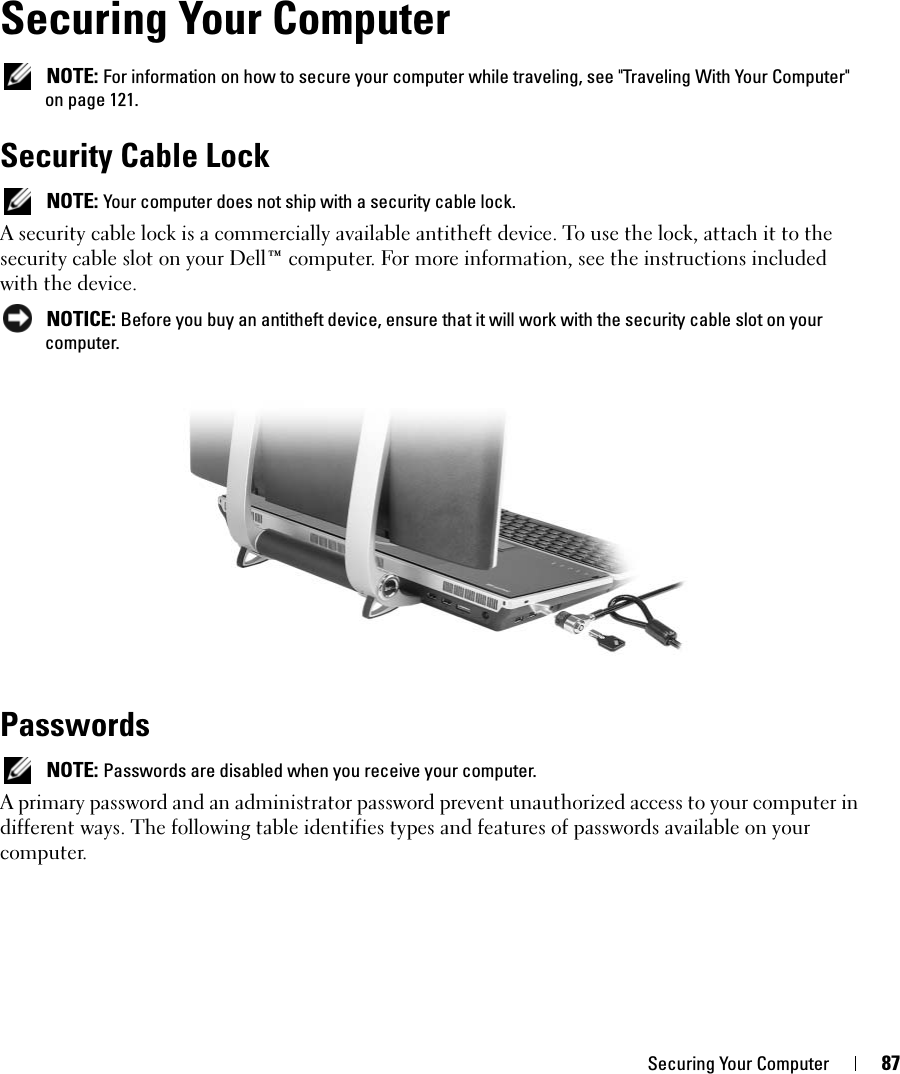

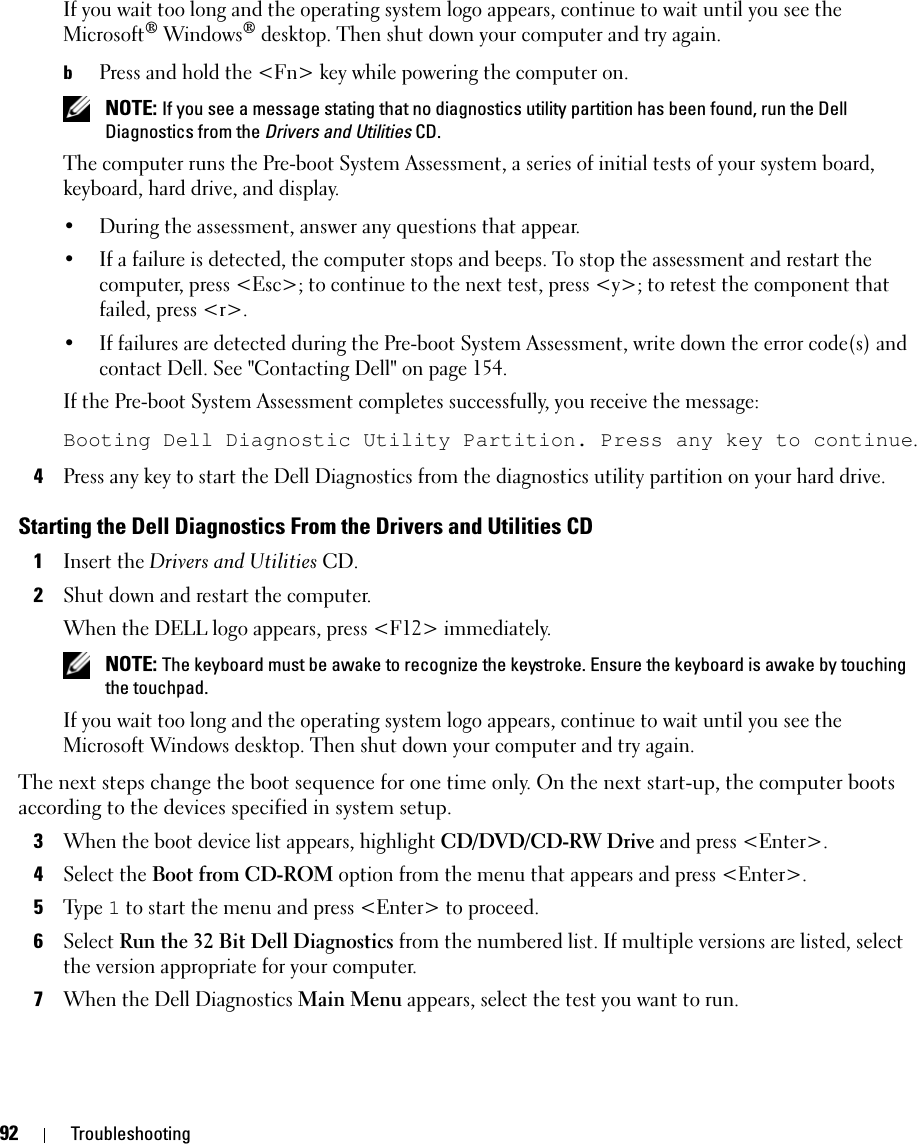

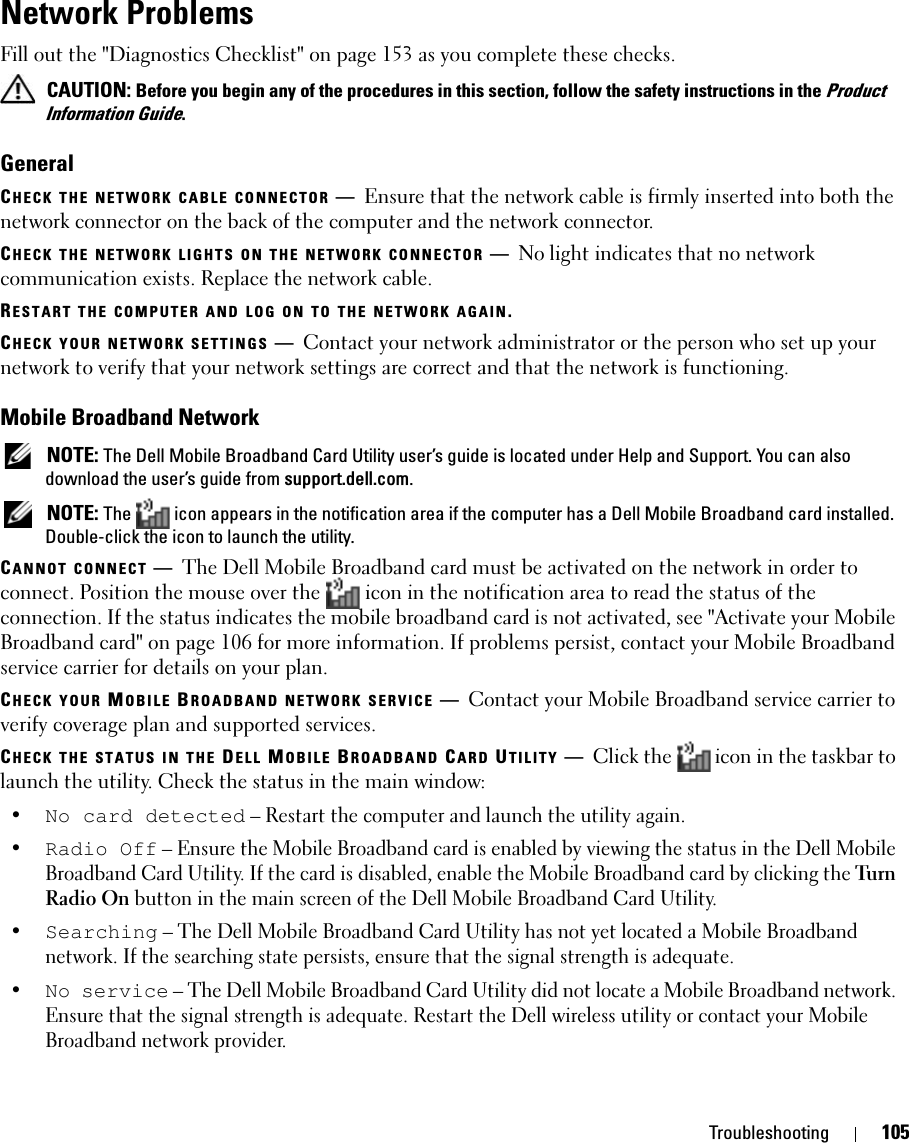

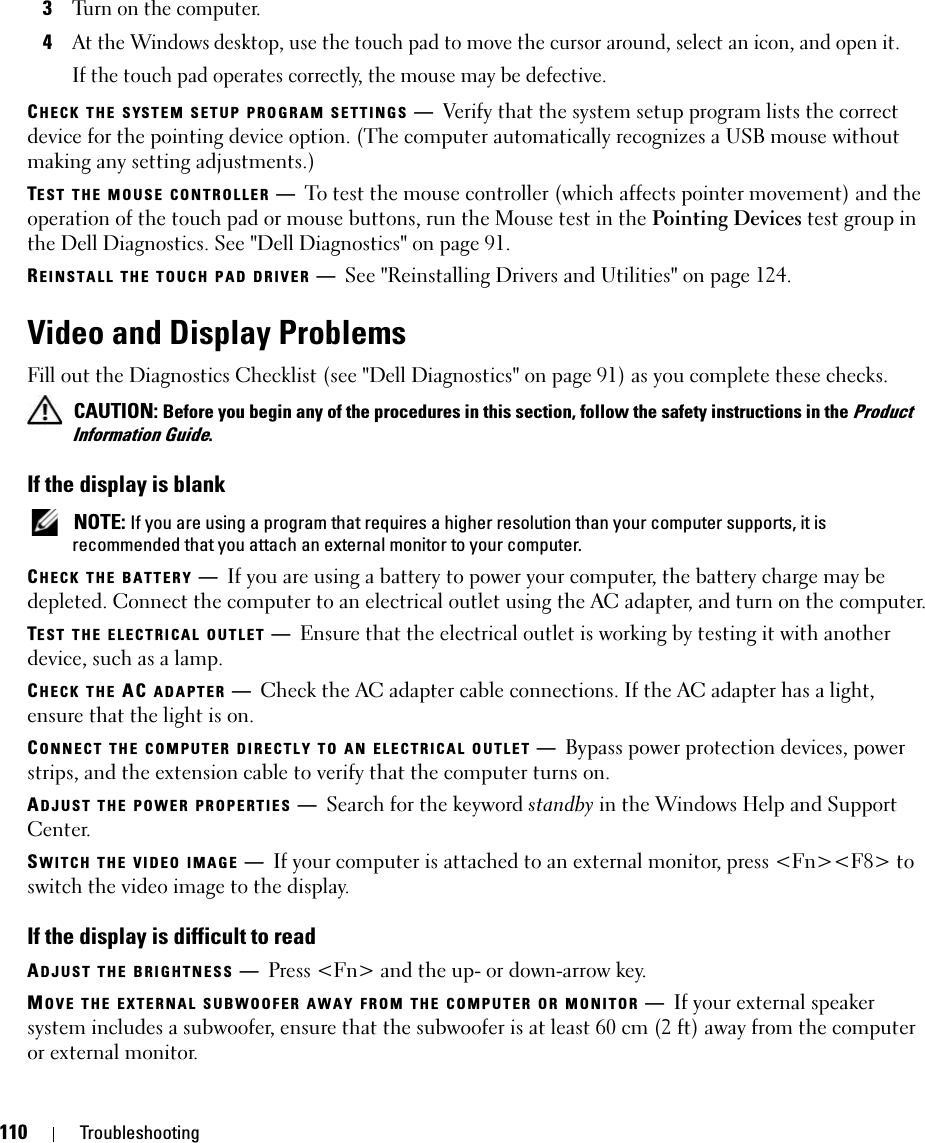

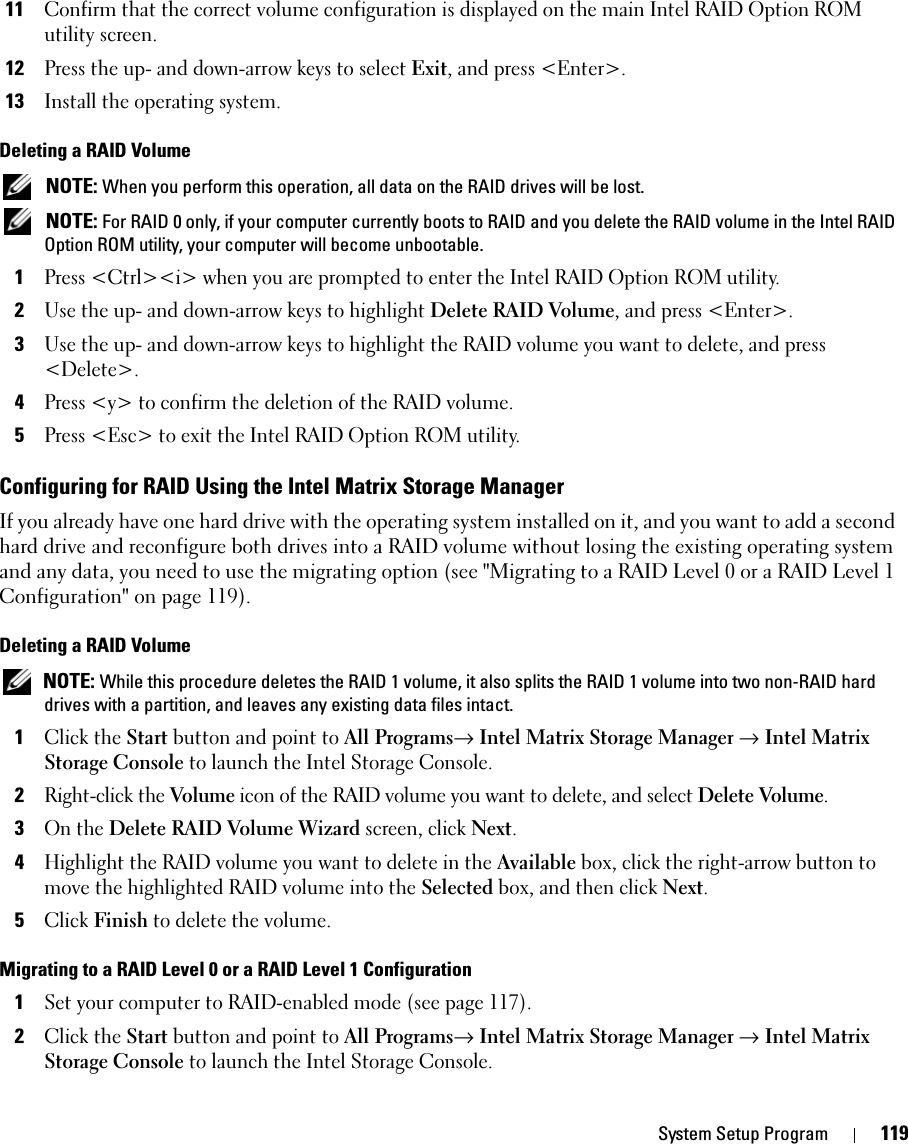
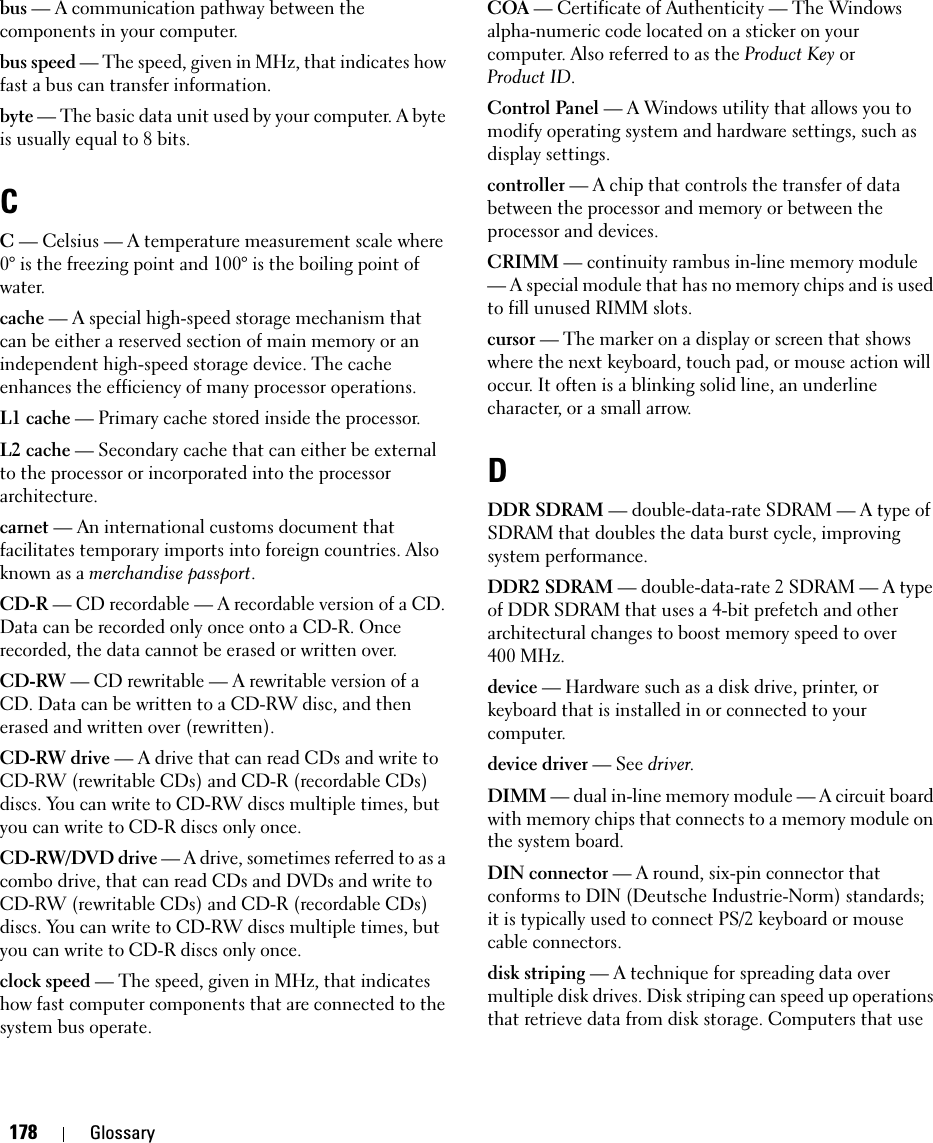
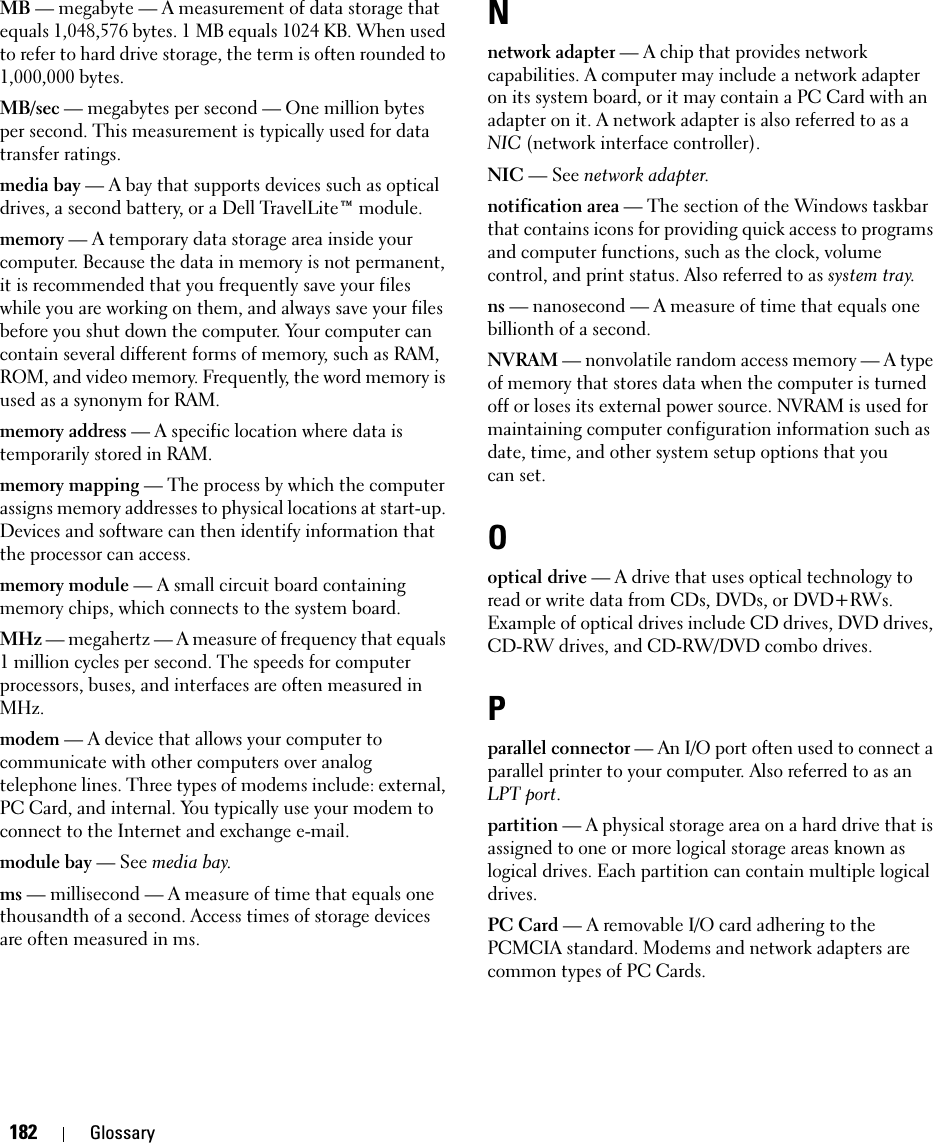
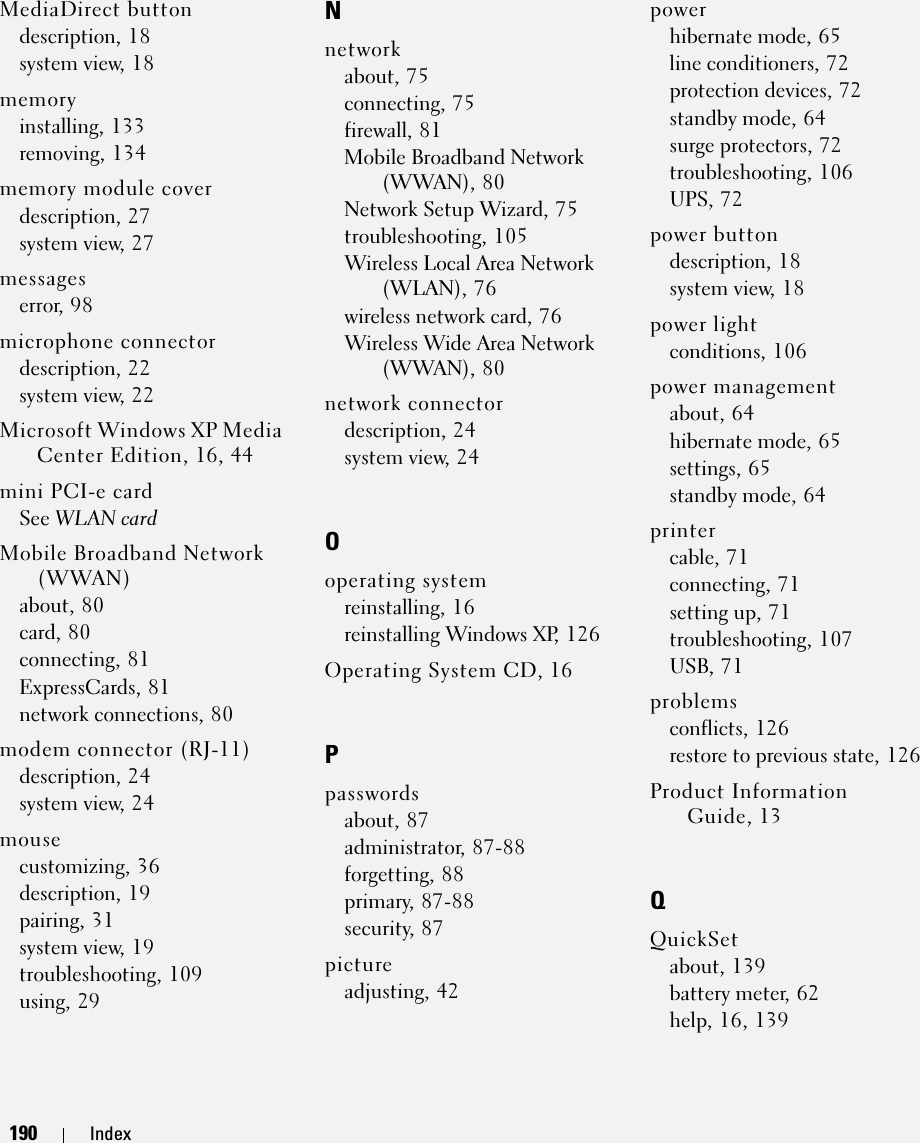
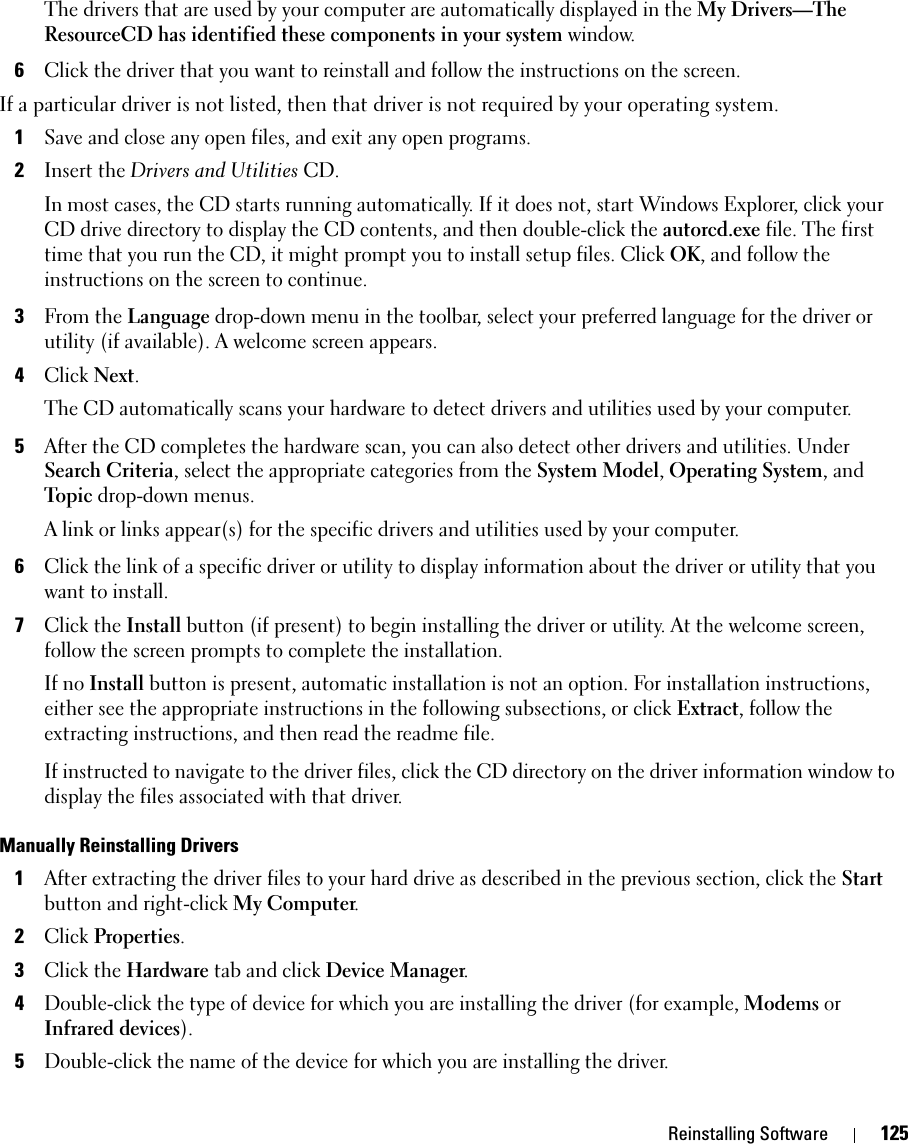
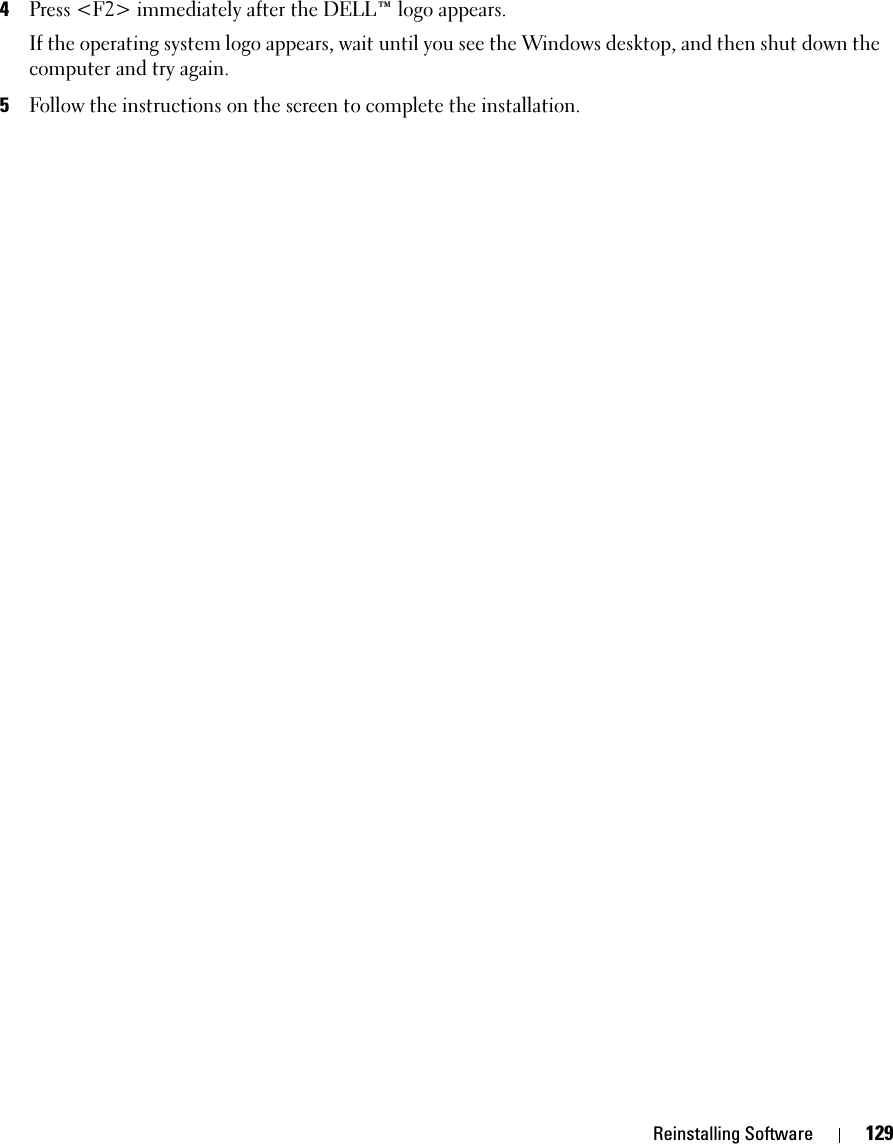
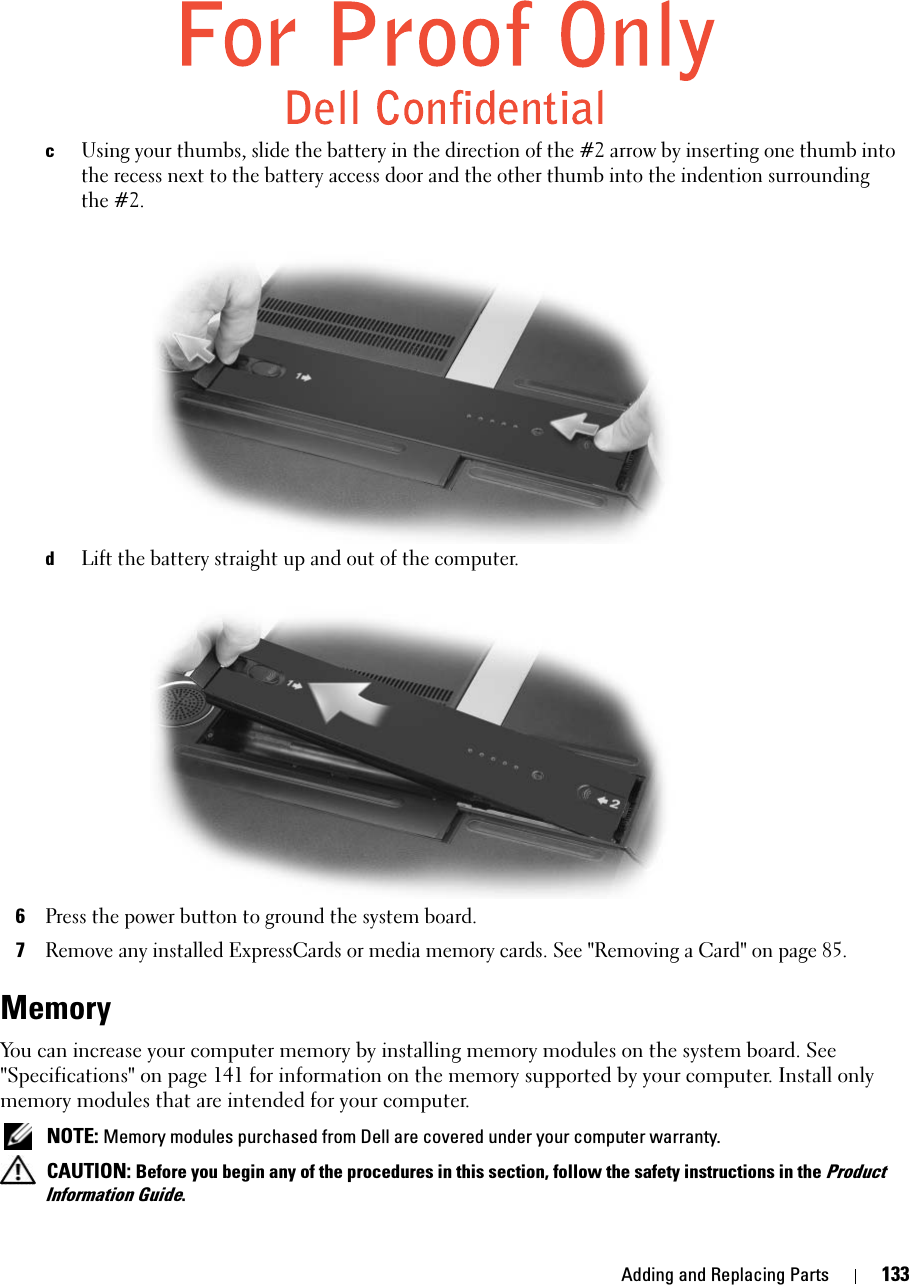
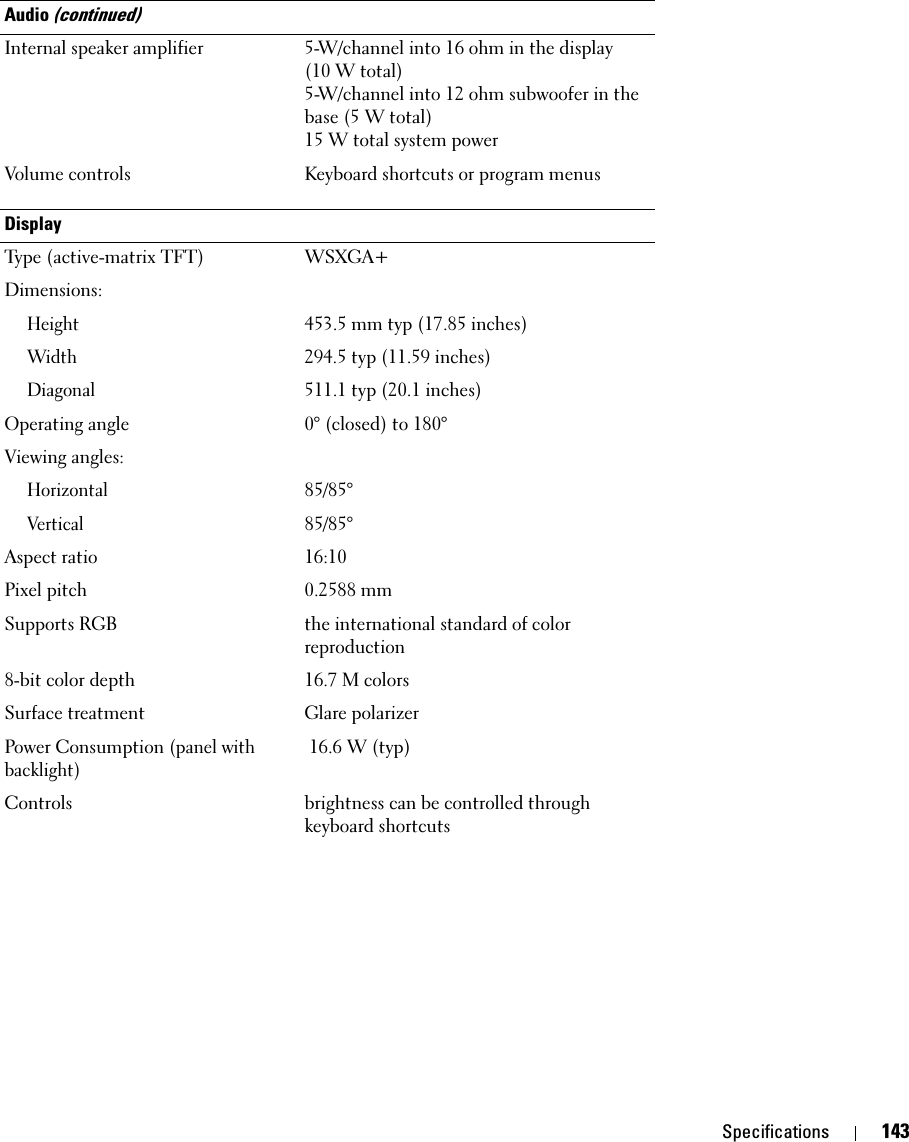
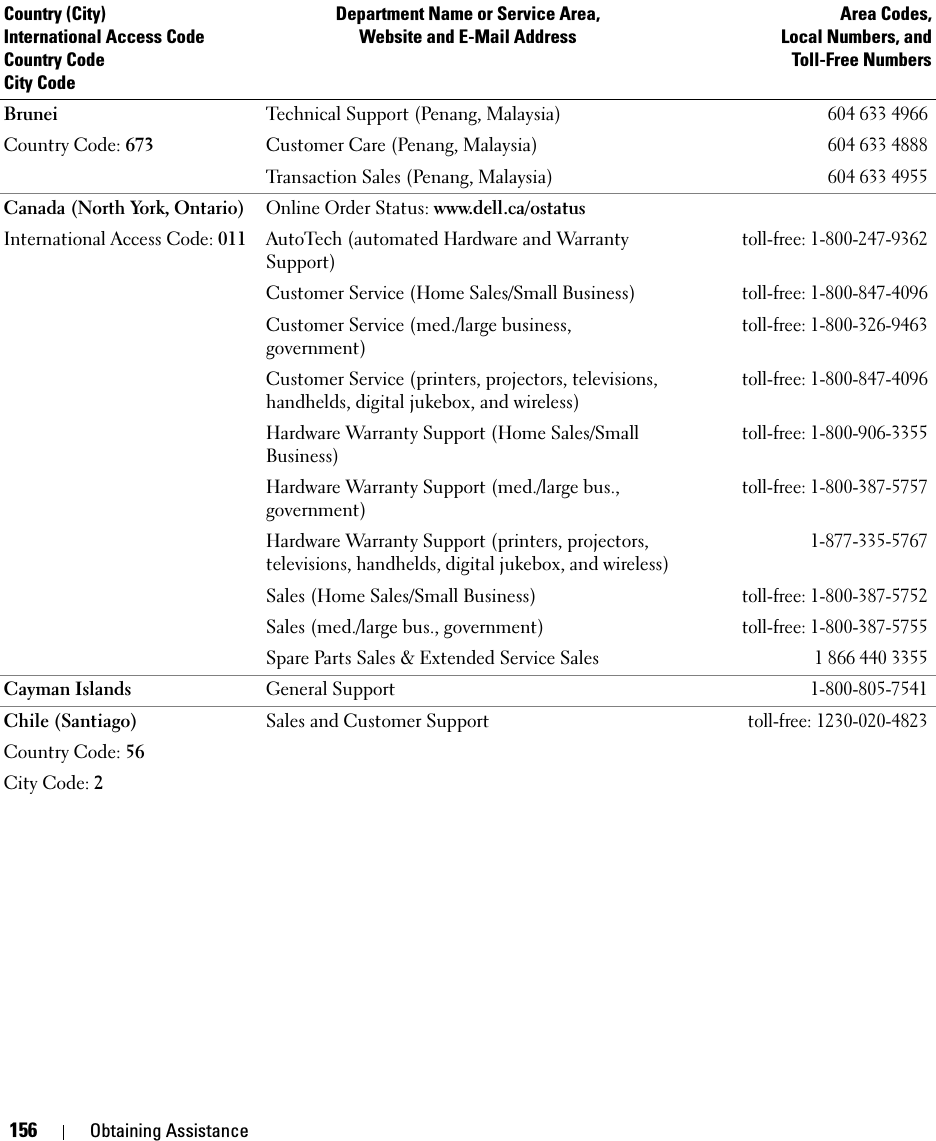
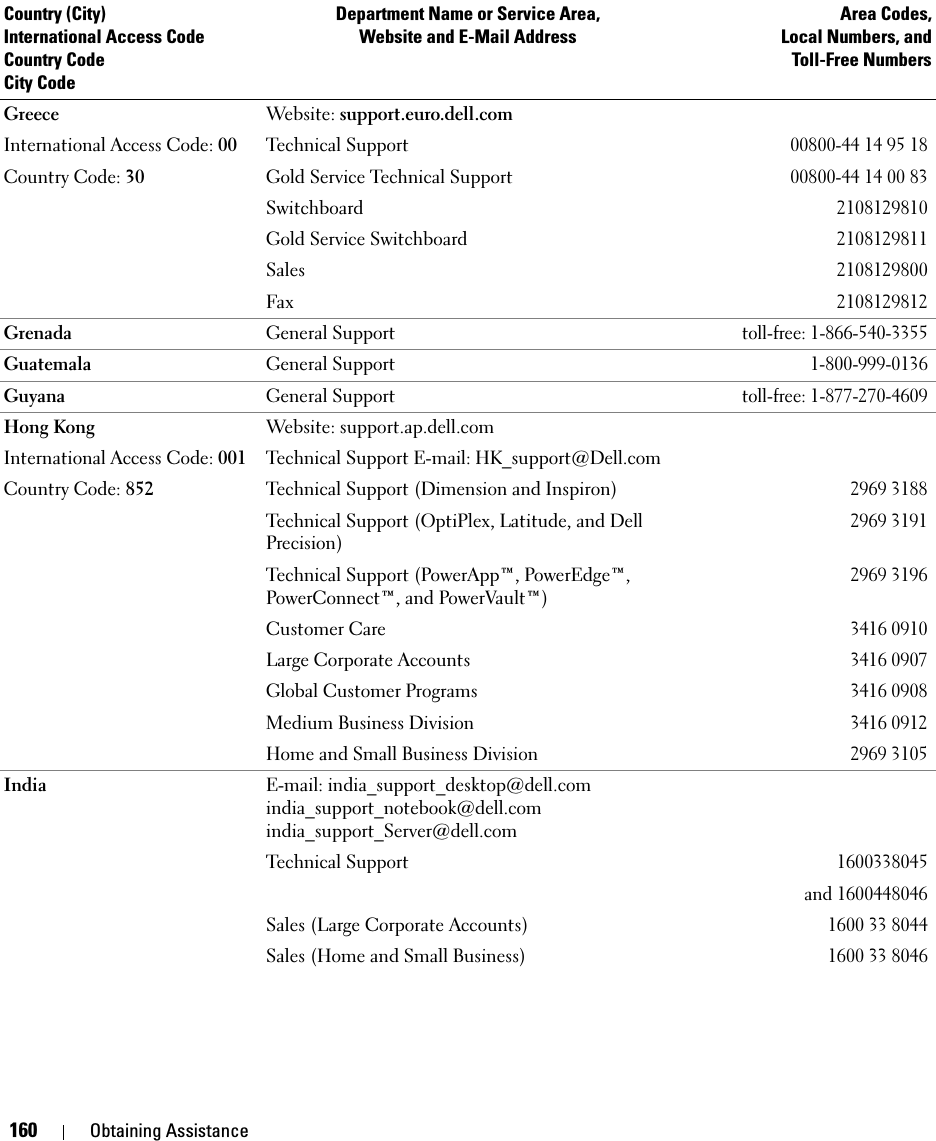
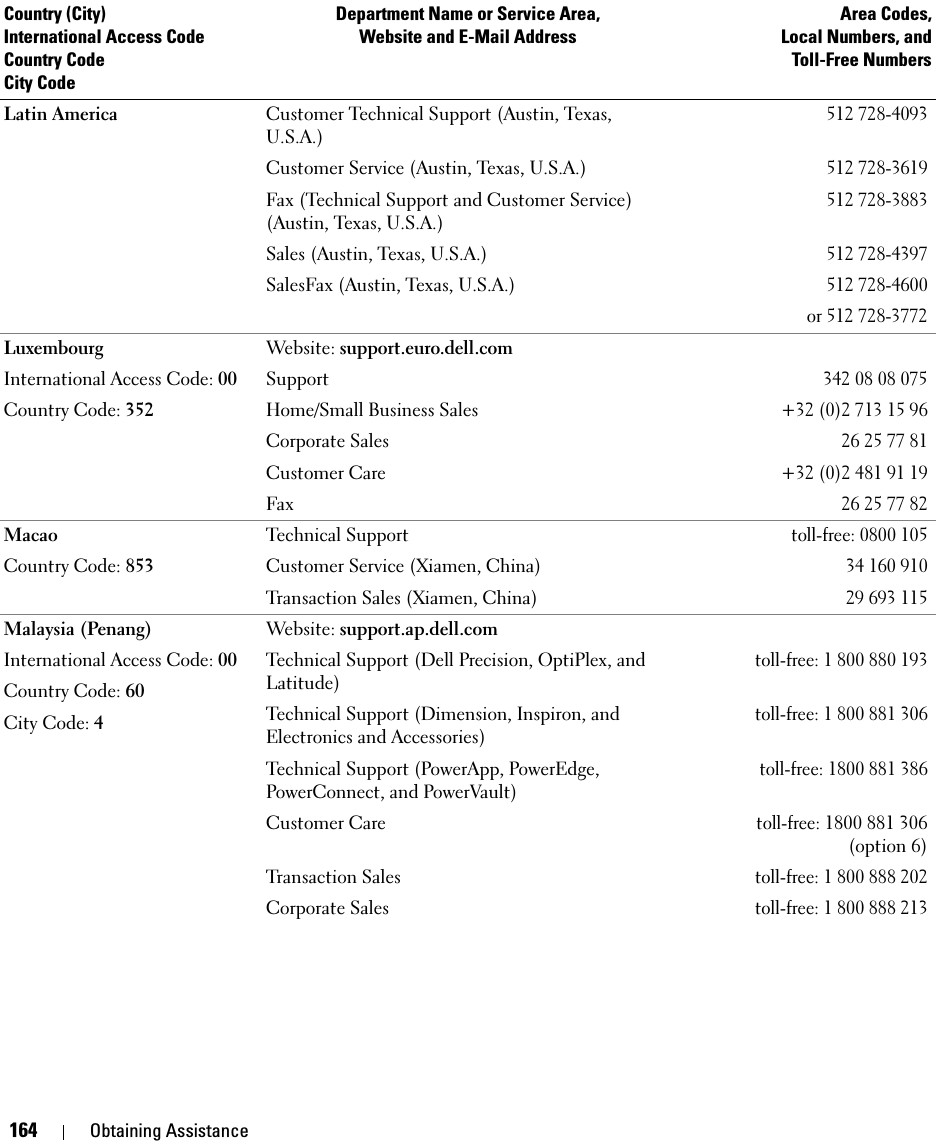
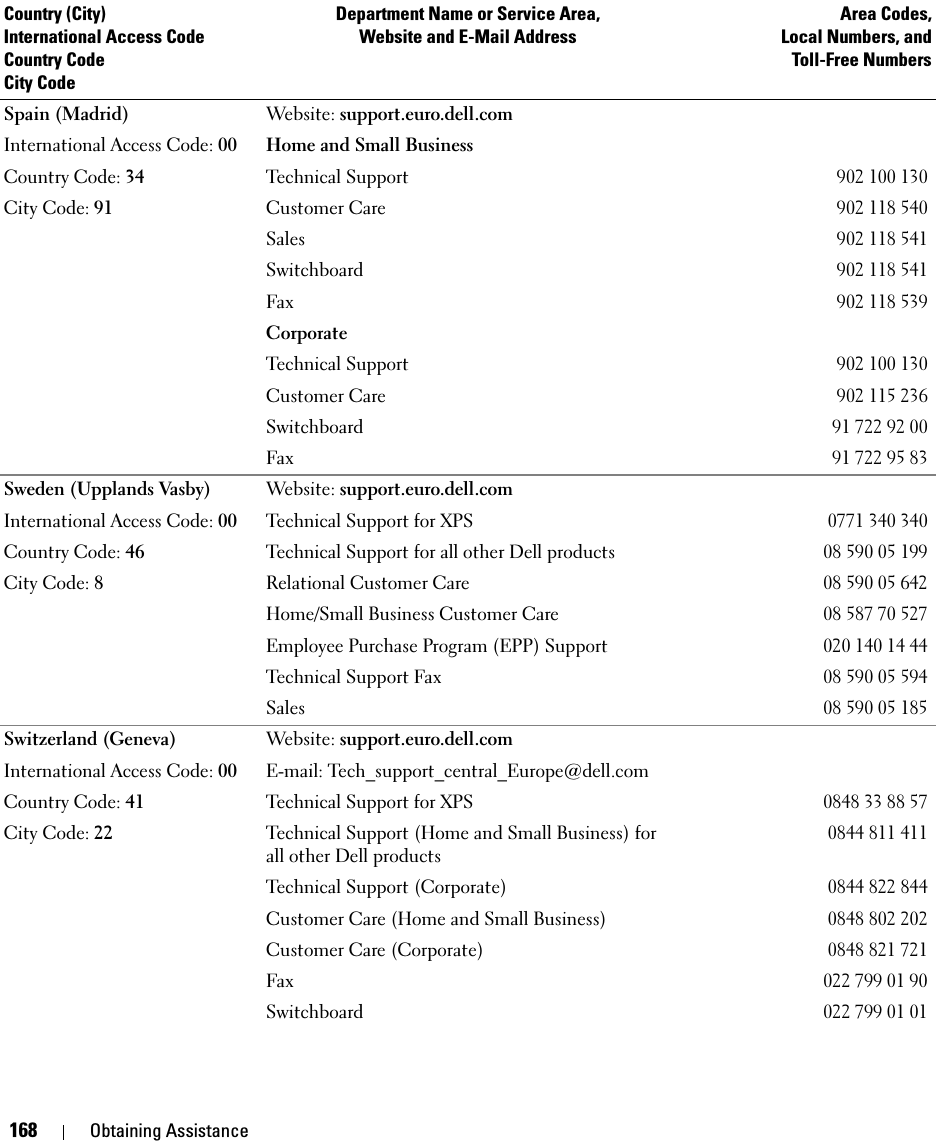
![Reinstalling Software 123Reinstalling SoftwareDriversWhat Is a Driver?A driver is a program that controls a device such as a printer, mouse, or keyboard. All devices require a driver program.A driver acts like a translator between the device and any other programs that use the device. Each device has its own set of specialized commands that only its driver recognizes.Dell ships your computer to you with required drivers already installed—no further installation or configuration is needed. NOTICE: The Drivers and Utilities CD may contain drivers for operating systems that are not on your computer. Ensure that you are installing software appropriate for your operating system.Many drivers, such as the keyboard driver, come with your Microsoft® Windows® operating system. You may need to install drivers if you:• Upgrade your operating system.• Reinstall your operating system.• Connect or install a new device.Identifying DriversIf you experience a problem with any device, identify whether the driver is the source of your problem and, if necessary, update the driver.1Click the Start button and click Control Panel.2Under Pick a Category, click Performance and Maintenance.3Click System.4In the System Properties window, click the Hardware tab.5Click Device Manager.6Scroll down the list to see if any device has an exclamation point (a yellow circle with a [!]) on the device icon.If an exclamation point is next to the device name, you may need to reinstall the driver or install a new driver. See "Reinstalling Drivers and Utilities" on page 124.](https://usermanual.wiki/NMB-Technologies/7D70/User-Guide-659340-Page-123.png)

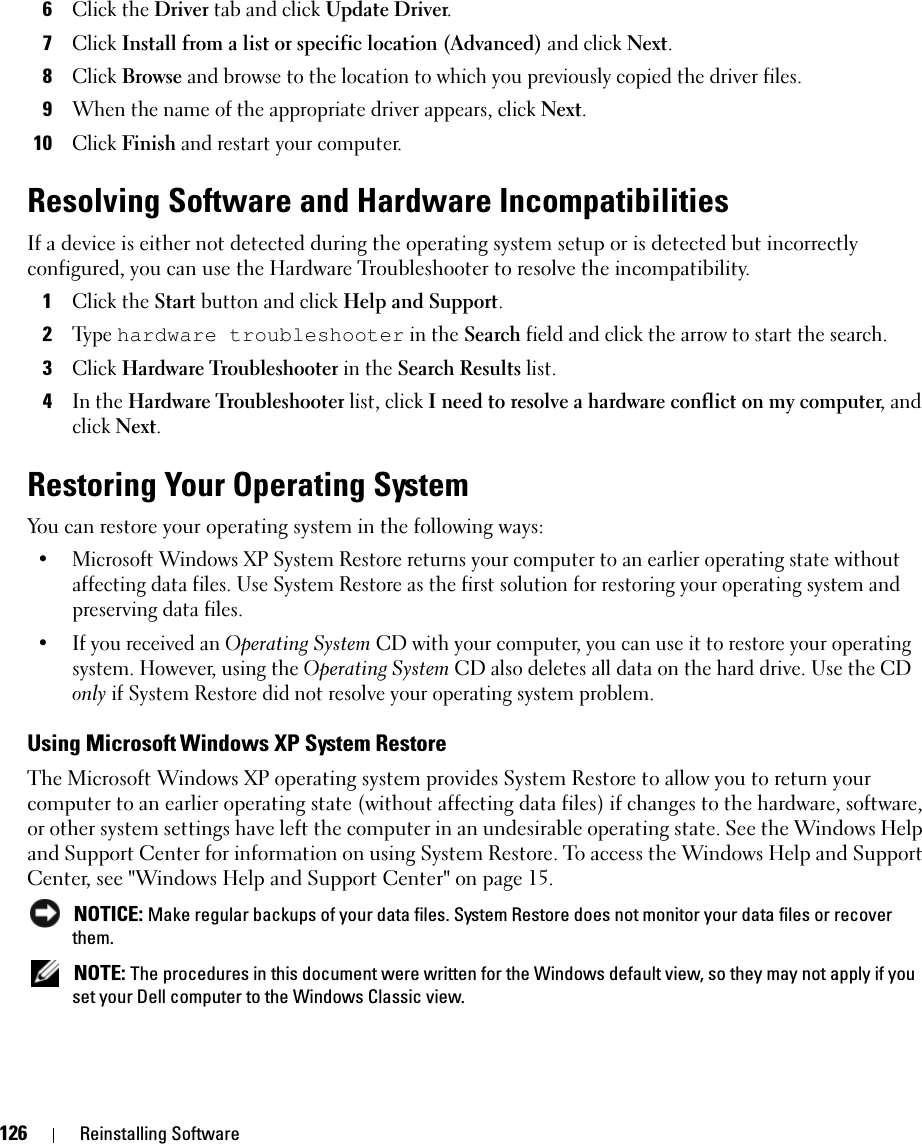
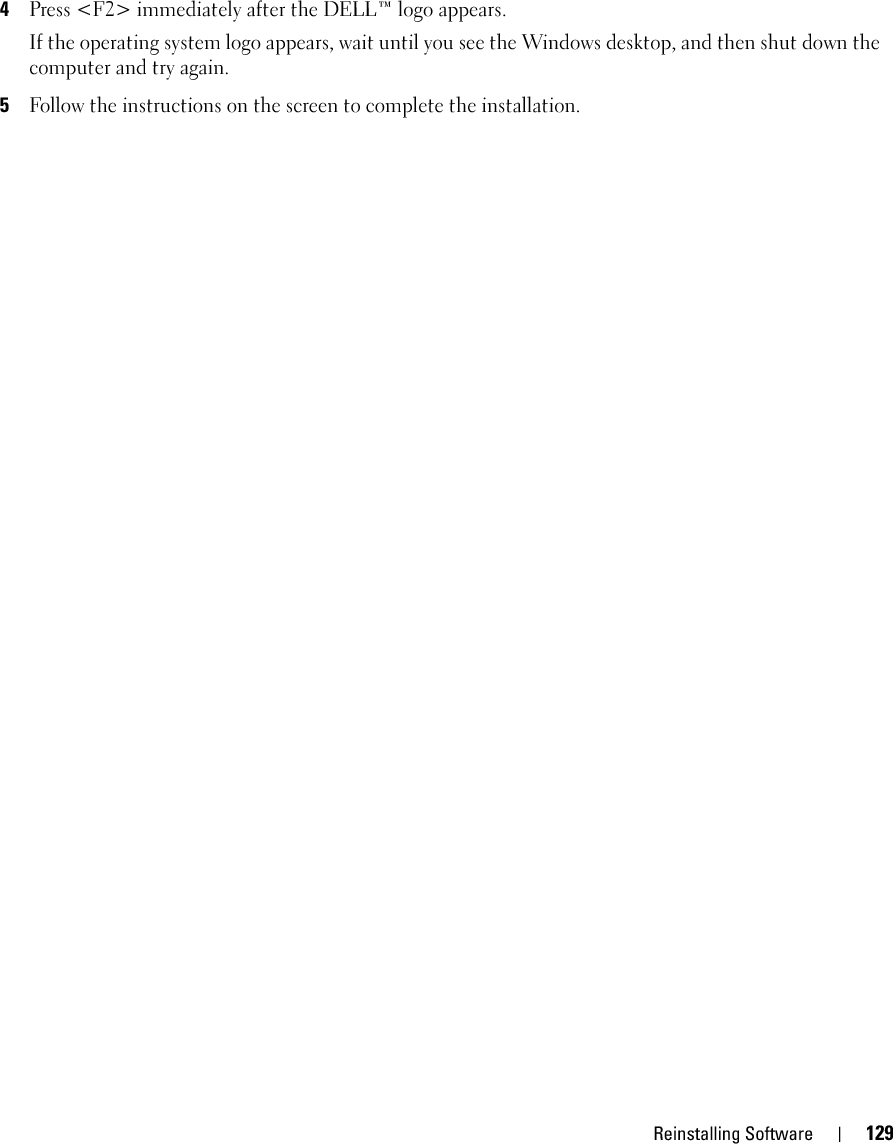
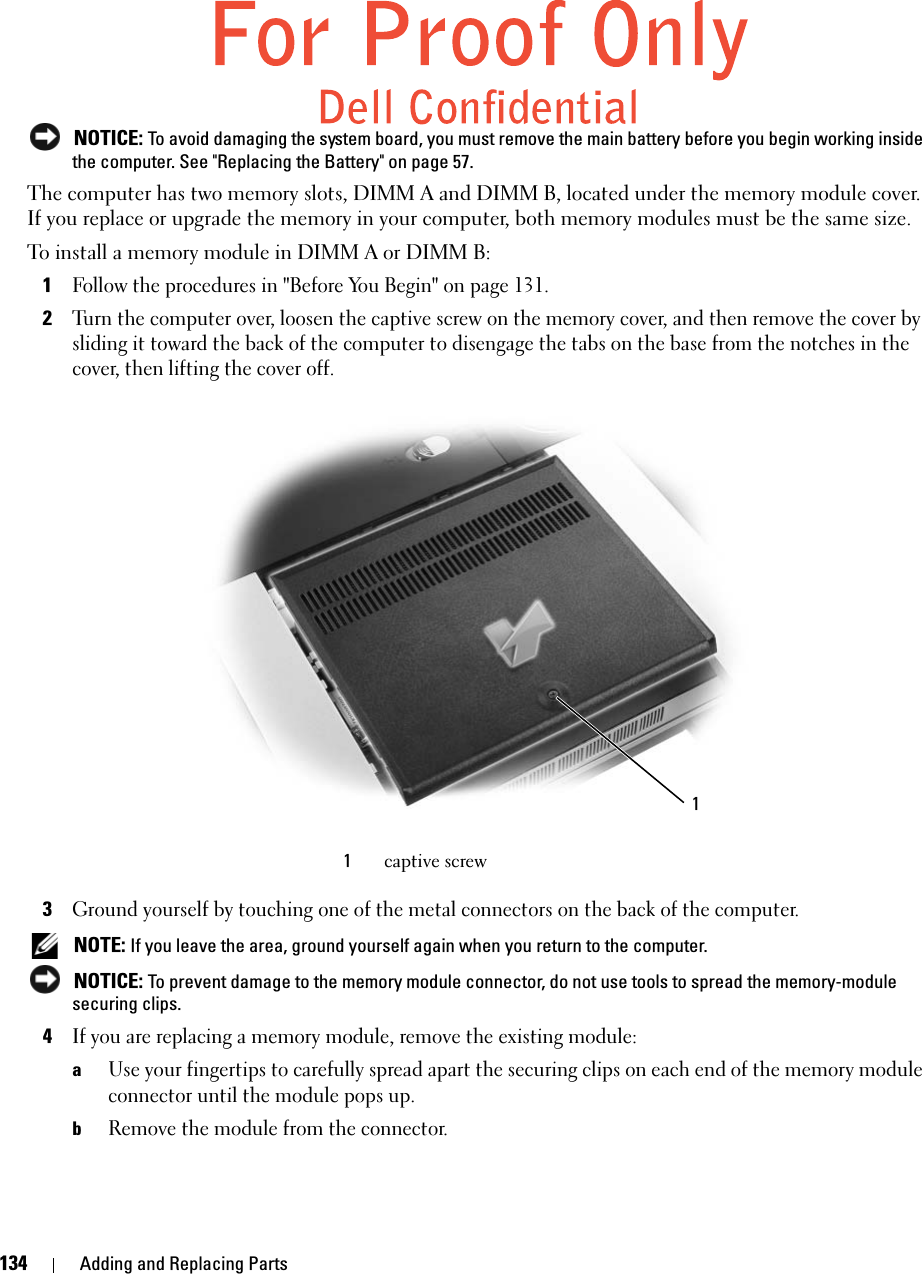


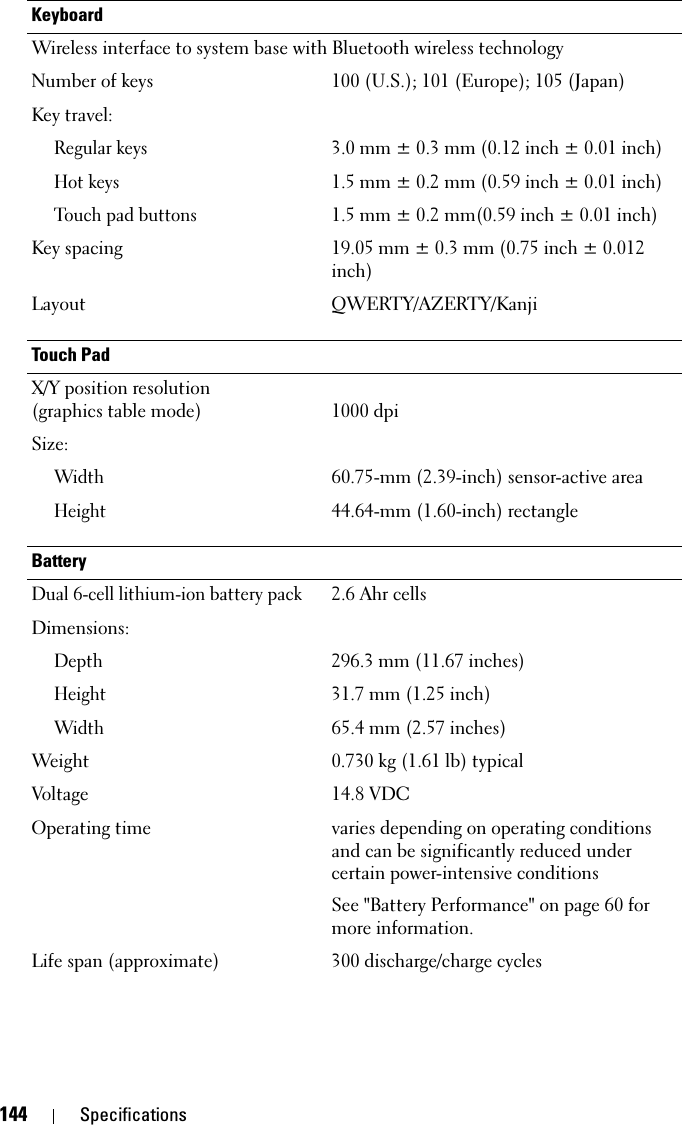

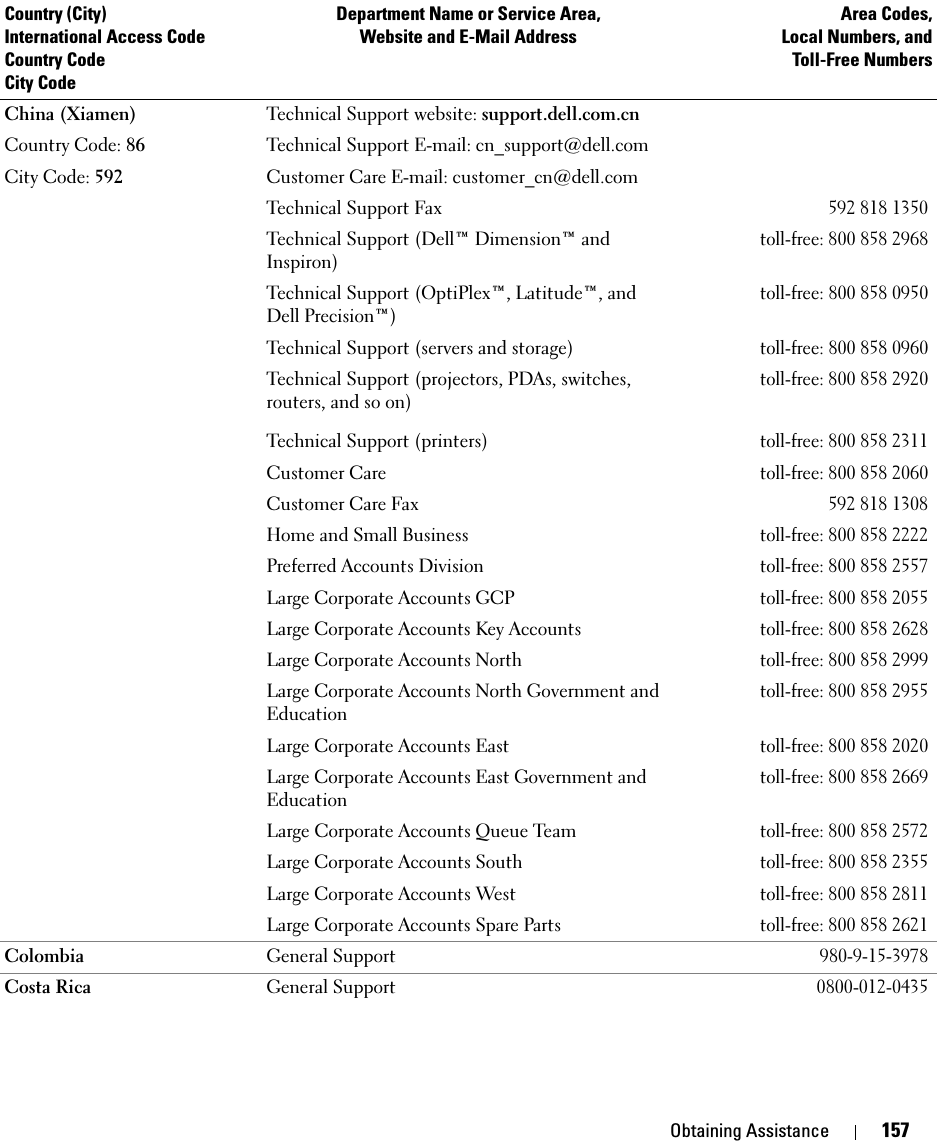
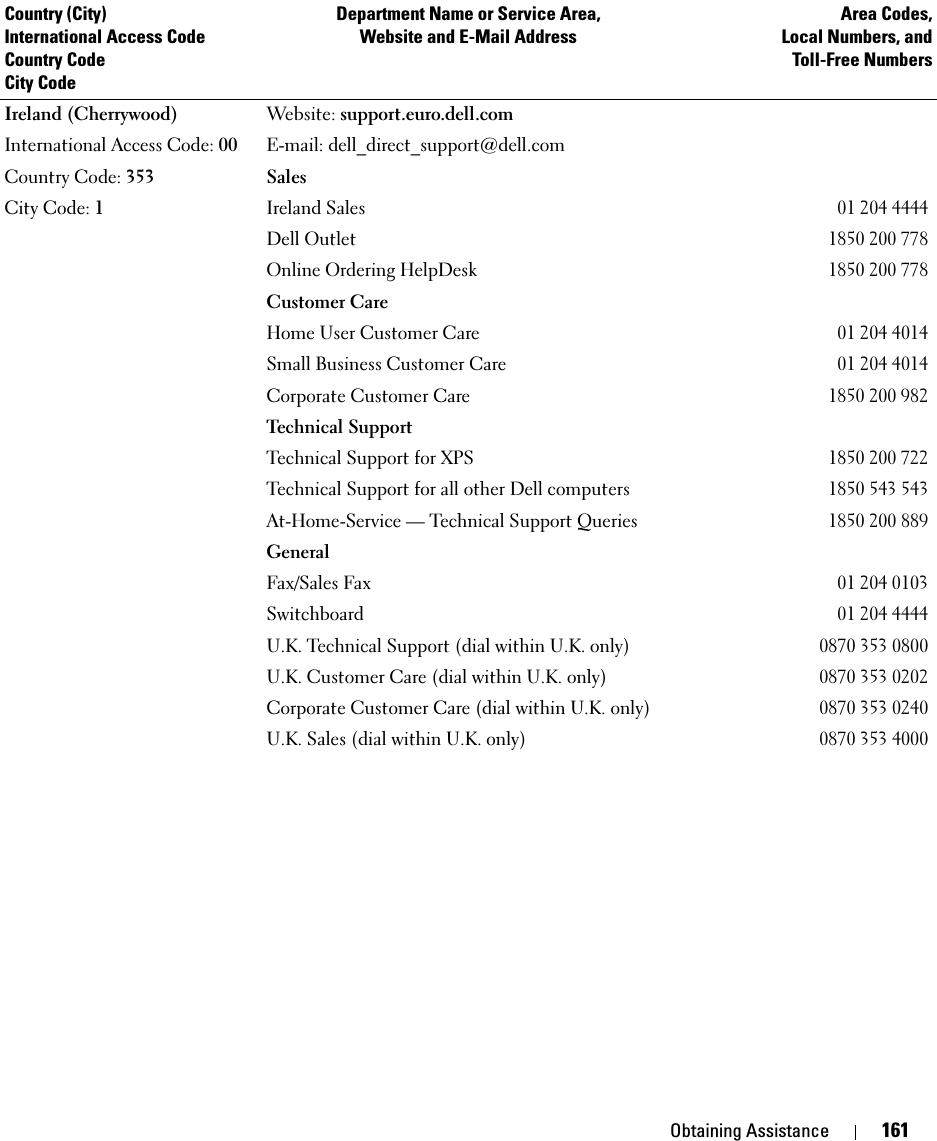
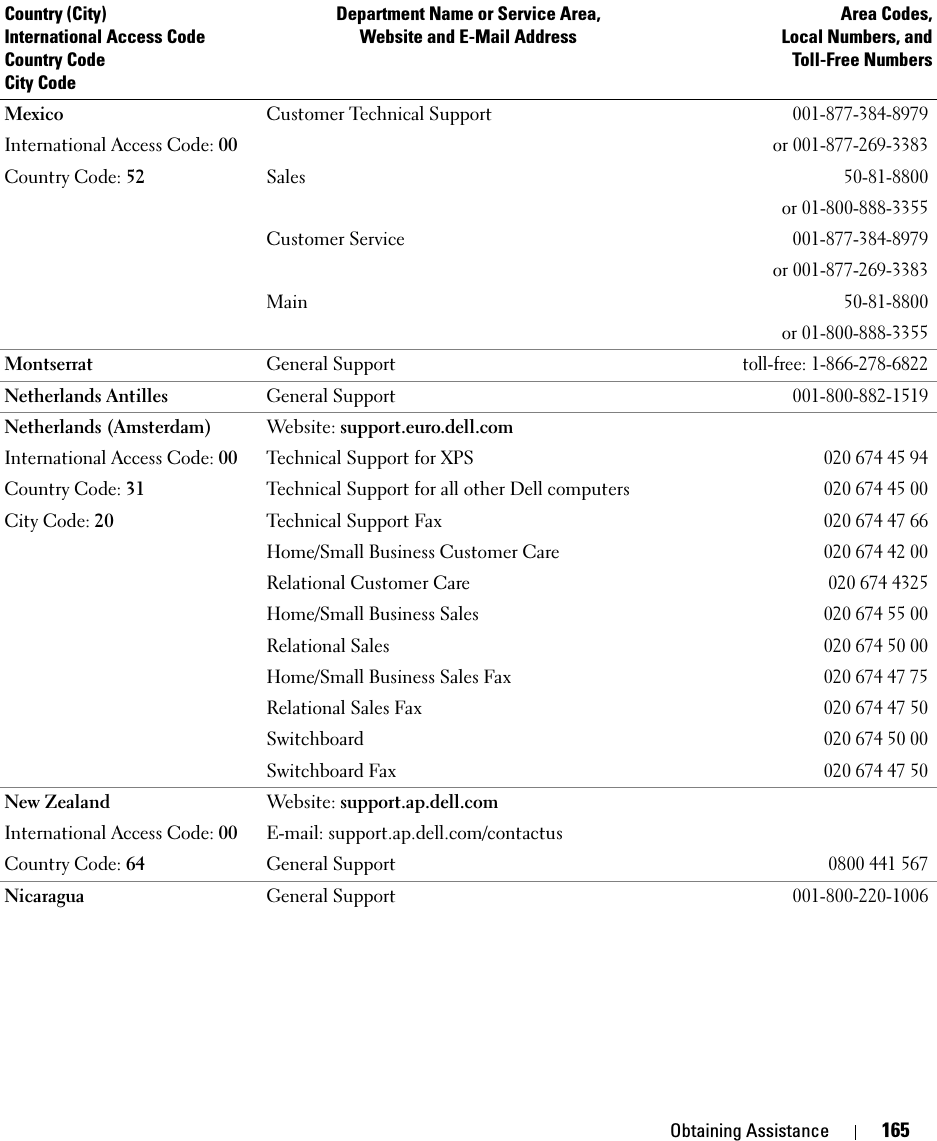
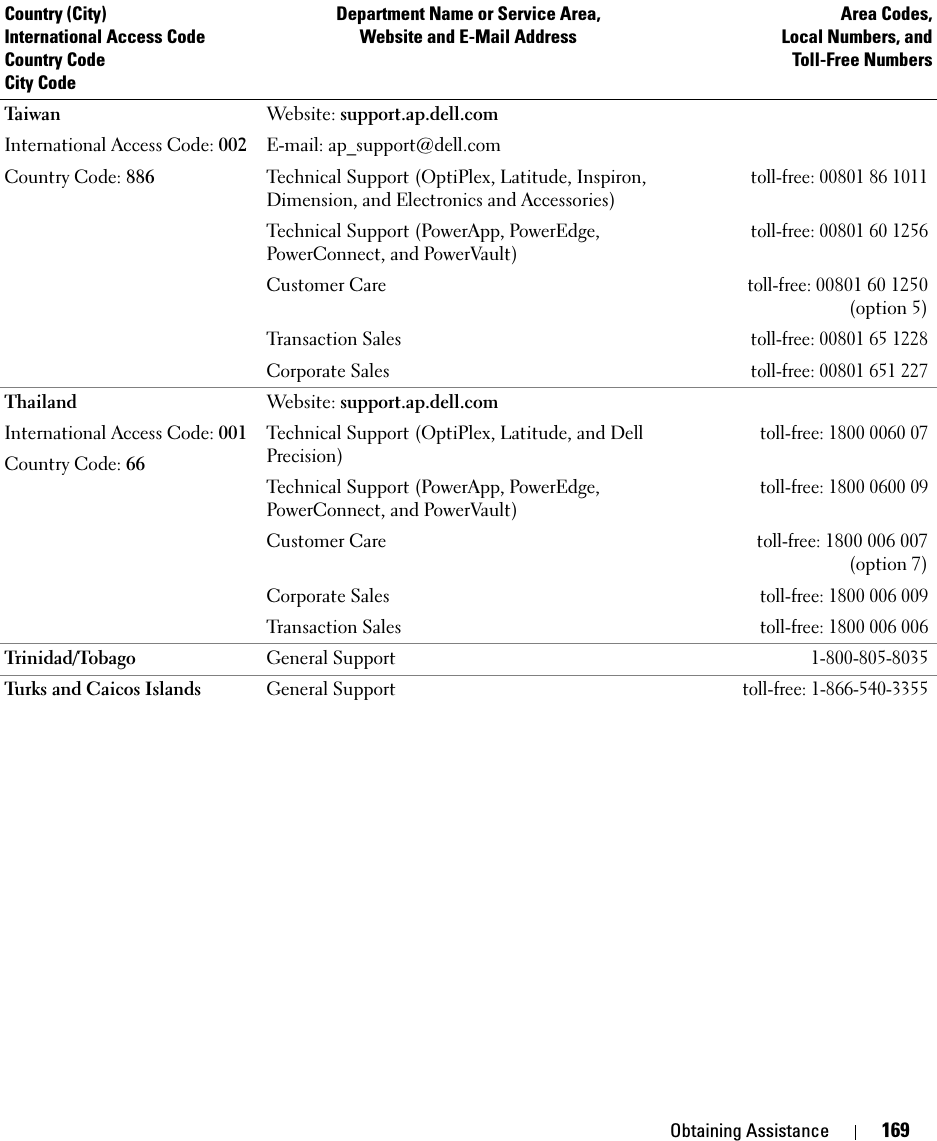
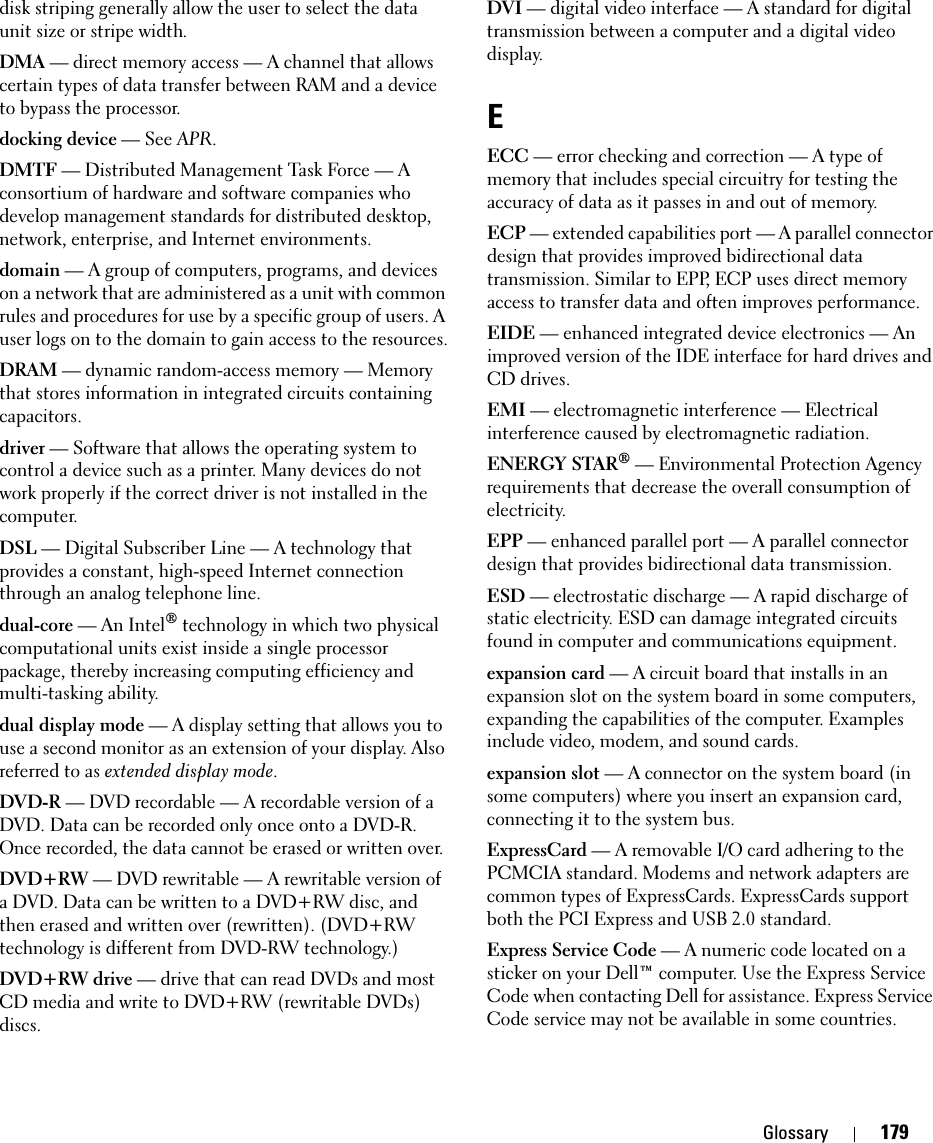
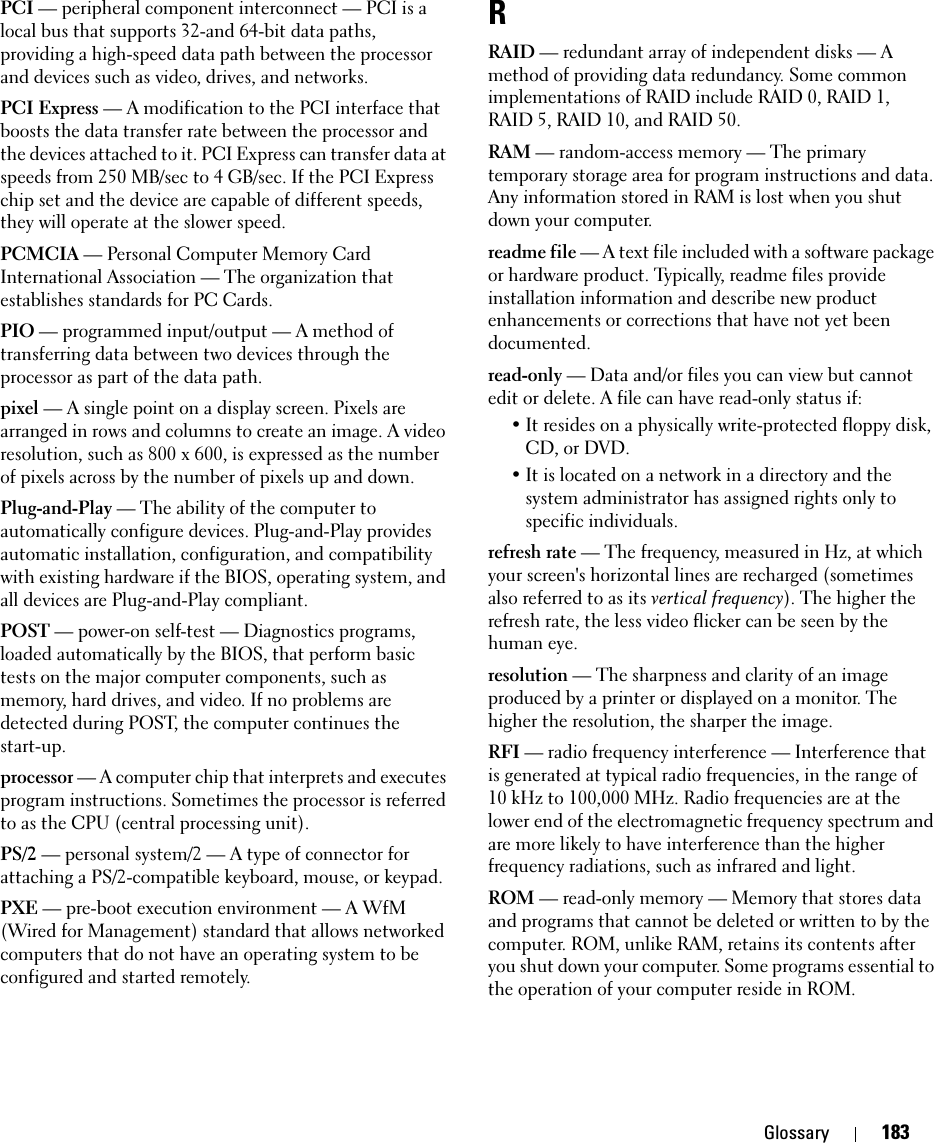
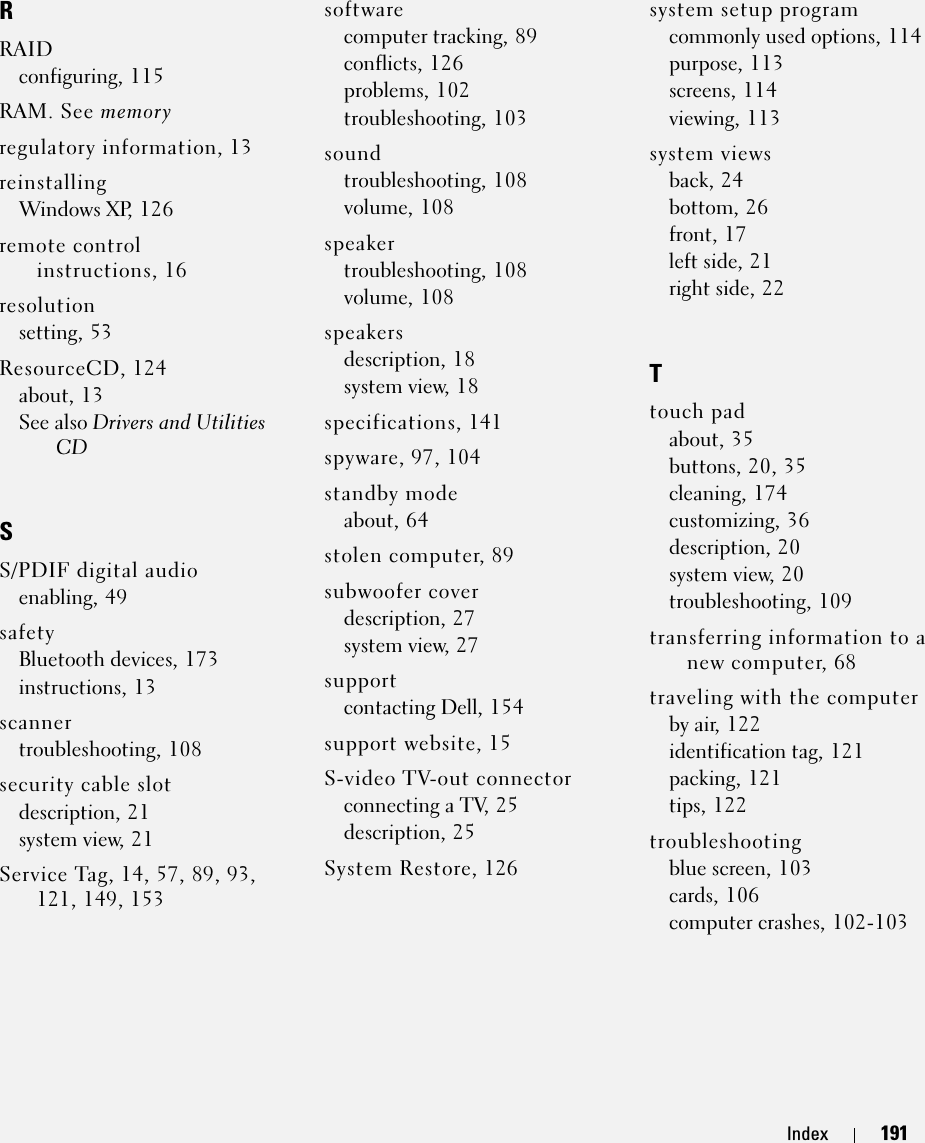
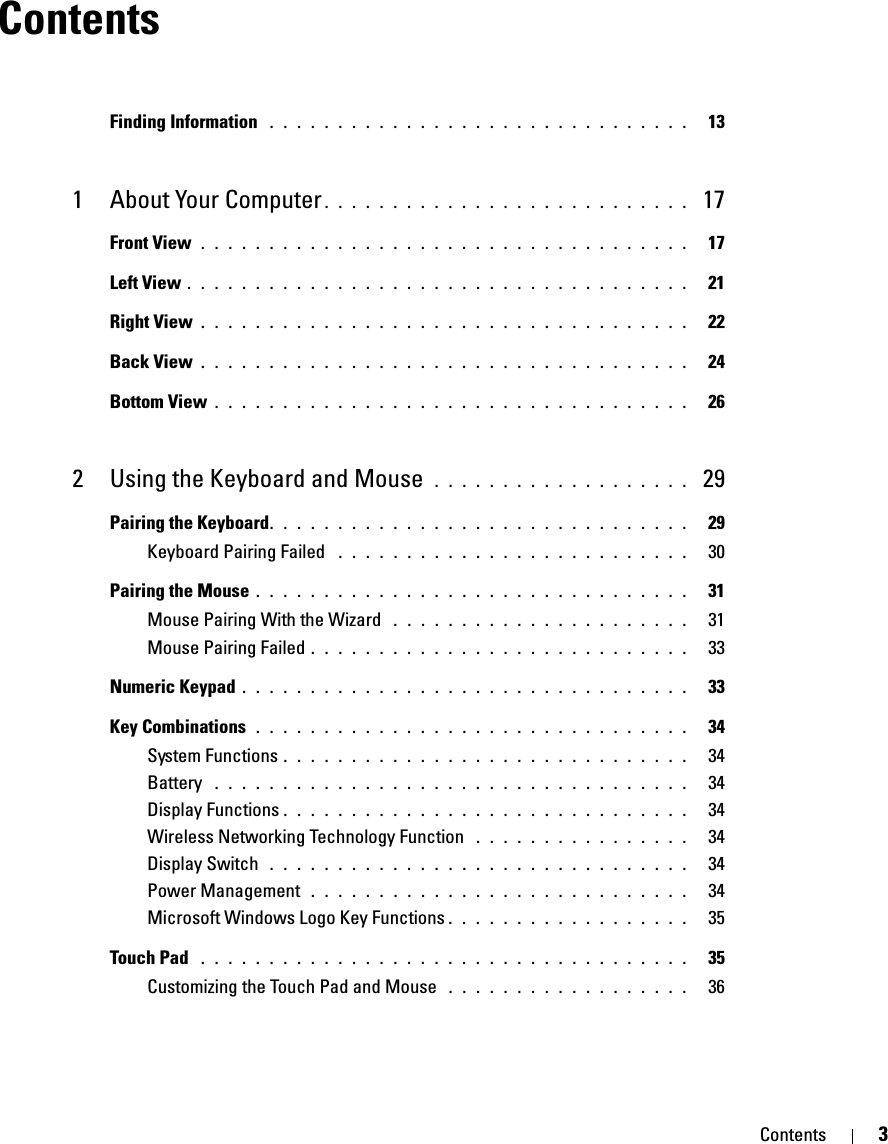
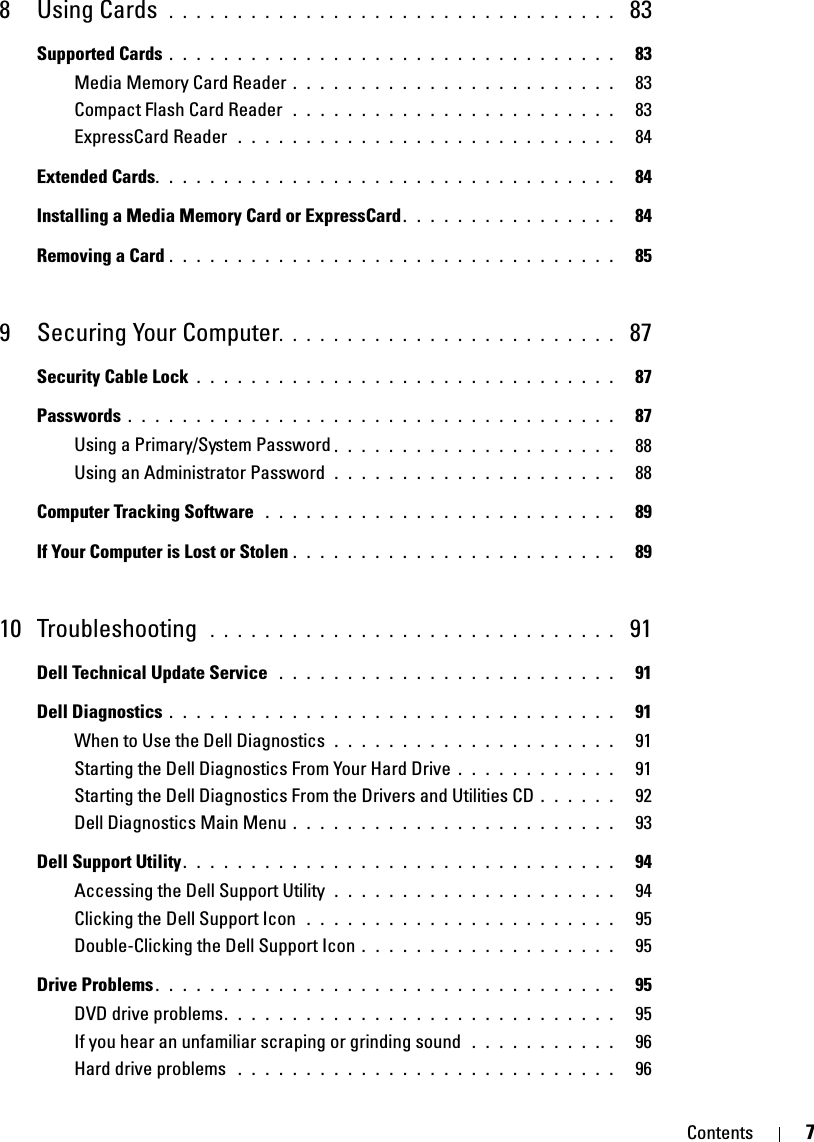
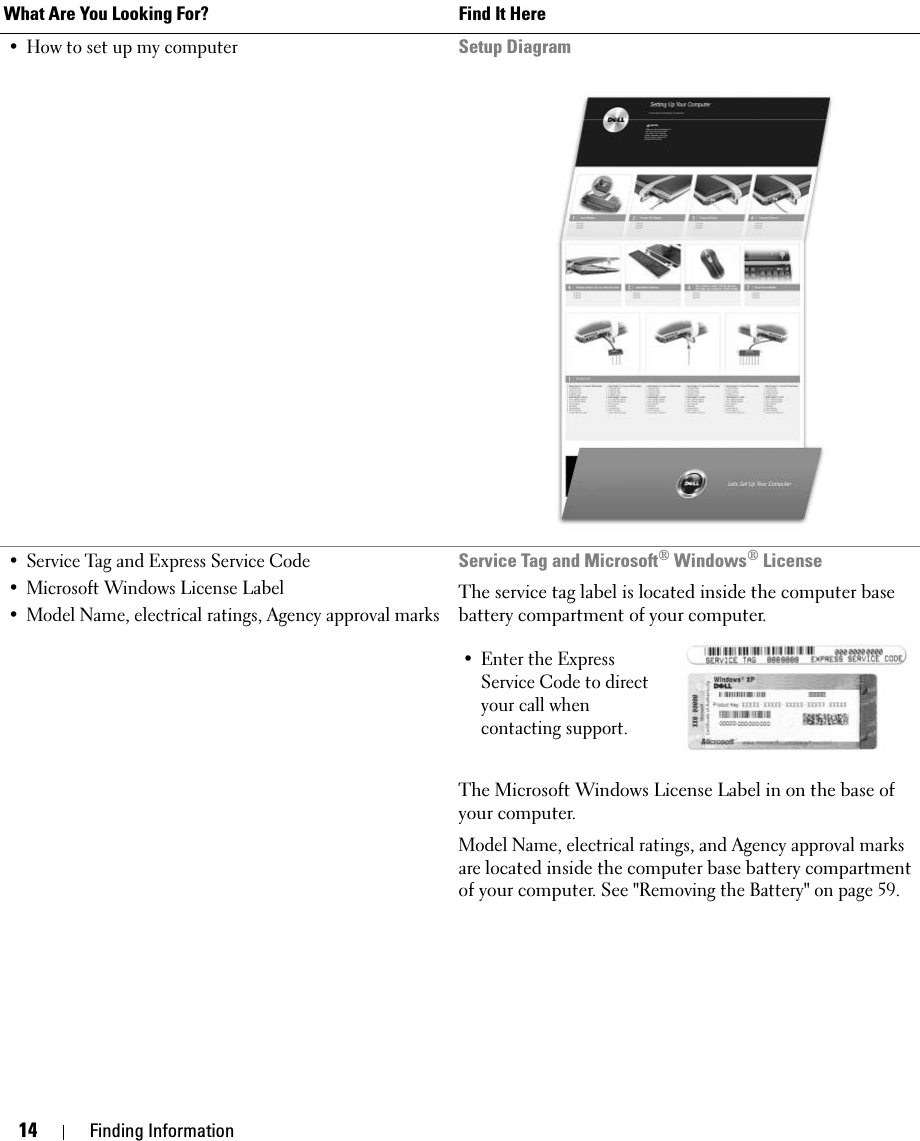
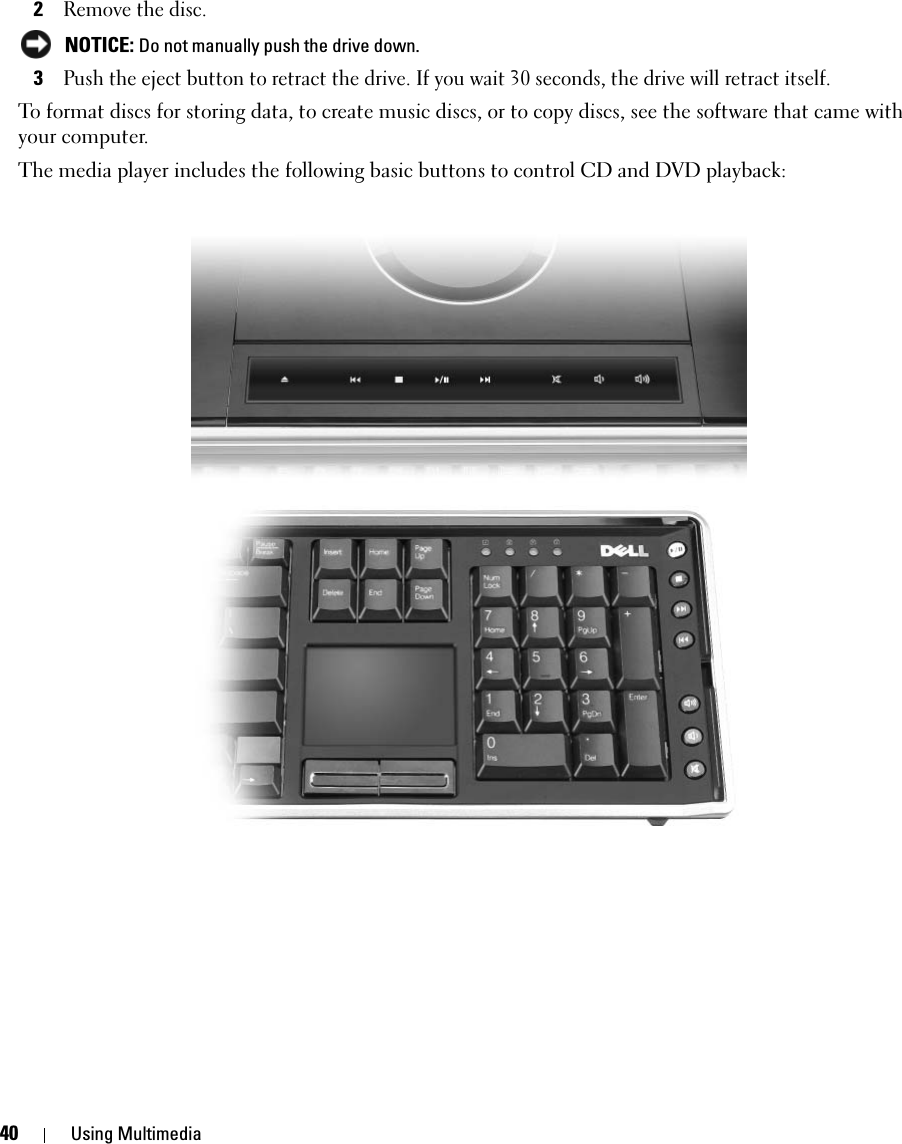
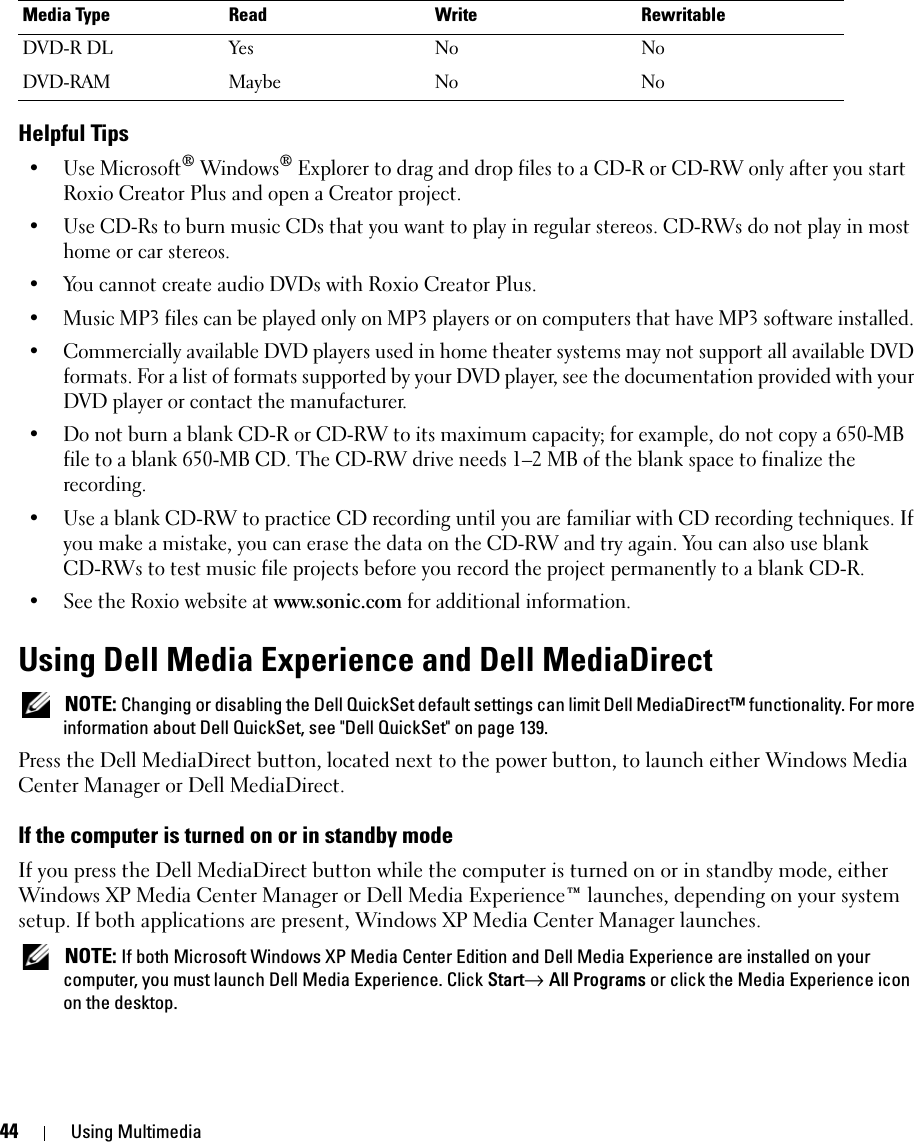
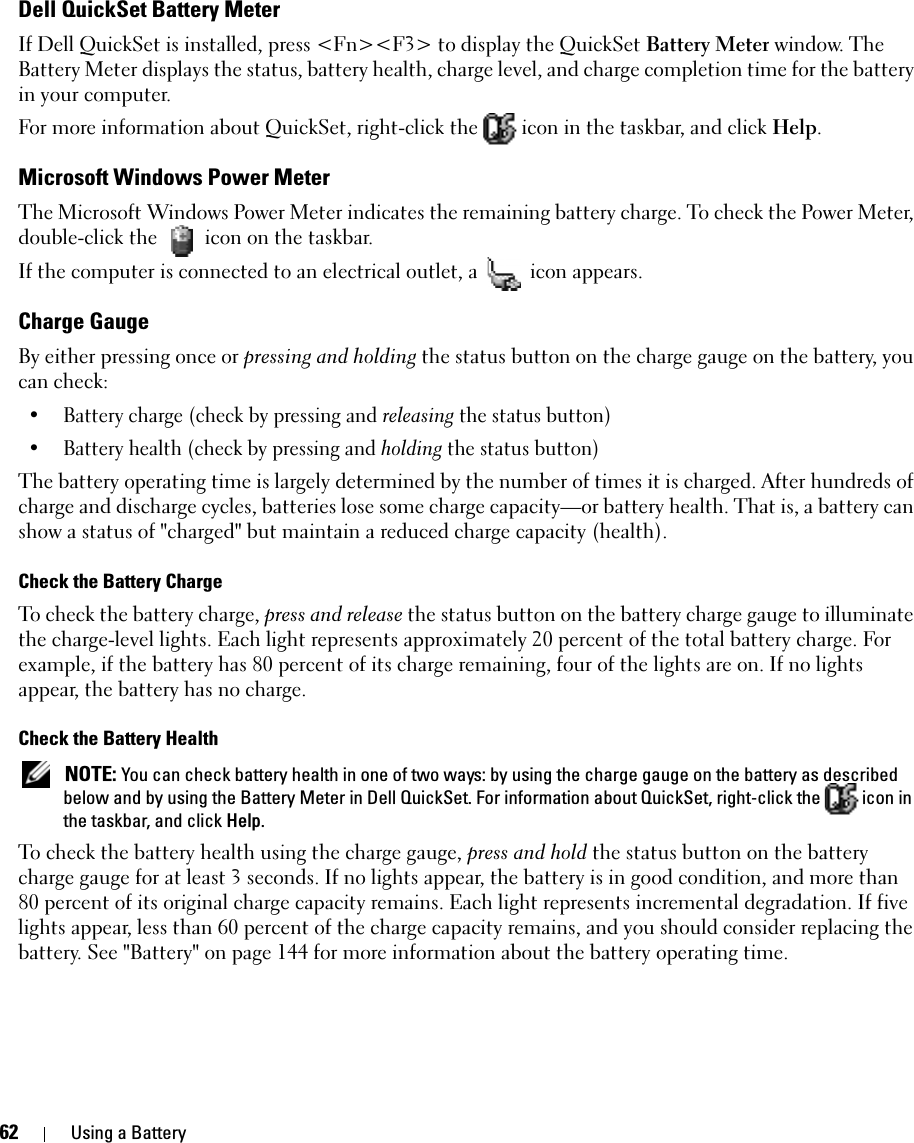
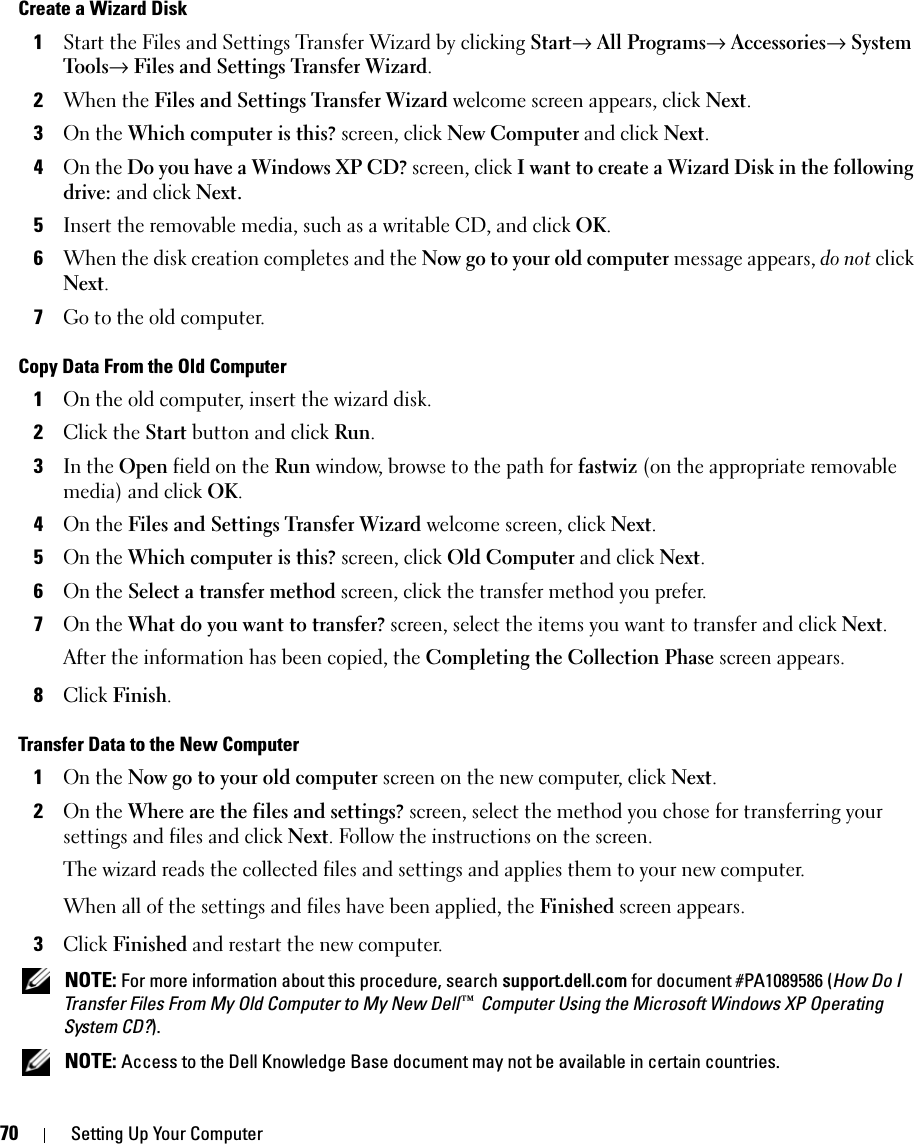
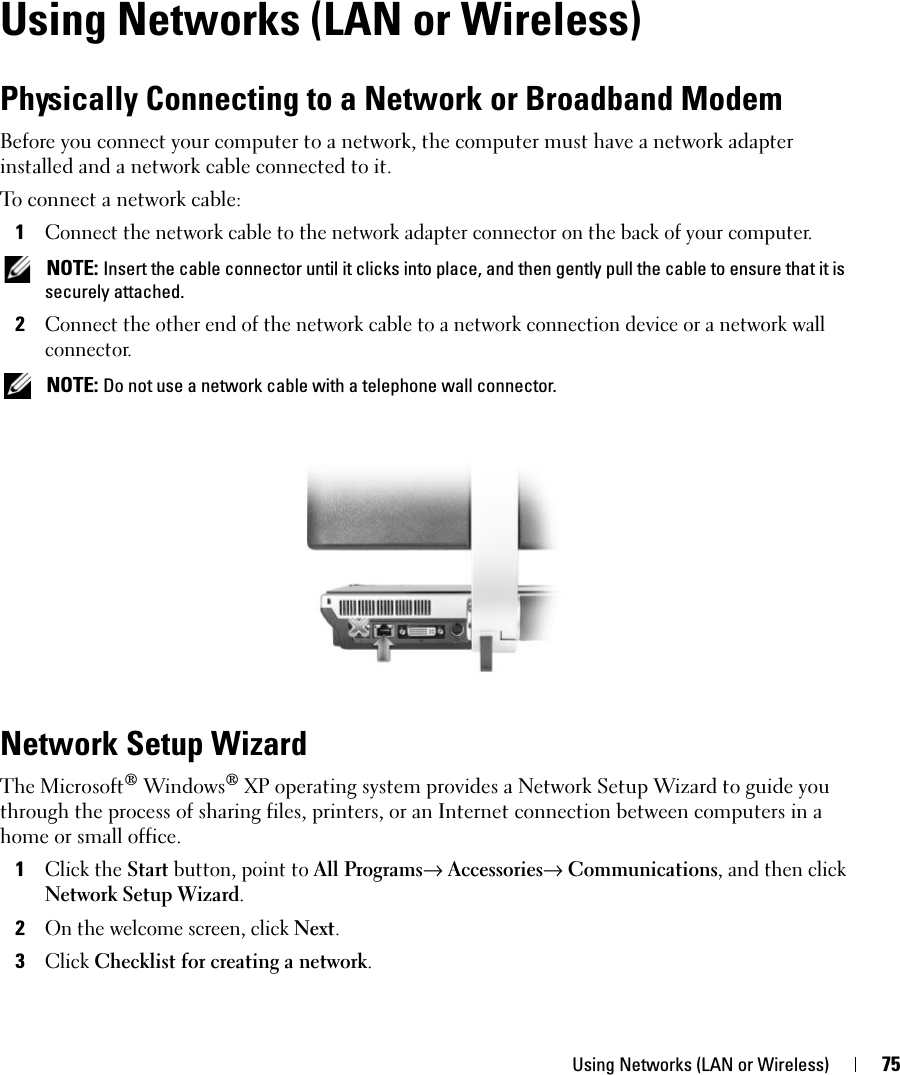
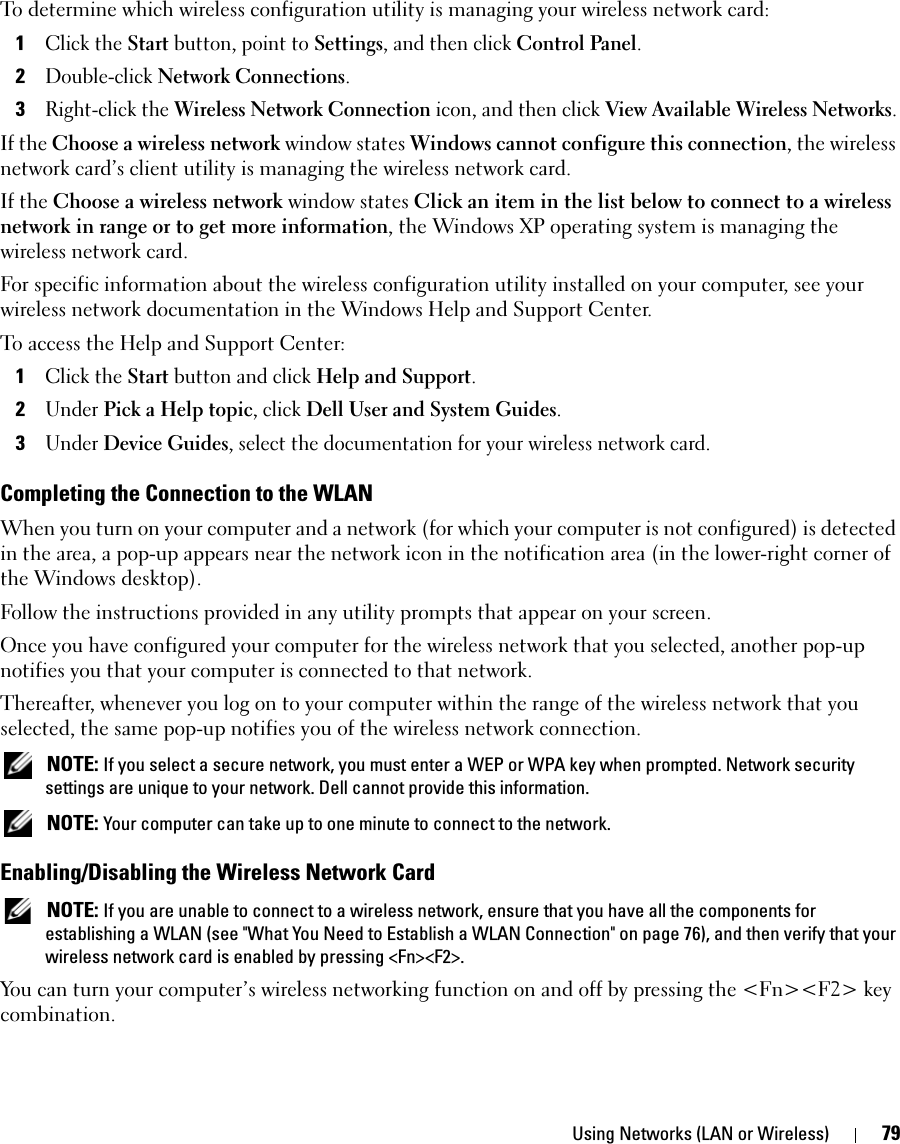
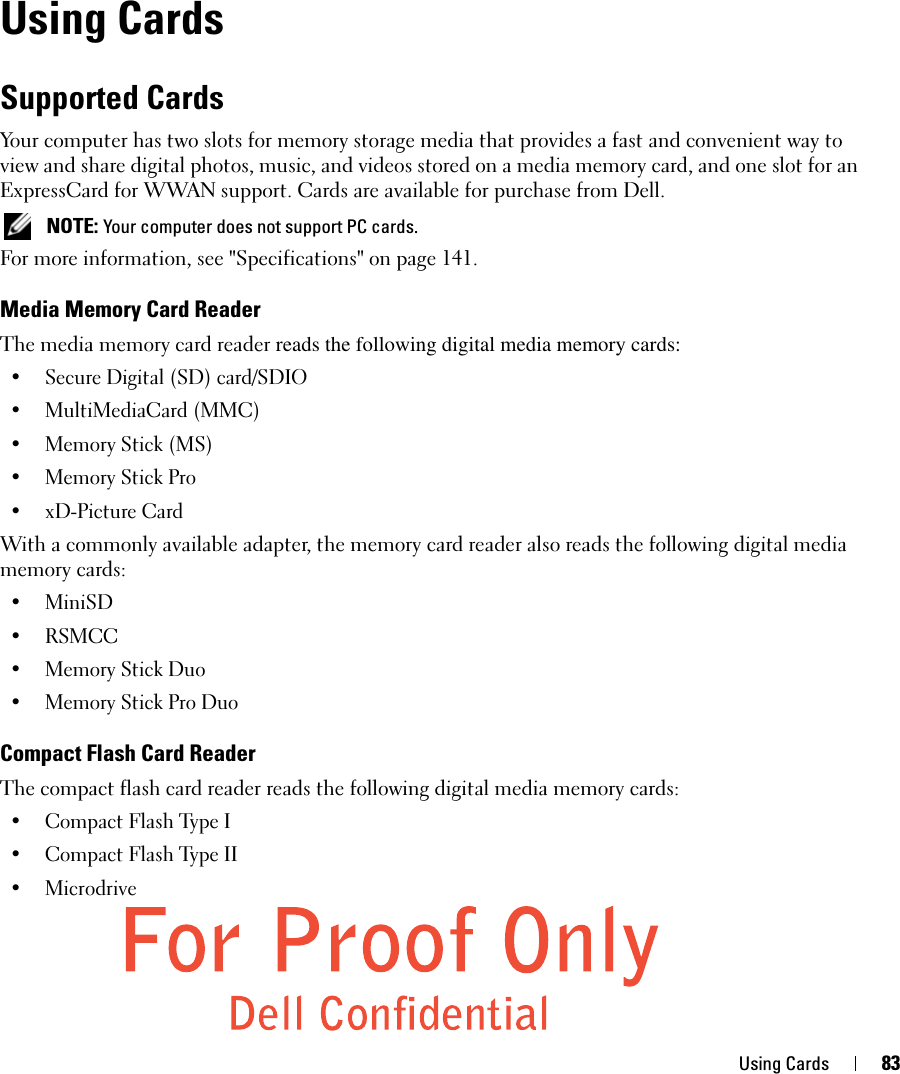
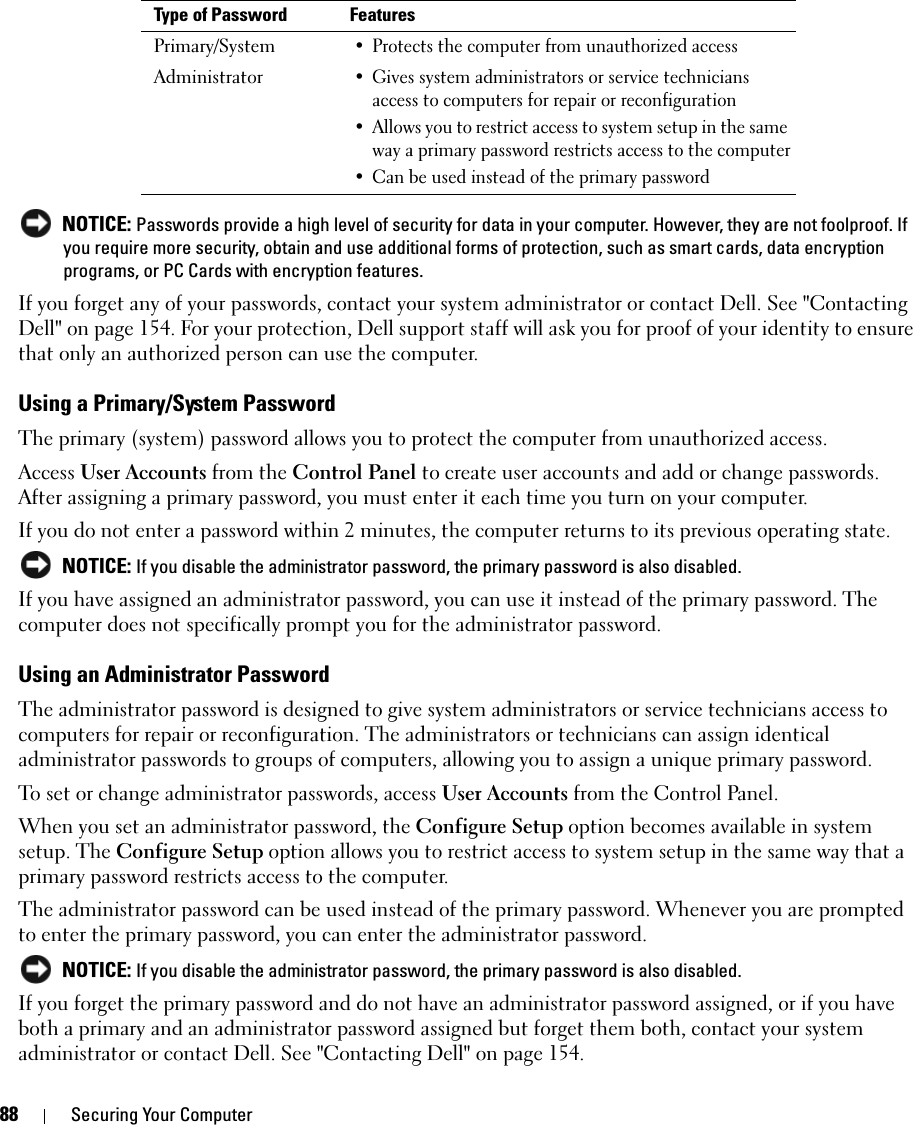
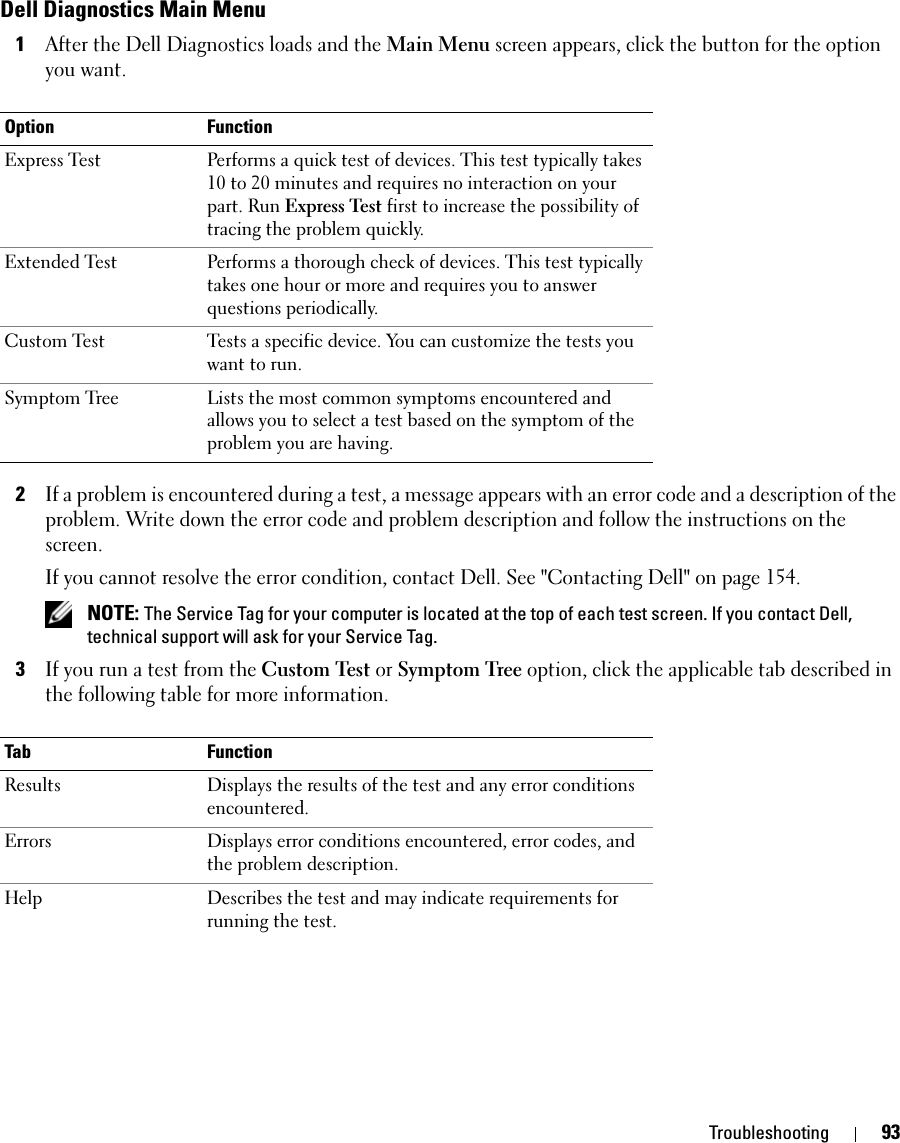
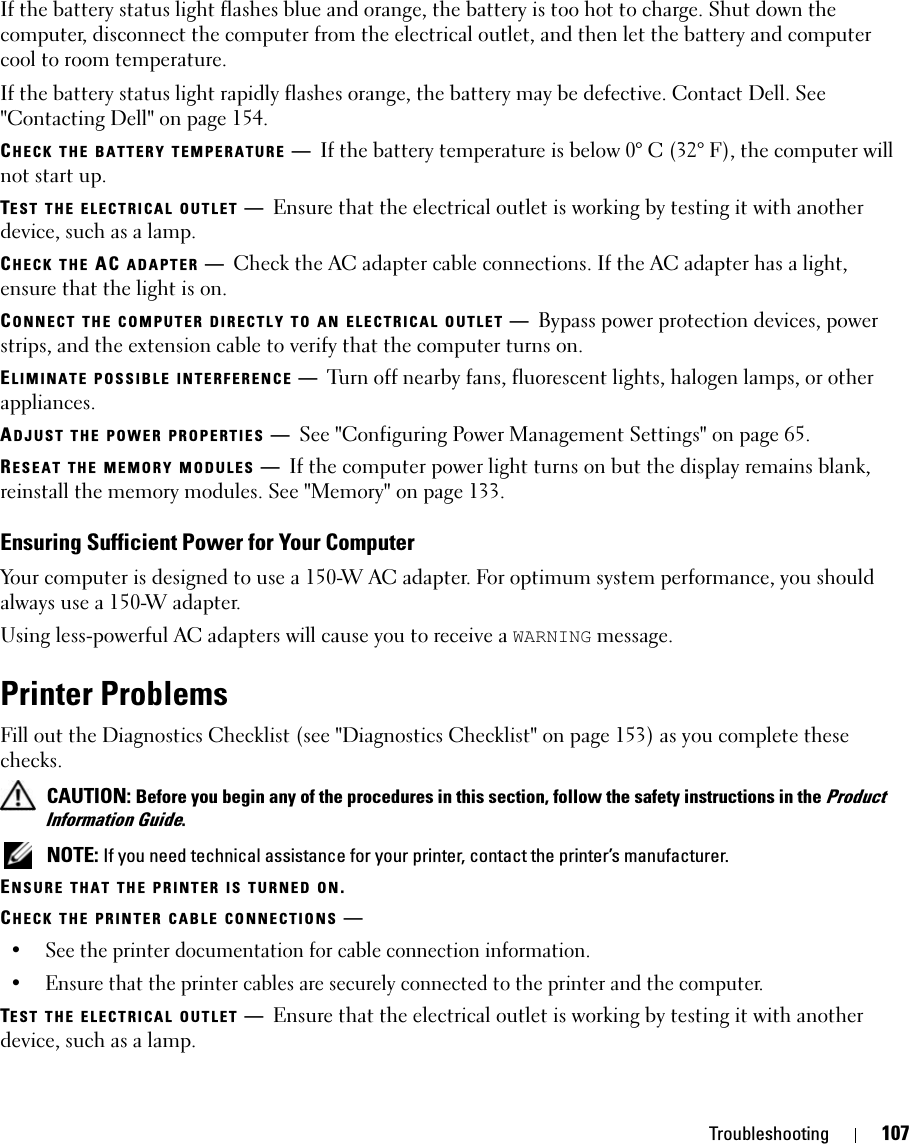
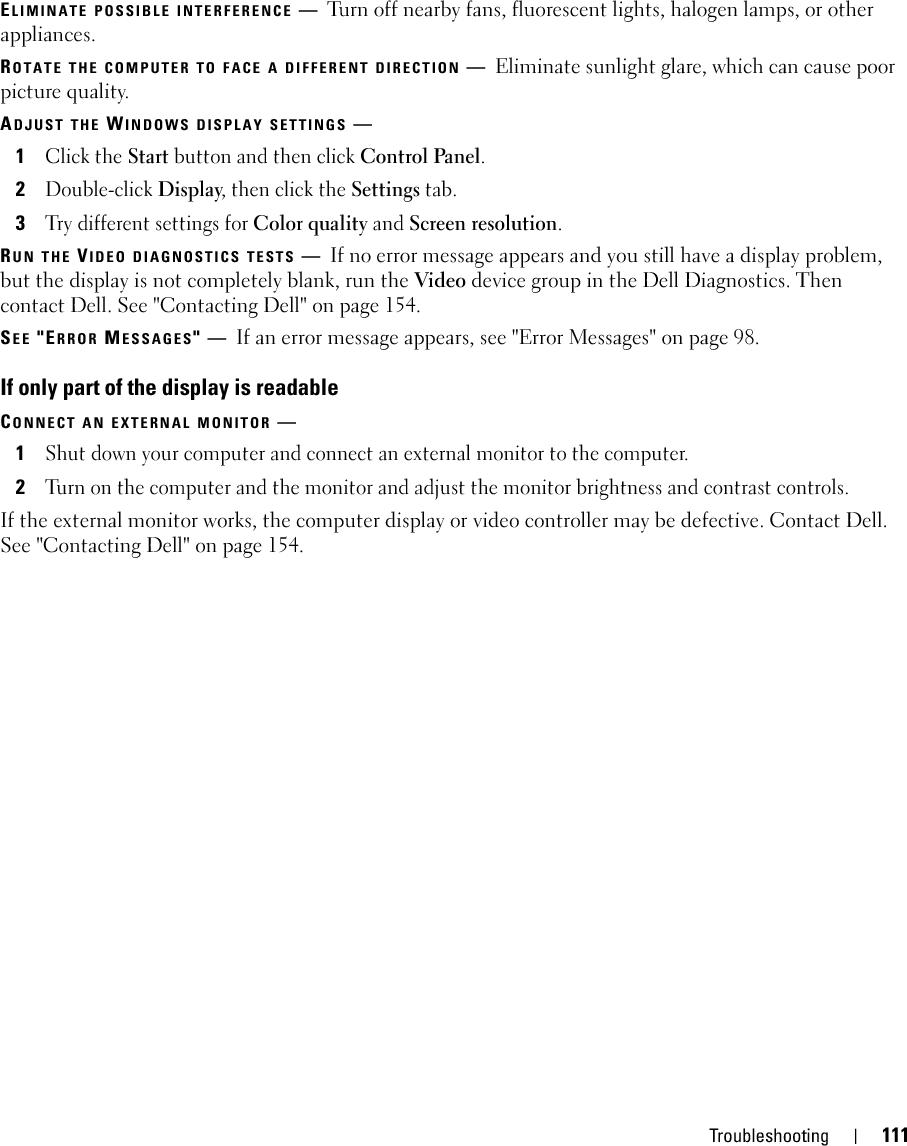
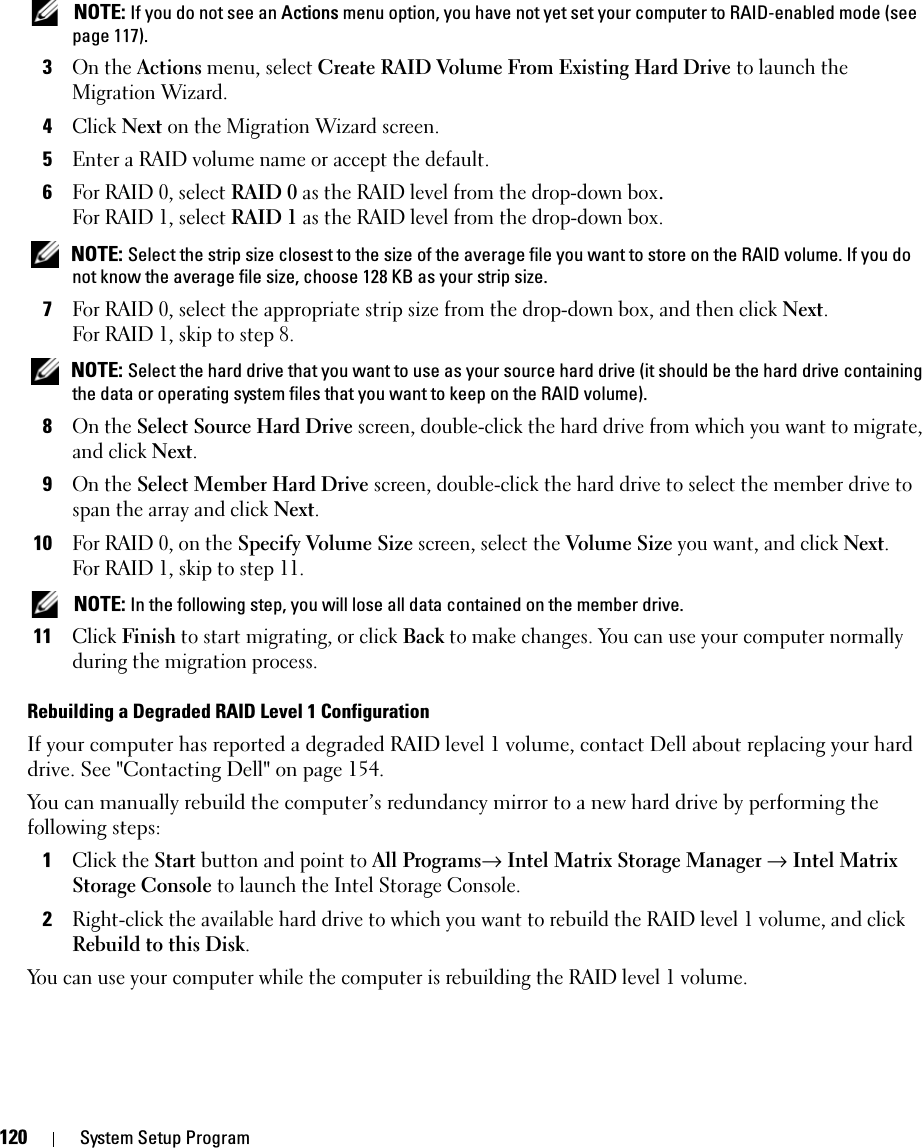
![170 Obtaining AssistanceU.K. (Bracknell)International Access Code: 00Country Code: 44City Code: 1344Website: support.euro.dell.comE-mail: dell_direct_support@dell.comCustomer Care website: support.euro.dell.com/uk/en/ECare/form/home.aspSalesHome and Small Business Sales0870 907 4000Corporate/Public Sector Sales01344 860 456Customer CareHome and Small Business Customer Care 0870 906 0010Corporate Customer Care01344 373 185Preferred Accounts (500–5000 employees) Customer Care0870 906 0010Global Accounts Customer Care01344 373 186Central Government Customer Care01344 373 193Local Government & Education Customer Care01344 373 199Health Customer Care01344 373 194Technical SupportTechnical Support for XPS0870 366 4180Technical Support (Corporate/Preferred Accounts/PAD [1000+ employees])0870 908 0500GeneralTechnical Support for all other products0870 908 0800Home and Small Business Fax0870 907 4006Uruguay General Supporttoll-free: 000-413-598-2521Country (City)International Access Code Country CodeCity CodeDepartment Name or Service Area,Website and E-Mail AddressArea Codes,Local Numbers, andToll-Free Numbers](https://usermanual.wiki/NMB-Technologies/7D70/User-Guide-659340-Page-170.png)
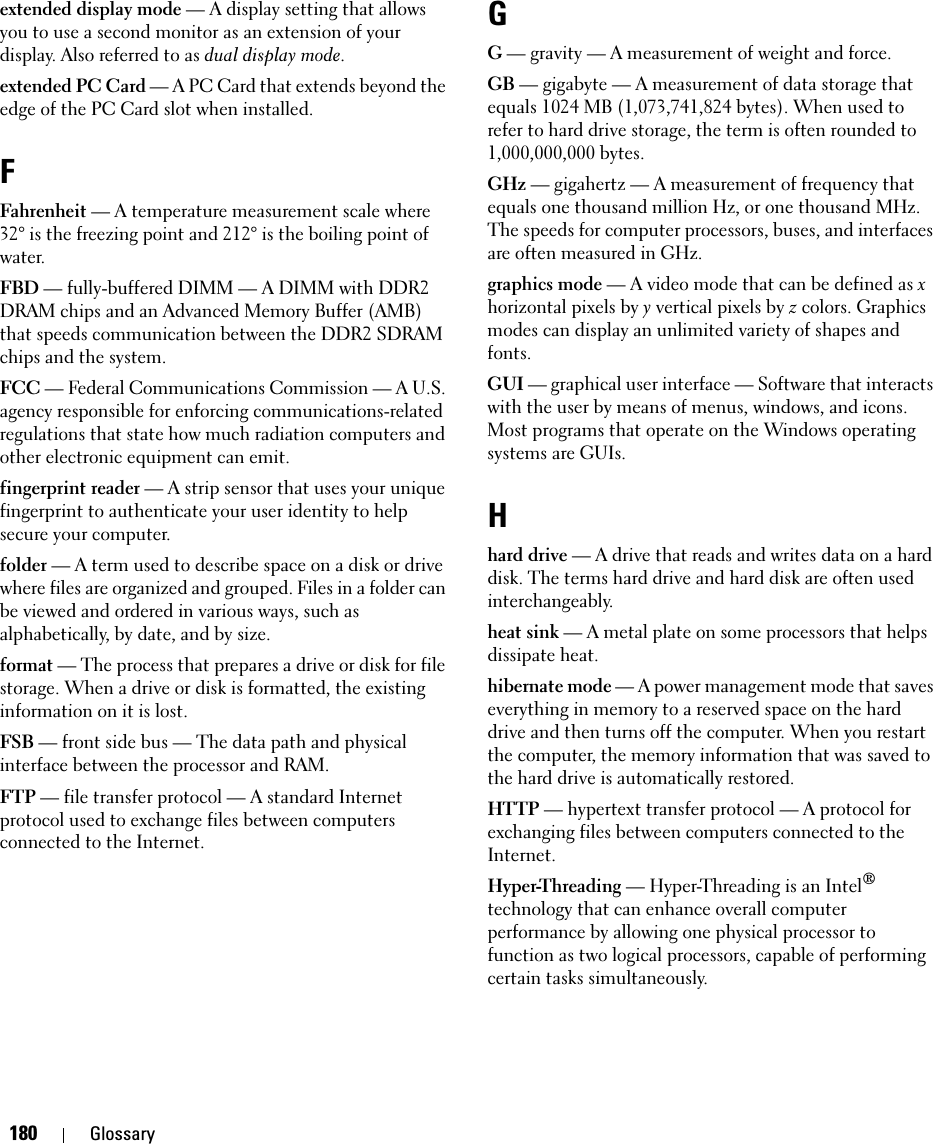
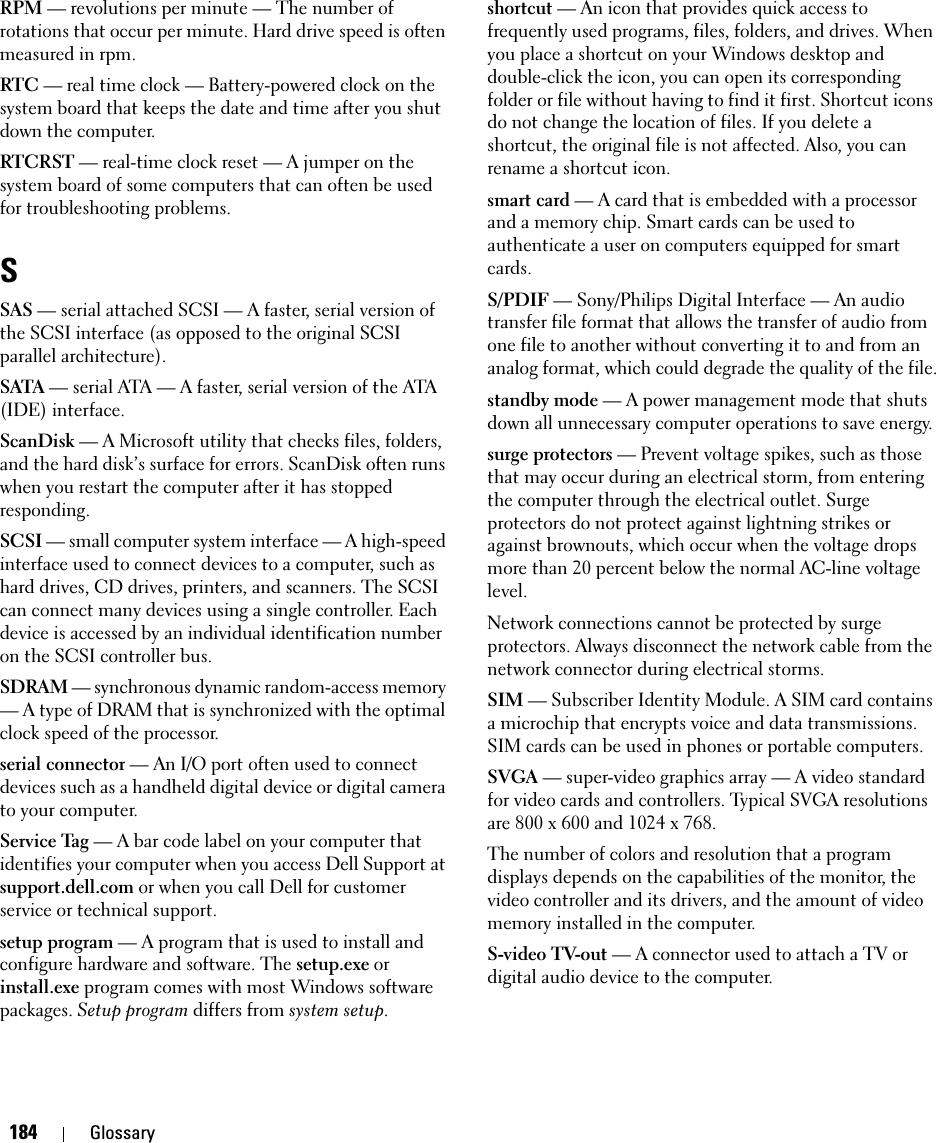
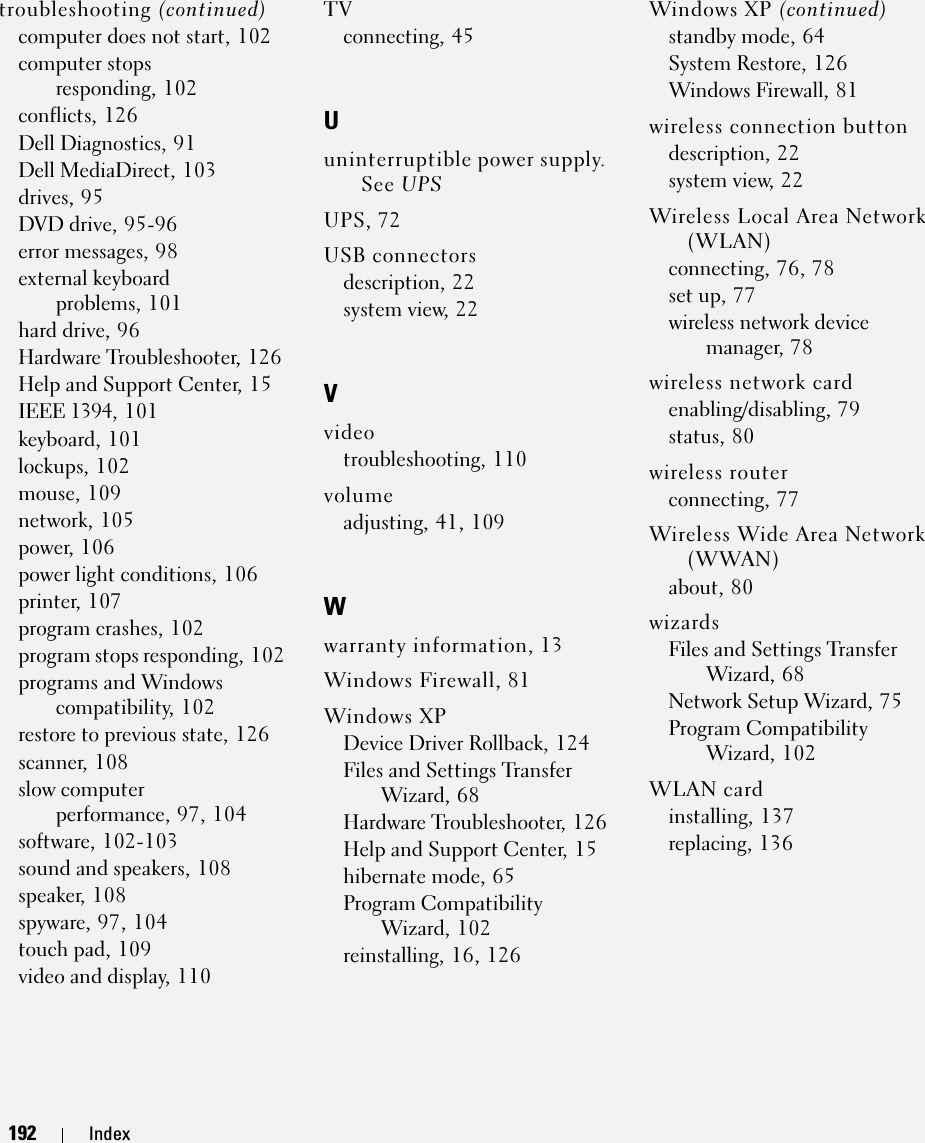
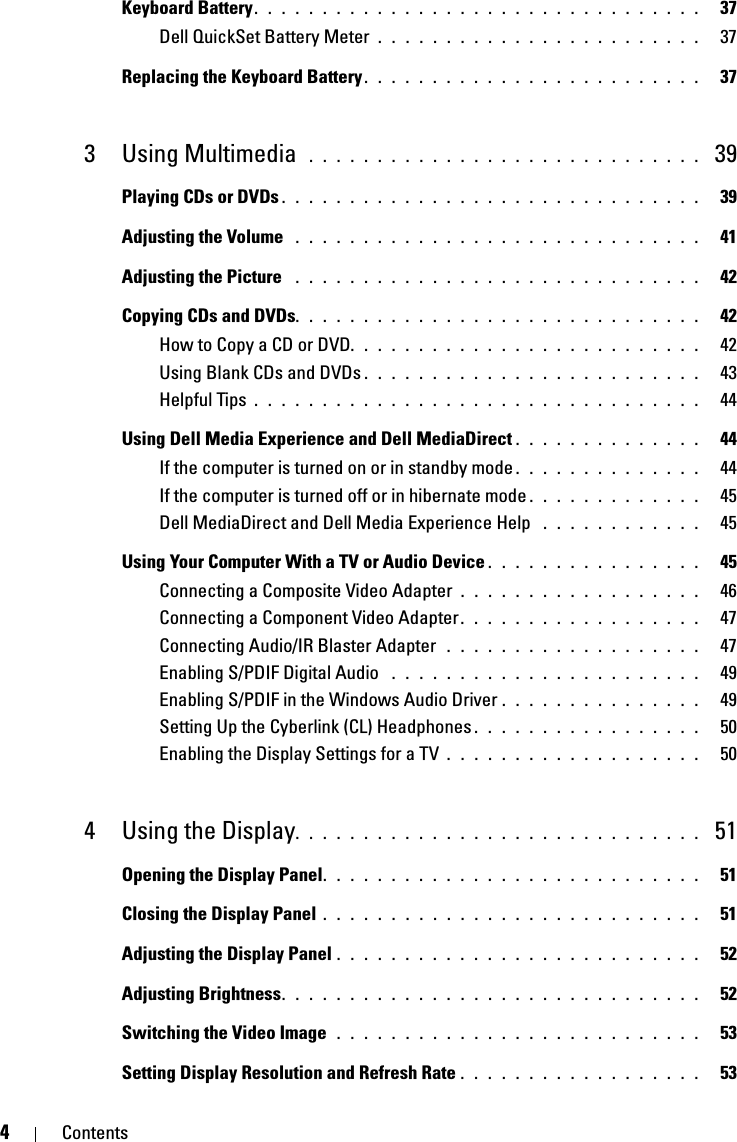
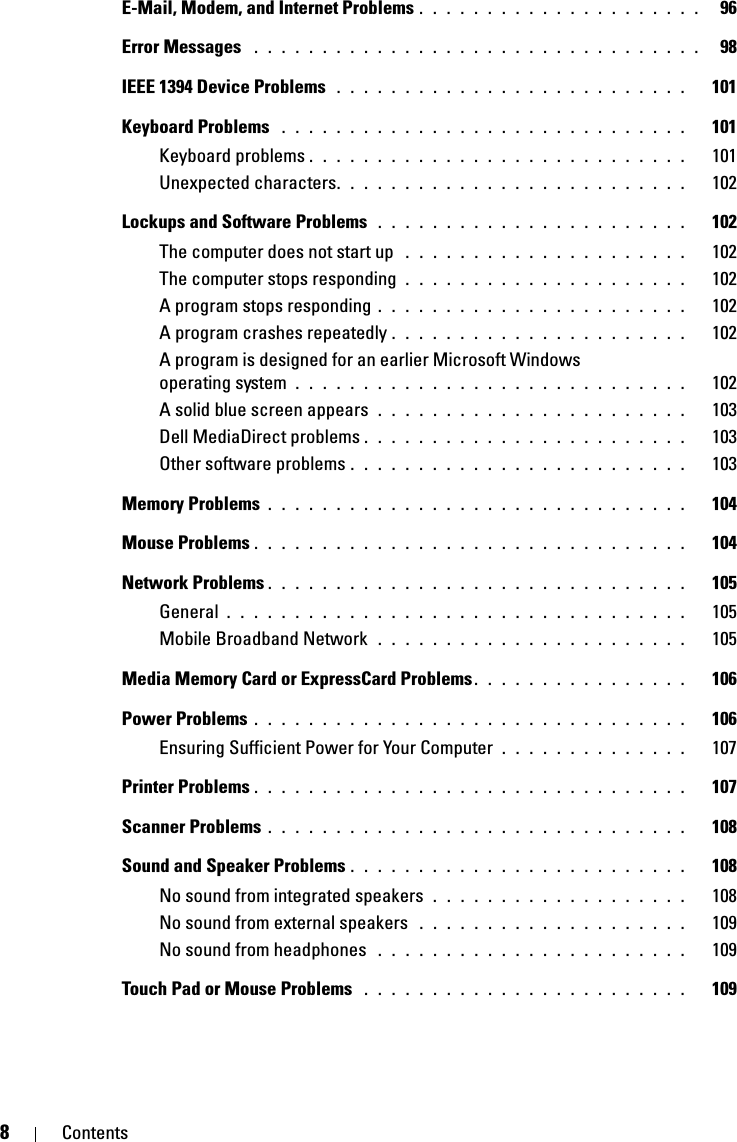
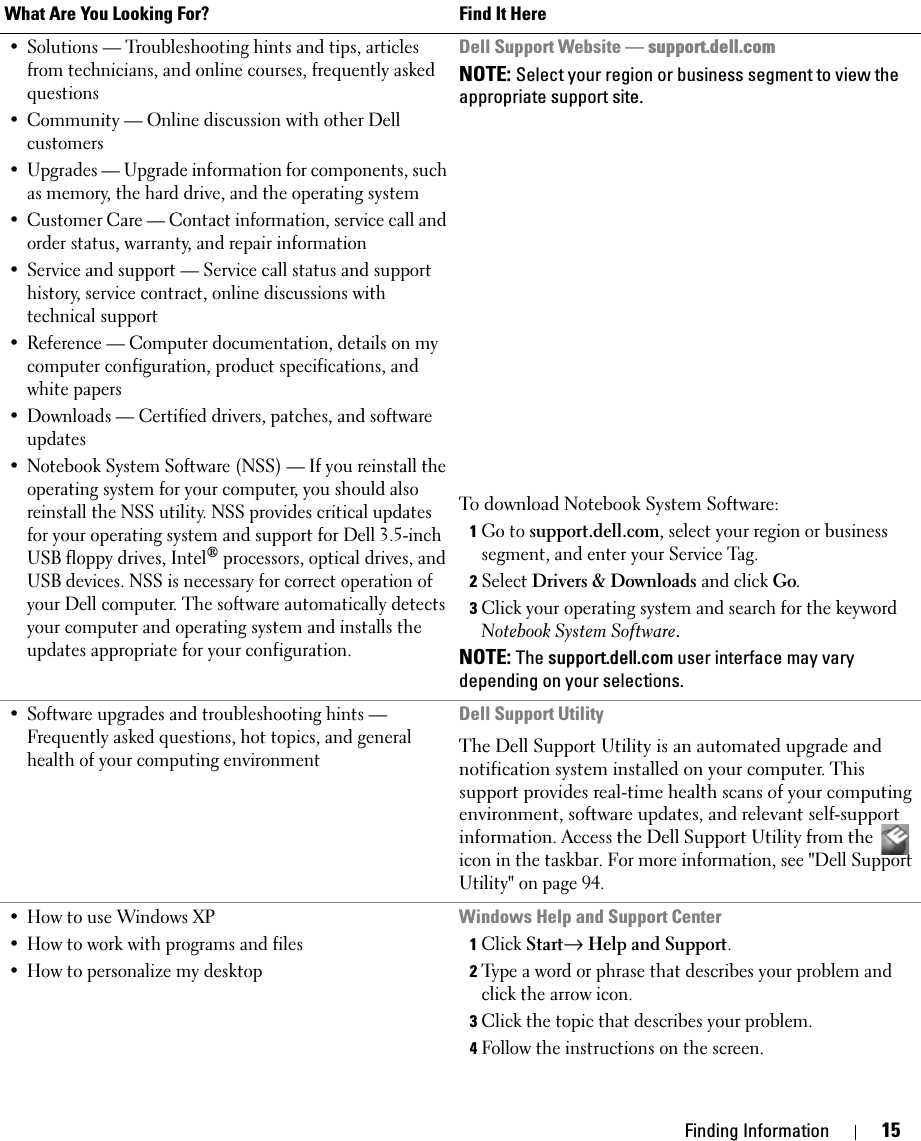
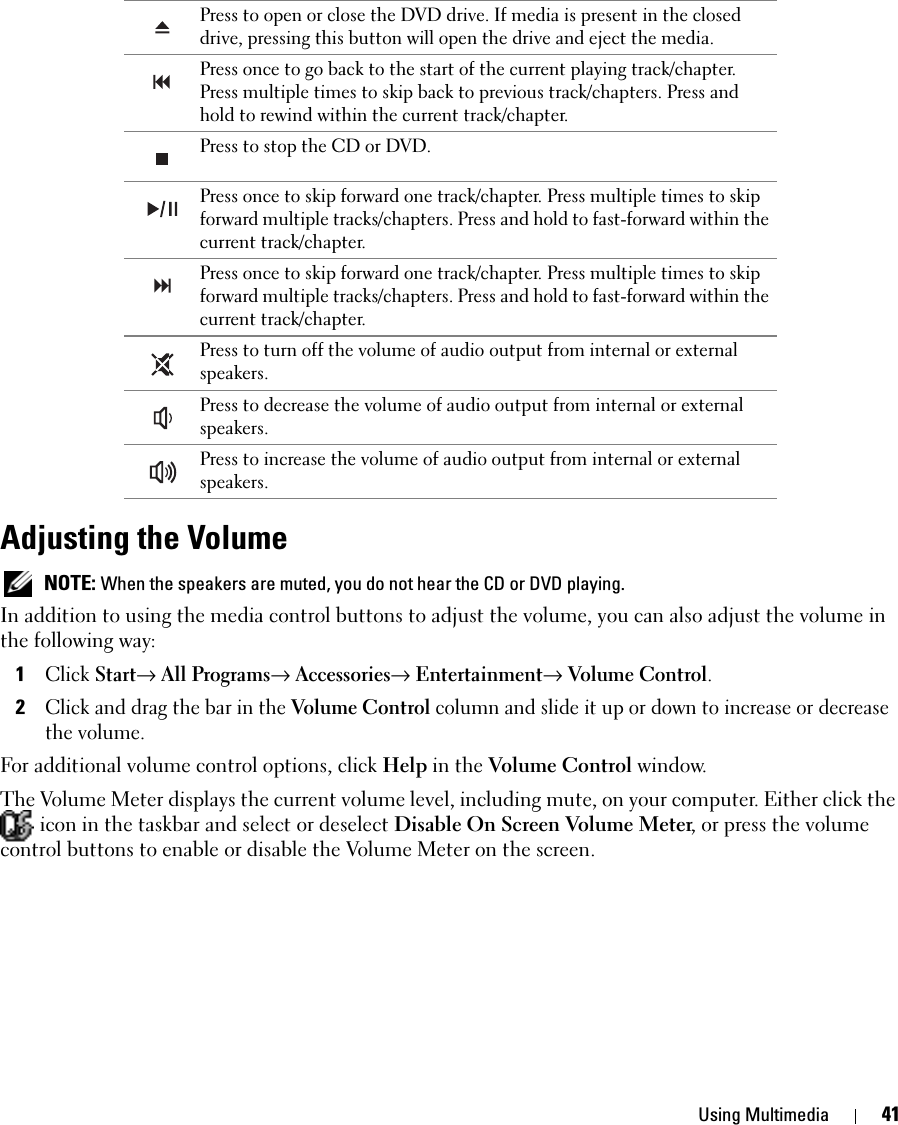
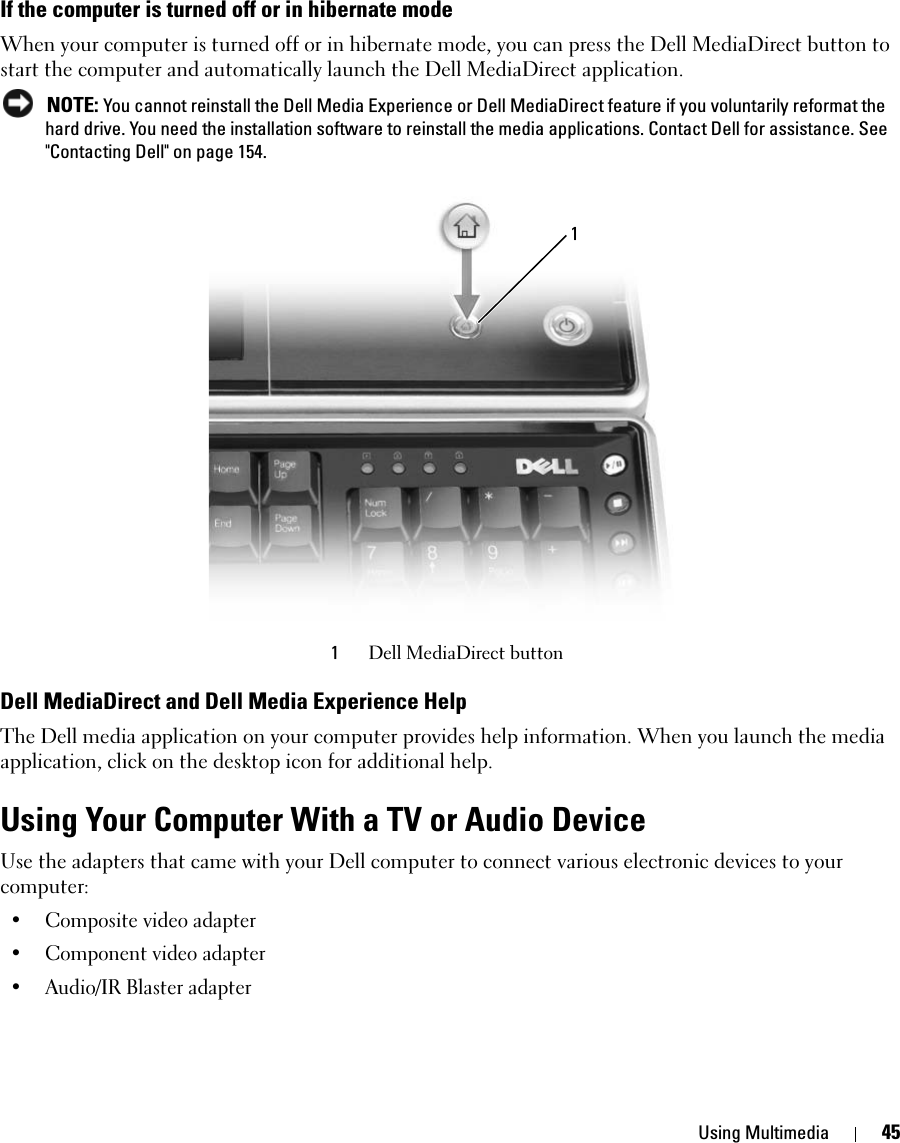
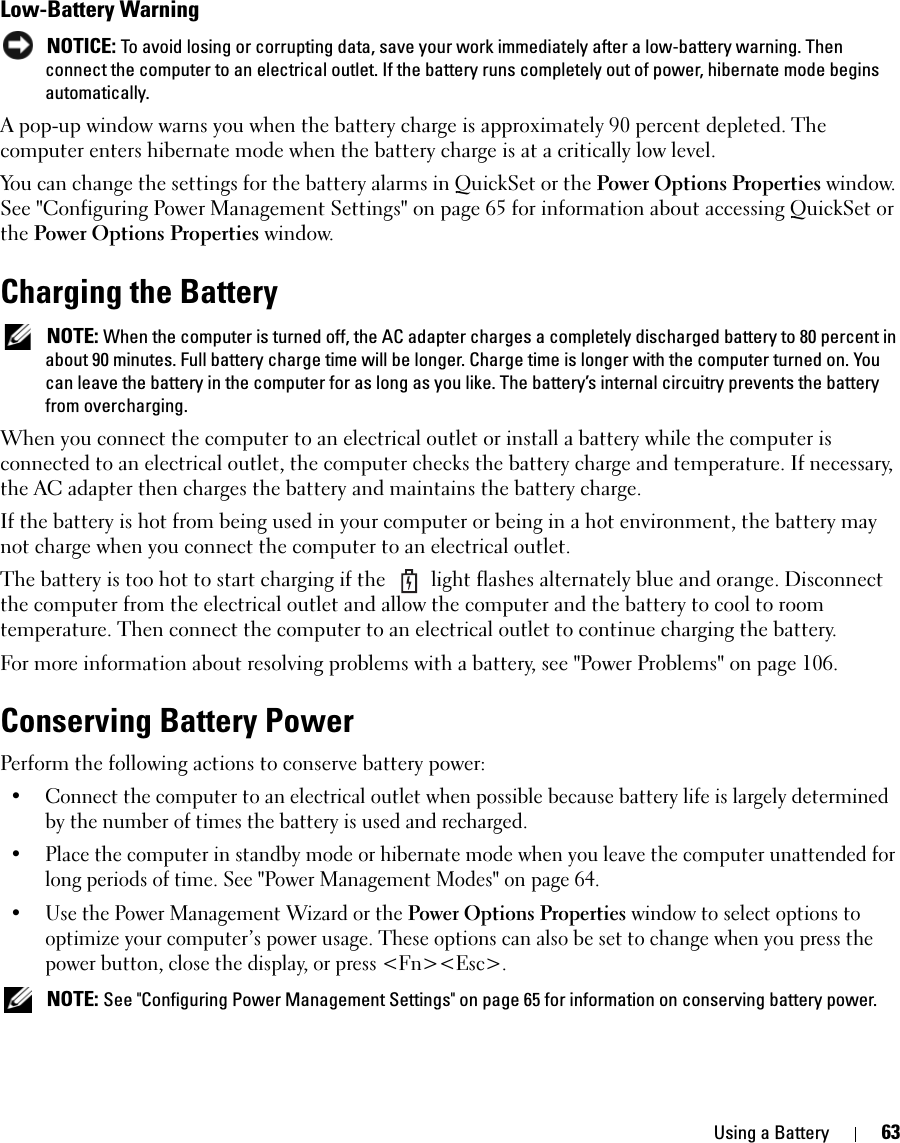
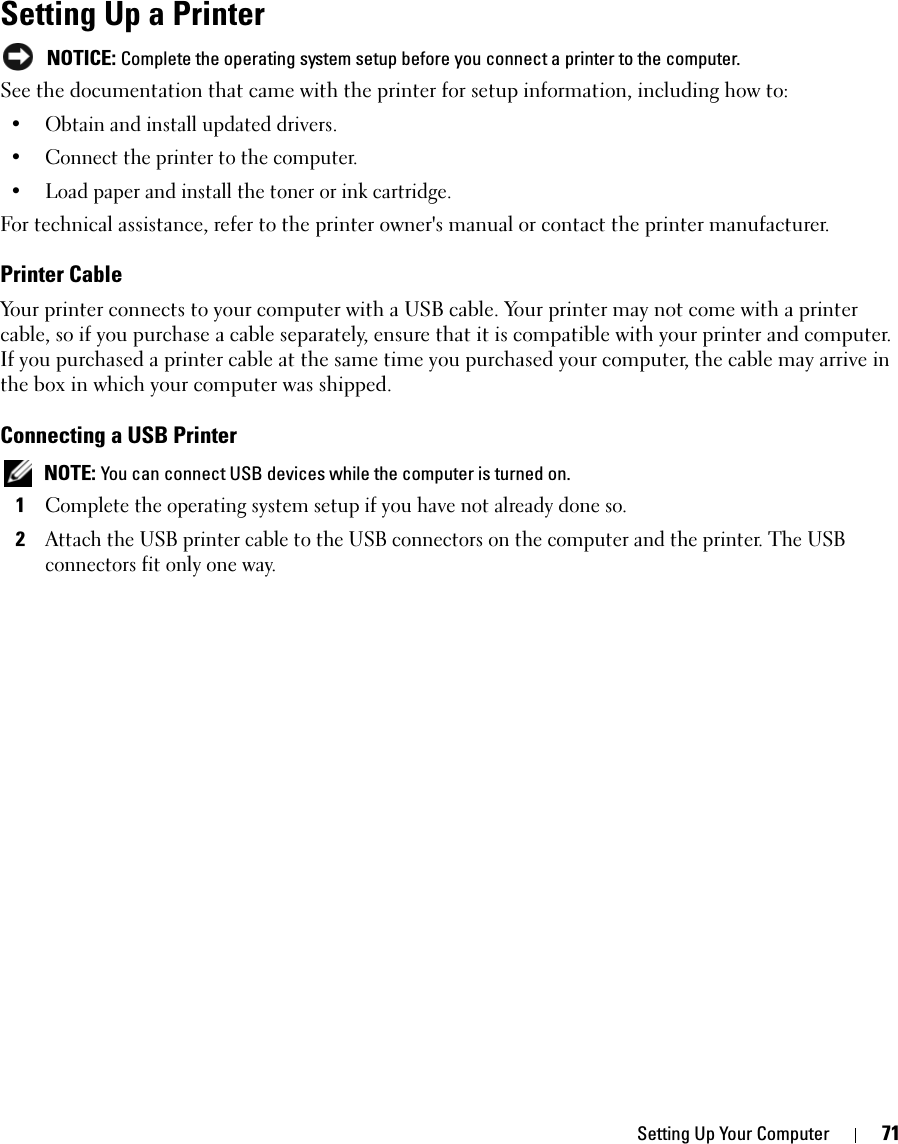
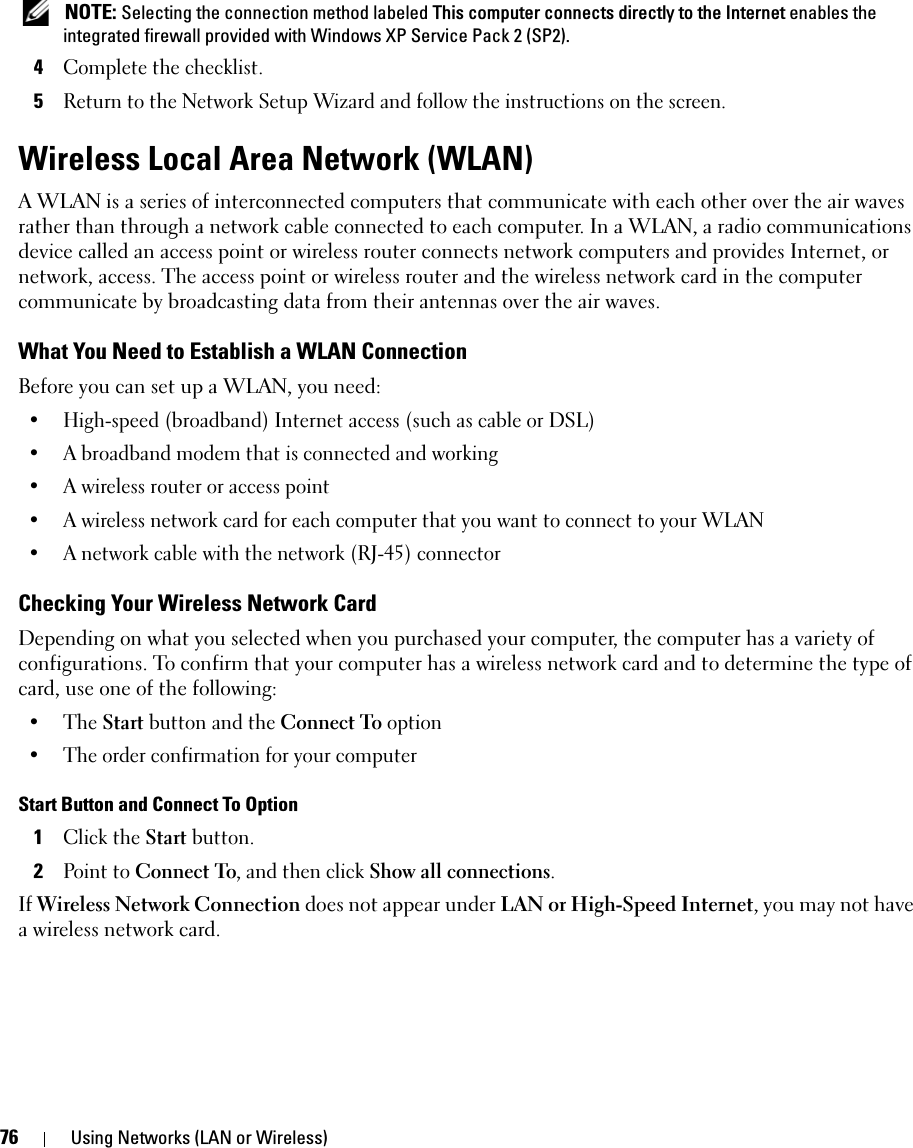
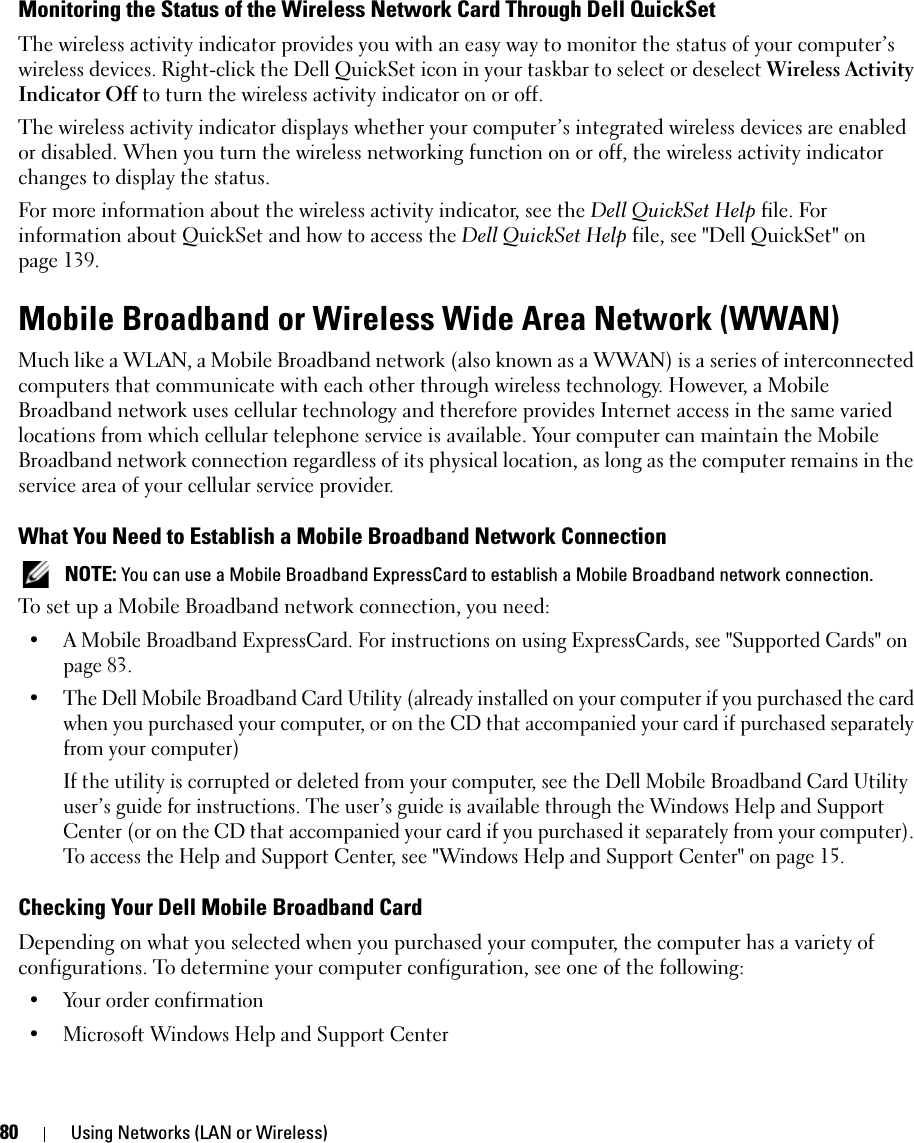
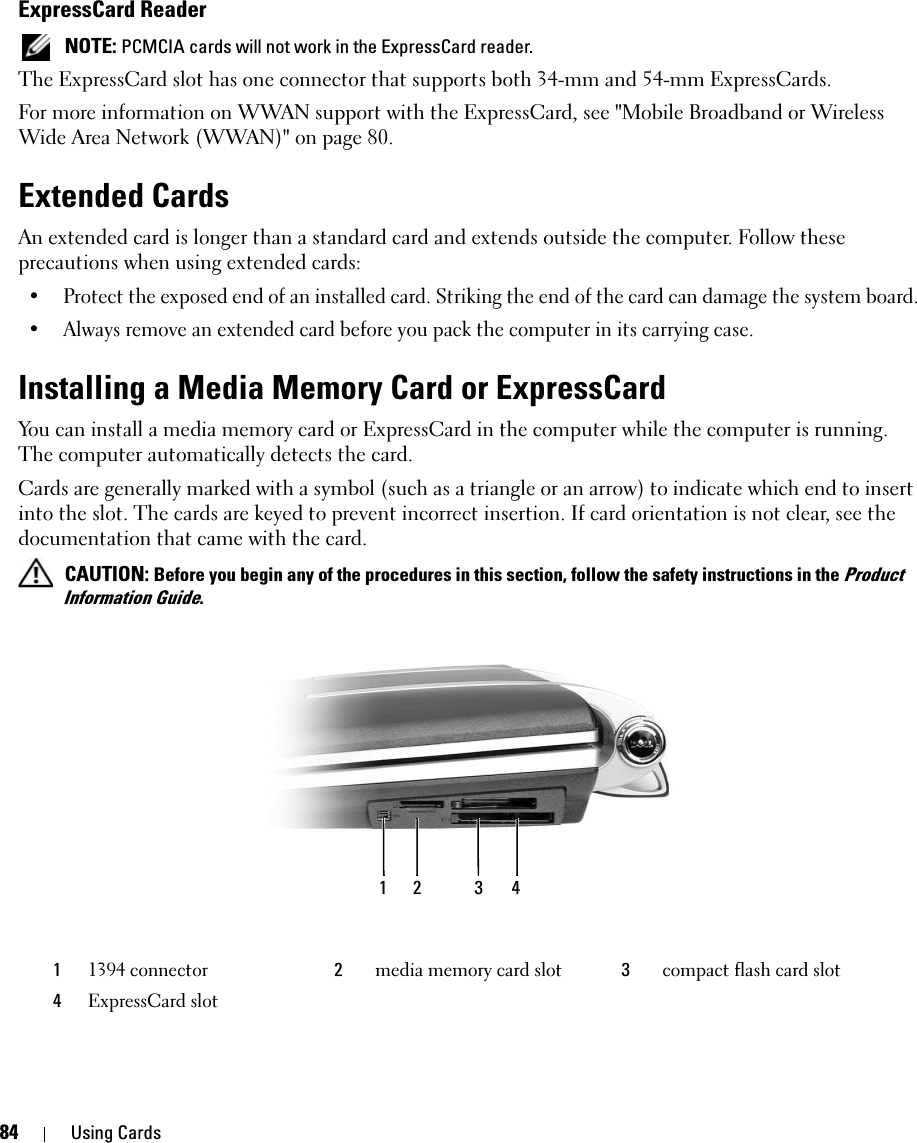
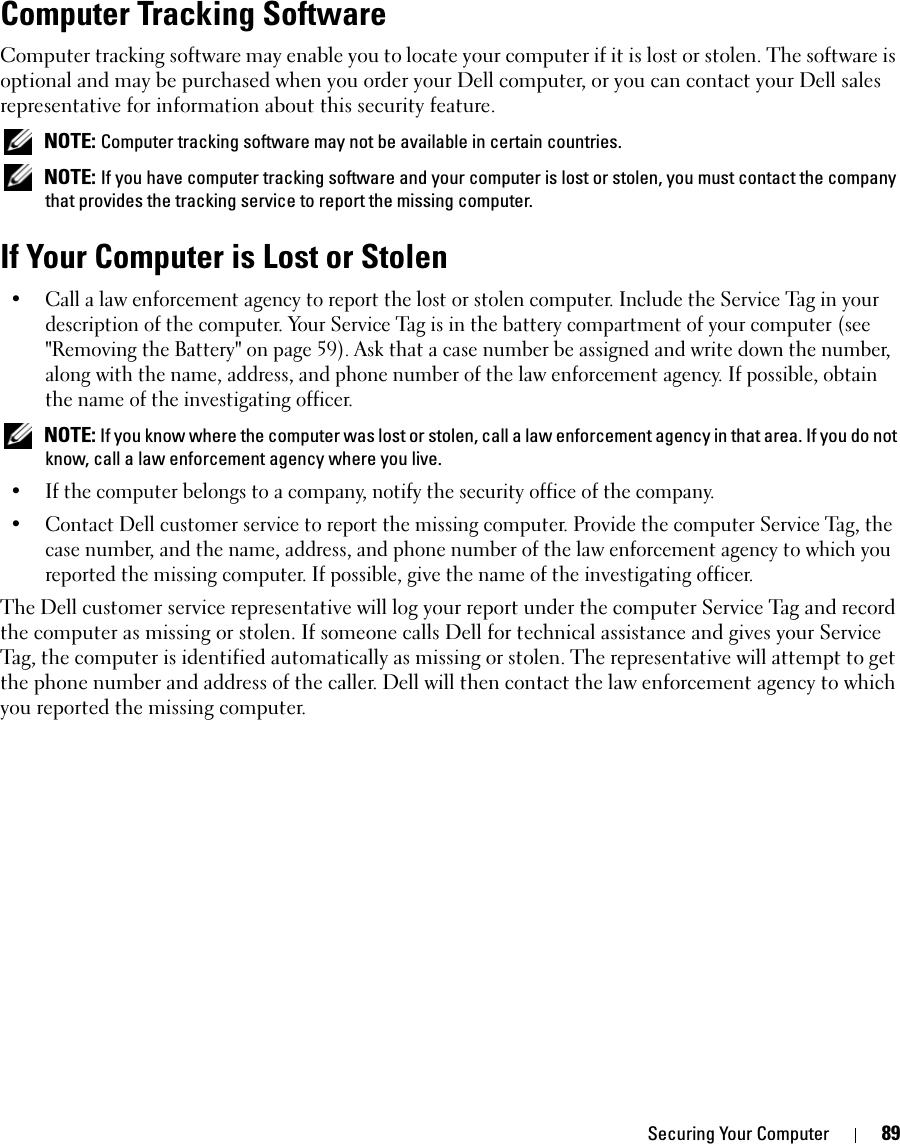
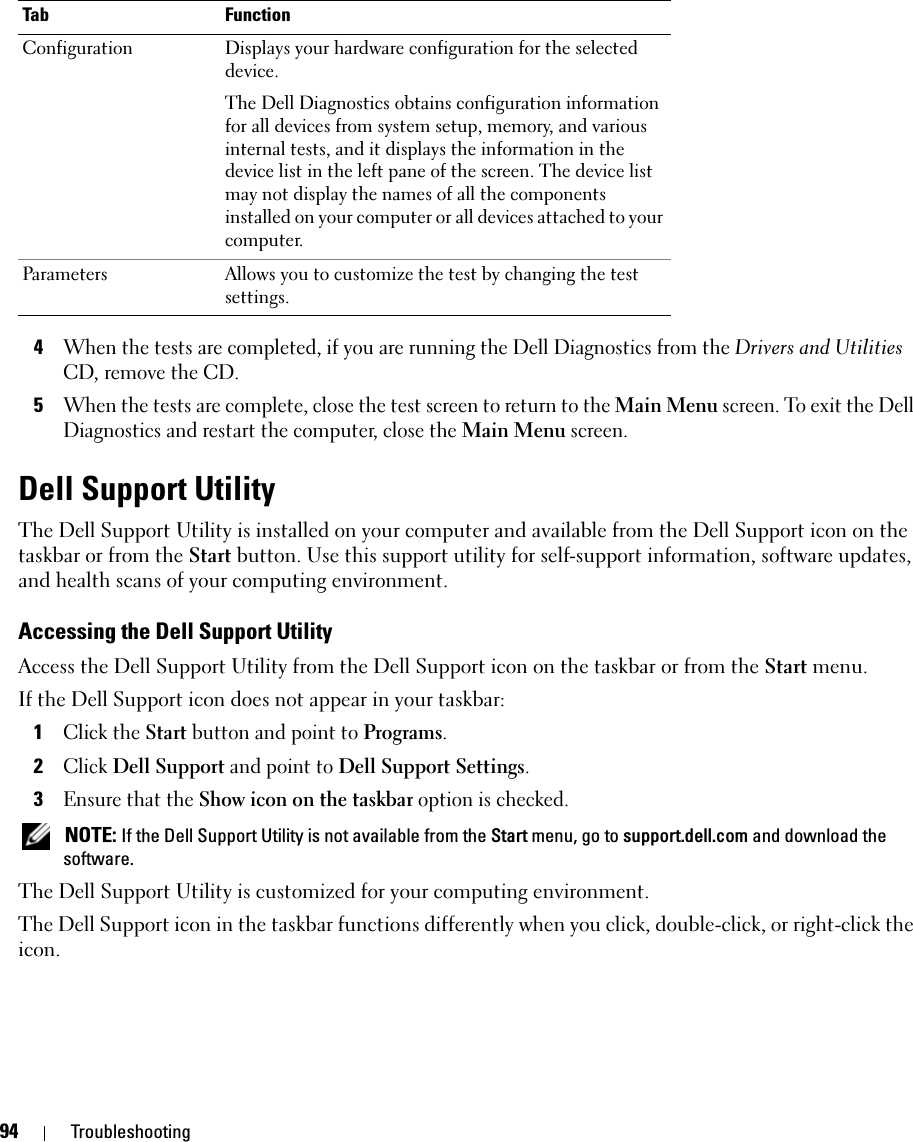
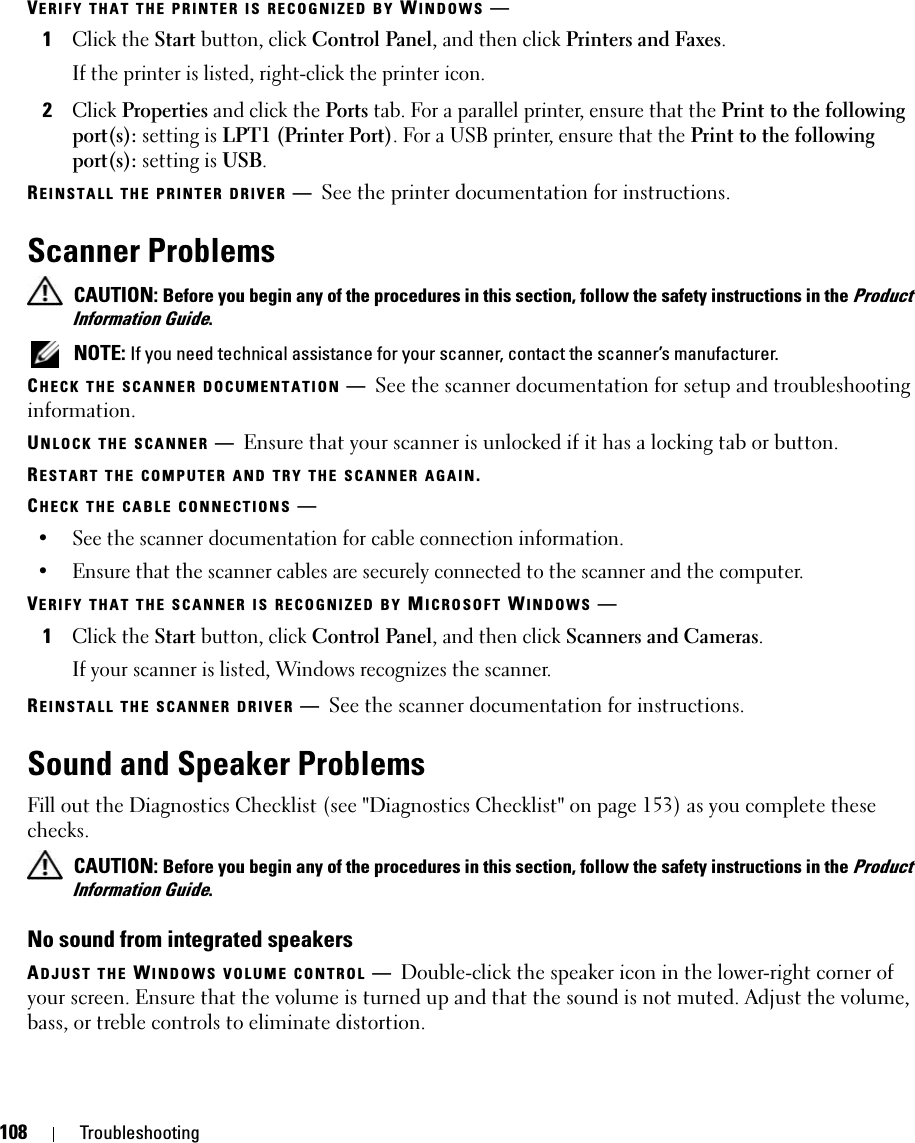
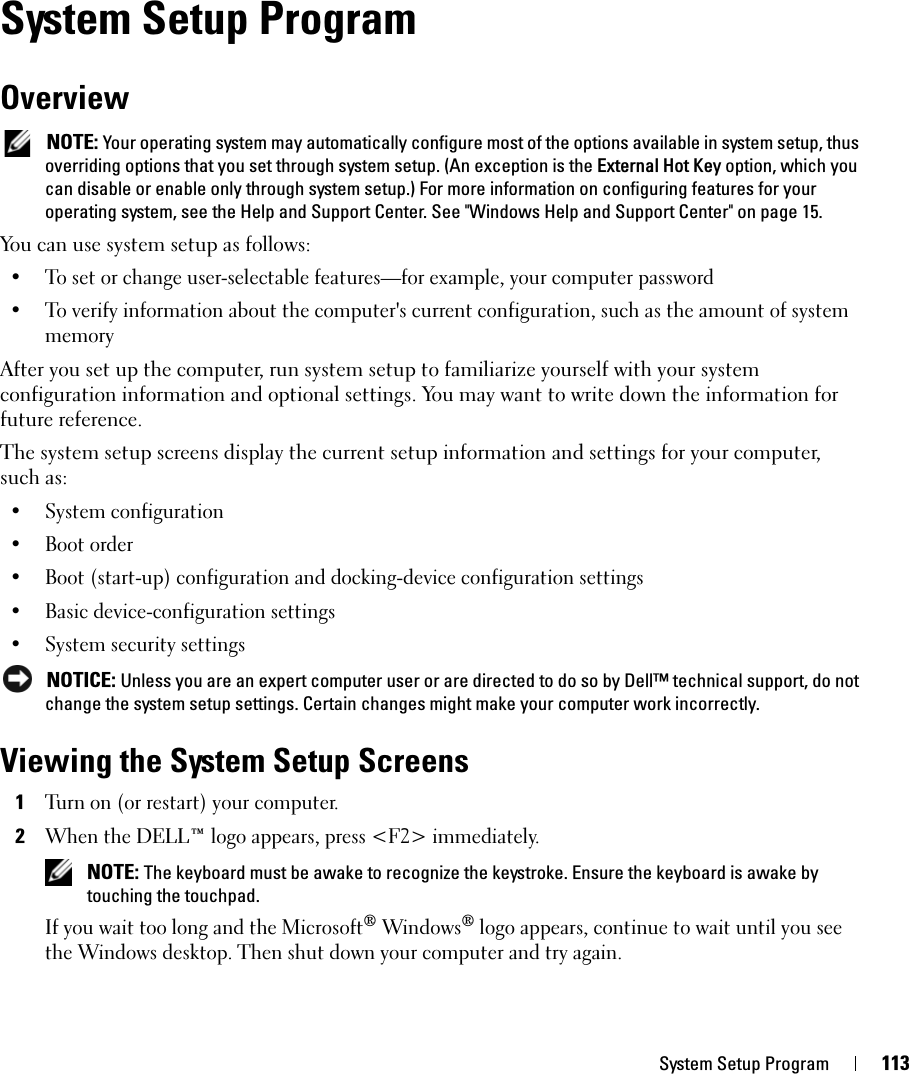
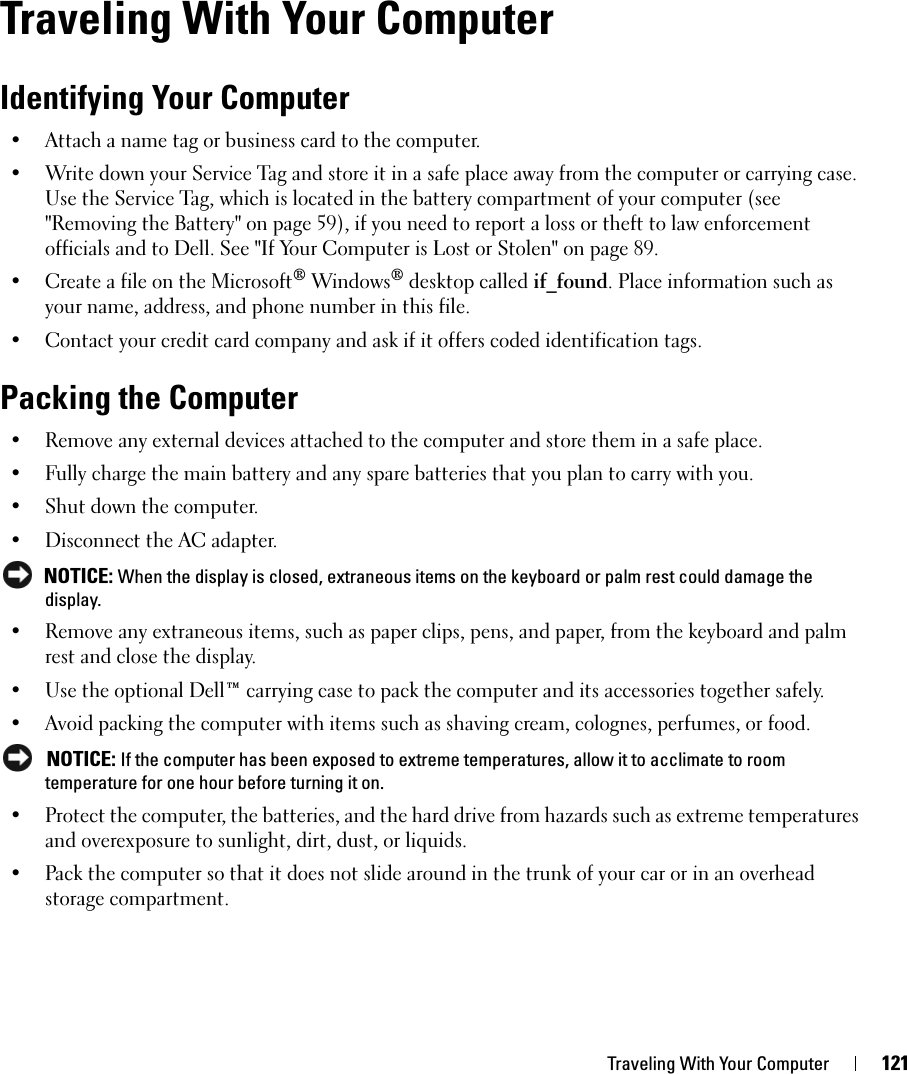
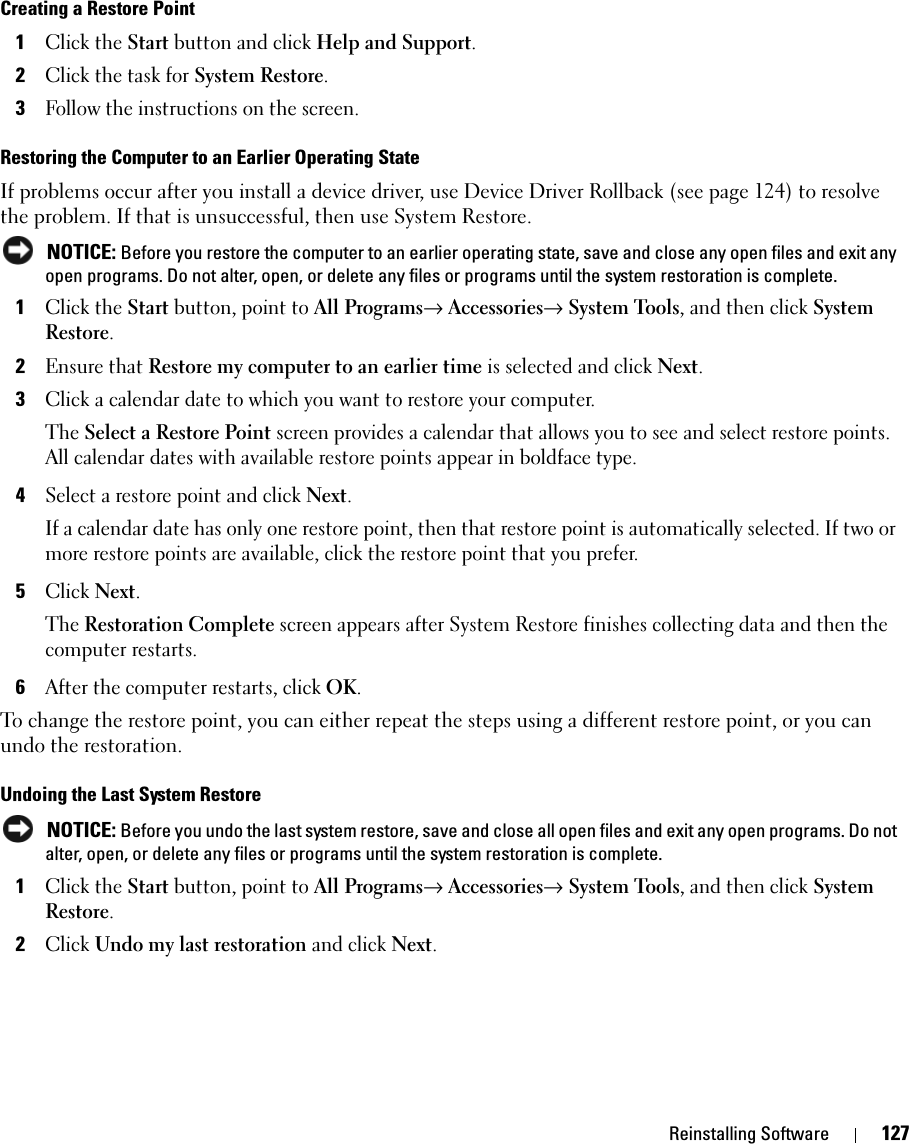
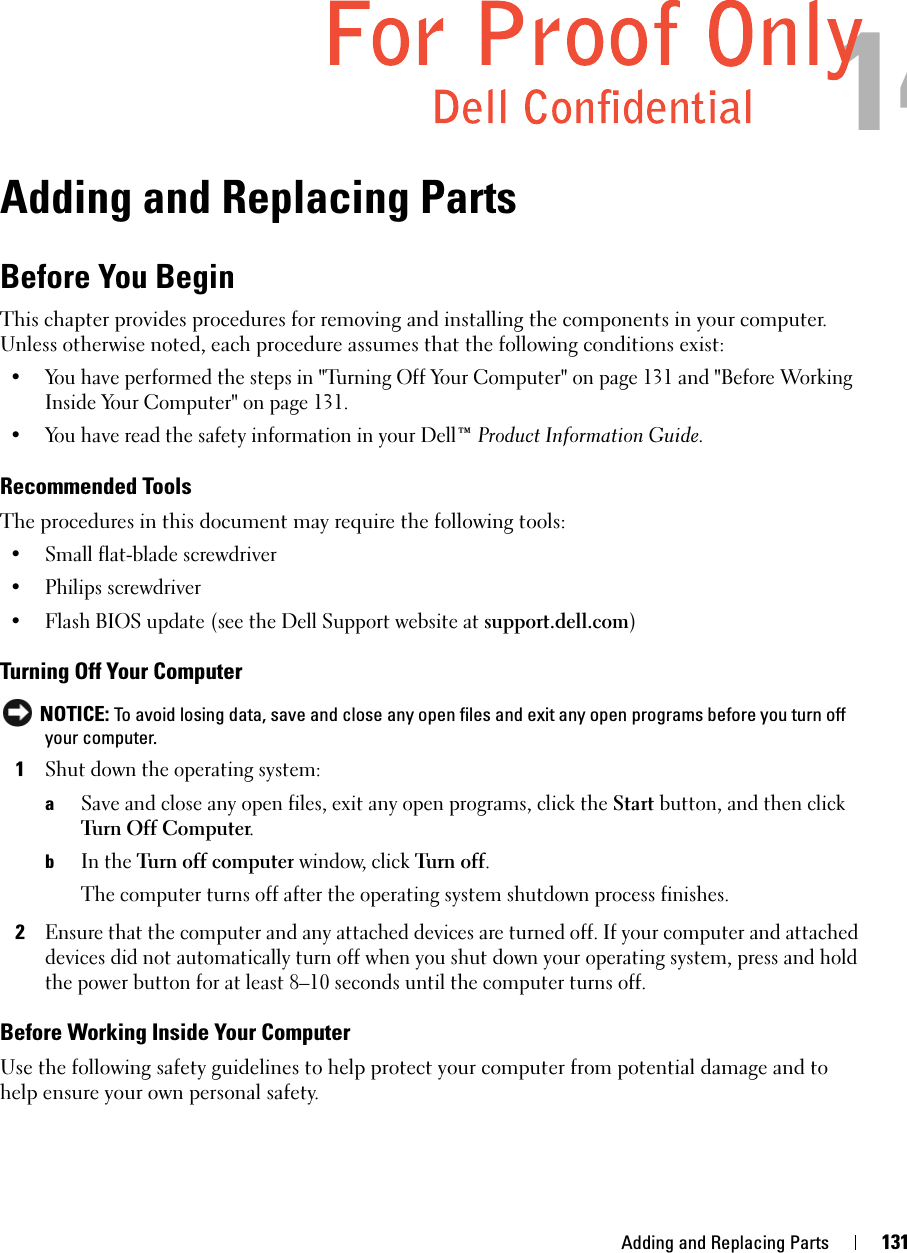
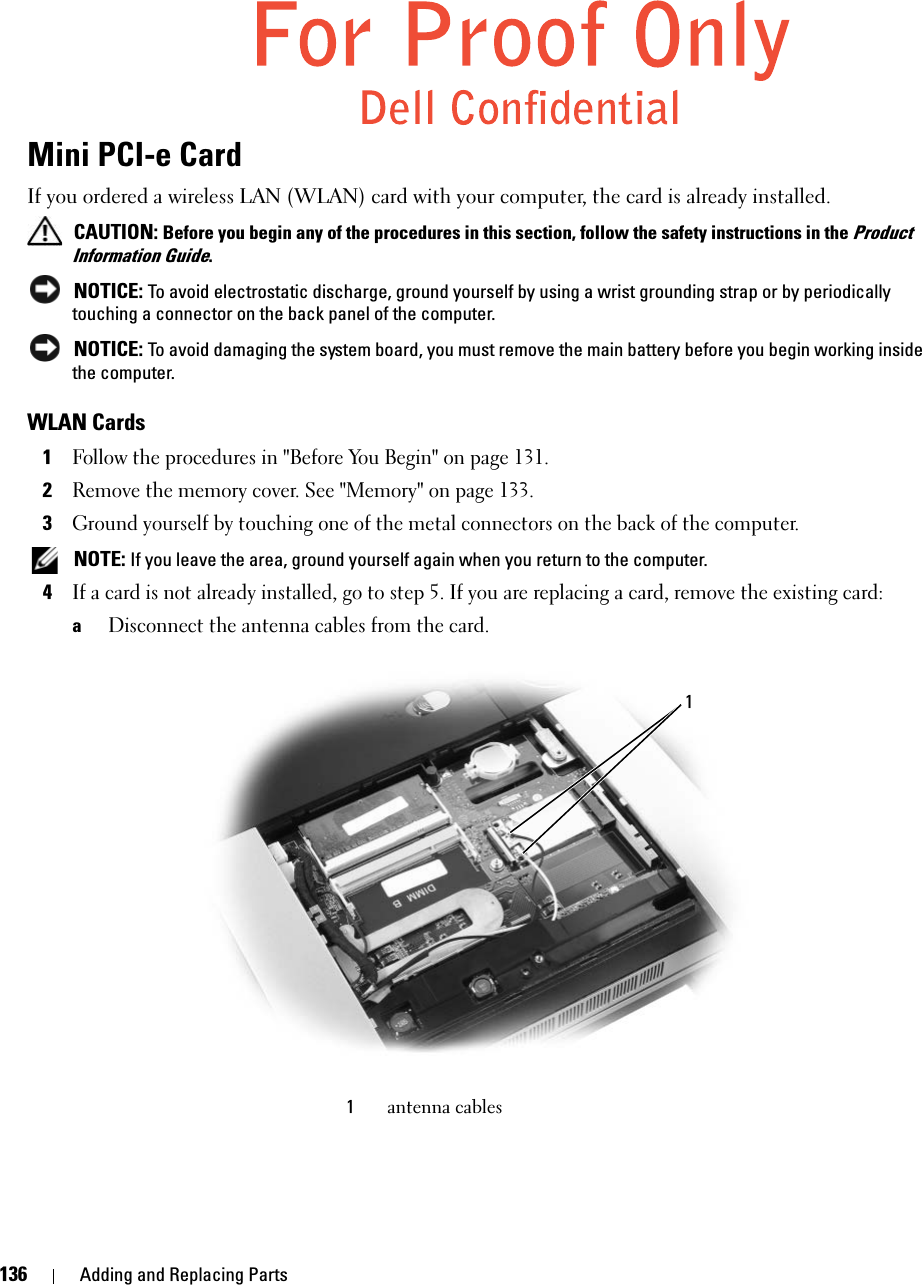
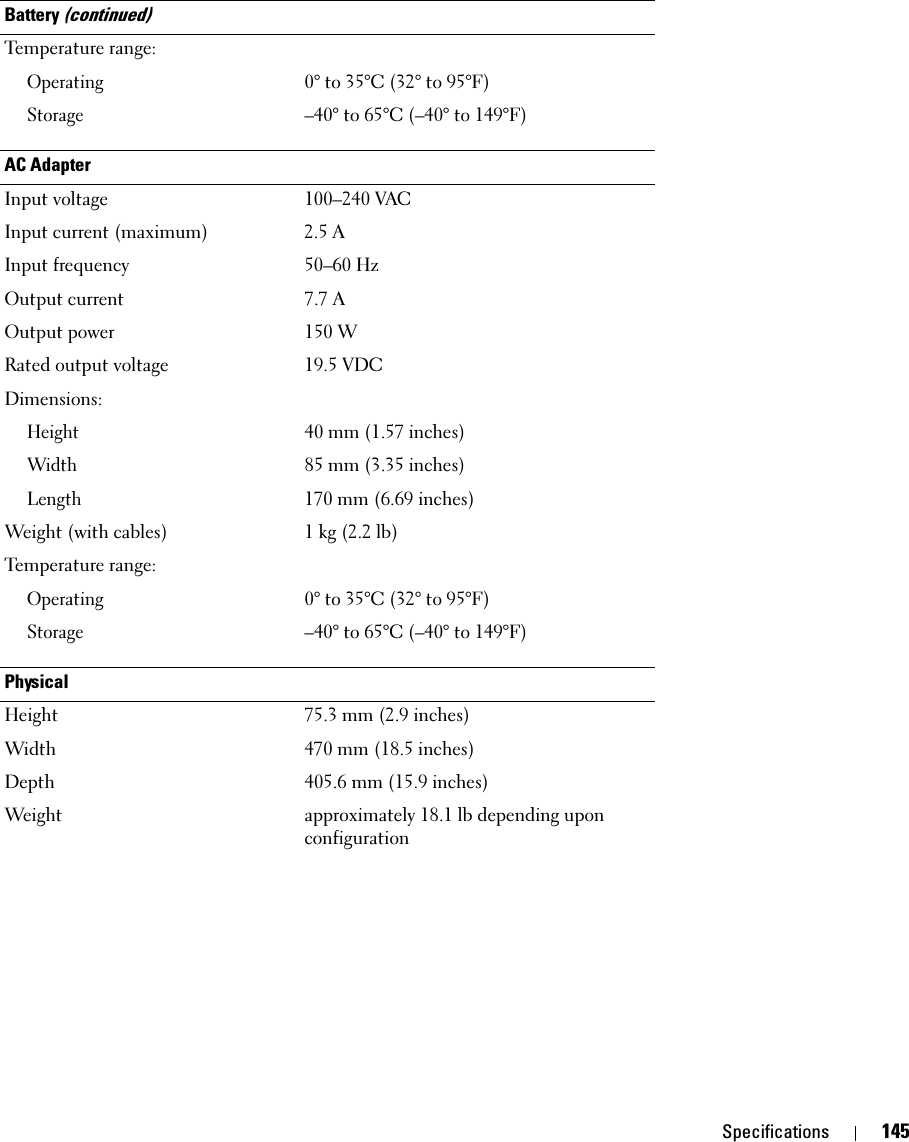
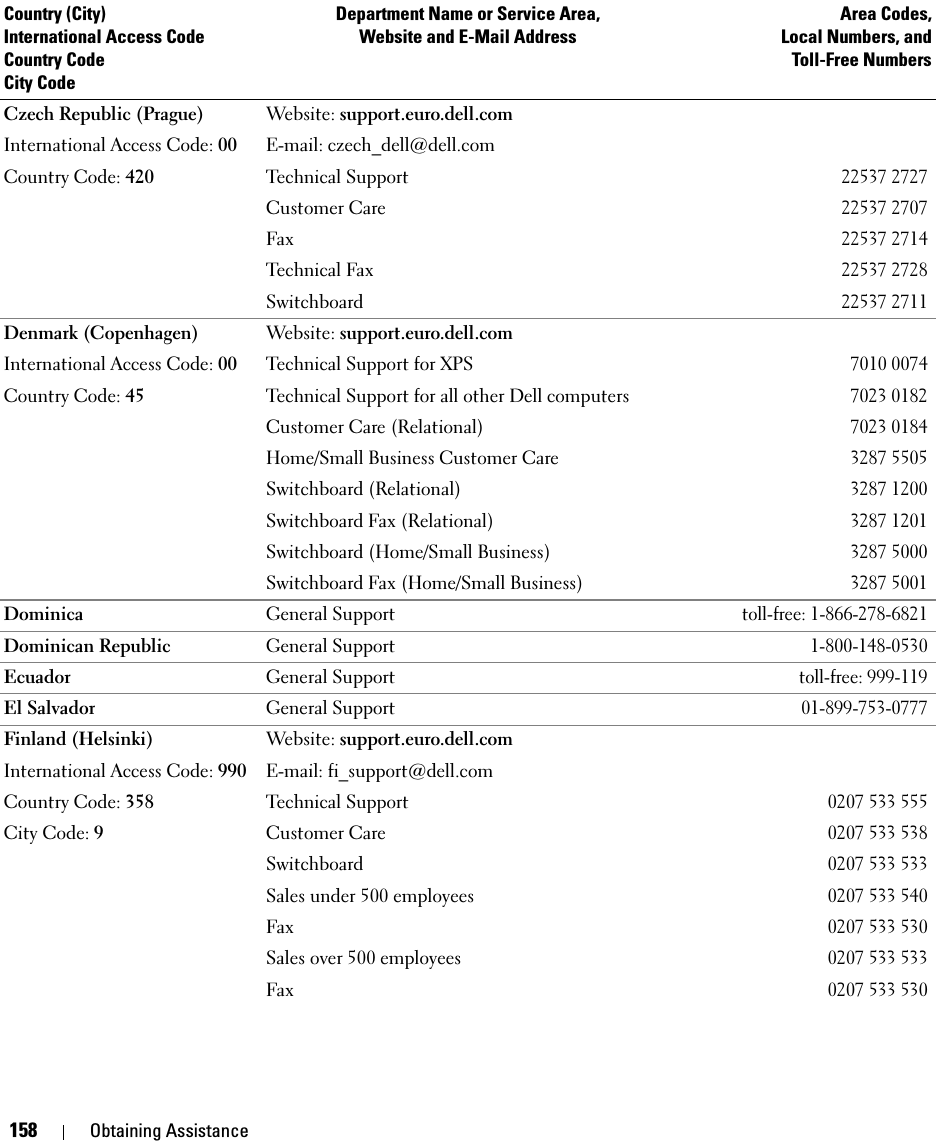
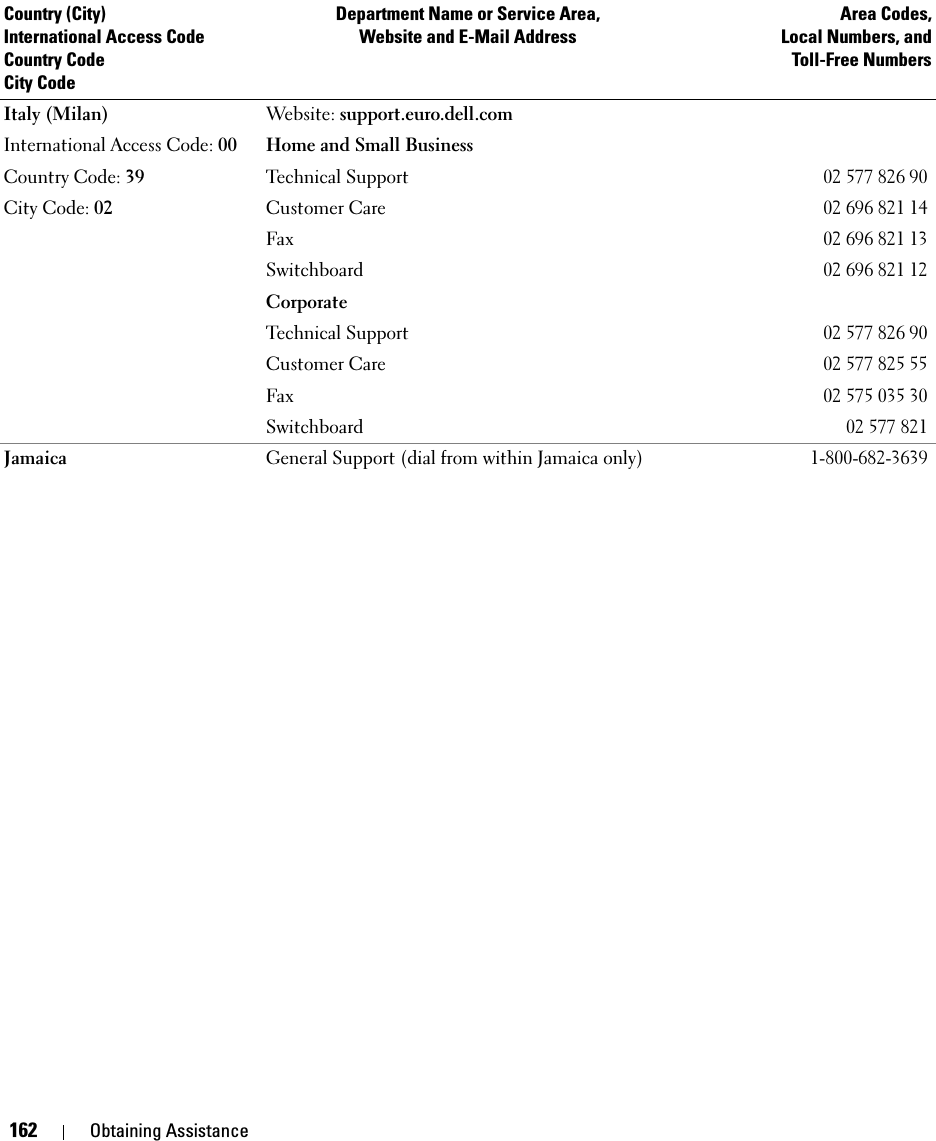
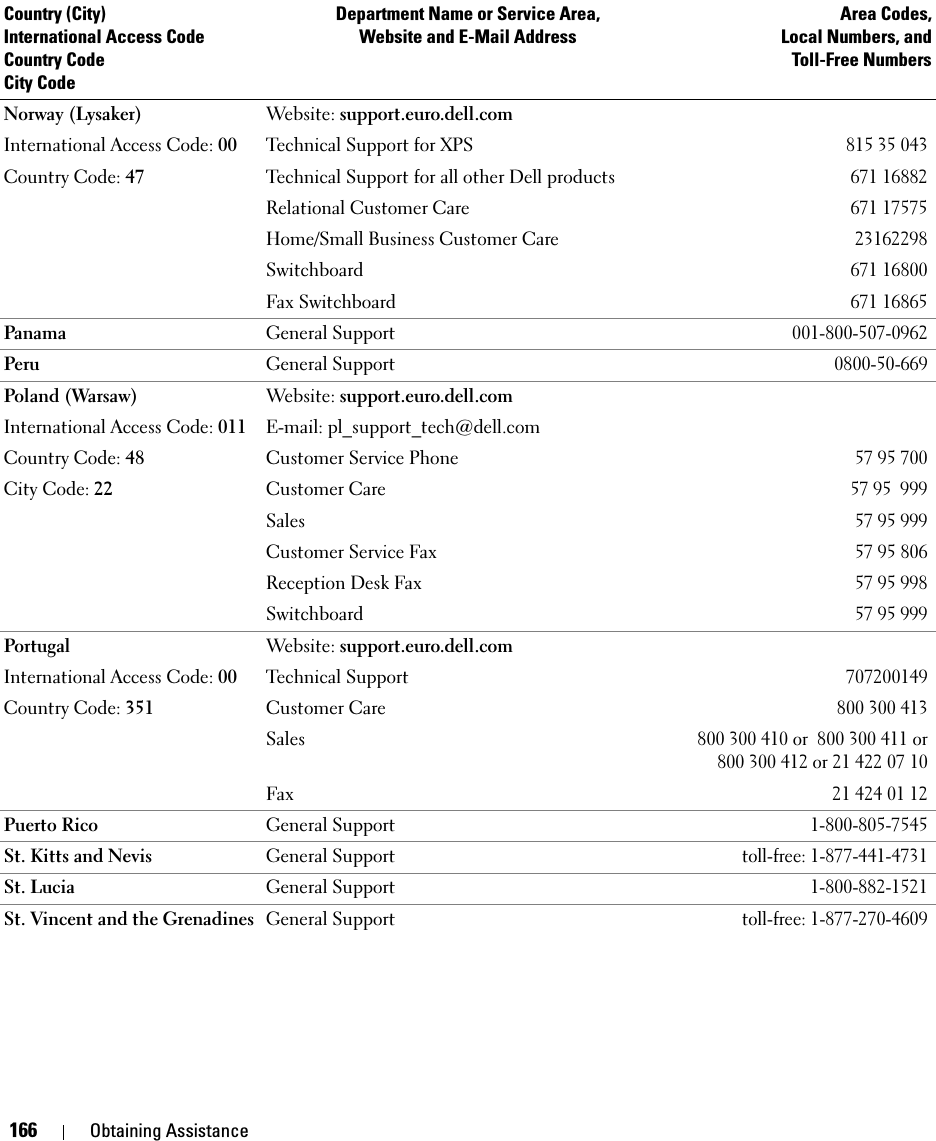
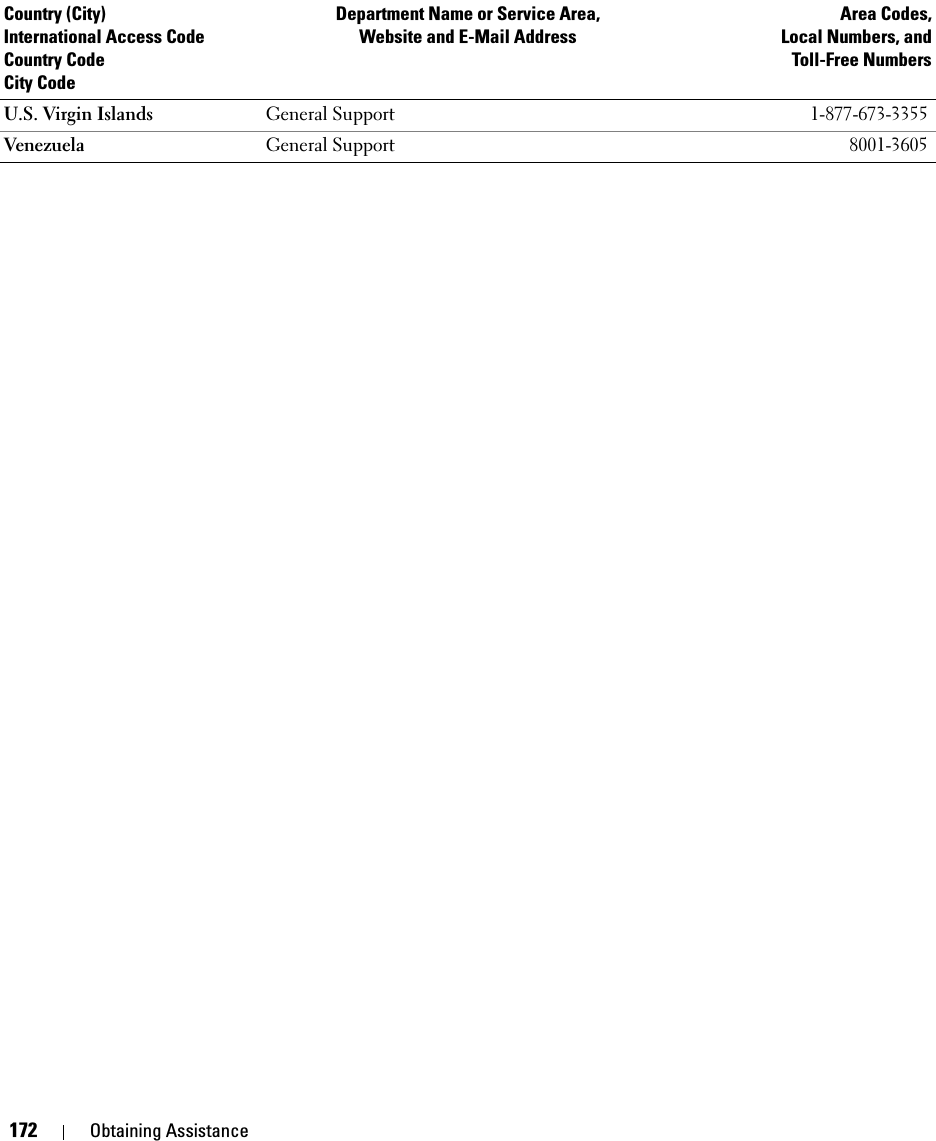
![Obtaining Assistance 171U.S.A. (Austin, Texas)International Access Code: 011Country Code: 1Automated Order-Status Servicetoll-free: 1-800-433-9014AutoTech (portable and desktop computers)toll-free: 1-800-247-9362Hardware and Warranty Support (Dell TV, Printers, and Projectors) for Relationship customerstoll-free: 1-877-459-7298Americas Consumer XPS Supporttoll-free: 1-800-232-8544Consumer (Home and Home Office) Support for all other Dell productstoll-free: 1-800-624-9896Customer Servicetoll-free: 1-800-624-9897Employee Purchase Program (EPP) Customerstoll-free: 1-800-695-8133Financial Services website:www.dellfinancialservices.comFinancial Services (lease/loans)toll-free: 1-877-577-3355Financial Services (Dell Preferred Accounts [DPA])toll-free: 1-800-283-2210Business Customer Service and Supporttoll-free: 1-800-456-3355Employee Purchase Program (EPP) Customerstoll-free: 1-800-695-8133Support for printers, projectors, PDAs, and MP3 playerstoll-free: 1-877-459-7298Public (government, education, and healthcare)Customer Service and Supporttoll-free: 1-800-456-3355Employee Purchase Program (EPP) Customerstoll-free: 1-800-695-8133Dell Salestoll-free: 1-800-289-3355 or toll-free: 1-800-879-3355Dell Outlet Store (Dell refurbished computers)toll-free: 1-888-798-7561Software and Peripherals Salestoll-free: 1-800-671-3355Spare Parts Salestoll-free: 1-800-357-3355Extended Service and Warranty Salestoll-free: 1-800-247-4618Faxtoll-free: 1-800-727-8320Dell Services for the Deaf, Hard-of-Hearing, or Speech-Impairedtoll-free: 1-877-DELLTTY(1-877-335-5889)Country (City)International Access Code Country CodeCity CodeDepartment Name or Service Area,Website and E-Mail AddressArea Codes,Local Numbers, andToll-Free Numbers](https://usermanual.wiki/NMB-Technologies/7D70/User-Guide-659340-Page-171.png)
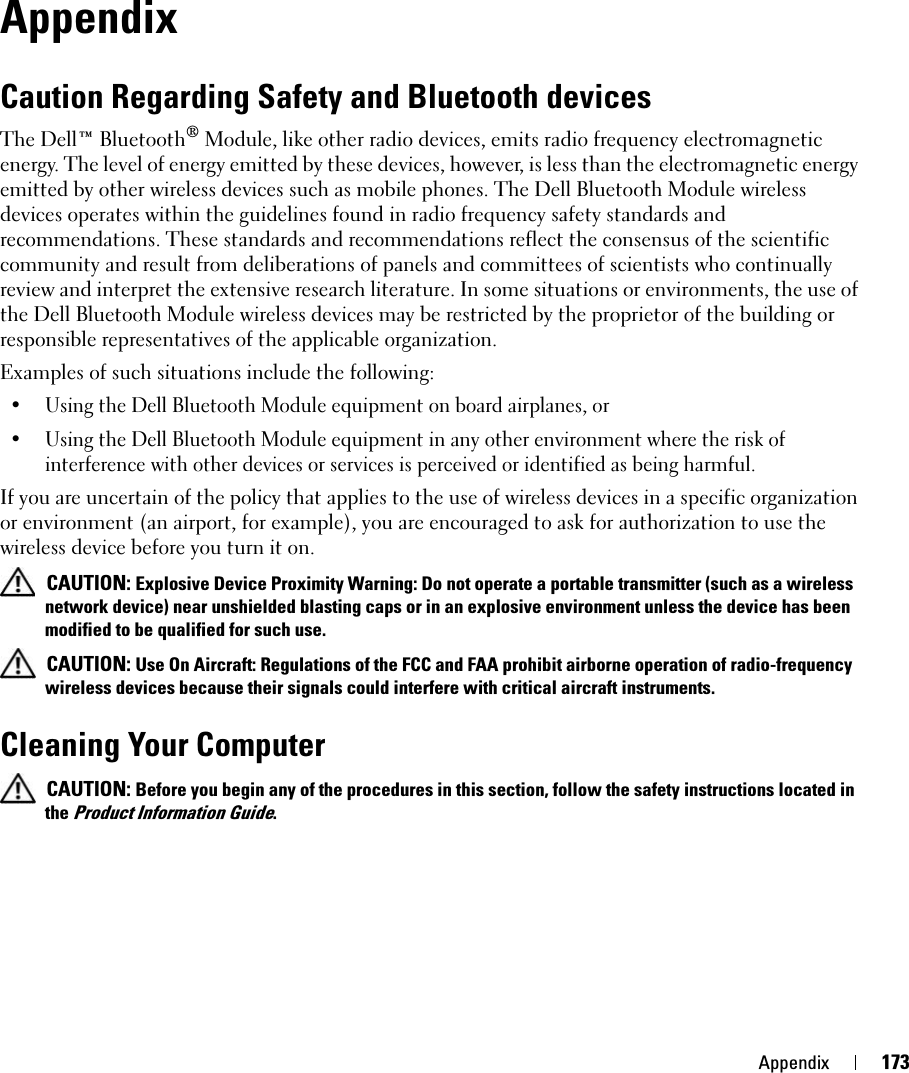
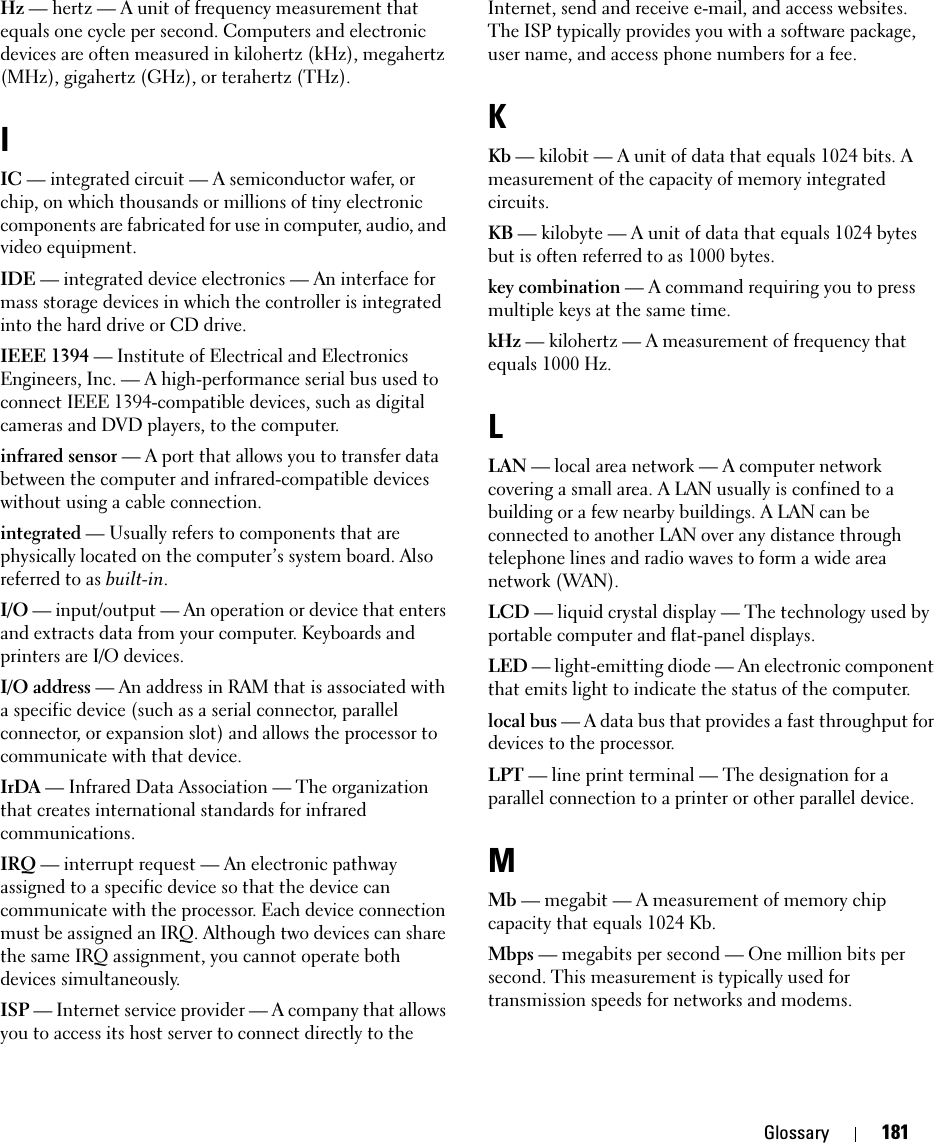
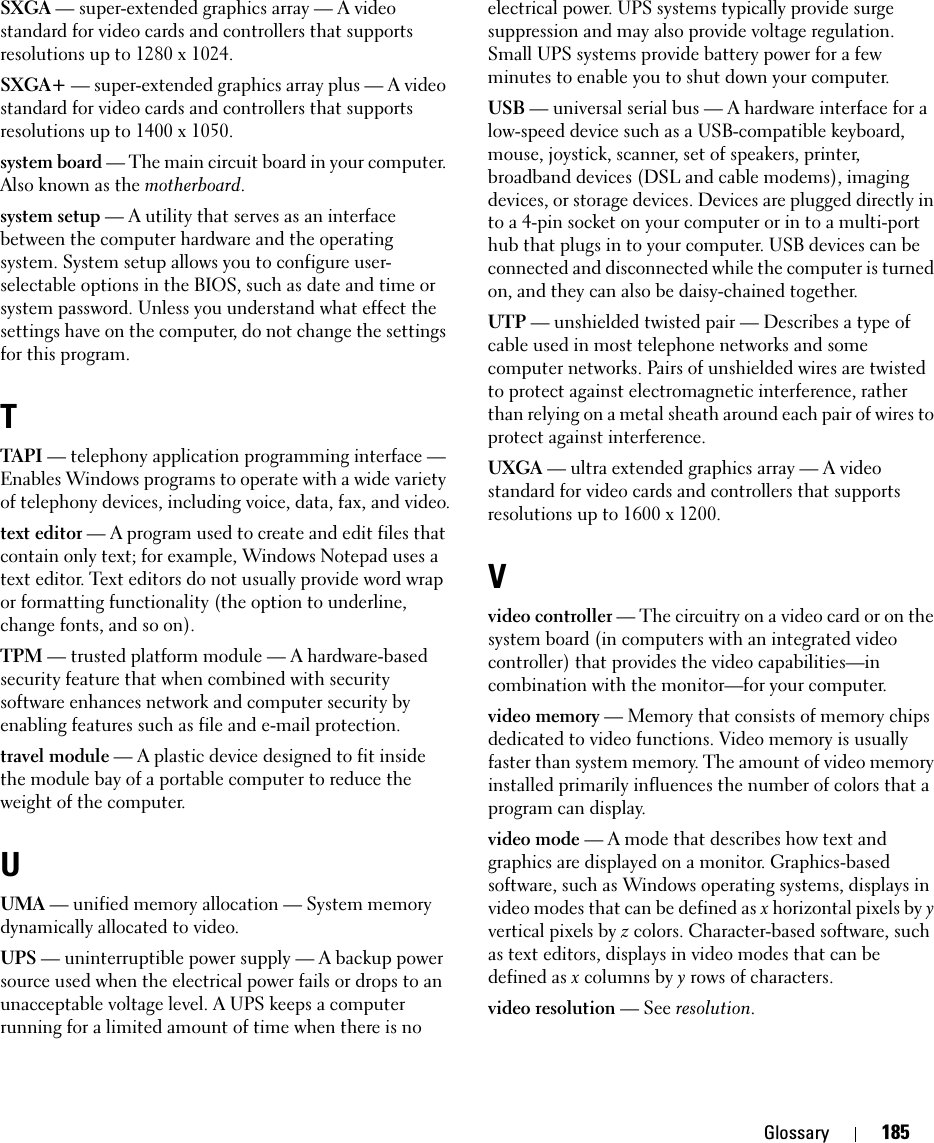
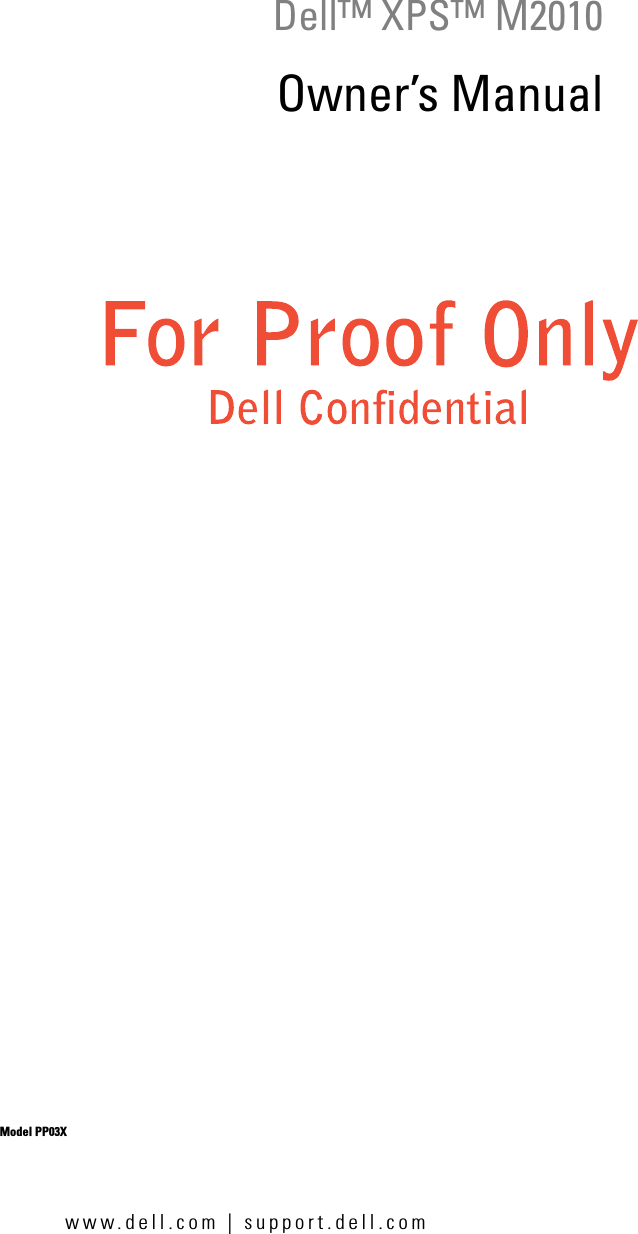
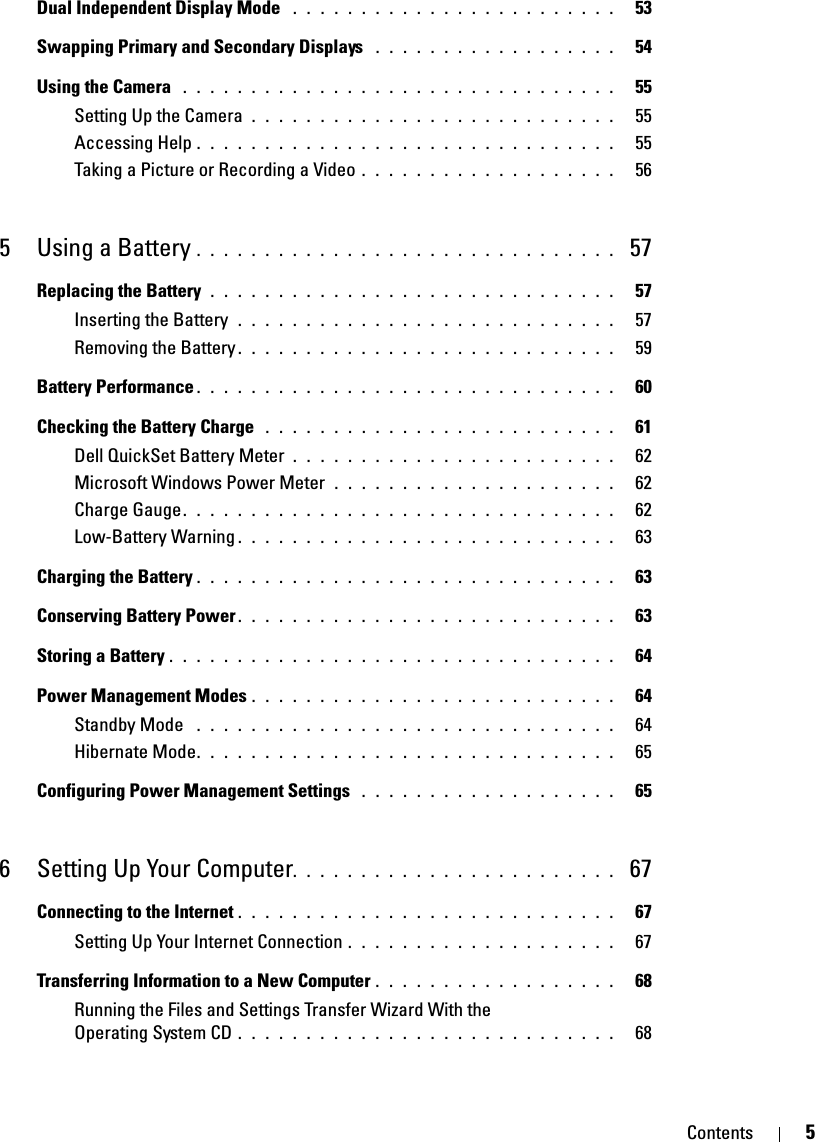
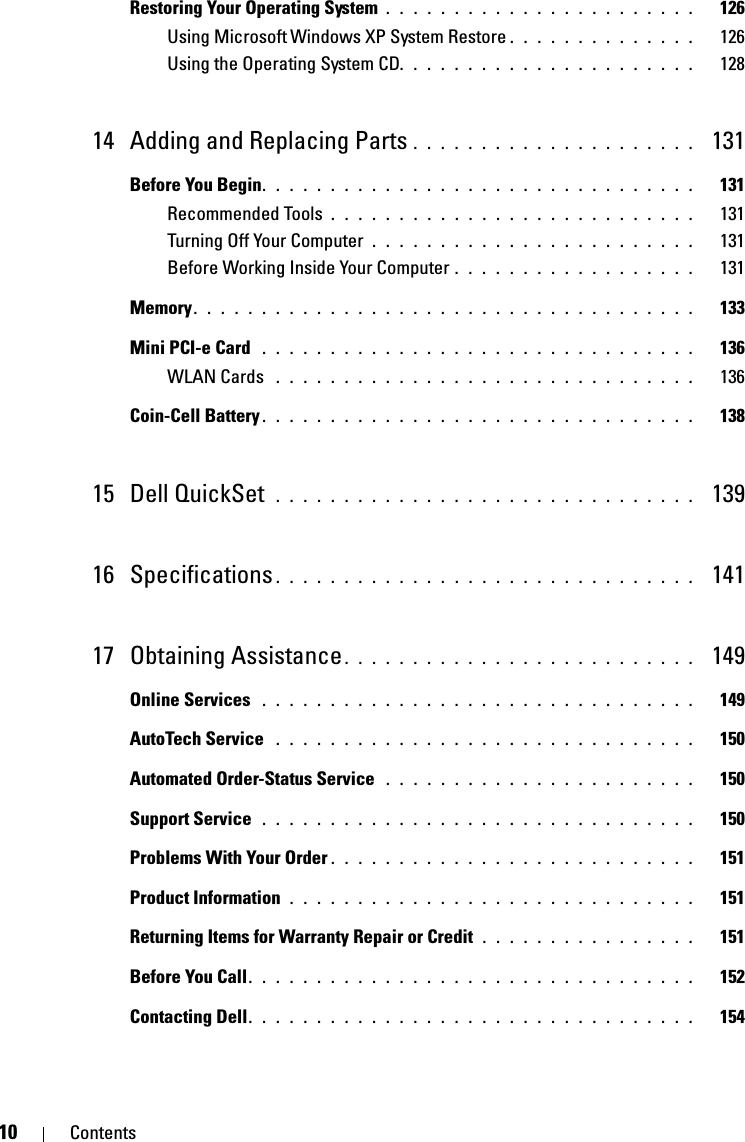
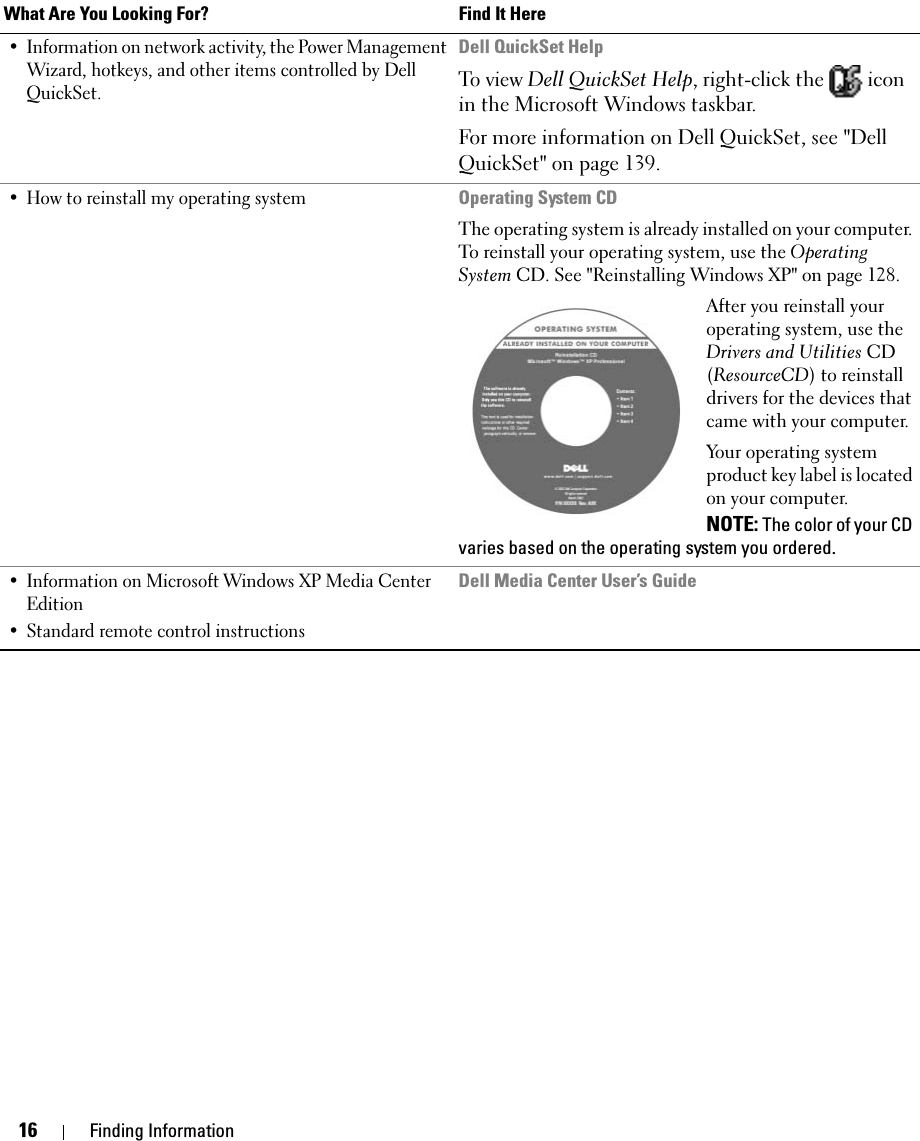
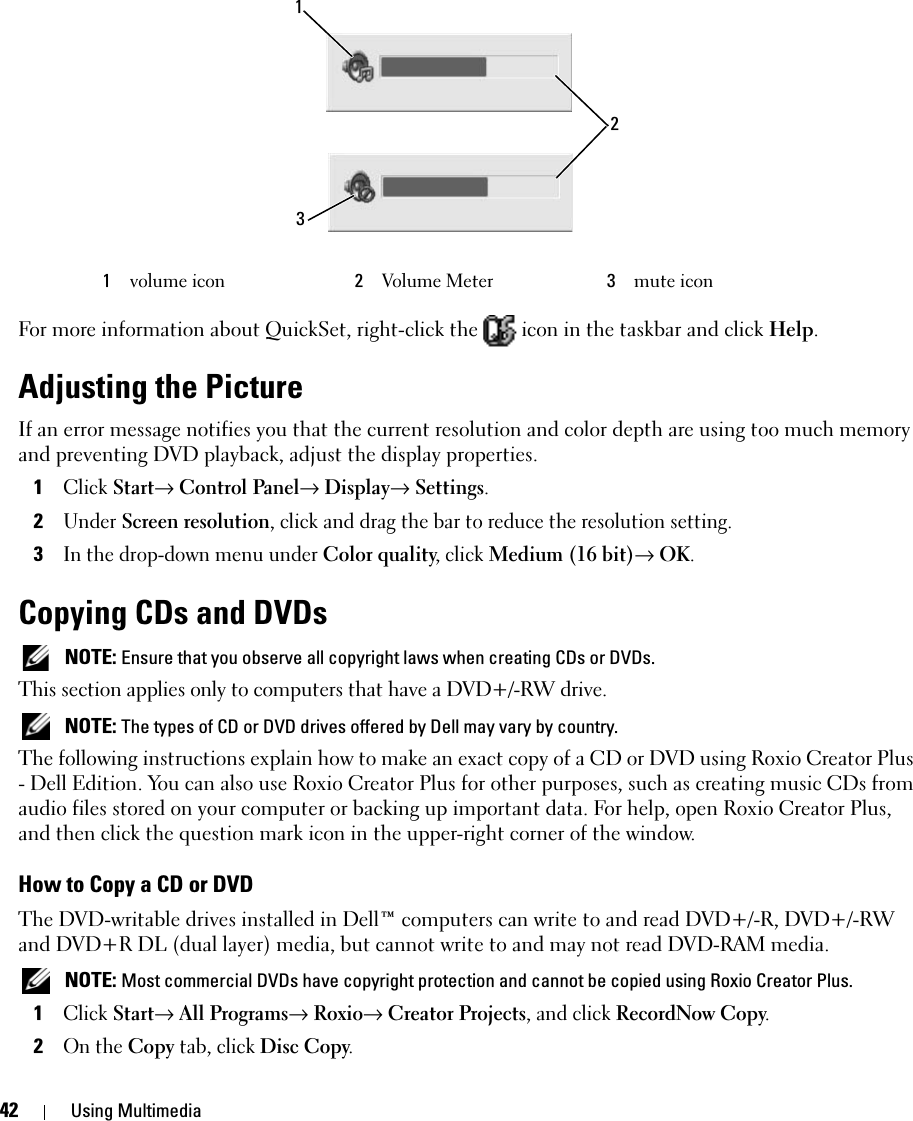
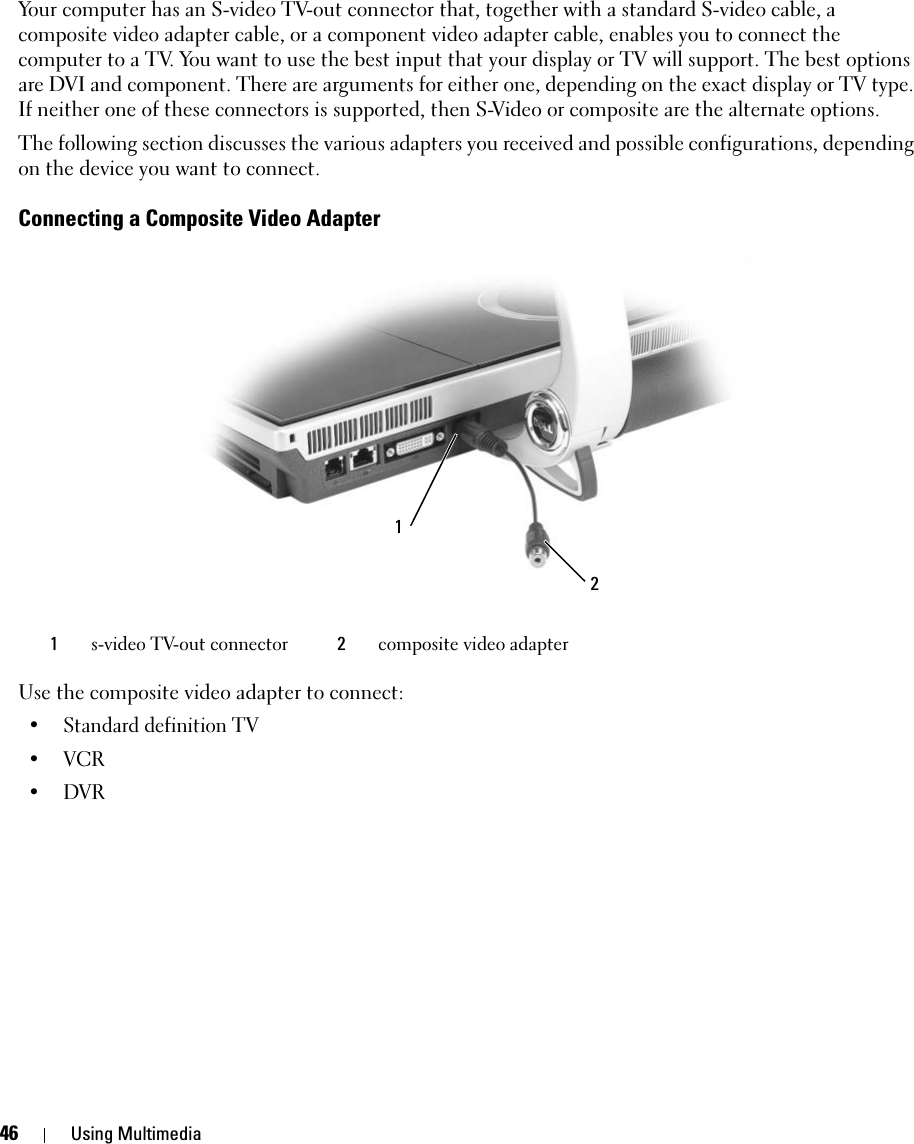
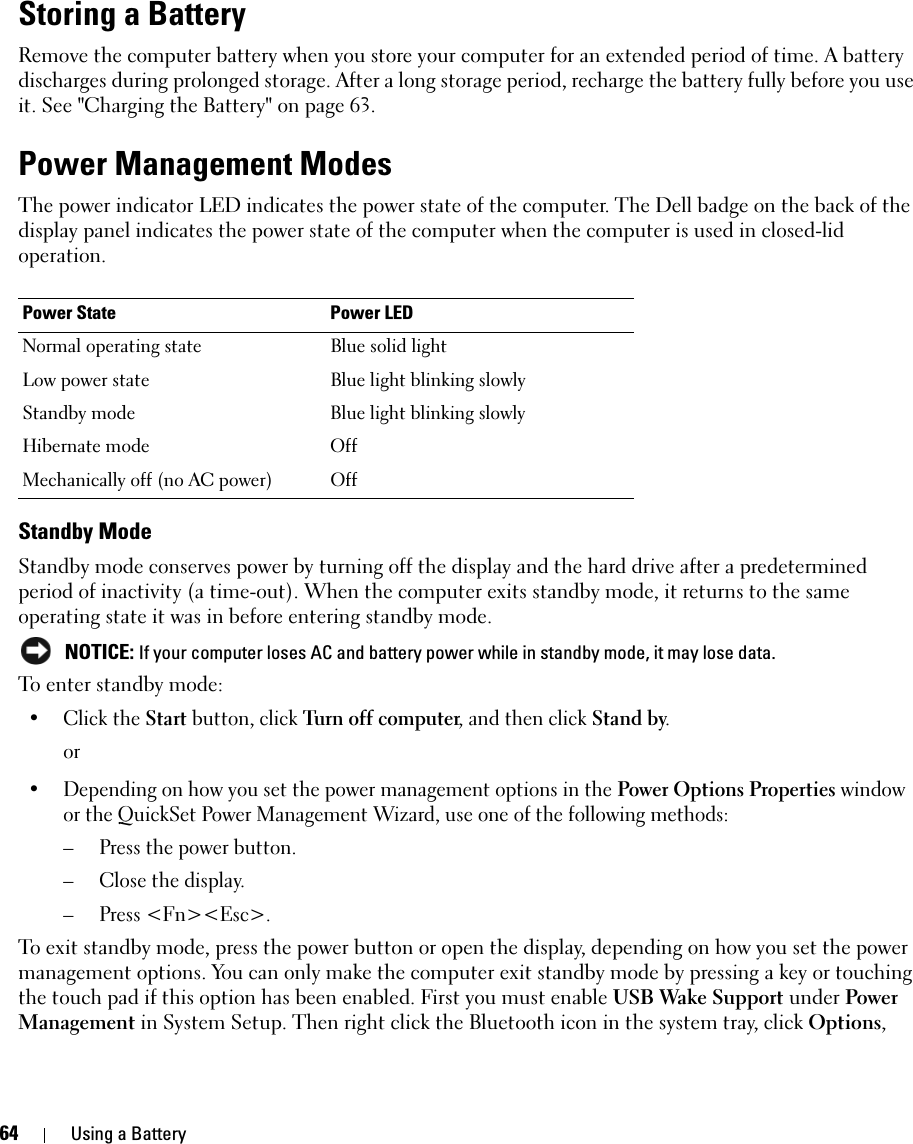
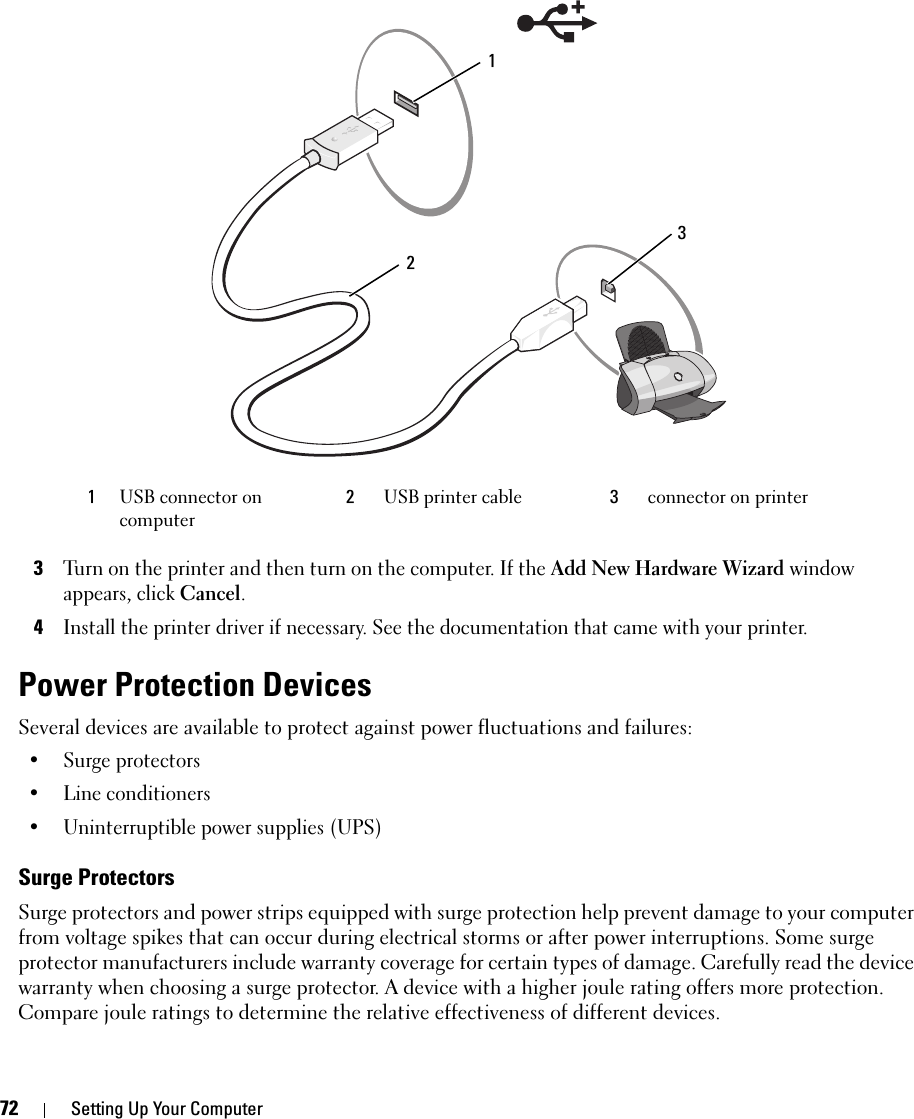
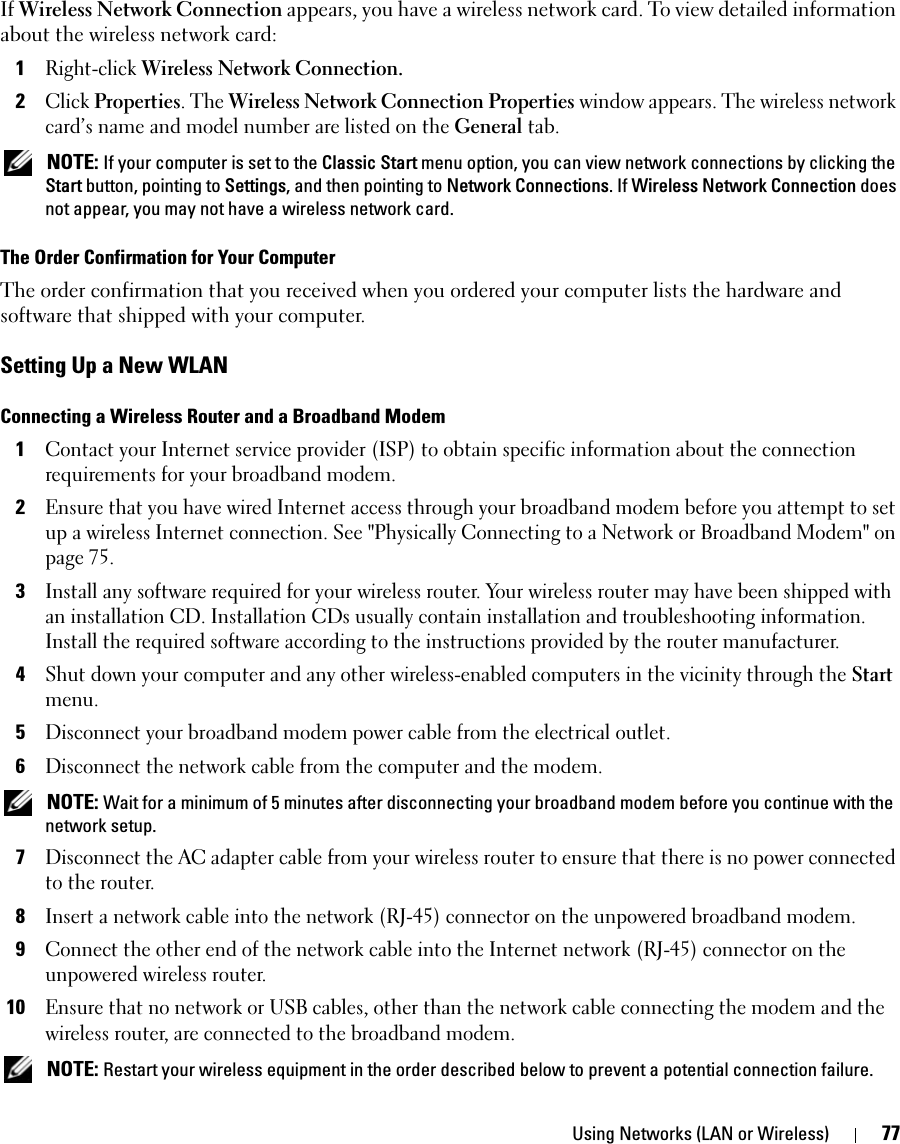
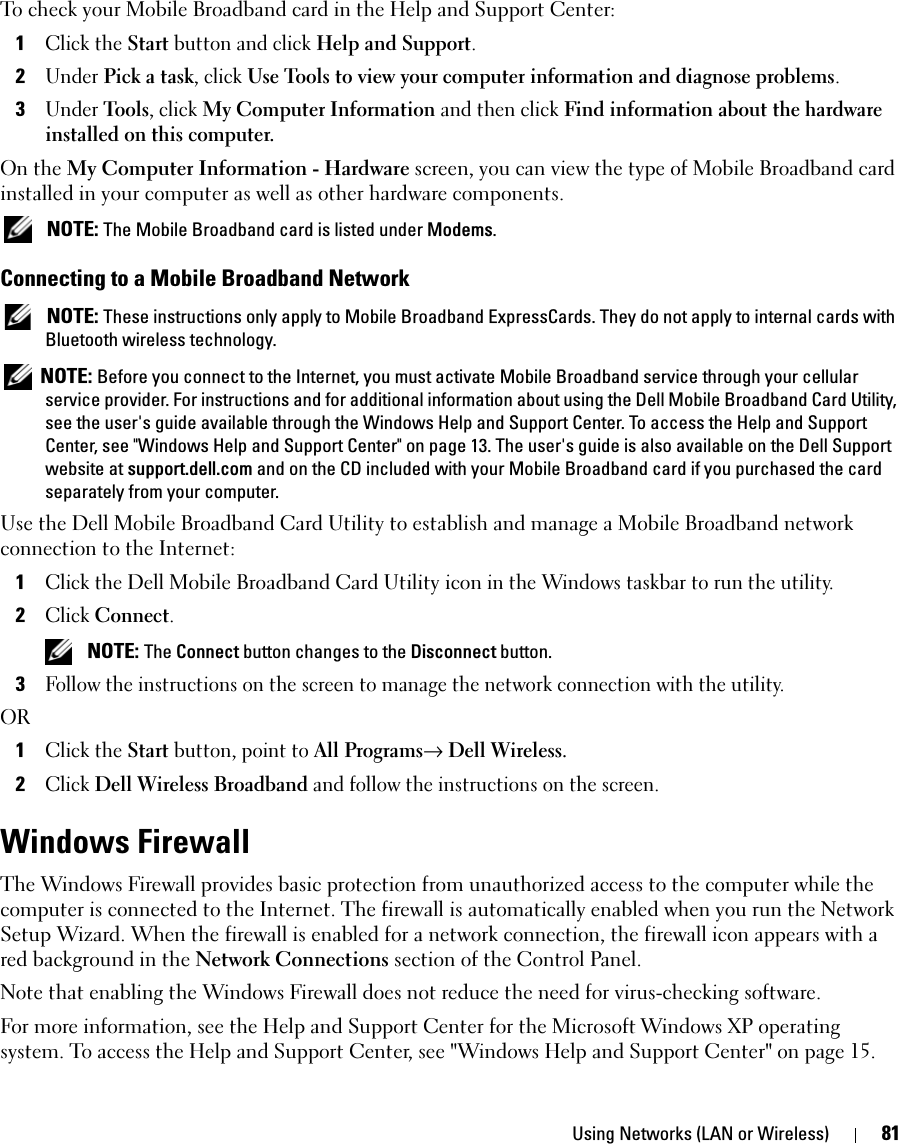
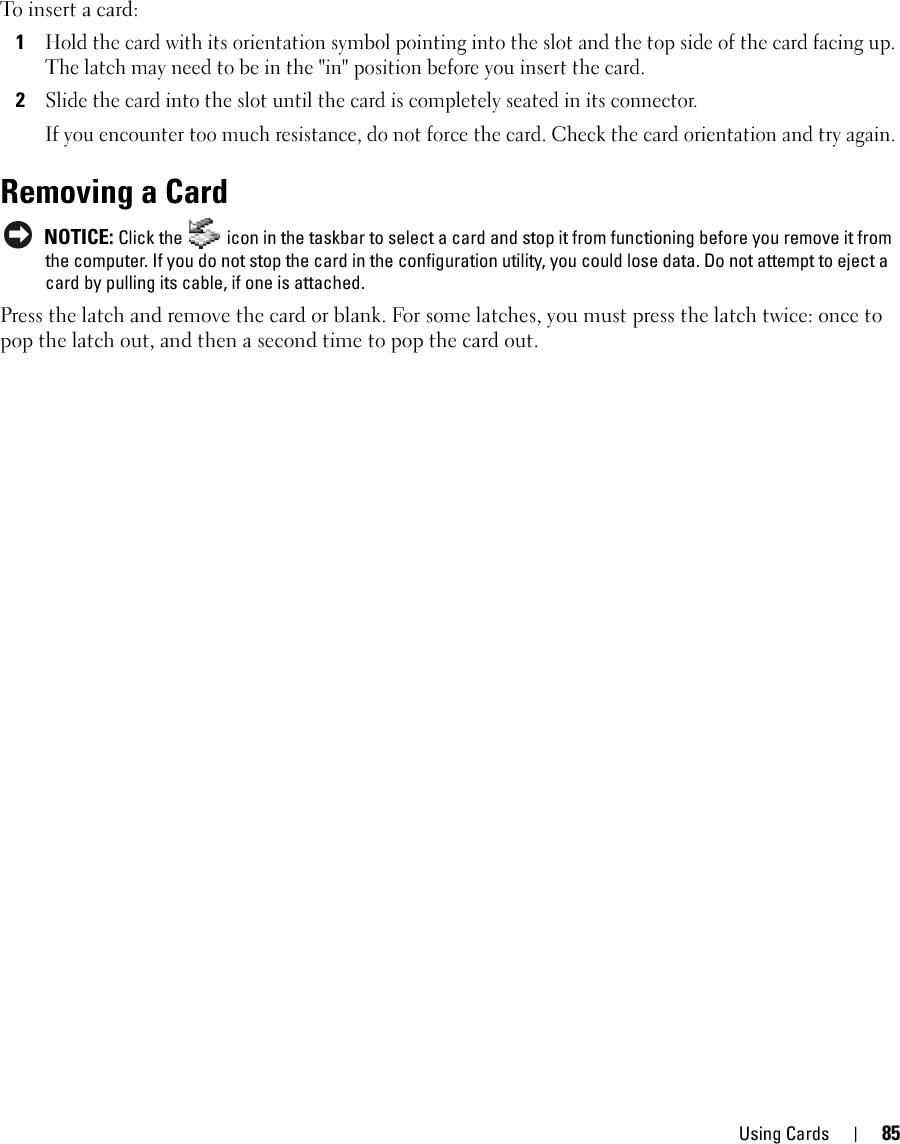
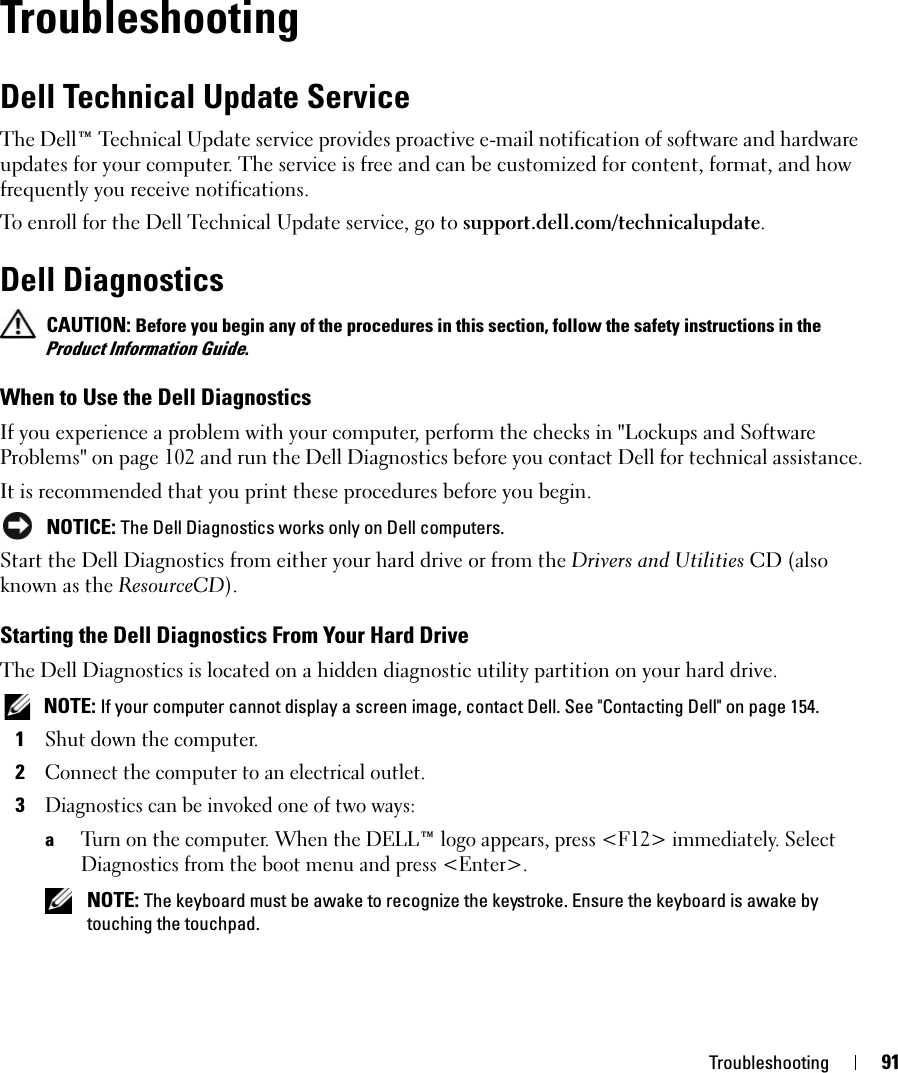
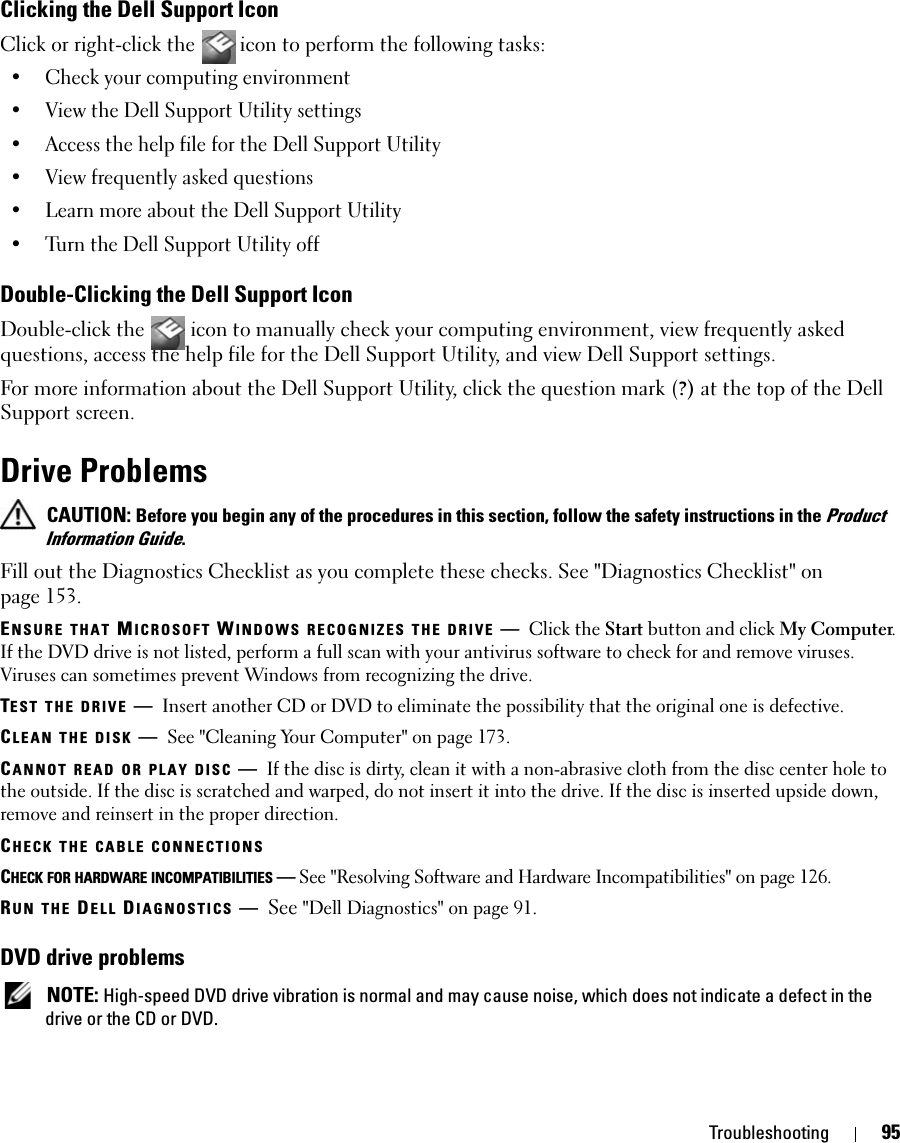
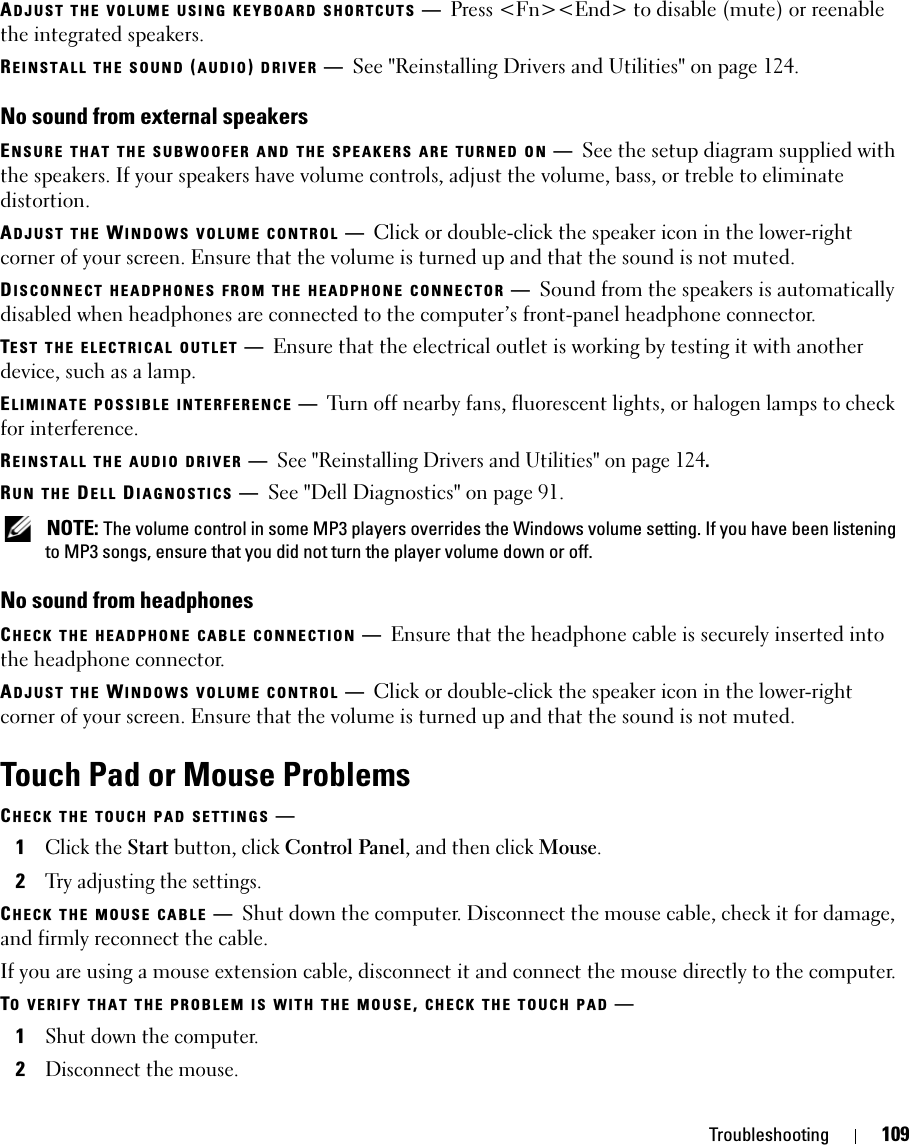
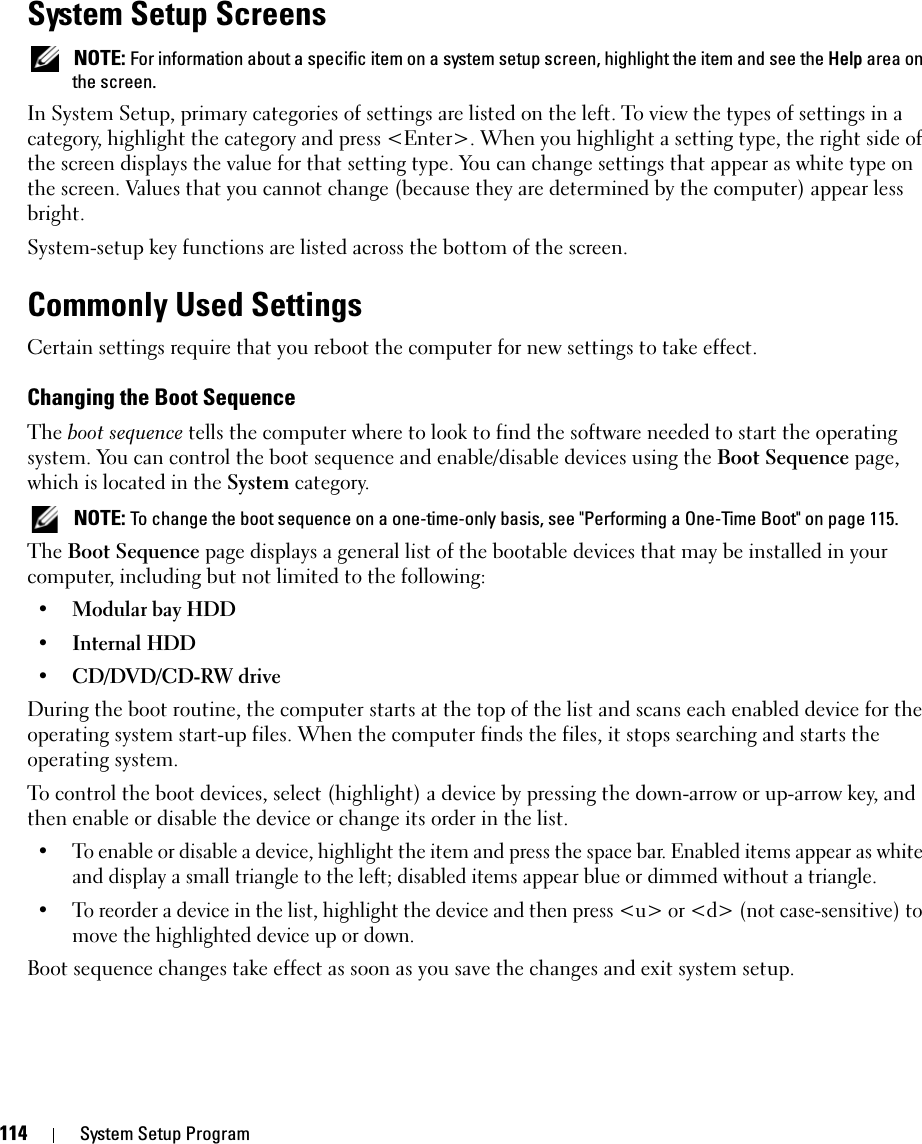
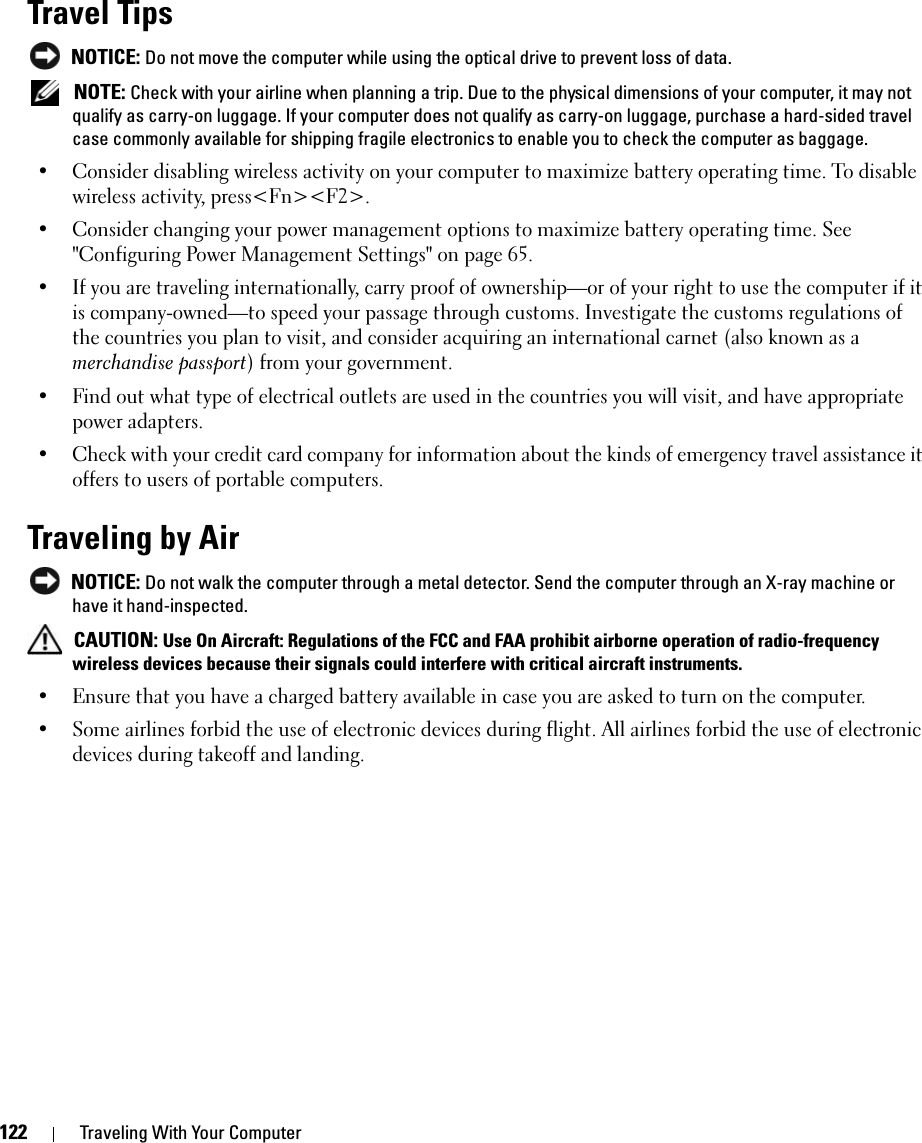
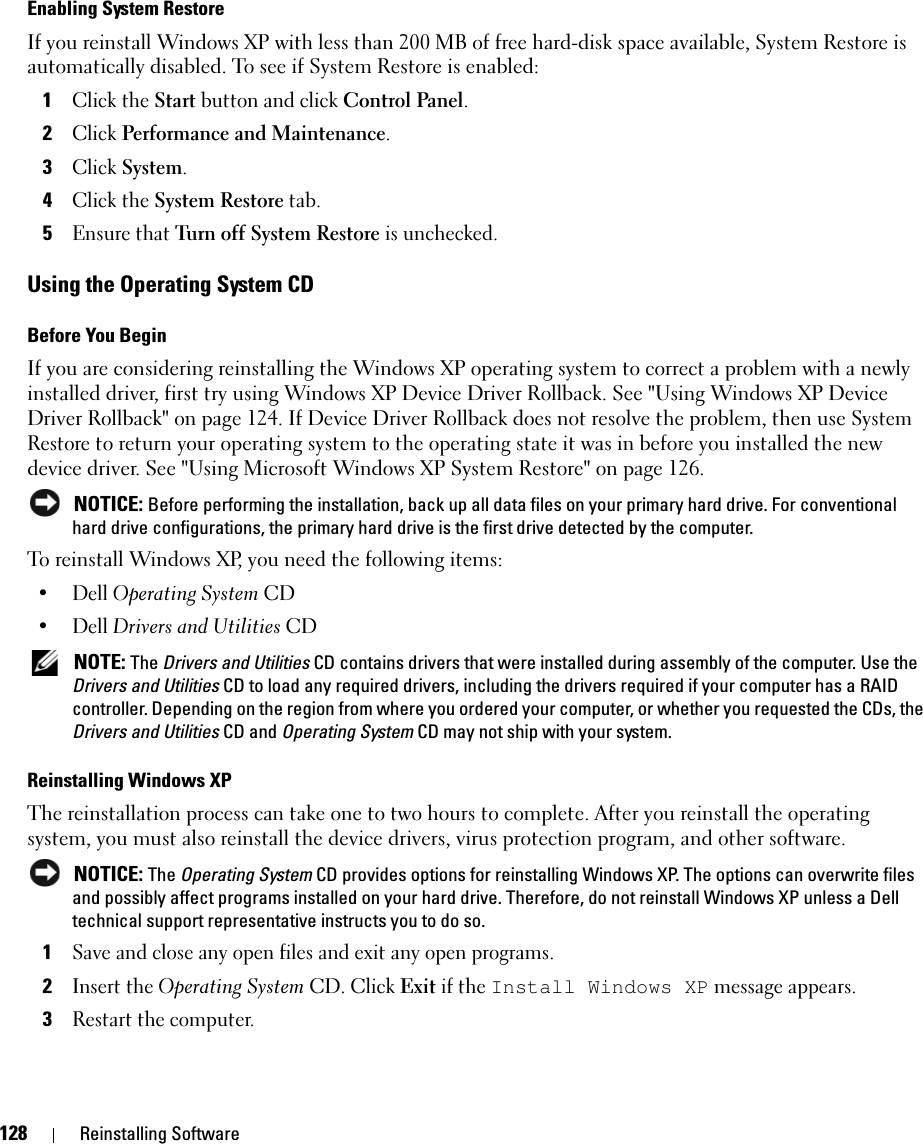
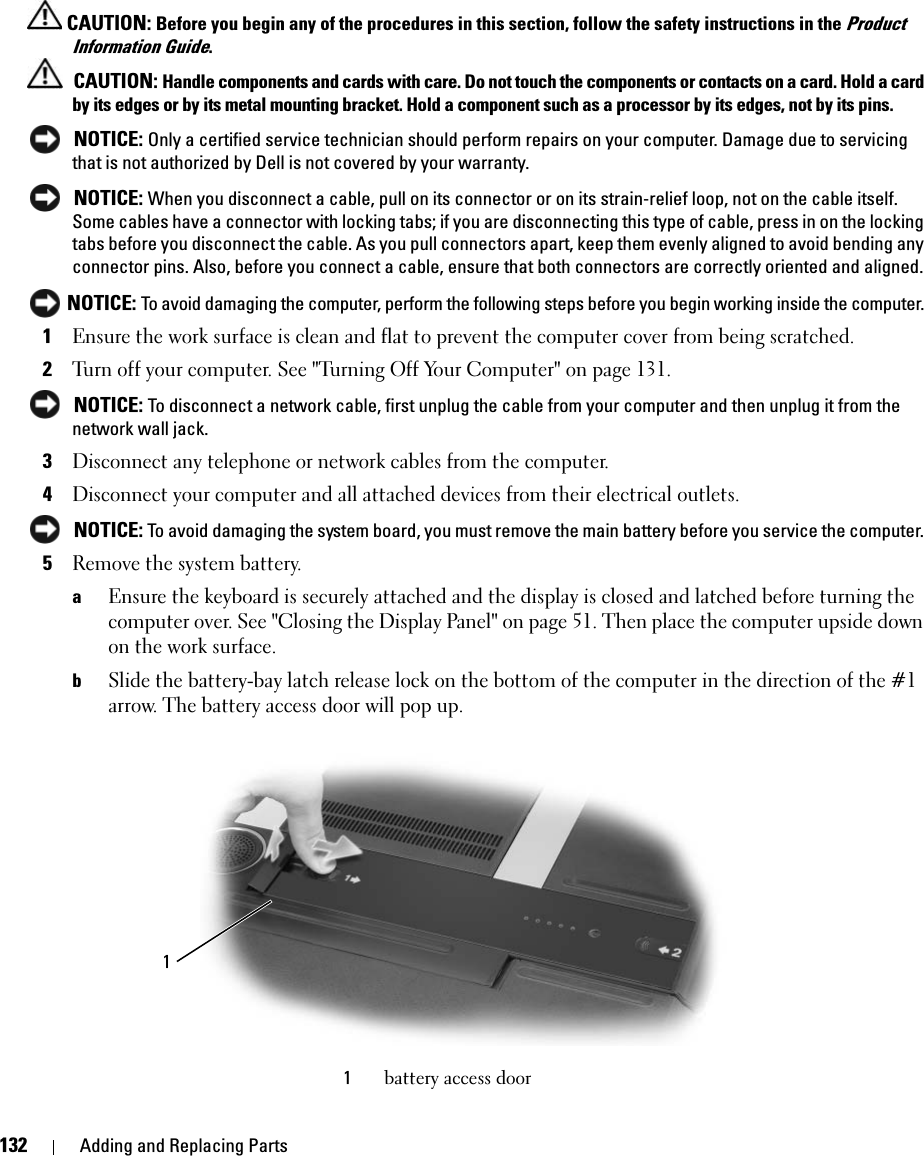
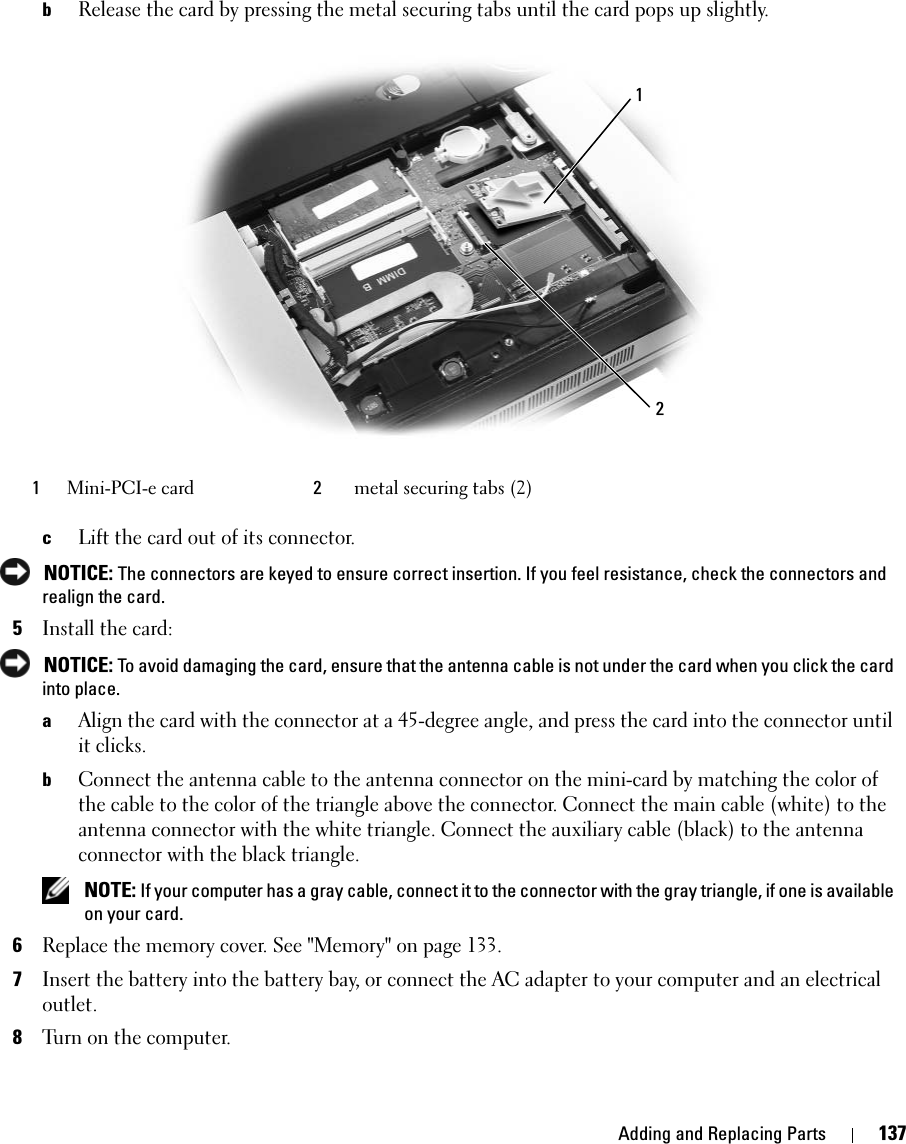
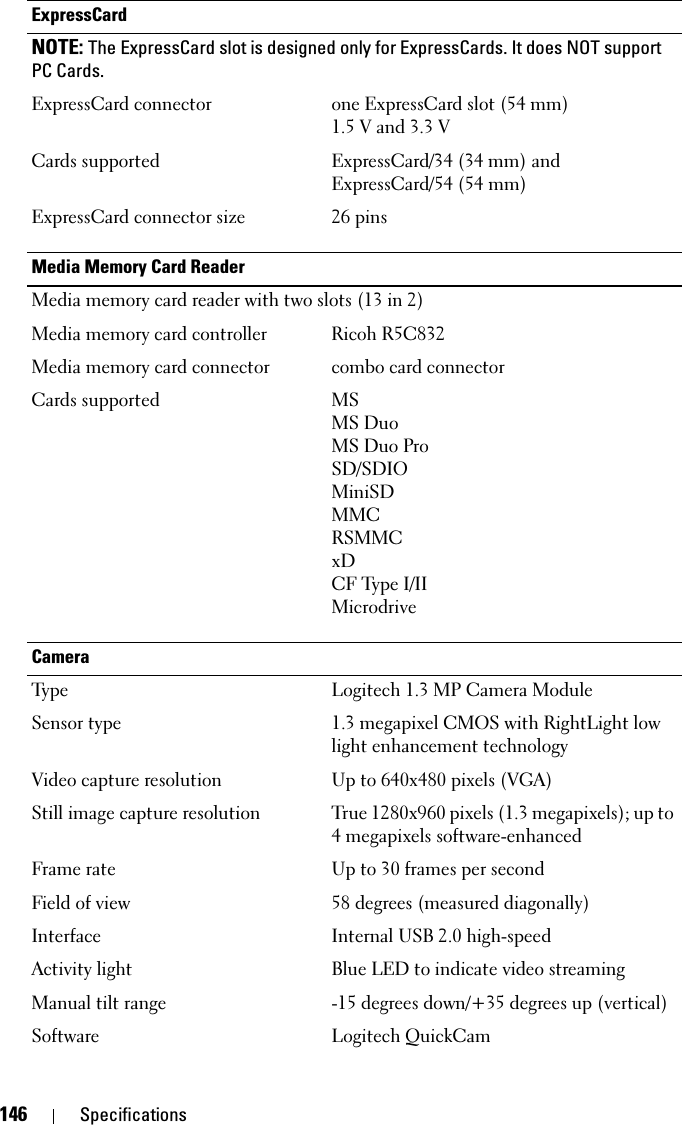
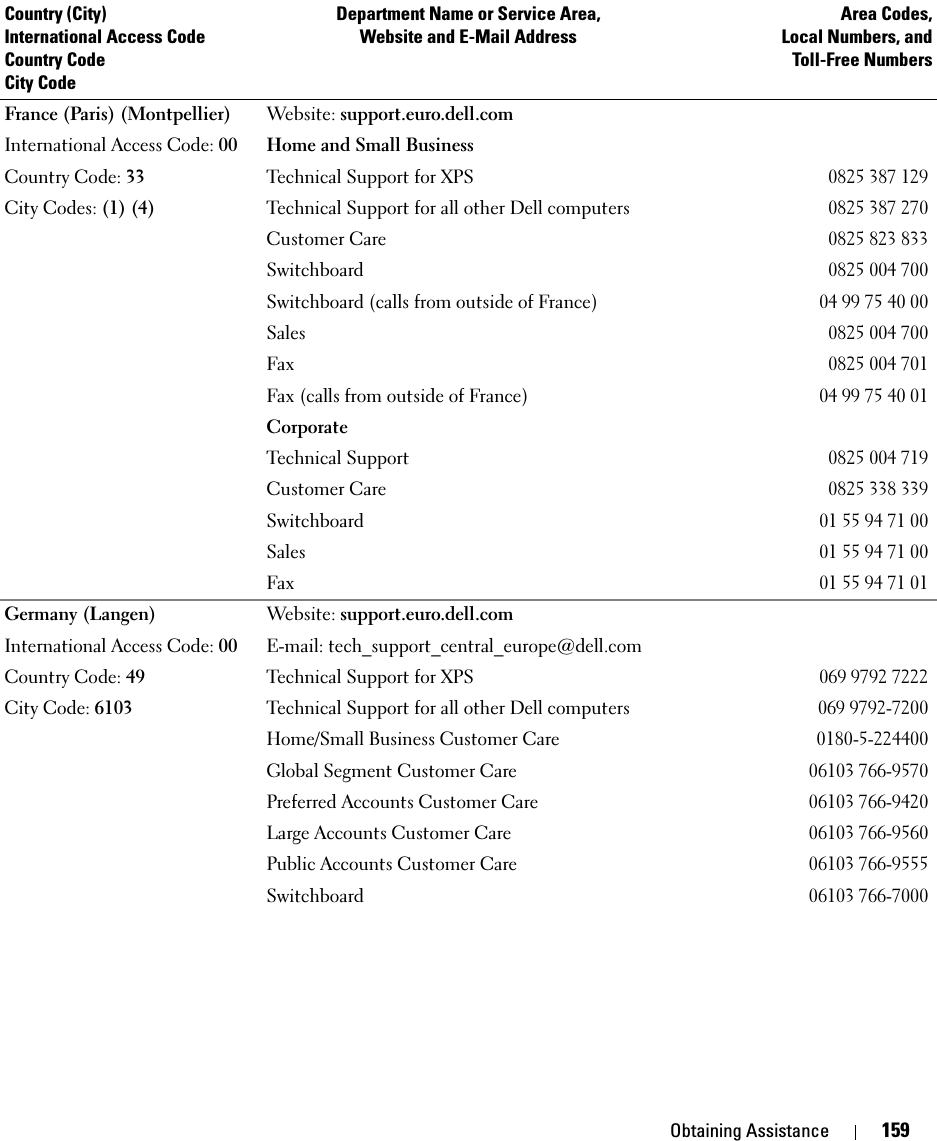
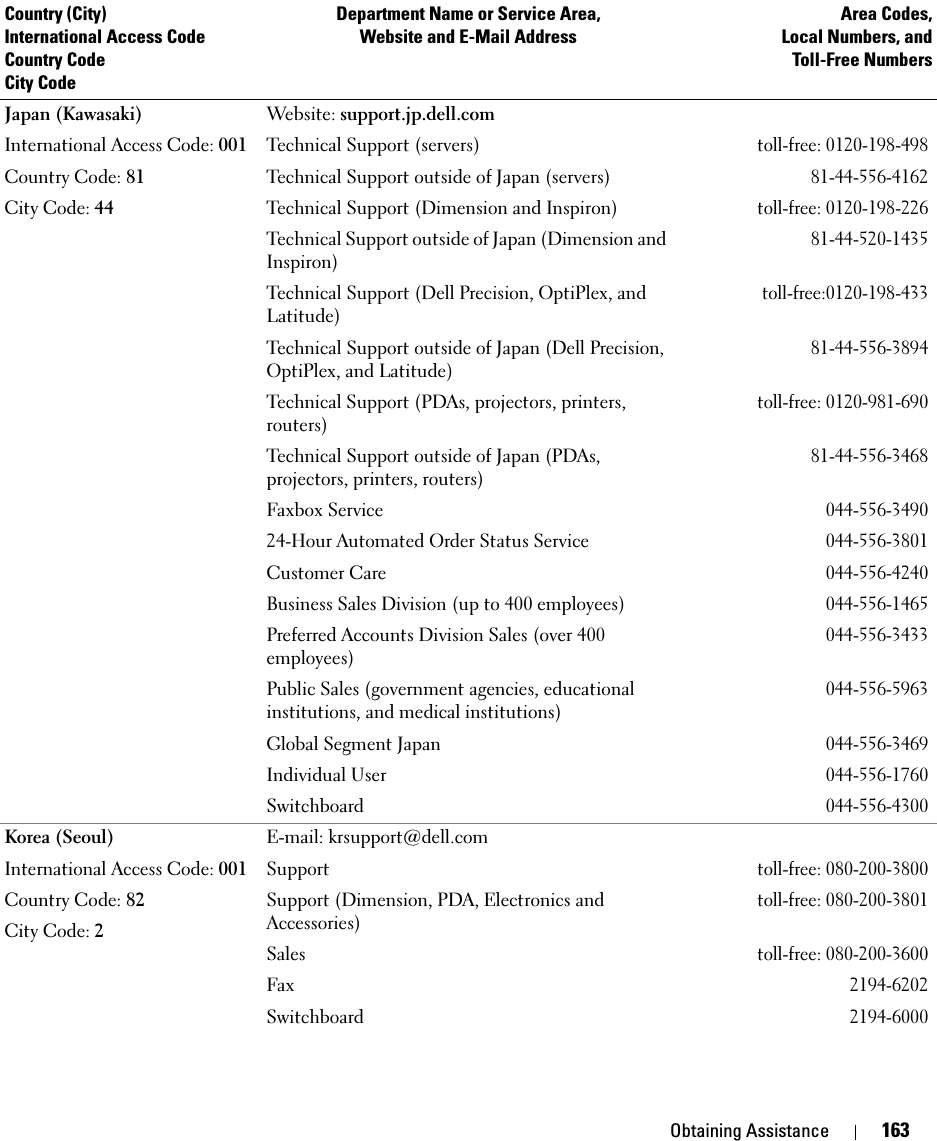
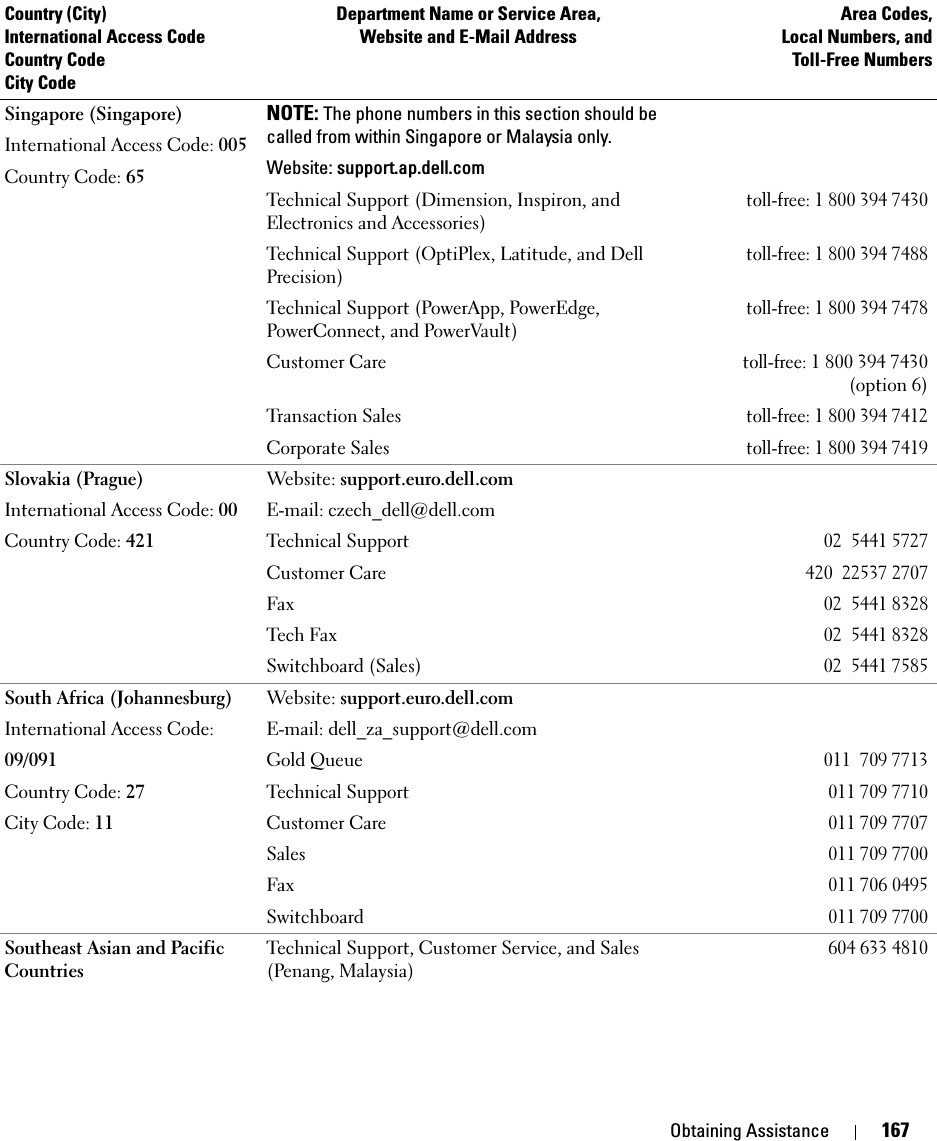
![Glossary 177GlossaryTerms in this Glossary are provided for informational purposes only and may or may not describe features included with your particular computer.AAC — alternating current — The form of electricity that powers your computer when you plug the AC adapter power cable in to an electrical outlet.ACPI — advanced configuration and power interface — A power management specification that enables Microsoft® Windows® operating systems to put a computer in standby or hibernate mode to conserve the amount of electrical power allocated to each device attached to the computer.AGP — accelerated graphics port — A dedicated graphics port that allows system memory to be used for video-related tasks. AGP delivers a smooth, true-color video image because of the faster interface between the video circuitry and the computer memory.AHCI — Advanced Host Controller Interface — An interface for a SATA hard drive Host Controller which allows the storage driver to enable technologies such as Native Command Queuing (NCQ) and hot plug.ALS — ambient light sensor.antivirus software — A program designed to identify, quarantine, and/or delete viruses from your computer.ASF — alert standards format — A standard to define a mechanism for reporting hardware and software alerts to a management console. ASF is designed to be independent of the platform and operating system.Bbattery life span — The length of time (years) during which a portable computer battery is able to be depleted and recharged.battery operating time — The length of time (minutes or hours) that a portable computer battery powers the computer.BIOS — basic input/output system — A program (or utility) that serves as an interface between the computer hardware and the operating system. Unless you understand what effect these settings have on the computer, do not change them. Also referred to as system setup.bit — The smallest unit of data interpreted by your computer.Bluetooth® wireless technology — A wireless technology standard for short-range (9 m [29 feet]) networking devices that allows for enabled devices to automatically recognize each other.boot sequence — Specifies the order of the devices from which the computer attempts to boot.bootable CD — A CD that you can use to start your computer. In case your hard drive is damaged or your computer has a virus, ensure that you always have a bootable CD or floppy disk available. Your Drivers and Utilities or ResourceCD is a bootable CD.bootable disk — A disk that you can use to start your computer. In case your hard drive is damaged or your computer has a virus, ensure that you always have a bootable CD or floppy disk available.bps — bits per second — The standard unit for measuring data transmission speed.BTU — British thermal unit — A measurement of heat output.](https://usermanual.wiki/NMB-Technologies/7D70/User-Guide-659340-Page-177.png)