NT ware Systemprogrammierung URSPLUS02 uniFLOW Release Station PLUS-2 V2 User Manual uniFLOW Release Station
NT-ware Systemprogrammierung GmbH uniFLOW Release Station PLUS-2 V2 uniFLOW Release Station
UserManual.wiki
>
NT ware Systemprogrammierung
>
URSPLUS02 User Manual
user manual
Navigation menu
Upload a User Manual
Namespaces
Wiki Guide
HTML
PDF
Info
Views
User Manual
Discussion / Help
Navigation


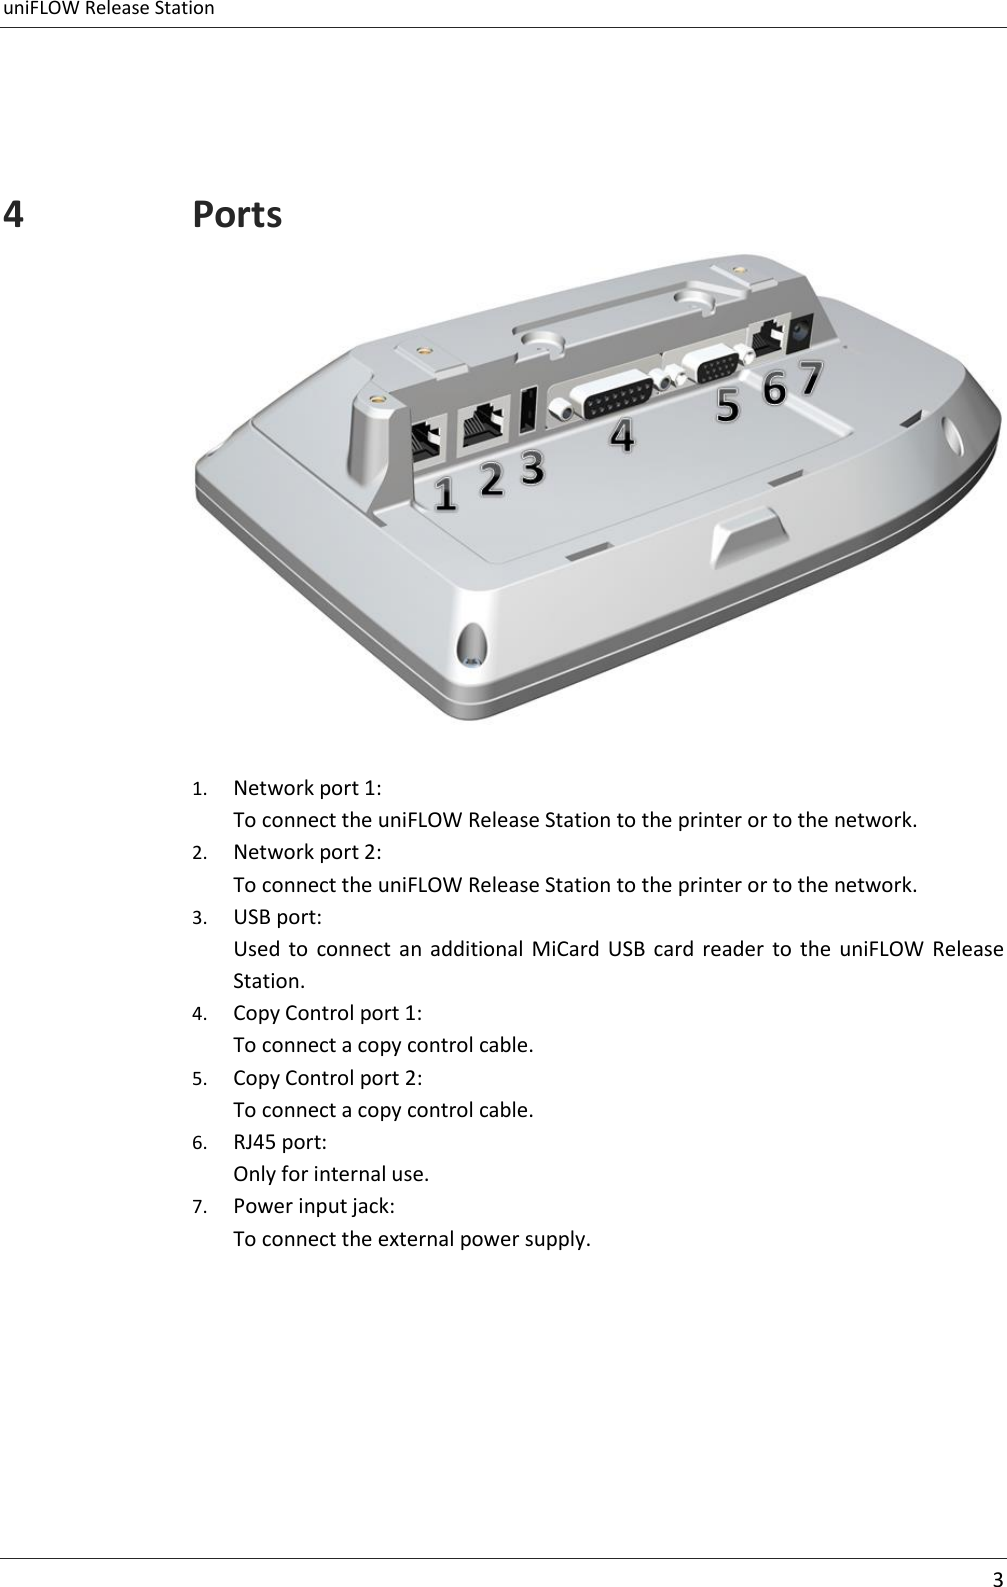
![uniFLOW Release Station 17 These can be changed by uploading a certain configuration file (PORT.ini). Please refer to chapter Signal Interpreter (on page 17) in the installation manual for more information about how to create such a configuration file. 8.2.3.1 Signal Interpreter The uniFLOW Release Station signal interpreter allows the configuration of simple pattern matching rules. These include multi-click events and clock driven events while observing multiple I/O port pins in parallel. .INI Configuration [PORTS] The Digital Input Port can be configured in the a .INI file on the uniFLOW Release Station. The general configuration is in the [PORT] section as follows: REVERSE - Set to 1 if the bit order of the I/O port pins shall be reversed, e.g. b101000 instead of b000101. Otherwise, set to 0. This means that for example the port pin previously addressed as [DIPORT0] would then be addressed as [DIPORT5]. INVERT - Set to 1 if the bits on the I/O port pins shall be inverted, e.g. b001000 instead of b110111. Otherwise, set to 0.](https://usermanual.wiki/NT-ware-Systemprogrammierung/URSPLUS02/User-Guide-3890092-Page-31.png)
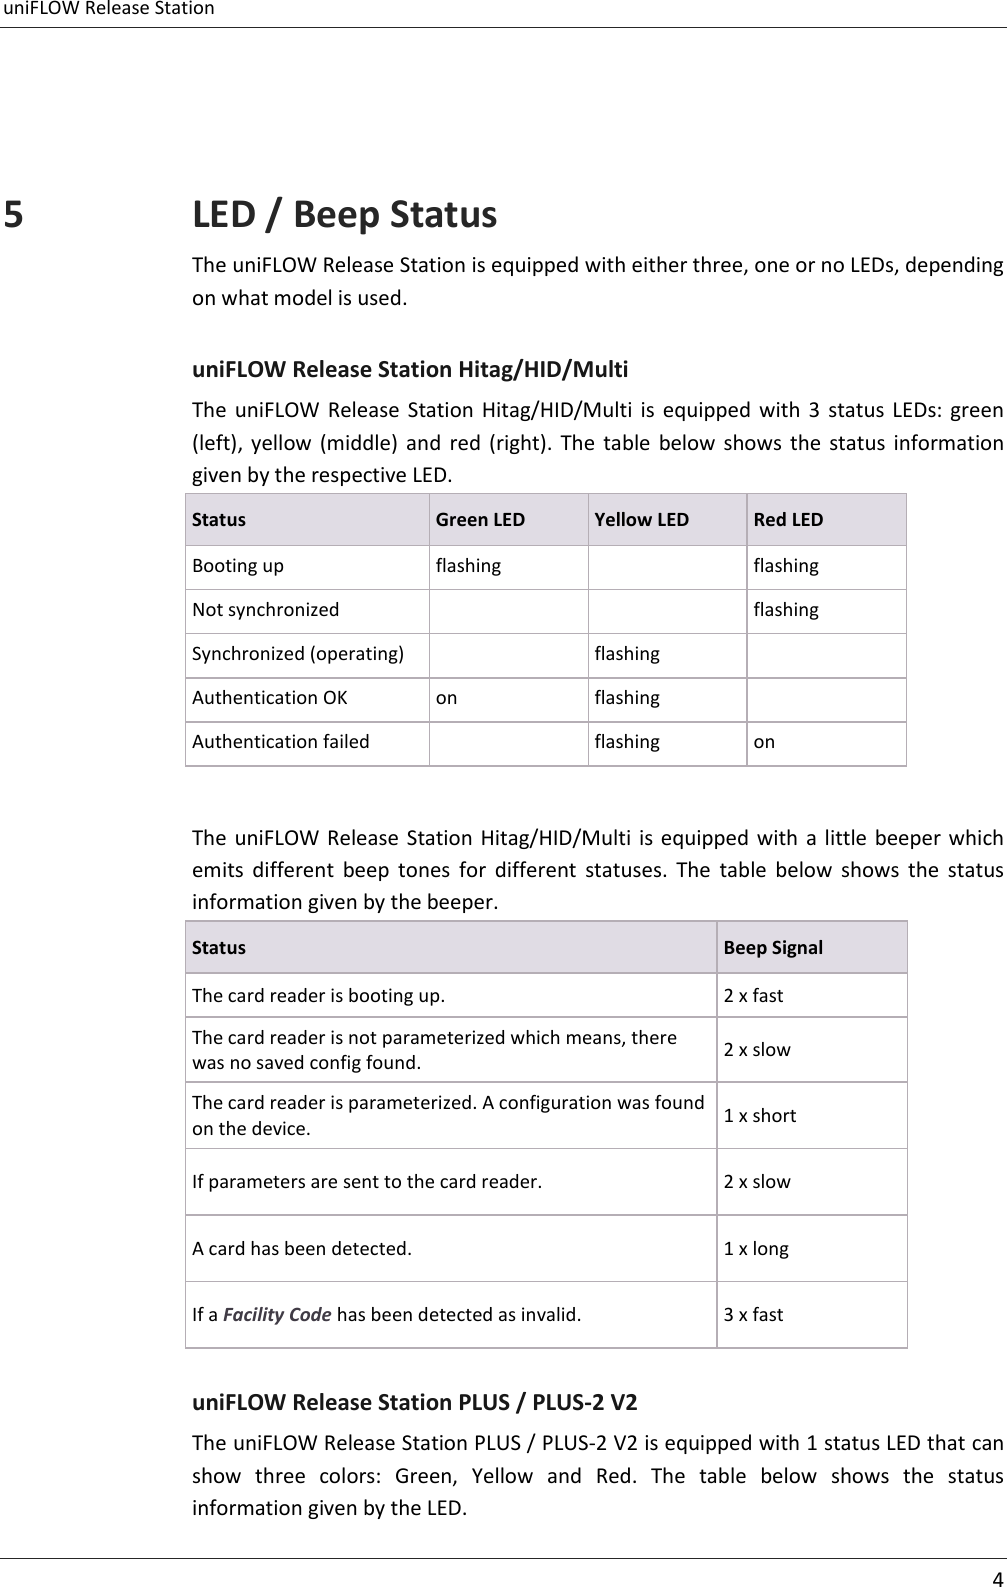
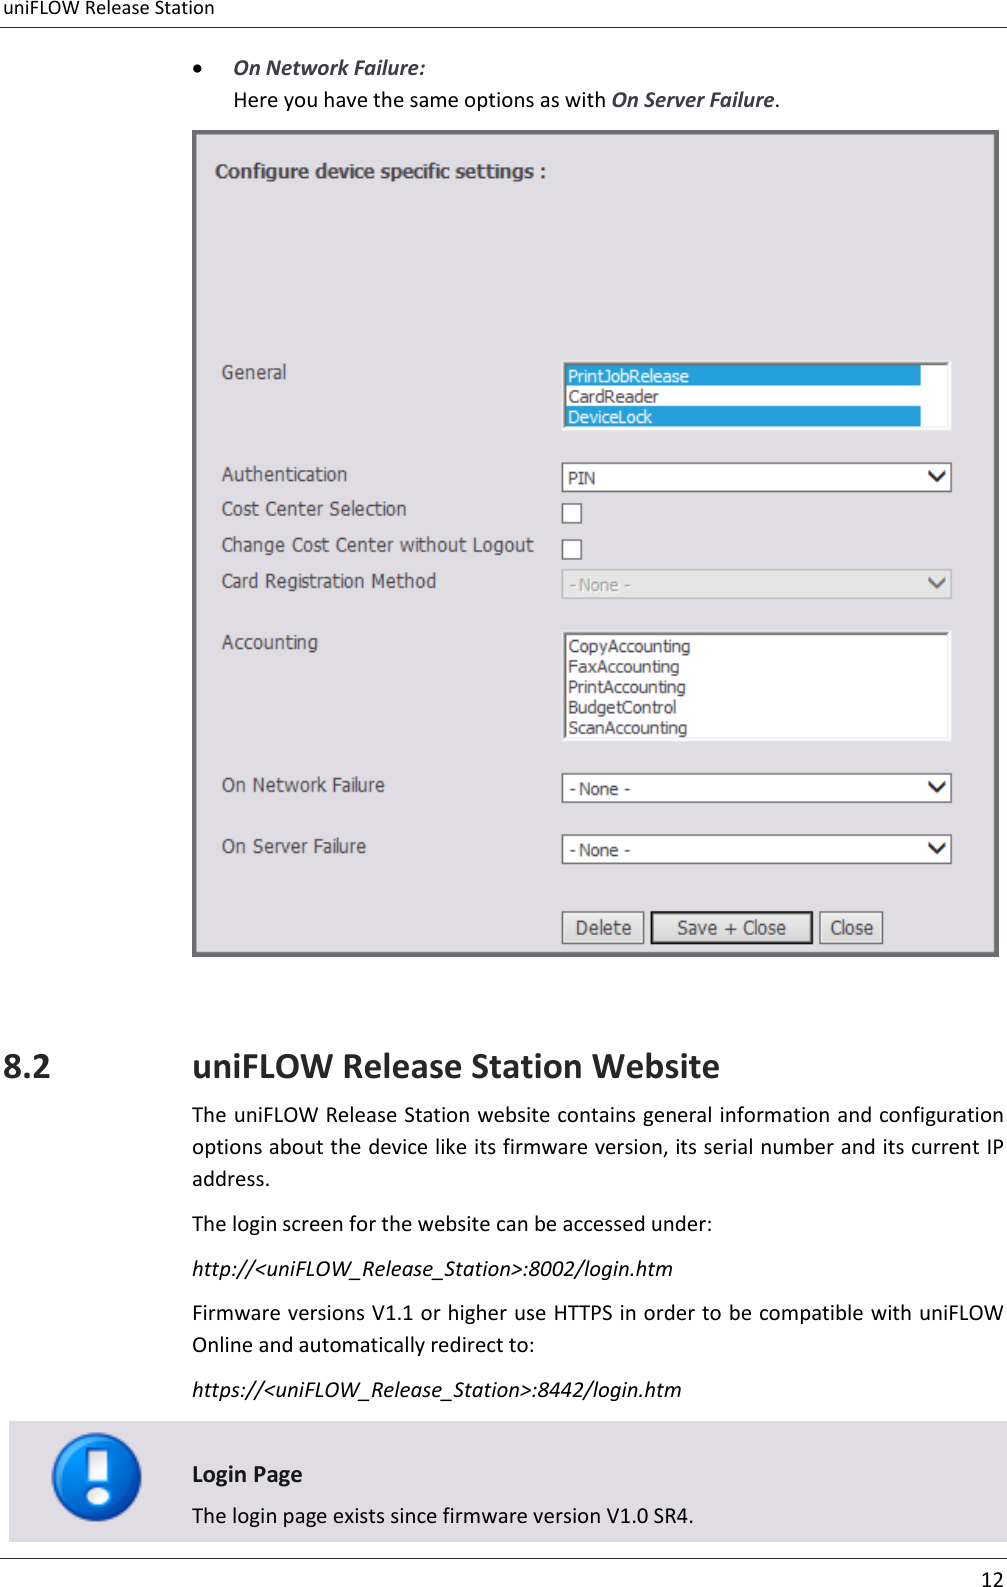
![uniFLOW Release Station 18 [DIPORTn] Each pin on the I/O port can be configured under [DIPORT0] ... [DIPORT5]. The following settings are available: Interpreter Parameters DEBOUNCE - The number of milliseconds after a signal edge has been detected, to suspend monitoring. Helps to solve double-click problems because of signal bouncing. TIMEOUT - period since last edge after which an open multi-click sequence is terminated. A multi-click sequence is regarded as open after the first matching event. EDGE - 0 for valid signal event on rising edge, 1 for falling edge, 2 for both edges. RULEn - defines rules for pattern matching as explained below. n may be within 1 to 16. The sequence must be continuous or the rules won't be used after the discontinuity. For example if RULE1, RULE2, RULE3, RULE5 are defined, only RULE1, 2 and 3 will be used. Interpreter Rules Different Rules can be defined for each port pin in the respective [DIPORTn] sections. Rules must be defined under the port which holds the clock signal in order to trigger port events. The rule format is RULE{number}={product}: {mask}, {pattern}, {counter}, {clicks} where {number}: 1,2,3,... up to 16. Do not use a leading 0, i.e. do not use RULE01, RULE02 … but instead RULE1, RULE2 … {product}: Product index which is used for click counting if the rule matches. The product index is calculated directly as mask&x if the value is set to -1, where x is the data word on the I/O port and "&" denotes the binary AND operator. The data bits in x may occur reversed or inverted or both if configured as explained under [PORTS] above. {mask}, {pattern}: The rule match condition holds true if mask&x = pattern, where x is the data word on the I/O port. Again, "&" denotes the binary AND operator. The data bits in x may be reversed or inverted or both if configured as explained under [PORTS] above. {counter}: For multi-clicks the assignment of a counter index is required. The counter index may be within 0 and 15 and if not used set to -1. The counters are shared between all [DIPORTn] sections. {clicks}: Set to 0 if multi-clicks are not used. Otherwise, give the number of clicks for this match to hold true. Note that that the numerical values in the rules (and only in the rules, not elsewhere) can be entered either in decimal (e.g. 17), binary (b10001), octal (o21) or hexadecimal (0xd1 or $D1) format. Comments can be started after the {clicks} value with any non-whitespace character, for example '#' or ';'.](https://usermanual.wiki/NT-ware-Systemprogrammierung/URSPLUS02/User-Guide-3890092-Page-32.png)
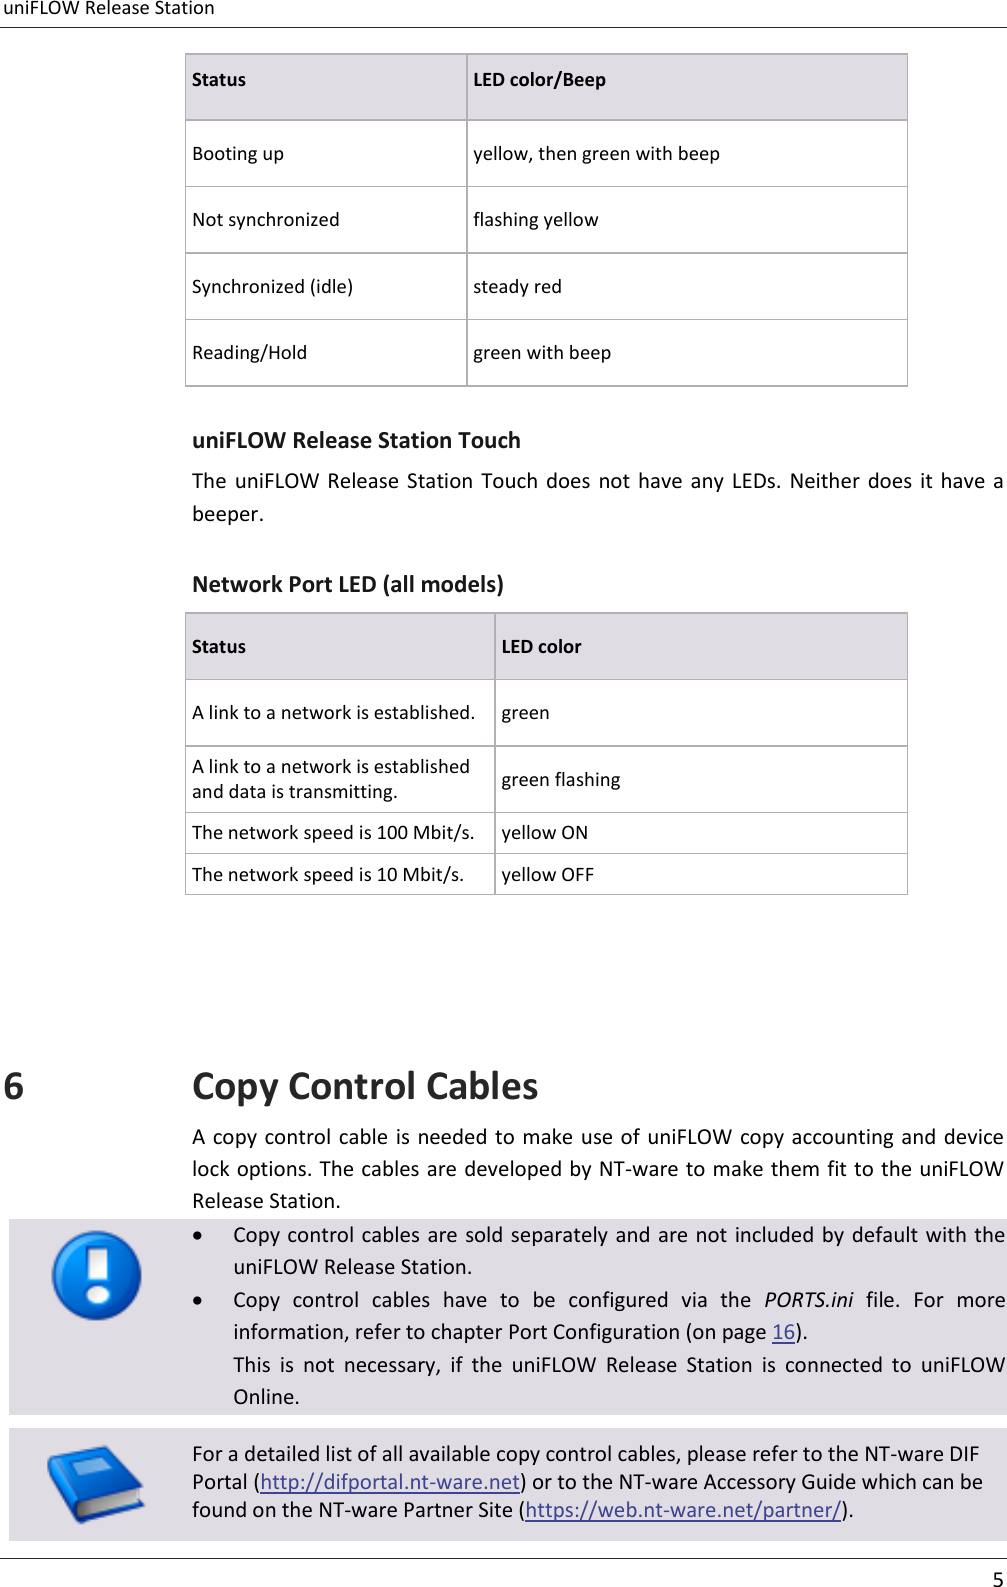
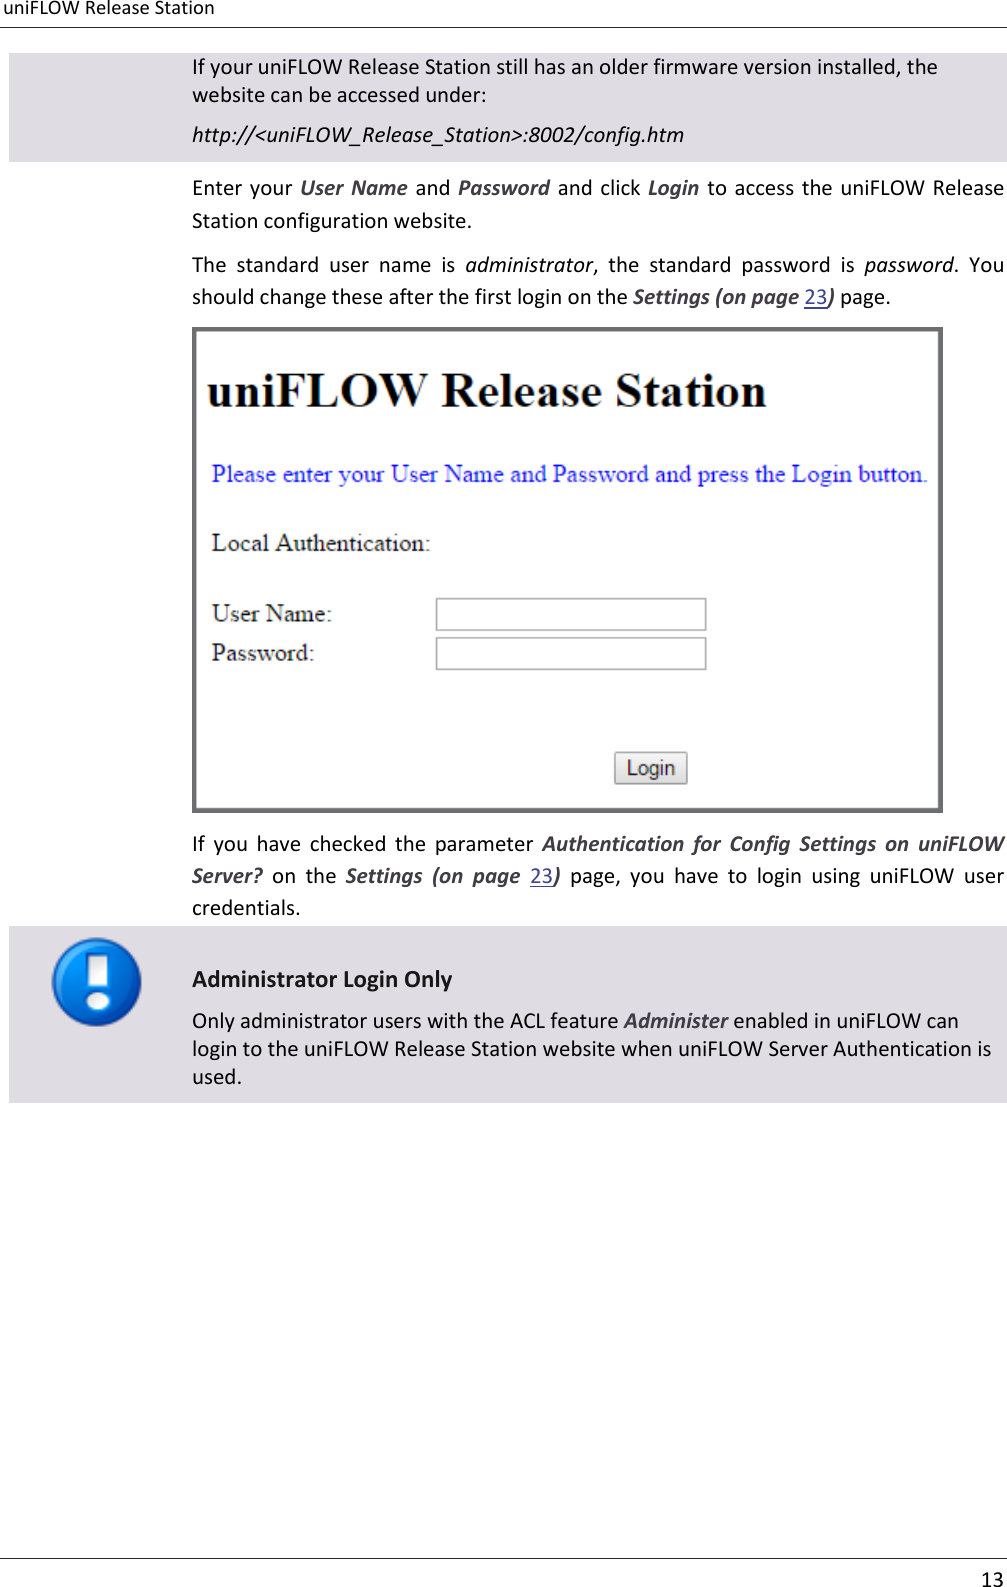
![uniFLOW Release Station 19 Example An example of the PORT.ini would look like this: [DIPORT2] DEBOUNCE=20 EDGE=0 TIMEOUT=200 RULE1=2:3,0,-1,0 #copy A4 COL RULE2=4:3,1,-1,0 #copy A3 COL RULE3=1:3,2,-1,0 #copy A4 B/W RULE4=3:3,3,-1,0 #copy A3 B/W 8.2.4 Network This page displays the network configuration of the uniFLOW Release Station. IP Address: The IP address of the uniFLOW Release Station. Netmask: The network mask of the uniFLOW Release Station. Gateway: The gateway of the uniFLOW Release Station. Activate DHCP: If checked, the uniFLOW Release Station uses DHCP to obtain IP Address, Netmask and Gateway automatically. If unchecked, you have to enter IP Address, Netmask and Gateway manually for a static IP address. Proxy Type: Here you can configure a proxy. This is necessary if your uniFLOW Release Station has limited internet access. HTTPS internet access is needed for the uniFLOW Release Station in order to communicate with uniFLOW Online. o None: No proxy is configured. o HTTP: Allows configuration of an HTTP proxy. o SOCKS: Allows configuration of a SOCKS proxy. Proxy Server: The IP address and port of the proxy server. Bypass Proxy for: Here you can enter comma separated IP addresses and URLs the proxy shall be bypassed for. For lists of single hosts, the port has to be added. For example: 10.128.1.34:8443,W81X64CLI-34.test.example.com:8443 For lists with wildcards, no port is needed. For example: 10.128.1.*, 10.128.5.*,10.128.10.*](https://usermanual.wiki/NT-ware-Systemprogrammierung/URSPLUS02/User-Guide-3890092-Page-33.png)