Nikon 4151EB Digital Camera User Manual COOLPIX L840 UserMan
Nikon Corporation Digital Camera COOLPIX L840 UserMan
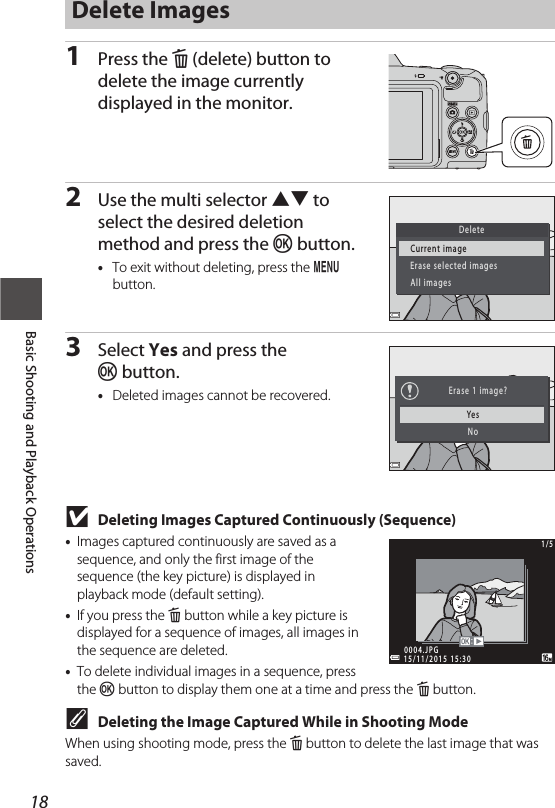
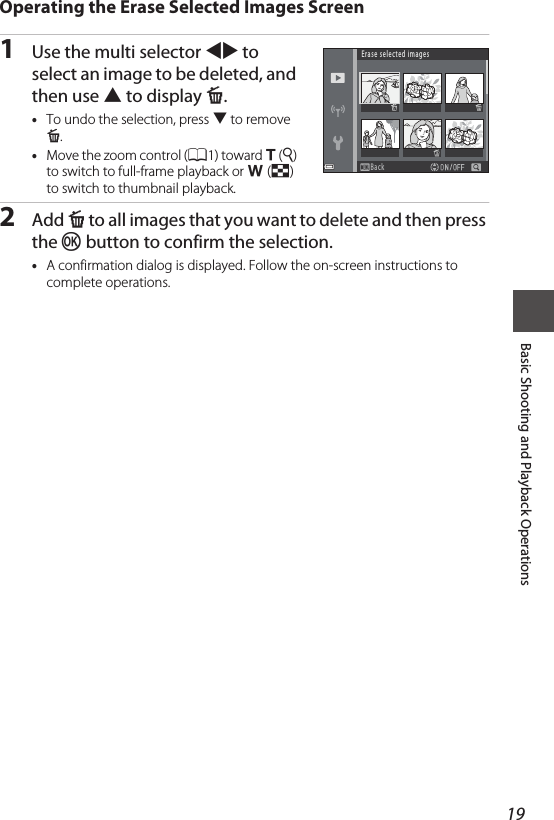
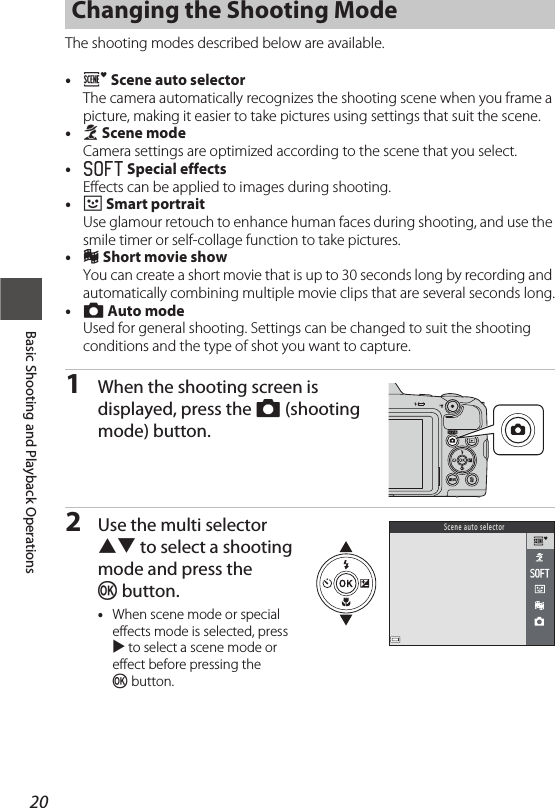
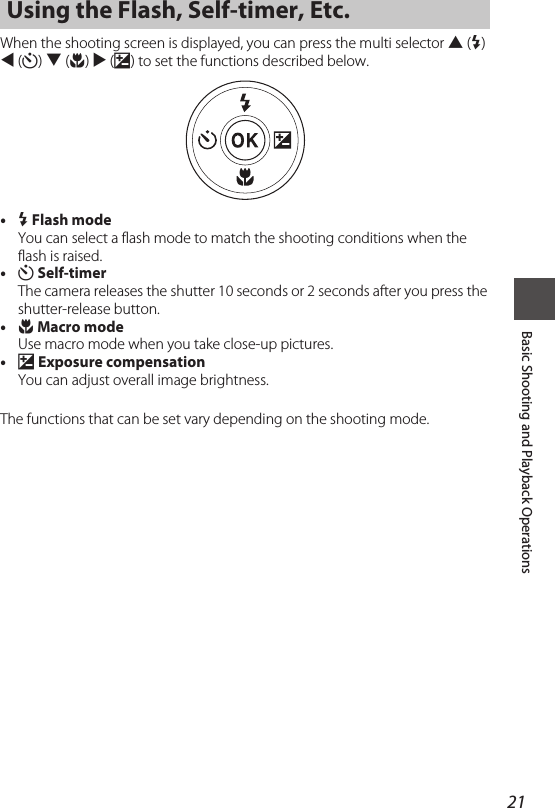
UserManual.wiki
>
Nikon
>
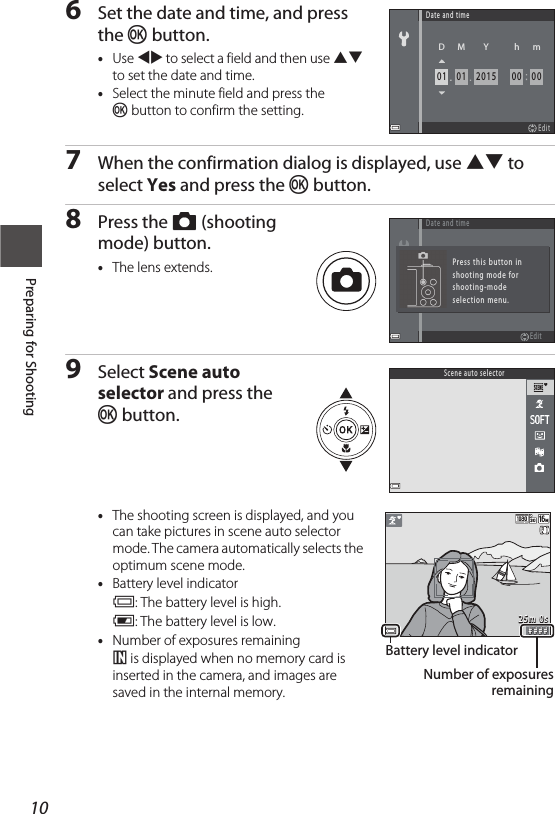
4151EB User Manual
User manual
Navigation menu
Upload a User Manual
Namespaces
Wiki Guide
HTML
PDF
Info
Views
User Manual
Discussion / Help
Navigation

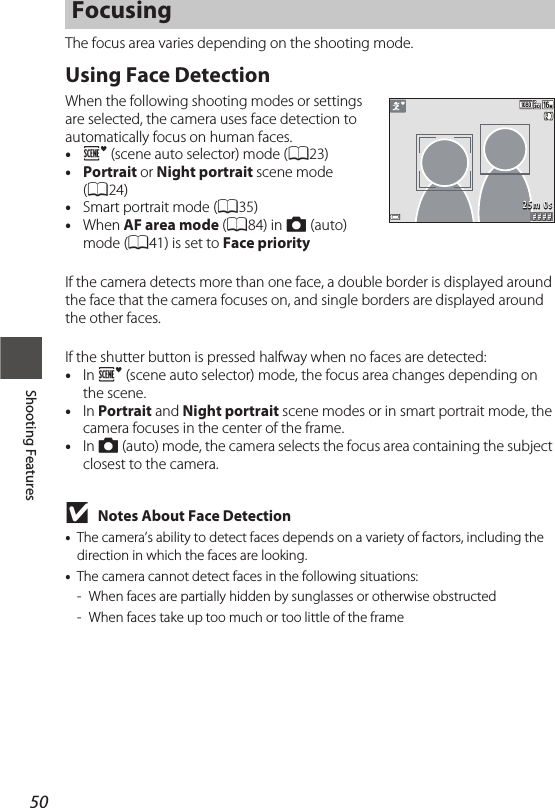
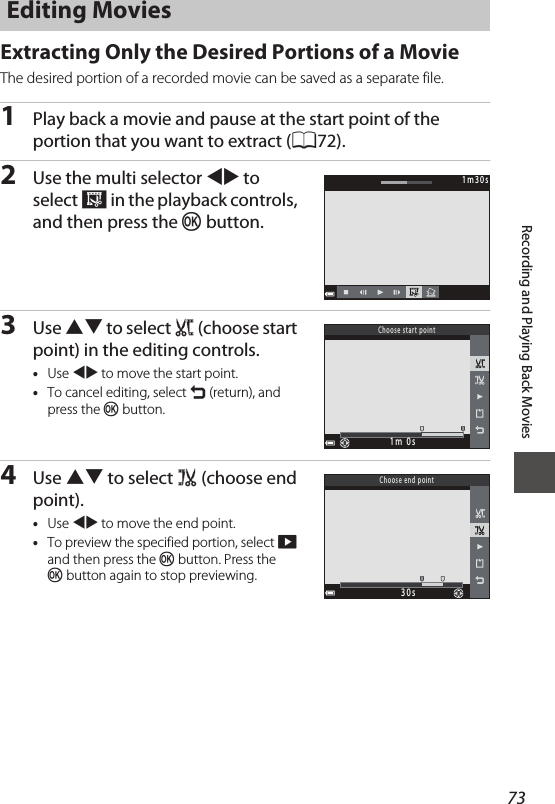
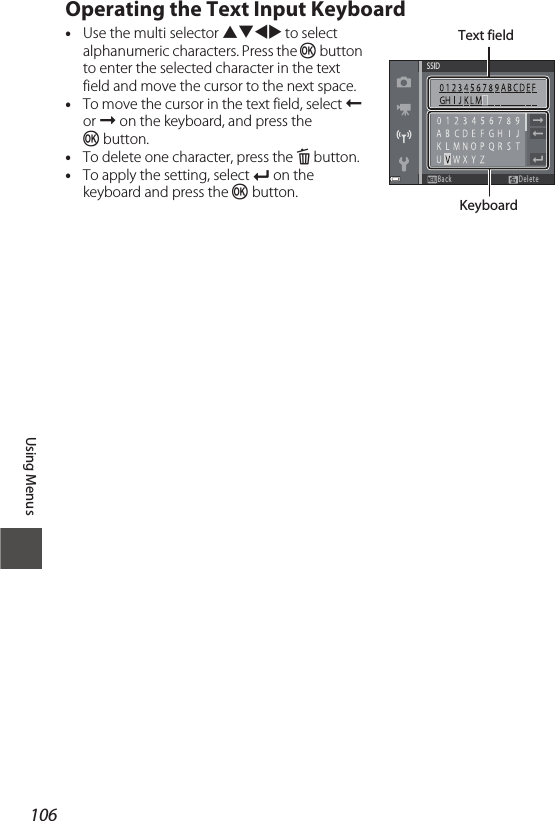
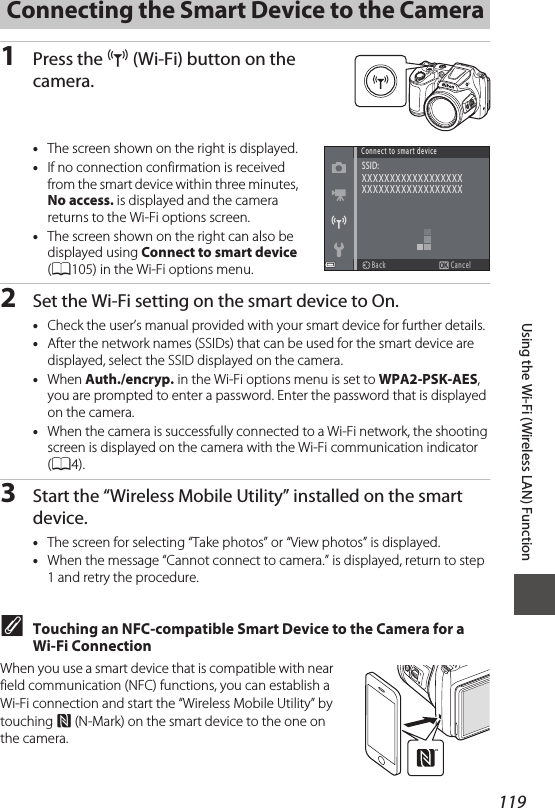
![29Shooting FeaturesL Moon•You can adjust hue by using the multi selector HI. The hue setting is saved in the camera’s memory even after the camera is turned off.•Adjust the brightness with exposure compensation (A47) according to shooting conditions such as the waxing and waning of the moon and shooting requirements.•At the wide-angle zoom position, the framing border is displayed to indicate the angle of view equivalent to that of #855# mm lens (in 35mm [135] format). The angle of view becomes equivalent to that of #855# mm lens by pressing the k button.•When the subject is lost at the telephoto zoom position, press the q (snap-back zoom) button to temporarily widen the angle of view so that you can frame the subject more easily.l Bird-watching•From the screen displayed after l Bird-watching is selected, select U Single or V Continuous.•U Single: One image is shot each time the shutter-release button is pressed.•V Continuous (default setting): While the shutter-release button is held all the way down, images are captured continuously.- The frame rate for continuous shooting is about #9.2# fps and the maximum number of continuous shots is about #7# (when image size is set to #P4608×3456#).•At the wide-angle zoom position, the framing border is displayed to indicate the angle of view equivalent to that of #440# mm lens (in 35mm [135] format). The angle of view becomes equivalent to that of #440# mm lens by pressing the kbutton.•When the subject is lost at the telephoto zoom position, press the q (snap-back zoom) button to temporarily widen the angle of view so that you can frame the subject more easily.# # # #2 5 m 0 s# # #m m2](https://usermanual.wiki/Nikon/4151EB/User-Guide-2520326-Page-49.png)


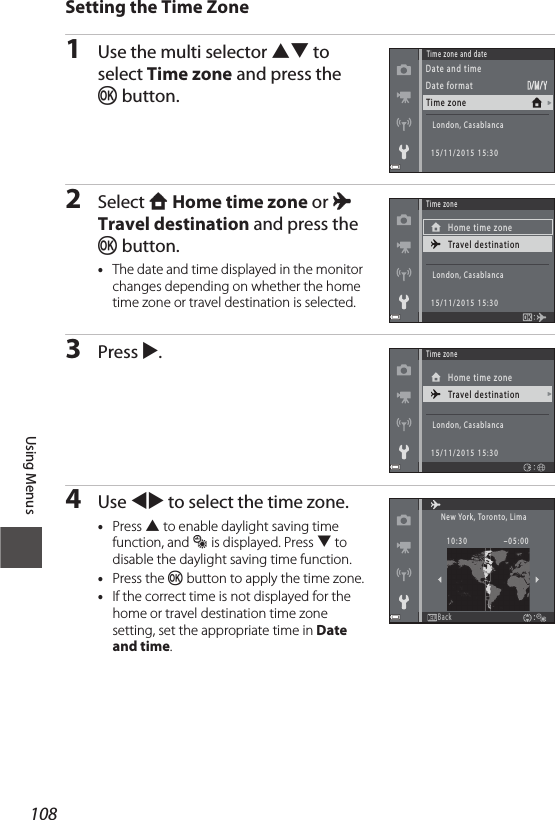


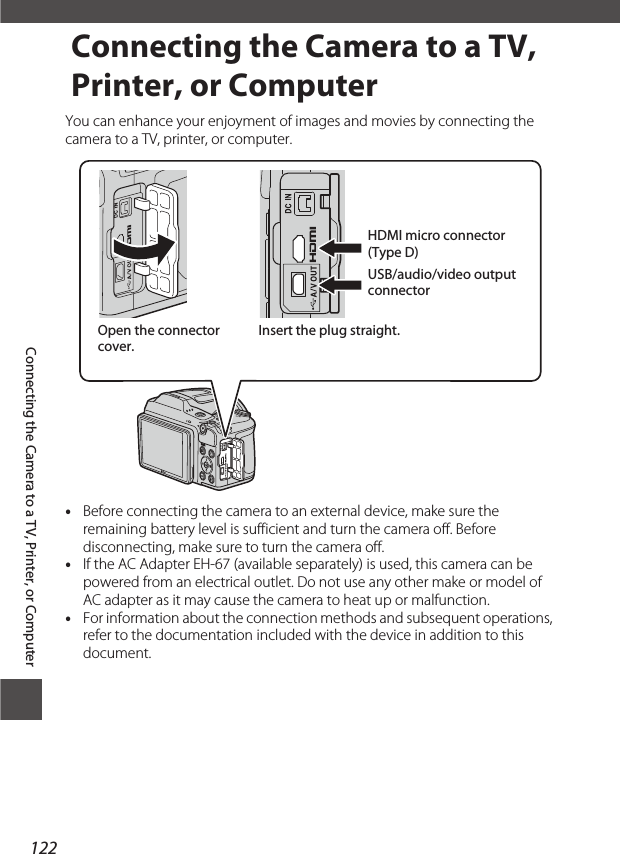


![Technical Notes148Nikon COOLPIX L840 Digital CameraSpecificationsType Compact digital cameraNumber of effective pixels #16.0# million (Image processing may reduce the number of effective pixels.)Image sensor1/2.3-in. type CMOS; approx. #16.76# million total pixelsLens NIKKOR lens with #38#× optical zoomFocal length #4.0#–#152# mm (angle of view equivalent to that of #22.5#–#855# mm lens in 35mm [135] format)f/-number f/#3–6.5#Construction 12 elements in 9 groups (#3# ED lens elements)Digital zoom magnification Up to 4× (angle of view equivalent to that of approx. #3420# mm lens in 35mm [135] format)Vibration reduction Lens shift (still images)Lens shift and electronic VR (movies)Autofocus (AF) Contrast-detect AFFocus range•[W]: Approx. #50# cm (#1# ft #8# in.)–∞, [T]: Approx. #3.5# m (#11# ft #6# in.)–∞•Macro mode: Approx. #1# cm (#0.4# in.) (when zoom is set to middle position)–∞(All distances measured from center of front surface of lens)Focus-area selection Face priority, manual with 99 focus areas, center, subject tracking, target finding AFMonitor7.5 cm (3-in.), approx. 921k-dot, wide viewing angle TFT LCD with anti-reflection coating and 5-level brightness adjustment, tiltable approx. #85°# downward, approx. #90°# upwardFrame coverage (shooting mode)Approx. #98#% horizontal and vertical (compared to actual picture)Frame coverage (playback mode)Approx. #100#% horizontal and vertical (compared to actual picture)StorageMedia Internal memory (approx. #59# MB), SD/SDHC/SDXC memory cardFile system DCF and Exif 2.3 compliantFile formatsStill images: JPEGMovies: MOV (Video: H.264/MPEG-4 AVC, Audio: LPCM stereo)](https://usermanual.wiki/Nikon/4151EB/User-Guide-2520326-Page-168.png)
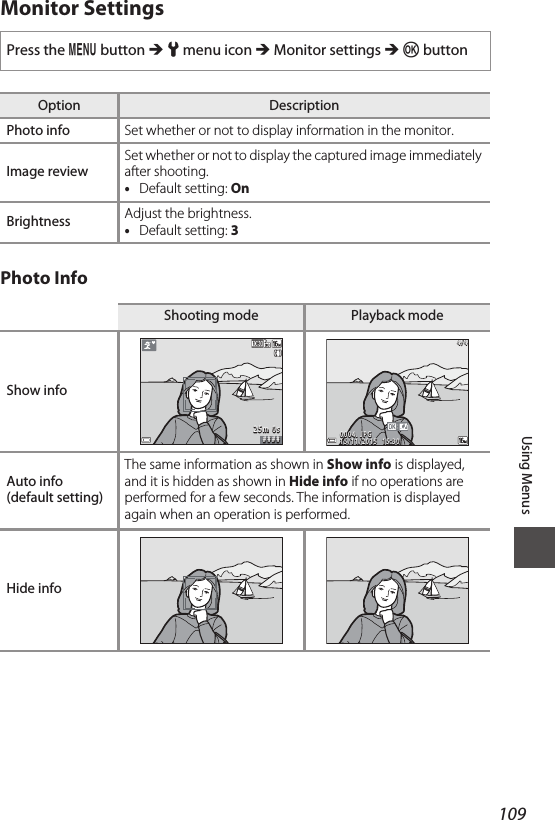
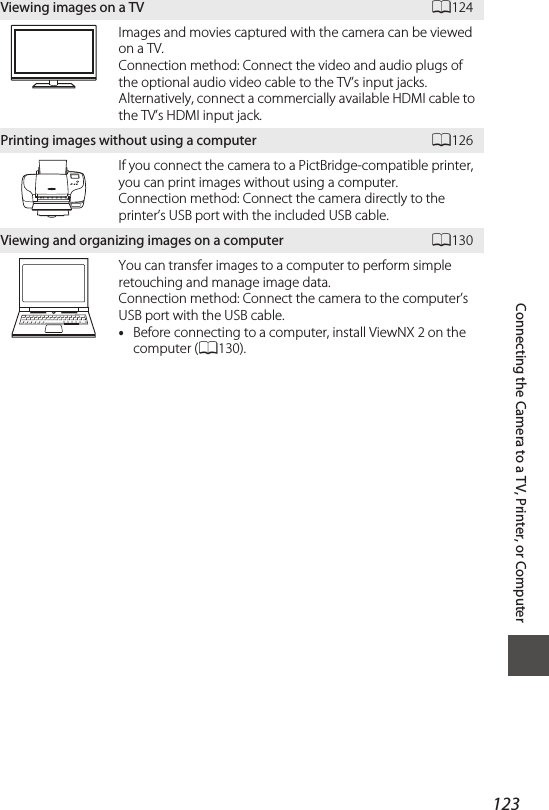
![Technical Notes149Image size(pixels)•16M (High) [4608 × 3456P]•16M [4608 × 3456]•8M [3264 × 2448]•4M [2272 × 1704]•2M [1600 × 1200]•VGA [640 × 480]•16:9 [4608 × 2592]•1:1 [3456 × 3456]ISO sensitivity (Standard output sensitivity)•ISO 125–1600•ISO 3200, 6400 (available when using Auto mode)ExposureMetering mode Matrix, center-weighted (digital zoom less than 2×), spot (digital zoom 2× or more)Exposure controlProgrammed auto exposure and exposure compensation (–2.0 – +2.0 EV in steps of 1/3 EV)Shutter Mechanical and CMOS electronic shutterSpeed•1/1500–1 s•1/4000 s (maximum speed during high-speed continuous shooting)•4 s (Fireworks show scene mode)Aperture Electronically-controlled ND filter (–2 AV) selectionRange 2 steps (f/#3# and f/#6# [W])Self-timer Can be selected from 10 s and 2 sFlashRange (approx.)(ISO sensitivity: Auto)[W]: #0.5#–#6.9# m (#1# ft #8# in.–#22# ft)[T]: #1.5#–#3.2# m (#5#–#10# ft)Flash control TTL auto flash with monitor preflashesInterfaceUSB connectorHi-Speed USB•Supports Direct Print (PictBridge)•Audio/video output connector (can be selected from NTSC and PAL)HDMI output connector HDMI micro connector (Type D)DC input connector For AC Adapter EH-67 (available separately)](https://usermanual.wiki/Nikon/4151EB/User-Guide-2520326-Page-169.png)