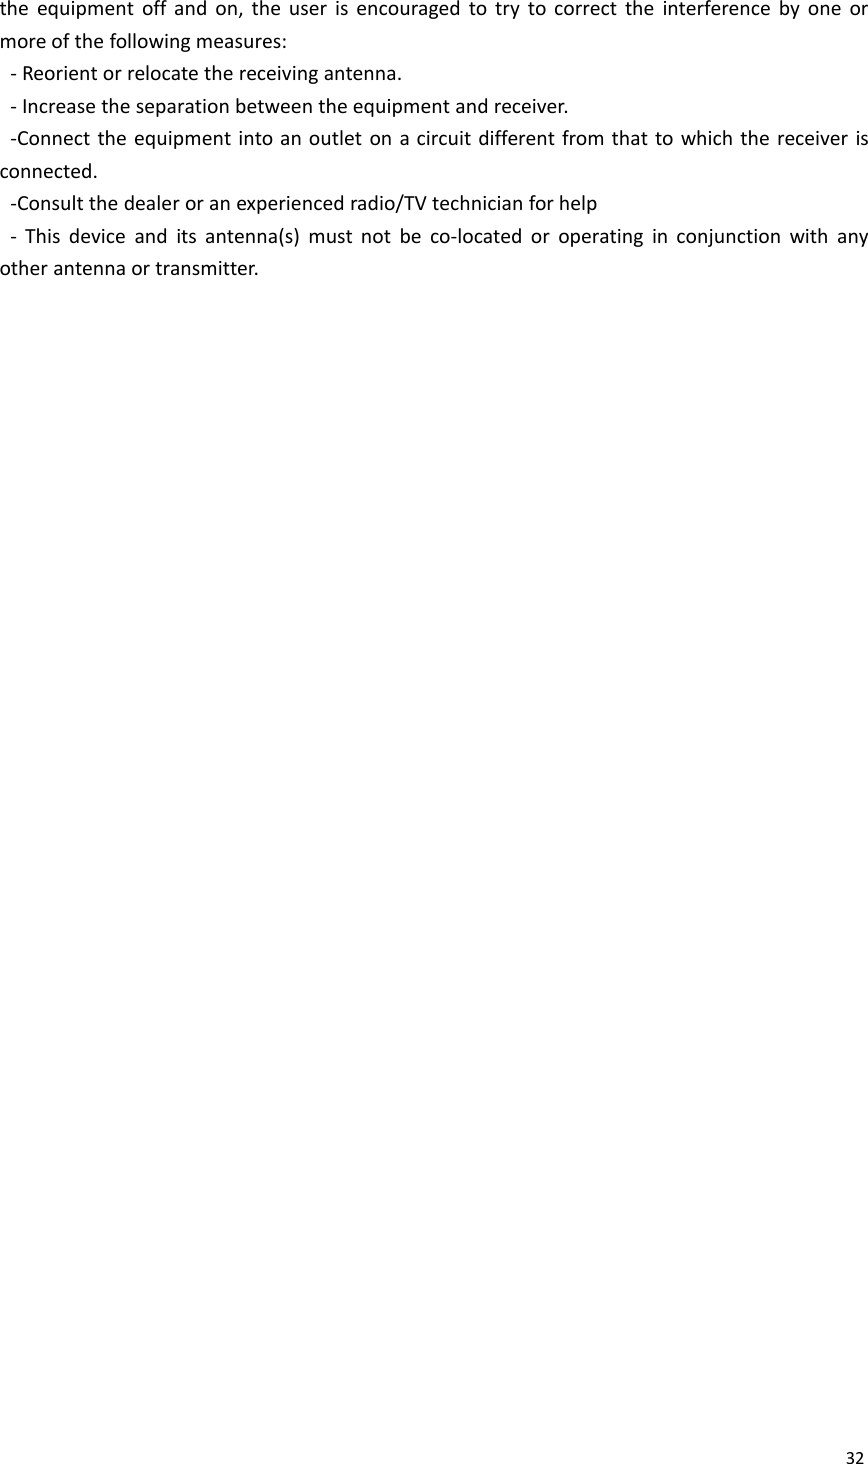
OBSERVA Telecom RT880 4G LTE Cat.4 CPE User Manual
OBSERVA Telecom 4G LTE Cat.4 CPE Users Manual
UserManual.wiki
>
OBSERVA Telecom
>
RT880 User Manual
Users Manual
Navigation menu
Upload a User Manual
Namespaces
Wiki Guide
HTML
PDF
Info
Views
User Manual
Discussion / Help
Navigation
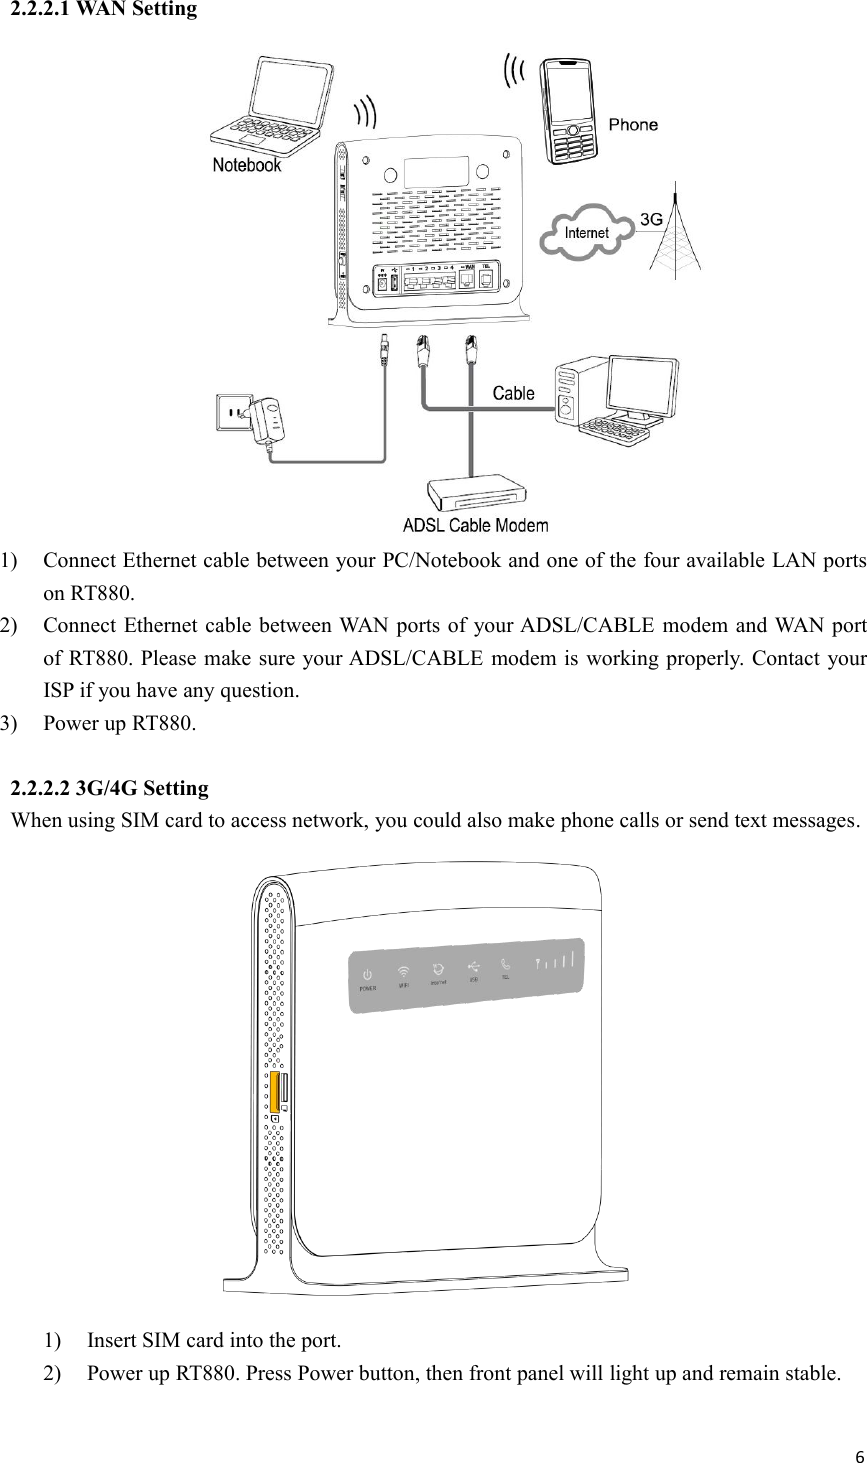
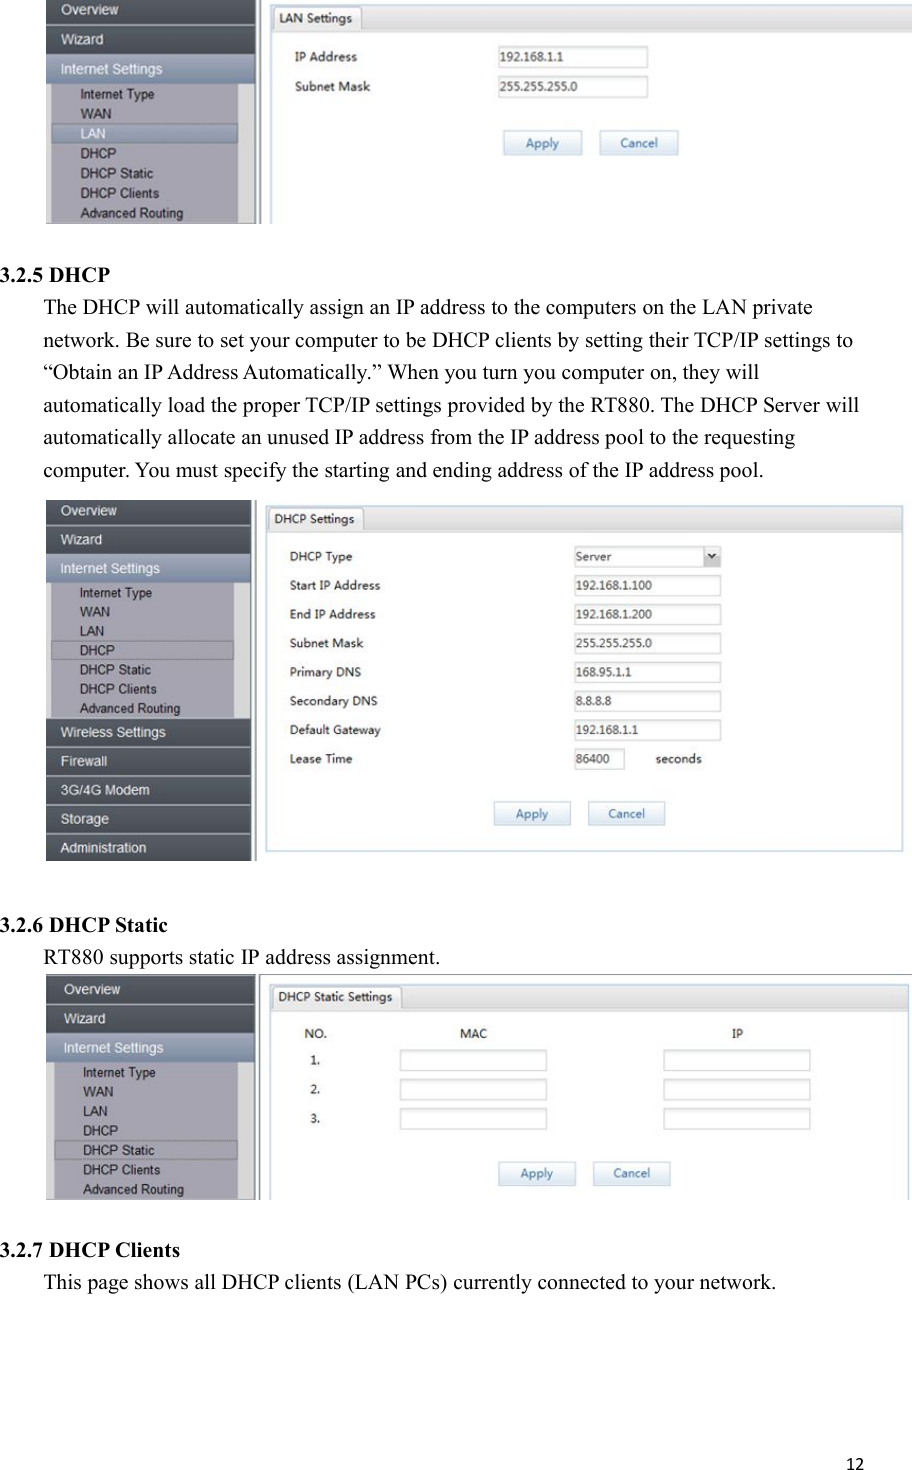
![7Chapter 3:Product Setting3.1Configuration wizard3.1.1 TCP/IP SettingEnter [Start Menu]—Select [Control panel]—Select [Network]—Select [Local AreaConnection]—Select [Properties]Select [Internet Protocol (TCP/IP)]—Click [Properties]RT880 supports [DHCP] function, please select both [Obtain an IP address automatically]and [Obtain DNS server address automatically].3.1.2 Log InWhenever you want to configure your network or the RT880, you can access theConfiguration Menu by opening the web-browser and typing in the IP Address of the RT880.](https://usermanual.wiki/OBSERVA-Telecom/RT880/User-Guide-2895072-Page-7.png)