Onity HTRFIDMFR01 RFID TRANSMITTER User Manual HT28v5 1 Aug 17 2011
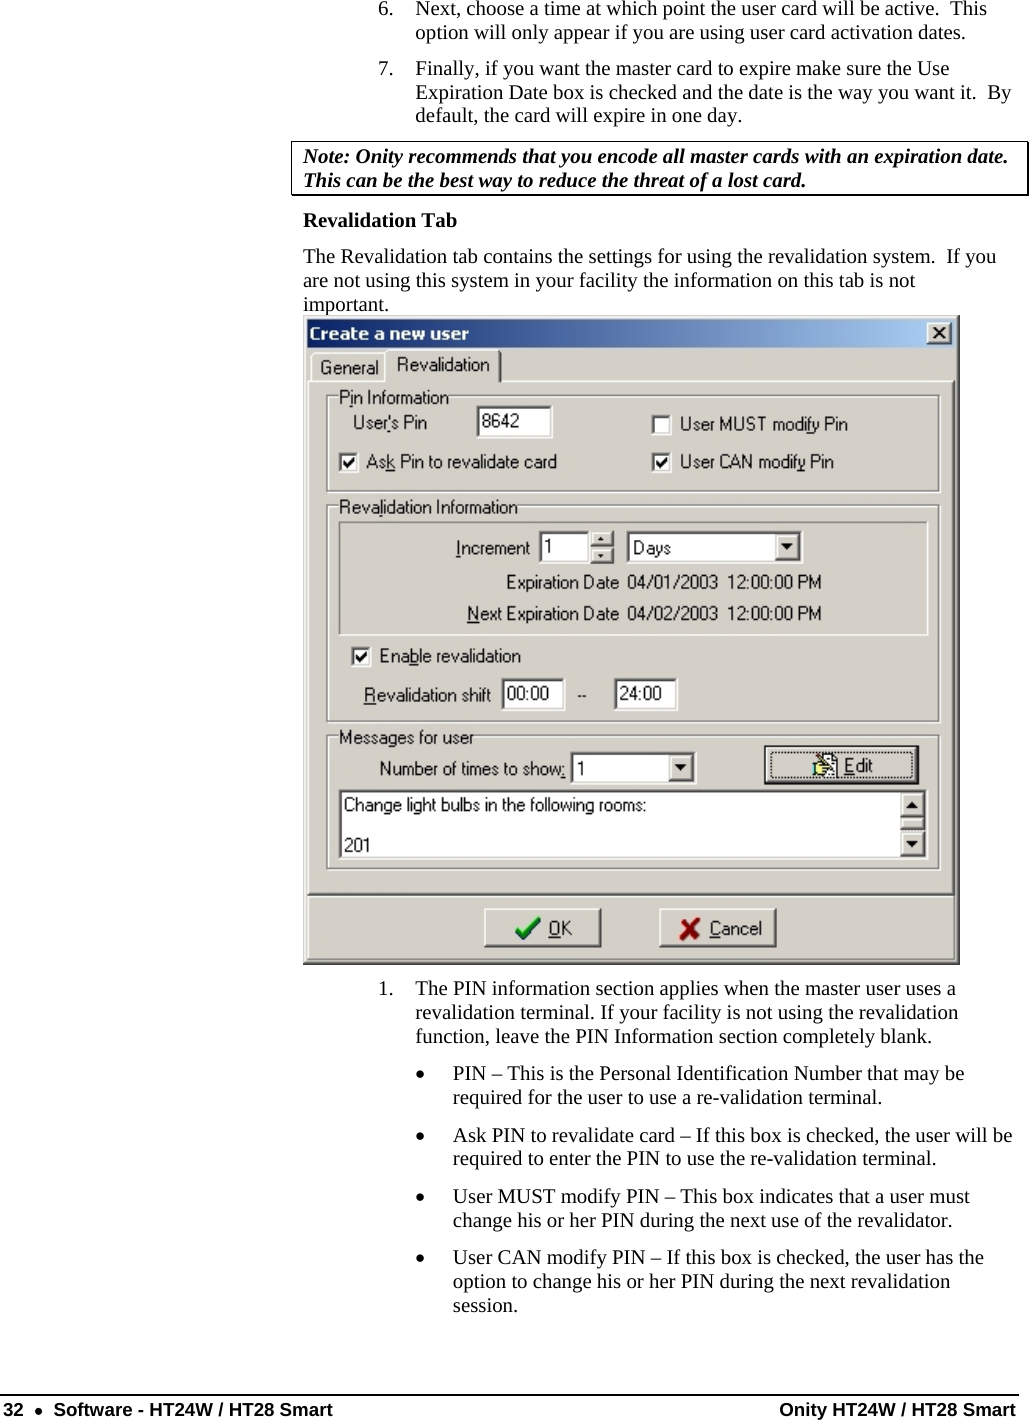
Onity, Inc. RFID TRANSMITTER HT28v5 1 Aug 17 2011
UserManual.wiki
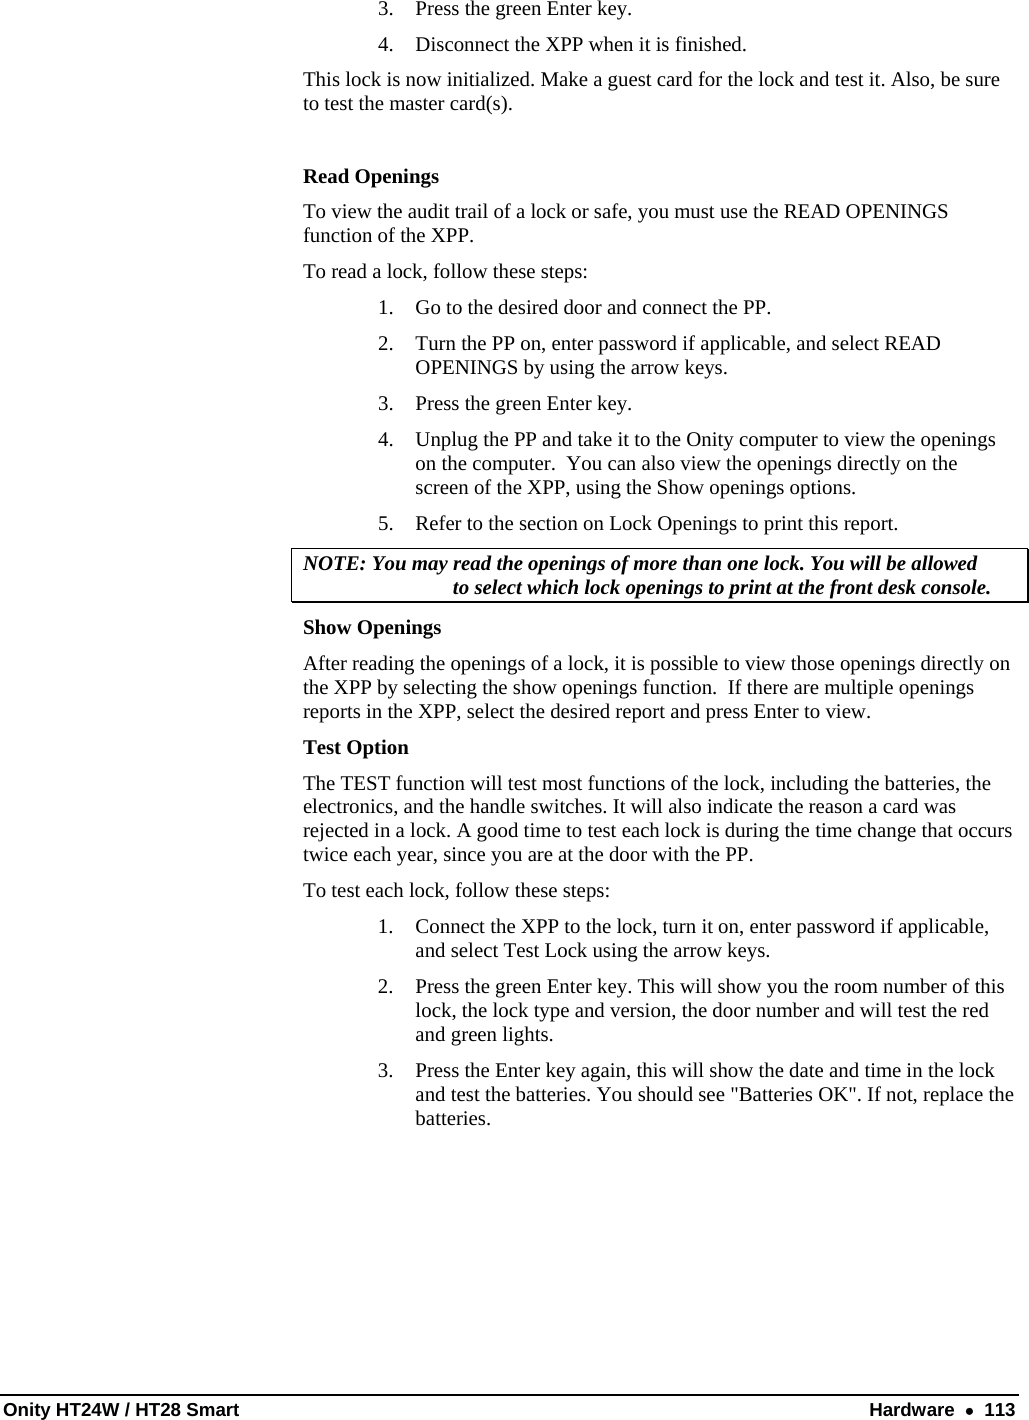
>
Onity
>
HTRFIDMFR01 User Manual
Users Manual
Navigation menu
Upload a User Manual
Namespaces
Wiki Guide
HTML
PDF
Info
Views
User Manual
Discussion / Help
Navigation

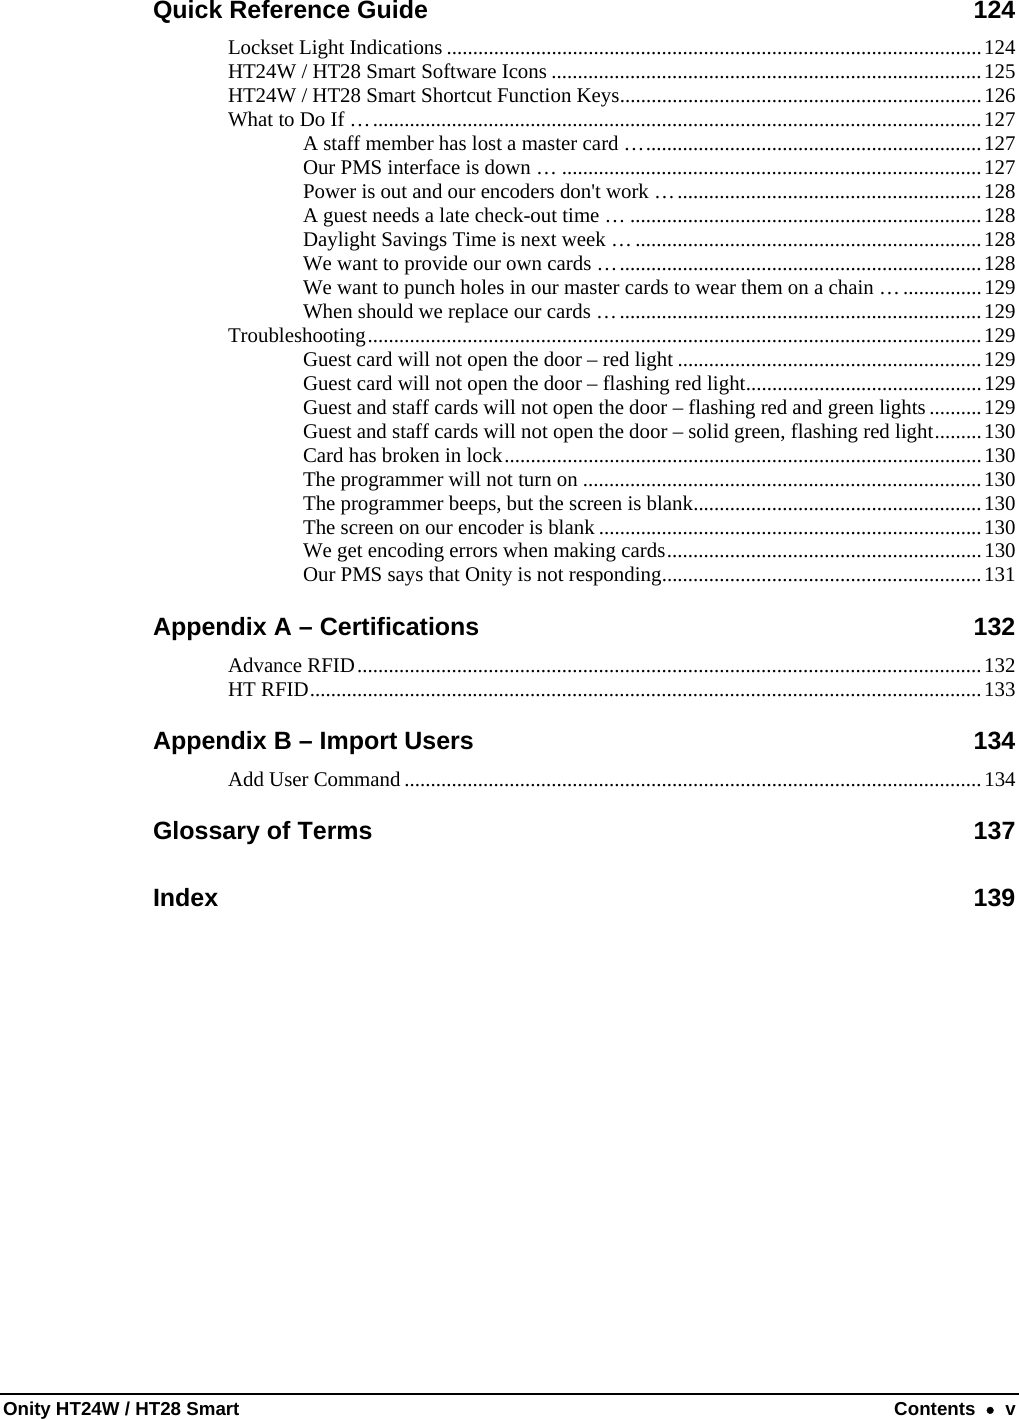
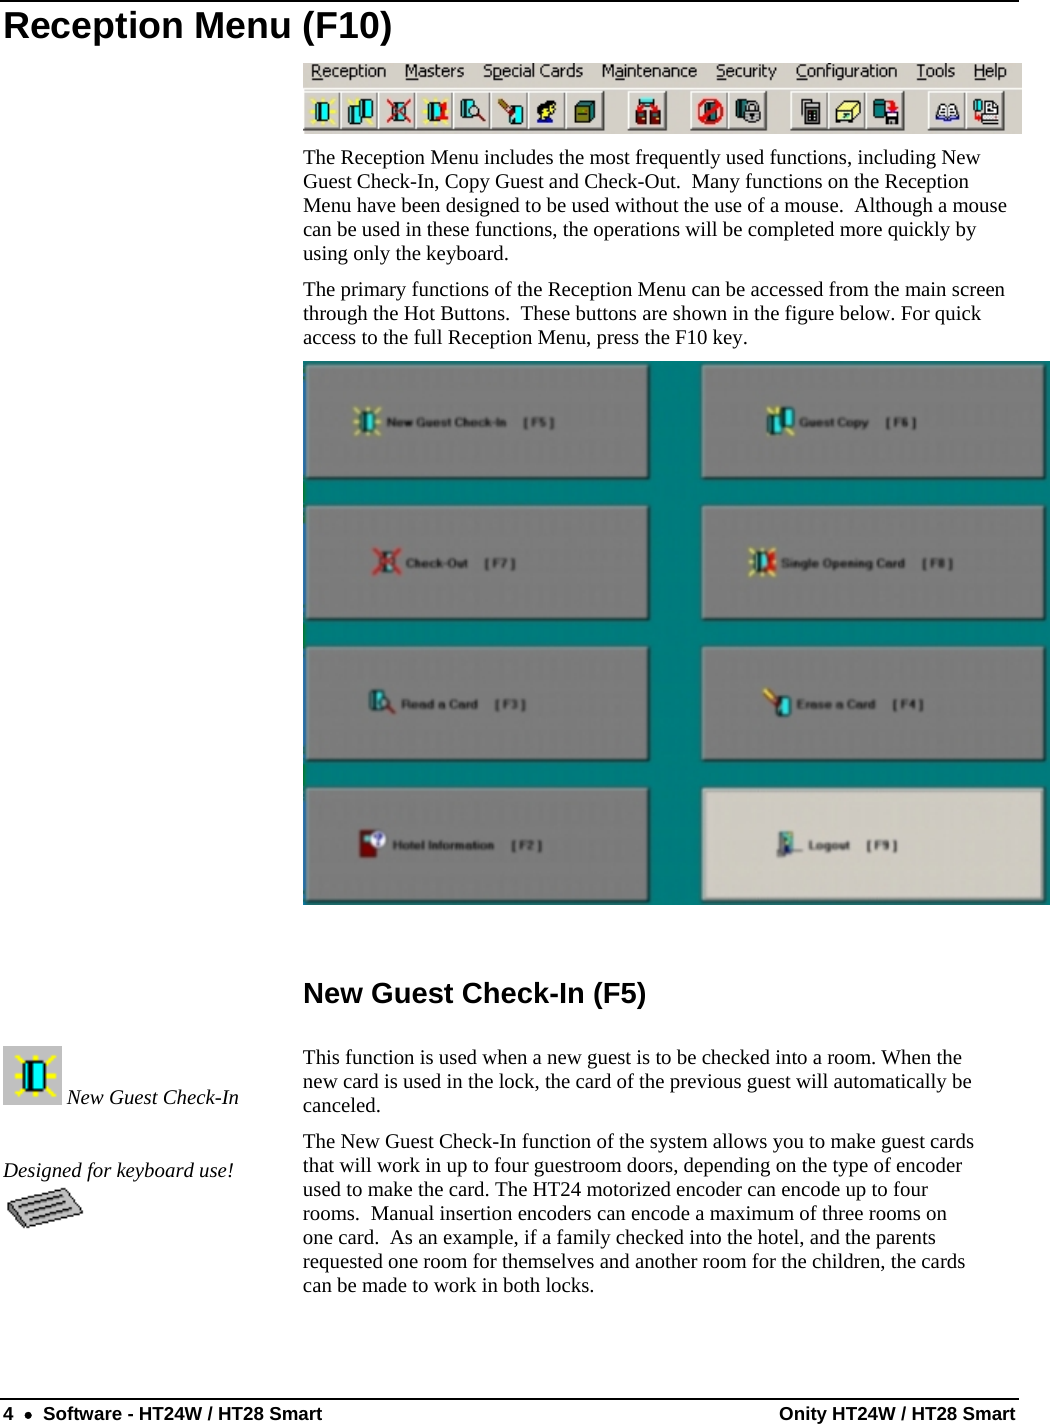

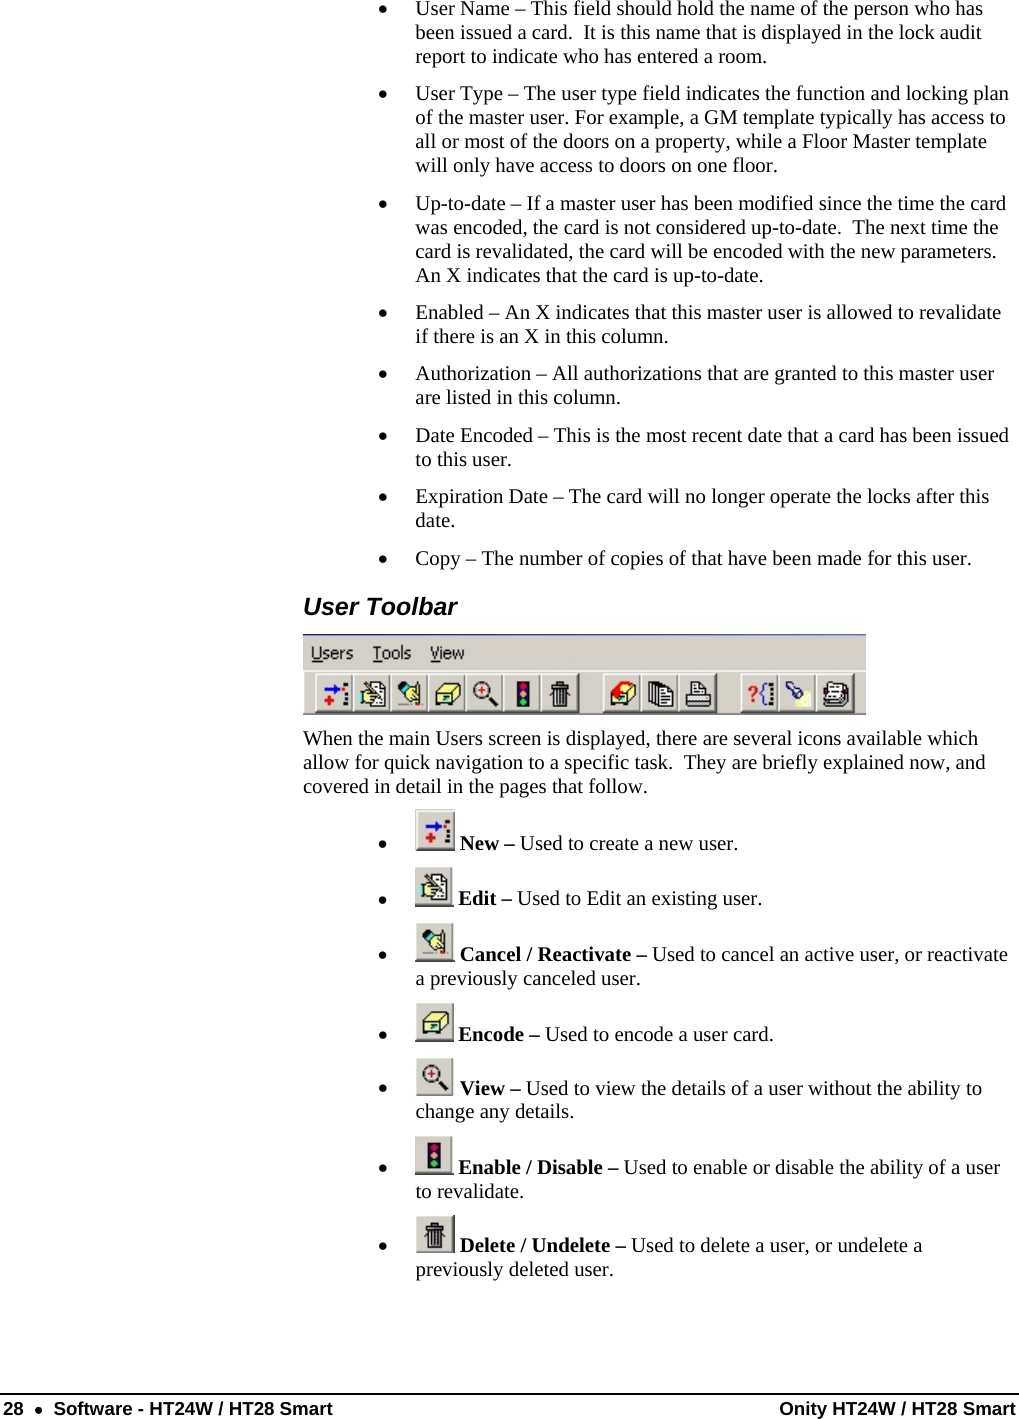

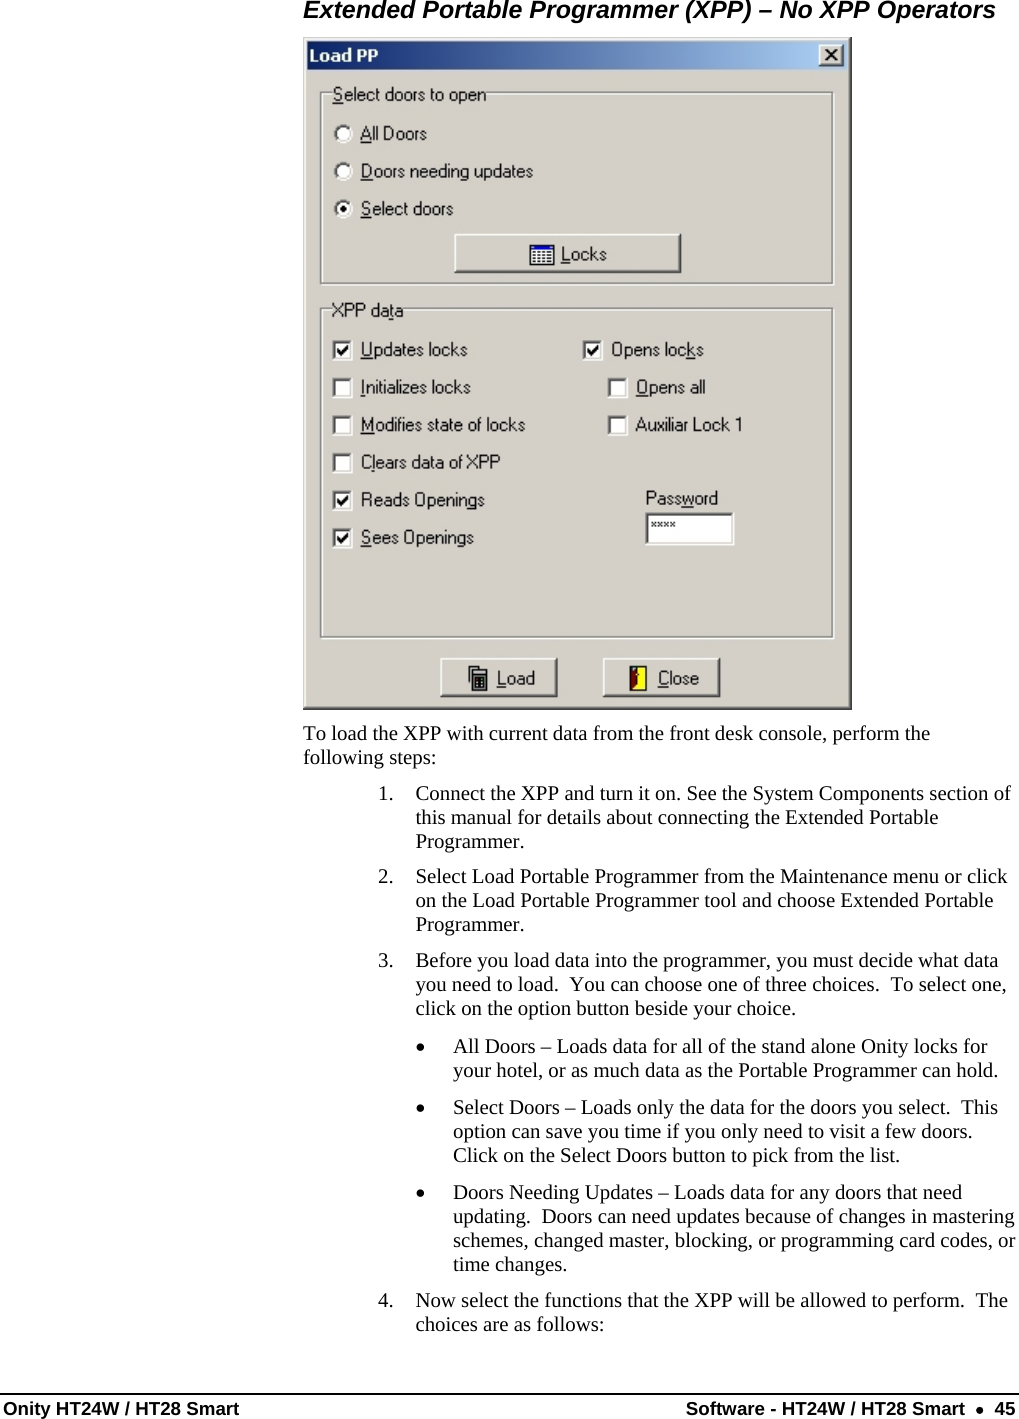


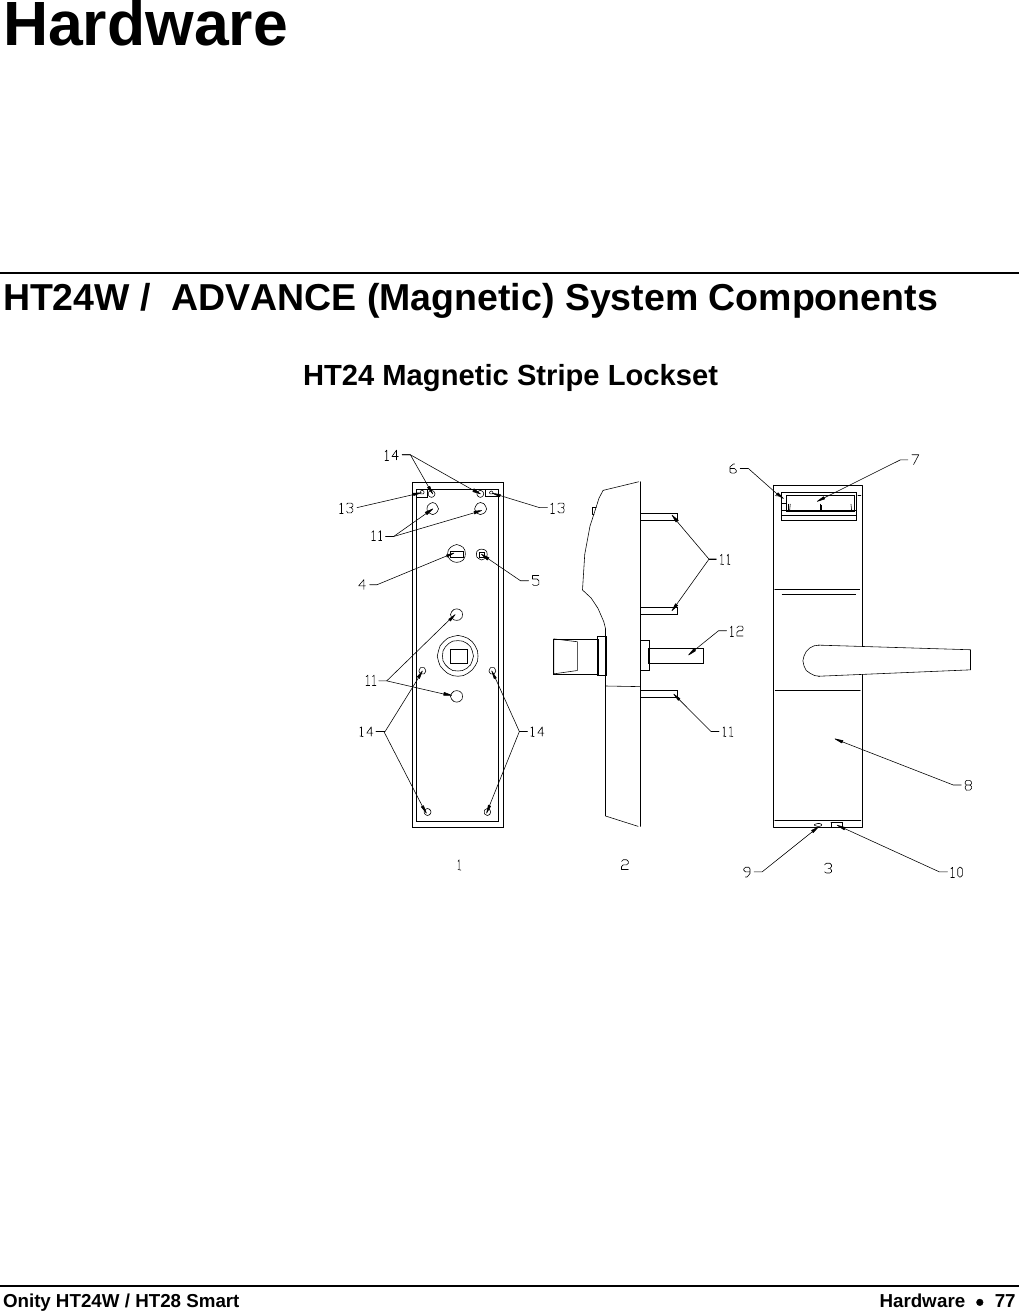
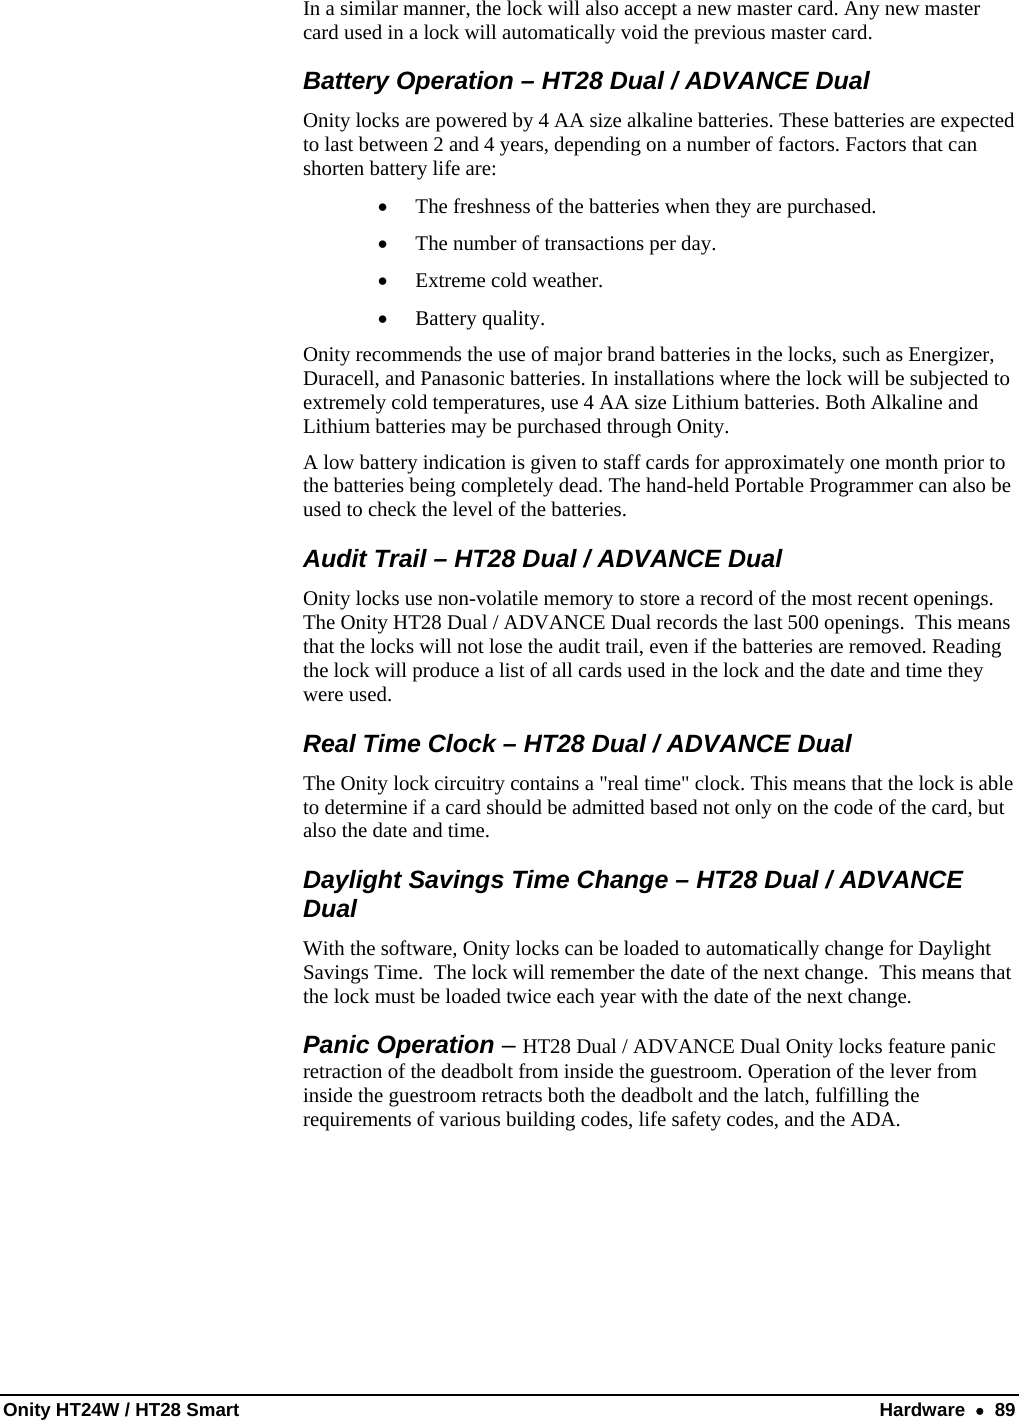
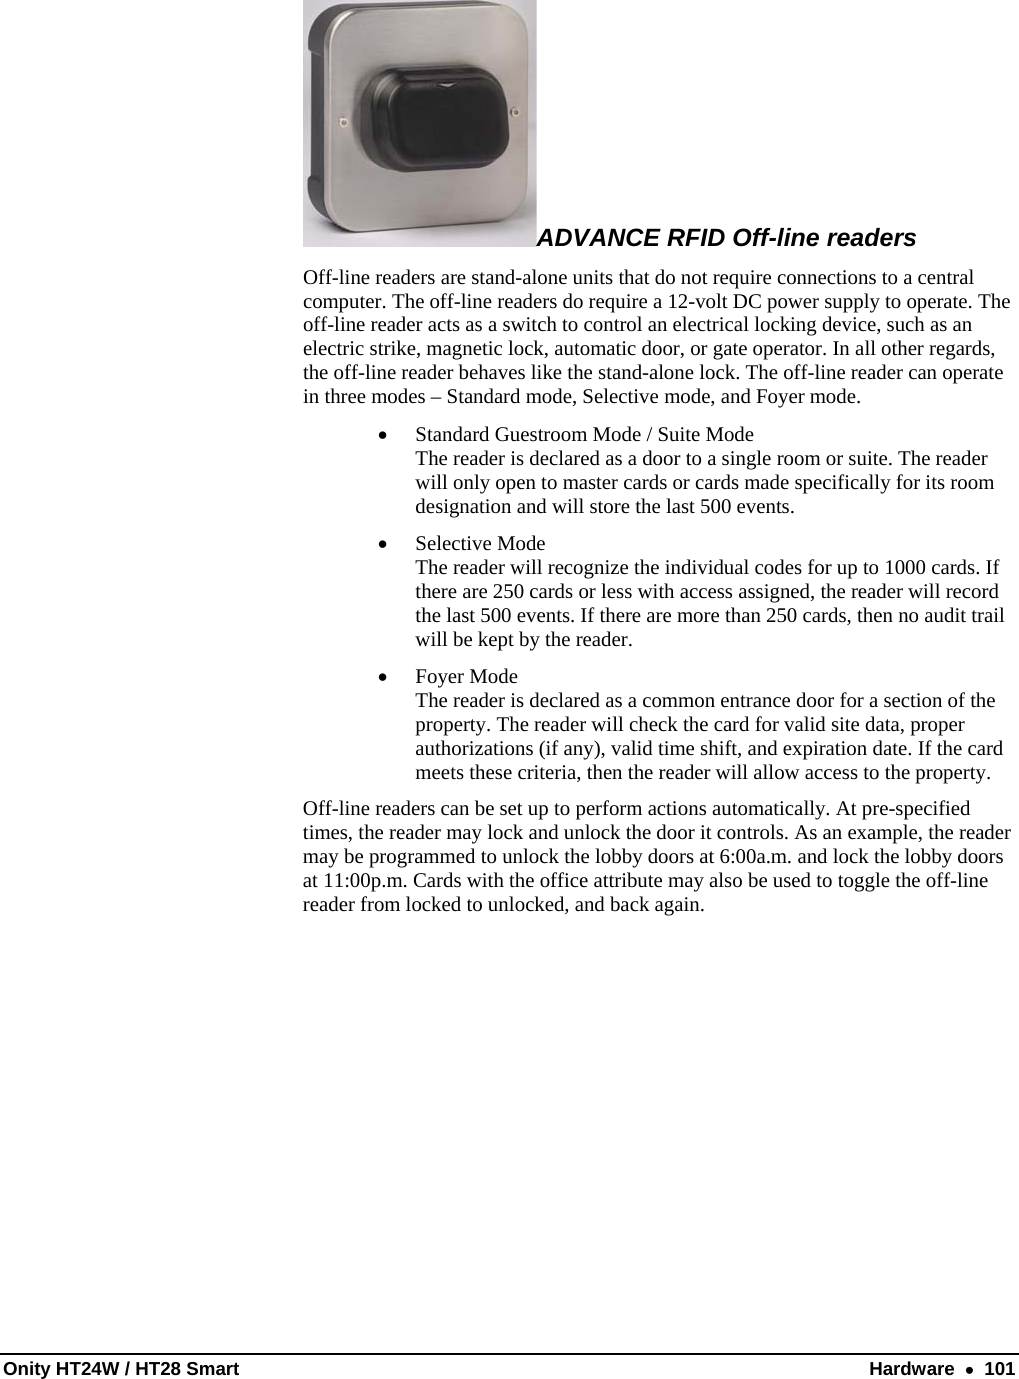
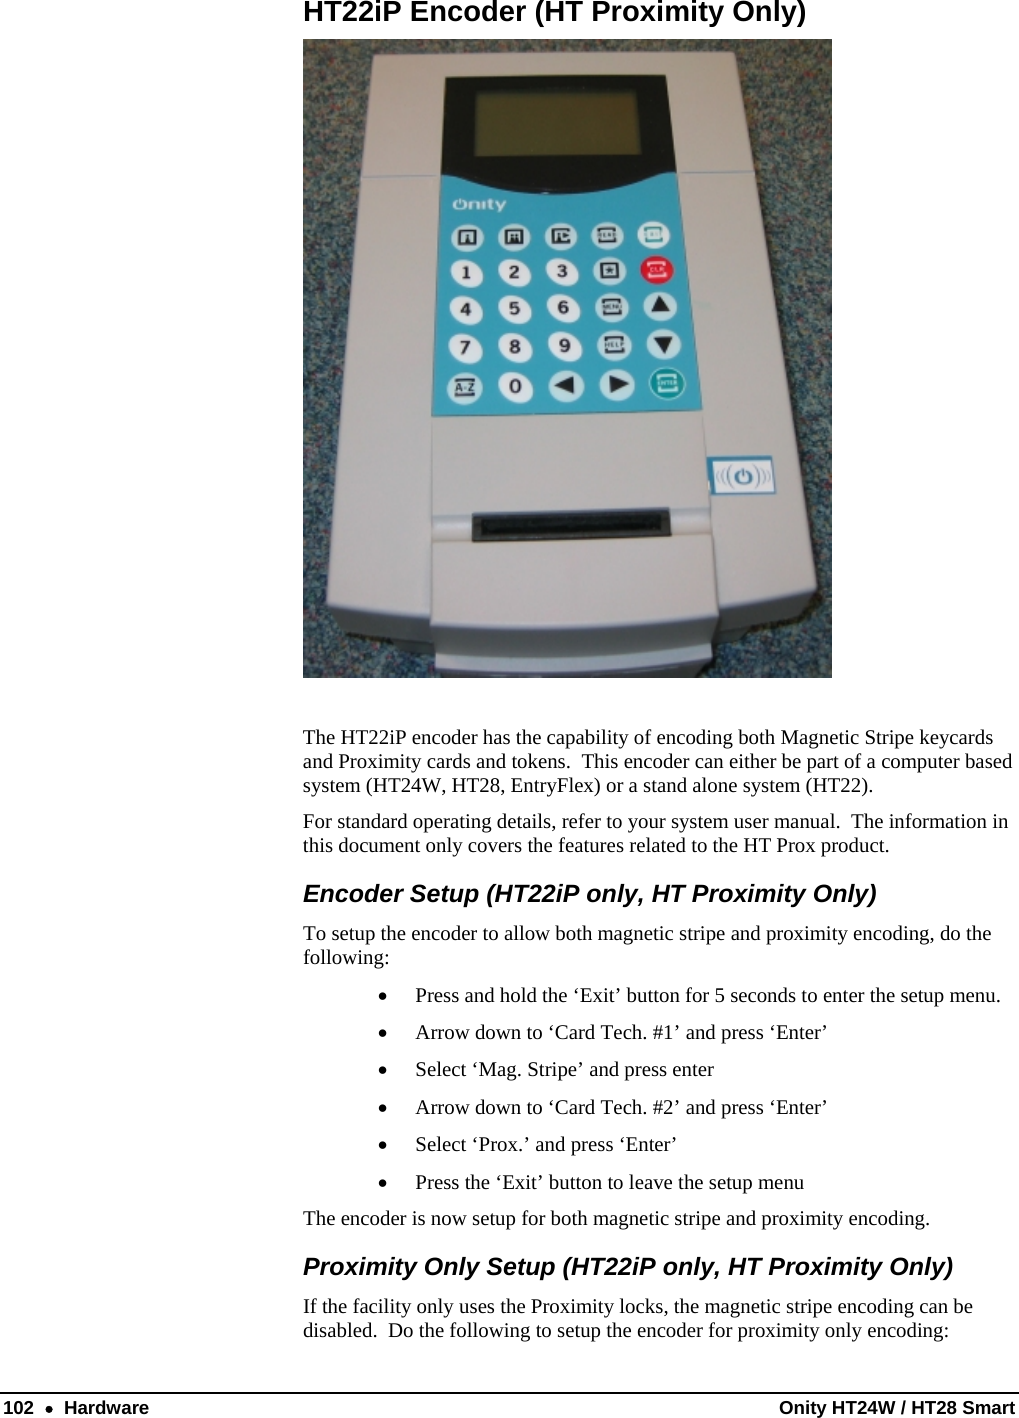
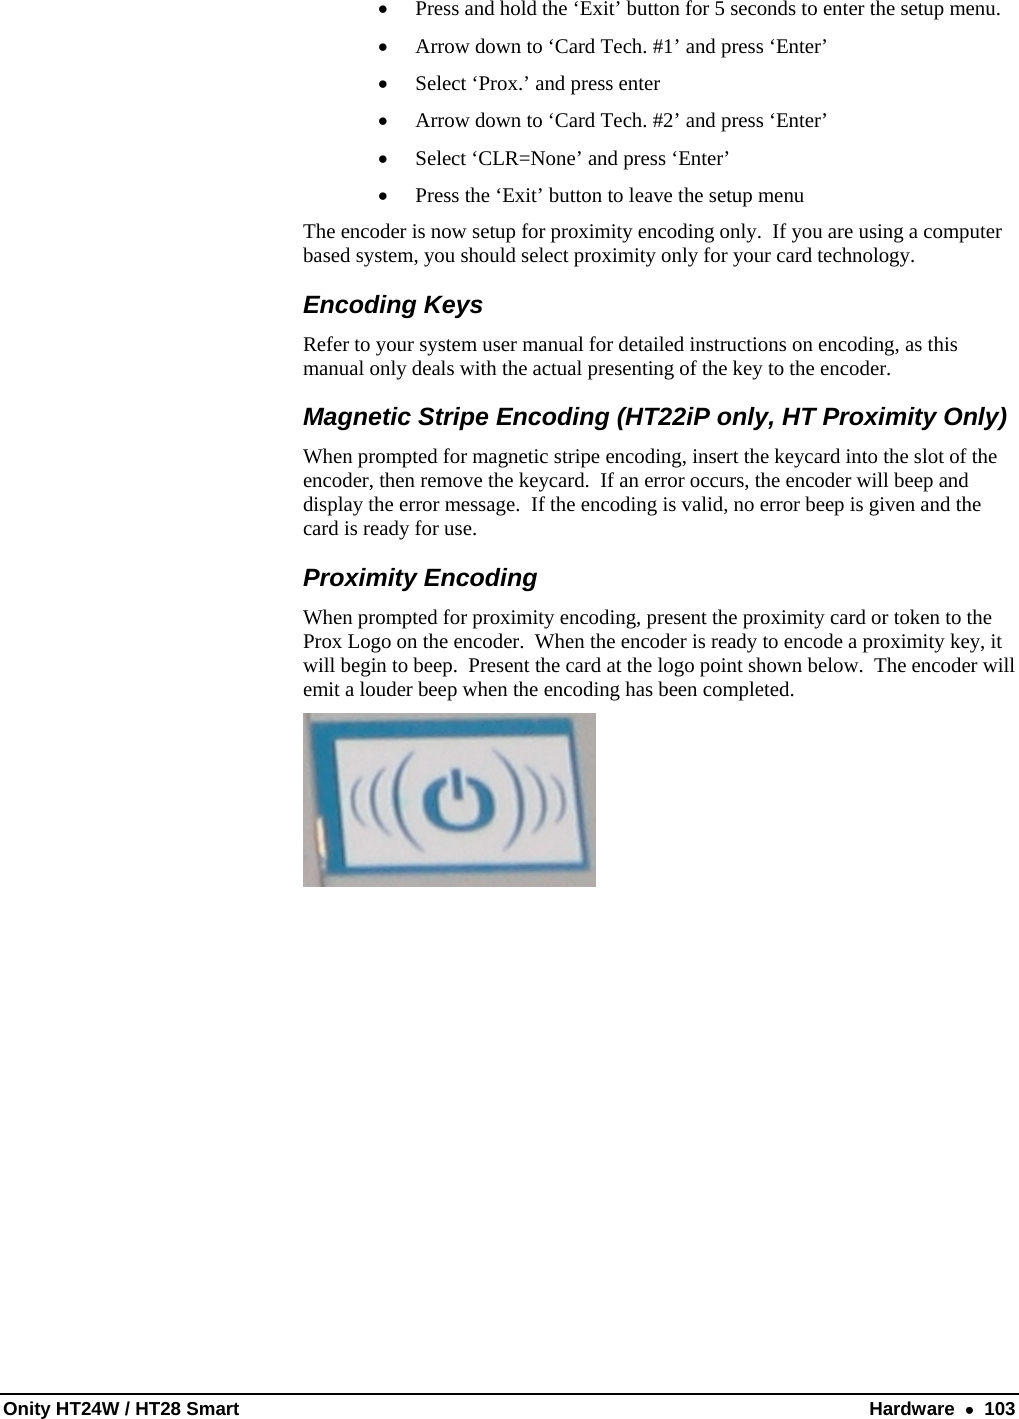
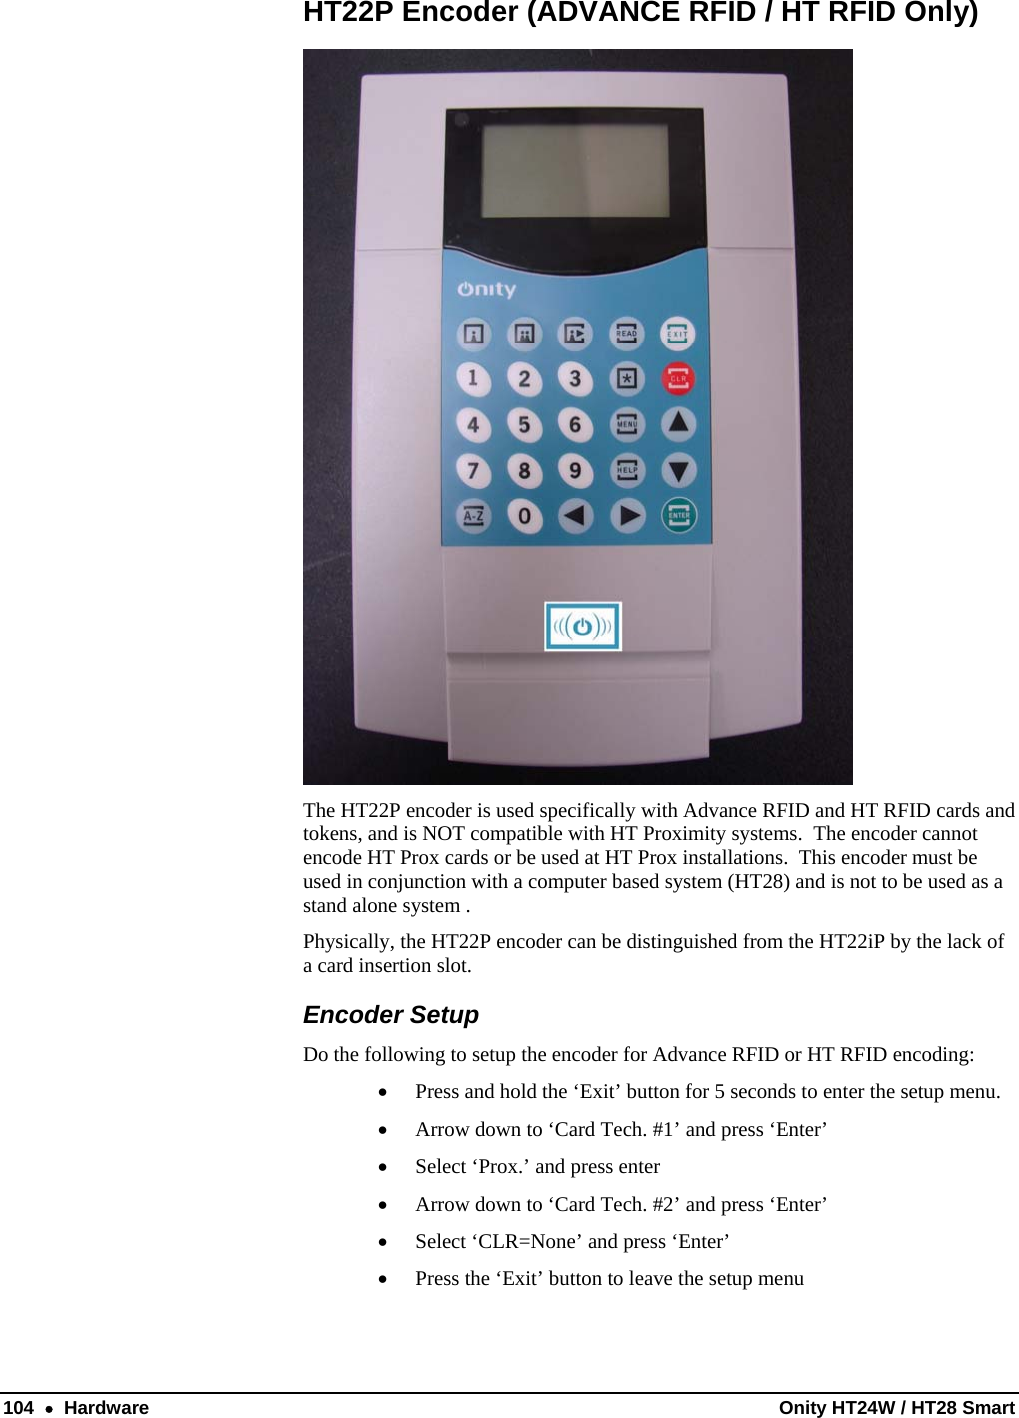
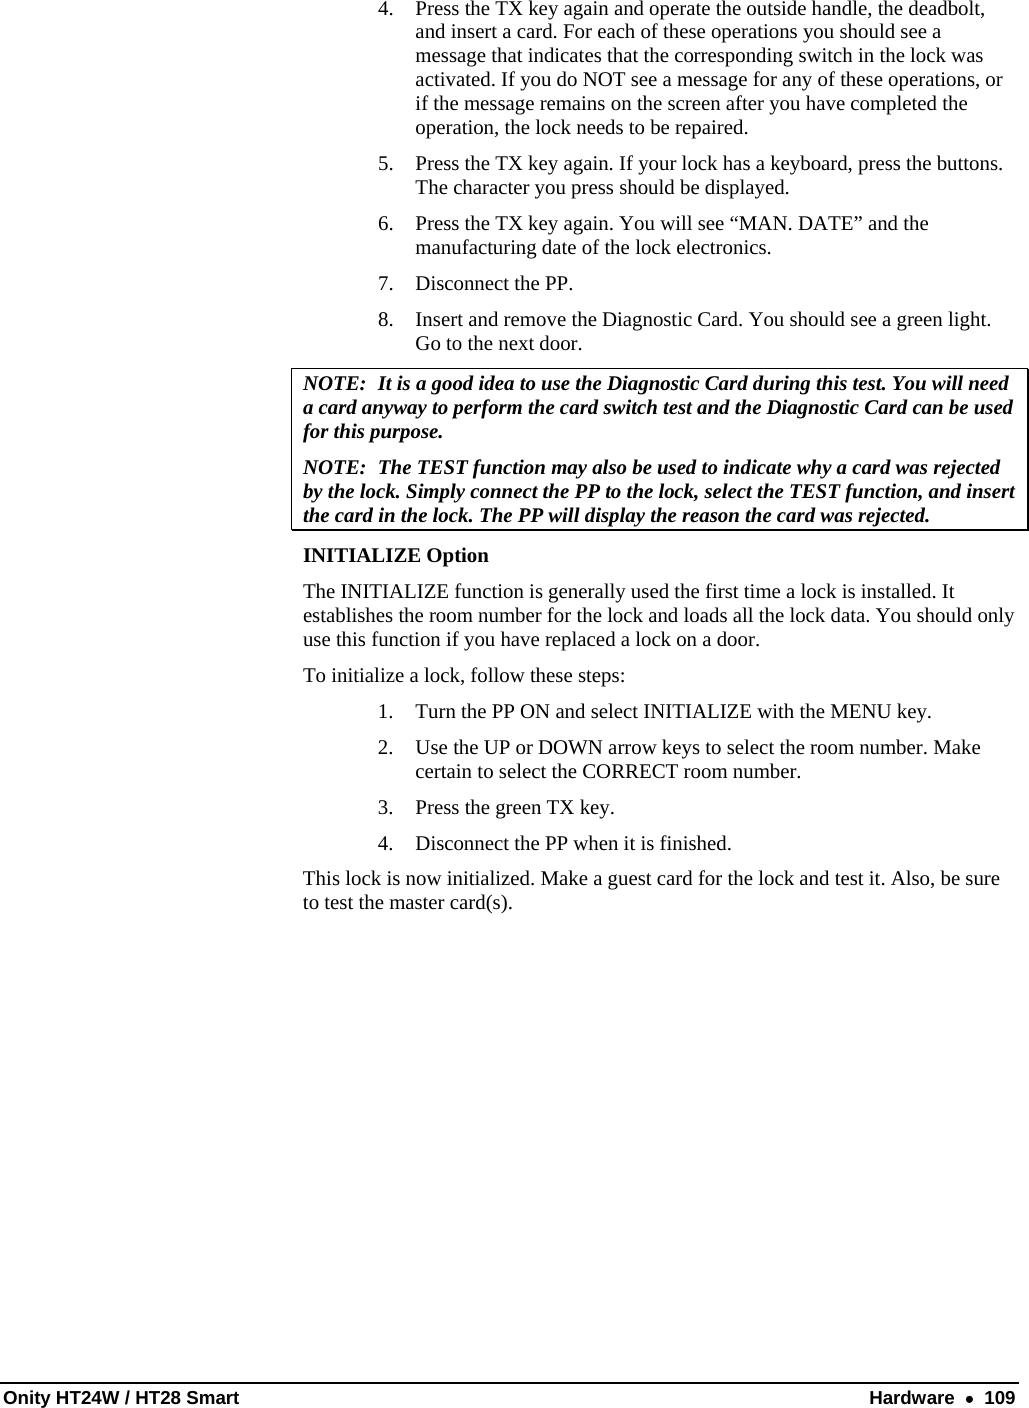
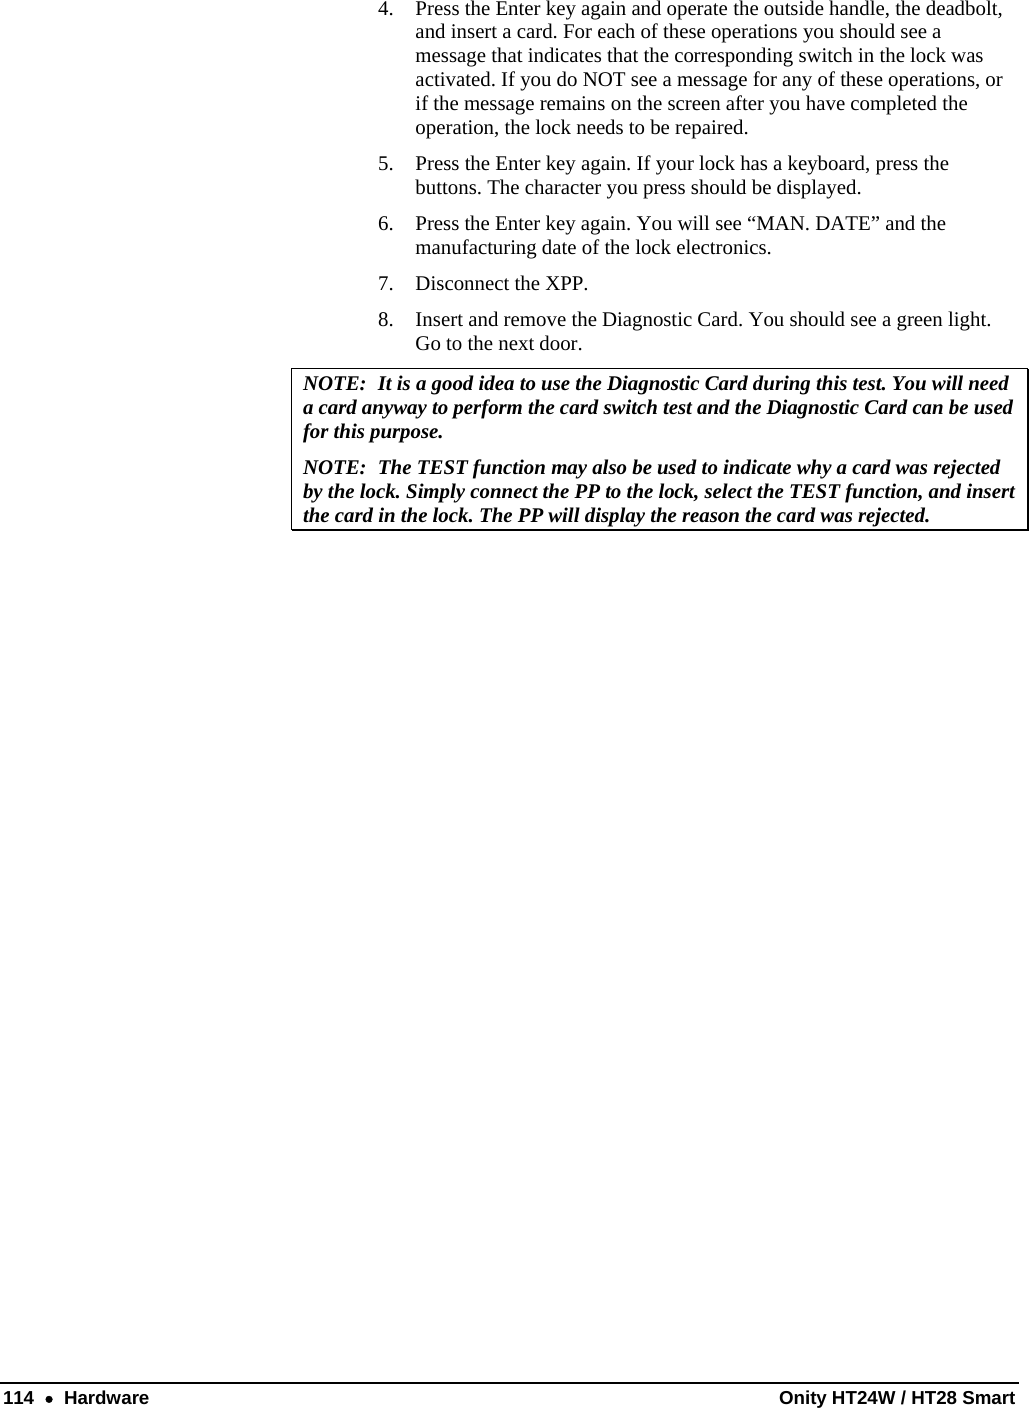
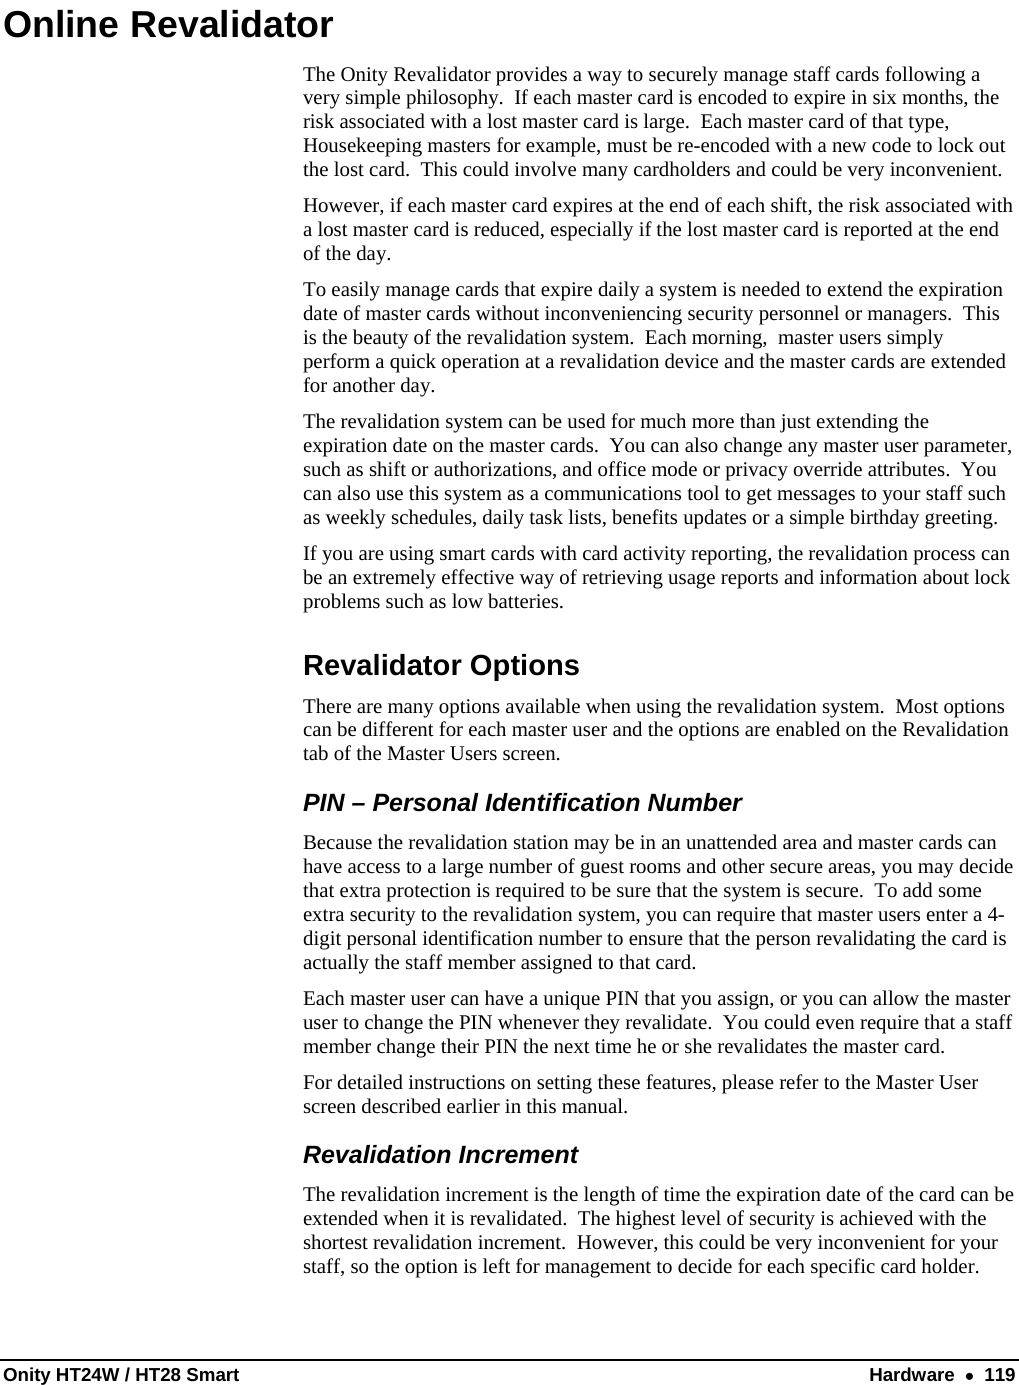
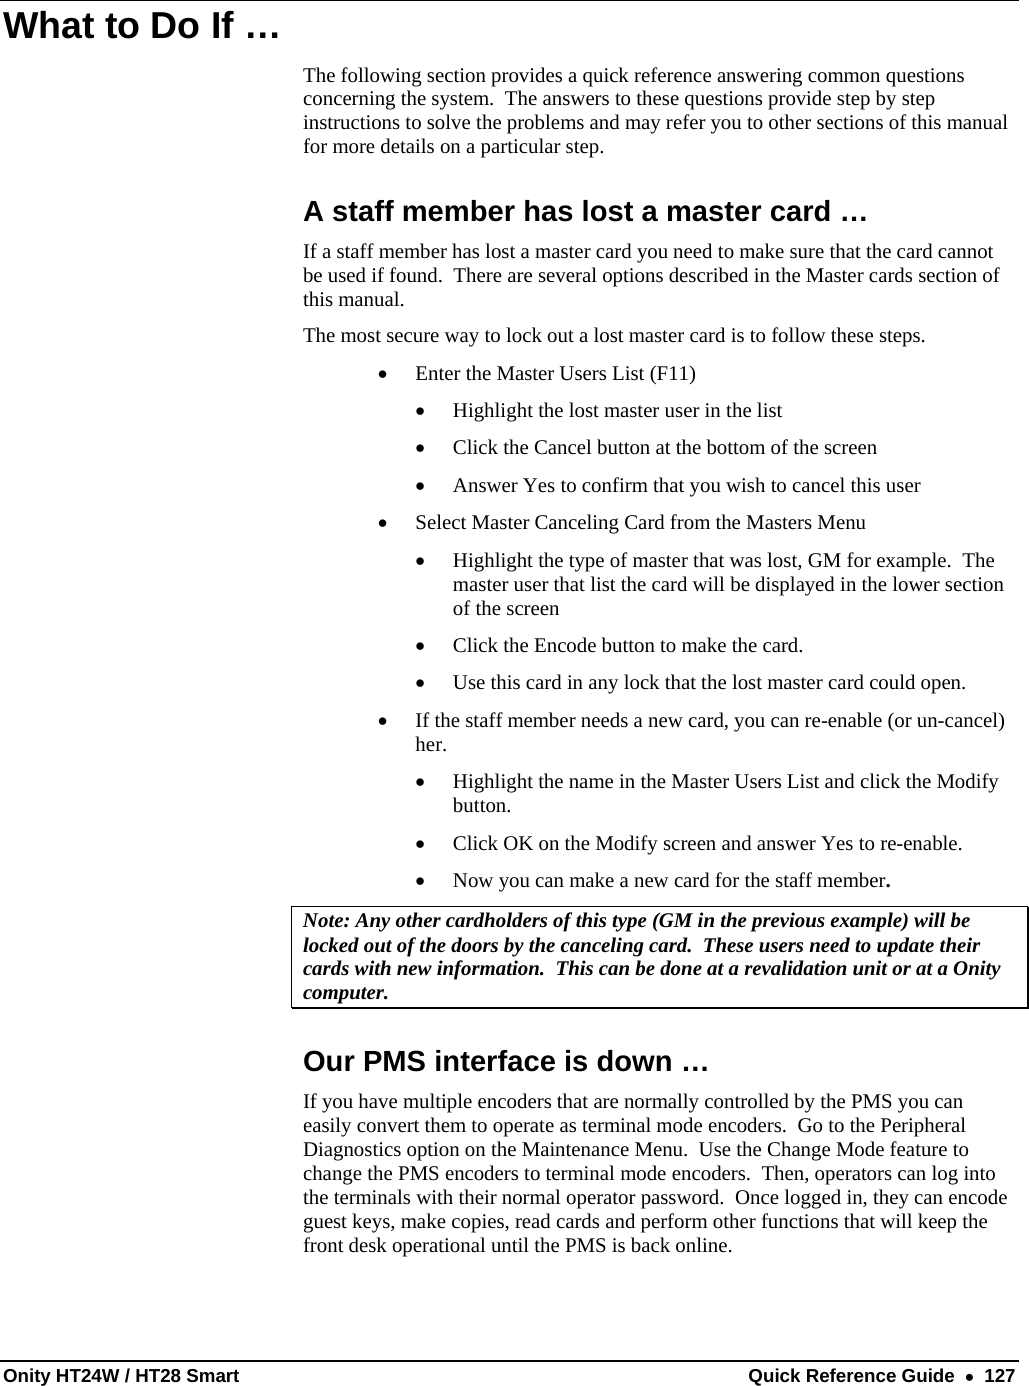
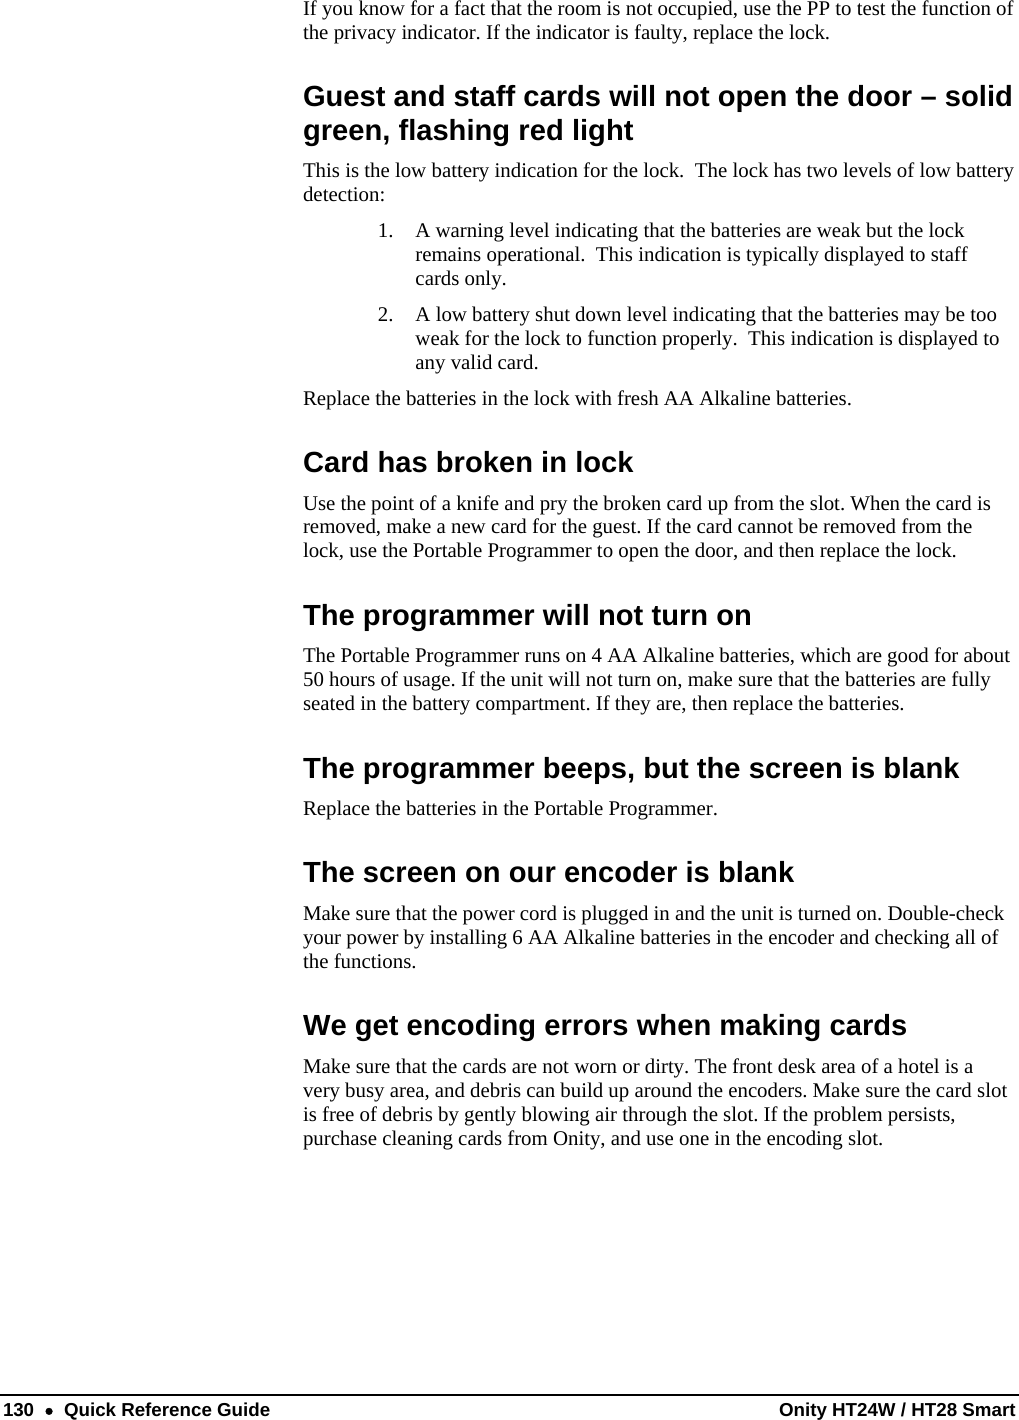
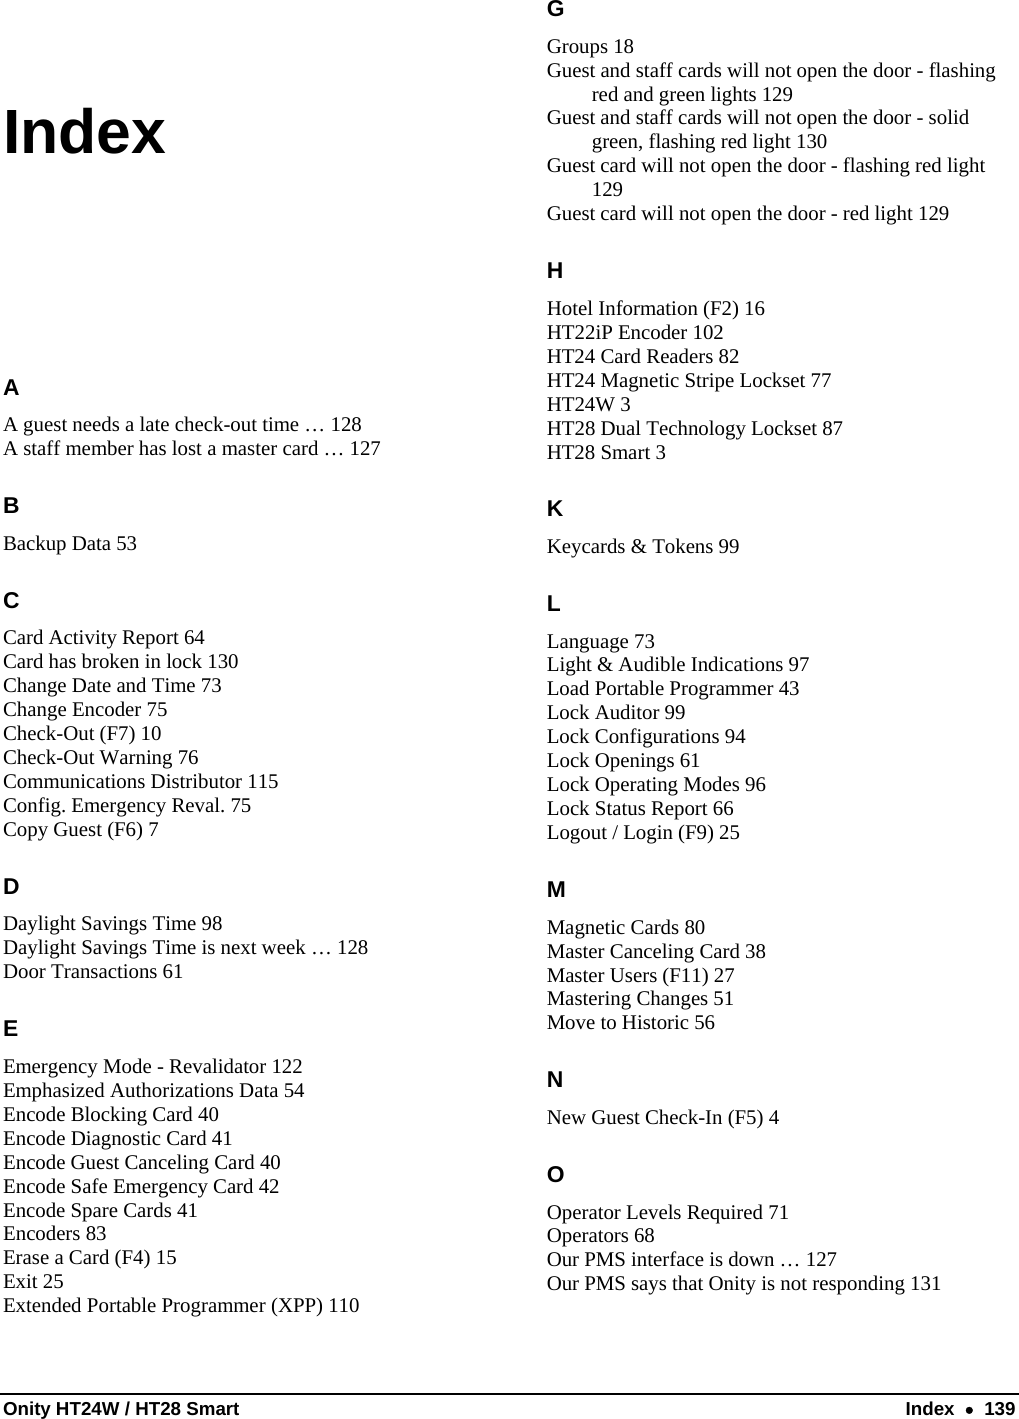
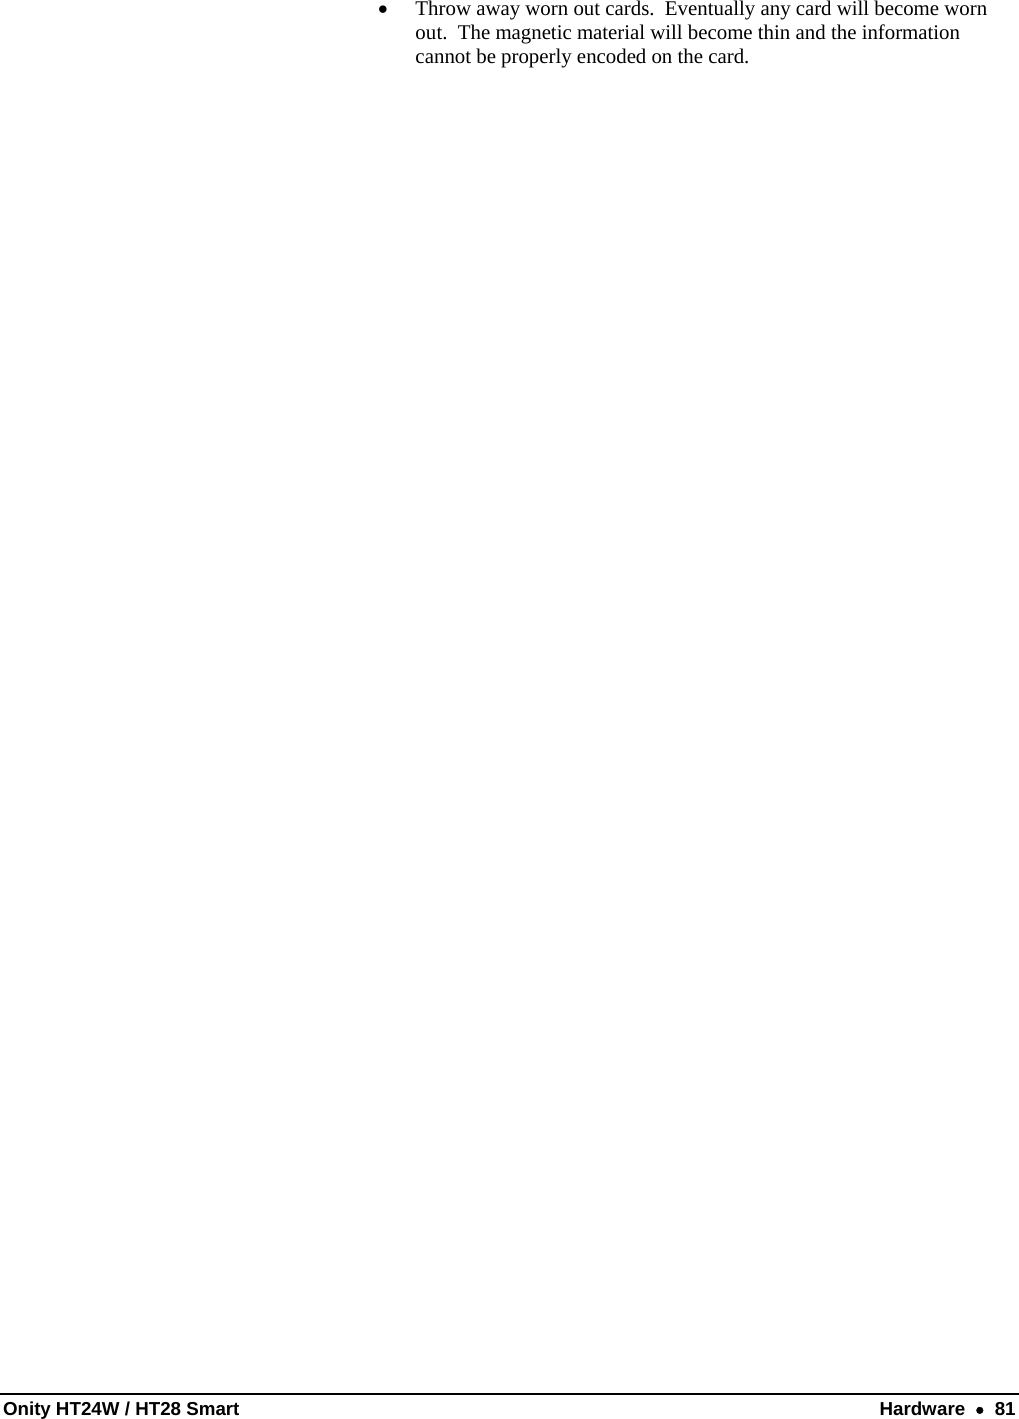
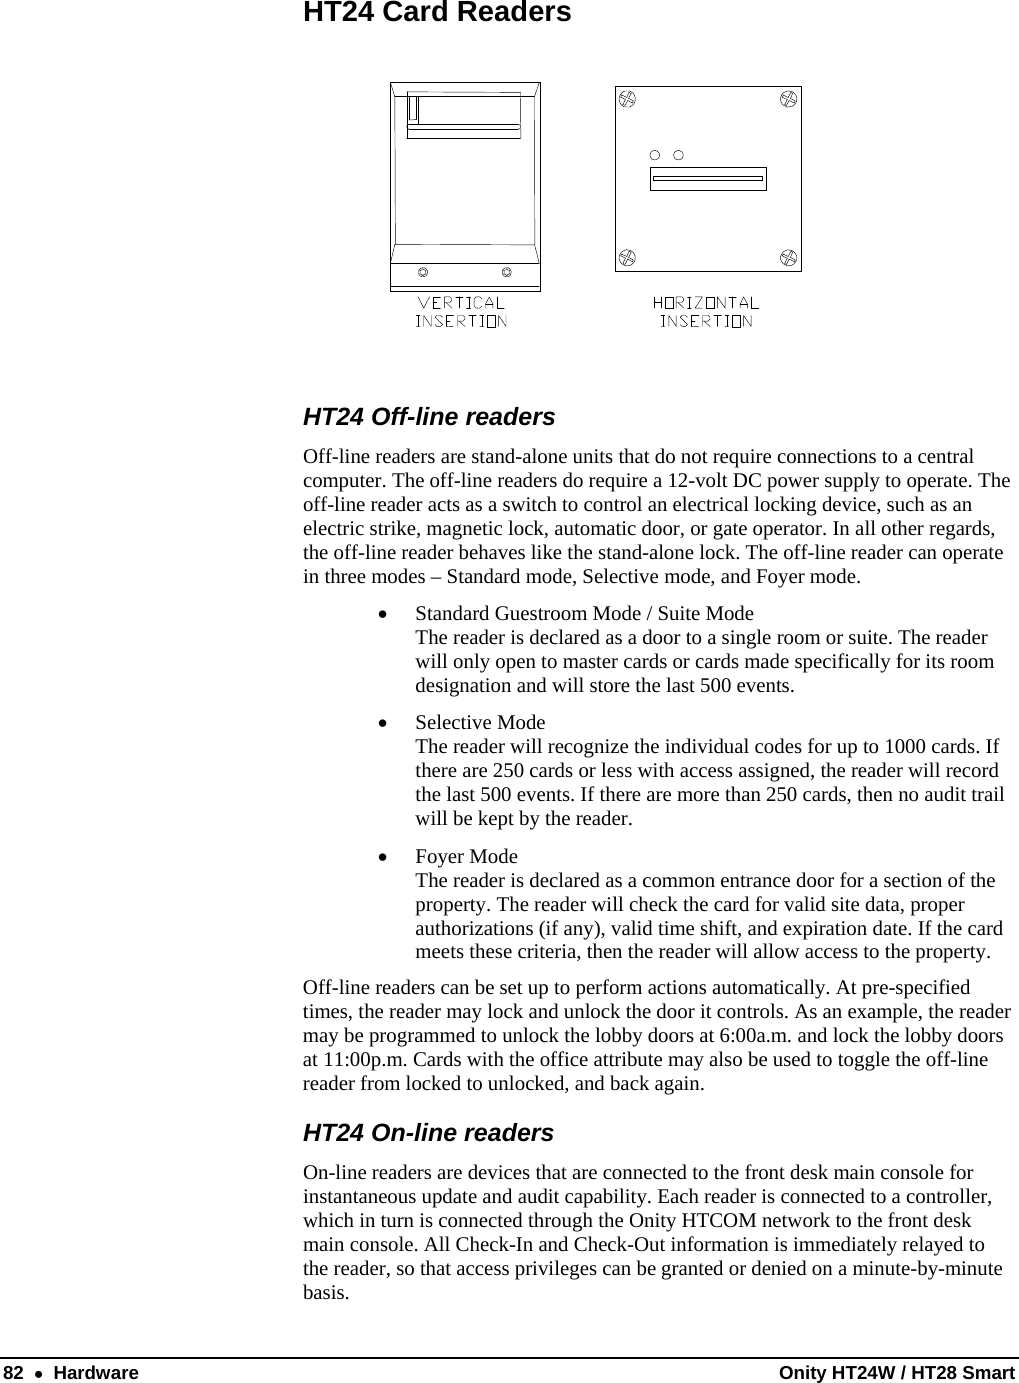
![78 • Hardware Onity HT24W / HT28 Smart 1. Rear View 8. Battery Access Cover 2. Side View 9. Battery Access Cover Screw 3. Front View 10. Portable Programmer Connection 4. Privacy Indicator Connection 11. Mounting Posts 5. Clear Button 12. Spindle 6. Light Indicators 13. Escutcheon Screws 7. Card Insertion Slot 14. Back Cover Screws [HT24 shown above] Modes of Operation and Capabilities – HT24 Lock and ADVANCE Magnetic stripe lock • Standard Guestroom Mode / Suite Mode The standard operation of an ADVANCE magnetic stripe lock / HT24 lock is normal guest room mode. In this mode, a single guest card code is allowed to enter along with any selected master cards. To gain access, the card must have the proper site code, the correct card code, any applicable authorization, and be within the activation and expiration dates. [ADVANCE (Magnetic Stripe lock )] • Foyer Mode A foyer lock does not keep an audit trail or card codes. To gain](https://usermanual.wiki/Onity/HTRFIDMFR01/User-Guide-1551691-Page-84.png)
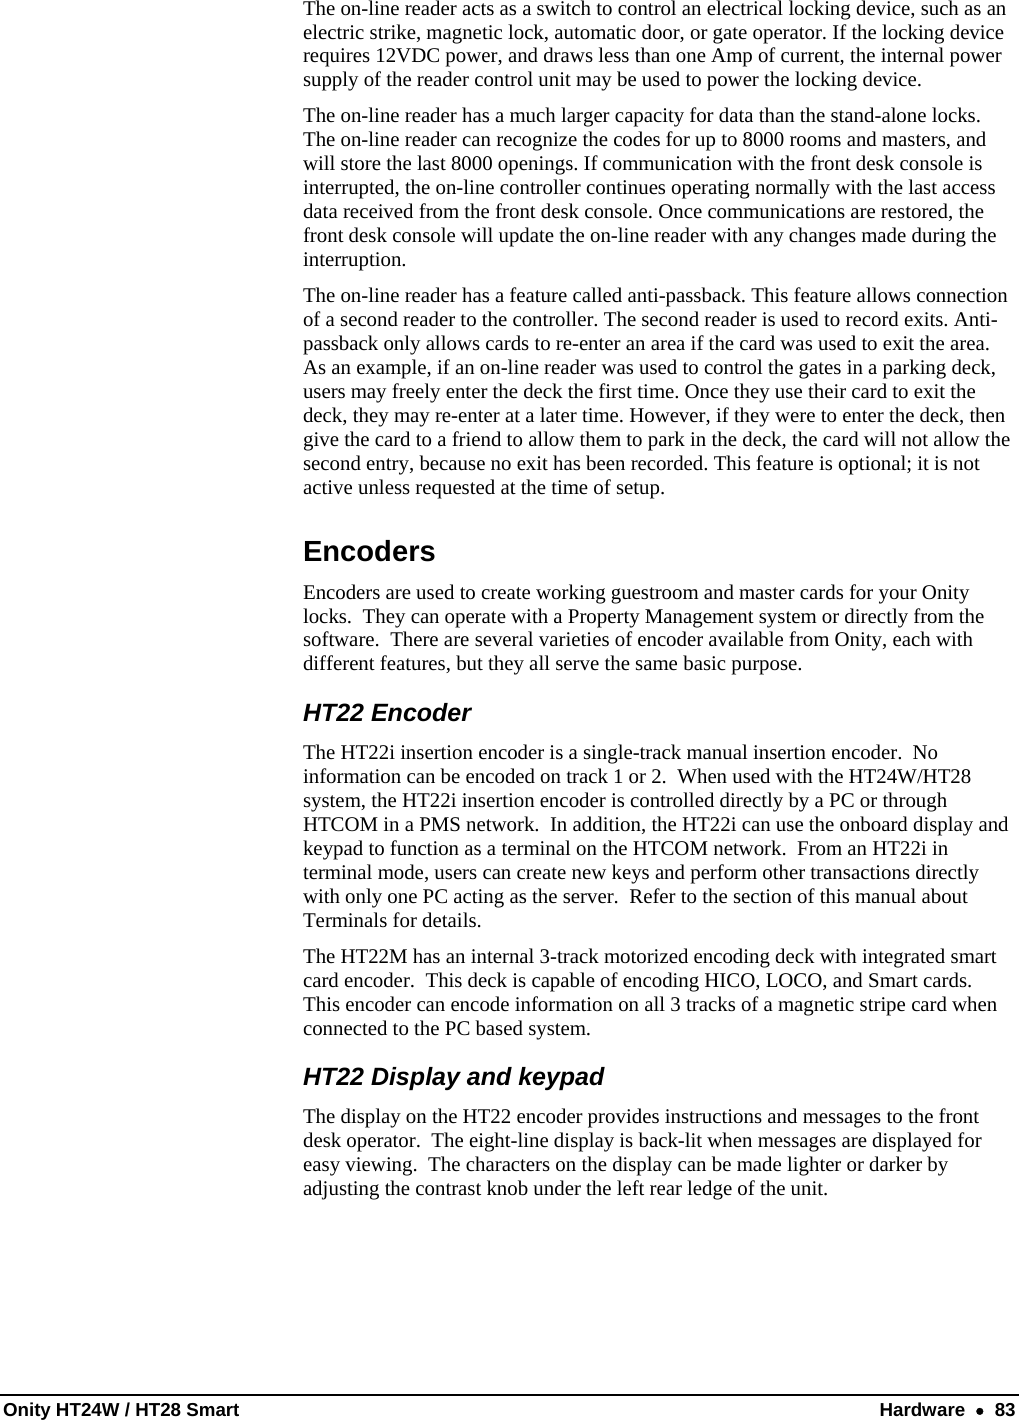
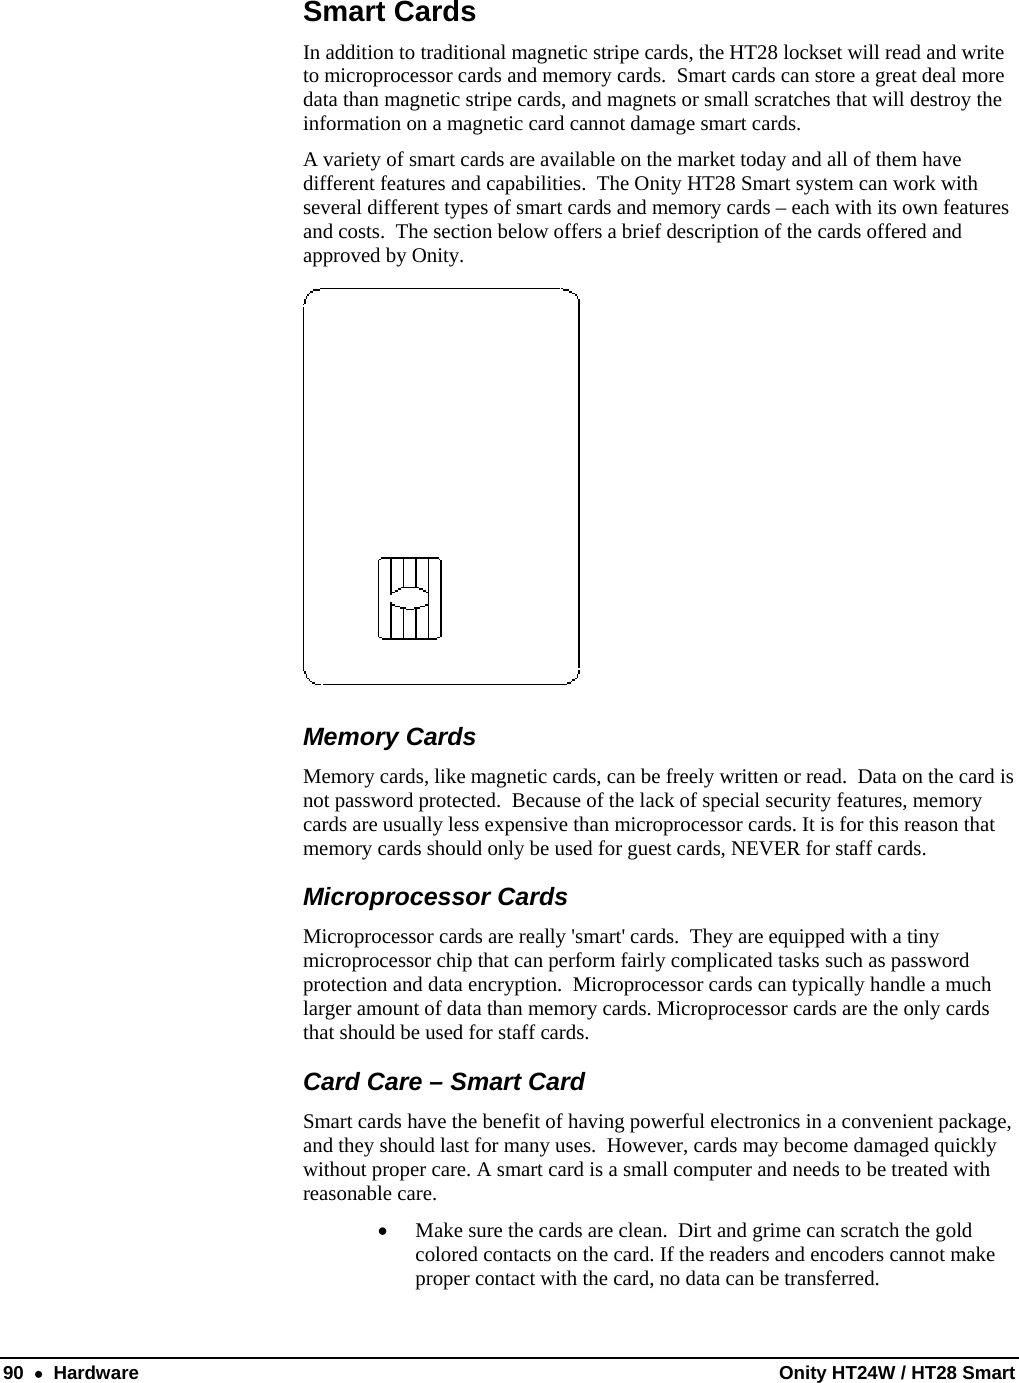
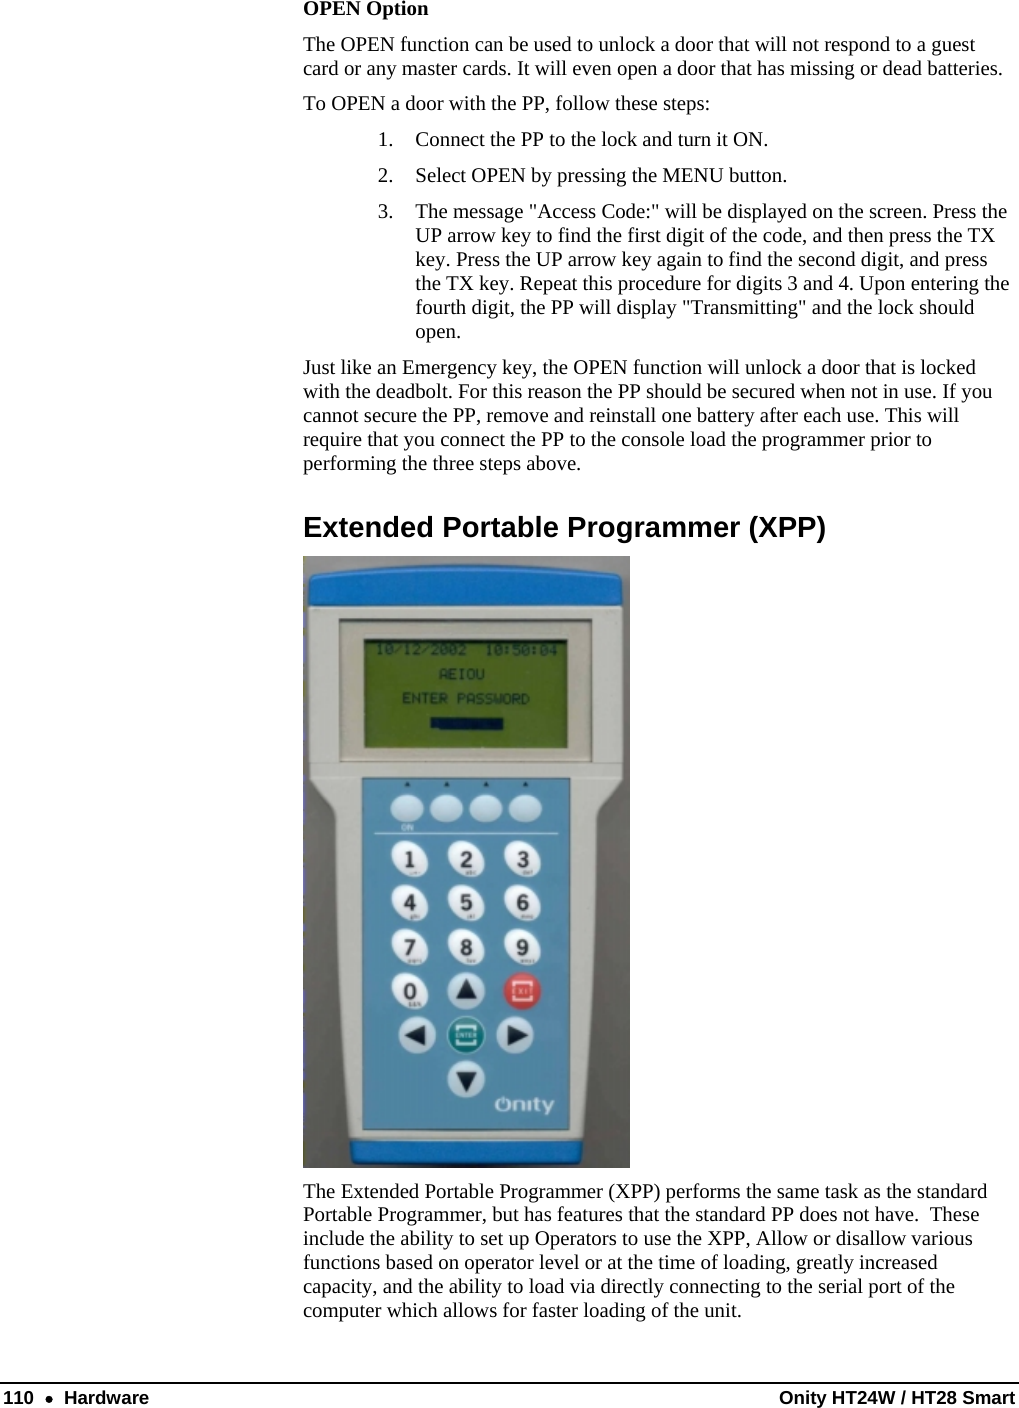
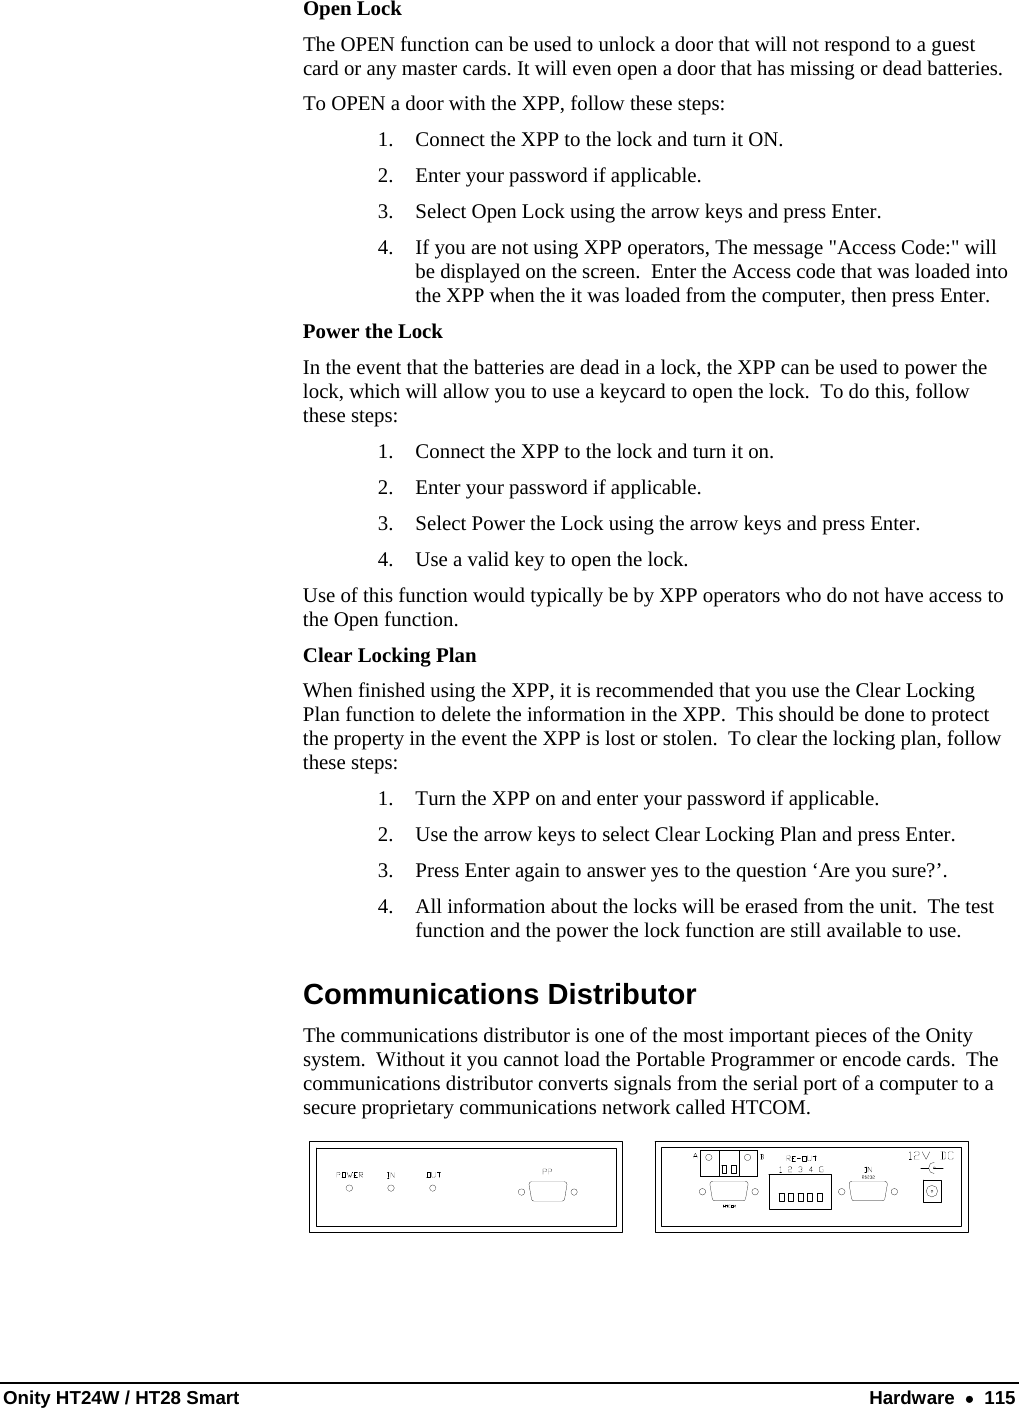
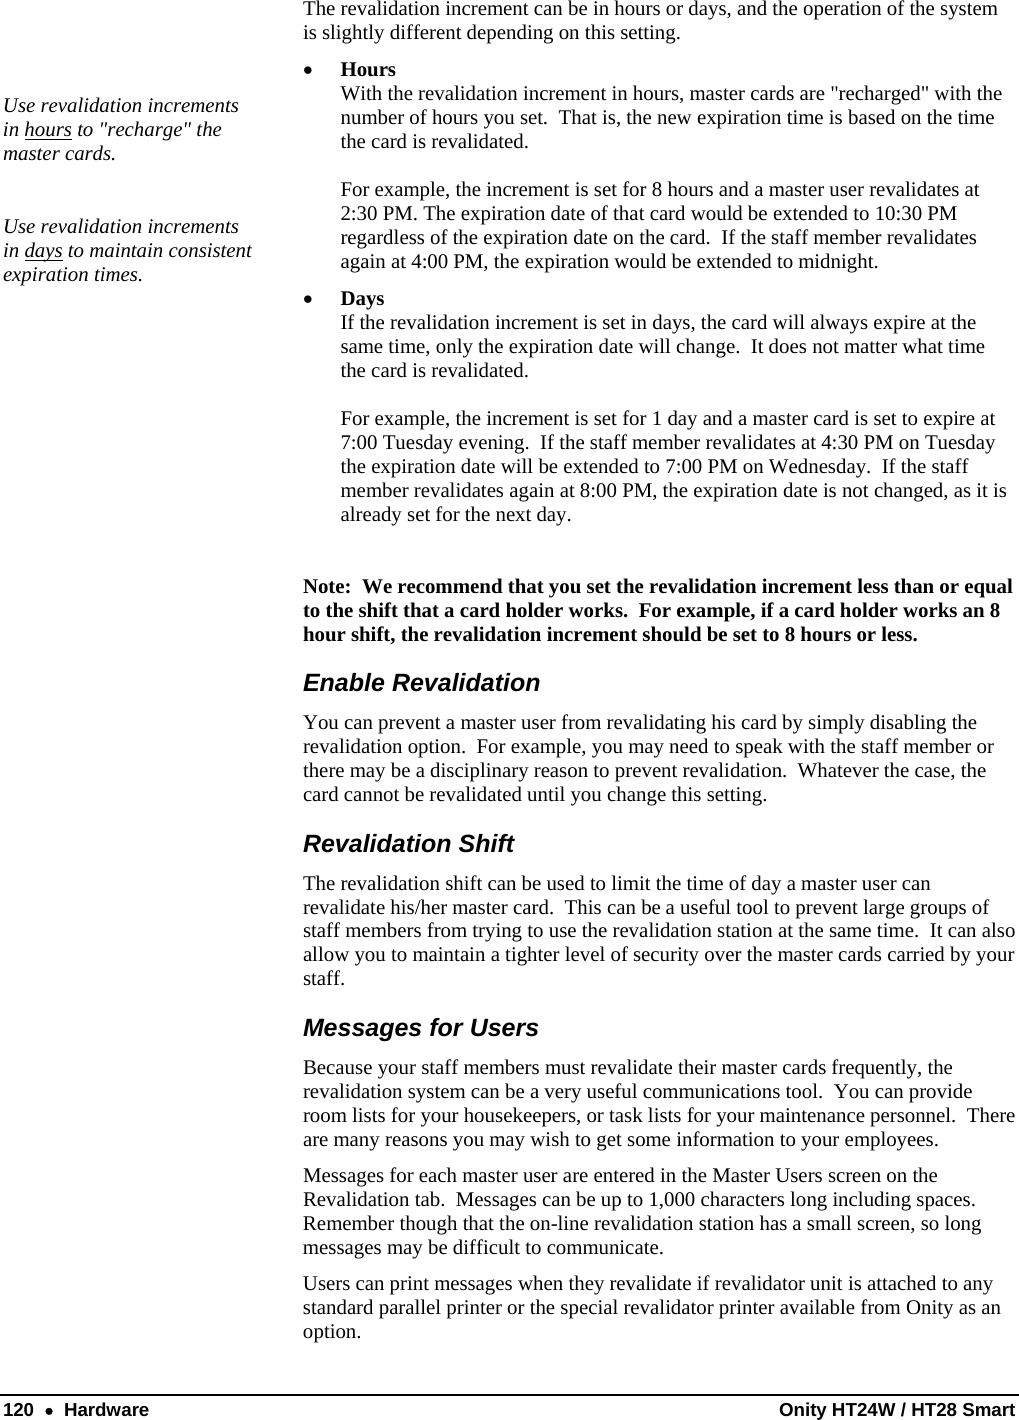
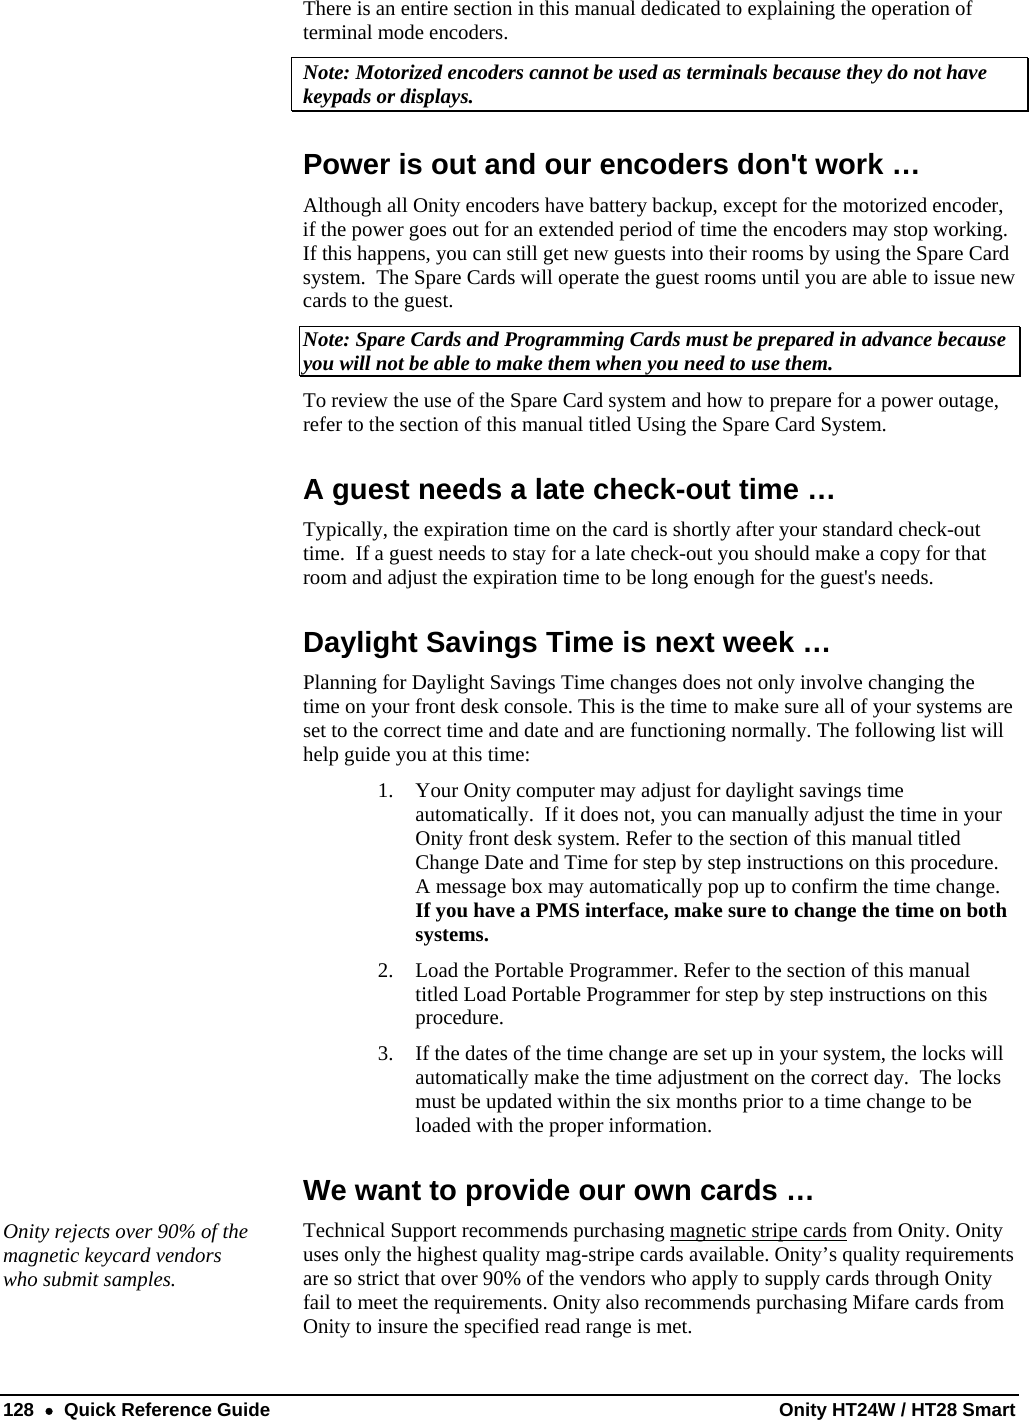
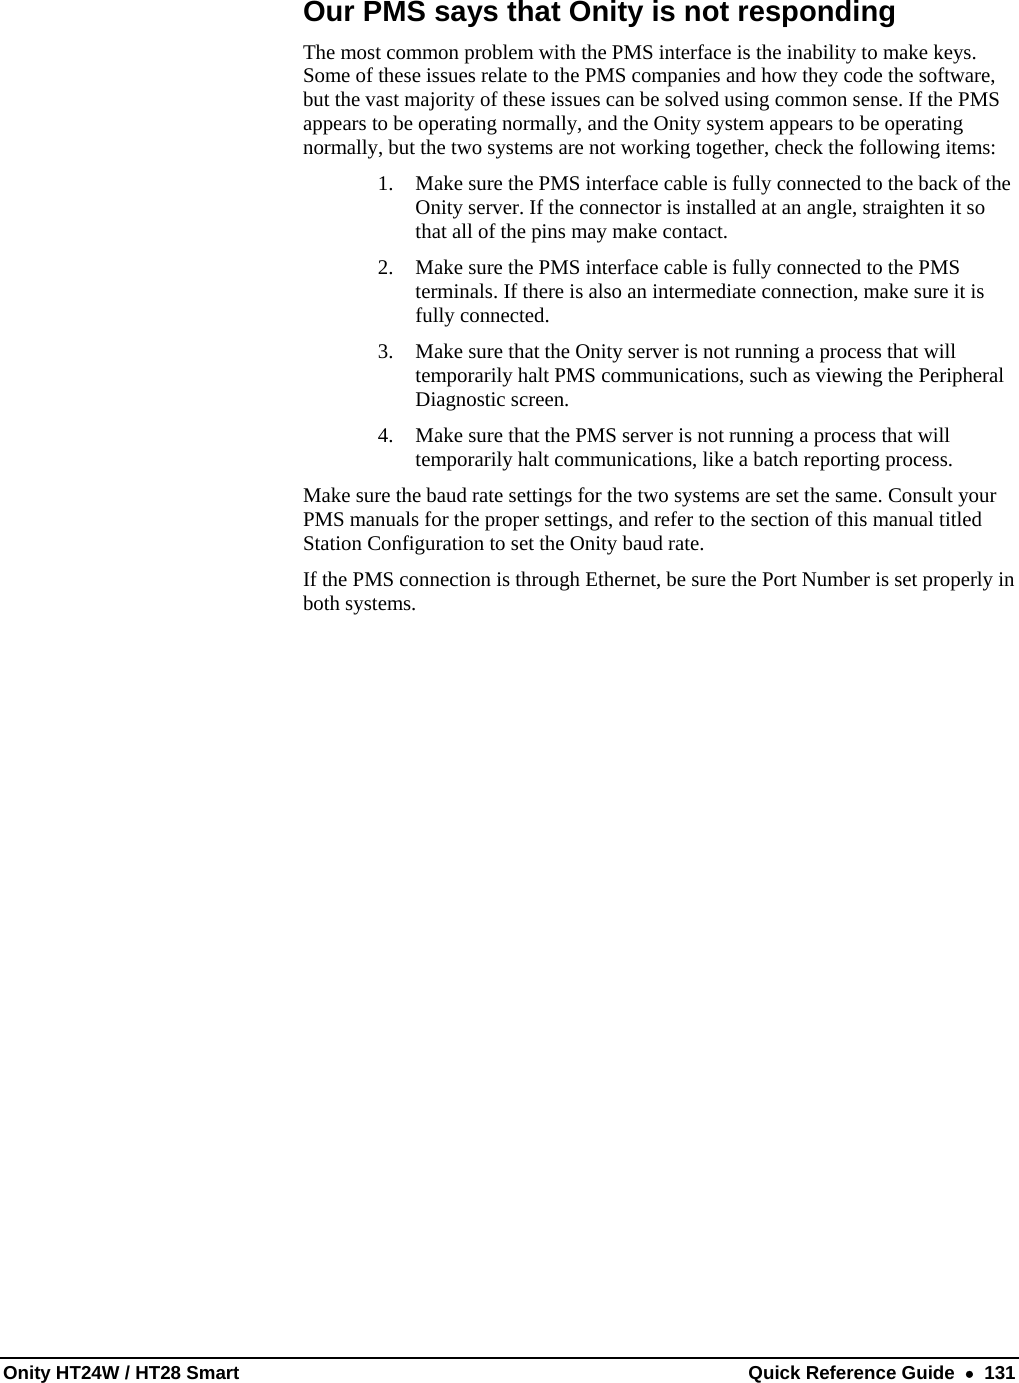
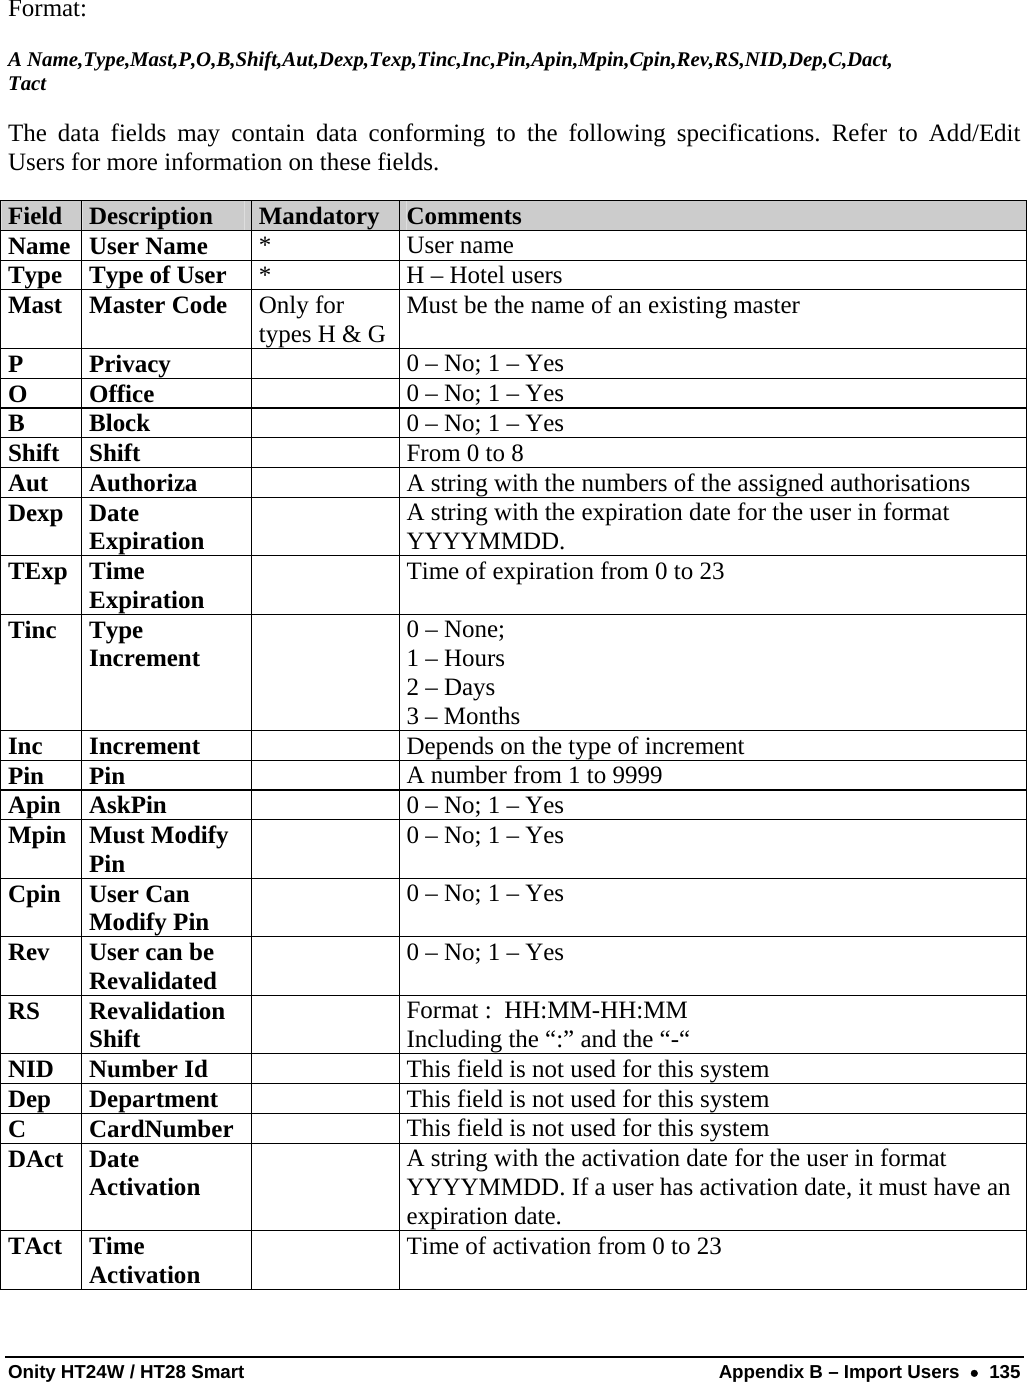
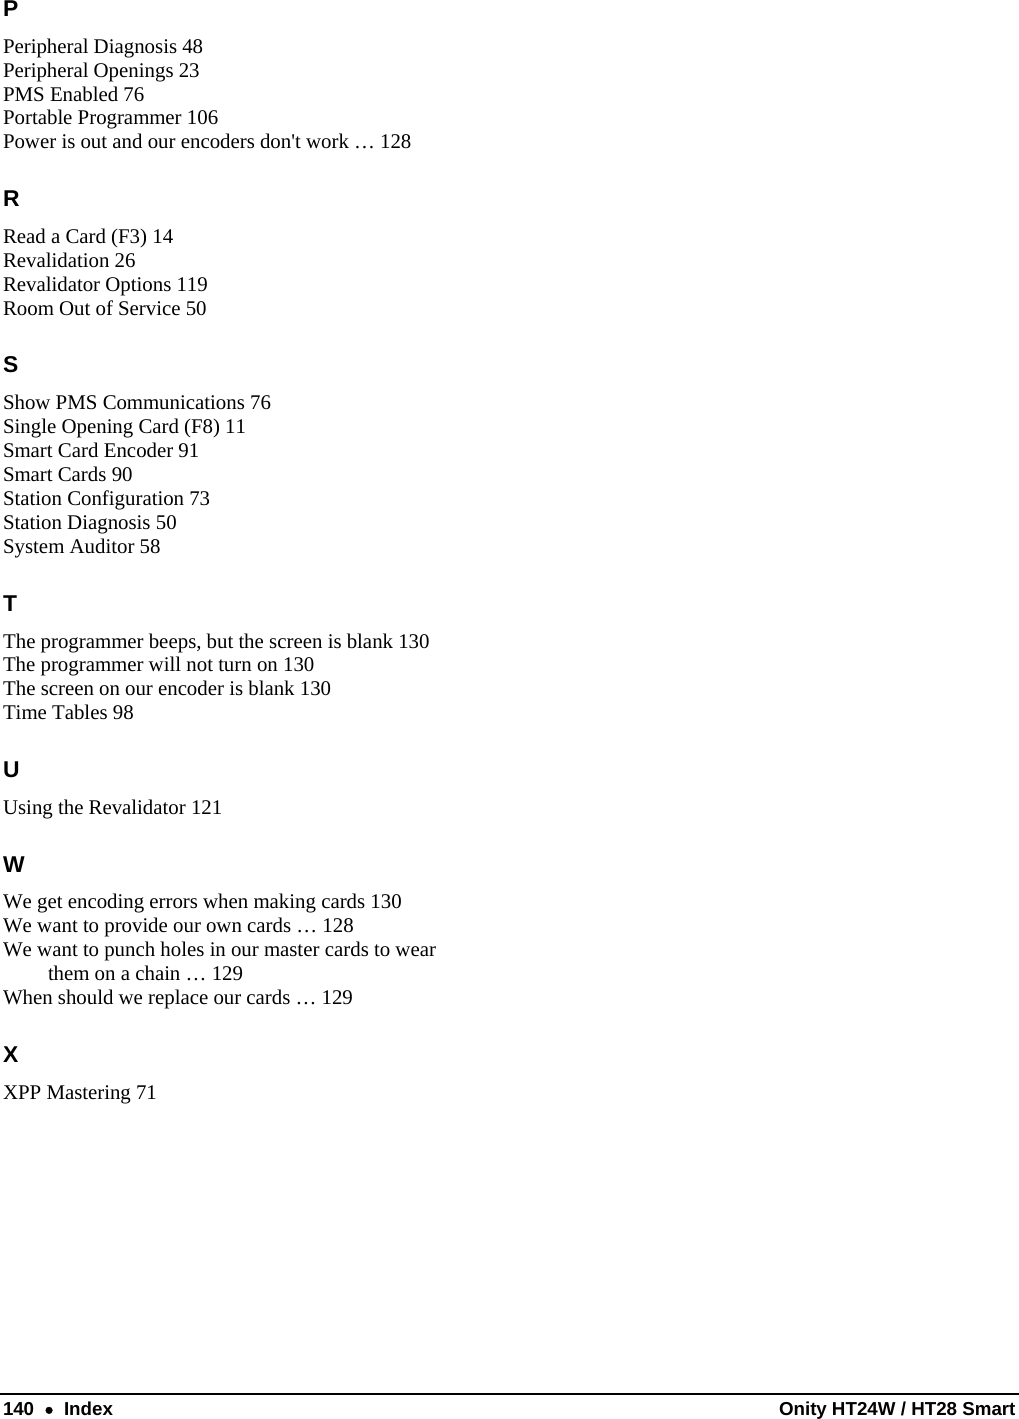
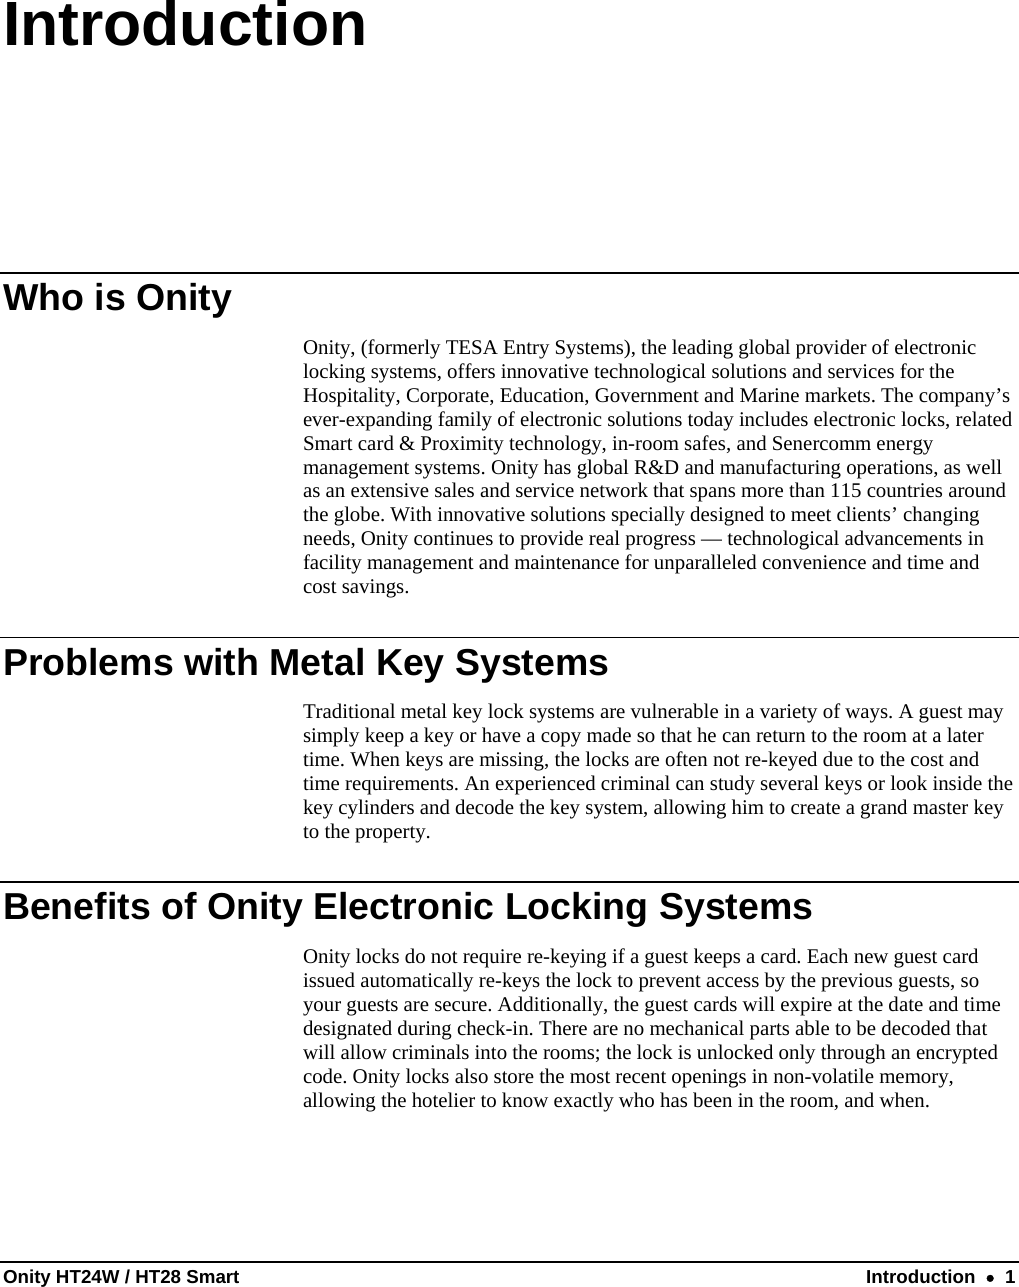
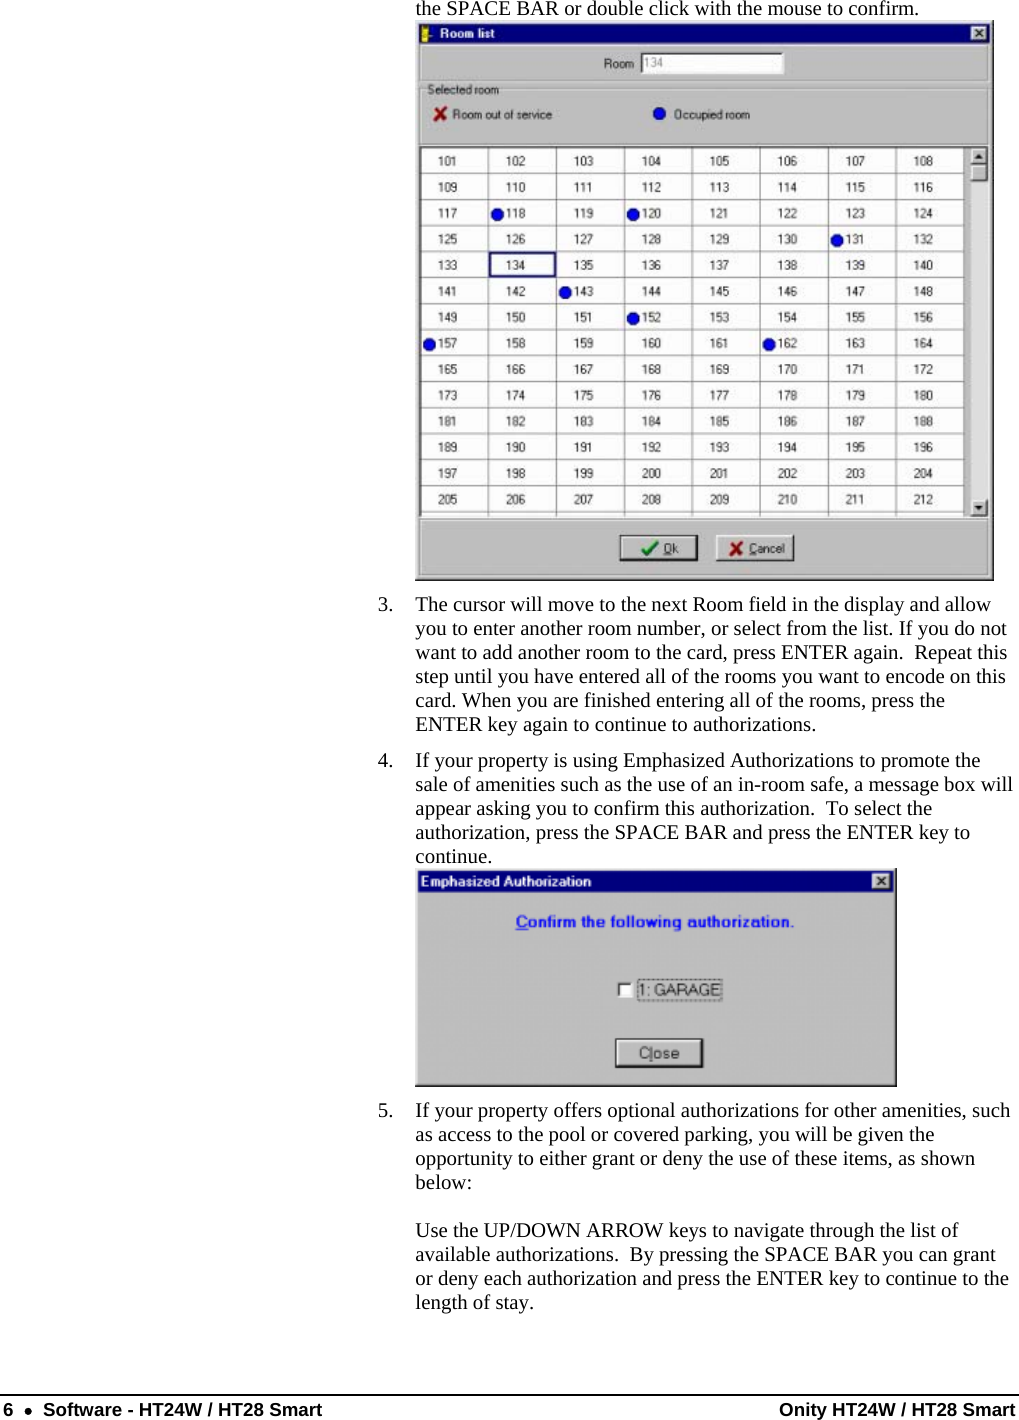
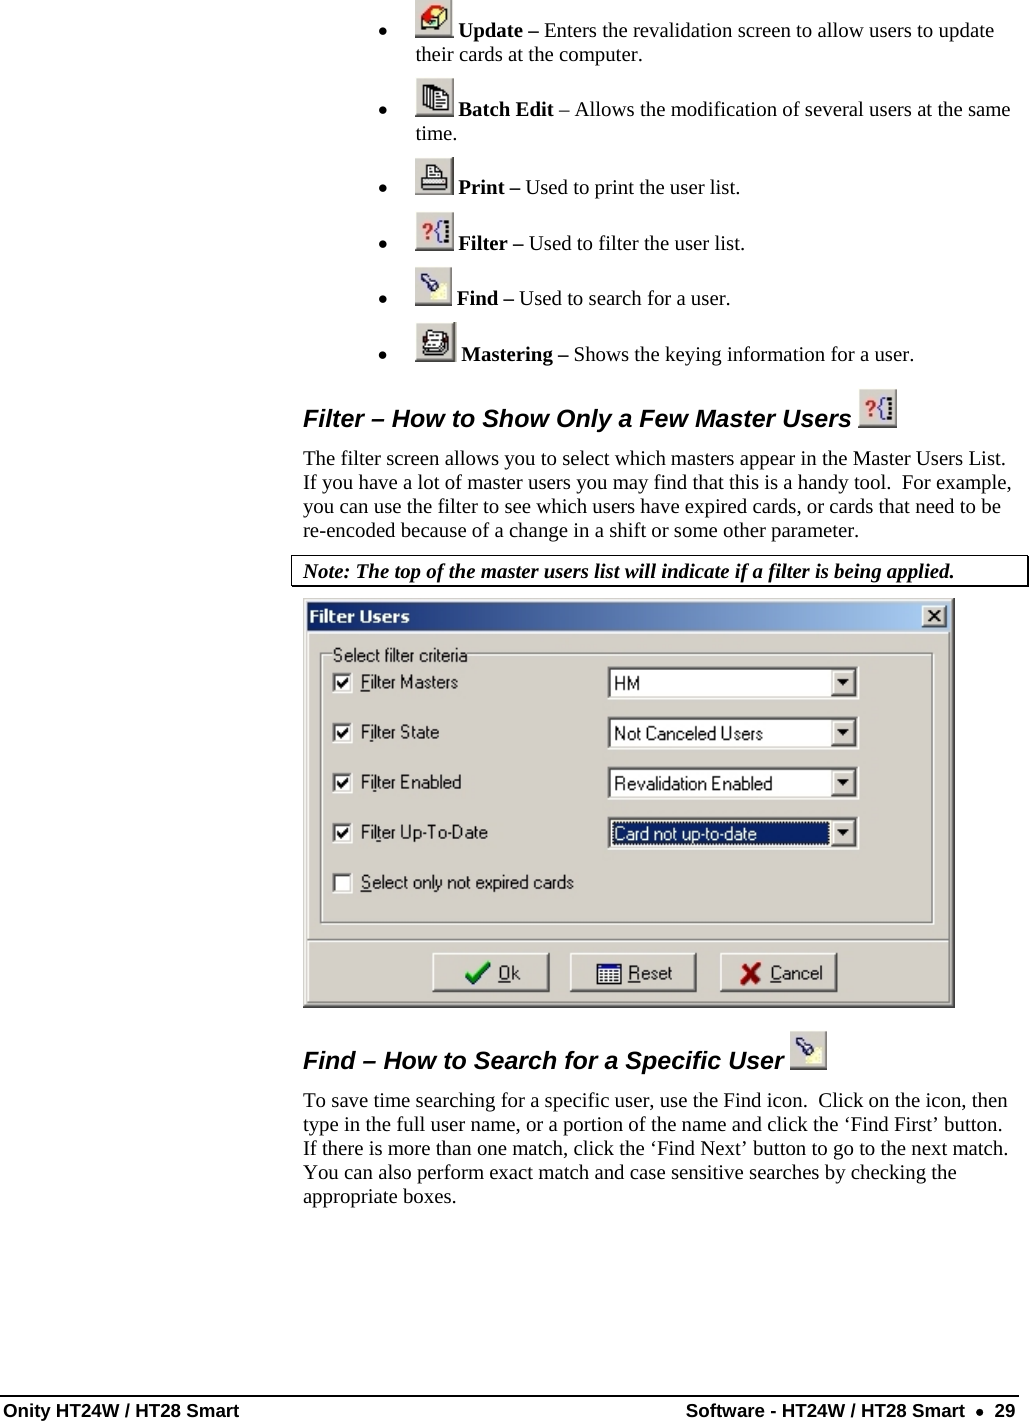
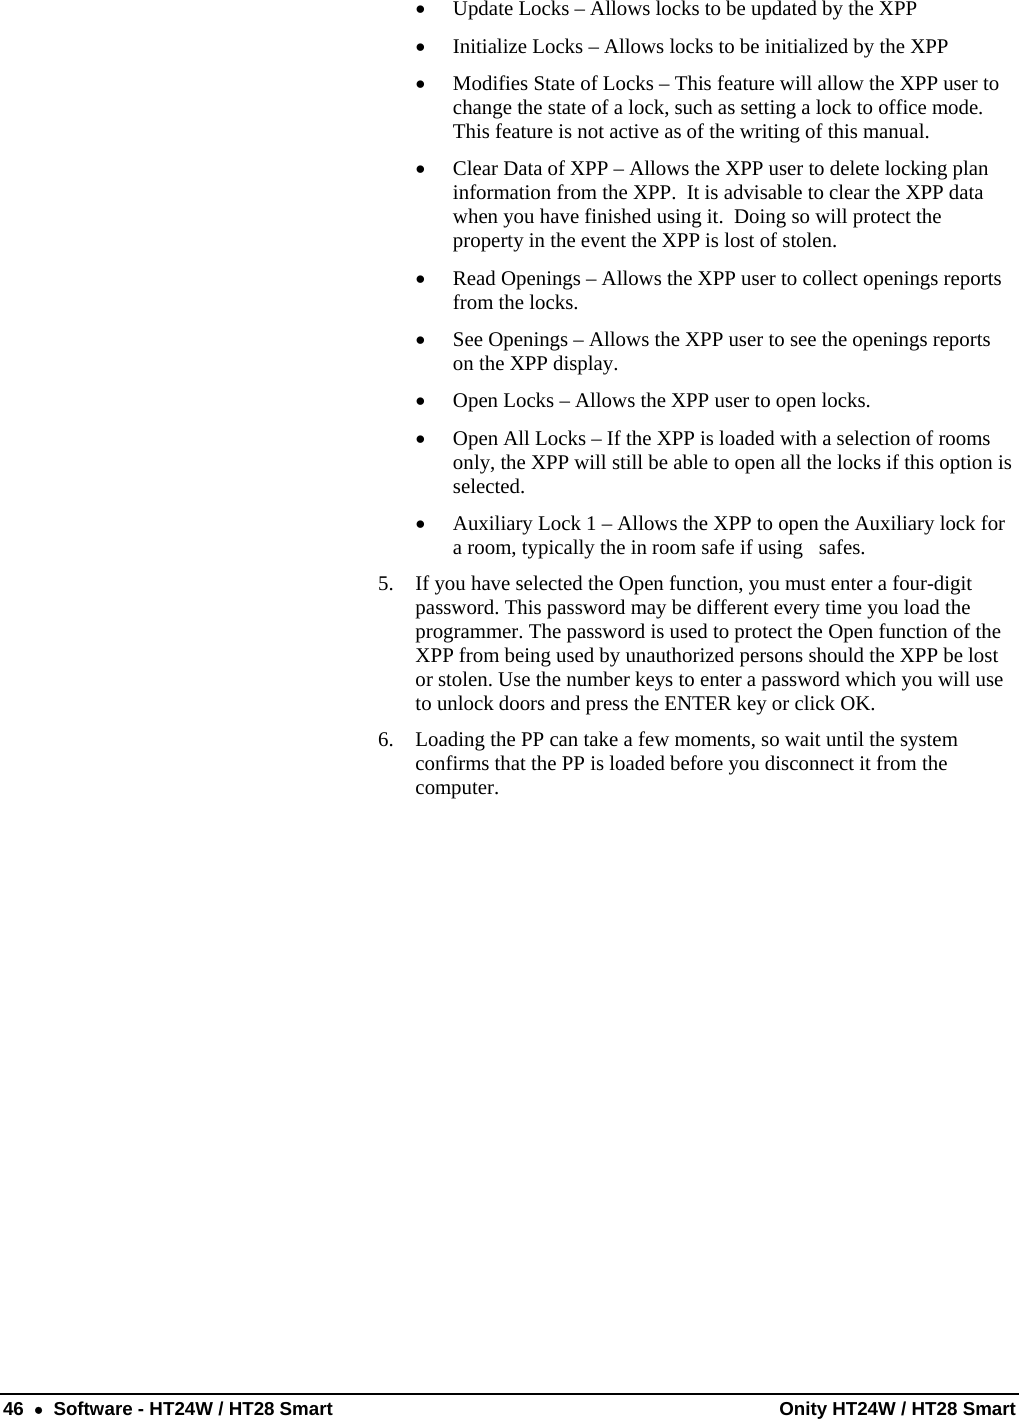
![Onity HT24W / HT28 Smart Hardware • 87 HT28 / ADVANCE Dual Smart System Components HT28 Dual / ADVANCE Dual Technology Lockset 1. Rear View 8. Battery Access Cover 2. Side View 9. Battery Access Cover Screw 3. Front View 10. Portable Programmer Connection 4. Privacy Indicator Connection 11. Mounting Posts 5. Clear Button 12. Spindle 6. Light Indicators 13. Escutcheon Screws 7. Card Insertion Slot 14. Back Cover Screws [HT Dual shown above]](https://usermanual.wiki/Onity/HTRFIDMFR01/User-Guide-1551691-Page-93.png)
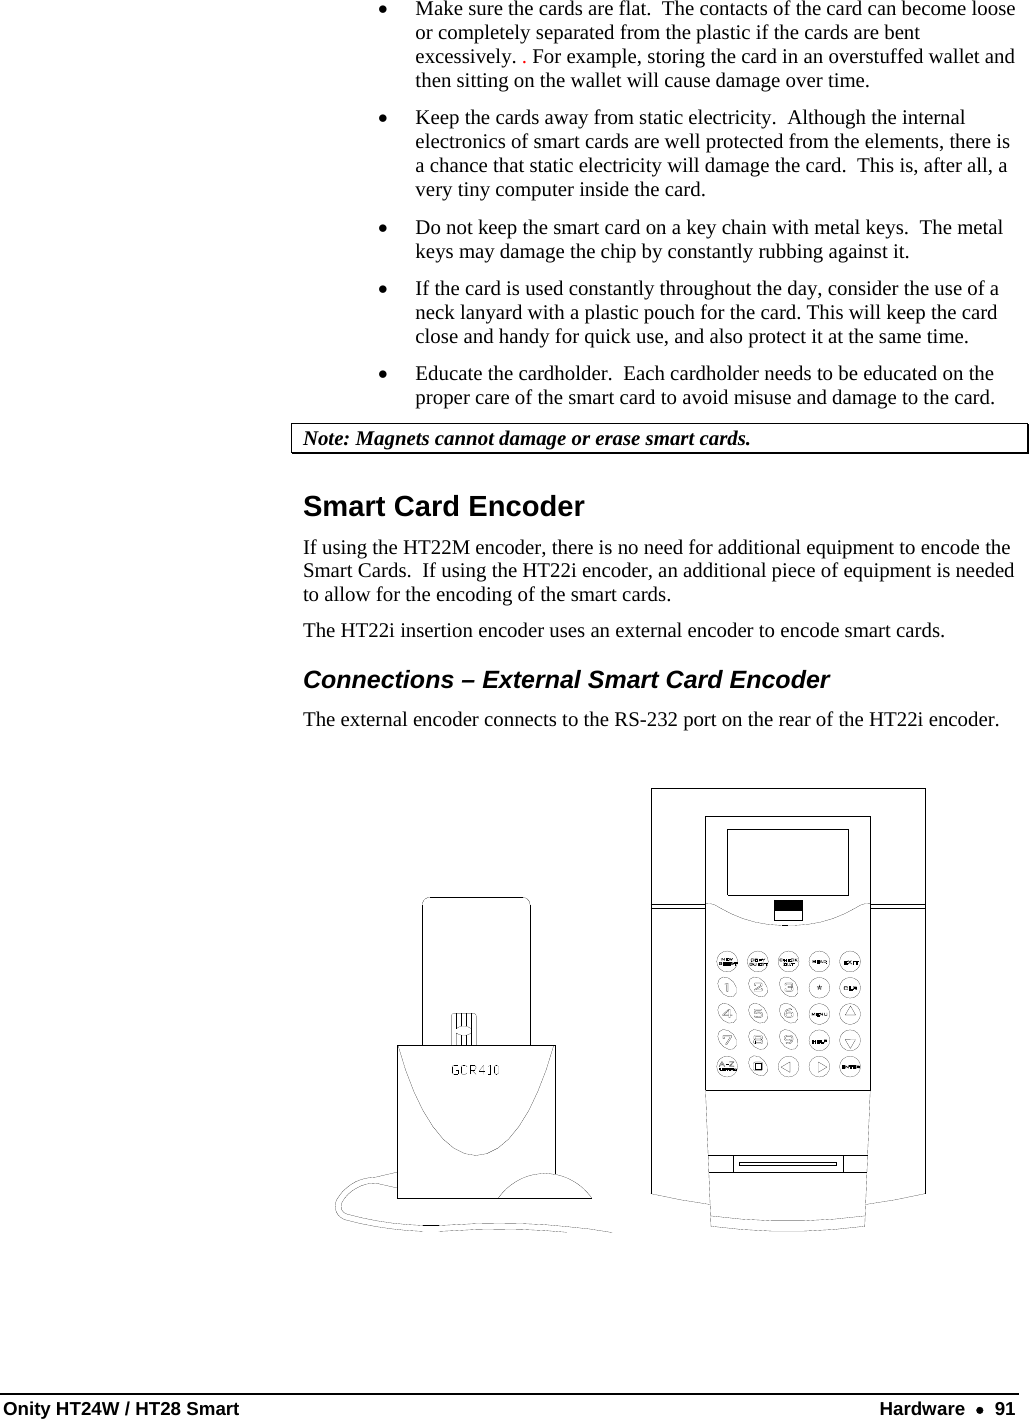
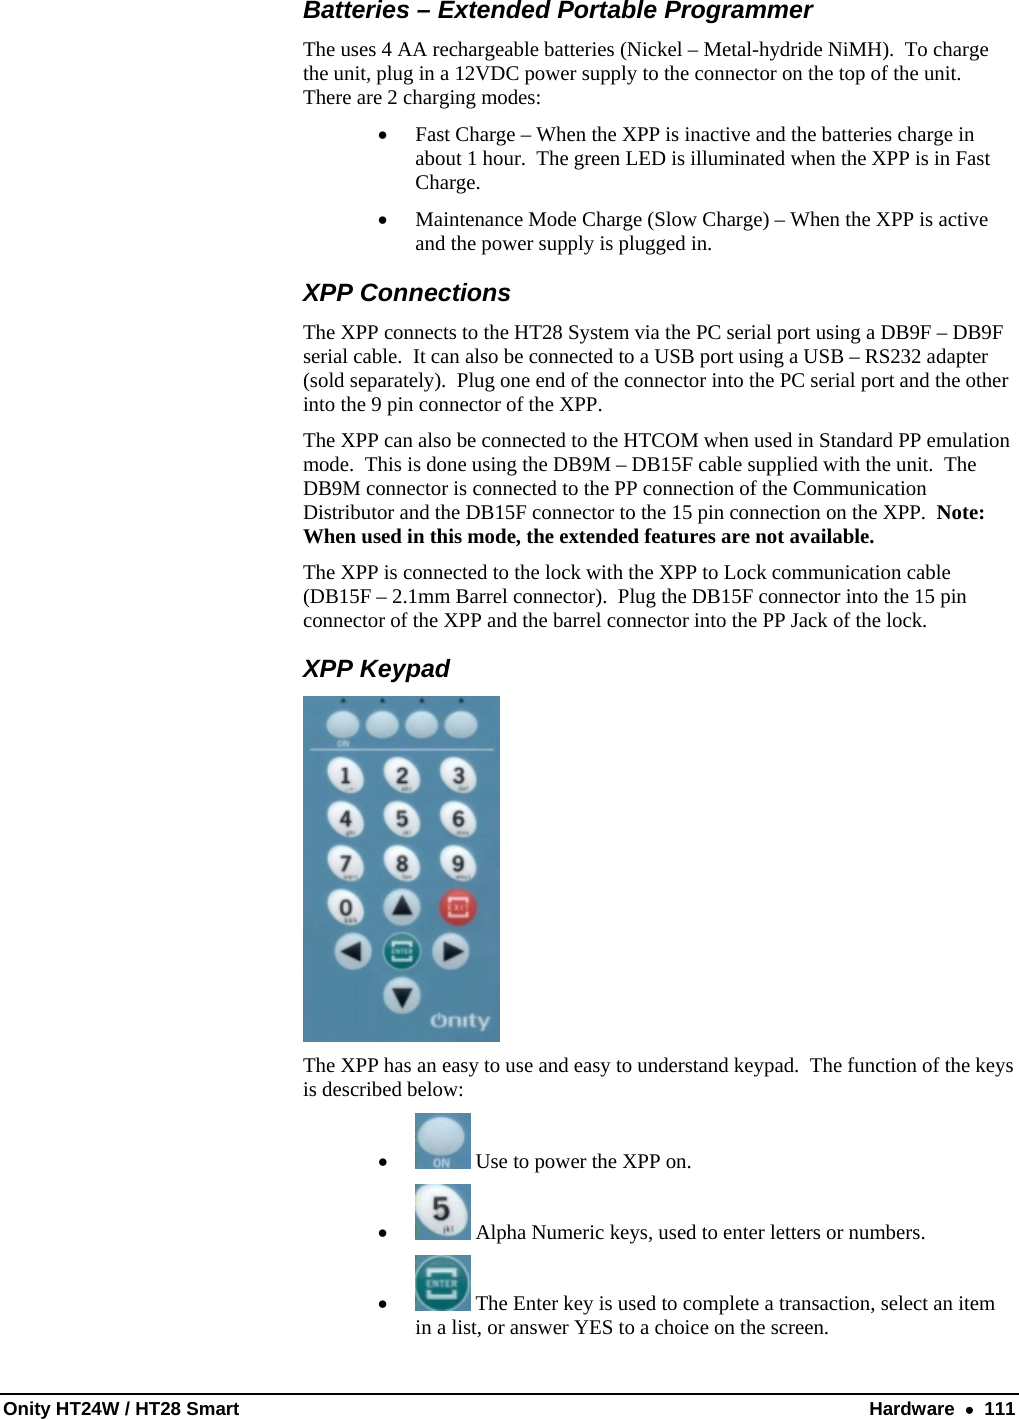
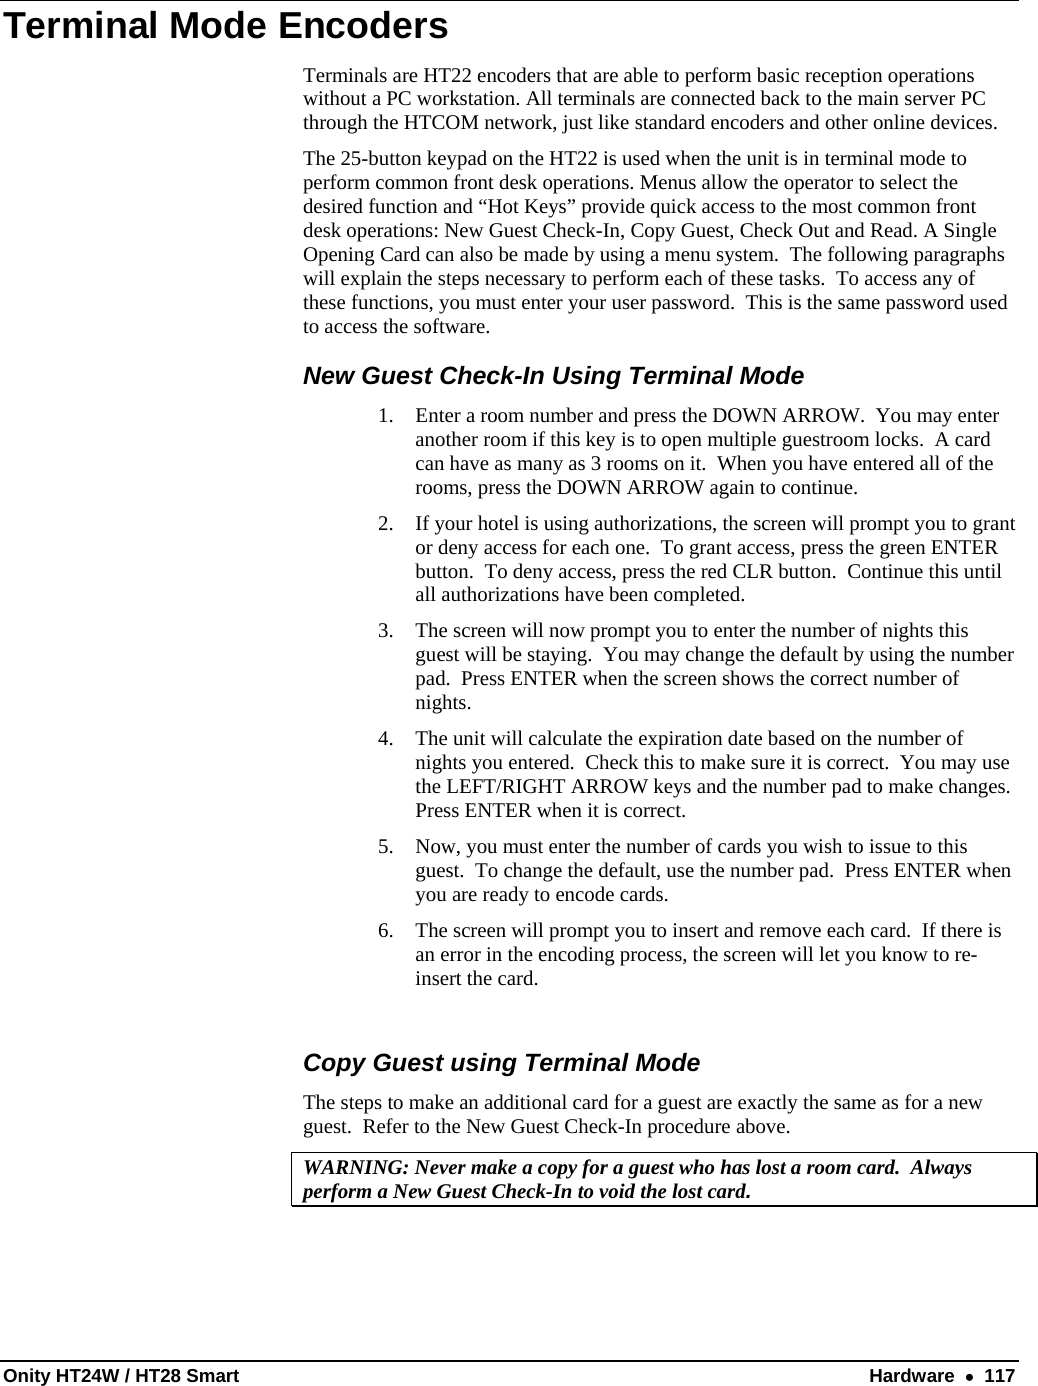
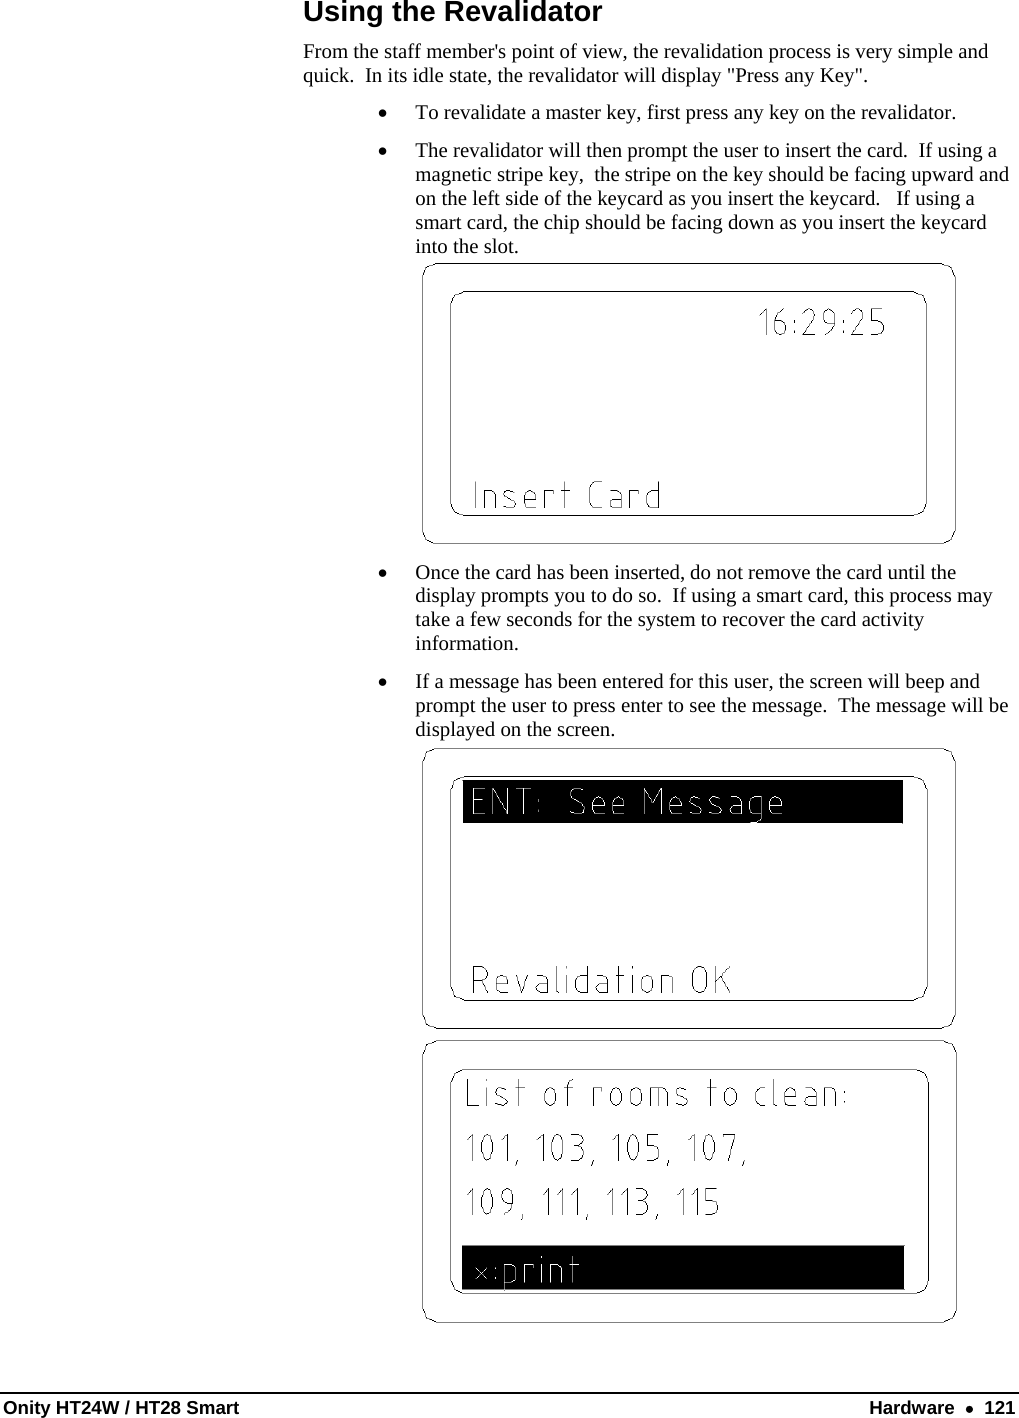
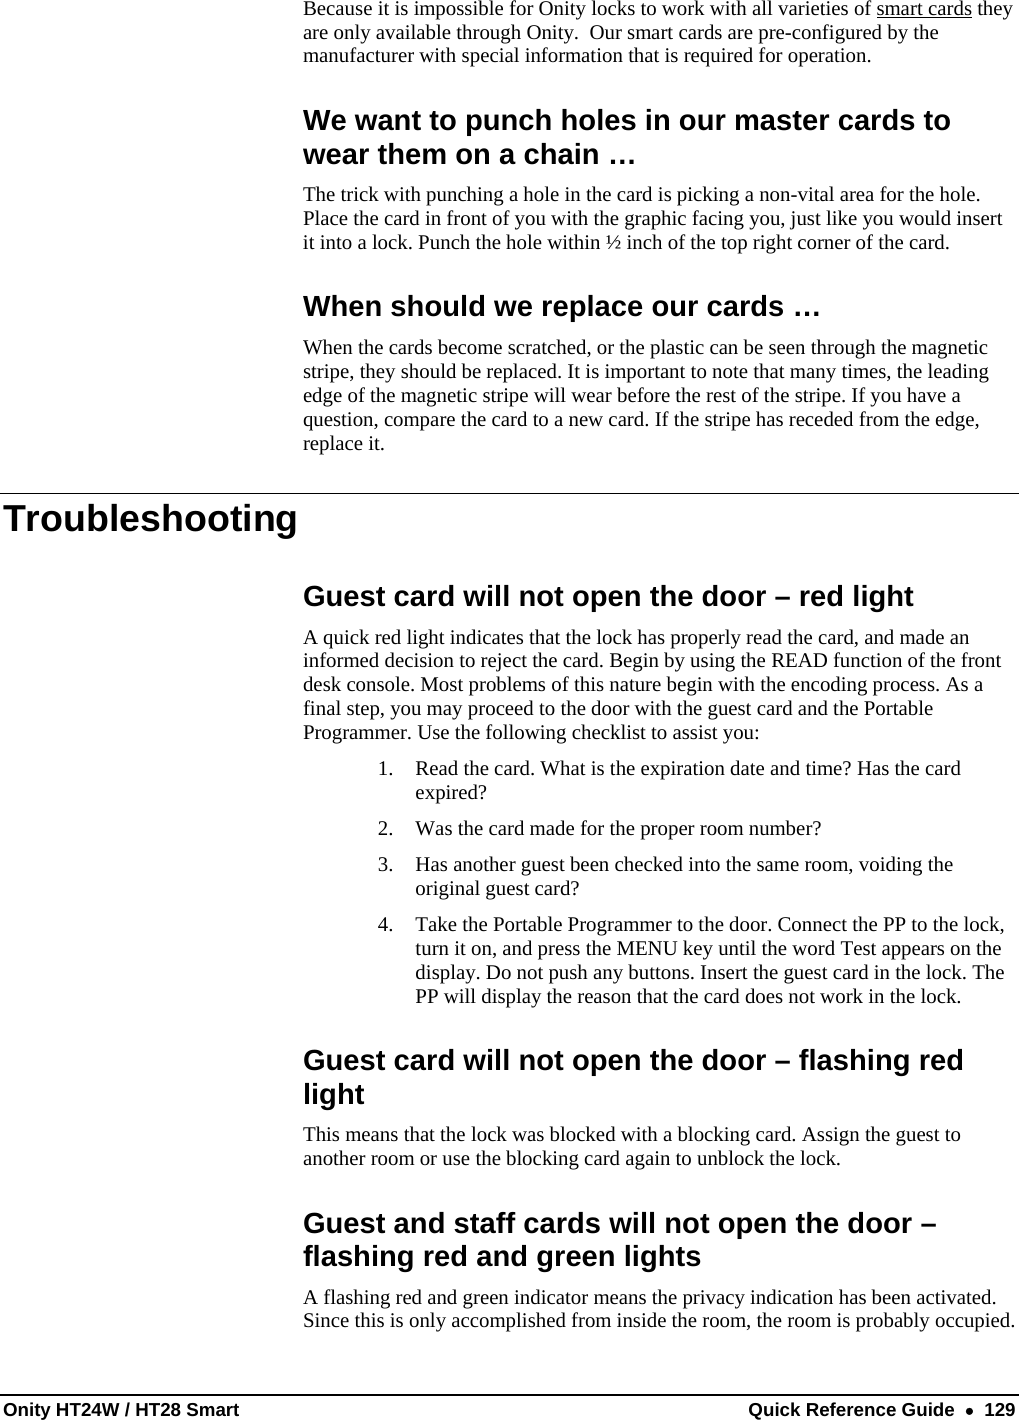
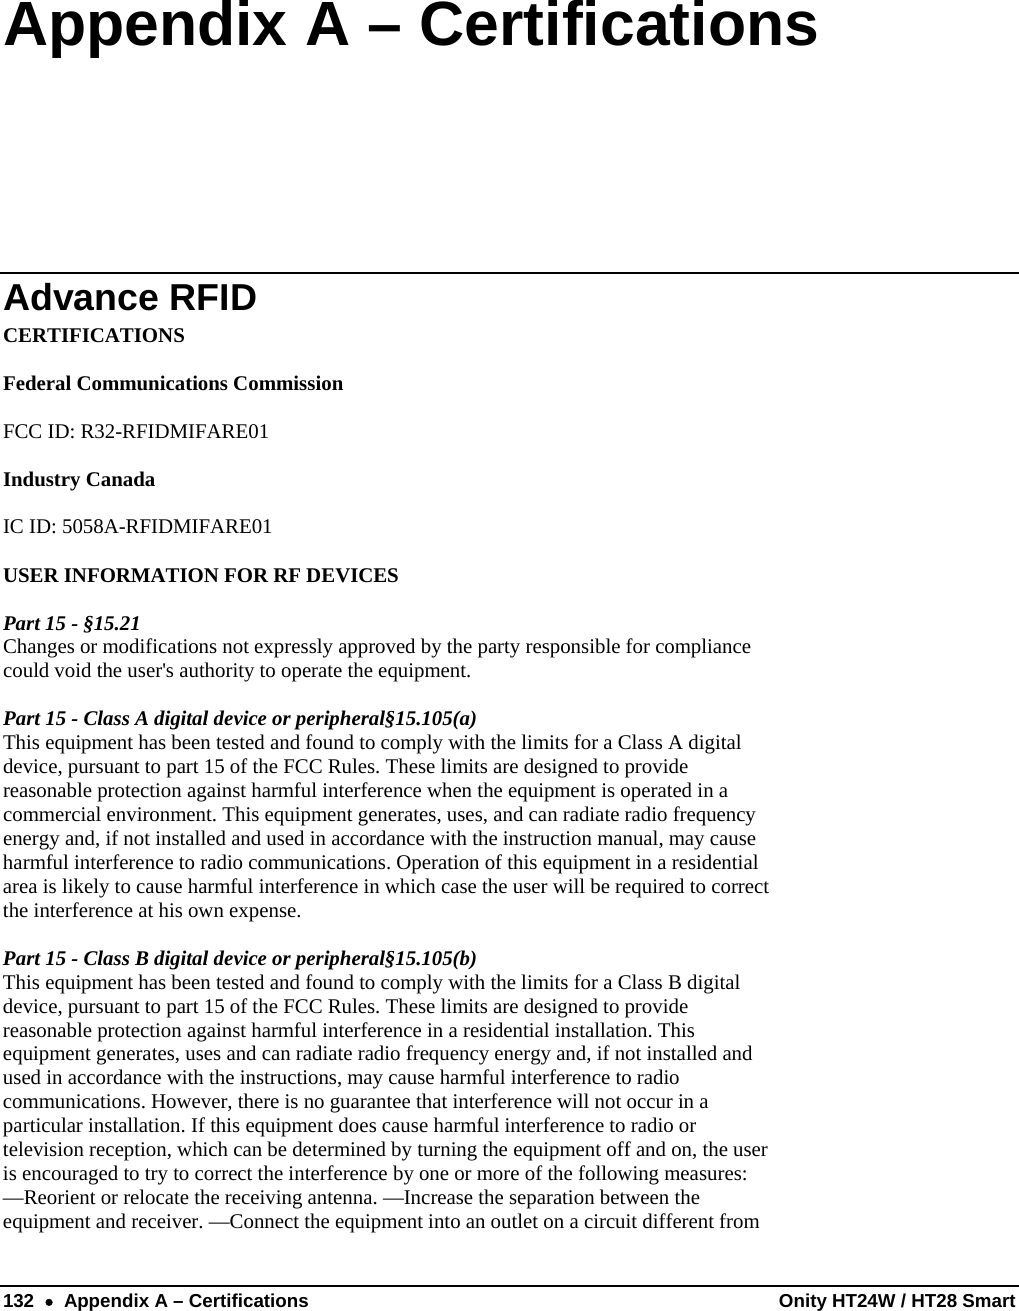
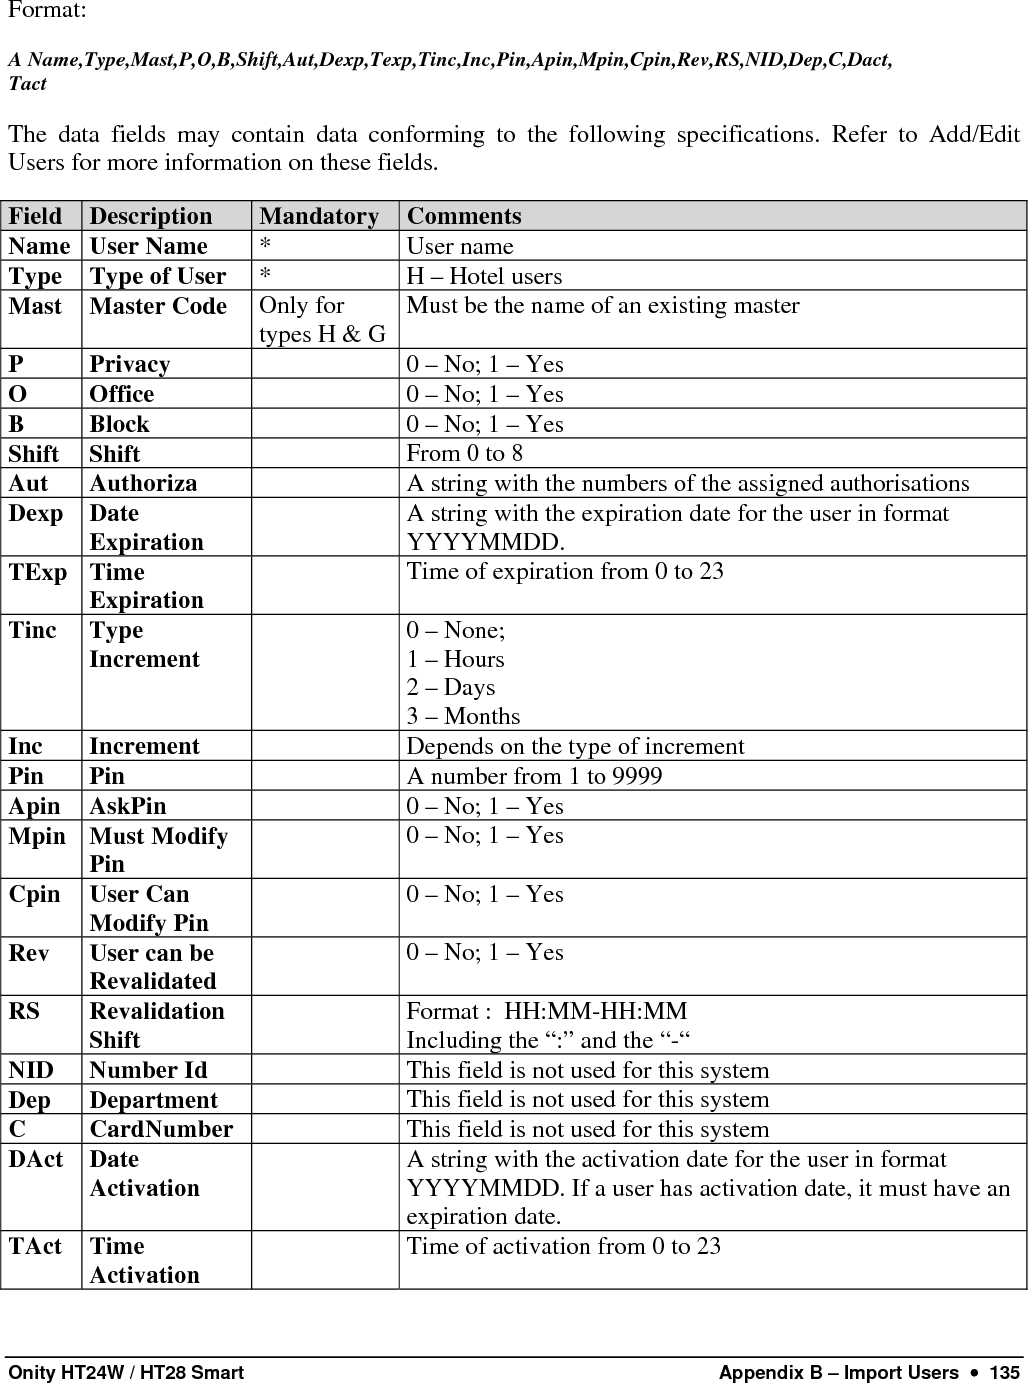
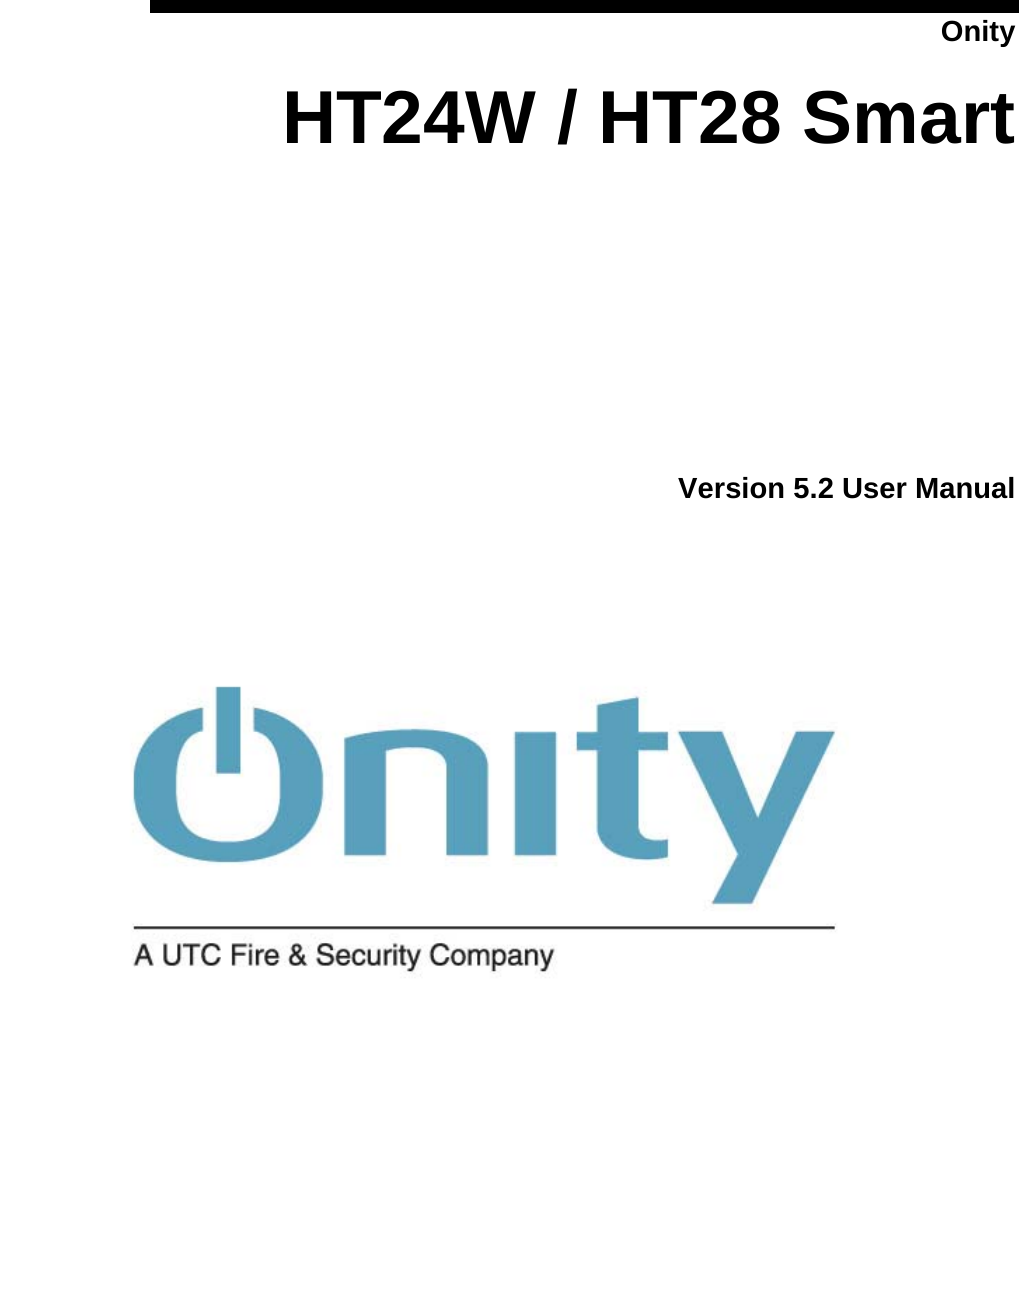
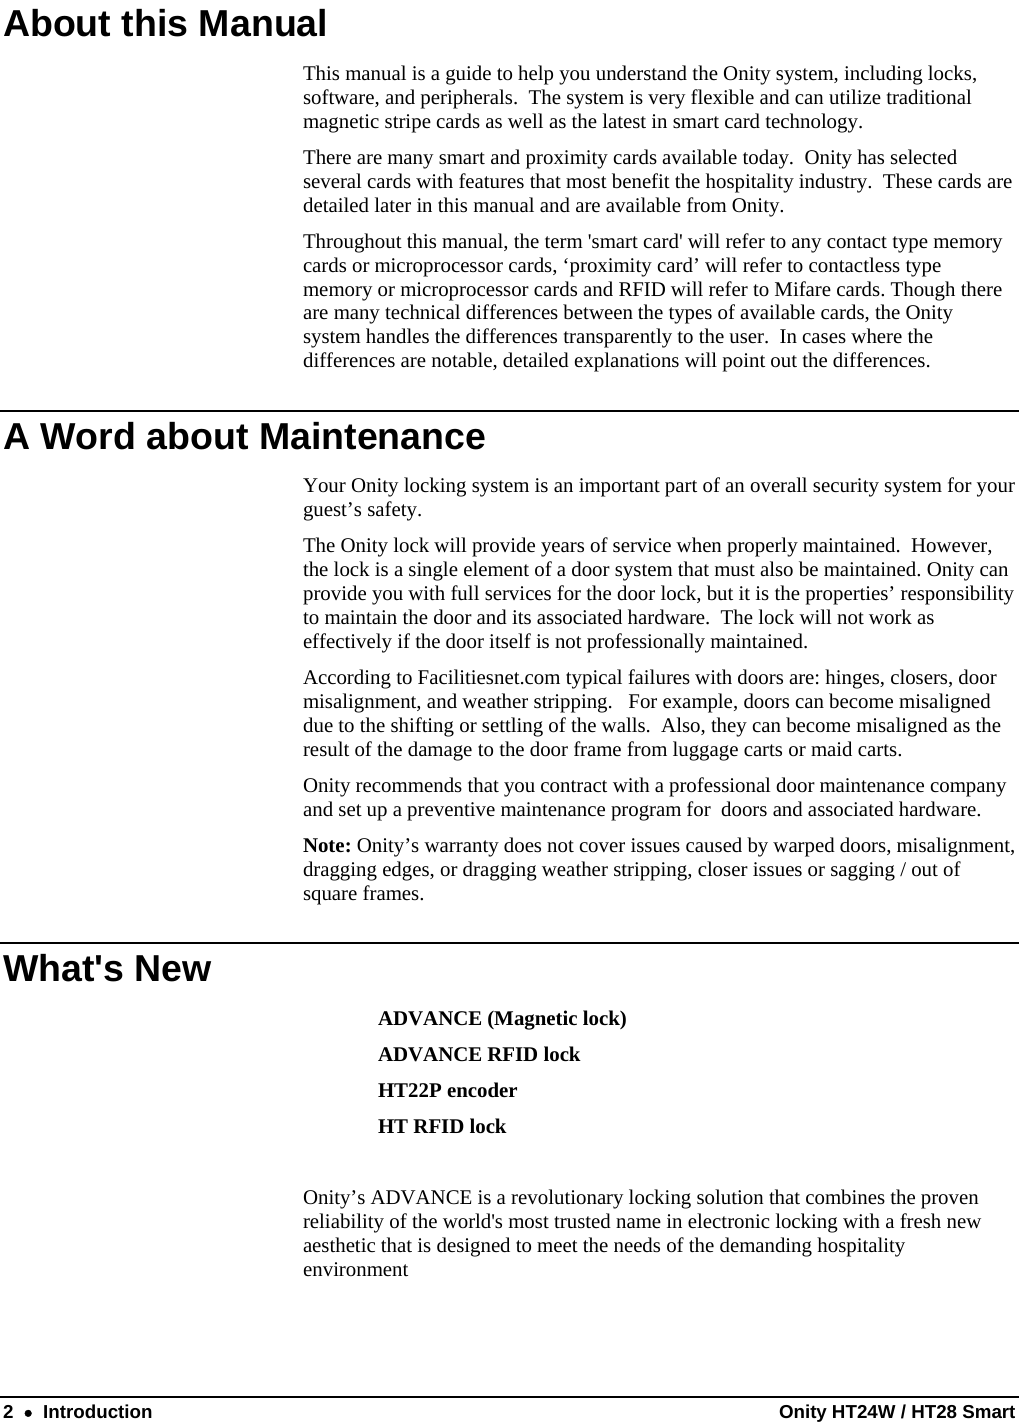
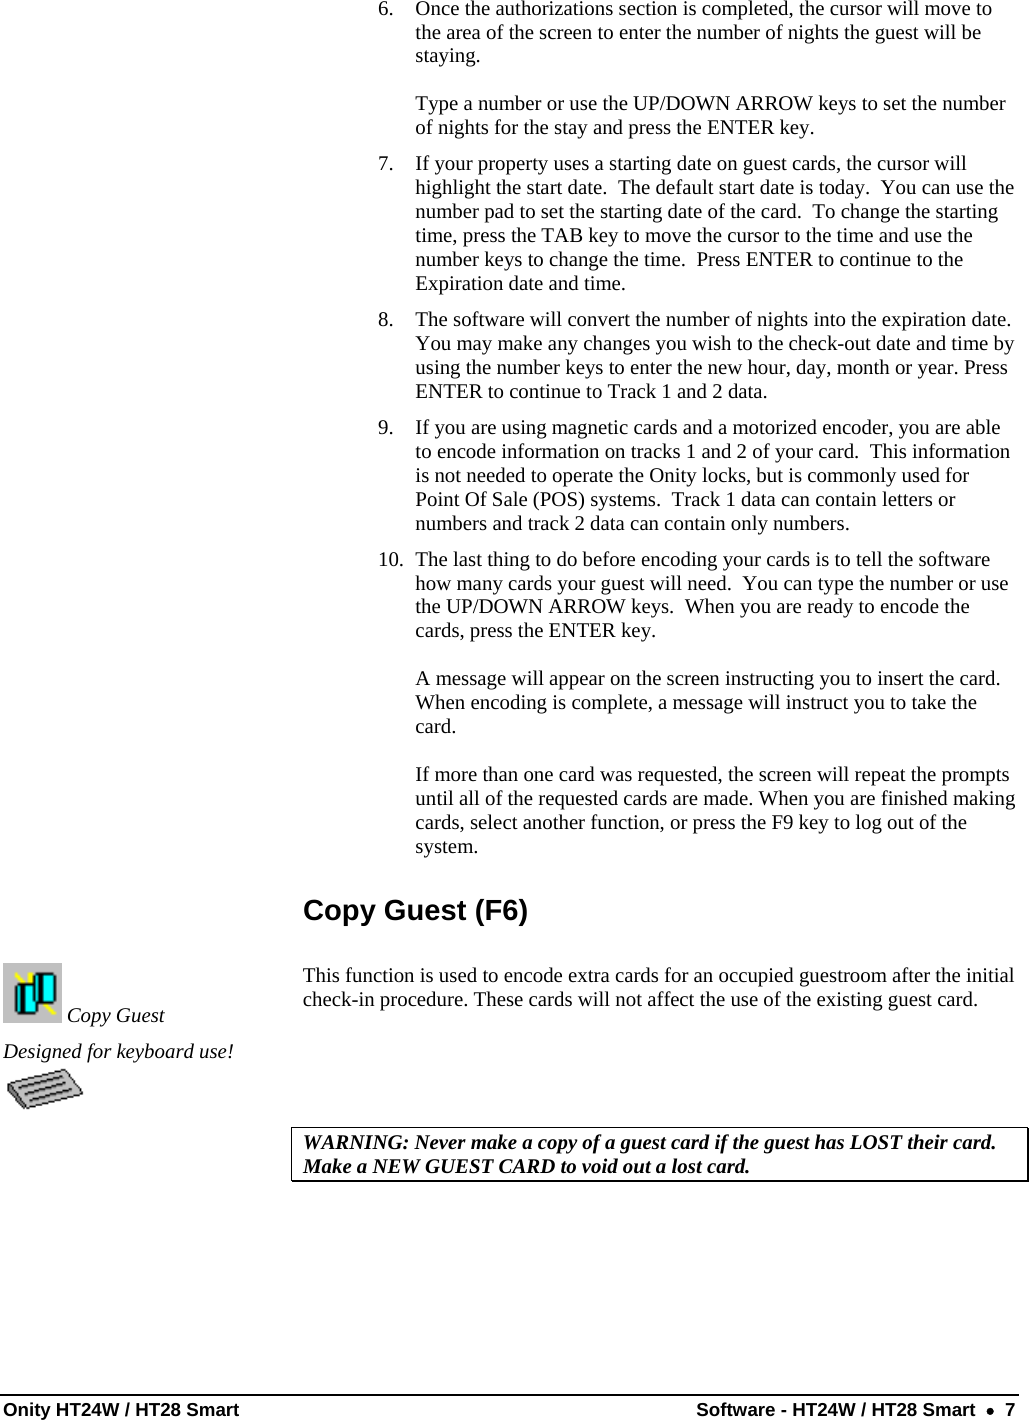
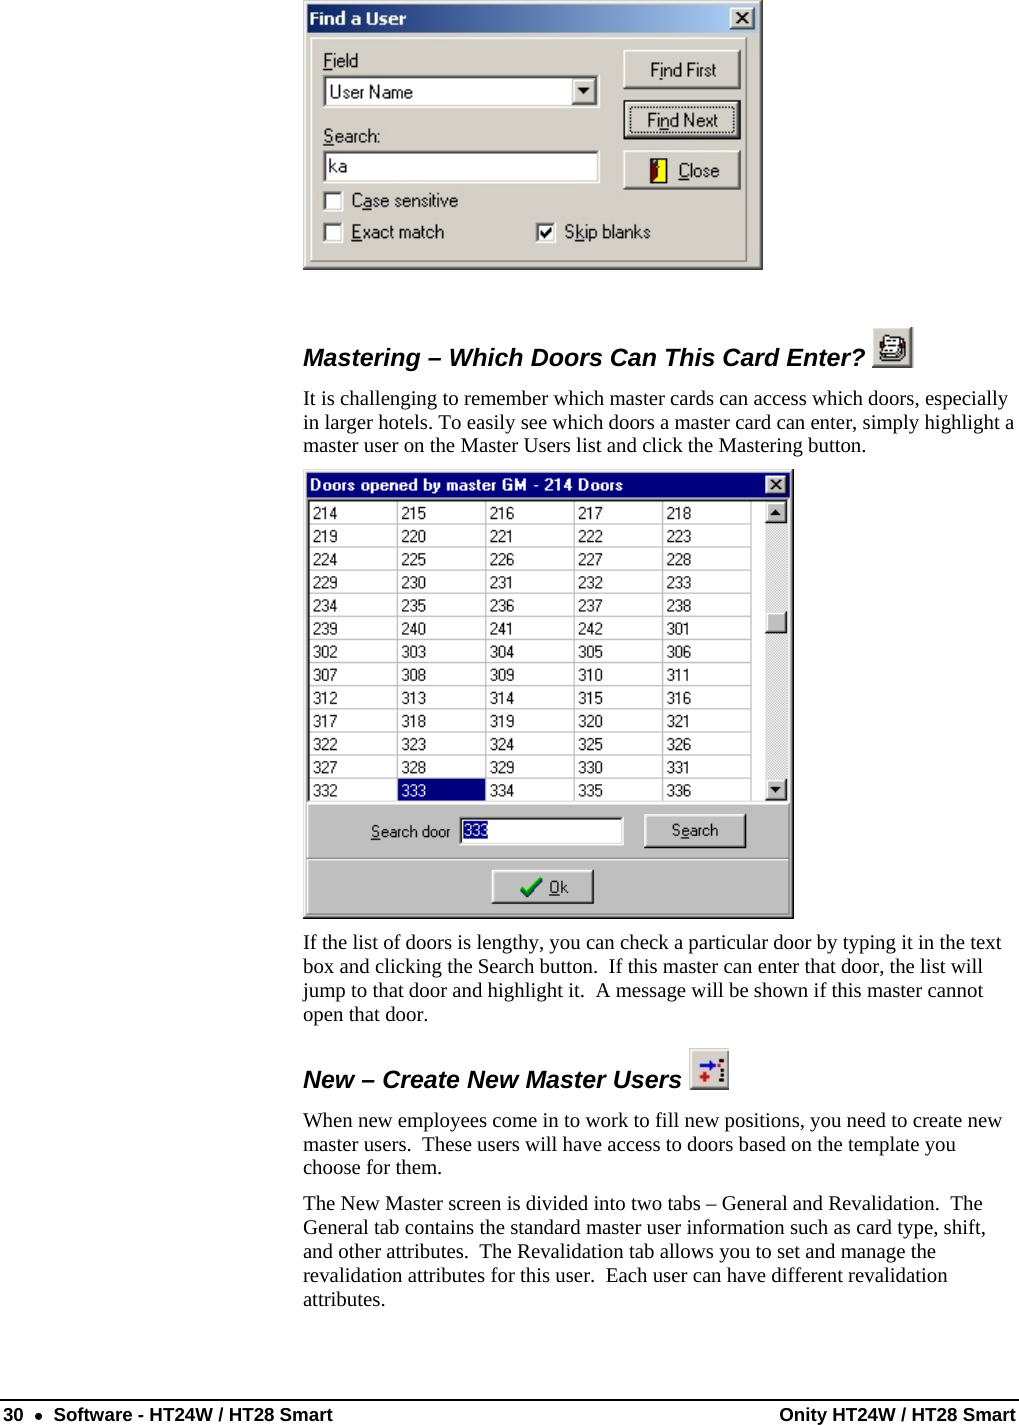
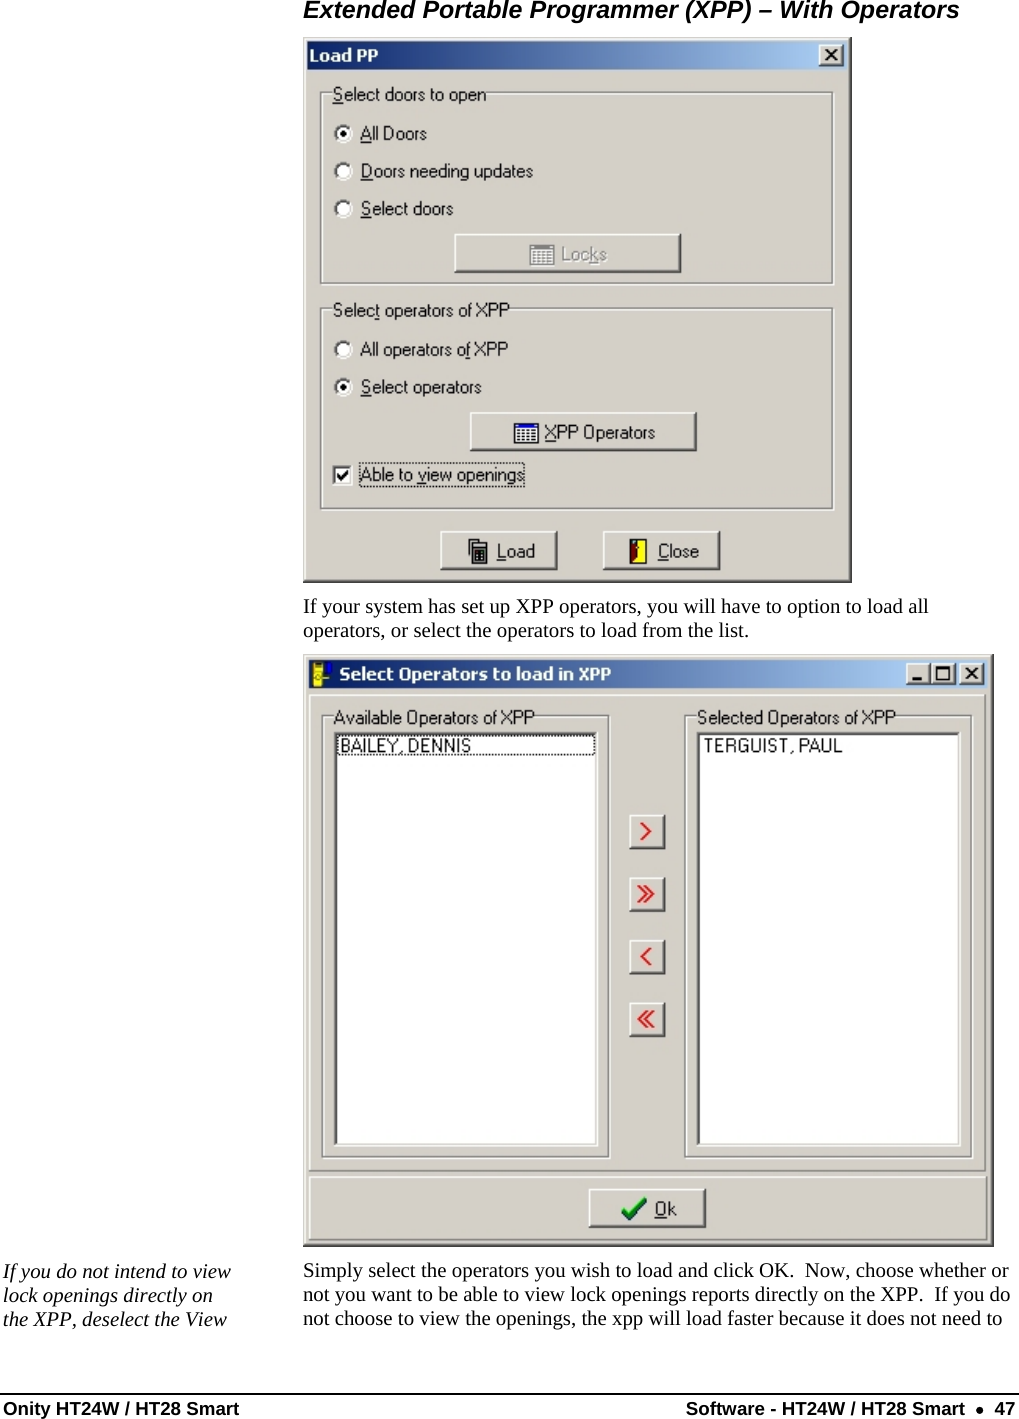
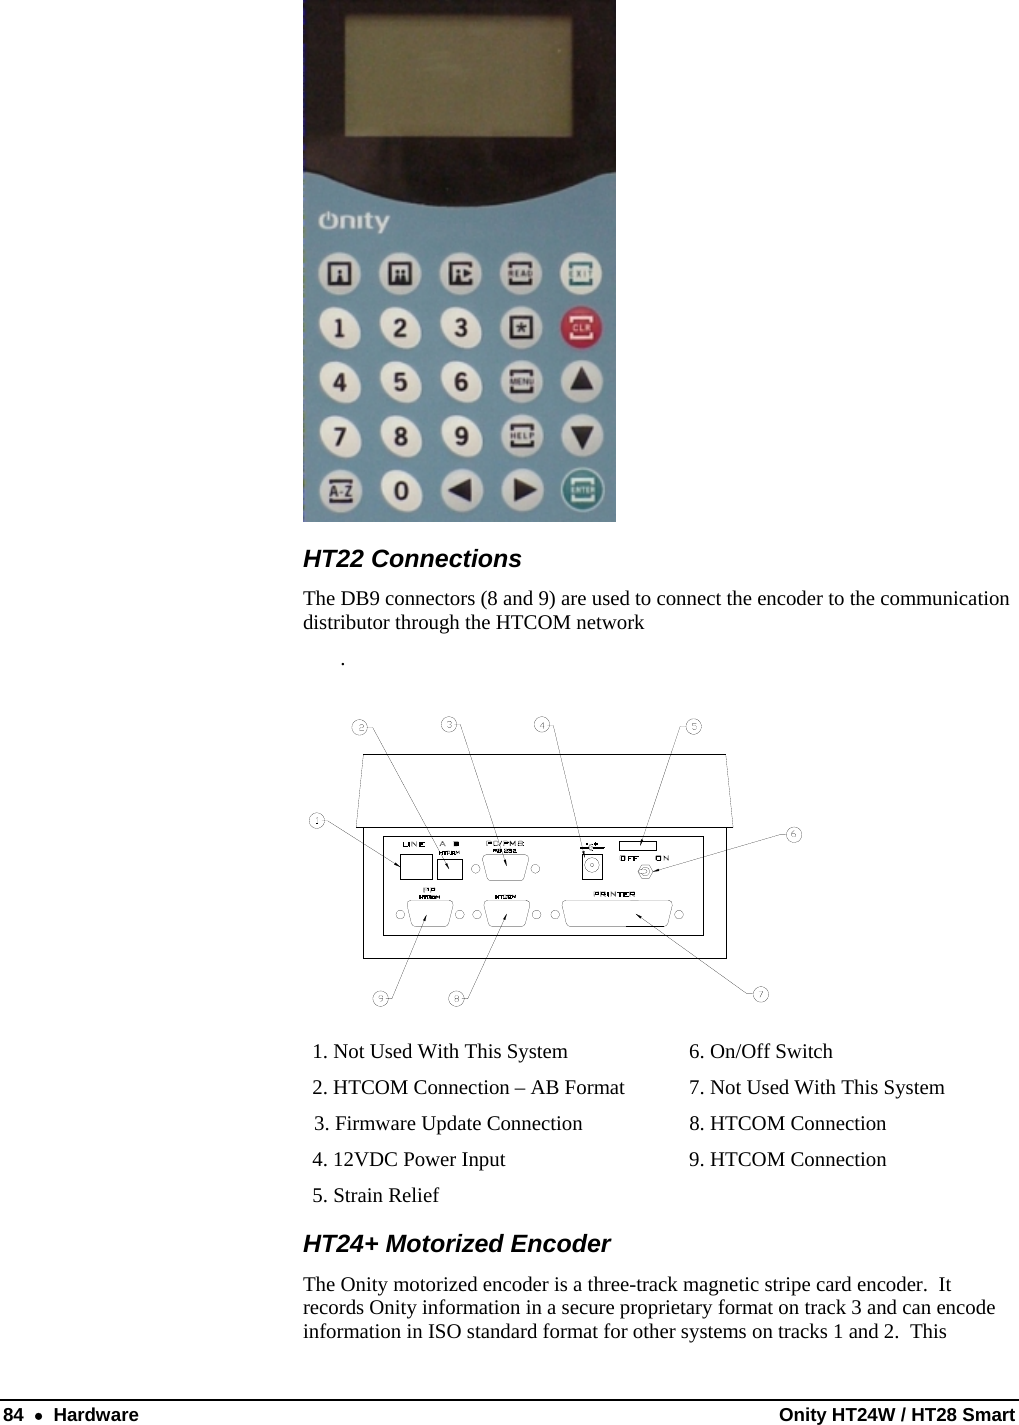
![88 • Hardware Onity HT24W / HT28 Smart [ADVANCE Dual shown] Modes of Operation and Capabilities HT28 Dual / ADVANCE Dual • Standard Guestroom Mode / Suite Mode The standard operation of an HT28 Dual / ADVANCE Dual lock is normal guest room mode. In this mode, a single guest card code is allowed to enter along with any selected master cards. To gain access, the card must have the proper site code, the correct card code, any applicable authorization, and within the activation and expiration dates. • Foyer Mode A foyer lock does not keep an audit trail or card codes. To gain access, the card must have the proper site code, any applicable authorization, and within the activation and expiration dates. • Selective Mode The selective lock is a combination of corridor and back-of-house locks found in HT24 systems. Essentially, a selective lock is a freely keyed lock that can accept as many as 250 users with an audit trail, or 500 users without. Guest room keys and staff cards can be set to have access in the locking plan. To gain access, the card must have the proper site code, the correct card code, any applicable authorization, and within the activation and expiration dates. Automatic Code Change – HT28 Dual / ADVANCE Dual The most important feature of the Onity electronic lock is that it changes its code automatically for each new guest that checks into the room. Each new guest card used in a lock will automatically void the previous guest card.](https://usermanual.wiki/Onity/HTRFIDMFR01/User-Guide-1551691-Page-94.png)