Orolia E5-2 McMurdo Smartfind E5, Kannad Marine Automatic EPIRB, Kannad Marine Manual EPIRB, Sailor SE406-II, Simrad EP50 User Manual Kannad Marine
Orolia Ltd McMurdo Smartfind E5, Kannad Marine Automatic EPIRB, Kannad Marine Manual EPIRB, Sailor SE406-II, Simrad EP50 Kannad Marine
Orolia >
Contents
- 1. User Manual McMurdo
- 2. User Manual Kannad Marine
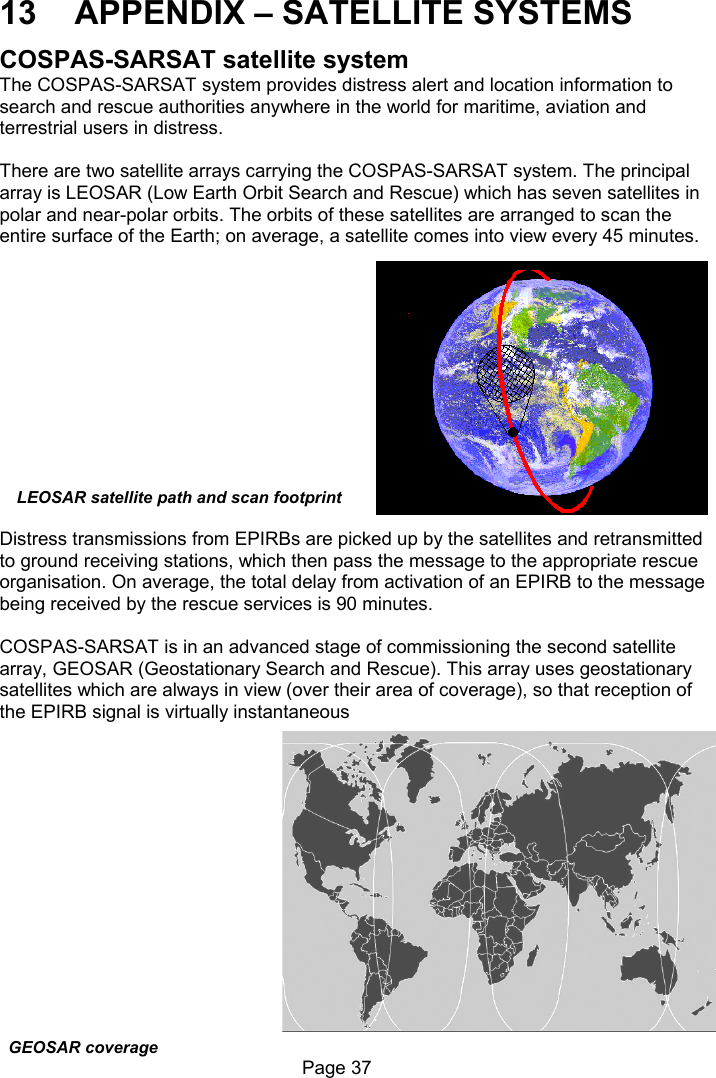
User Manual Kannad Marine