PARROT EBOX4R2 Bluetooth Car Kit with 433 MHz Receiver User Manual MKi9100
PARROT Bluetooth Car Kit with 433 MHz Receiver Users Manual MKi9100
PARROT >
Contents
- 1. Users Manual MKi9000
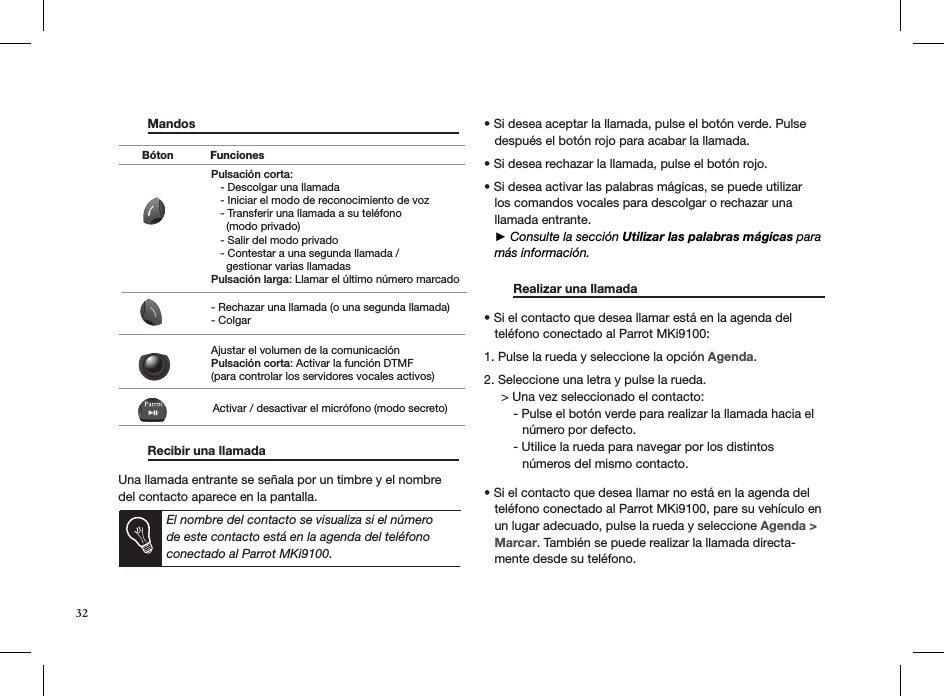
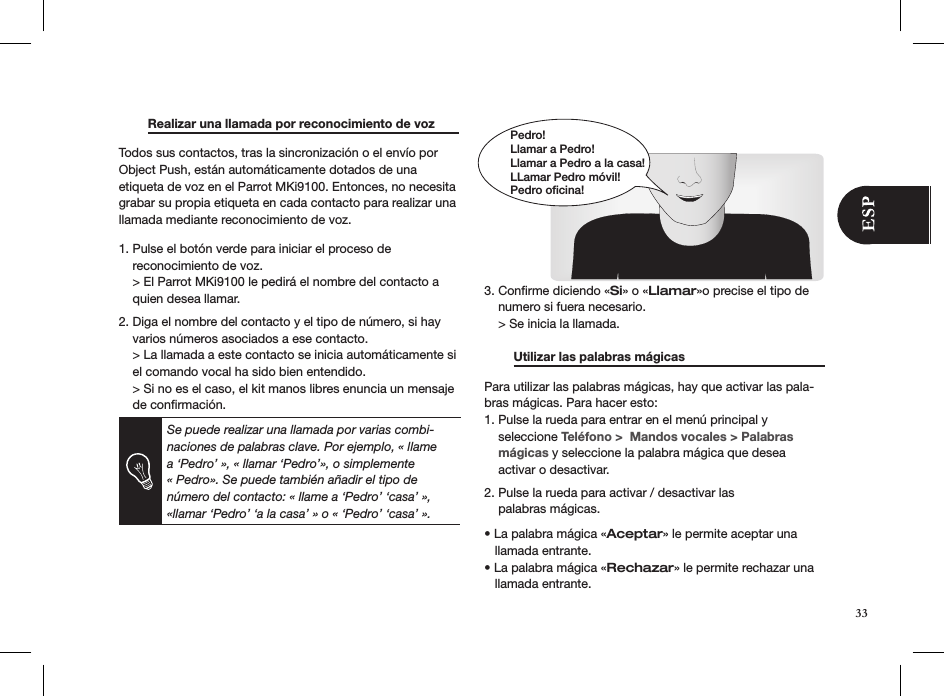
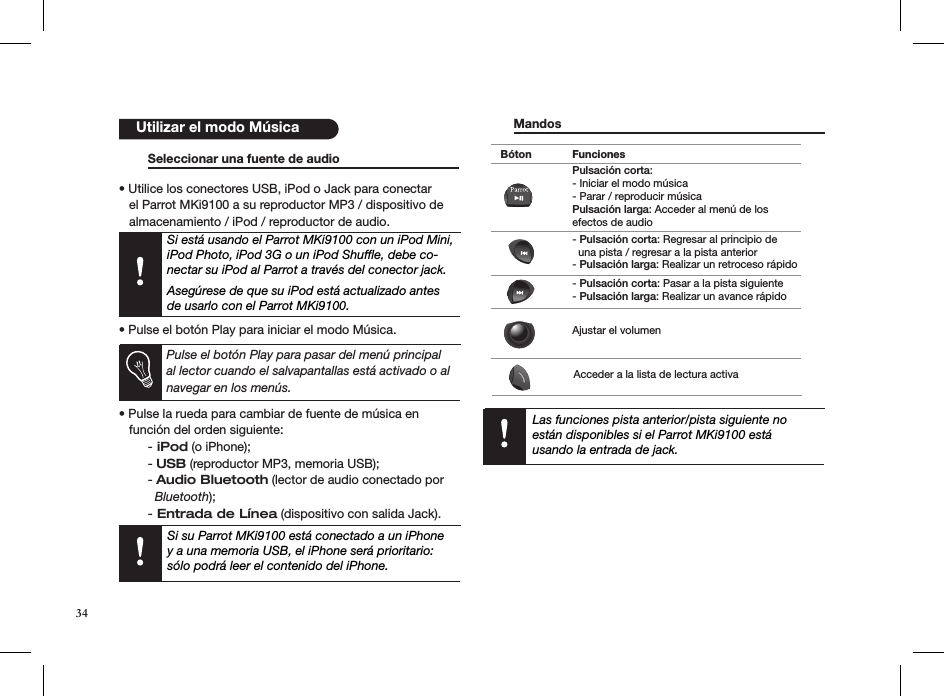
- 2. Users Manual MKi9100
- 3. Users Manual MKi9200
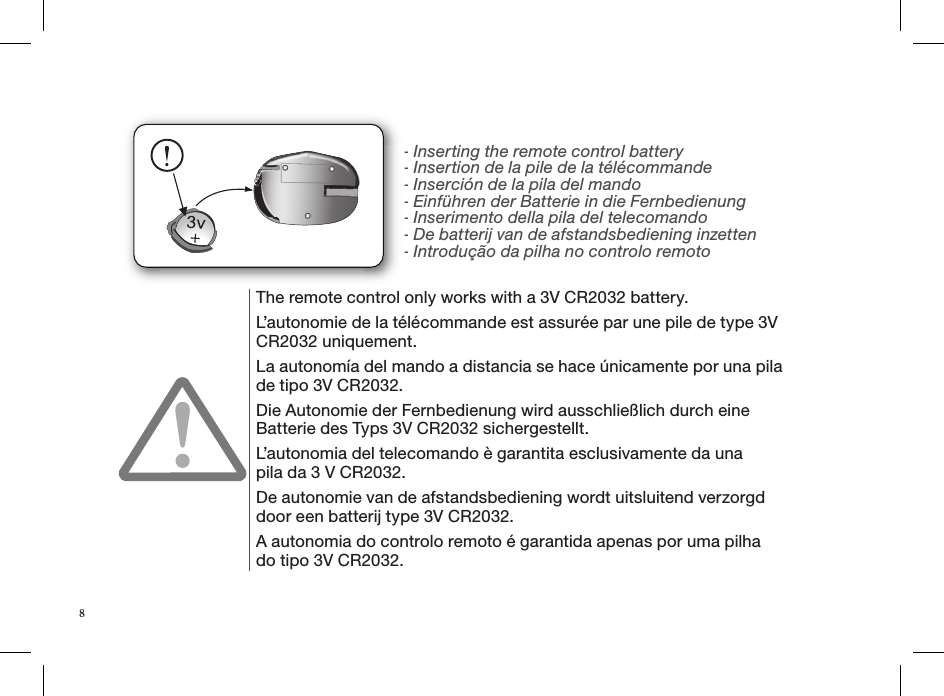
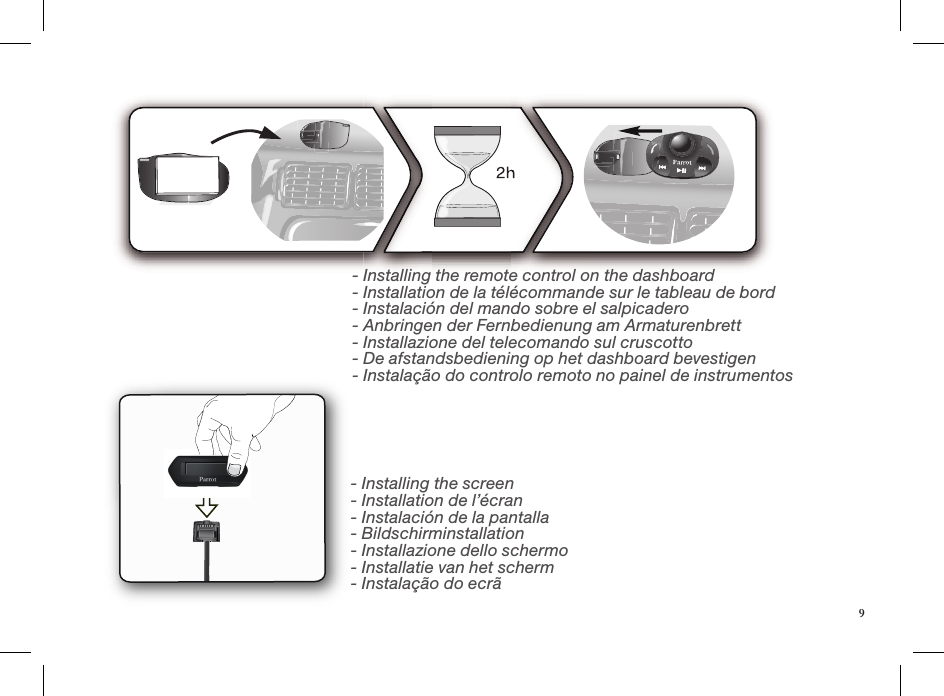
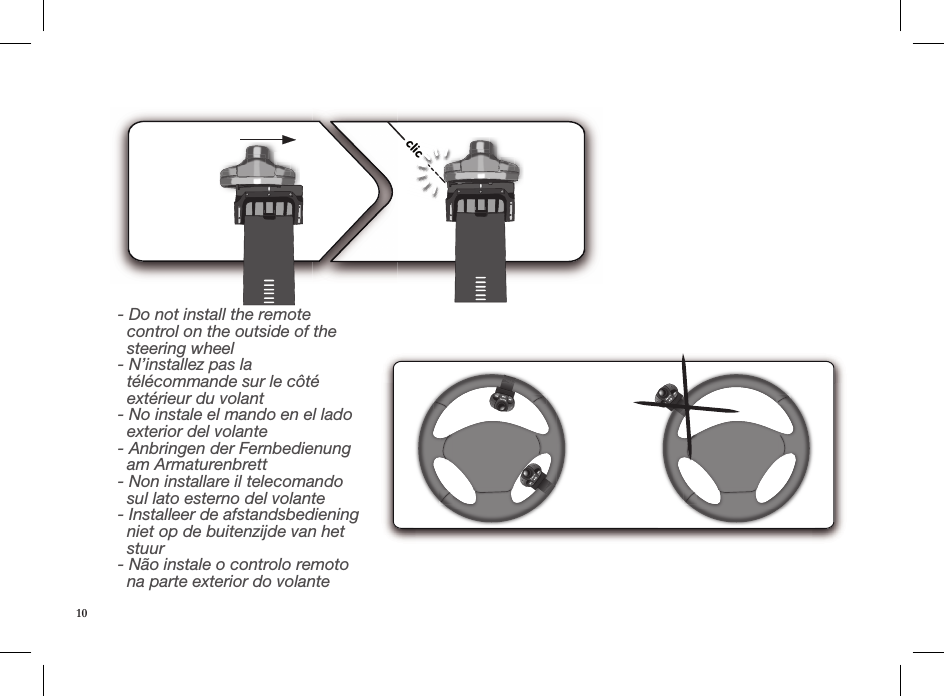
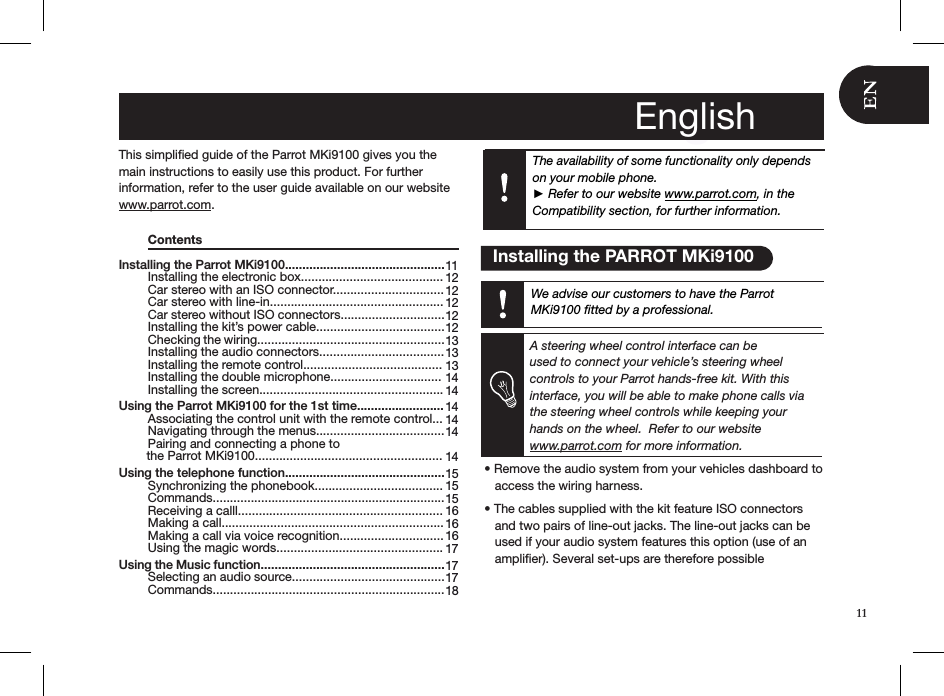
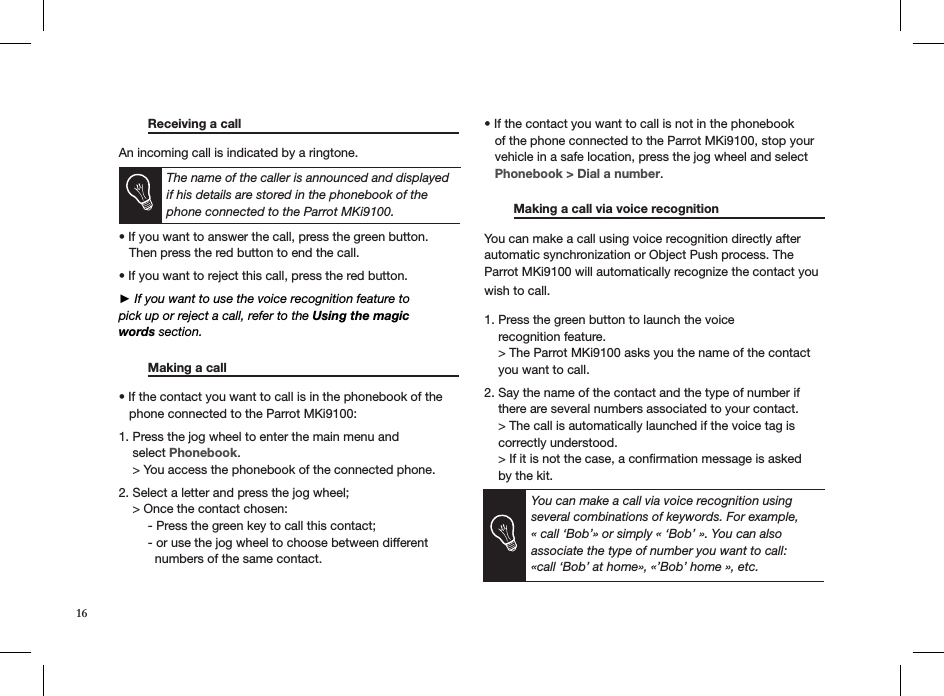
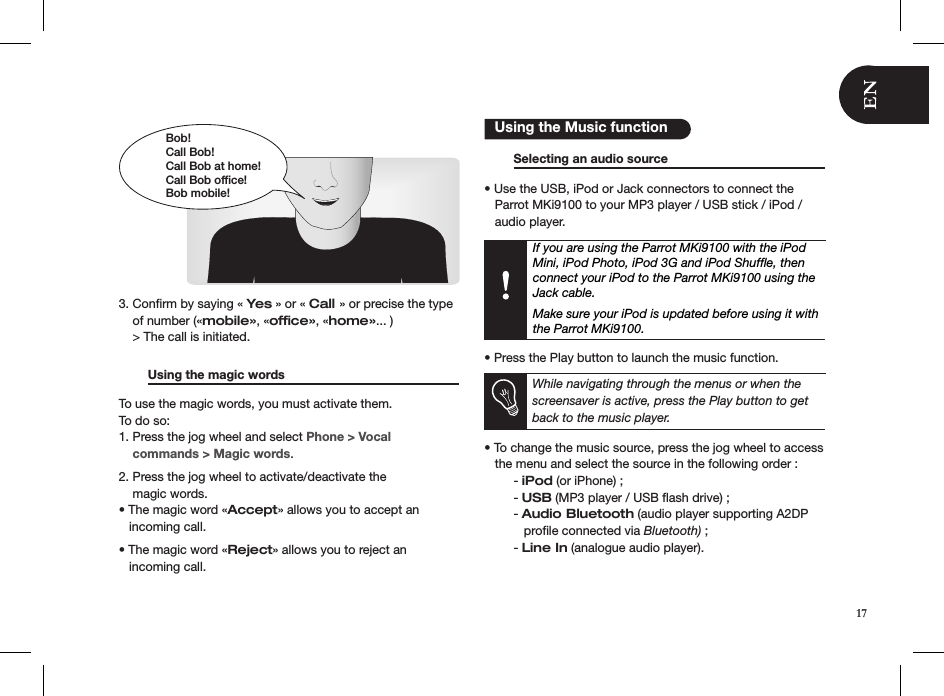
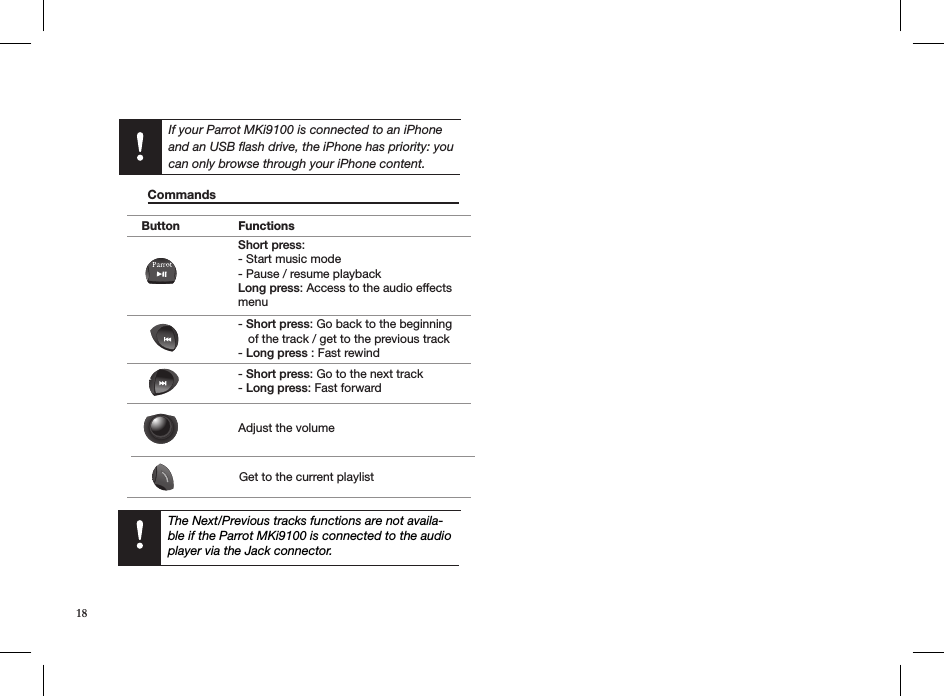
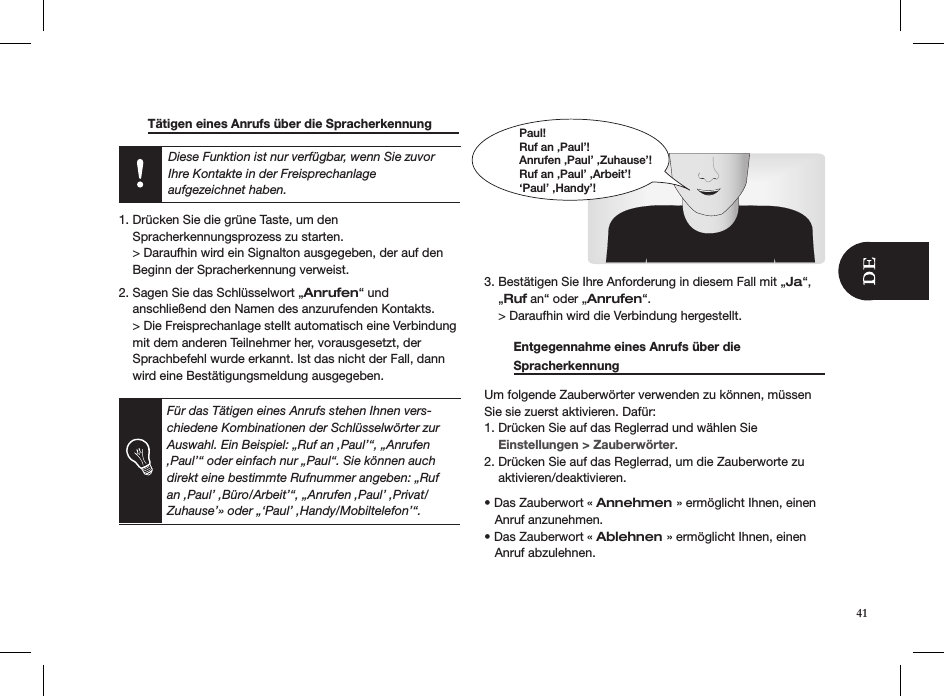
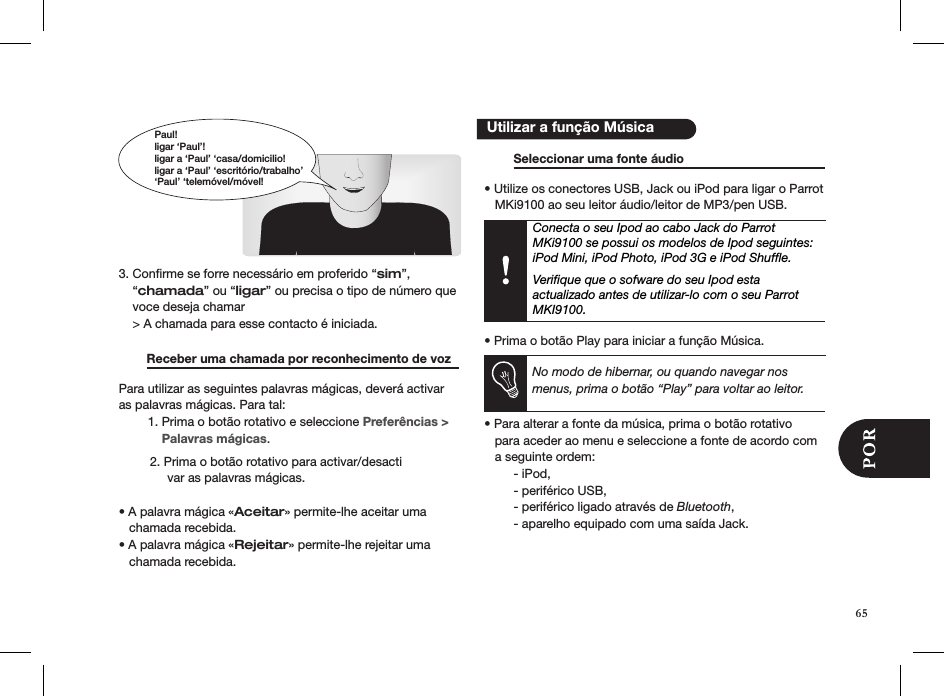
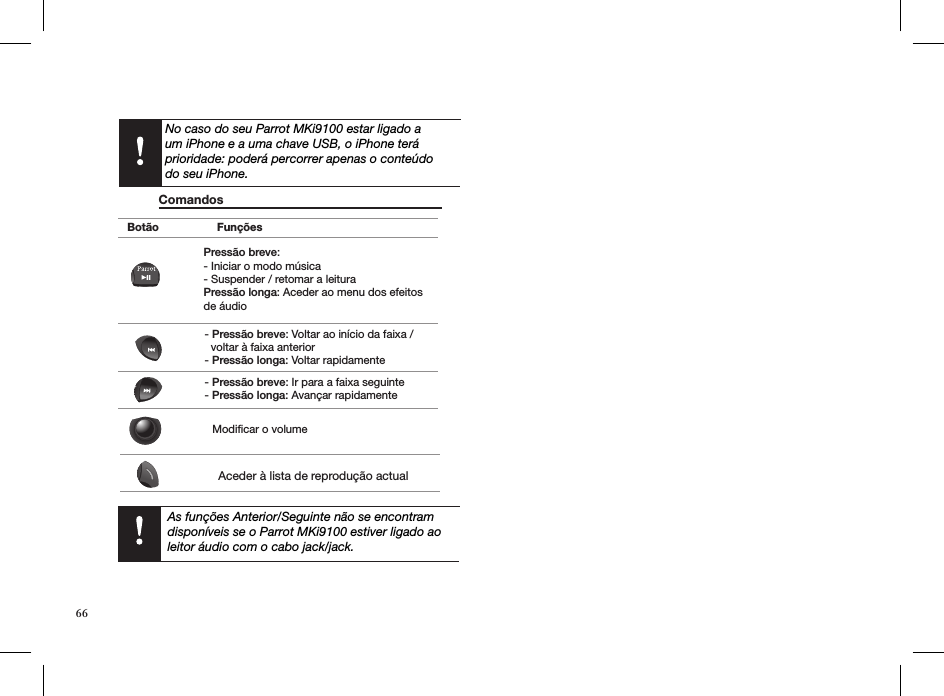
Users Manual MKi9100


![door Parrot S.A. gebeurt onder licentie. iPod is een in de Verenigde Staten en in andere landen gedeponeerd merk van Apple Inc.Het etiket «Made for iPod» betekent dat een elektronisch accessoire speciaal voor de iPod is ontwikkeld en dat de ontwikkelaar certificeert dat het voldoet aan de prestatienormen van Apple. Alle andere in dit document vermelde handelsmerken en gedeponeerde merken worden door Copyright beschermd en zijn het eigendom van hun respectieve eigenaren. Informação geral GarantiaOs produtos Parrot, peças e mão-de-obra, têm garantia de 1 ano a contar da data de aquisição, salvo alteração do produto e mediante a apresentação da prova de compra (data e local de compra, n.º de série do produto) ao revendedor. A garantia não cobre a actualização dos softwares incluídos nos produtos Parrot com telemóveis Bluetooth ® com vista a torná-los compatíveis, a recuperação de dados, a deterioração exterior do produto causada pelo seu uso normal, qual-quer dano resultante de acidentes, uma utilização anormal ou não confor-me do produto, um produto que não seja Parrot. A Parrot não é responsável pela armazenagem, perda ou dano de dados durante o transporte ou reparação.Todos os produtos conside-rados sem defeito serão remetidos ao expedidor e os custos de tratamento, de verificação e transporte ser-lhe-ão imputados. Devido à especificidade técnica deste produto, recomendamos que a sua instalação seja feita pelo seu mecânico. Em nenhum caso a Parrot será responsável por qualquer dano causado por uma instalação que não esteja em conformidade com as instruções constantes no folheto infor-mativo e/ou uma instalação incorrecta efectuada pelo cliente. Eliminação correta deste produto(Resíduos de Equipamentos Elétricos e Eletrônicos)Esta marca, apresentada no produto ou no seu manual indica que ele não deverá ser eliminado juntamente com os resíduos domésticos comuns no final do seu período de vida útil. Para impedir danos ao ambiente e à saúde humana causados pela eliminação incontrolada de resíduos, este equipa-mento deverá ser separado de outros tipos de resíduos e reciclado de forma responsável, para promover uma reutilização sustentável dos recursos materiais. Modificações As explicações e especificações presentes neste manual são meras informações concedidas, podendo ser modificadas sem aviso prévio. Marca registadaO nome e o logotipo Bluetooth são marcas registadas de Bluetooth ® SIG, Inc., e qualquer utilização pela Parrot S.A. encontra-se licenciada. iPod é uma marca registada da Apple Inc., dos Estados Unidos e em outros países.FCC ID: RKXEBOX4R2 RKXSAMOS4HotlineOur hotline is at your disposal from Monday to Friday between 9 am and 6 pm (GMT + 1) - Hot-line@parrot.comItaly : [+39] 02 59 90 15 97Spain : [+34] 902 404 202UK : [+44] (0)844 472 2360Germany : 0900 1727768USA : [+1] (877) 9 Parrot (toll free)China : [+86] 755 8203 3307Hong Kong : [+852] 2736 1169France : 01 48 03 60 69Europe : [+33] 1 48 03 60 69 (Spoken languages : French, English and Spanish) ?...78](https://usermanual.wiki/PARROT/EBOX4R2.Users-Manual-MKi9100/User-Guide-1210397-Page-78.png)
![FCC ID: RKXEBOX4R2 RKXSAMOS4HotlineOur hotline is at your disposal from Monday to Friday between 9 am and 6 pm (GMT + 1) - Hot-line@parrot.comItaly : [+39] 02 59 90 15 97Spain : [+34] 902 404 202UK : [+44] (0)844 472 2360Germany : 0900 1727768USA : [+1] (877) 9 Parrot (toll free)China : [+86] 755 8203 3307Hong Kong : [+852] 2736 1169France : 01 48 03 60 69Europe : [+33] 1 48 03 60 69 (Spoken languages : French, English and Spanish) ?...](https://usermanual.wiki/PARROT/EBOX4R2.Users-Manual-MKi9100/User-Guide-1210397-Page-79.png)