PEGATRON 88451256 UC phone User Manual
PEGATRON CORPORATION UC phone
UserManual.wiki
>
PEGATRON
>
88451256 User Manual
>
User Manual
Contents
1.
User Manual
2.
User Manual RCSI Pointer Card
3.
User Manual Safety
User Manual
Navigation menu
Upload a User Manual
Namespaces
Wiki Guide
HTML
PDF
Info
Views
User Manual
Discussion / Help
Navigation
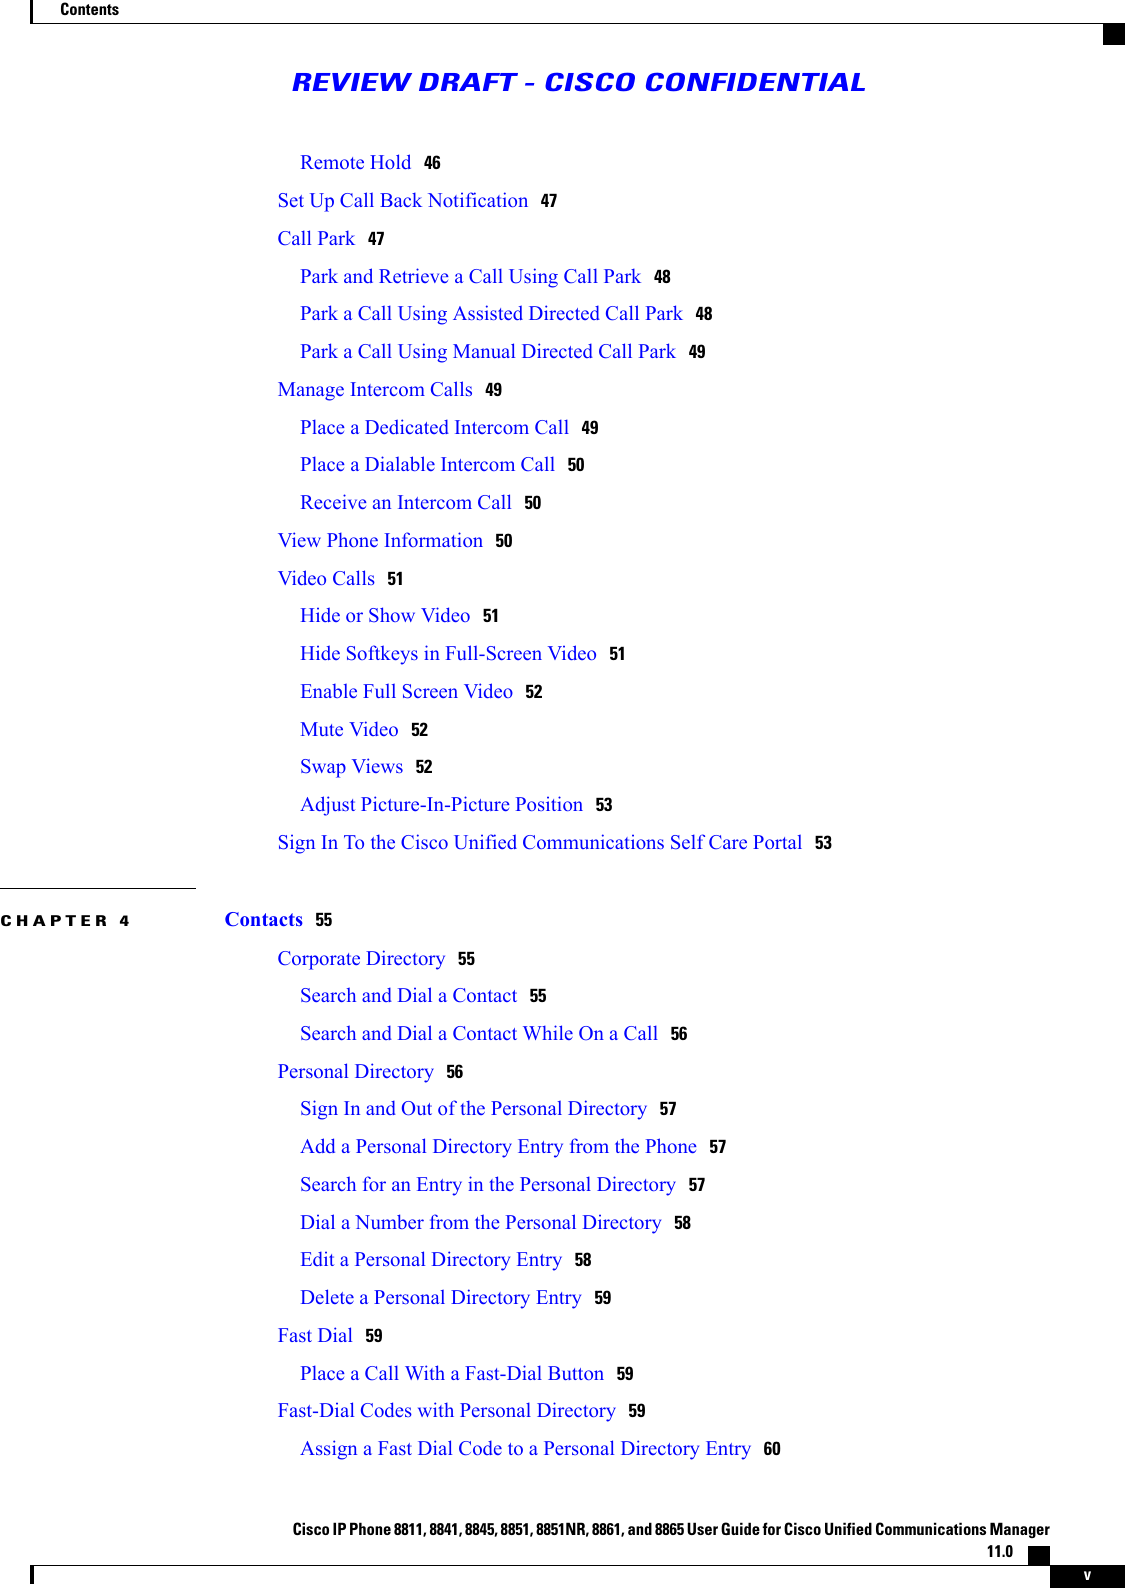


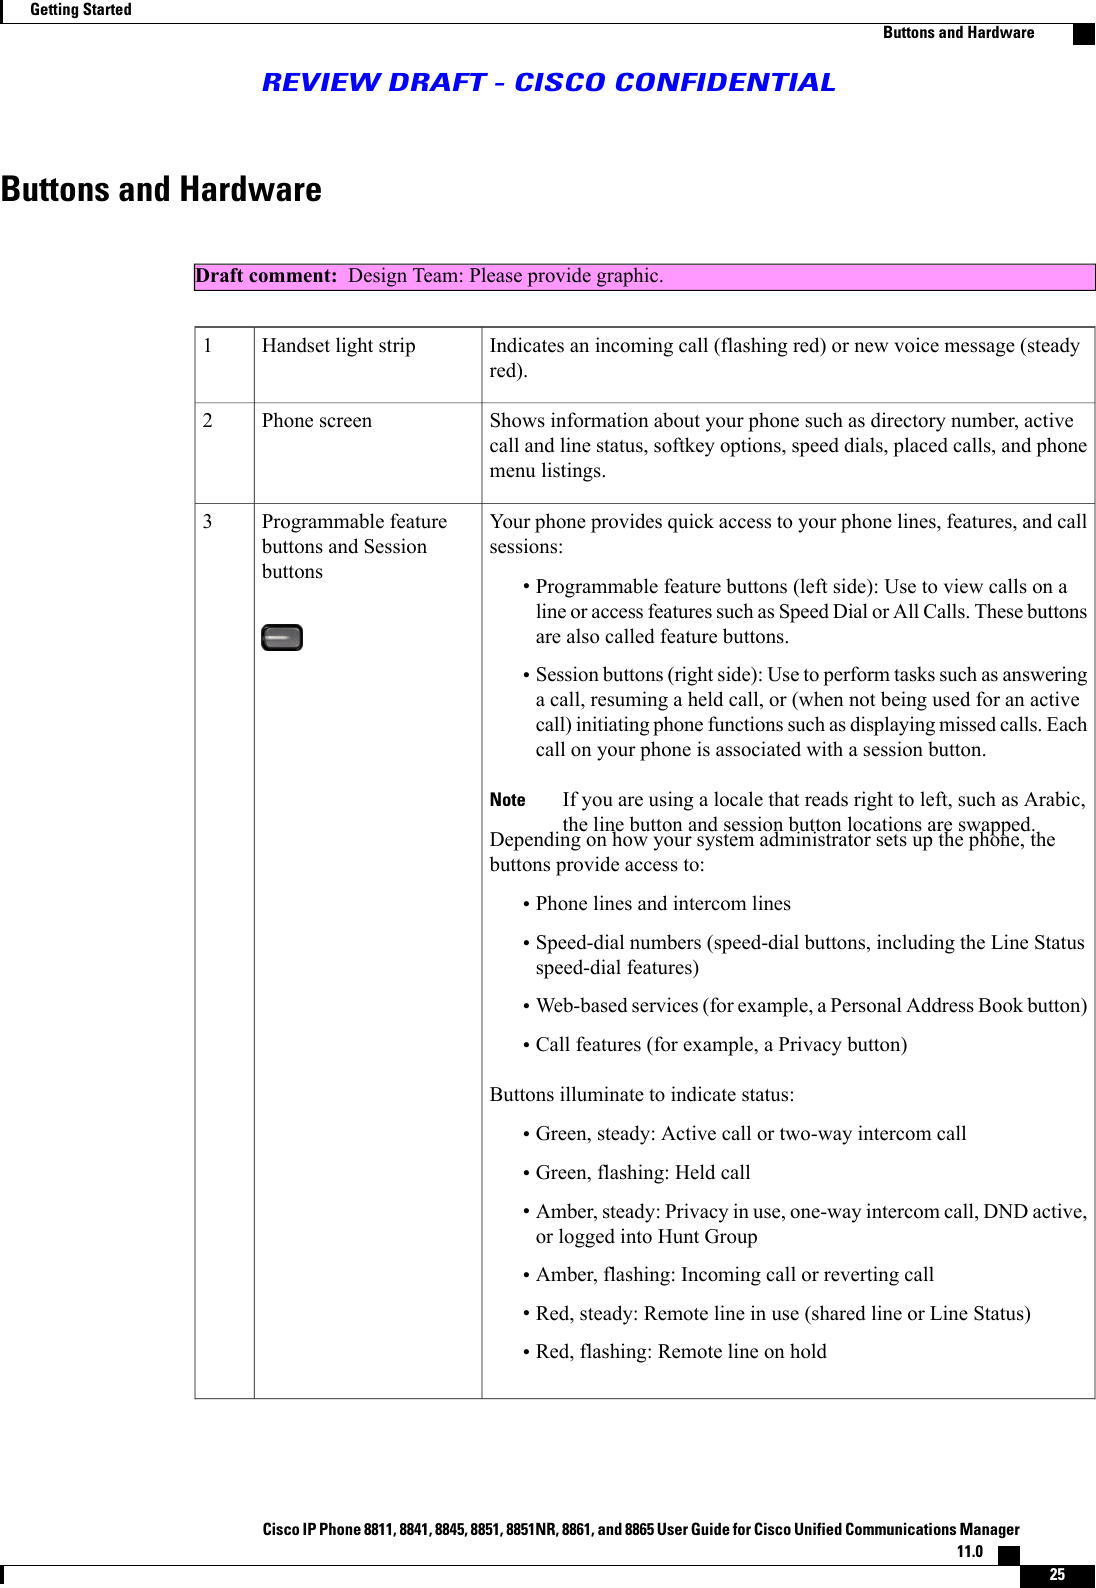
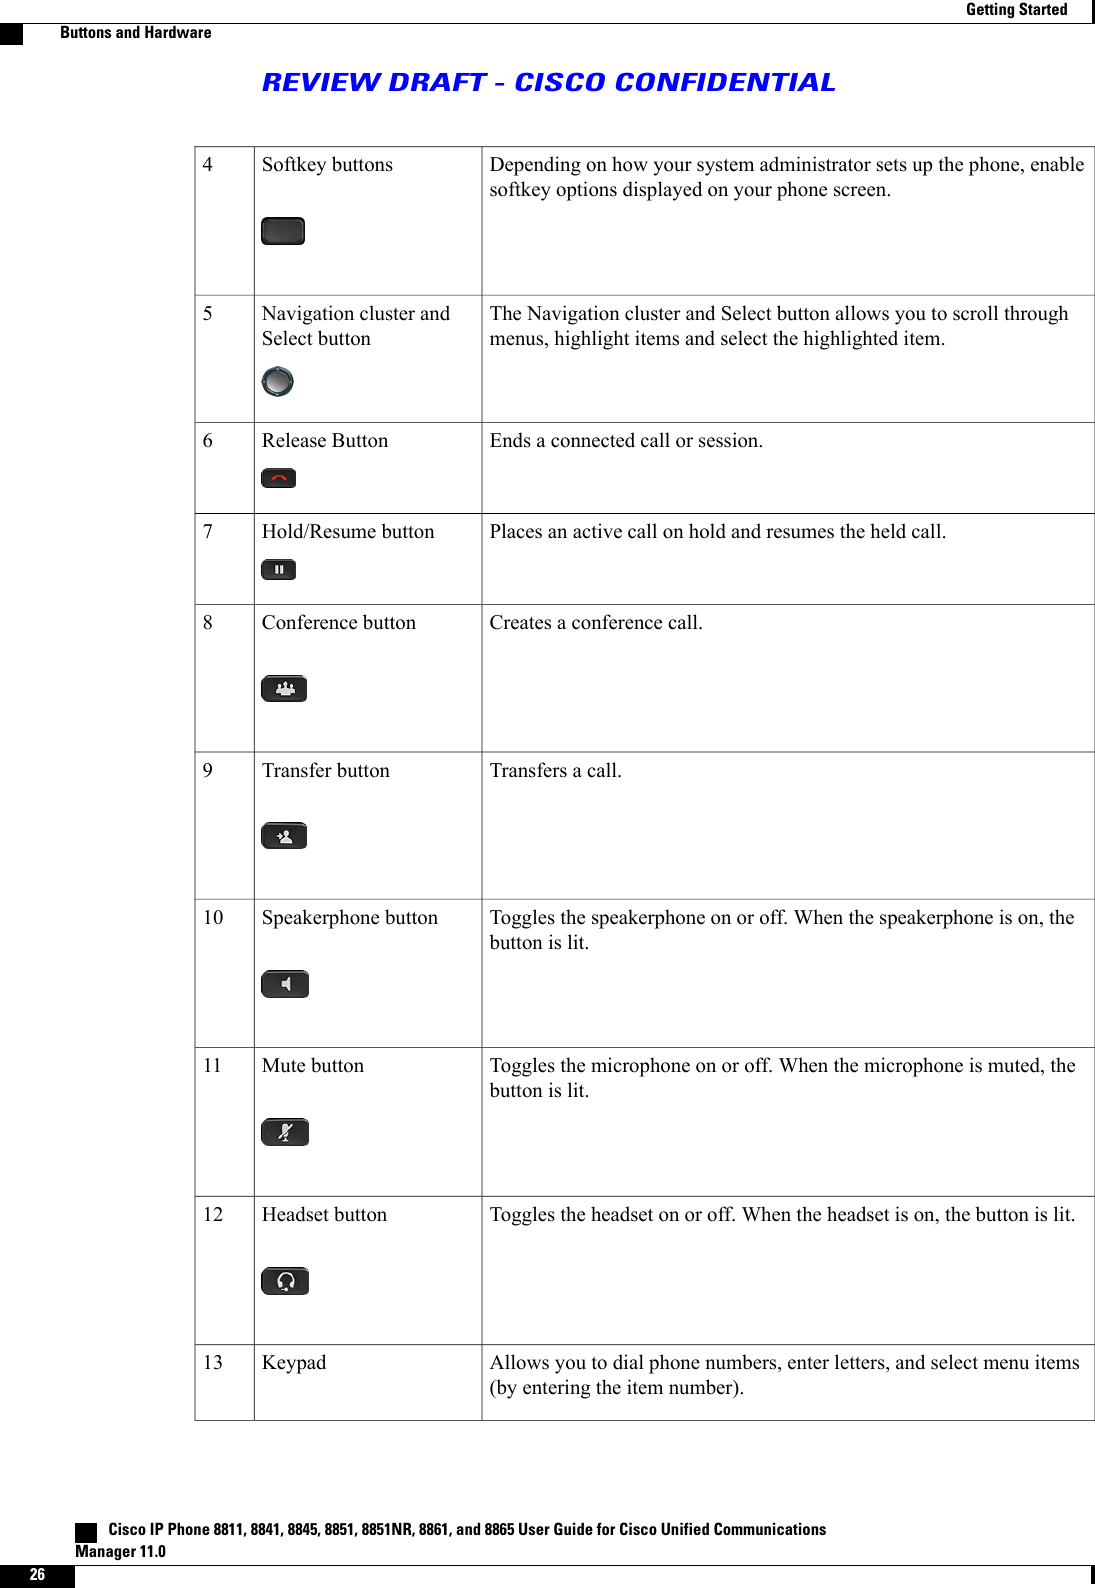
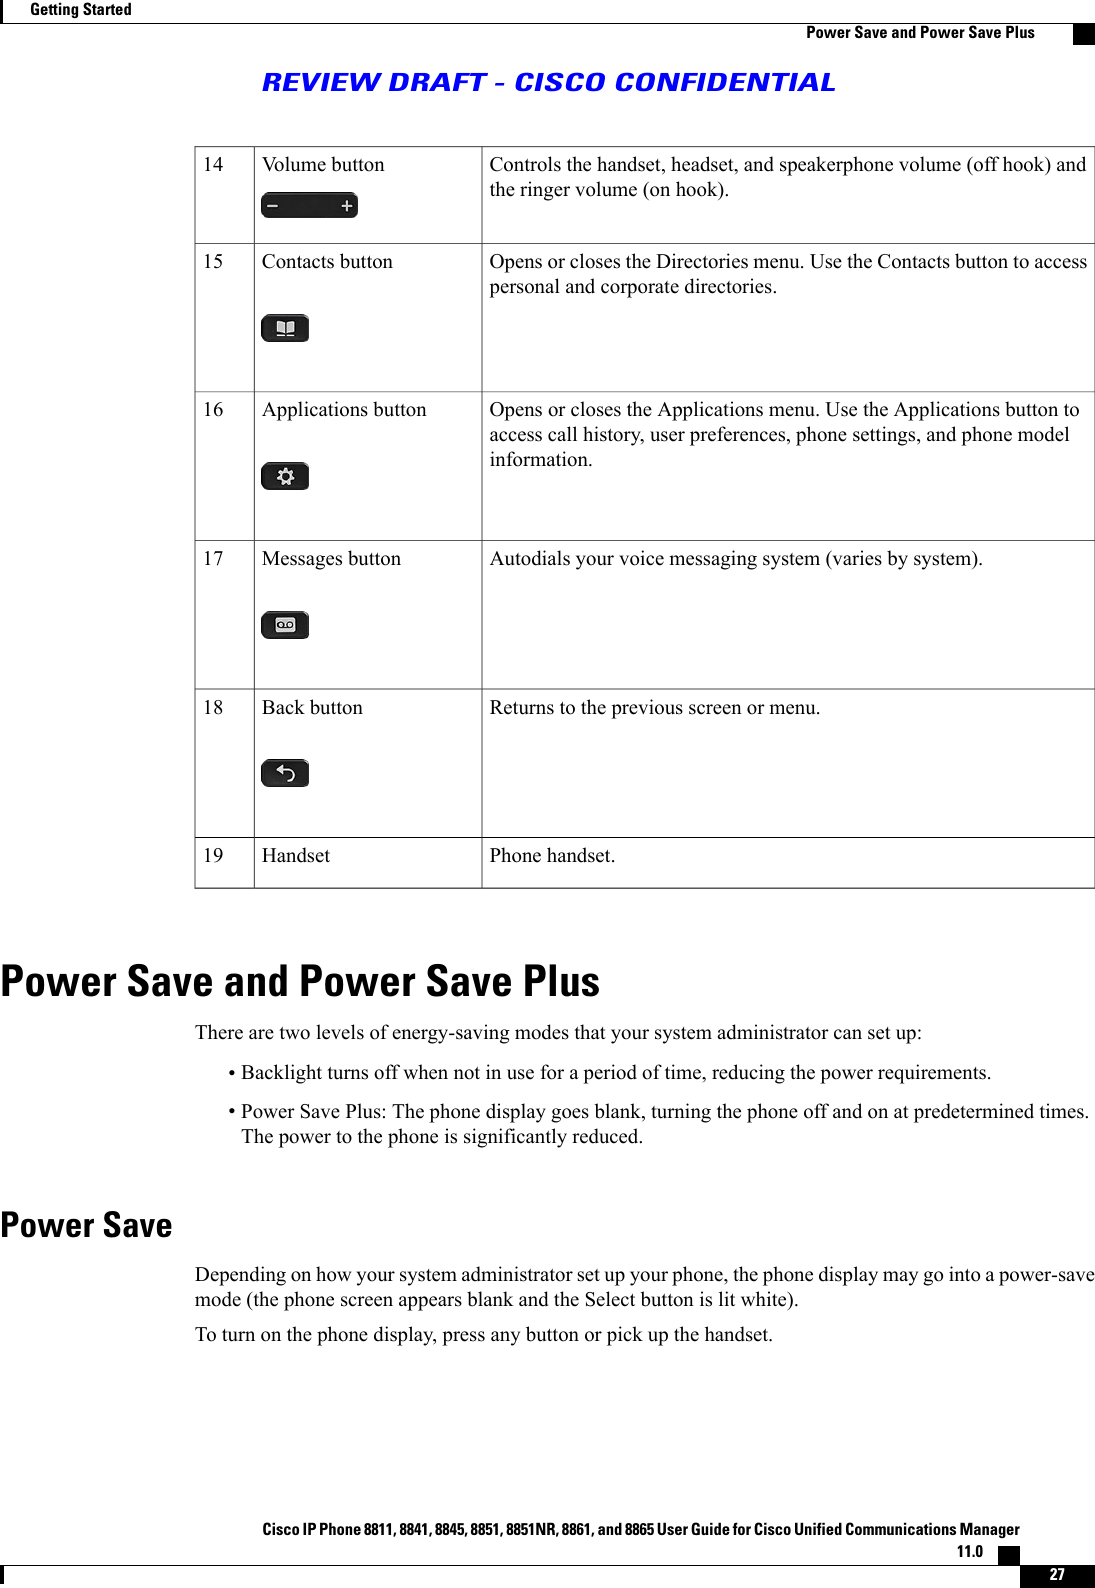
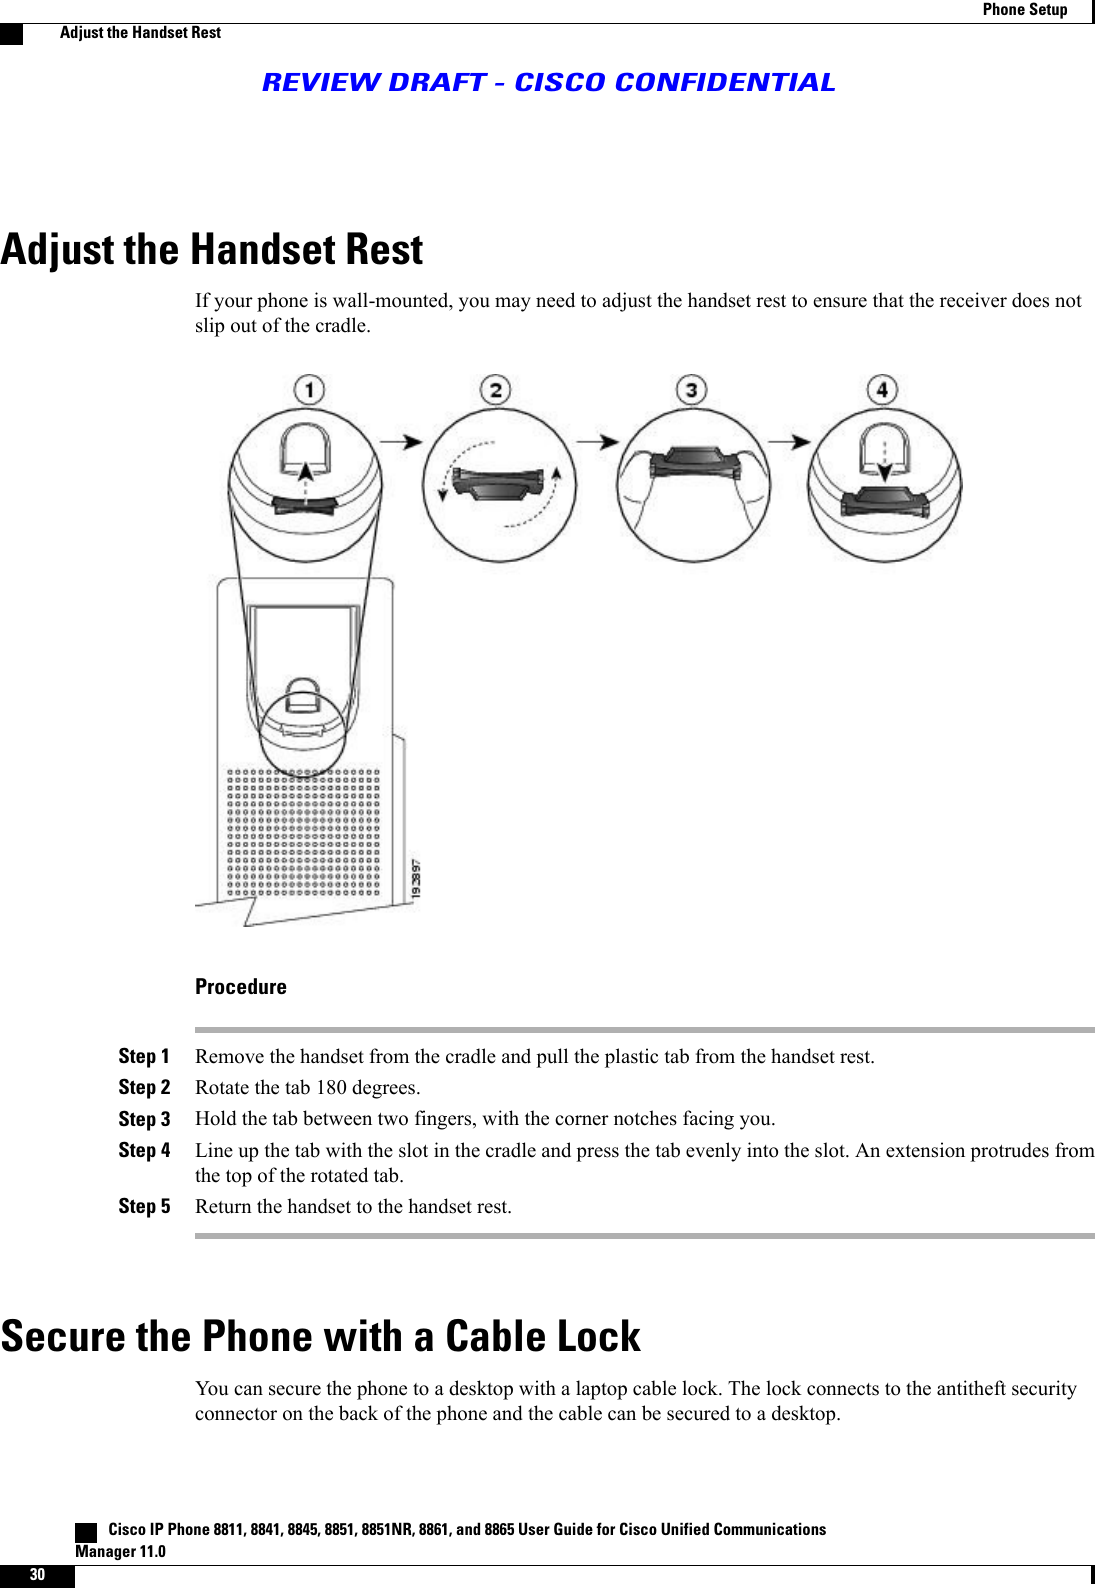
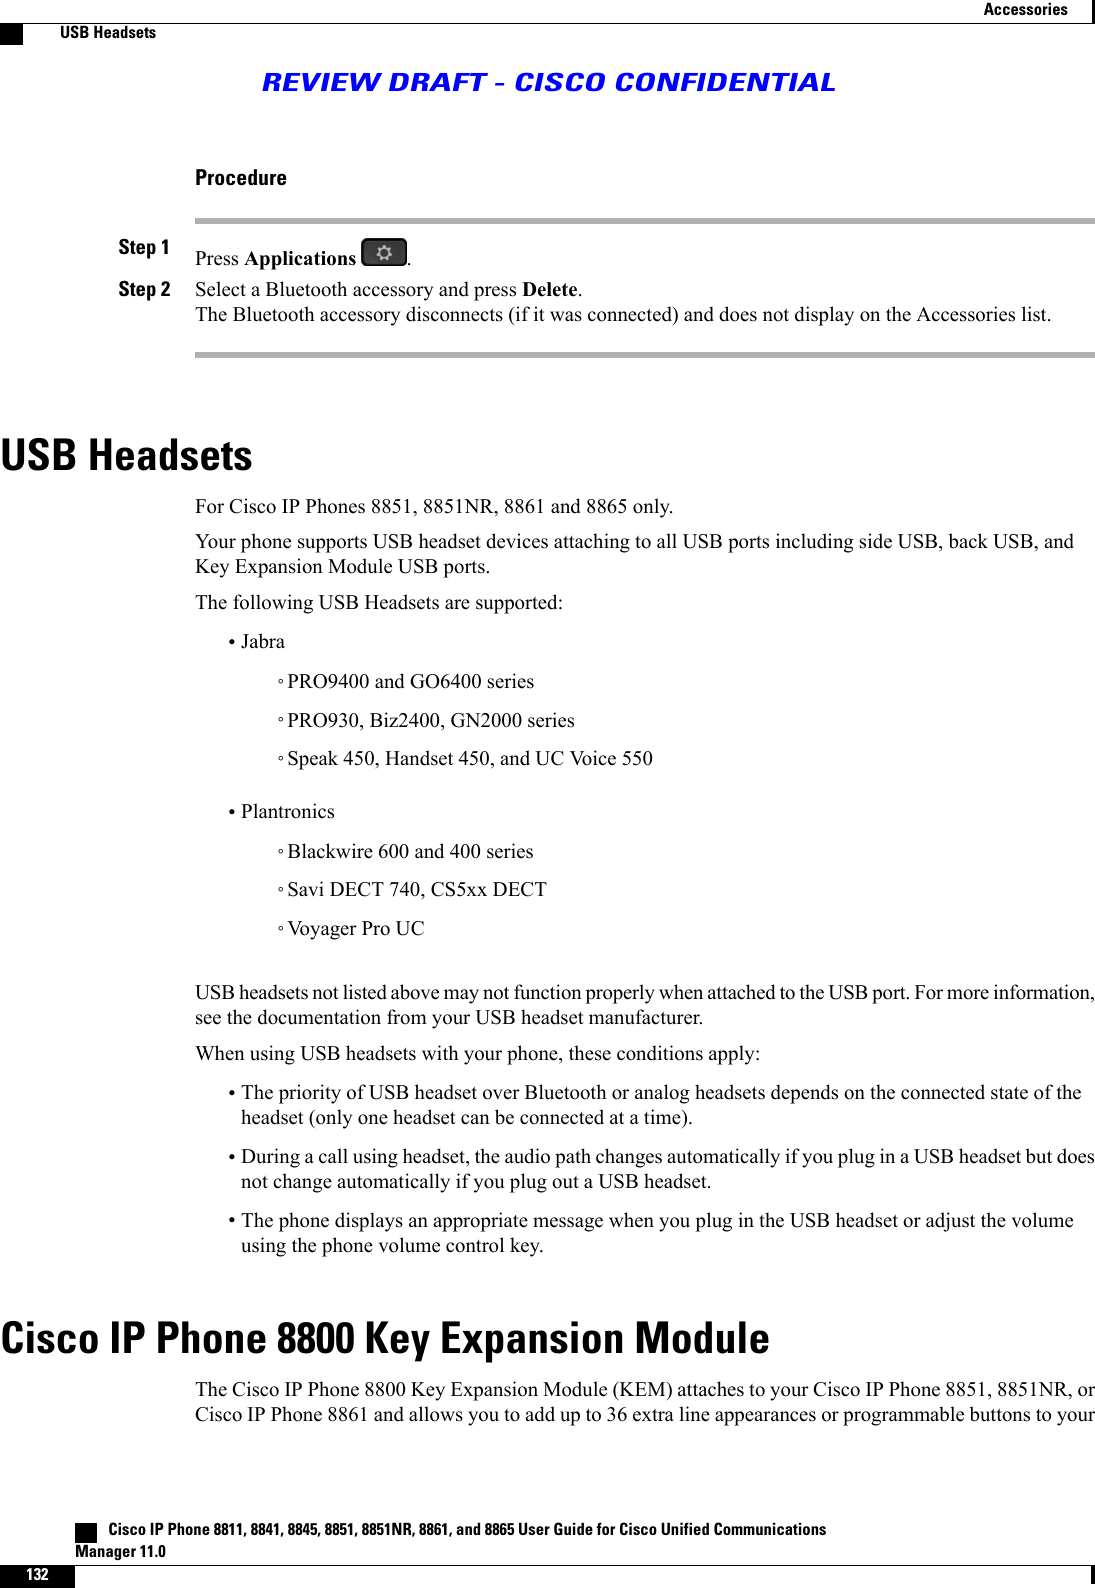
![Power Save PlusYour phone supports the Cisco EnergyWise (EW) program, also known as Power Save Plus. Your systemadministrator sets up sleep (power down) and wake (power up) times for your phone to save energy. If yourphone goes into the Power Save Plus mode, the Select button is lit white.Ten minutes before the scheduled sleep time, the Select button lights up and you receive a message that yourphone will power off at a specific time. If enabled by your system administrator, you also hear your ringtoneplay. The ringtone plays according to the following schedule:•At 10 minutes before power off, the ringtone plays four times•At 7 minutes before power off, the ringtone plays four times•At 4 minutes before power off, the ringtone plays four times•At 30 seconds before power off, the ring tone plays 15 times or until the phone powers offIf your phone is inactive (idle) at the sleep time, you see a message to remind you that your phone is aboutto power down. To keep the phone active, you need to press OK in the message or any key on the phone. Ifyou do not press the button or any key, your phone powers down.If your phone is active (for example, on a call), your phone waits until it has been inactive for a period of timebefore telling you of the pending power shutdown. Before the shutdown happens, you see a message to remindyou that your phone is about to power off.After your phone goes to sleep, press Select to wake up your phone. After the phone is inactive for a periodof time, a message displays to alert you that the phone is about to power down. At the configured wake time,your phone powers up.Wake and sleep times are also linked to the configured days that you normally work. If your requirementschange (for example, your work hours or work days change), contact your system administrator to have yourphone reconfigured.For more information about EnergyWise and your phone, contact your system administrator.Additional InformationYou can access the Cisco website at this URL: http://www.cisco.com/Within the Cisco website, you can find the following information:•Quick reference cards, quick start guides, and end-user guides:http://www.cisco.com/c/en/us/support/collaboration-endpoints/unified-ip-phone-8800-series/products-user-guide-list.html•Licensing information:http://www.cisco.com/c/en/us/support/collaboration-endpoints/unified-ip-phone-8800-series/products-licensing-information-listing.html•Cisco international websites:Allows access to international Cisco websites from www.cisco.com by clicking the Worldwide [change]link at the top of the web page. Cisco IP Phone 8811, 8841, 8845, 8851, 8851NR, 8861, and 8865 User Guide for Cisco Unified CommunicationsManager 11.028Getting StartedPower Save PlusREVIEW DRAFT - CISCO CONFIDENTIAL](https://usermanual.wiki/PEGATRON/88451256.User-Manual/User-Guide-2655532-Page-40.png)


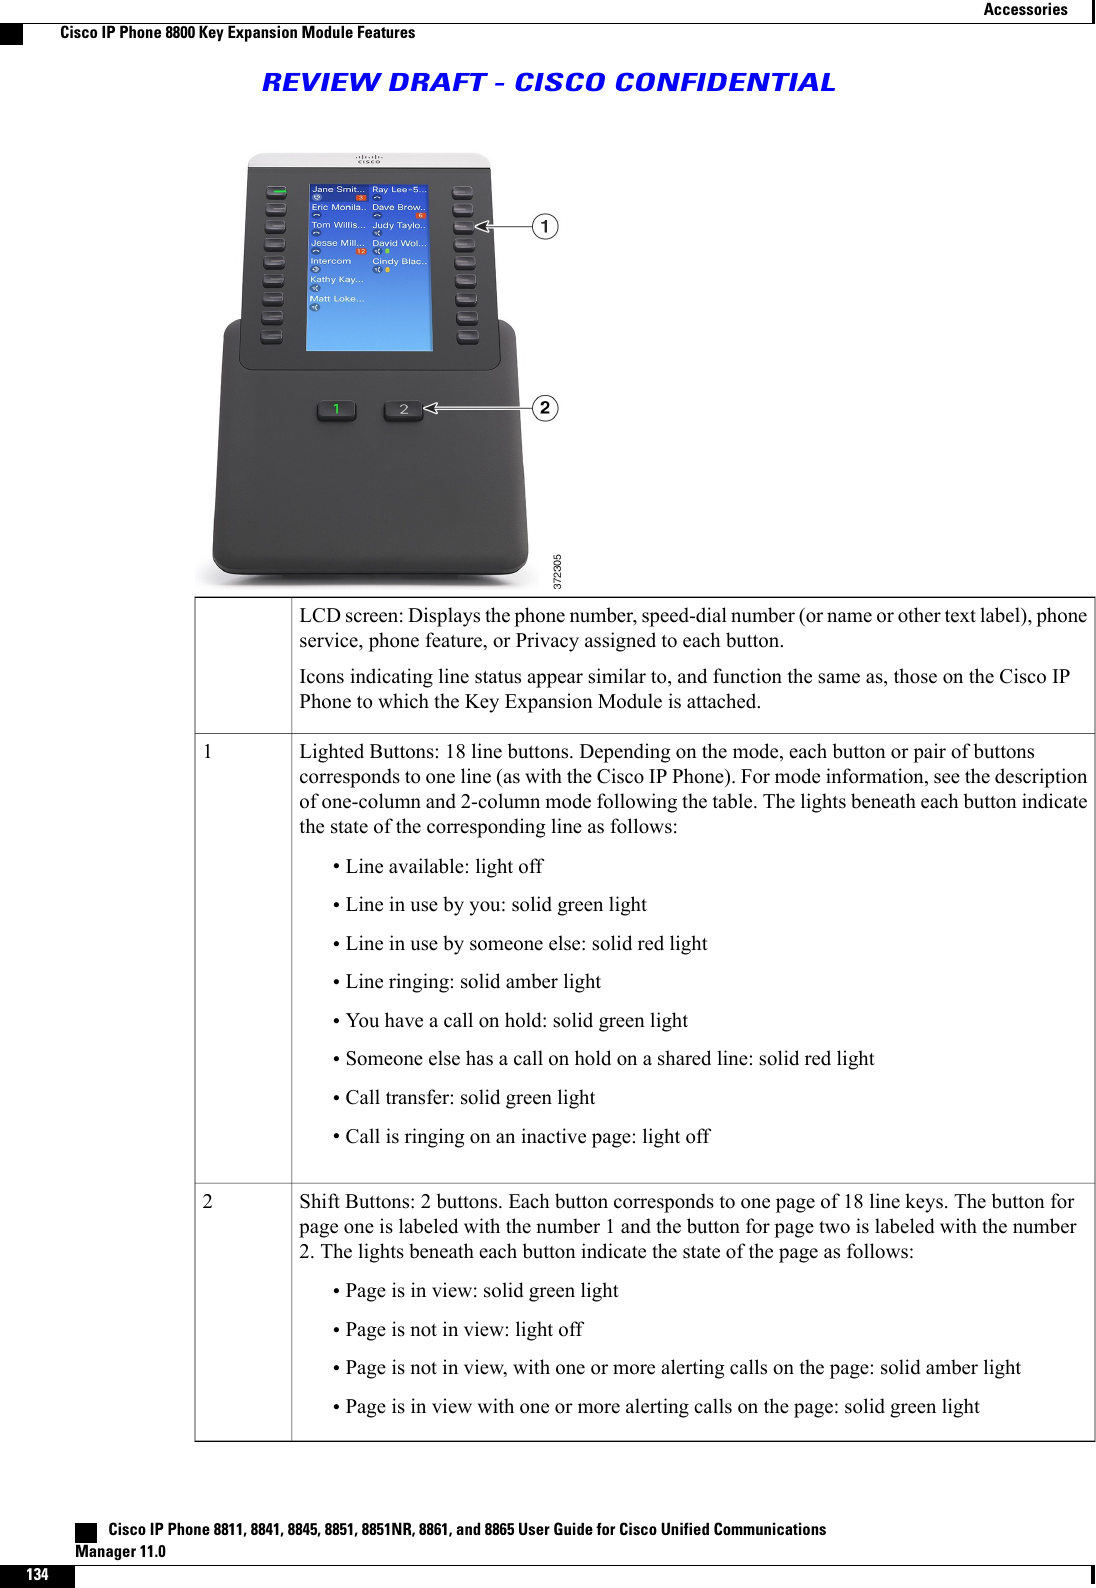


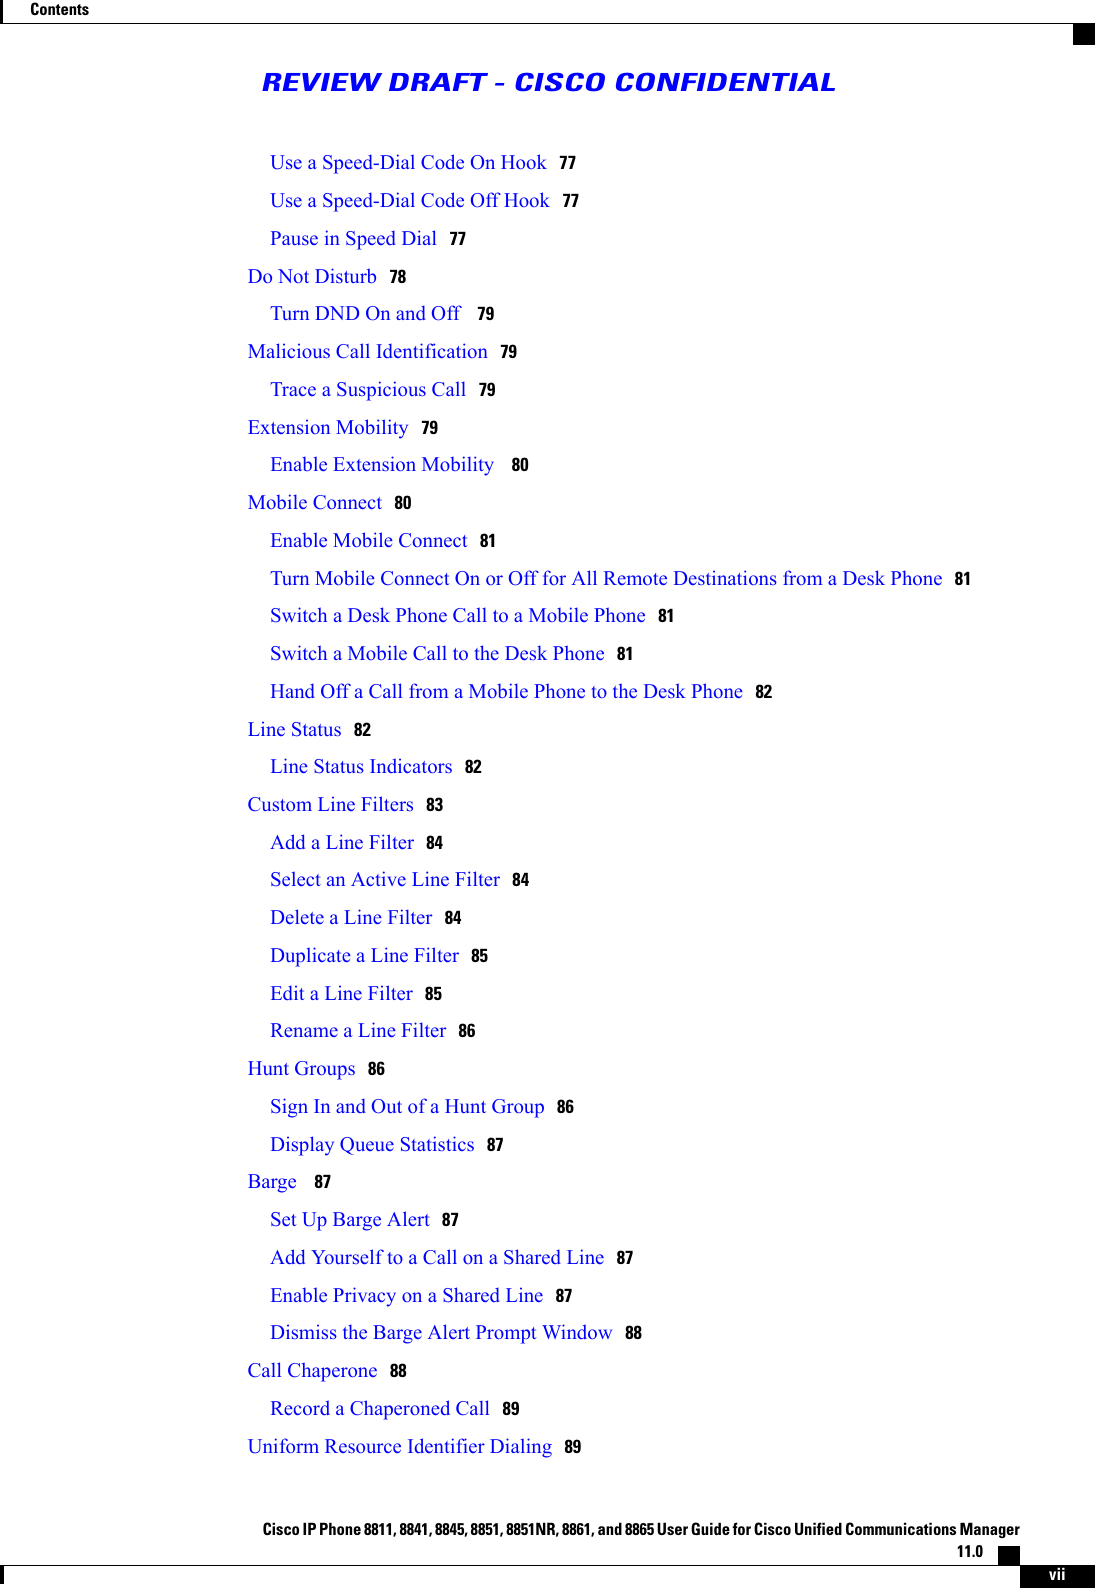
![•Use shielded cables for the external device, or use cables with a better shield and connector.•Shorten the length of the external device cable.•Apply ferrites or other such devices on the cables for the external device.Cisco cannot guarantee the performance of external devices, cables, and connectors.In European Union countries, use only external speakers, microphones, and headsets that are fully compliantwith the EMC Directive [89/336/EC].CautionBluetooth Wireless Headset PerformanceThe Cisco IP Phones support Bluetooth Class 2 technology when the headsets support Bluetooth. Bluetoothenables low-bandwidth wireless connections within a range of 30 feet (10 meters). The best performance isin the 3- to 6-foot (1- to 2-meter) range. You can connect up to five headsets, but only the last one connectedis used as the default.Because there can be potential interference issues, Cisco recommends that you move 802.11b/g devices,Bluetooth devices, microwave ovens, and large metal objects away from the wireless headset.For a Bluetooth wireless headset to work, it does not need to be within direct line-of-sight of the phone, butsome barriers, such as walls or doors, and interference from other electronic devices, can affect the connection.Power InformationConnect your Cisco IP phone to your LAN using a CAT 5e Ethernet cable to enable full functionality of yourCisco IP phone. If your Ethernet port is equipped with Power over Ethernet (PoE), your Cisco IP phone canbe powered through the LAN port. Do not extend the LAN Ethernet cable outside the building.FCC Compliance StatementsThe Federal Communications Commission requires compliance statements for the following:FCC Part 15.21 StatementChanges or modifications not expressly approved by the party responsible for compliance could void theuser’s authority to operate the equipment.FCC RF Radiation Exposure StatementThis equipment complies with FCC radiation exposure limits set forth for an uncontrolled environment. Endusers must follow the specific operating instructions for satisfying RF exposure compliance. This transmittermust be at least 20 cm from the user and must not be collocated or operating in conjunction with any otherantenna or transmitter. Cisco IP Phone 8811, 8841, 8845, 8851, 8851NR, 8861, and 8865 User Guide for Cisco Unified CommunicationsManager 11.0154Product Safety and SecurityBluetooth Wireless Headset PerformanceREVIEW DRAFT - CISCO CONFIDENTIAL](https://usermanual.wiki/PEGATRON/88451256.User-Manual/User-Guide-2655532-Page-166.png)