PEGATRON MORPHEUS20 Notebook Computer User Manual
PEGATRON CORPORATION Notebook Computer
UserManual.wiki
>
PEGATRON
>
MORPHEUS20 User Manual
User Manual
Navigation menu
Upload a User Manual
Namespaces
Wiki Guide
HTML
PDF
Info
Views
User Manual
Discussion / Help
Navigation

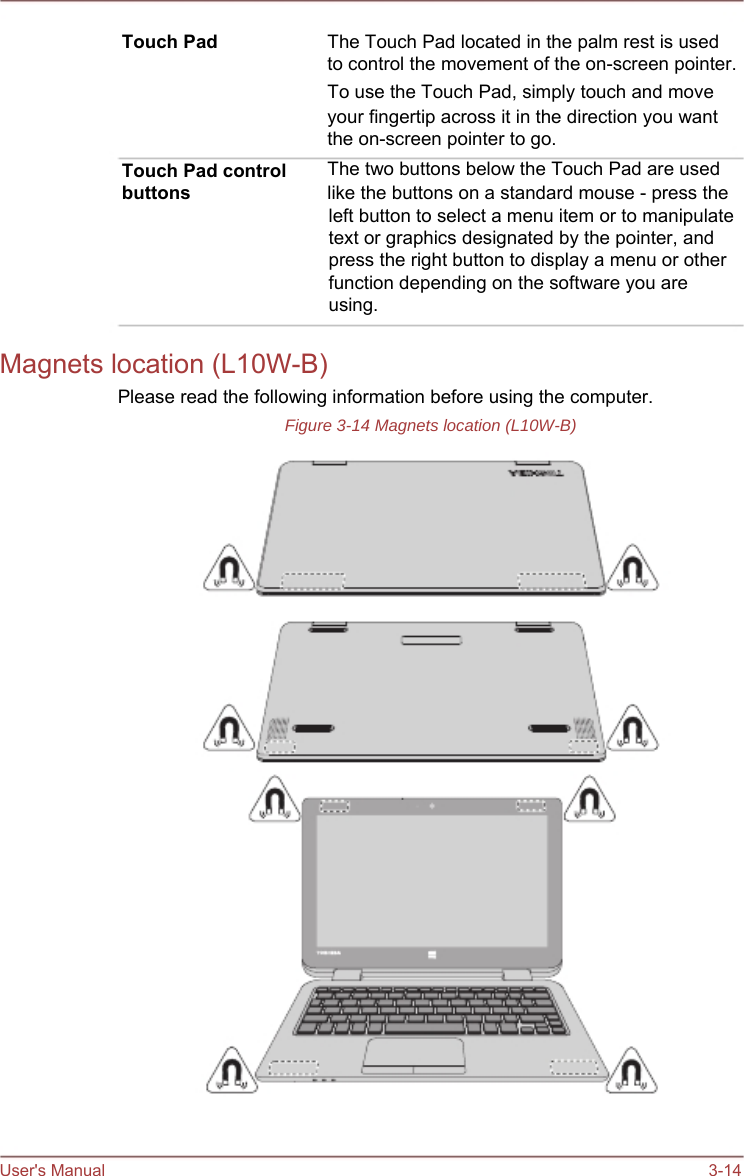
![This can be in the form of a textual message at program startup or in documentation (online or textual) provided with the package. Redistribution and use in source and binary forms, with or without modification, are permitted provided that the following conditions are met: 1. 2. 3. 4. Redistributions of source code must retain the copyright notice, this list of conditions and the following disclaimer. Redistributions in binary form must reproduce the above copyright notice, this list of conditions and the following disclaimer in the documentation and/or other materials provided with the distribution. All advertising materials mentioning features or use of this software must display the following acknowledgement: "This product includes cryptographic software written by Eric Young (eay@cryptsoft.com)" The word 'cryptographic' can be left out if the rouines from the library being used are not cryptographic related :-). If you include any Windows specific code (or a derivative thereof) from the apps directory (application code) you must include an acknowledgement: "This product includes software written by Tim Hudson (tjh@cryptsoft.com)" THIS SOFTWARE IS PROVIDED BY ERIC YOUNG ``AS IS'' AND ANY EXPRESS OR IMPLIED WARRANTIES, INCLUDING, BUT NOT LIMITED TO, THE IMPLIED WARRANTIES OF MERCHANTABILITY AND FITNESS FOR A PARTICULAR PURPOSE ARE DISCLAIMED. IN NO EVENT SHALL THE AUTHOR OR CONTRIBUTORS BE LIABLE FOR ANY DIRECT, INDIRECT, INCIDENTAL, SPECIAL, EXEMPLARY, OR CONSEQUENTIAL DAMAGES (INCLUDING, BUT NOT LIMITED TO, PROCUREMENT OF SUBSTITUTE GOODS OR SERVICES; LOSS OF USE, DATA, OR PROFITS; OR BUSINESS INTERRUPTION) HOWEVER CAUSED AND ON ANY THEORY OF LIABILITY, WHETHER IN CONTRACT, STRICT LIABILITY, OR TORT (INCLUDING NEGLIGENCE OR OTHERWISE) ARISING IN ANY WAY OUT OF THE USE OF THIS SOFTWARE, EVEN IF ADVISED OF THE POSSIBILITY OF SUCH DAMAGE. The licence and distribution terms for any publically available version or derivative of this code cannot be changed. i.e. this code cannot simply be copied and put under another distribution licence [including the GNU Public Licence.] */ FreeType License Issues The FreeType Project LICENSE ---------------------------- 2006-Jan-27 User's Manual 1-10](https://usermanual.wiki/PEGATRON/MORPHEUS20/User-Guide-2409482-Page-14.png)


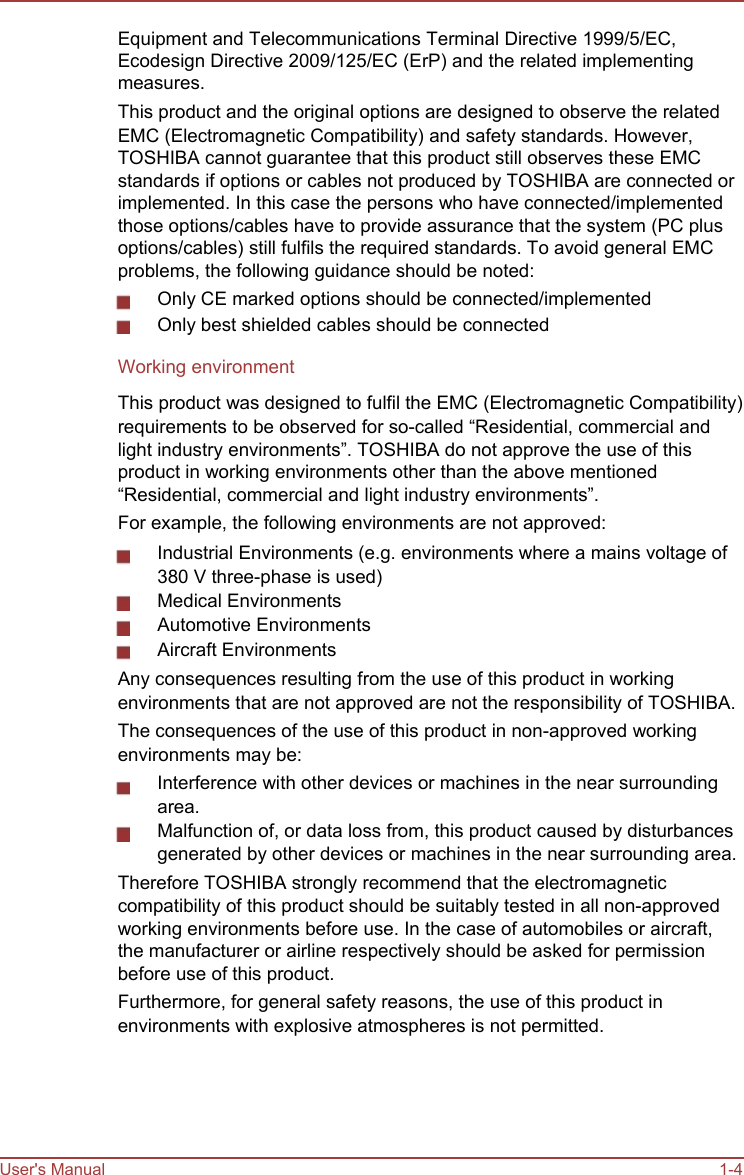
![The password is necessary only if the computer was shut down in Hibernation mode or boot mode. It is not needed in Sleep mode and Restart. To enter a password manually, follow the steps as detailed below: 1. Turn on the power as described in the Getting Started section. The following message will appear in the screen: Enter Password [ ] At this point, the function keys do not work. They will function after you enter the password. 2. 3. Enter the Password. Press ENTER. If you enter the password incorrectly three times in a row, or if you don’t enter the password within 1 minute, the computer shuts off. In this case, some features that can power on the computer automatically (Wake-up on LAN, Task Scheduler, etc) may not work. You must turn the computer back on to retry password entry. TOSHIBA System Settings TOSHIBA System Settings is the TOSHIBA configuration management tool available through the Windows operating system. To run TOSHIBA System Settings, click Desktop Assist -> Tools & Utilities -> System Settings on the desktop. The TOSHIBA System Settings window contains a number of tabs to allow specific functions of the computer to be configured. In addition there are also three buttons: OK, Cancel and Apply. OK Cancel Apply Accepts your changes and closes the TOSHIBA System Settings window. Closes the window without accepting your changes. Accepts all your changes without closing the TOSHIBA System Settings window. Some options shown in grey are possible to confirm their status. TOSHIBA System Settings screen may have the following tabs: General—Allows you to view the current BIOS version or change certain settings back to their default values Display—Allows you to select the internal LCD and/or external monitor when the computer boots up User's Manual 5-8](https://usermanual.wiki/PEGATRON/MORPHEUS20/User-Guide-2409482-Page-85.png)