PRISM Technology GS250R Wireless Gamepad User Manual
PRISM Technology Limited Wireless Gamepad
User Manual
Kc-1201D 2.4GHZ WIRELESS GAME PAD
INSTRCTIOIN MANUAL
Thank you very much for purchasing the RF game-pad. The RF game-pad is one of
peripheral equipments for Sony Playstaion2 console. It has vibration function to
provide you more realistic feelings, and complete function keys to set your game-pad
more powerful. Before using this controller, please read this manual and retain it
for future reference.
Specification
1. Compatible with PSX, PS-one, ps2 console
2. This is a ps2 dual shock rumble full analogue RF game pad
3. The pad will come with one host unit. One host unit can use for one controller.
4. This product will have 8 channels, All channels are stand-alone.
5. Range up to 10M
6. Battery life-4XAA size alkaline battery – we estimate battery life of approx
60hrs, time will be affect by the shock status and the quality of battery
7. D-pad, X,○,□,△,L1,L2,R1,R2, left and right 3D sticks have analog function
8. Vibration can enable or disable by the user for increase the battery life
9. Designed for short range wireless communication in 2.4ghz – world wide license
free band.
10. Power switch and vibration switch for save your power.
11. Dual vibration motor
12. Operation voltage: 3.3V
13. Operation current: 15MA
14. Vibration voltage: 4.5V
15. Vibration voltage: ≤70MA
16. Rechargeable battery 1.2V 750 mAh *4pcs
17. Low power indication: analog LED flash (Dark green LED)
18. Including AC/DC adaptor
19. Recharge LED indication: red LED is recharging
Green LED is on and the red LED is off, The batteries is full.
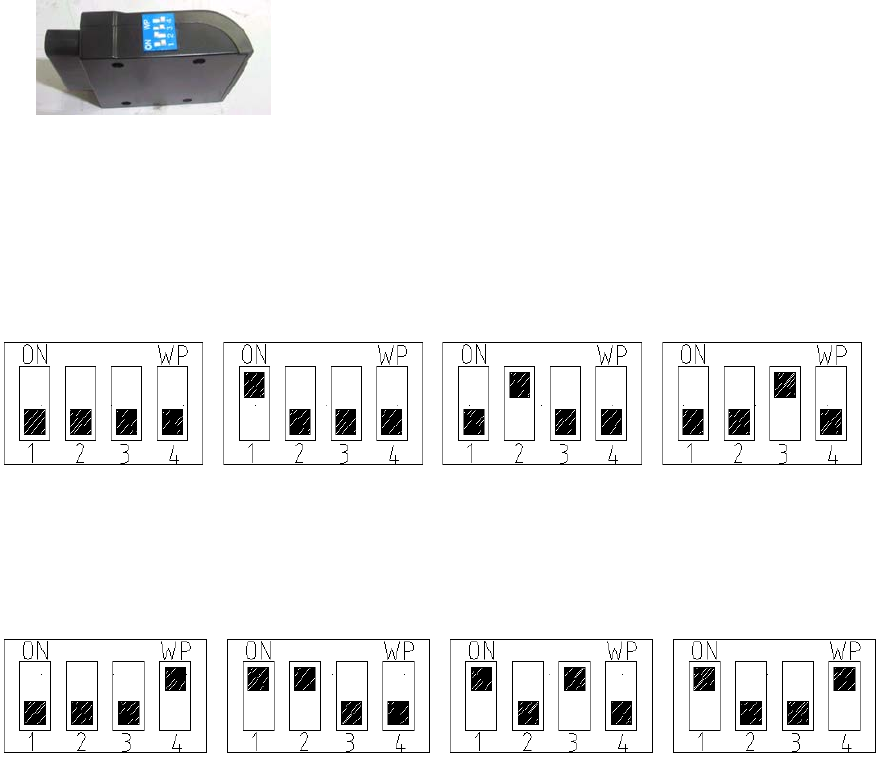
Setting the frequency channel
Before using your playfree controller, please setting the frequency
channel on the controller and receiver so that they match.
Controller channel setup
1. Set the switches as shown as shown
Receiver setup
1. Set the switches on the side of the receiver as shown
Frequency switch configuration
1 PLAYER 2 PLAYER 3 PLAYER 4
PLAYER
5 PLAYER 6PLAYER 7PLAYER 8 PLAYER
Battery install
1. Remove battery compartment cover from the controller
2. Insert 3x1.5V AAA size batteries, observing the correct polarity, we recommend
alkaline batteries
3. Refit the battery compartment cover
Charge operation
1. When the Analog Light is flashing, which means the power is low.
2. Insert the AC/DC adaptor into the socket..
3. Insert the DC plug into the controller input socket, the red LED is on
4. The green LED will be on and the red LED will be off when the battery is full after 4 hours.
5. Recharging the controller, you can play the game.
Receiver connection
1. Ensure that your ps2 console is switched off
2. Plug the receiver unit into a controller port on your ps2 controller
3. Turn on your ps2 console
Using your playfree controller
Switch on the controller by sliding the power on/off, switch to on.
Saving battery life, please turn off the controller when you have finished
playing
BRIEF EXPLANATION OF KEY
1. Q-PAD
Manipulates the moving direction of your role in games.
2. FUNCTIONAL KEYS
(1) START key can start a game or let game pause.
(2) SELECT key allows you to select weapons or tools.
3. VIBRATION MOTOR
There is a vibration motor in the D-stick, when you play the feedback
games, you feel more real and more comfortable.
4. RIGHT AND LEFT 3D STICKS
The sticks has analog function, when you play the games that need analog
controller, you feel more real and more comfortable.
5. ANOLOG FUNCTION
When you press the analog button one time, the ANALOG display LED IS ON, the
next button have analog function:
D-pad, X,○,□,△,L1,L2,R1,R2, left and right 3D sticks
Precaution of Usage & Storage
● Do not use or store this joystick in an area where is highly moist, dangerous hot,
extra- cold or full of dust.
● Do not expose this joystick to direct sunlight for a long time.
● Do not lay this joystick on a surface that is slanted or unstable.
● Do not apply a strong force upon this joystick or drop it roughly from a high place.
● If you want to clean this joystick, you can use a soft cloth, sock it in clean water or
diluted neutral detergent, wring out it thoroughly before wiping the dirt from the case.
Never use chemicals such as benzene or paint thinner to clean this joystick.
NOTE:
THE MANUFACTURER IS NOT RESPONSIBLE FOR ANY RADIO OR TV
INTERFERENCE CAUSED BY UNAUTHORIZED MODIFICATIONS TO THIS
EQUIPMENT. SUCH MODIFICATIONS COULD VOID THE USER AUTHORITY
TO OPERATE THE EQUIPMENT.