Palm 550000 Handhelds PDA With Bluetooth Transceiver User Manual
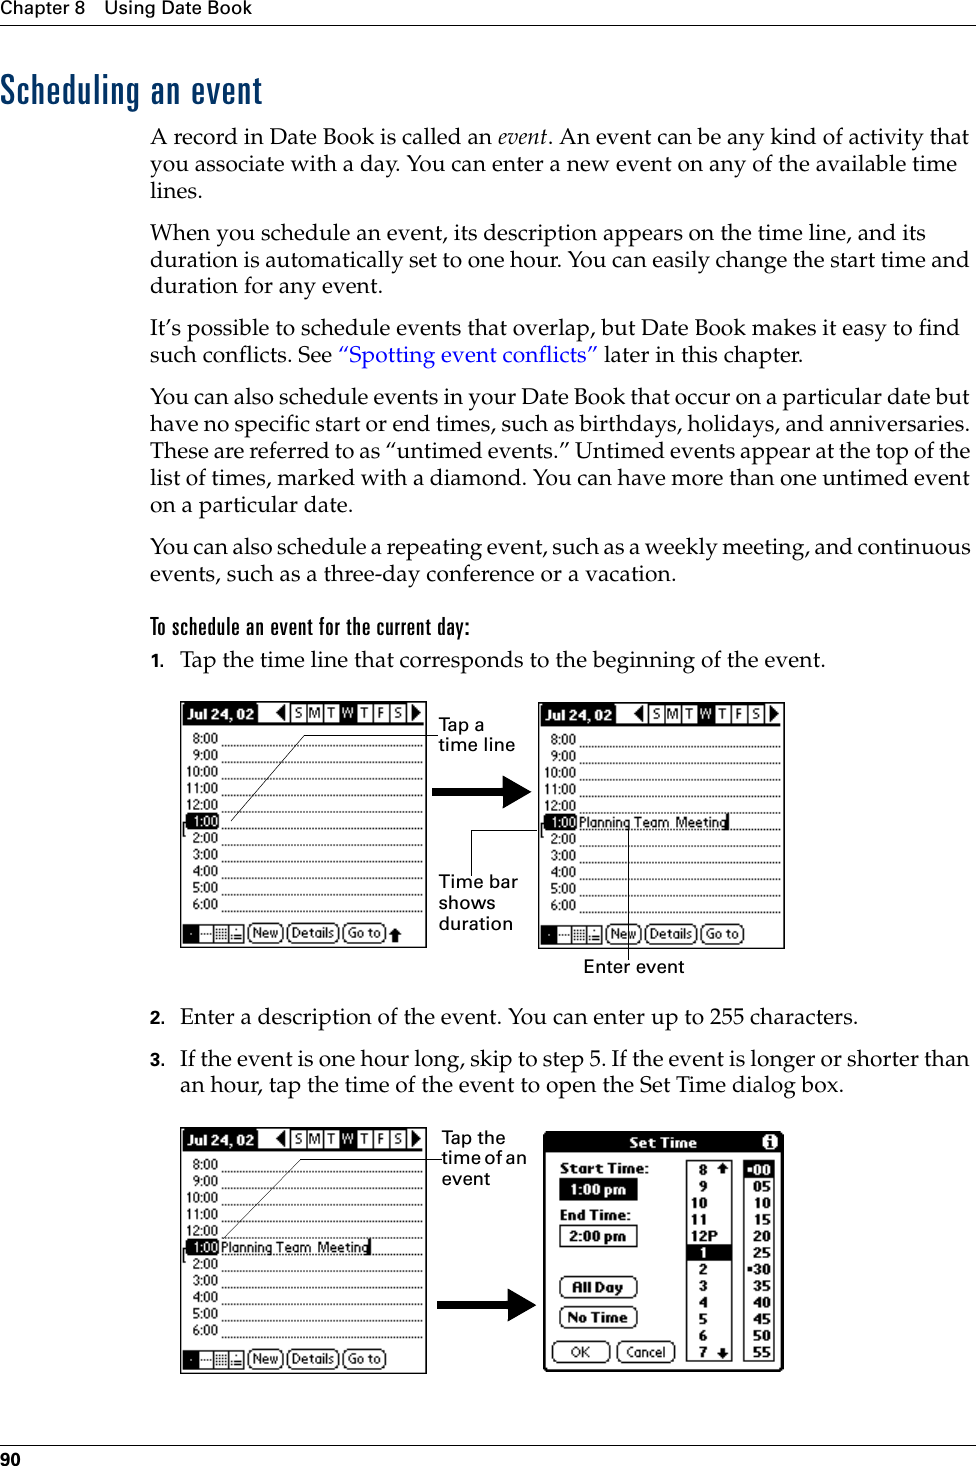
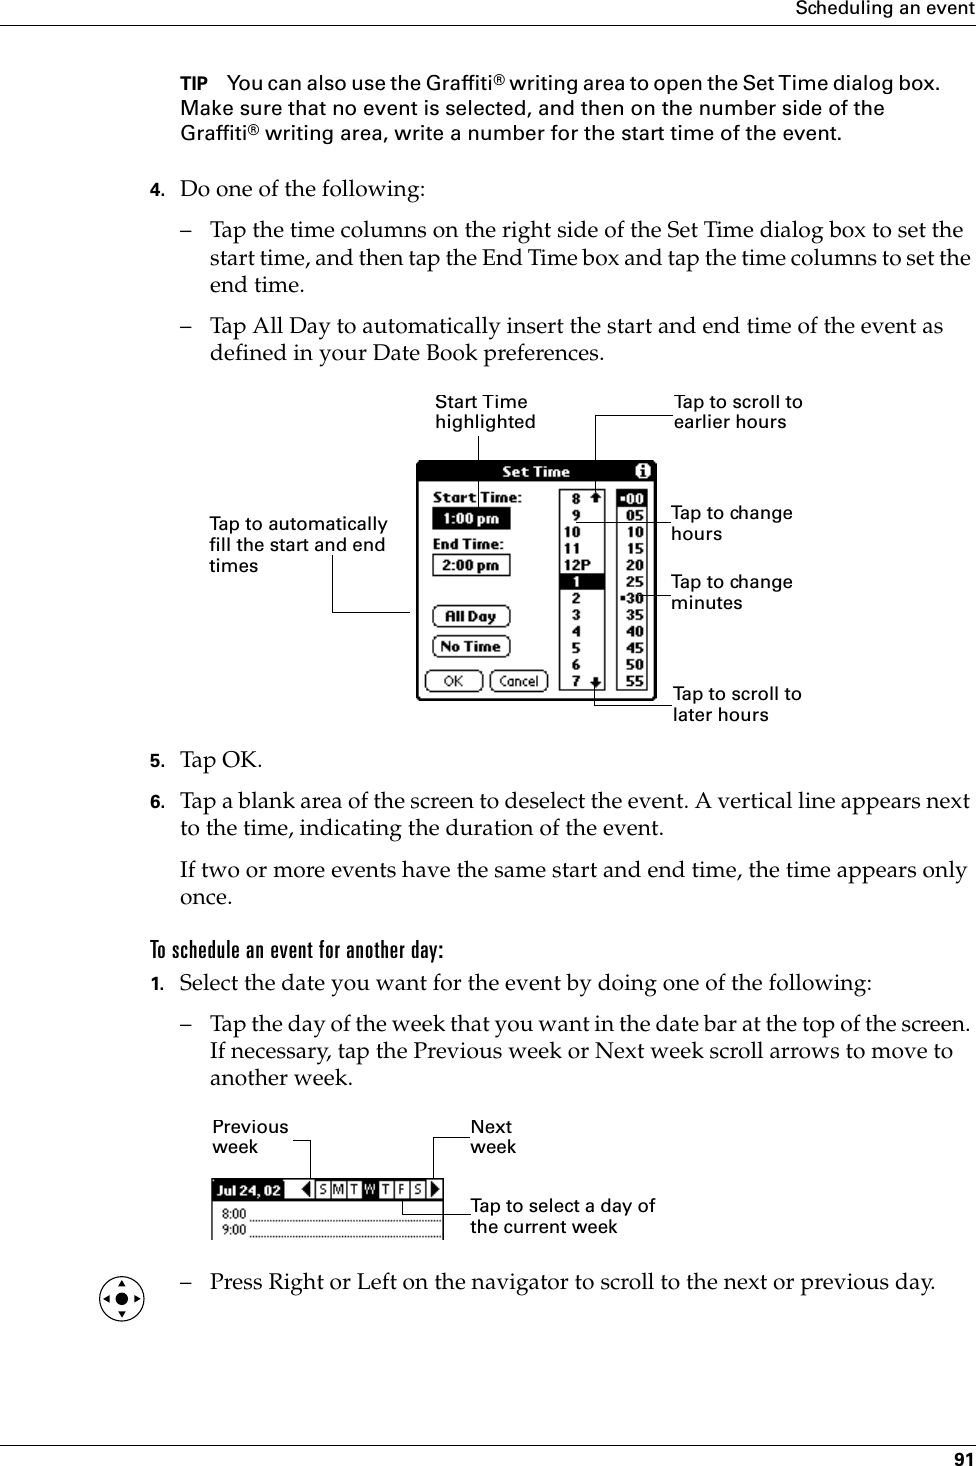
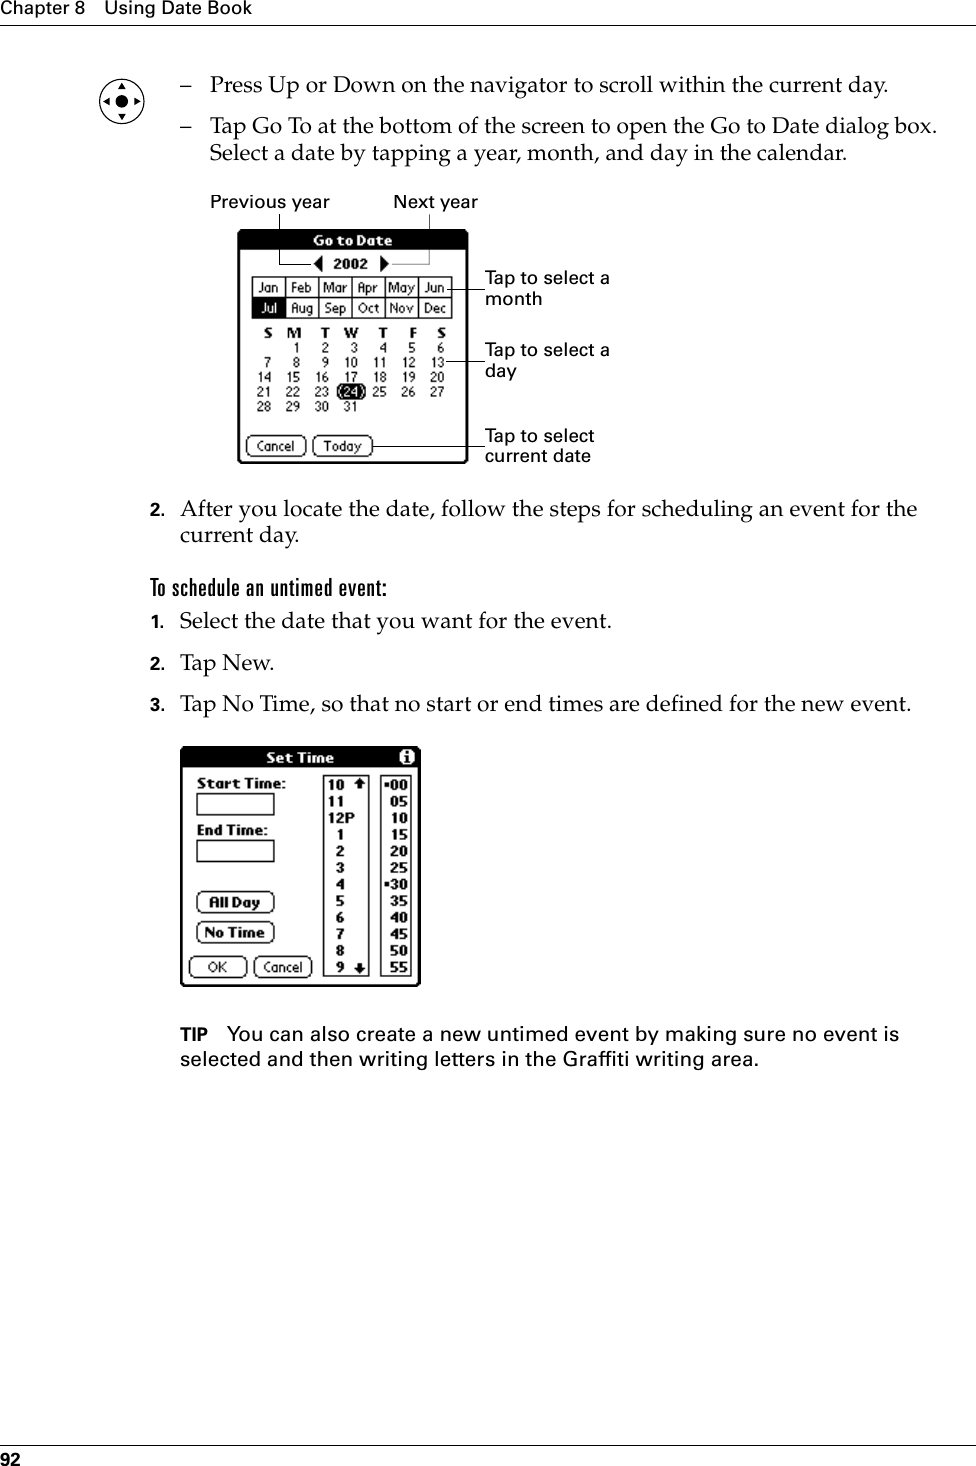
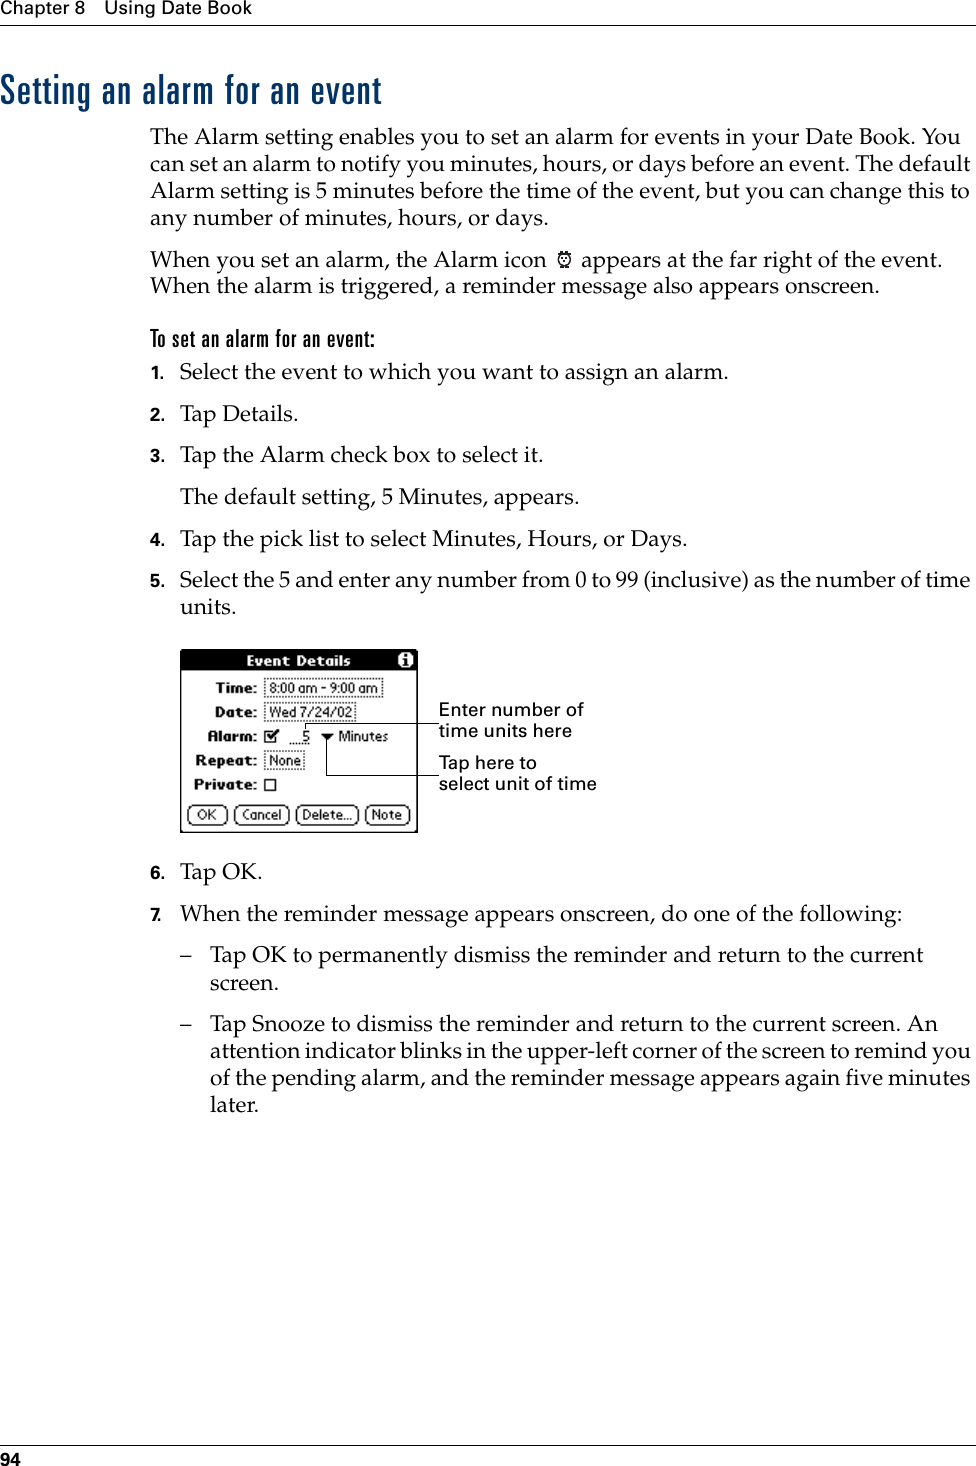
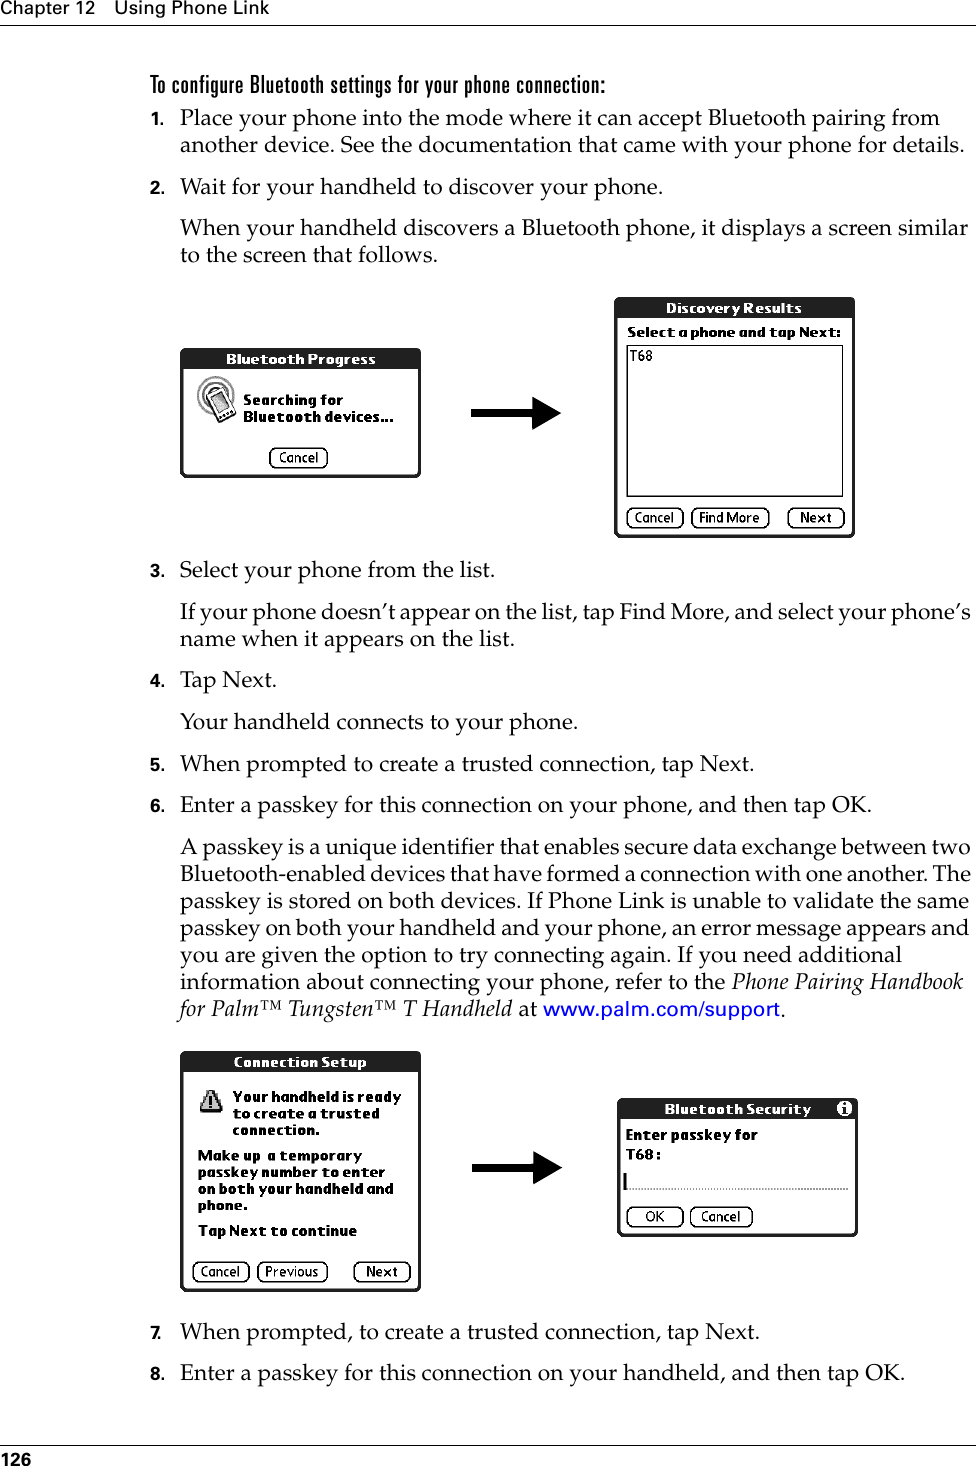
Palm Inc Handhelds PDA With Bluetooth Transceiver
UserManual.wiki
>
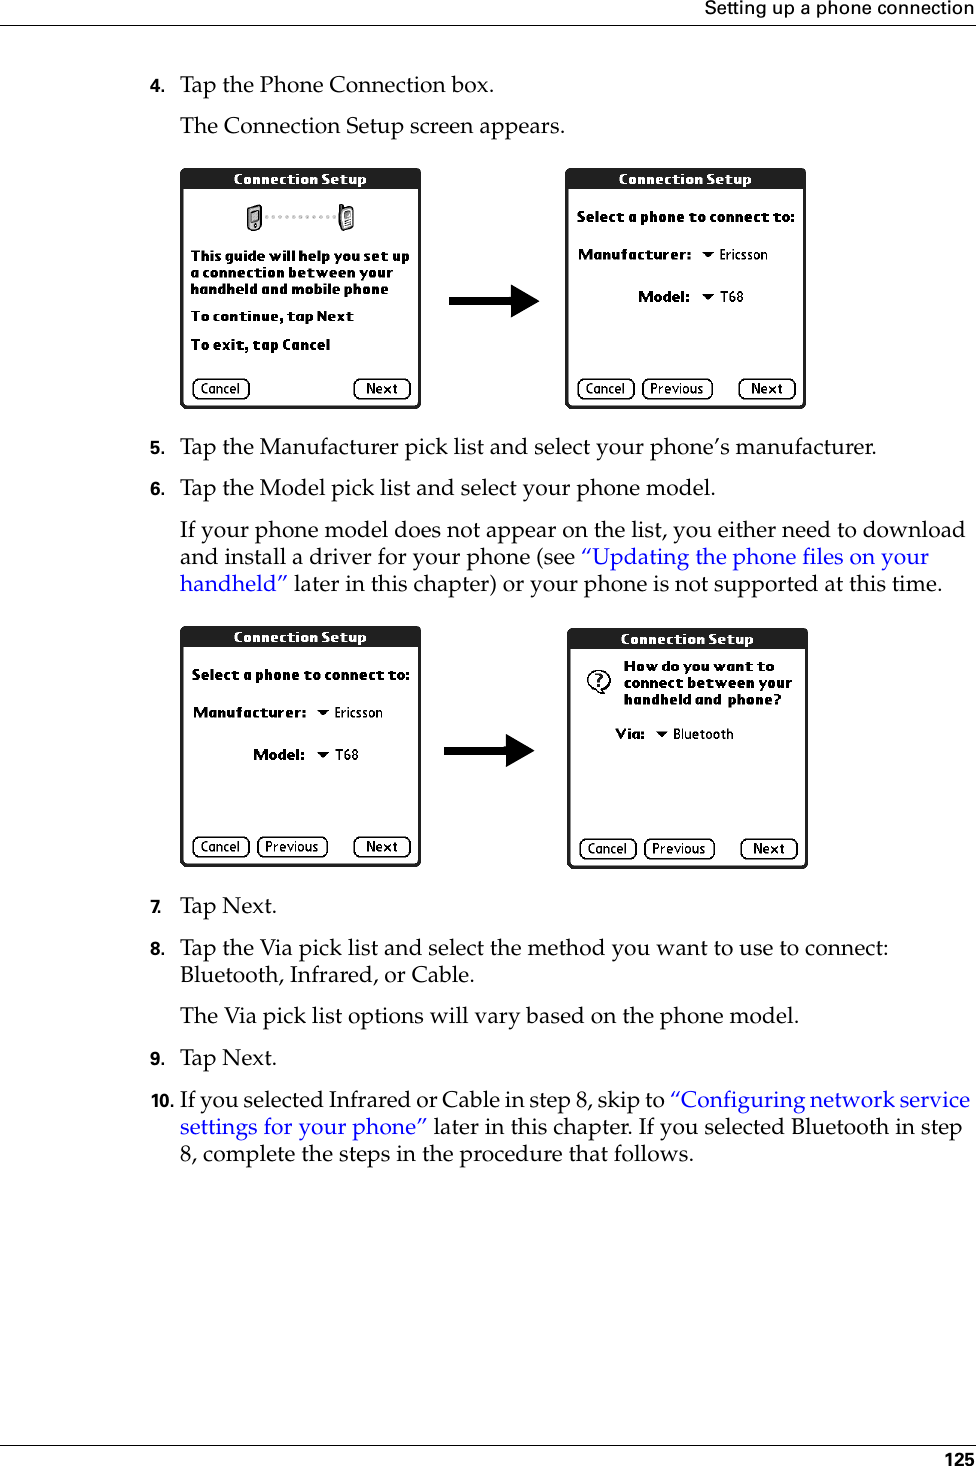
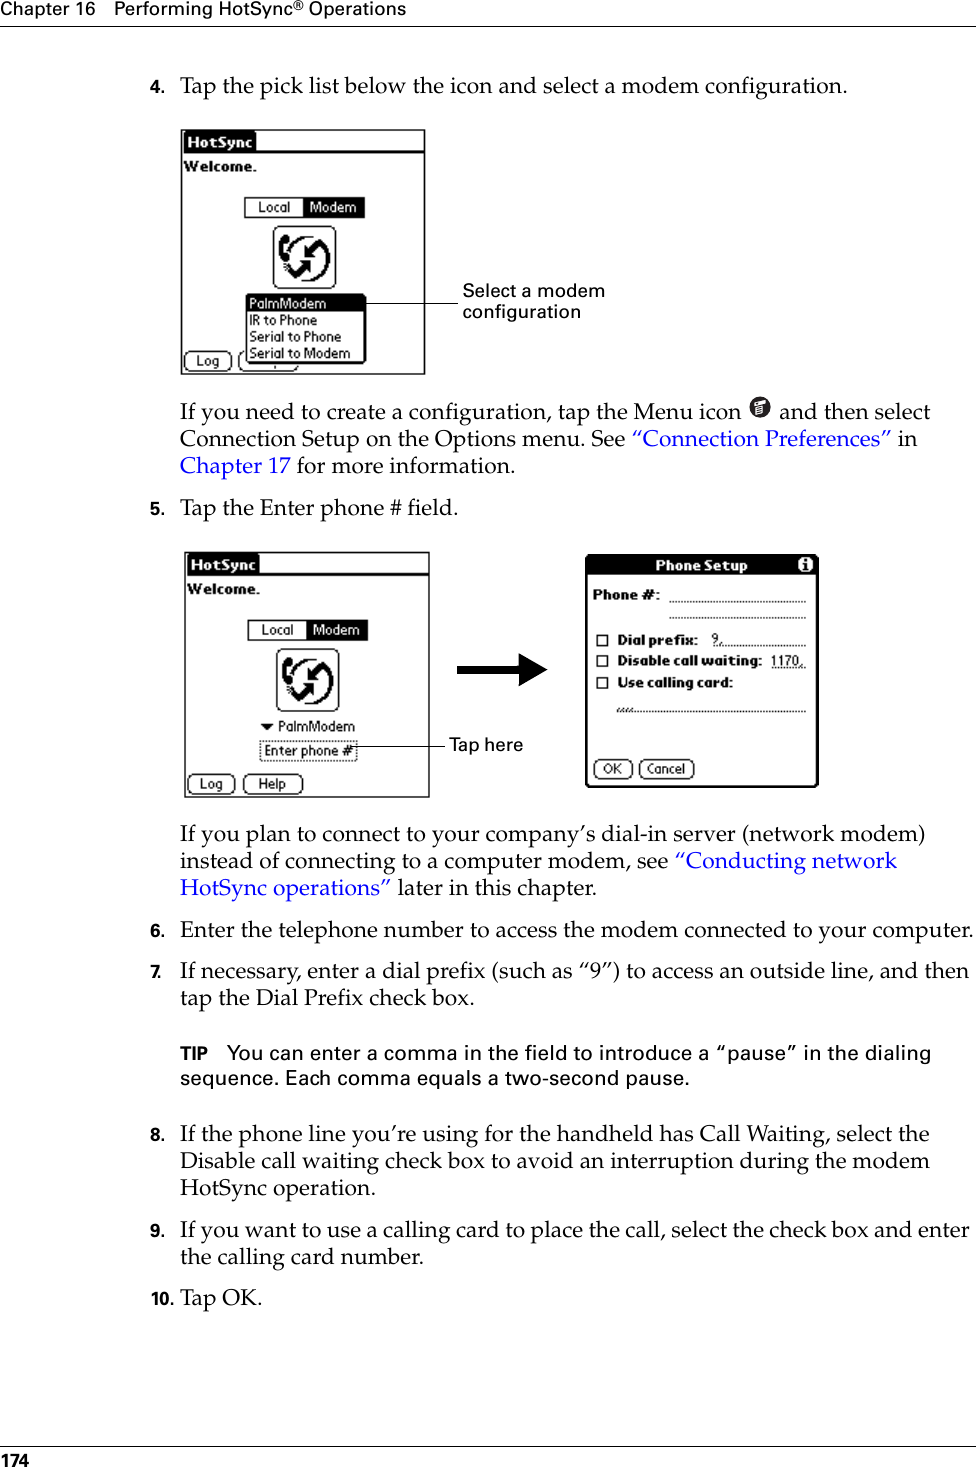
Palm
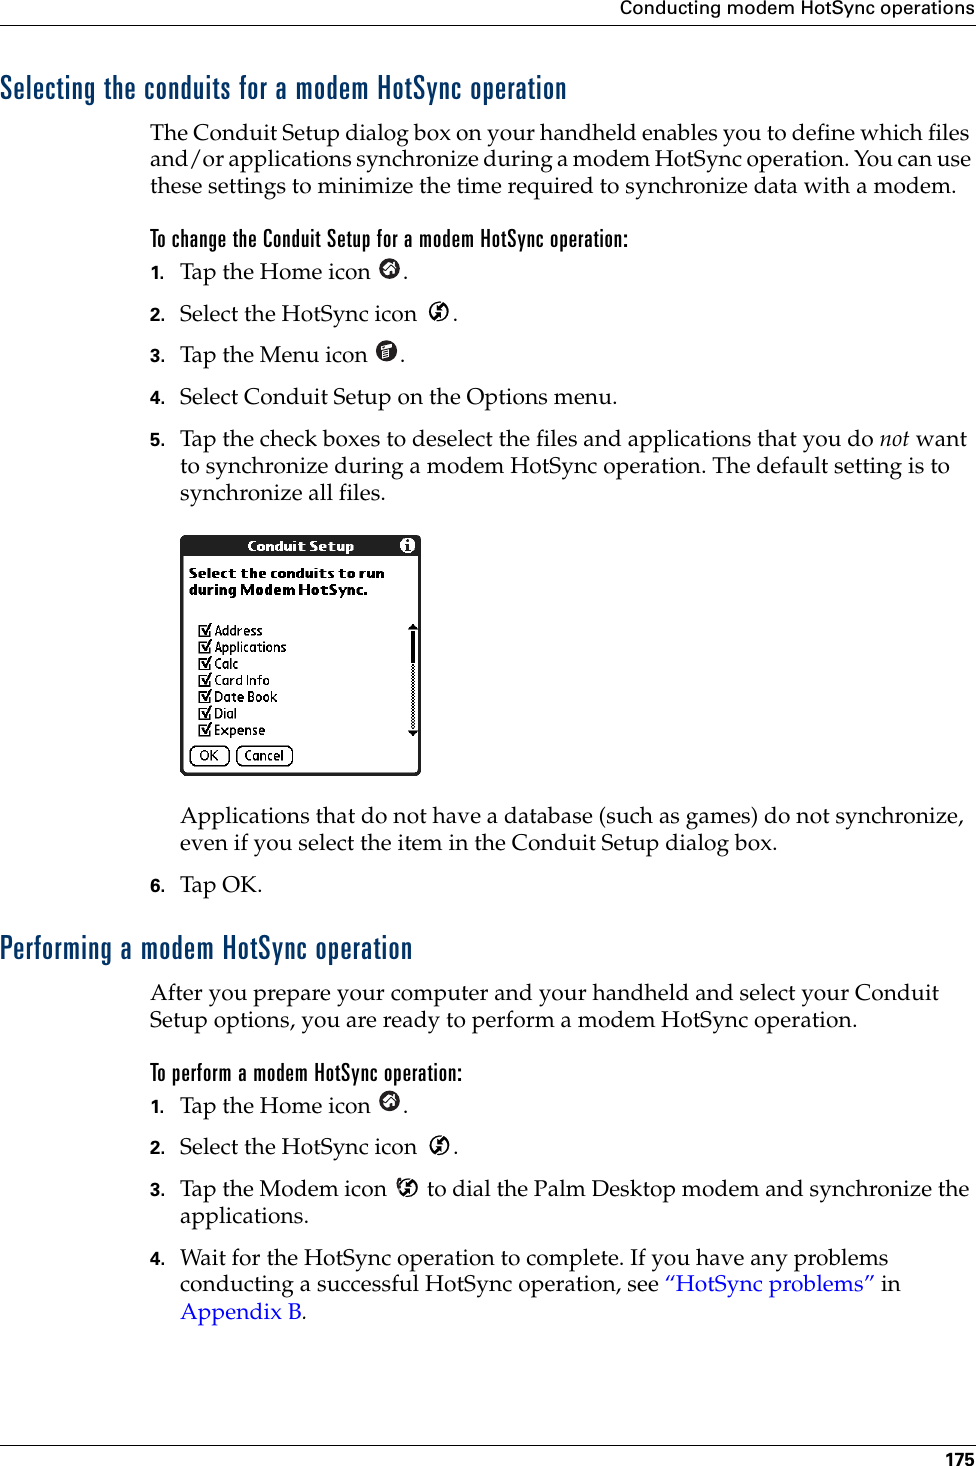
>
550000 User Manual
>
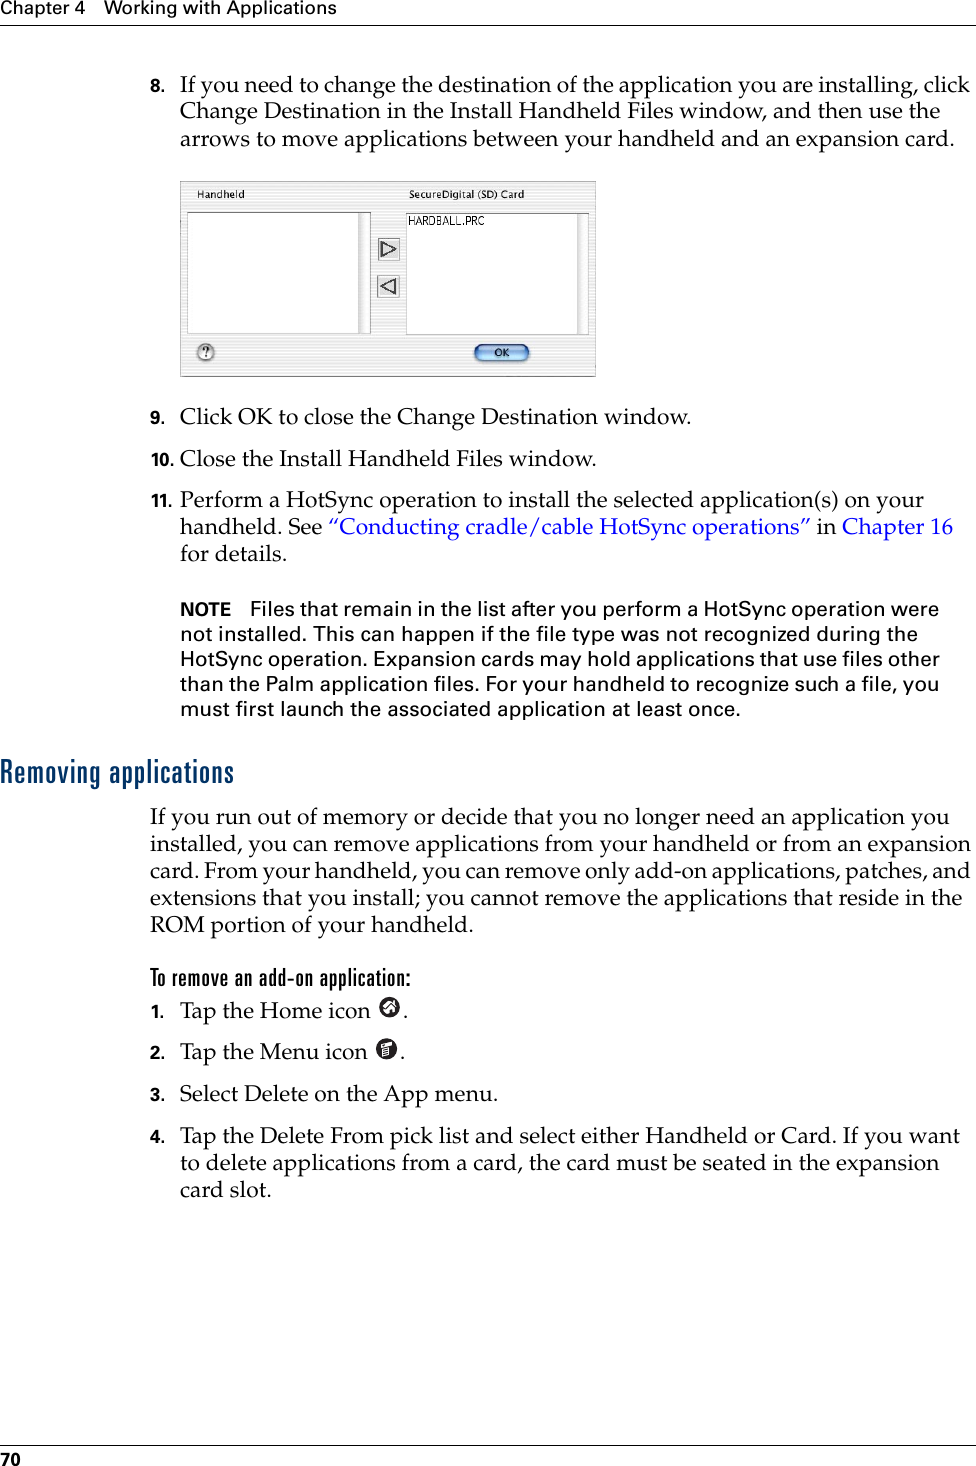
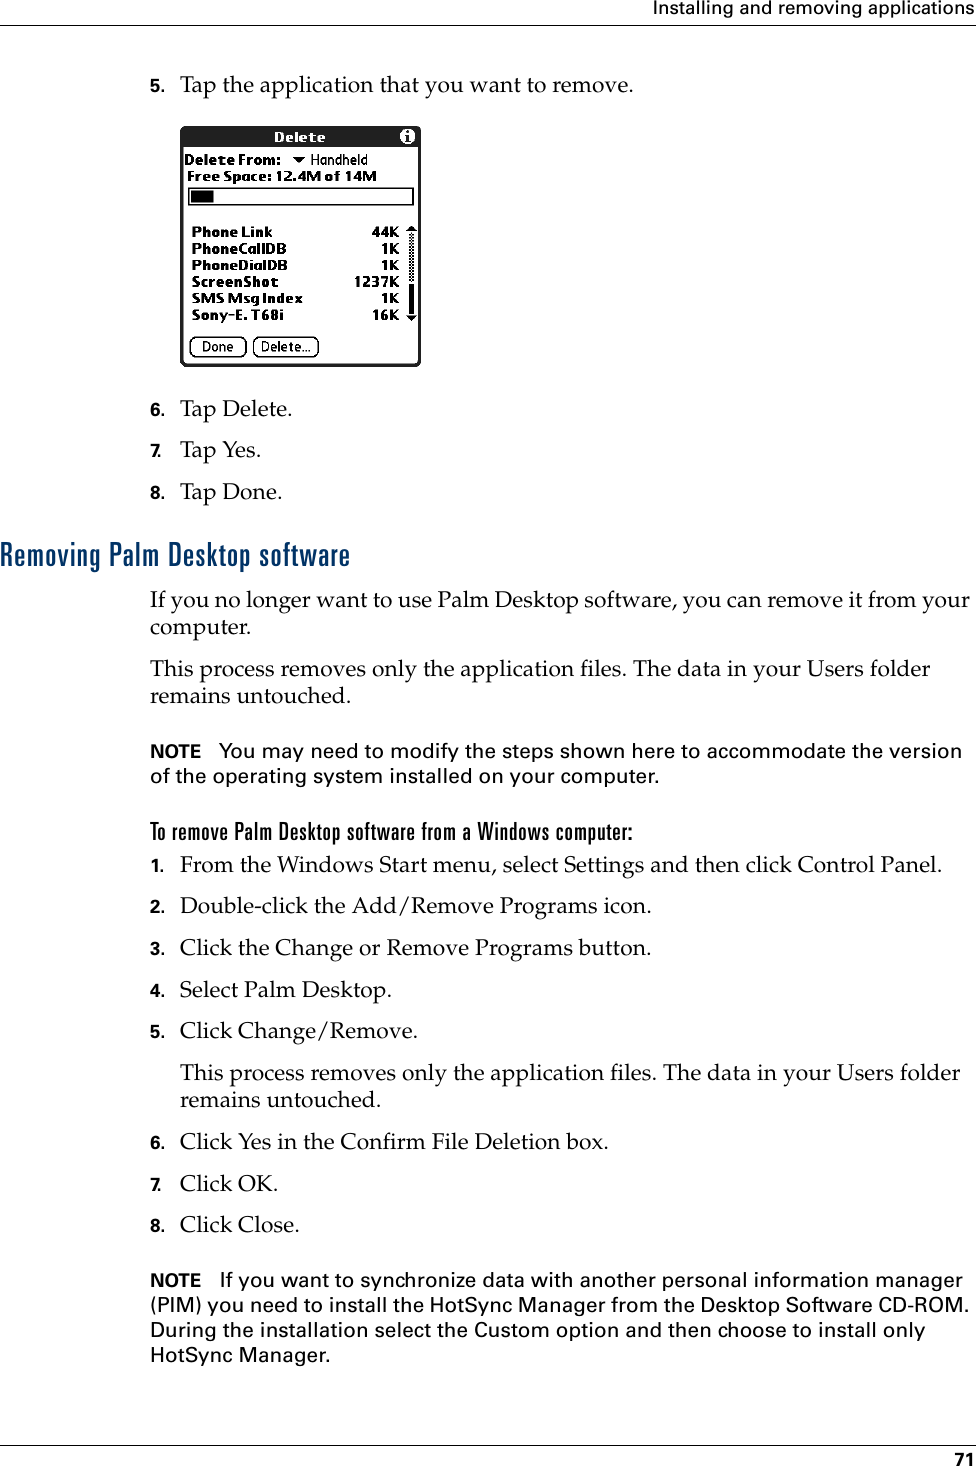
User Manual
Contents
1.
User Manual Declaration
2.
User Manual
User Manual
Navigation menu
Upload a User Manual
Namespaces
Wiki Guide
HTML
PDF
Info
Views
User Manual
Discussion / Help
Navigation

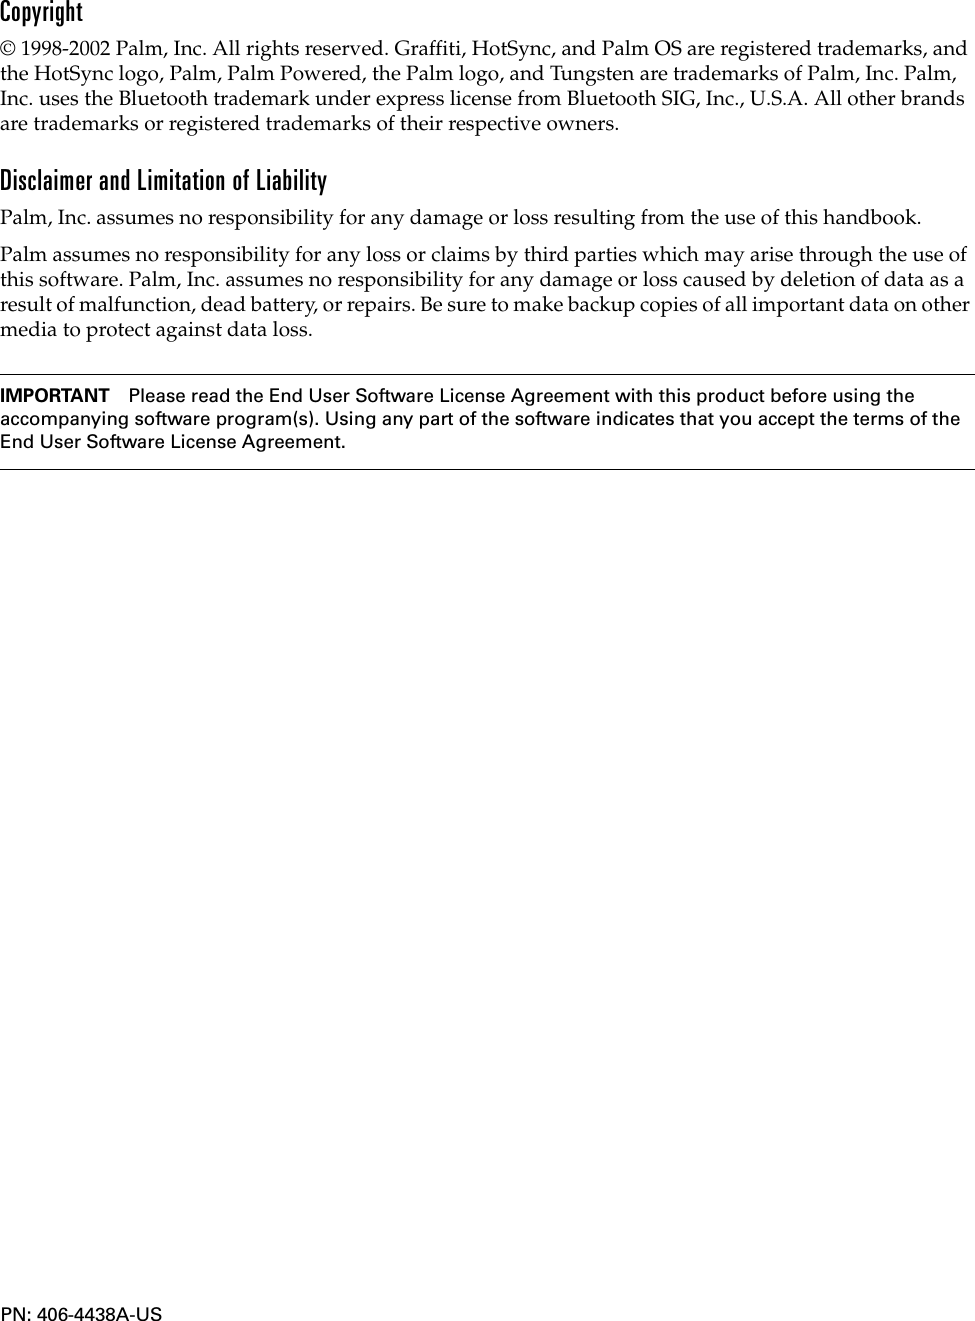
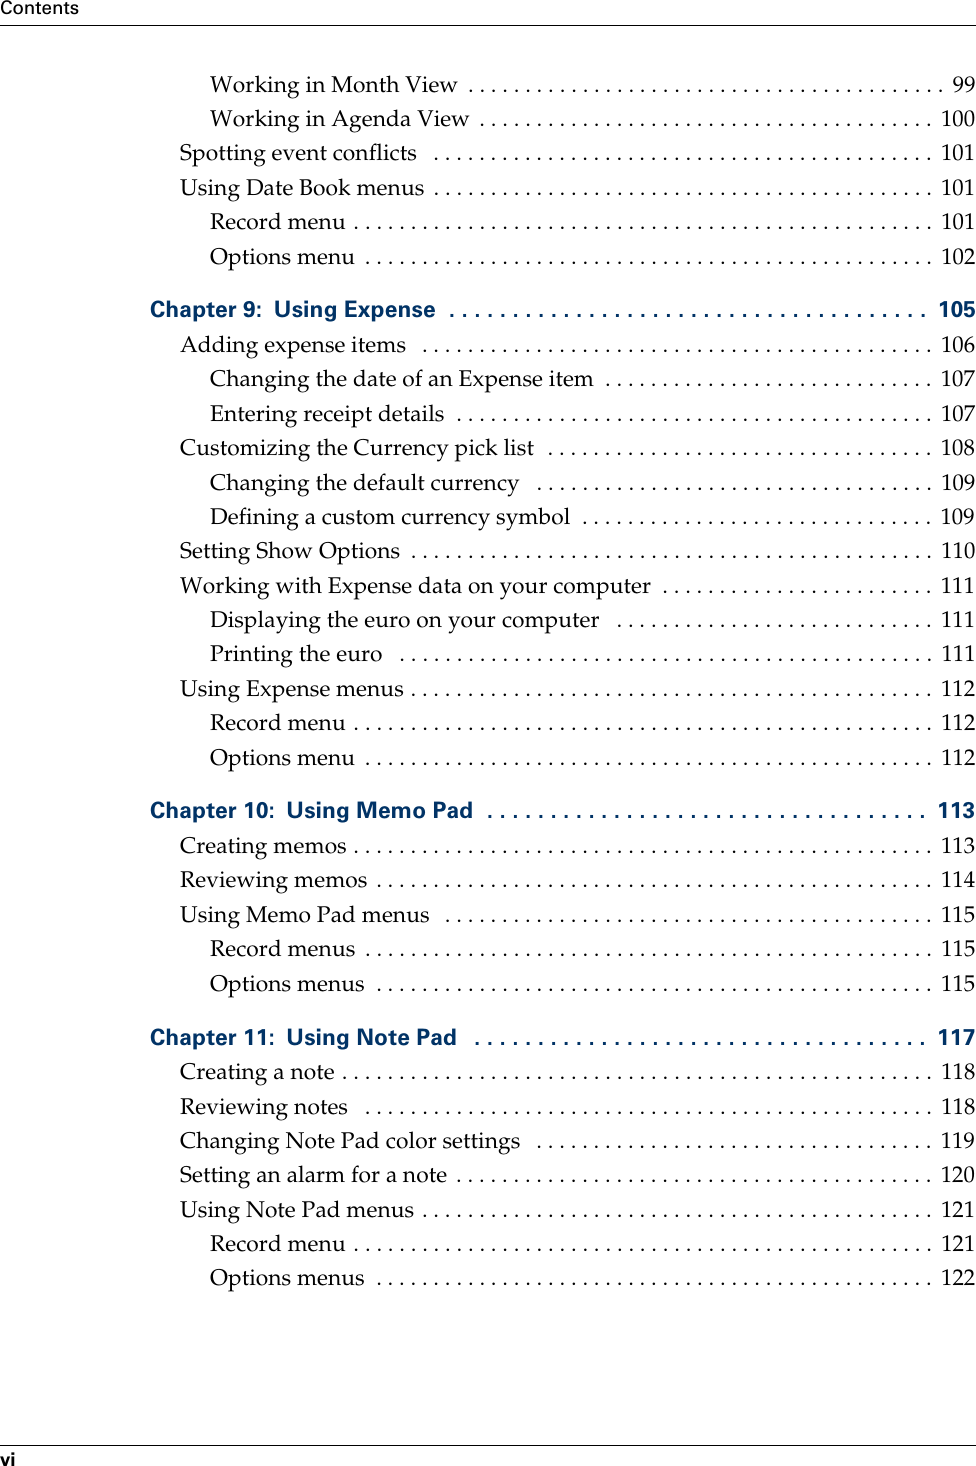


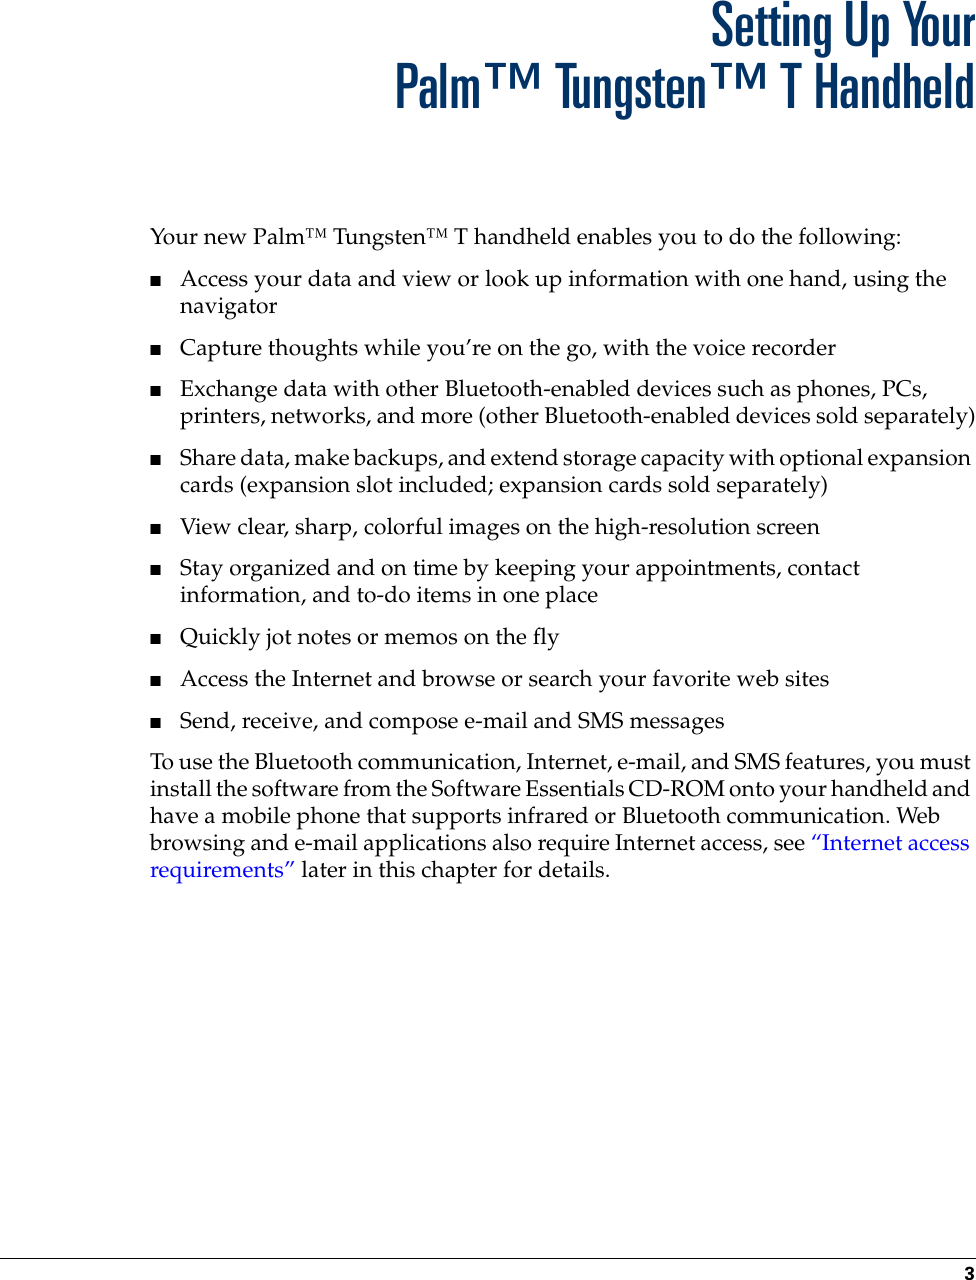
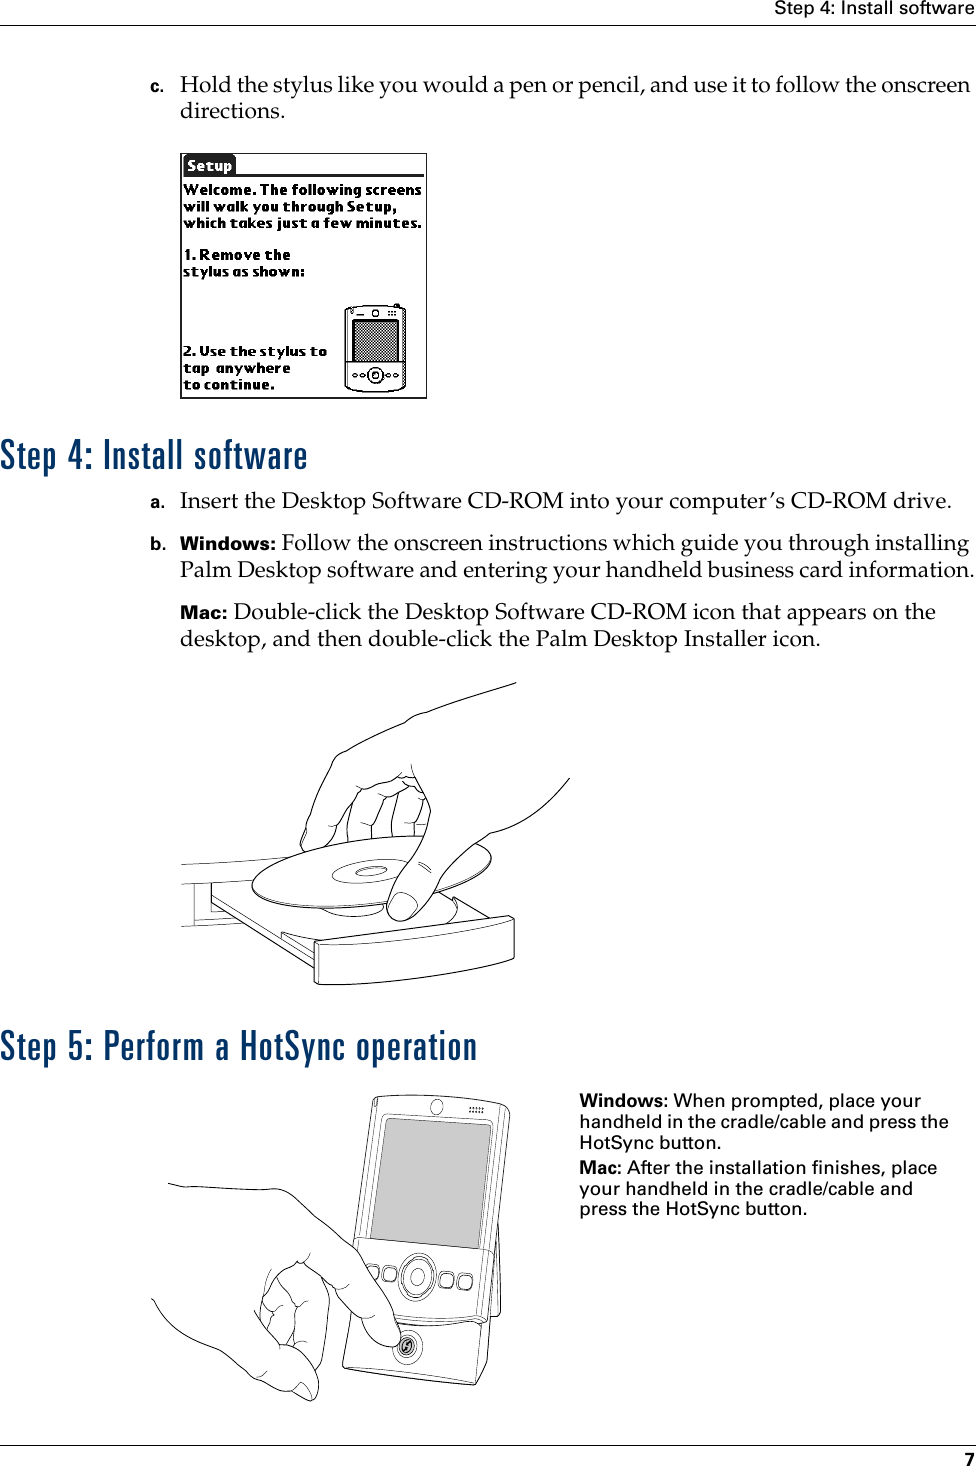
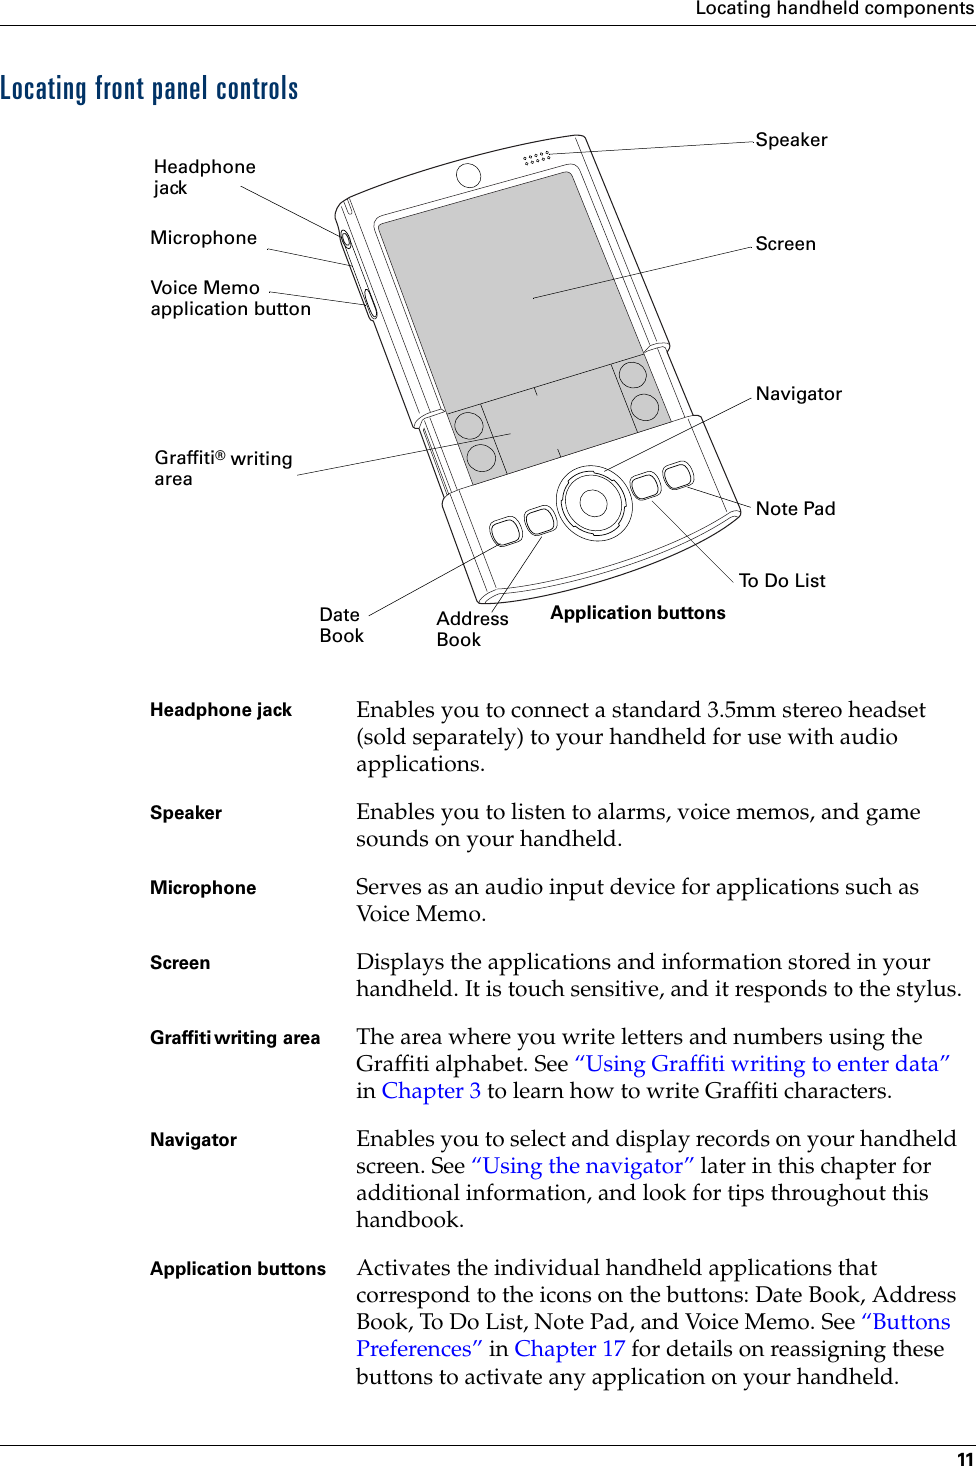


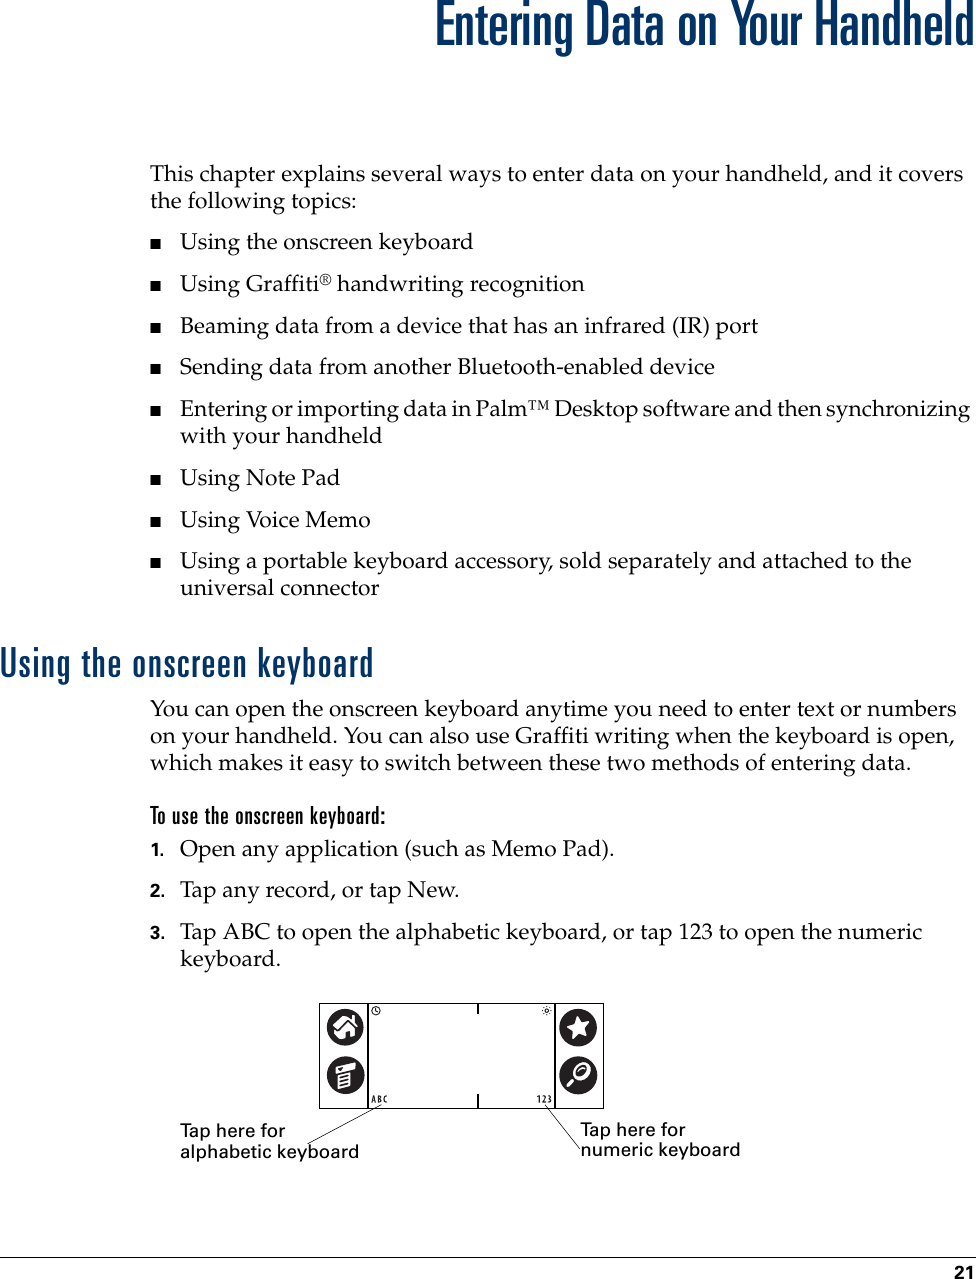
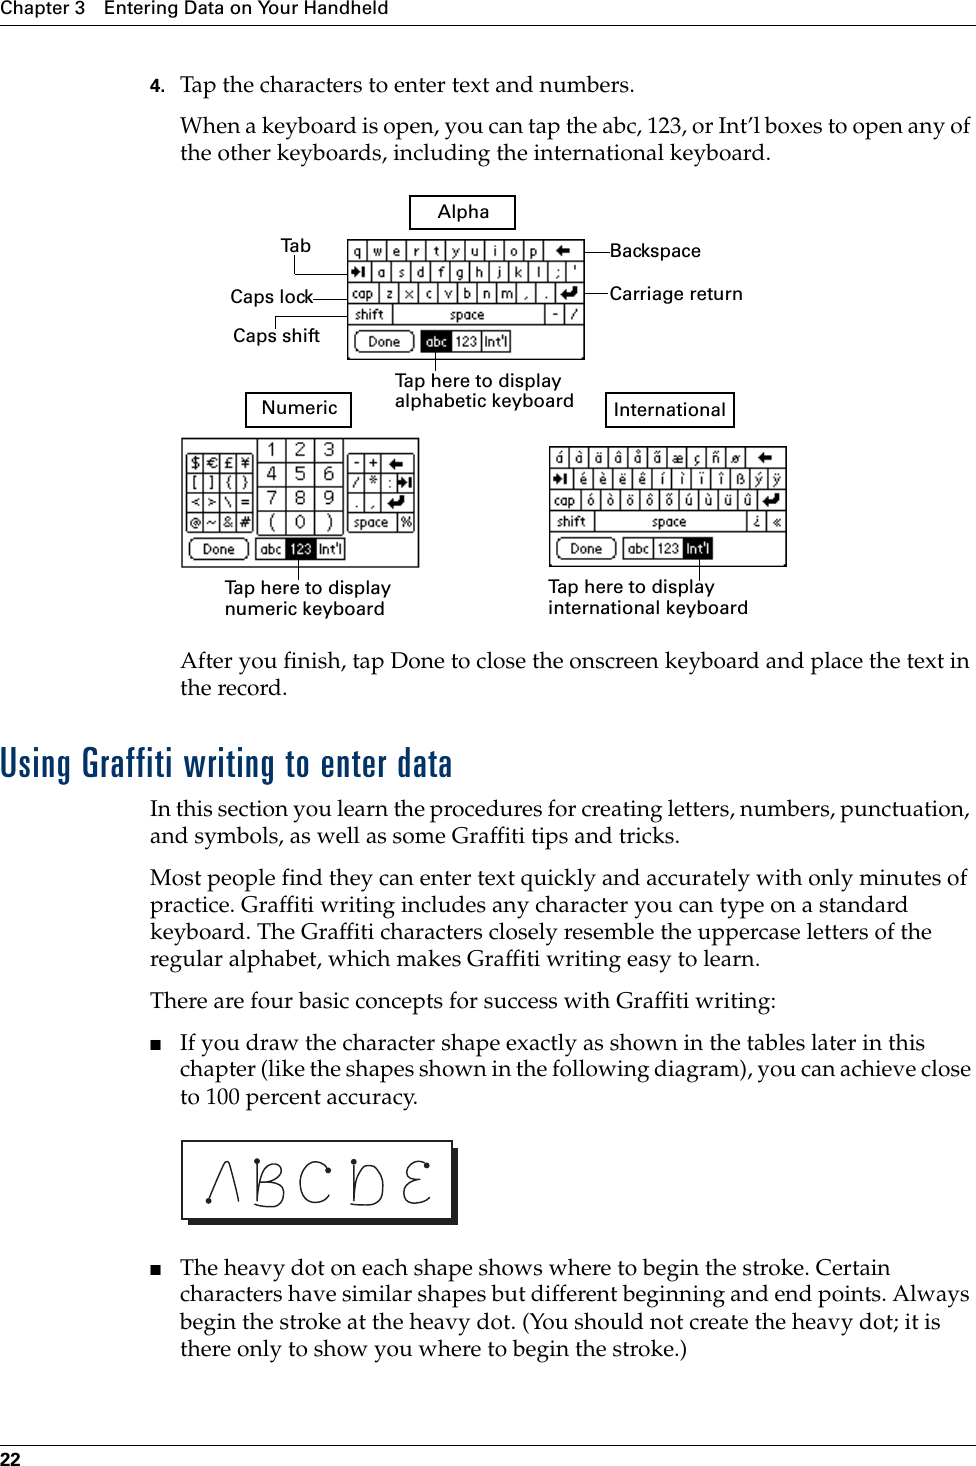
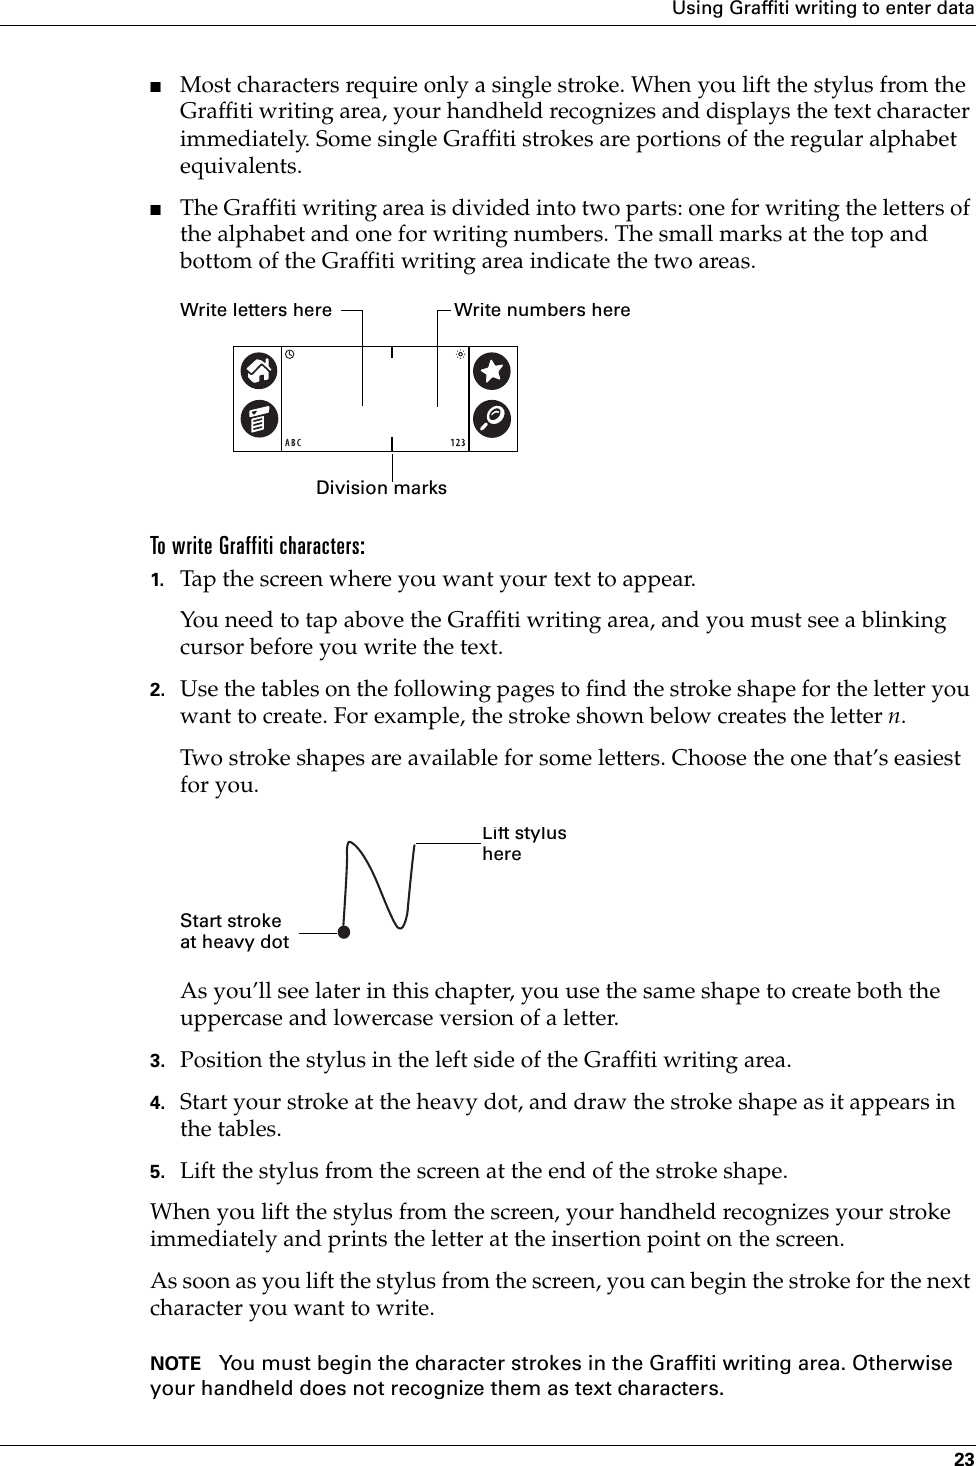
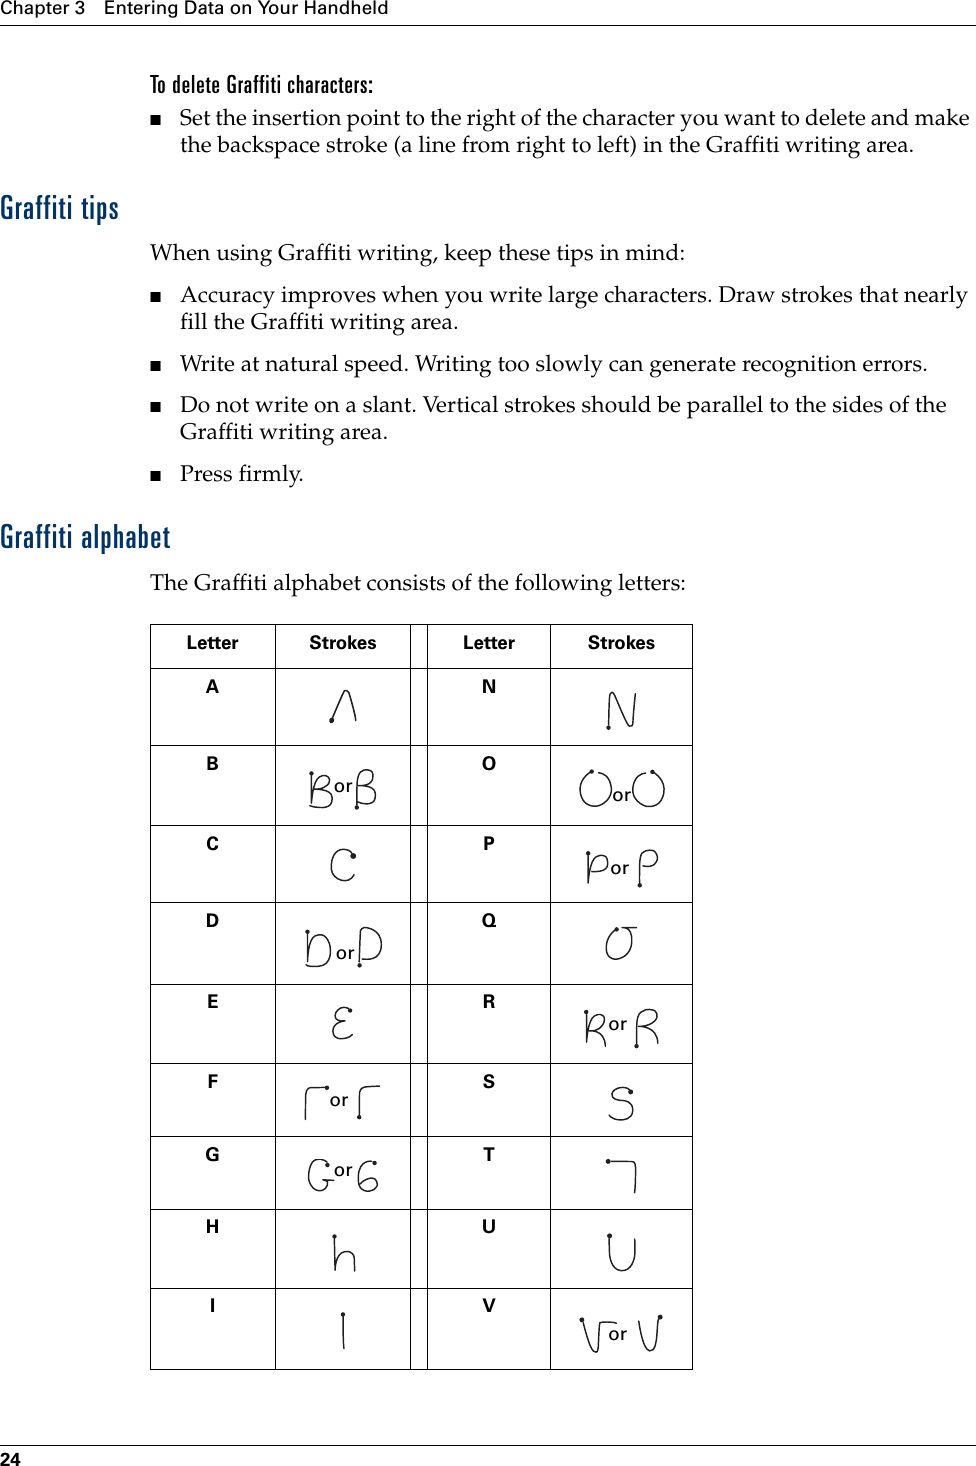
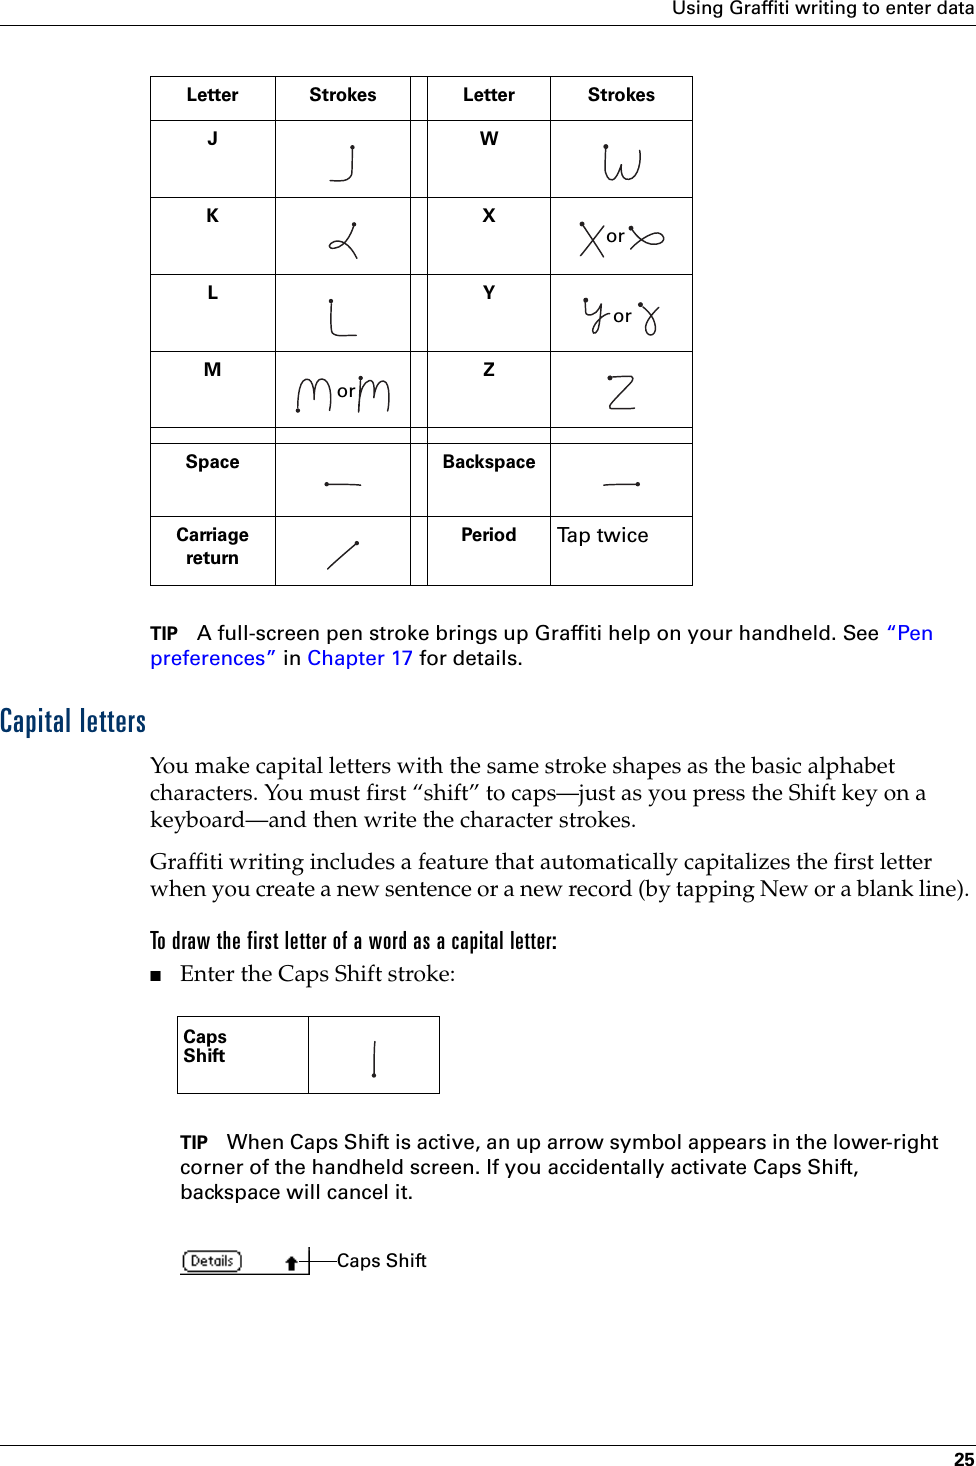

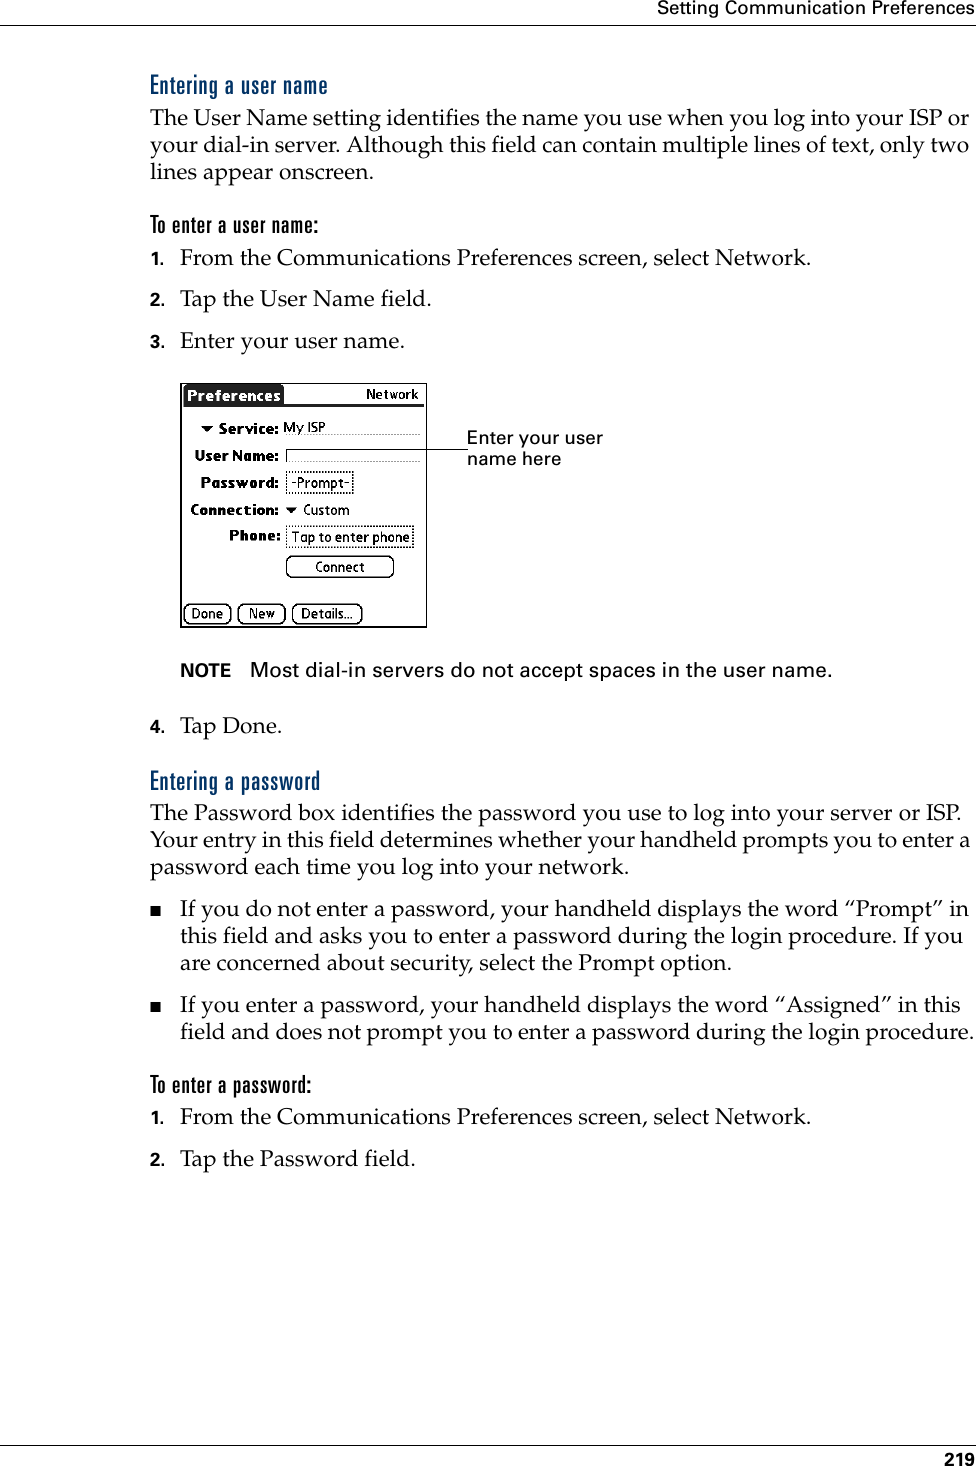
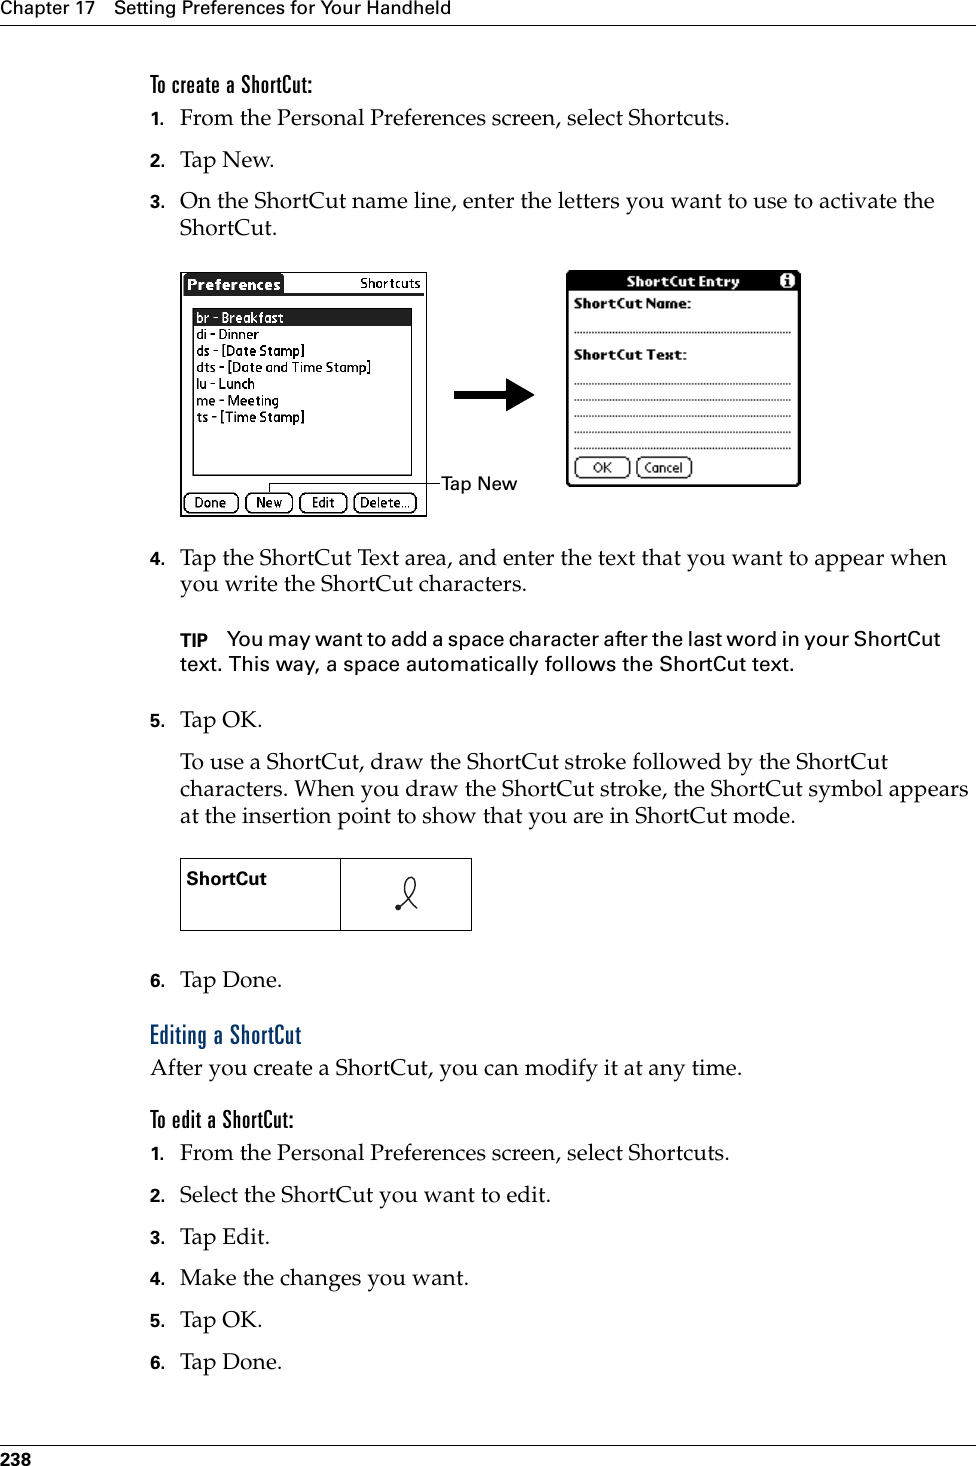
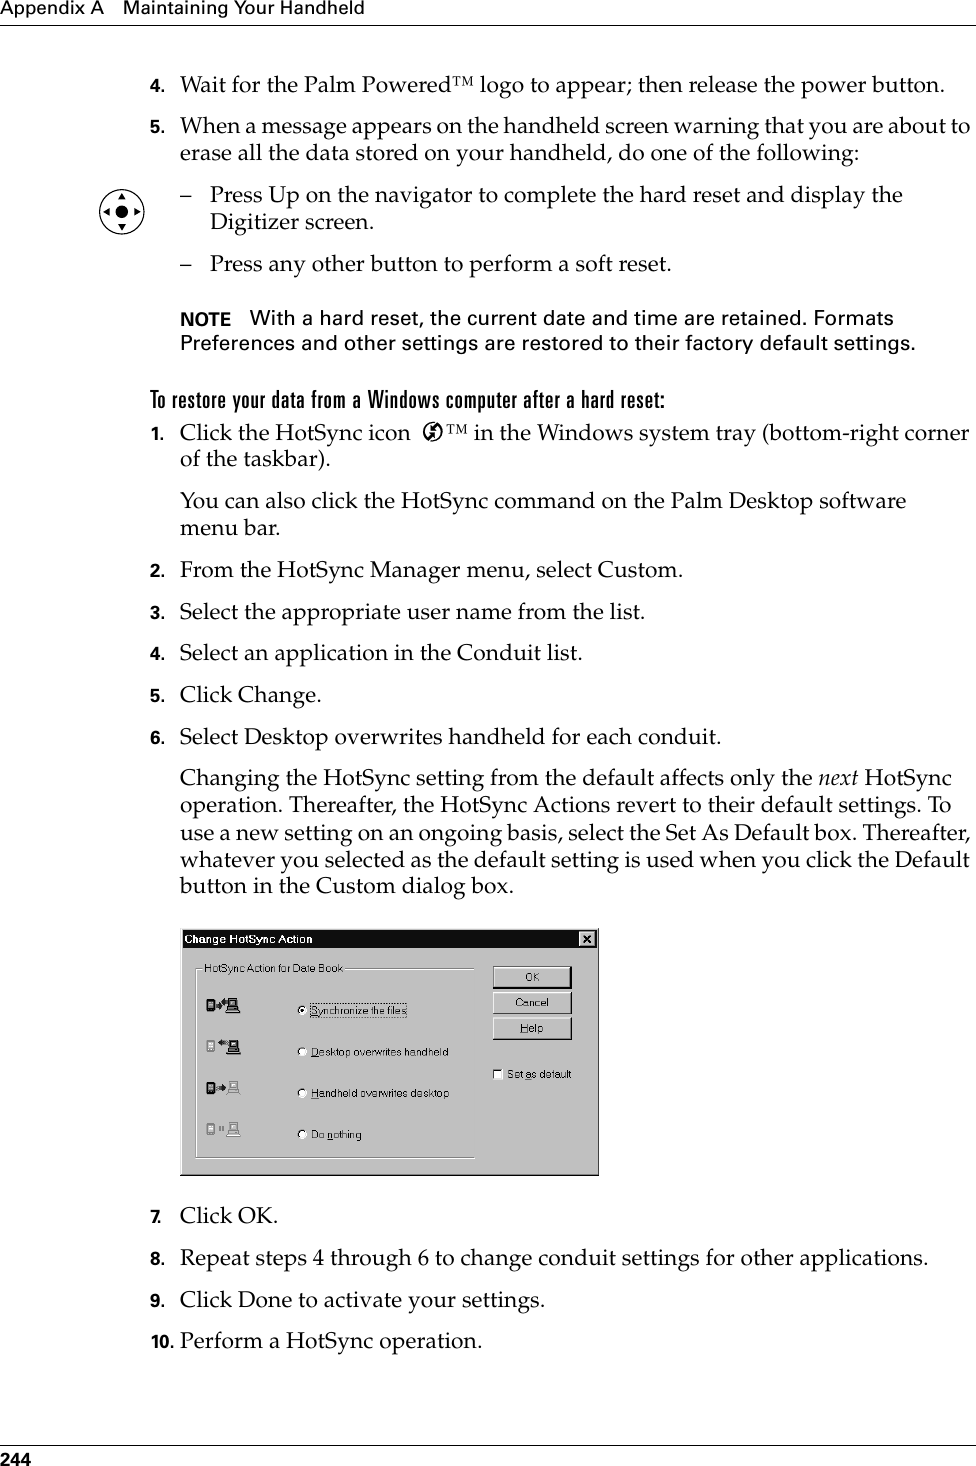
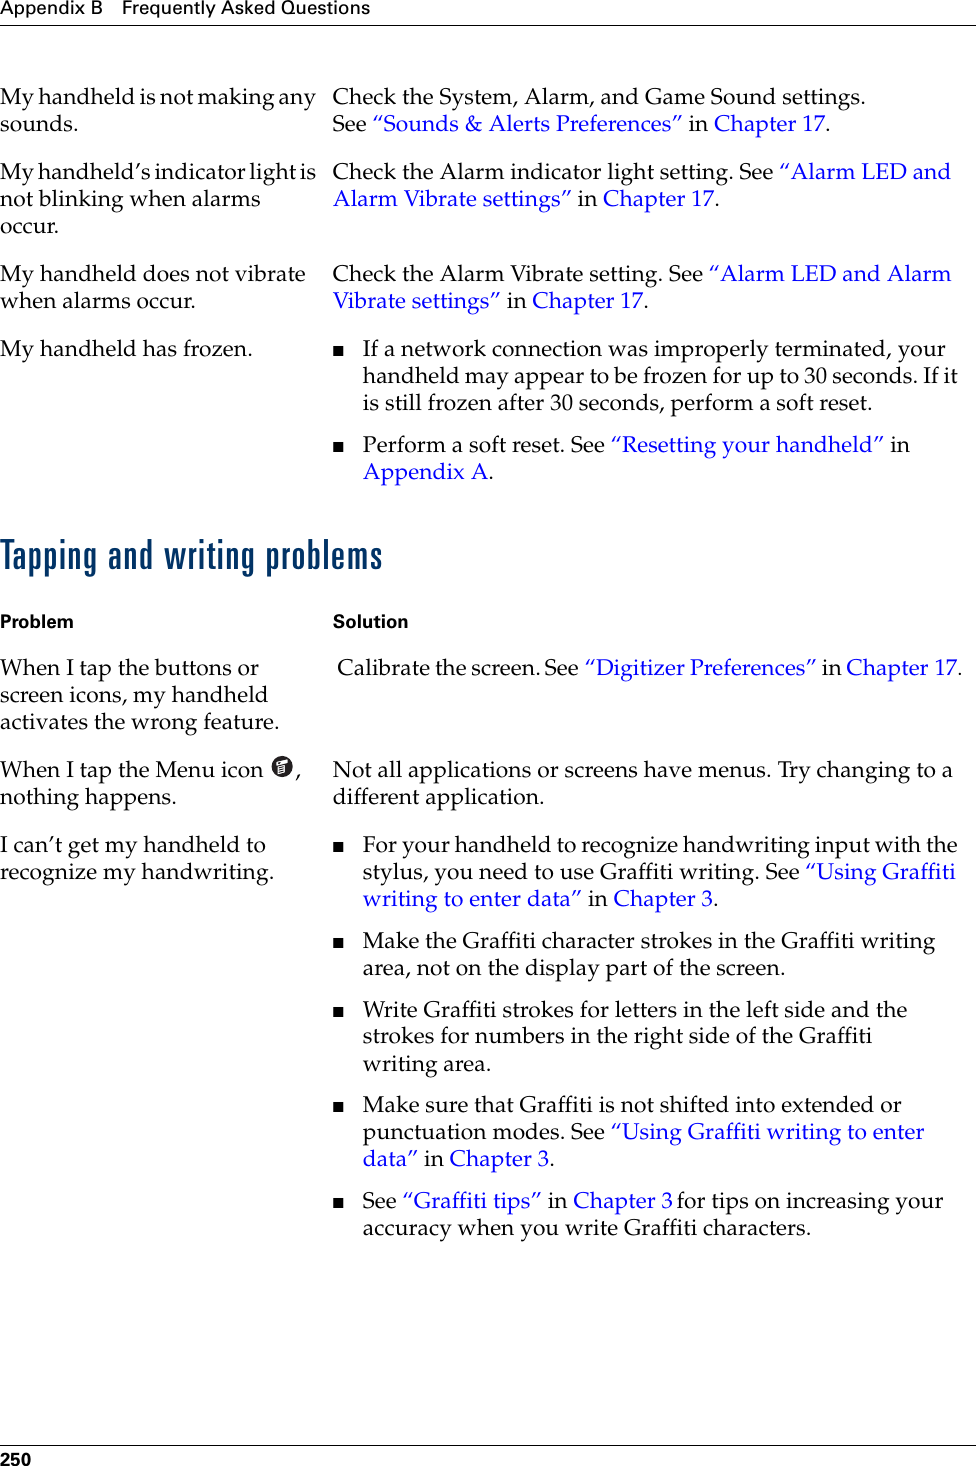
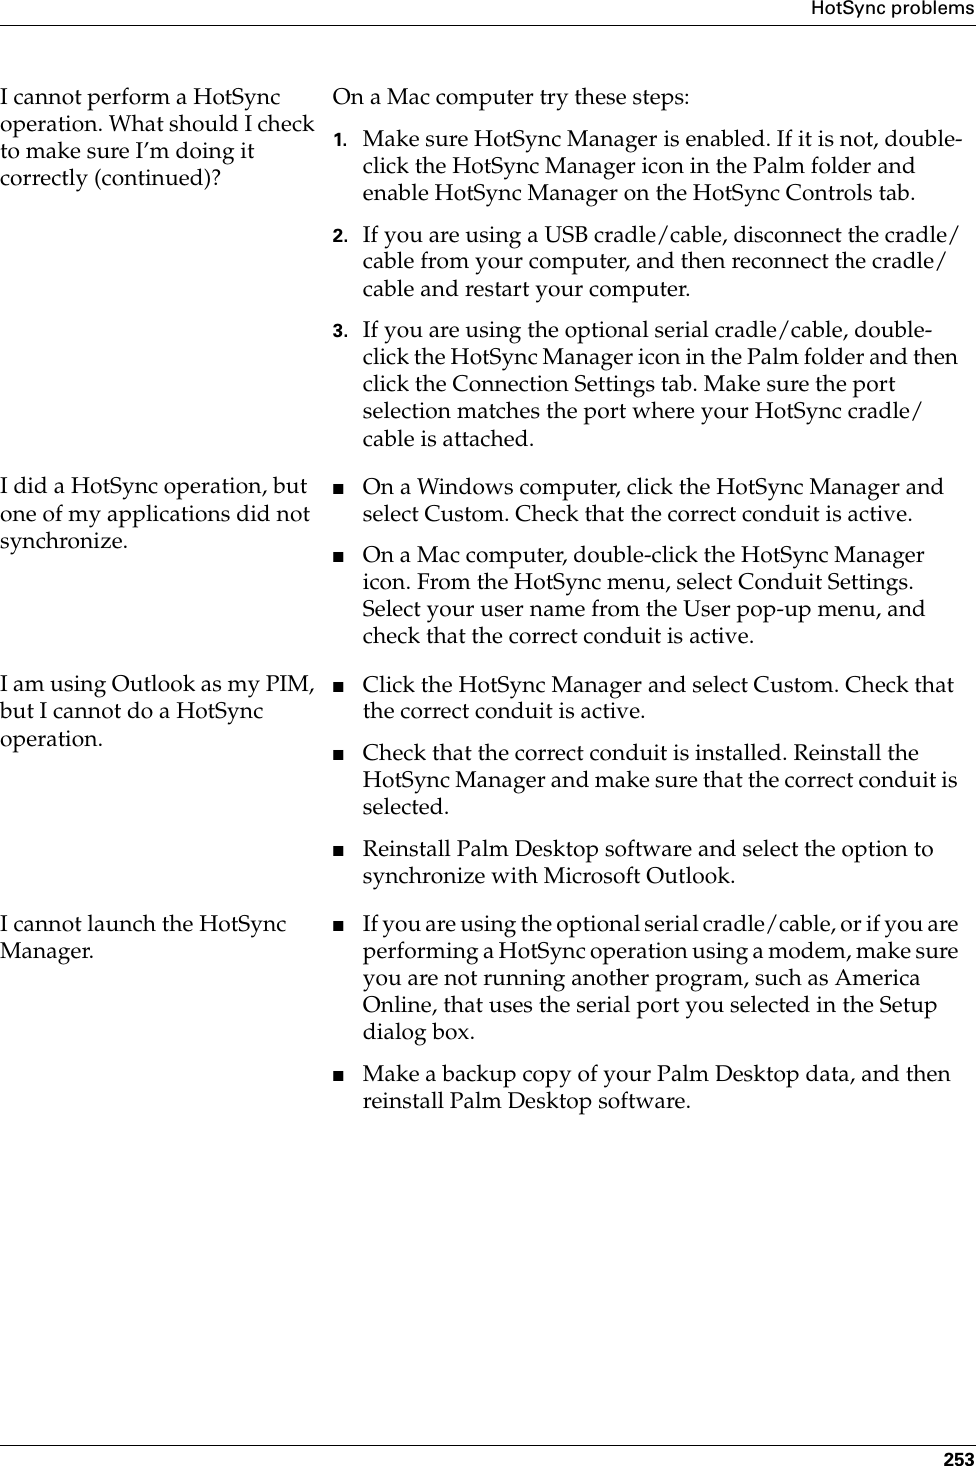
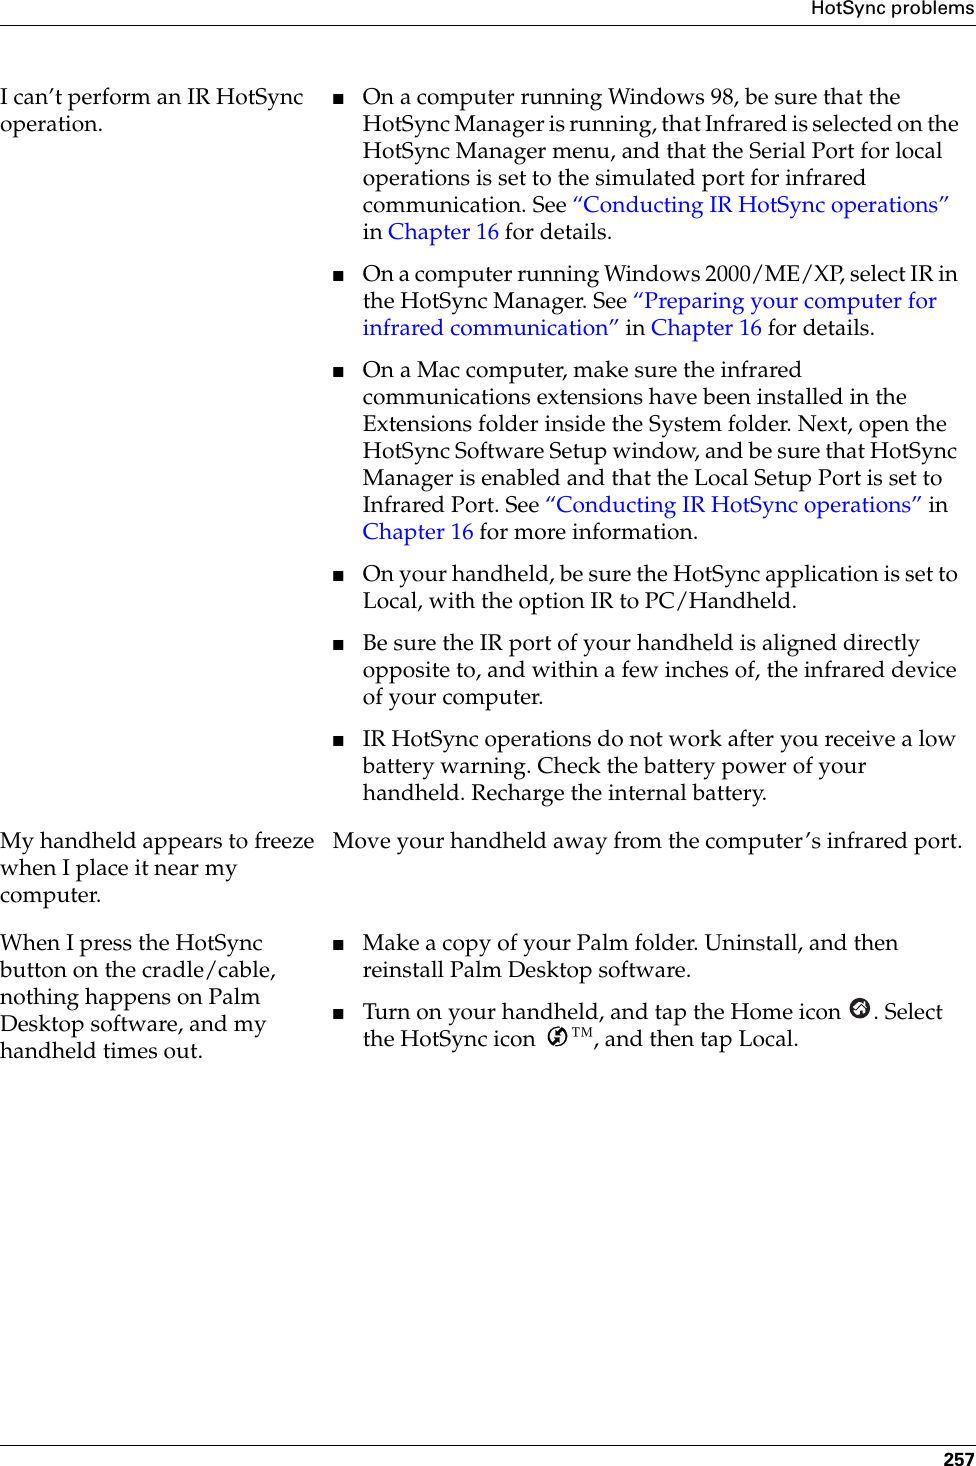
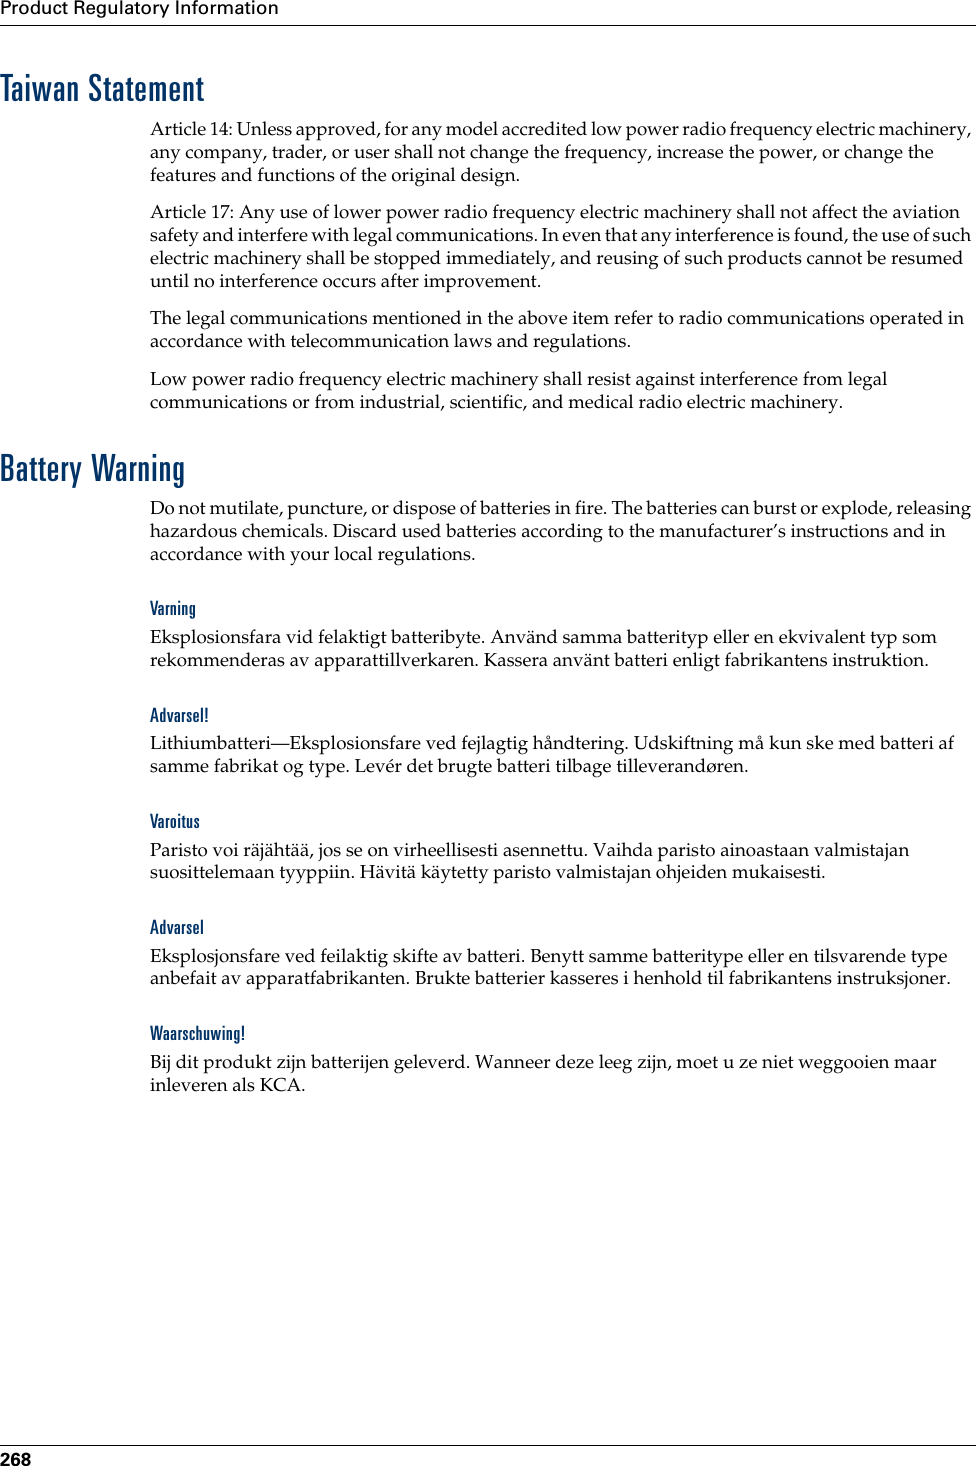
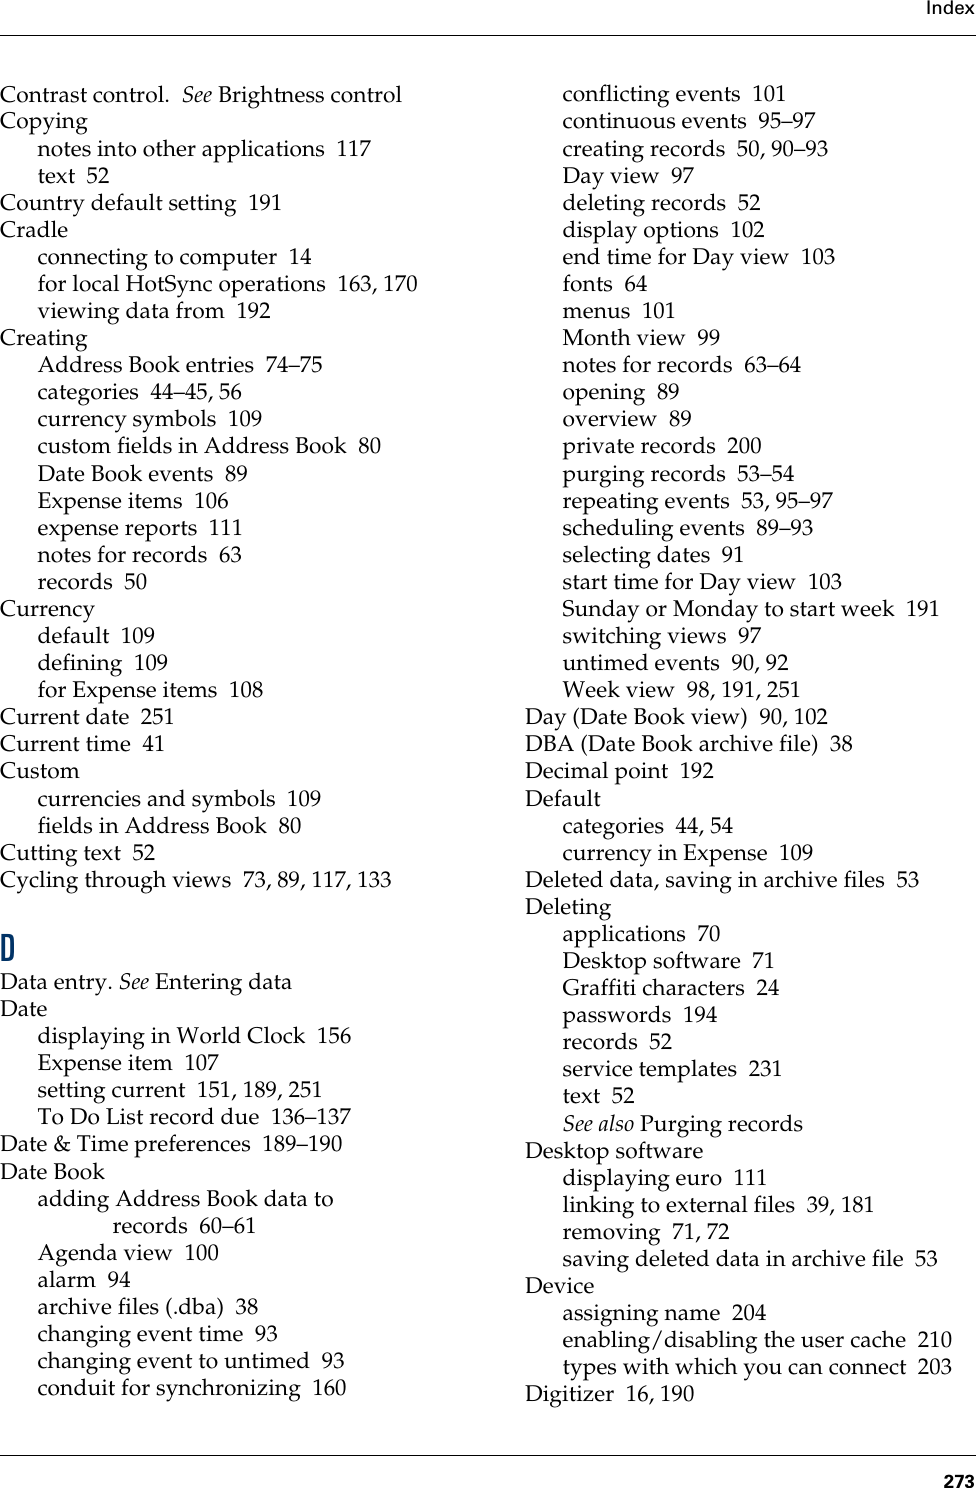
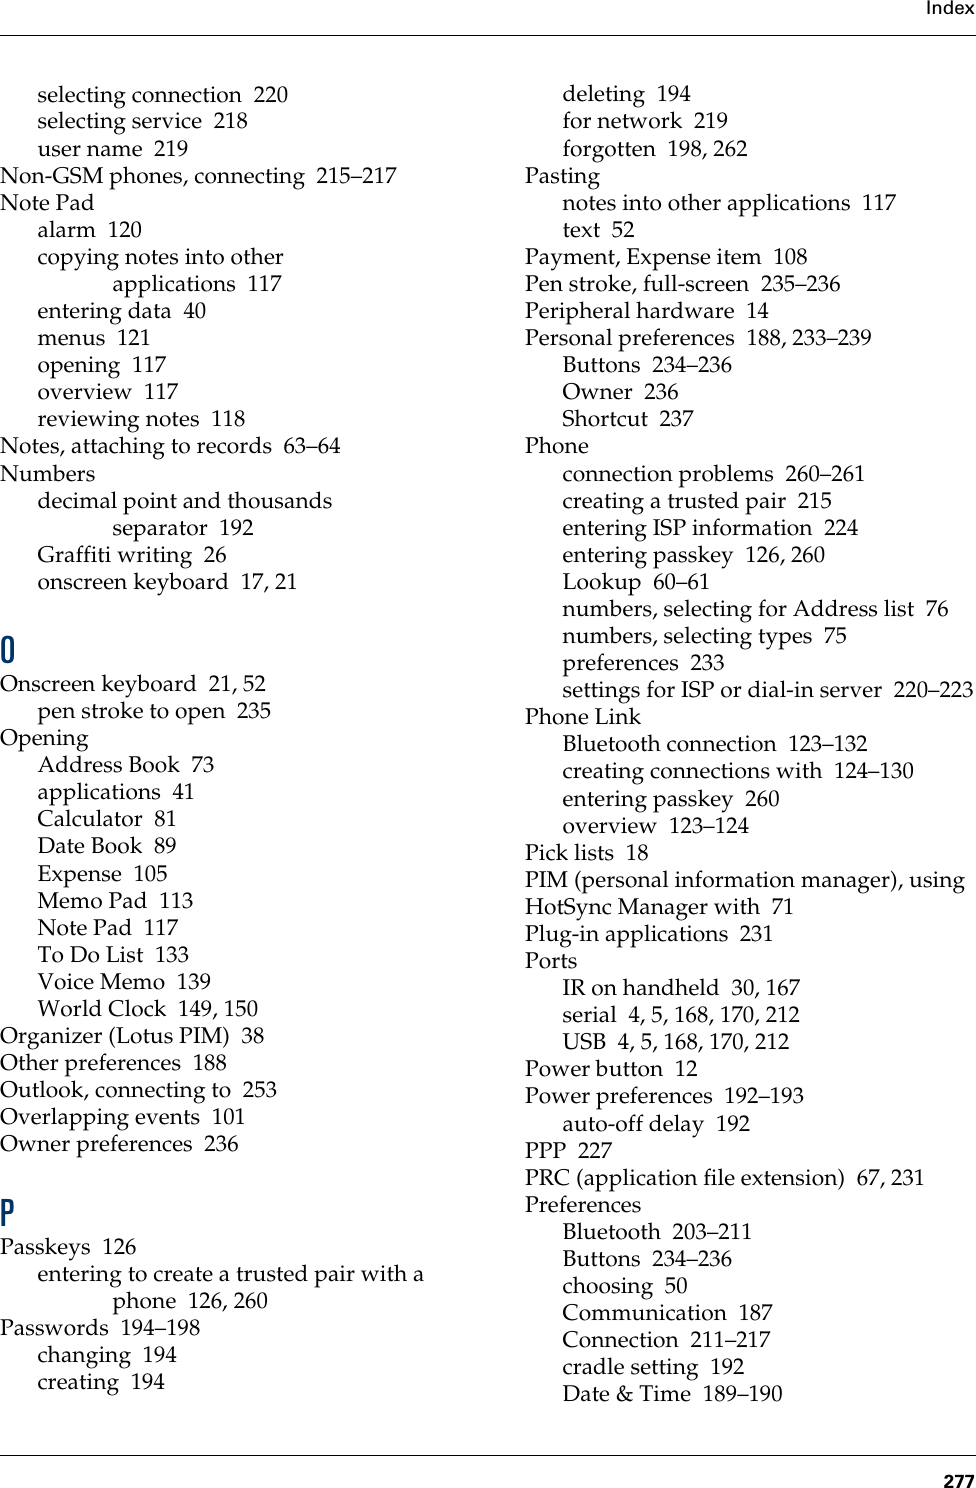
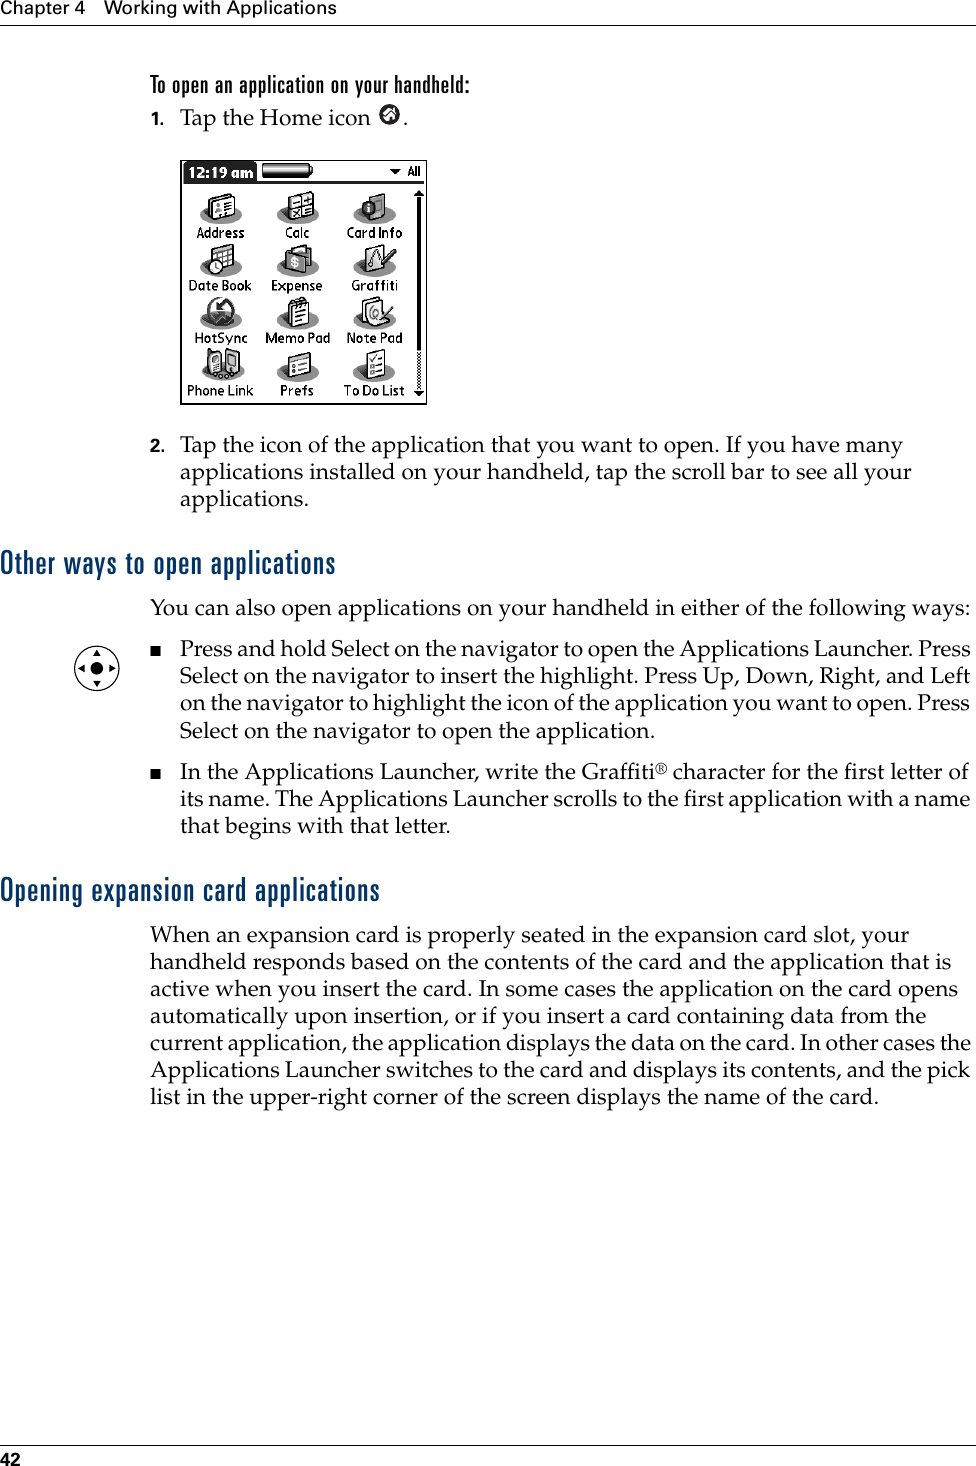
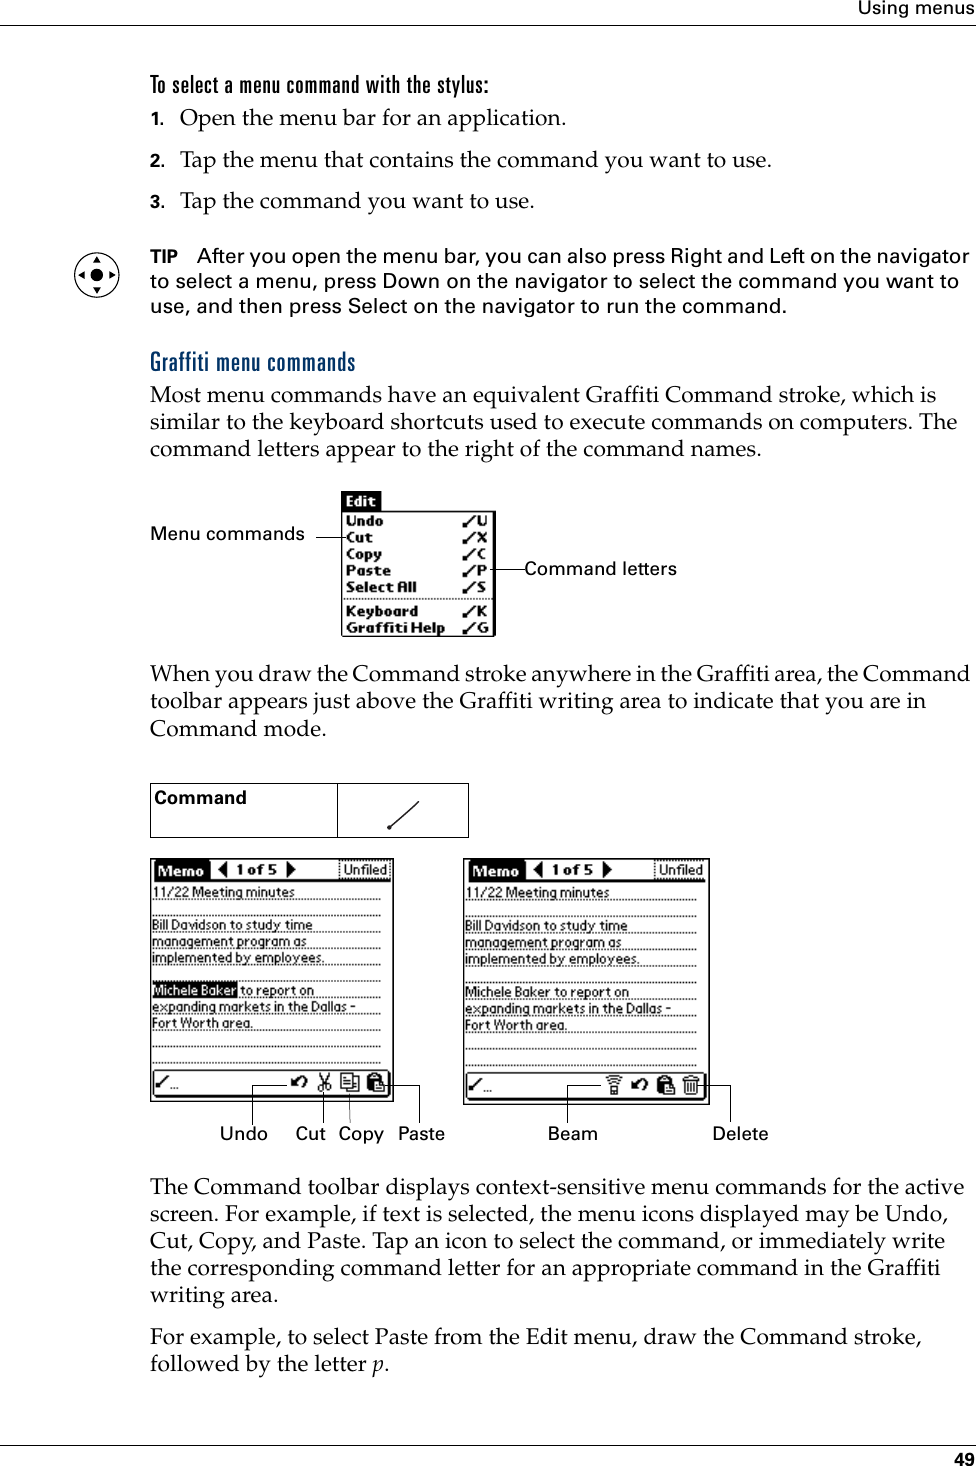
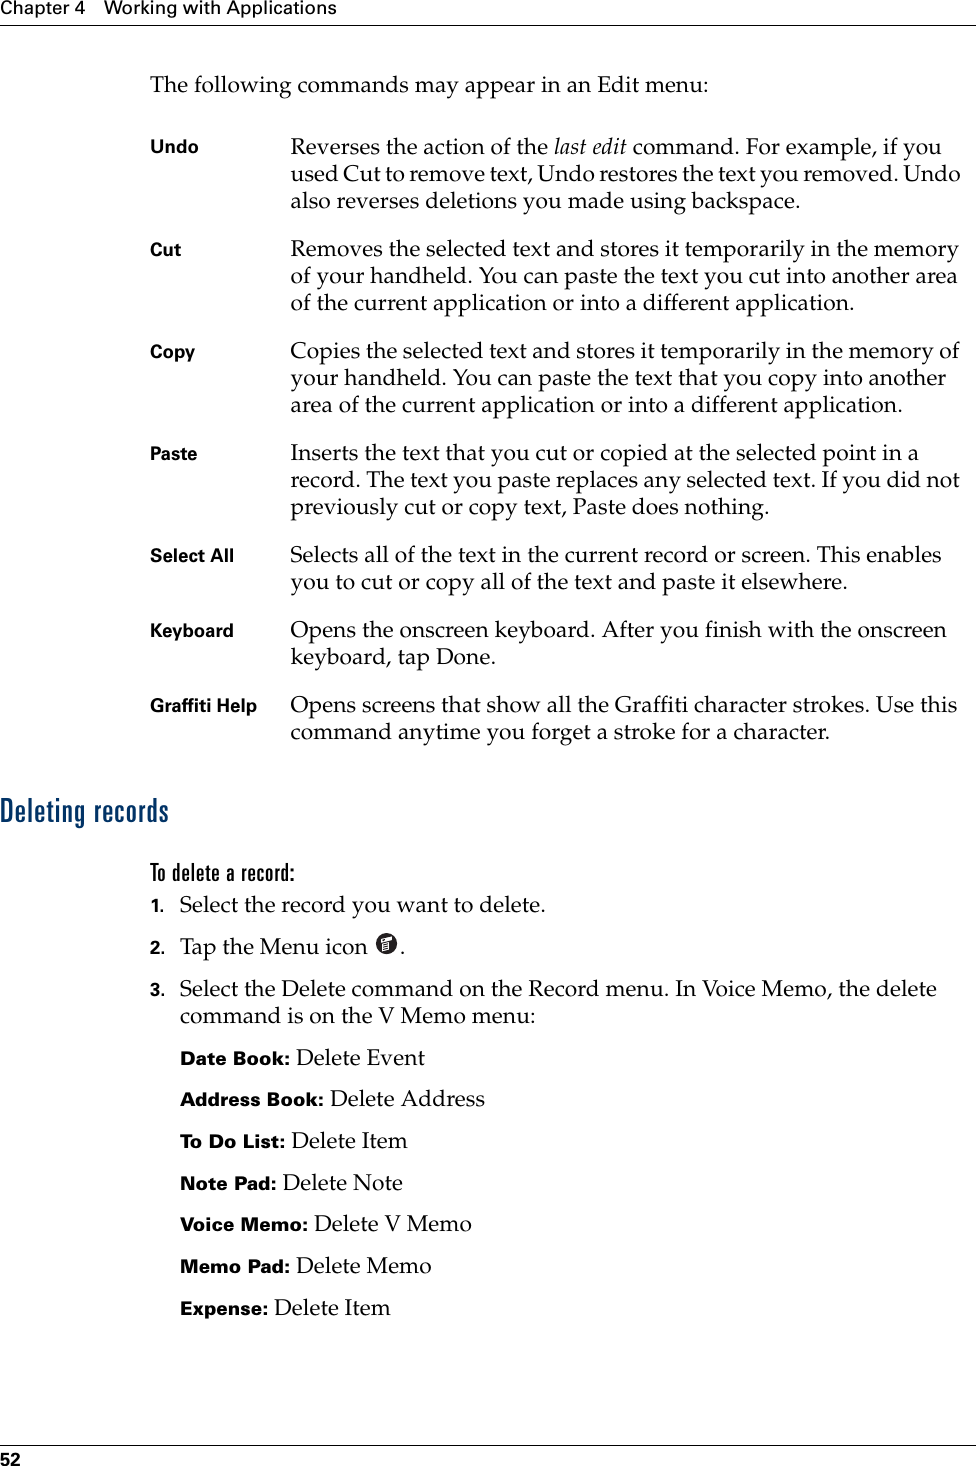
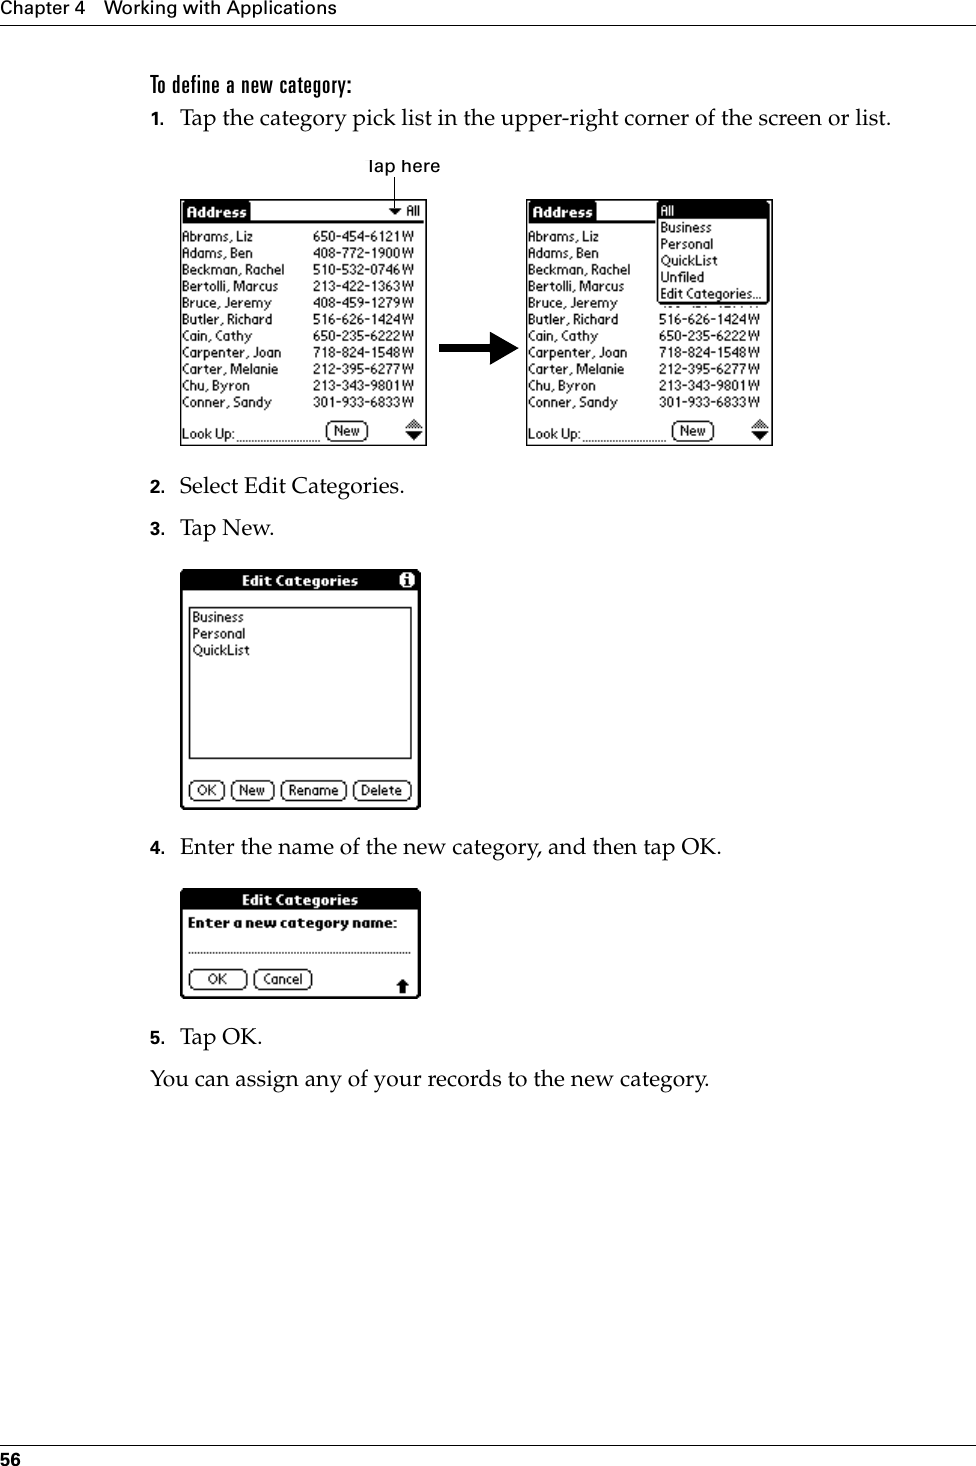
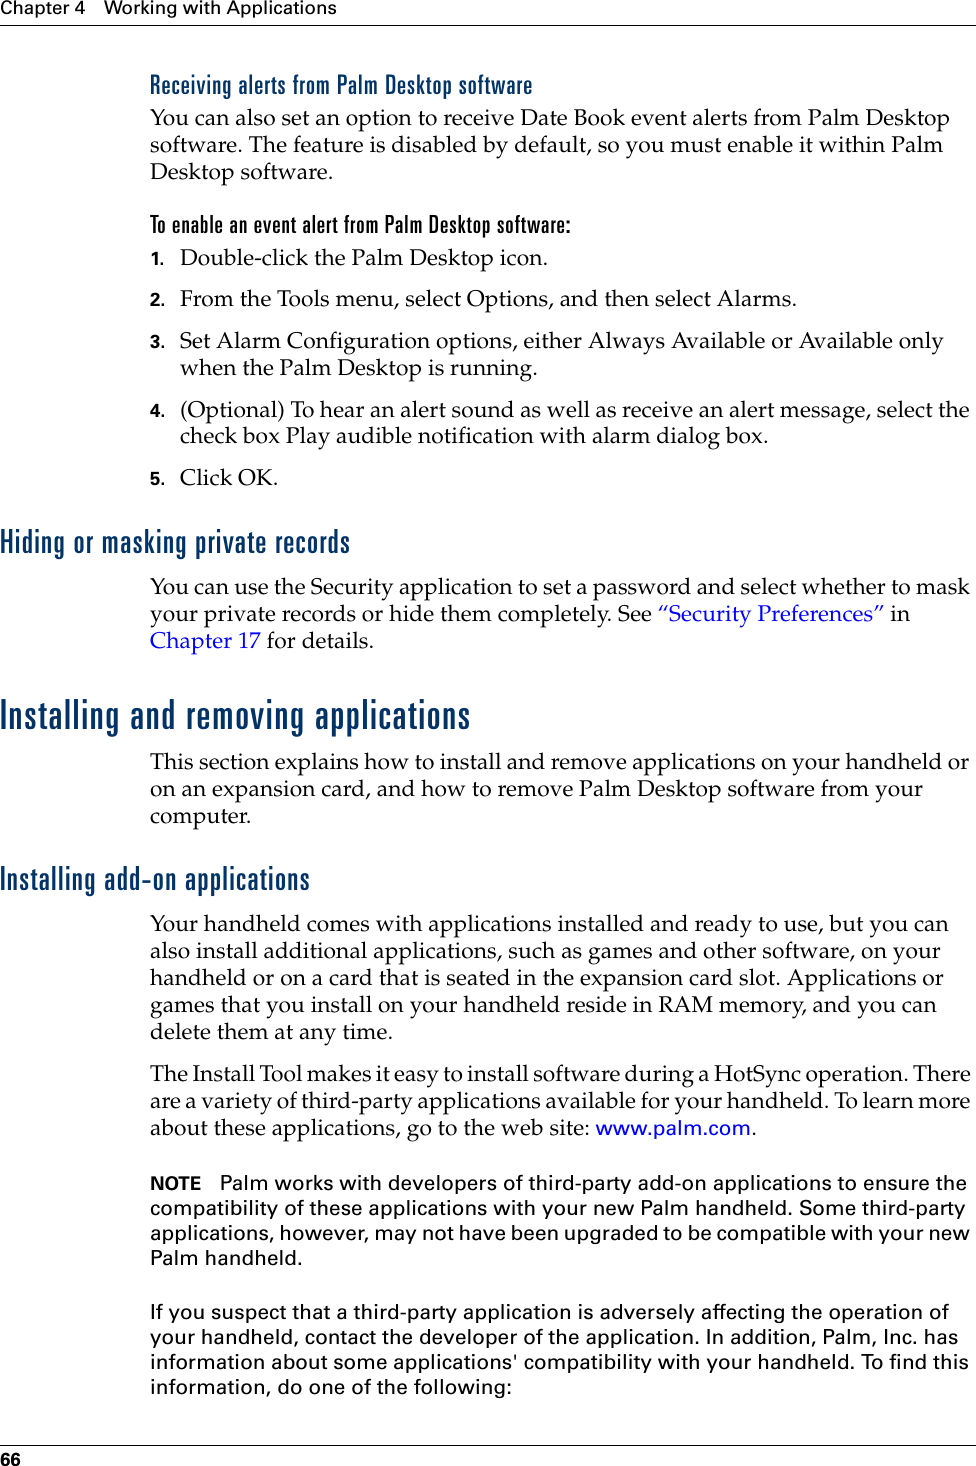
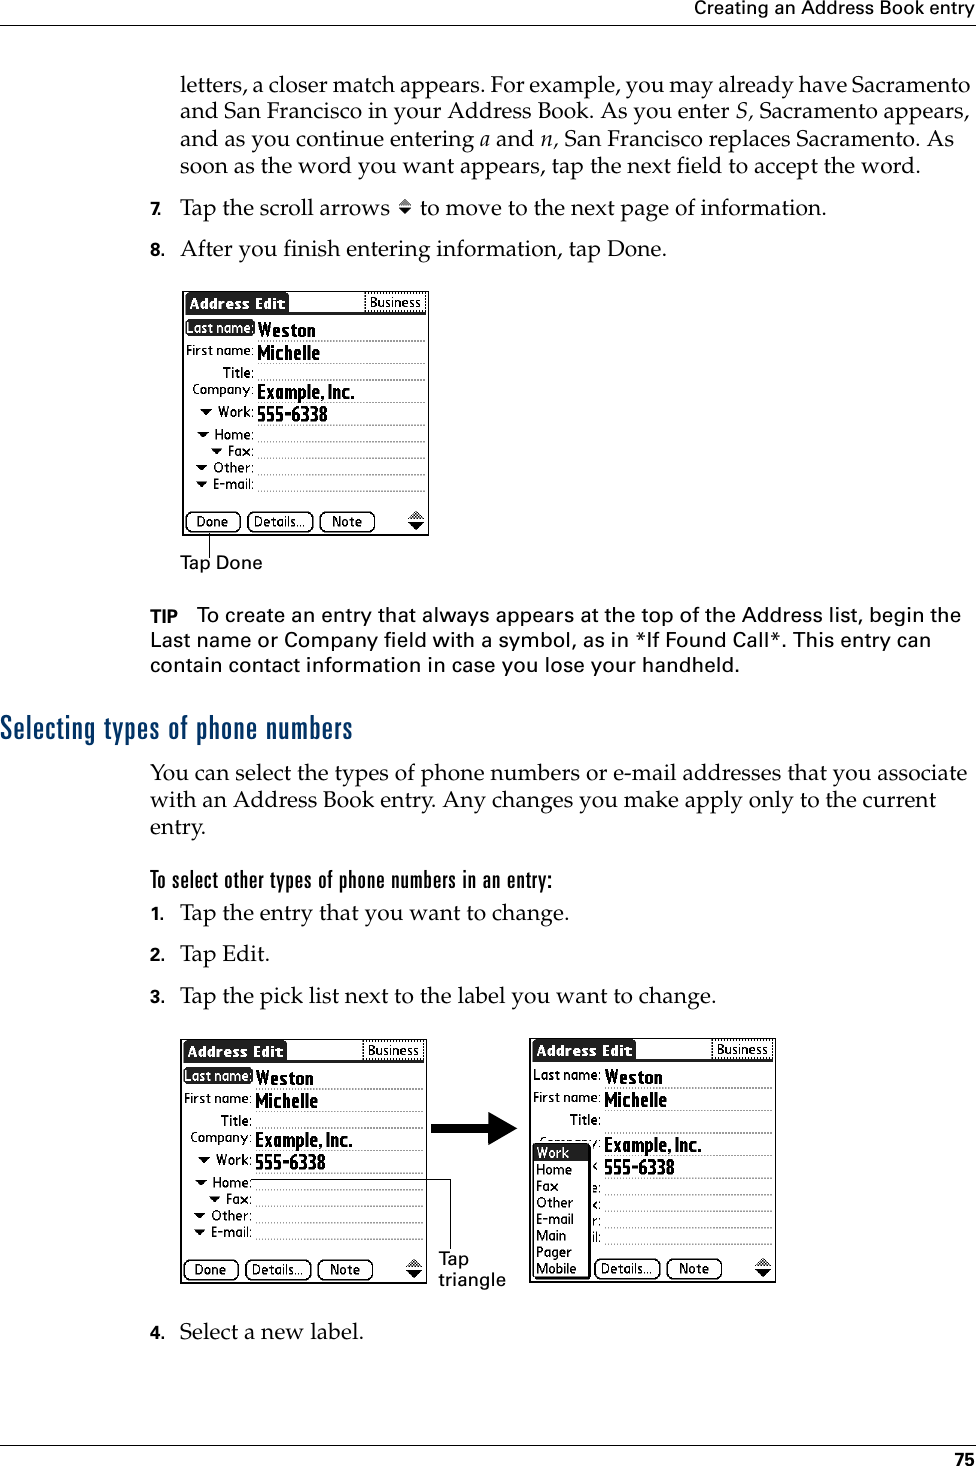
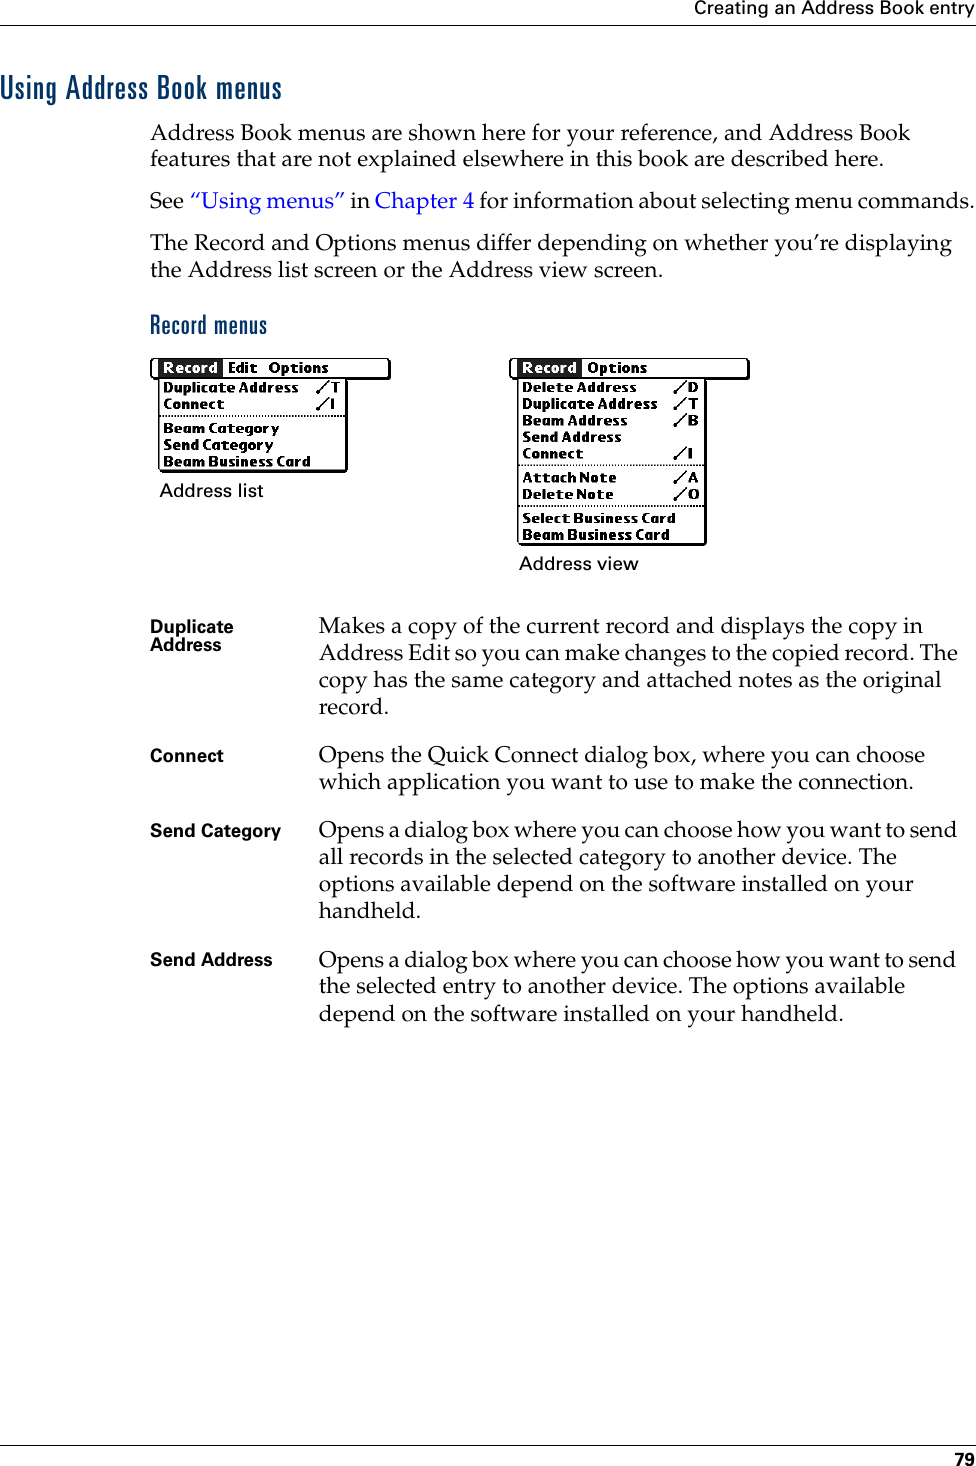
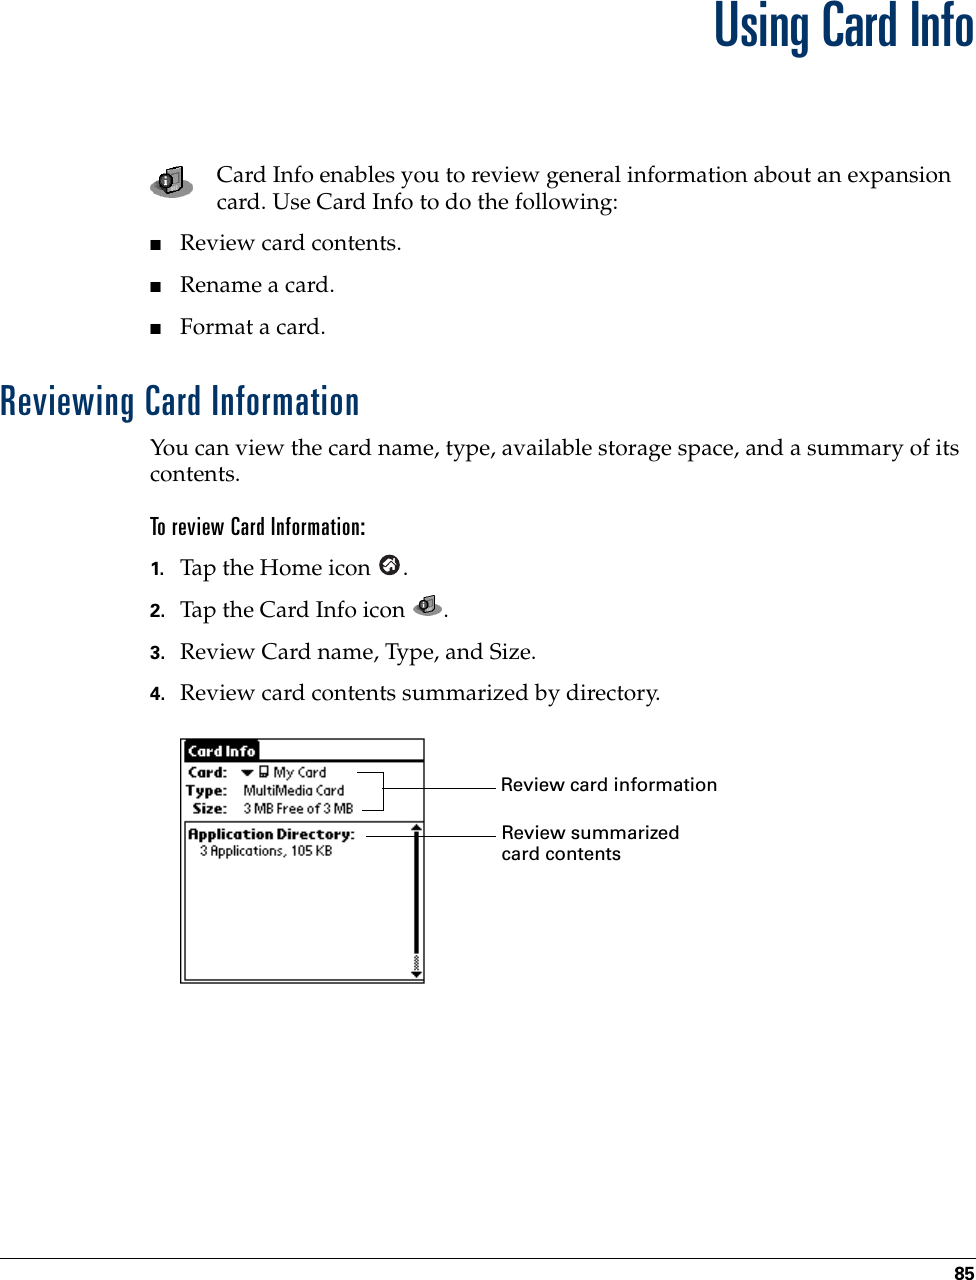
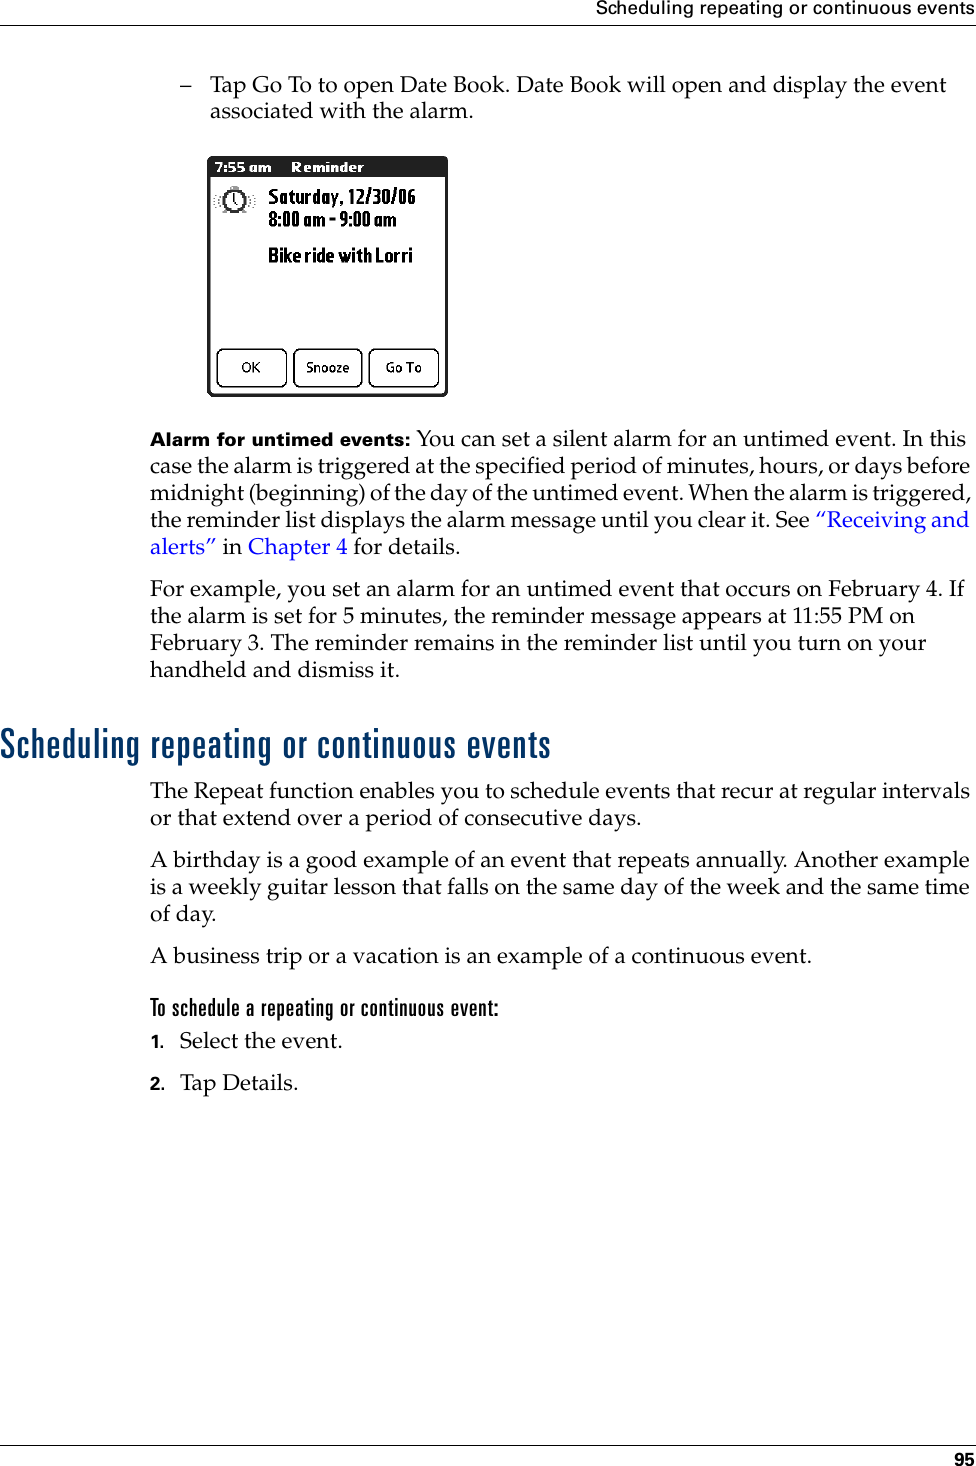
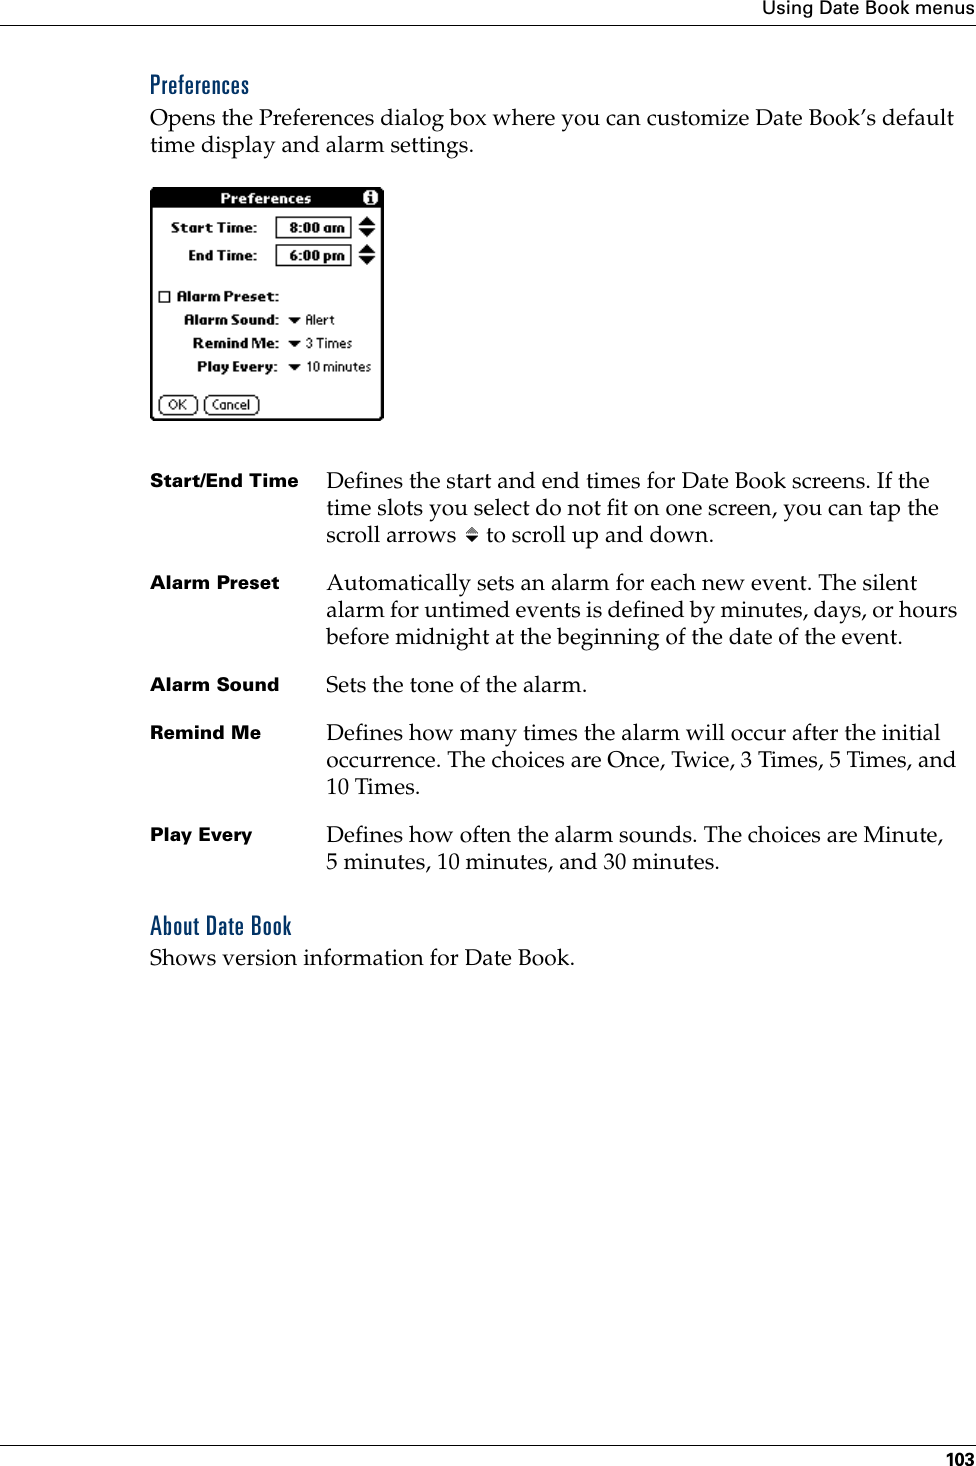
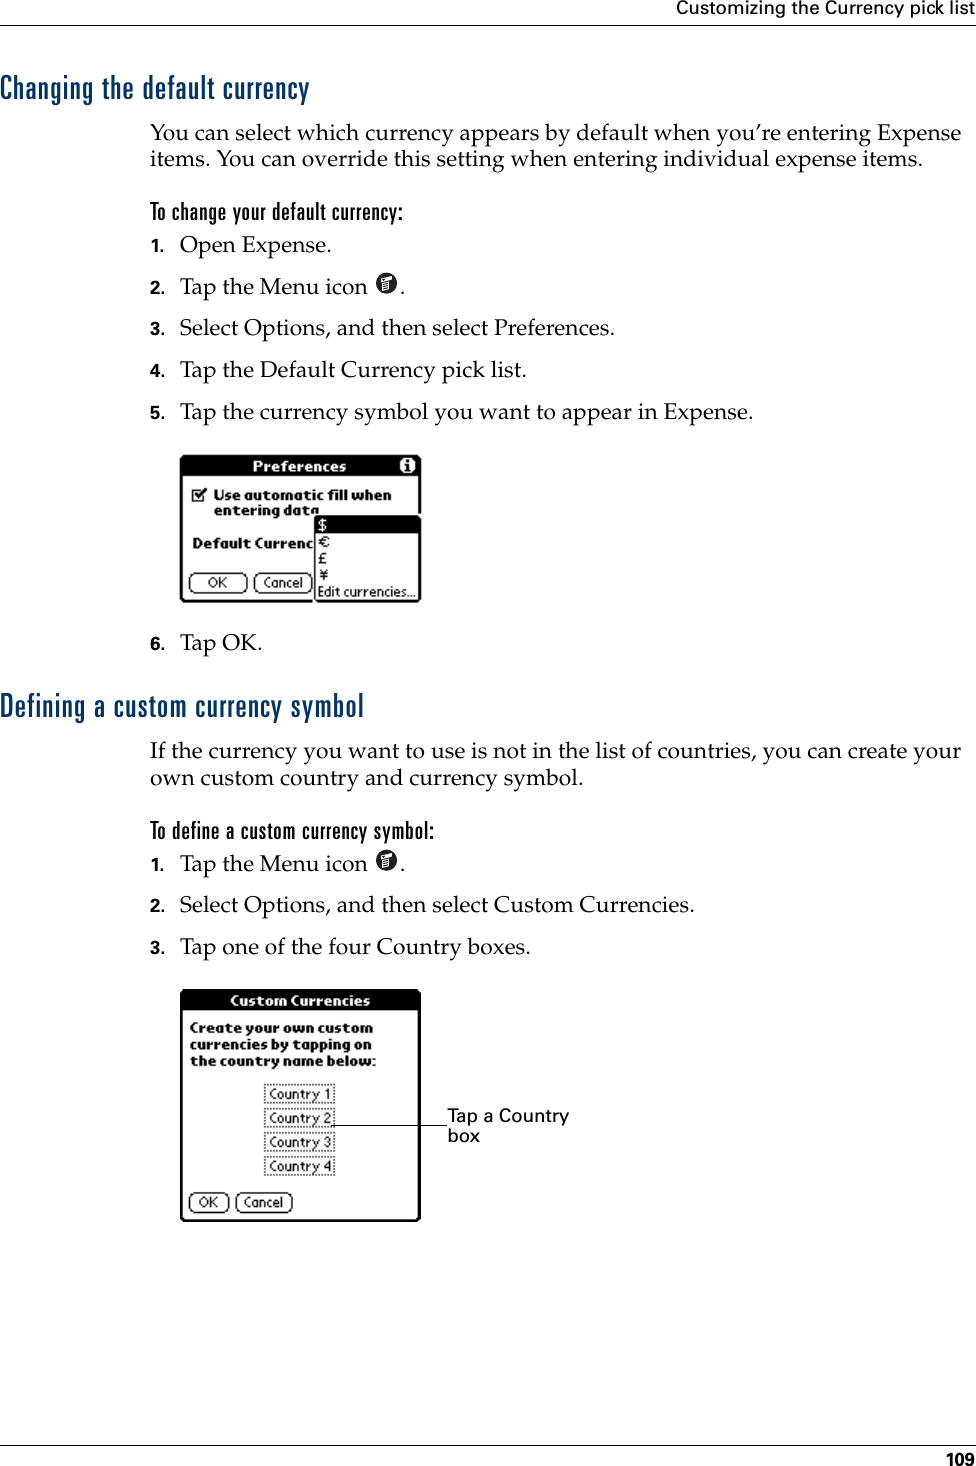
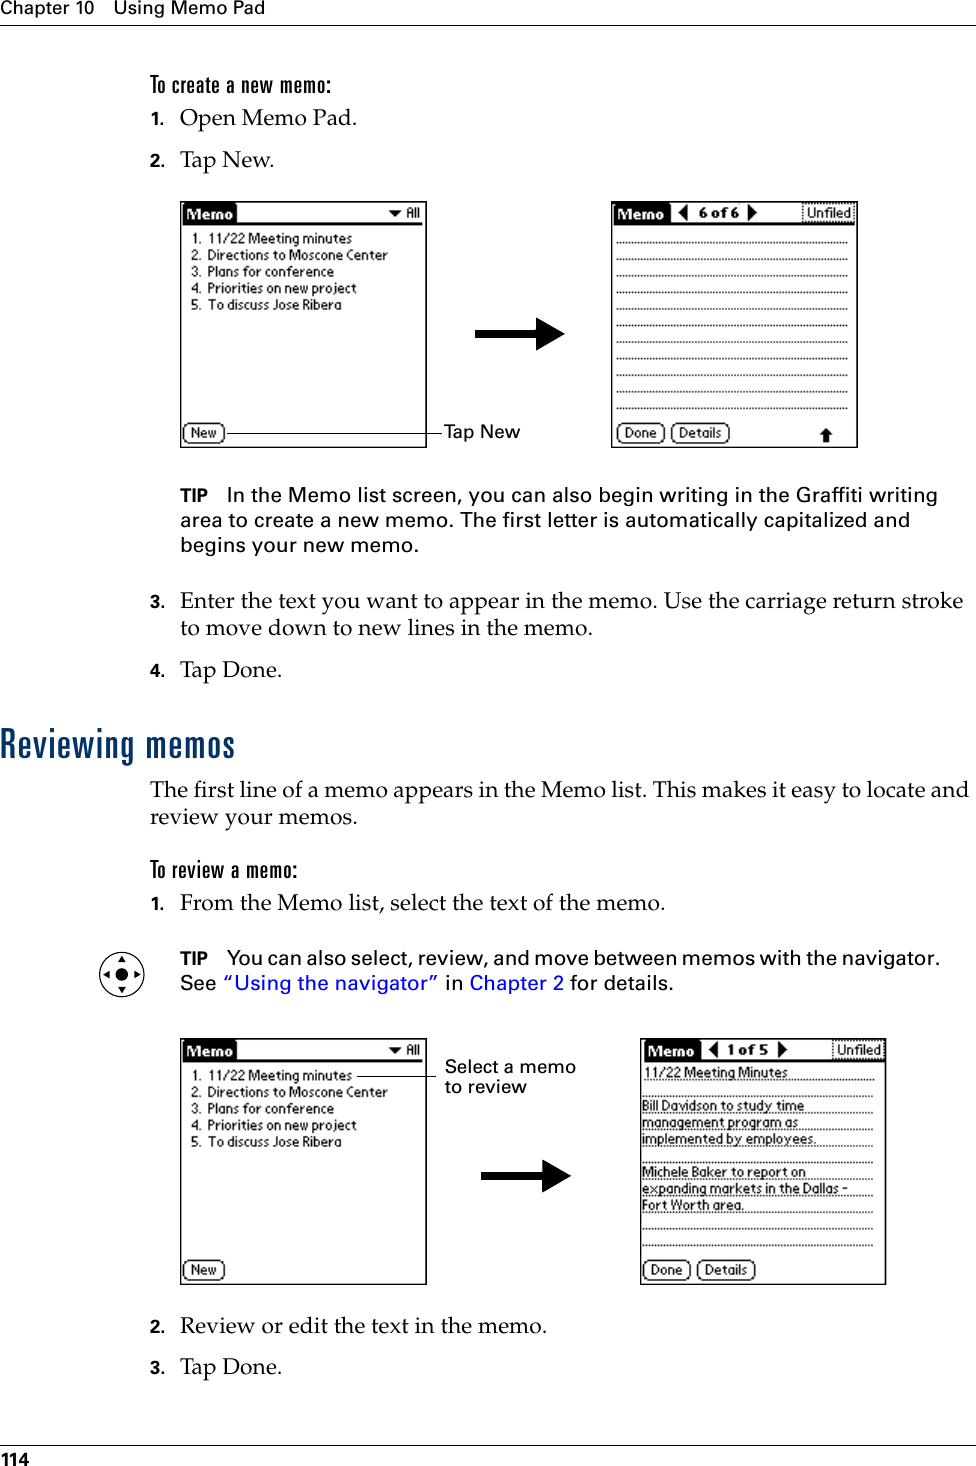
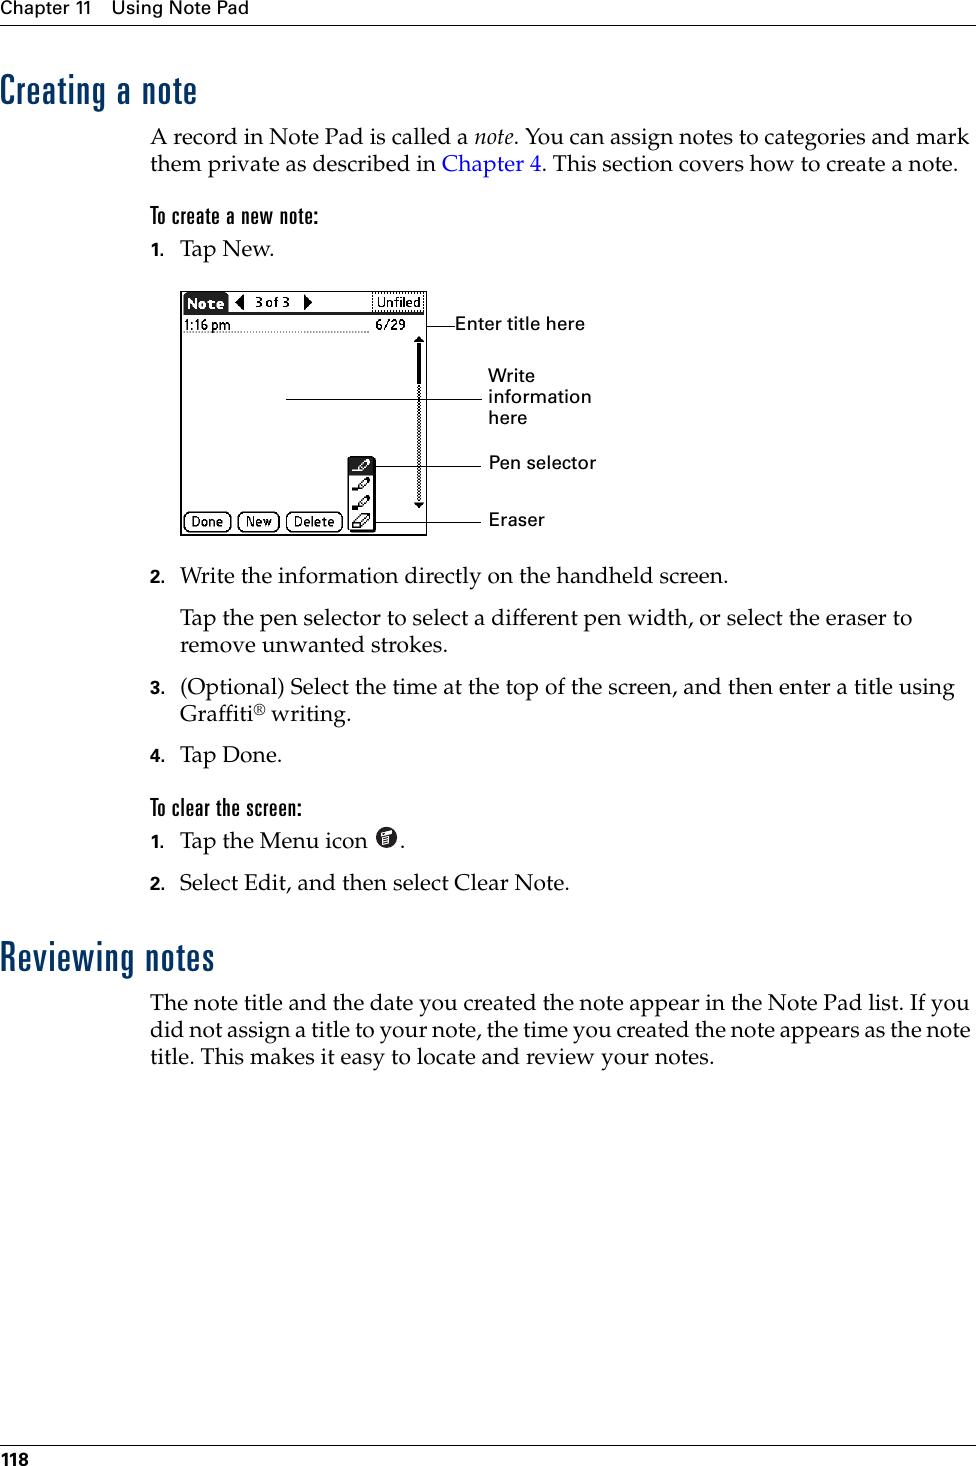
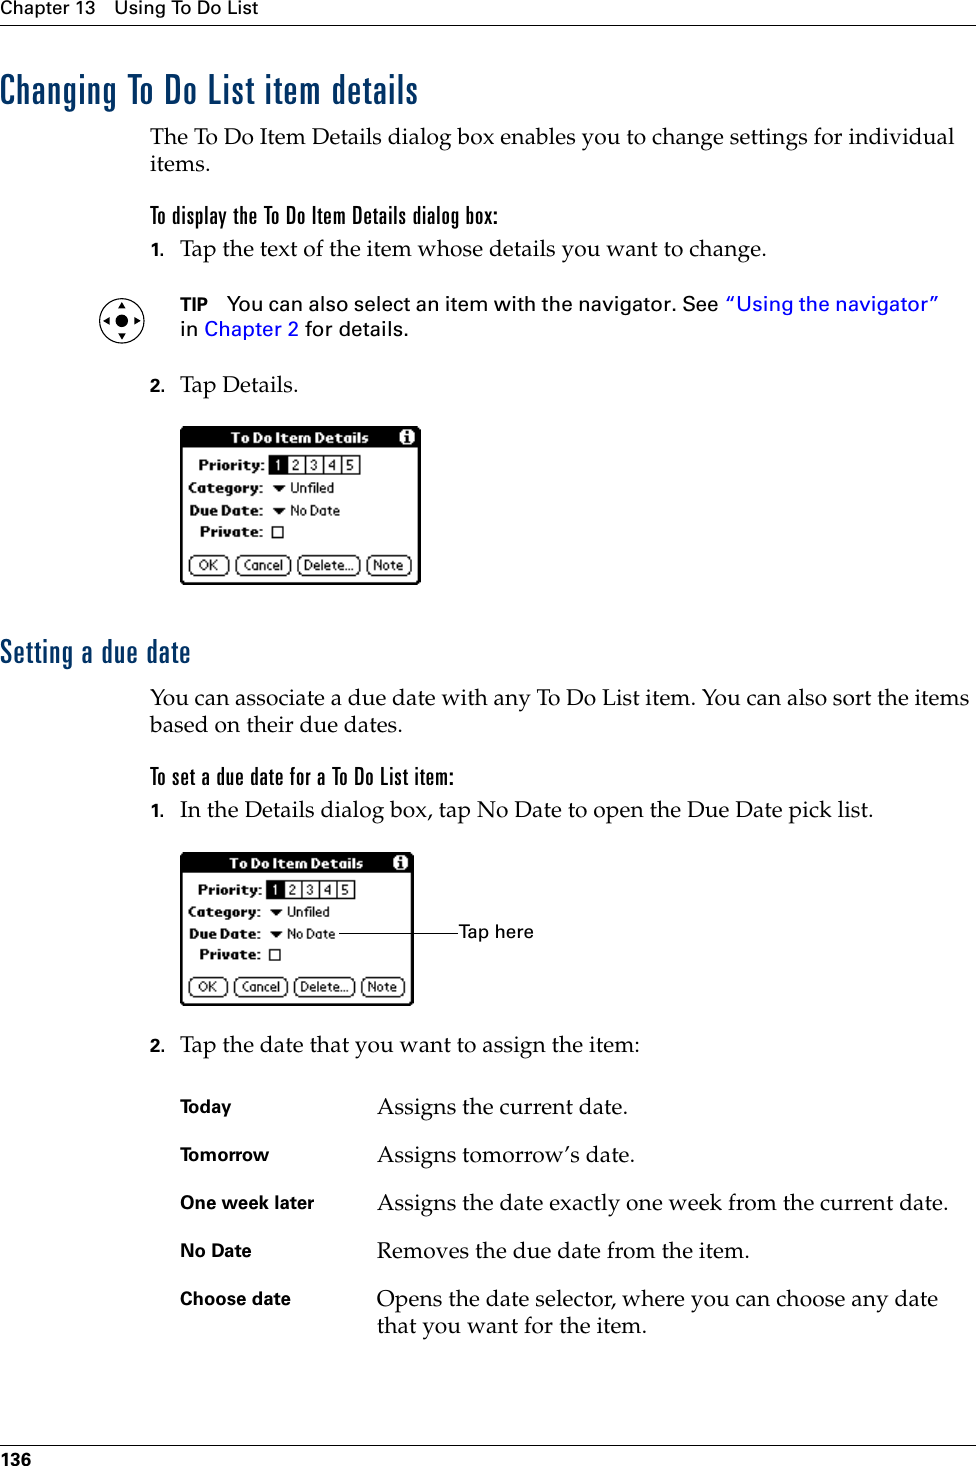
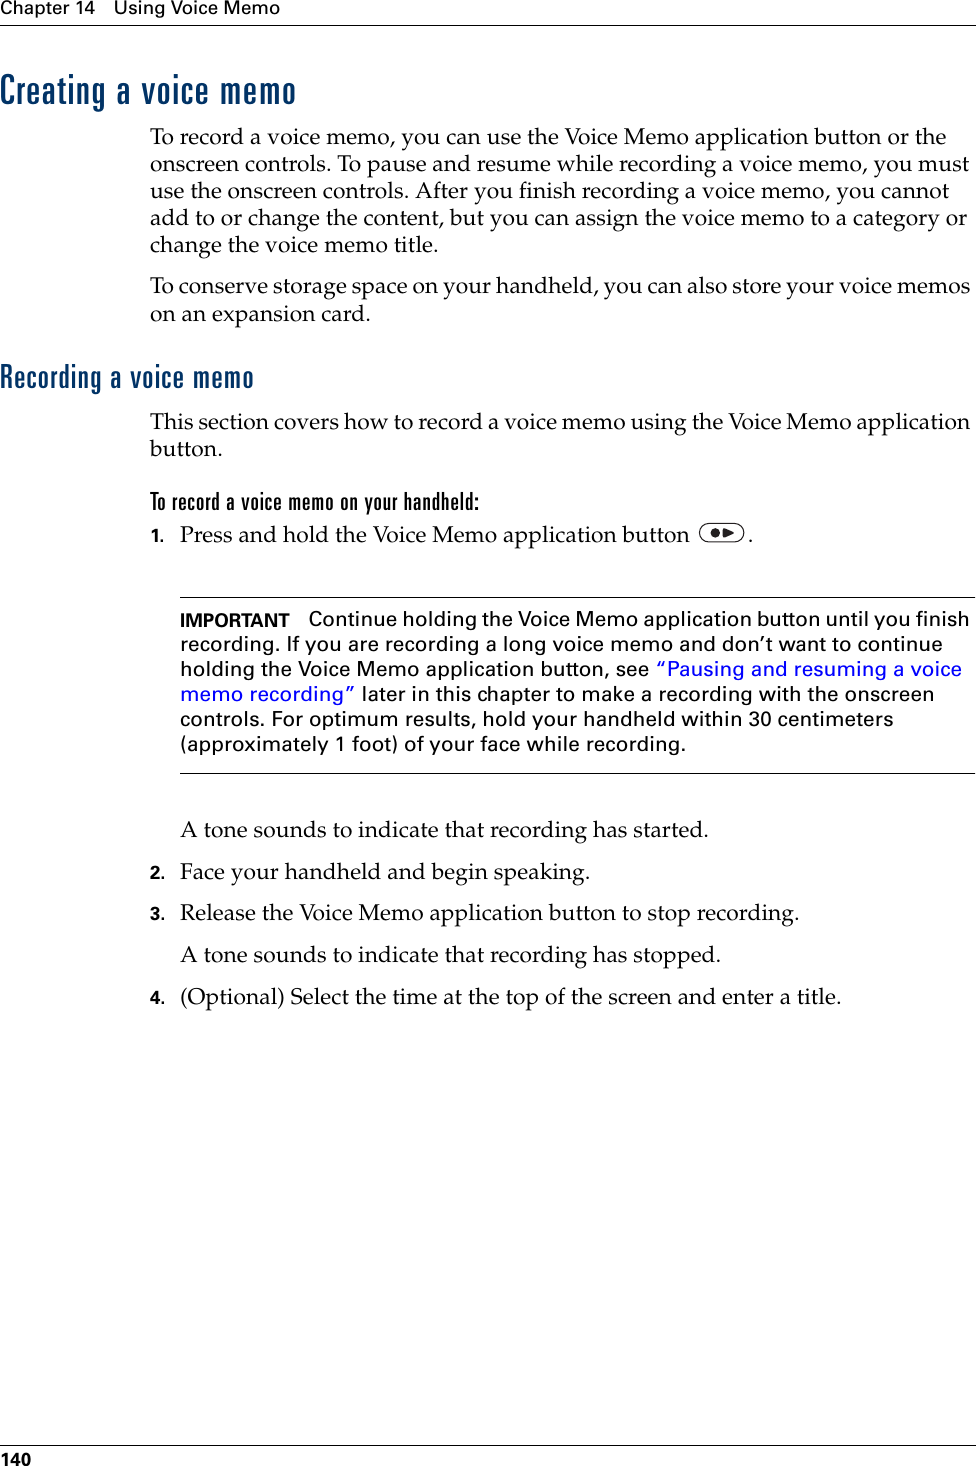
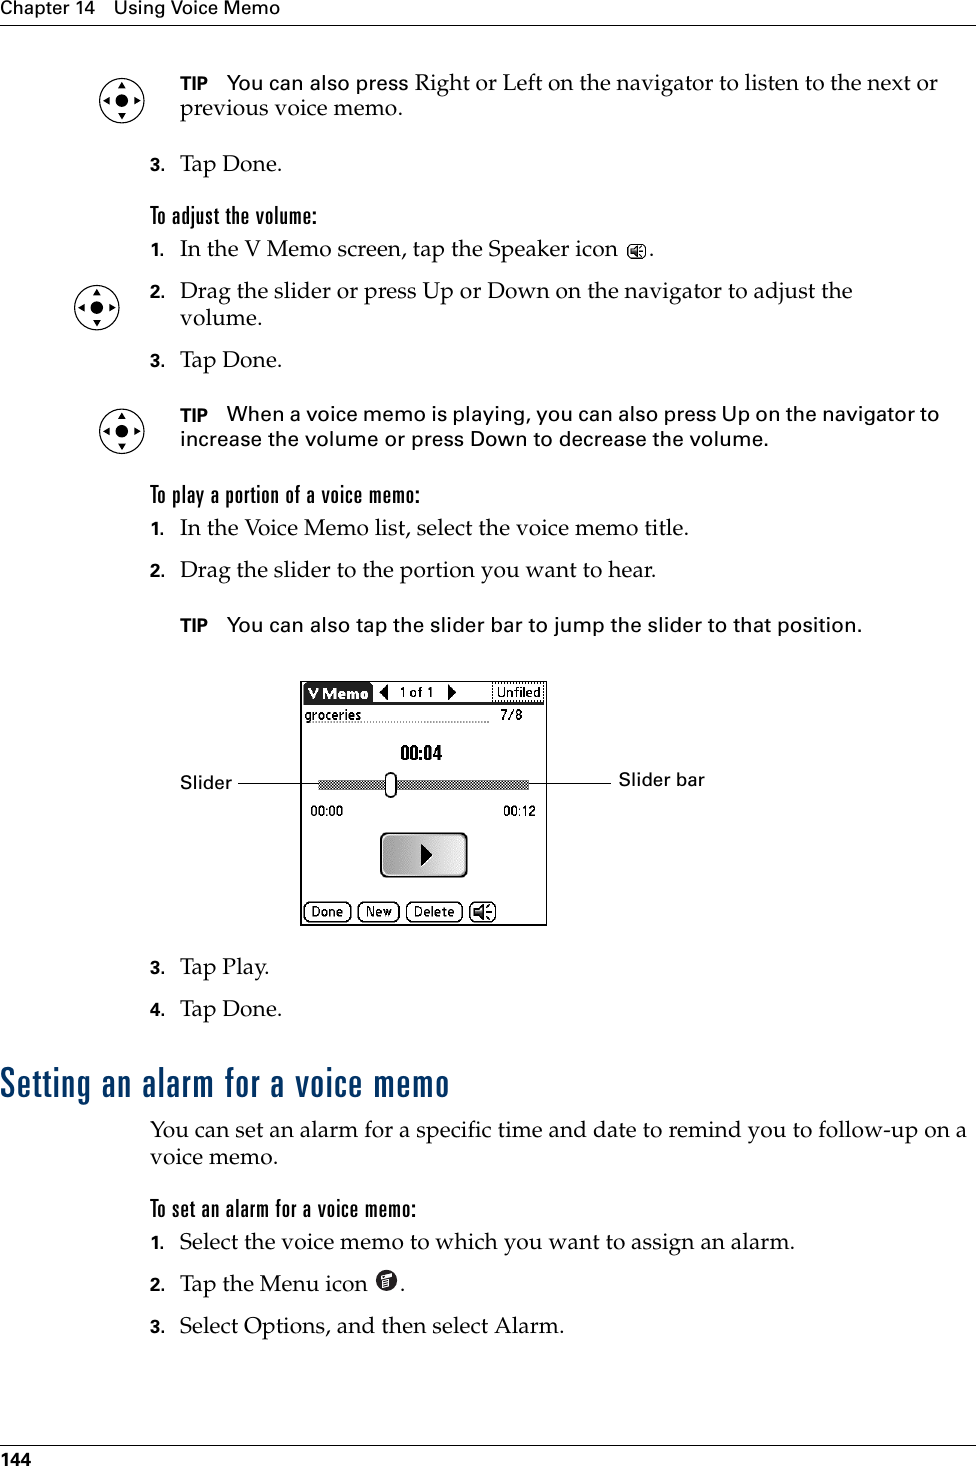
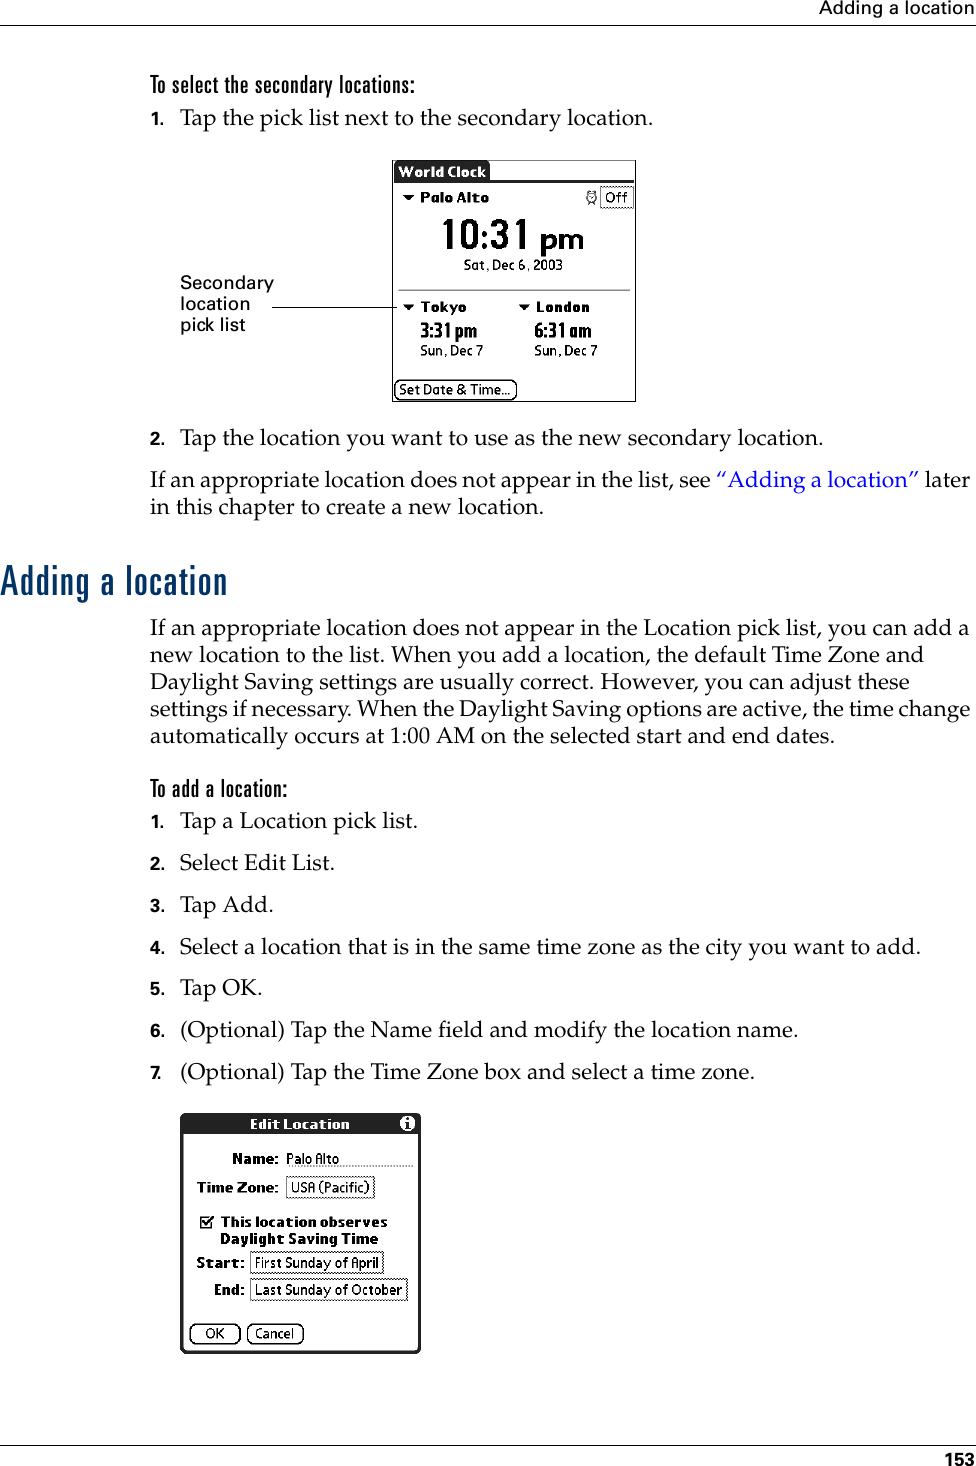
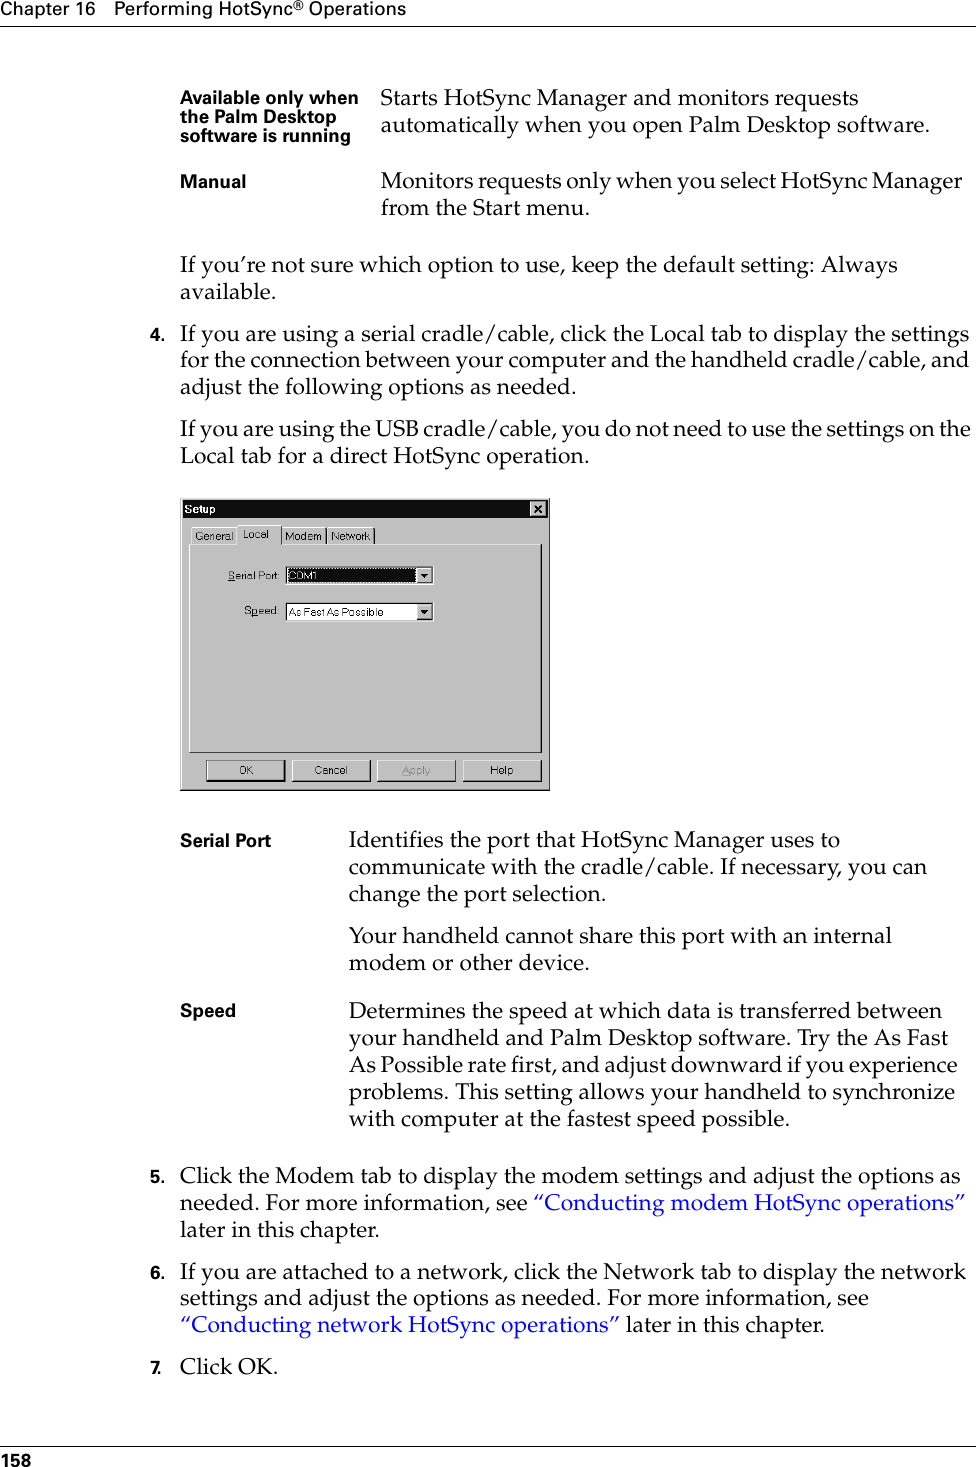
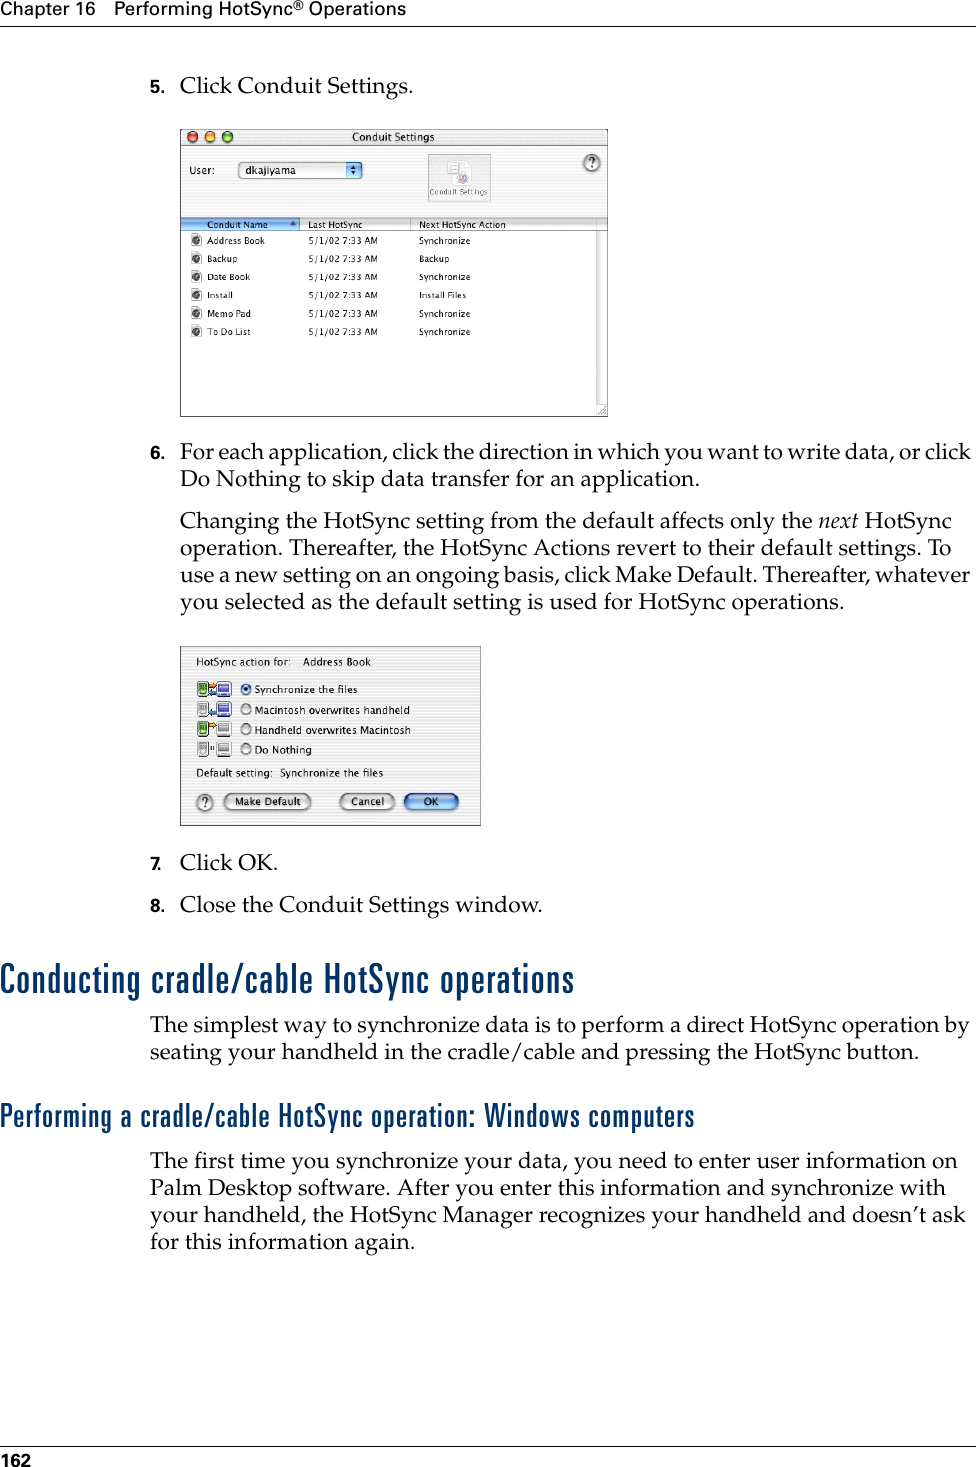
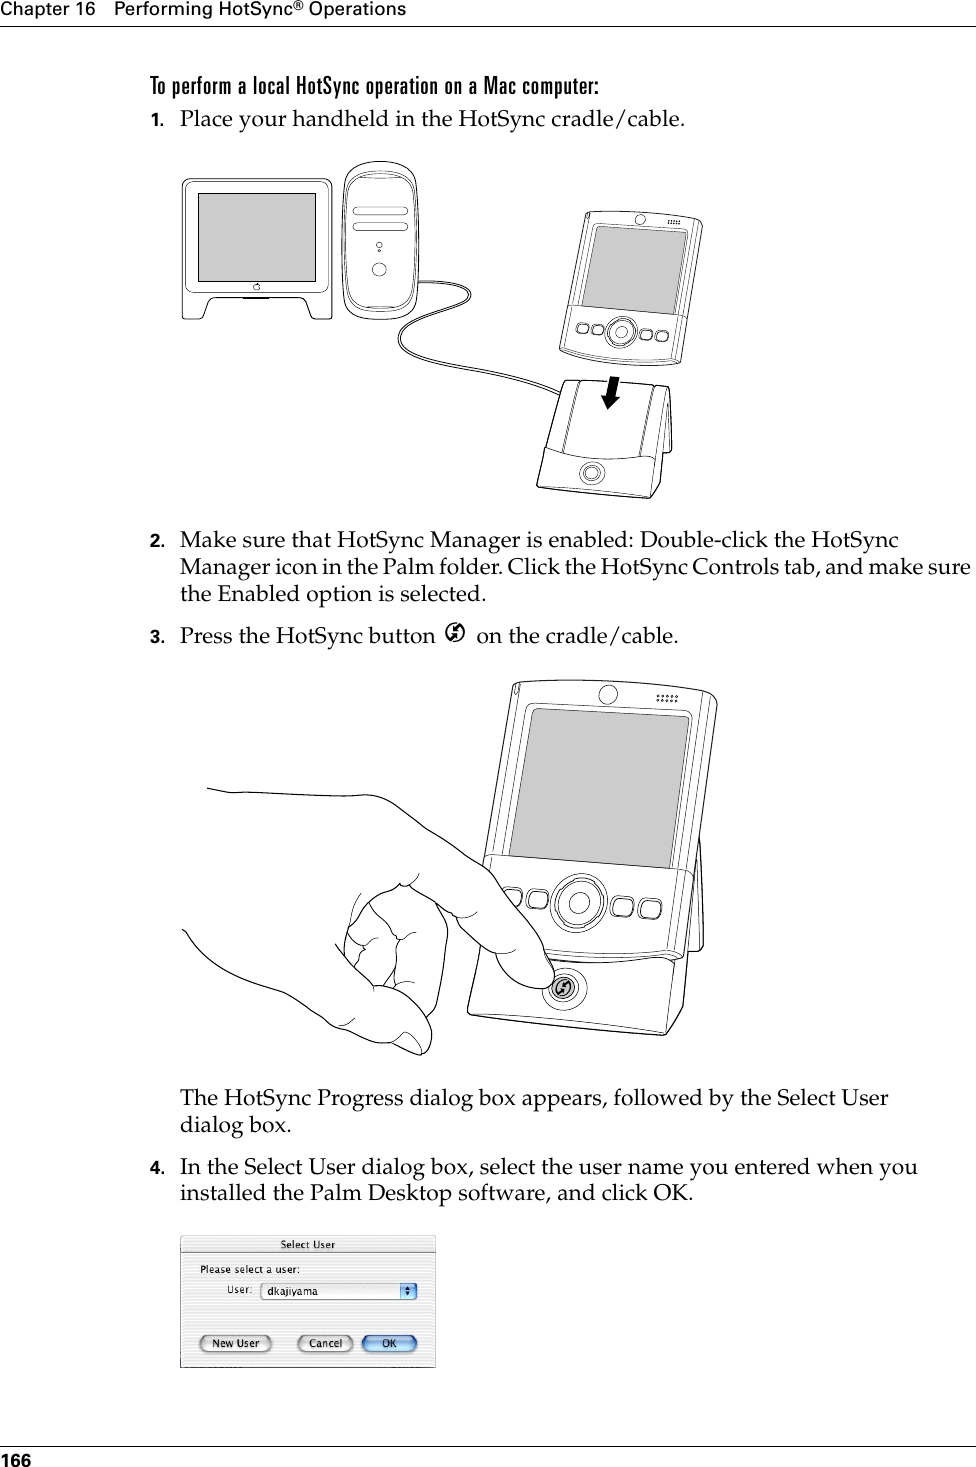
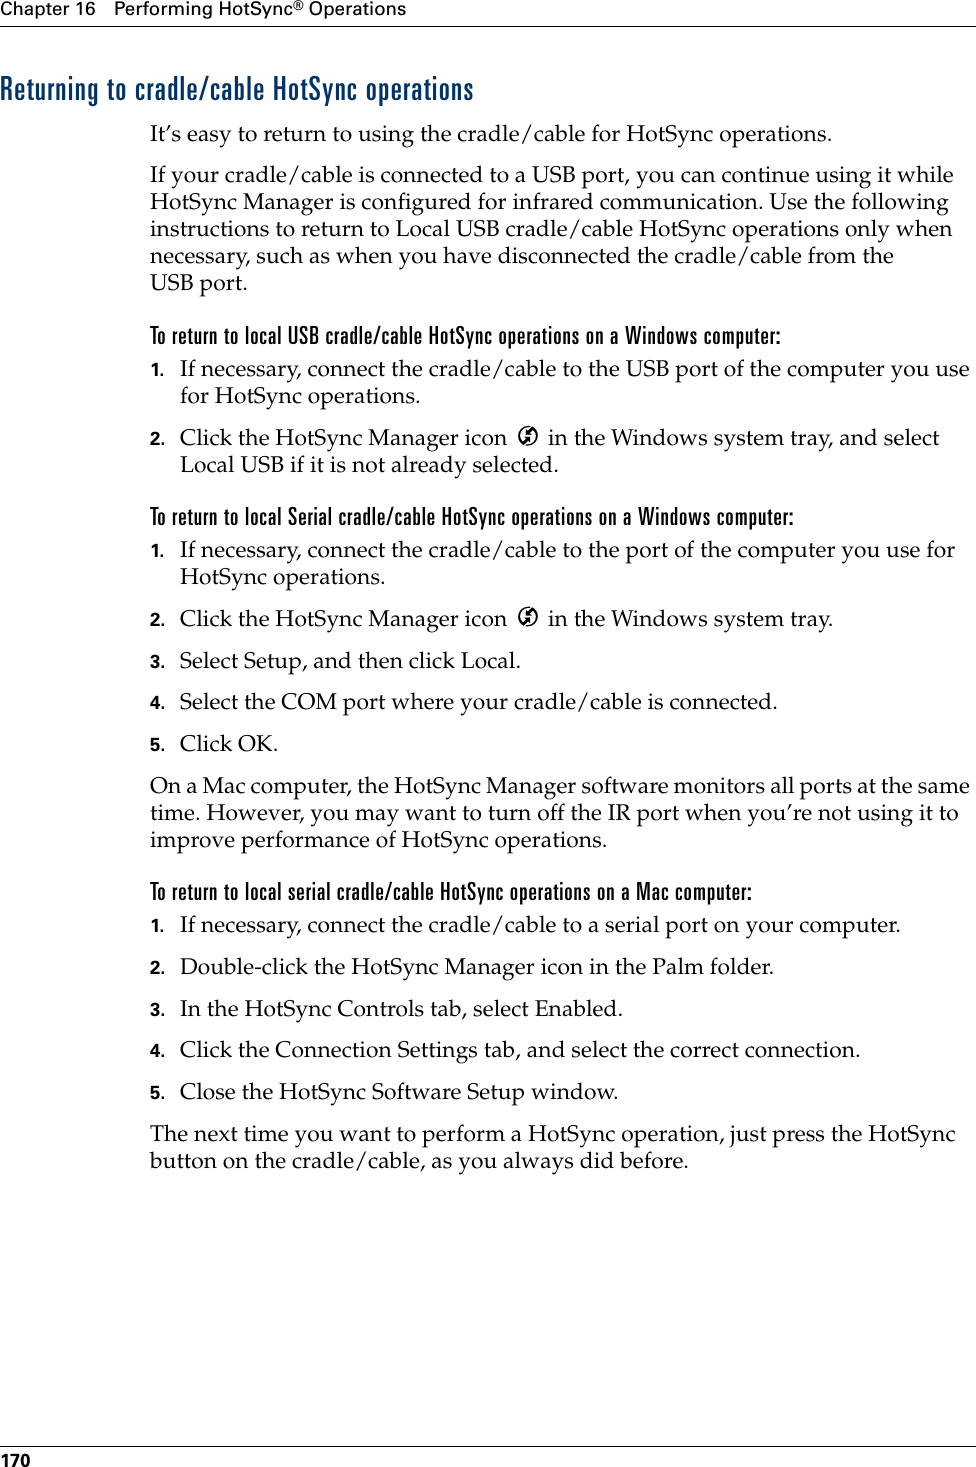
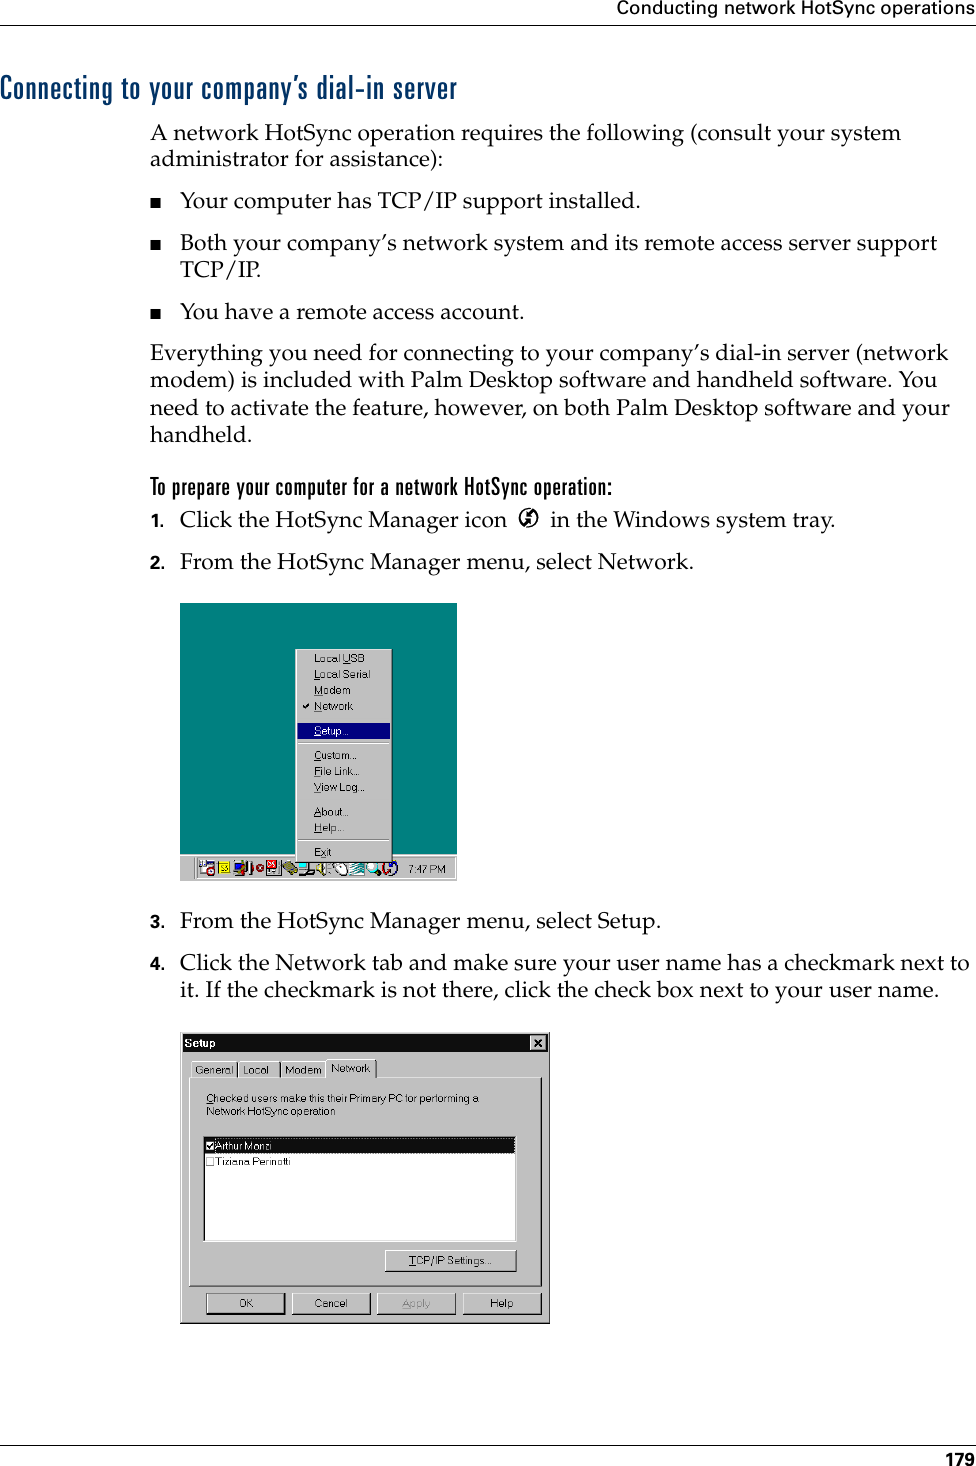
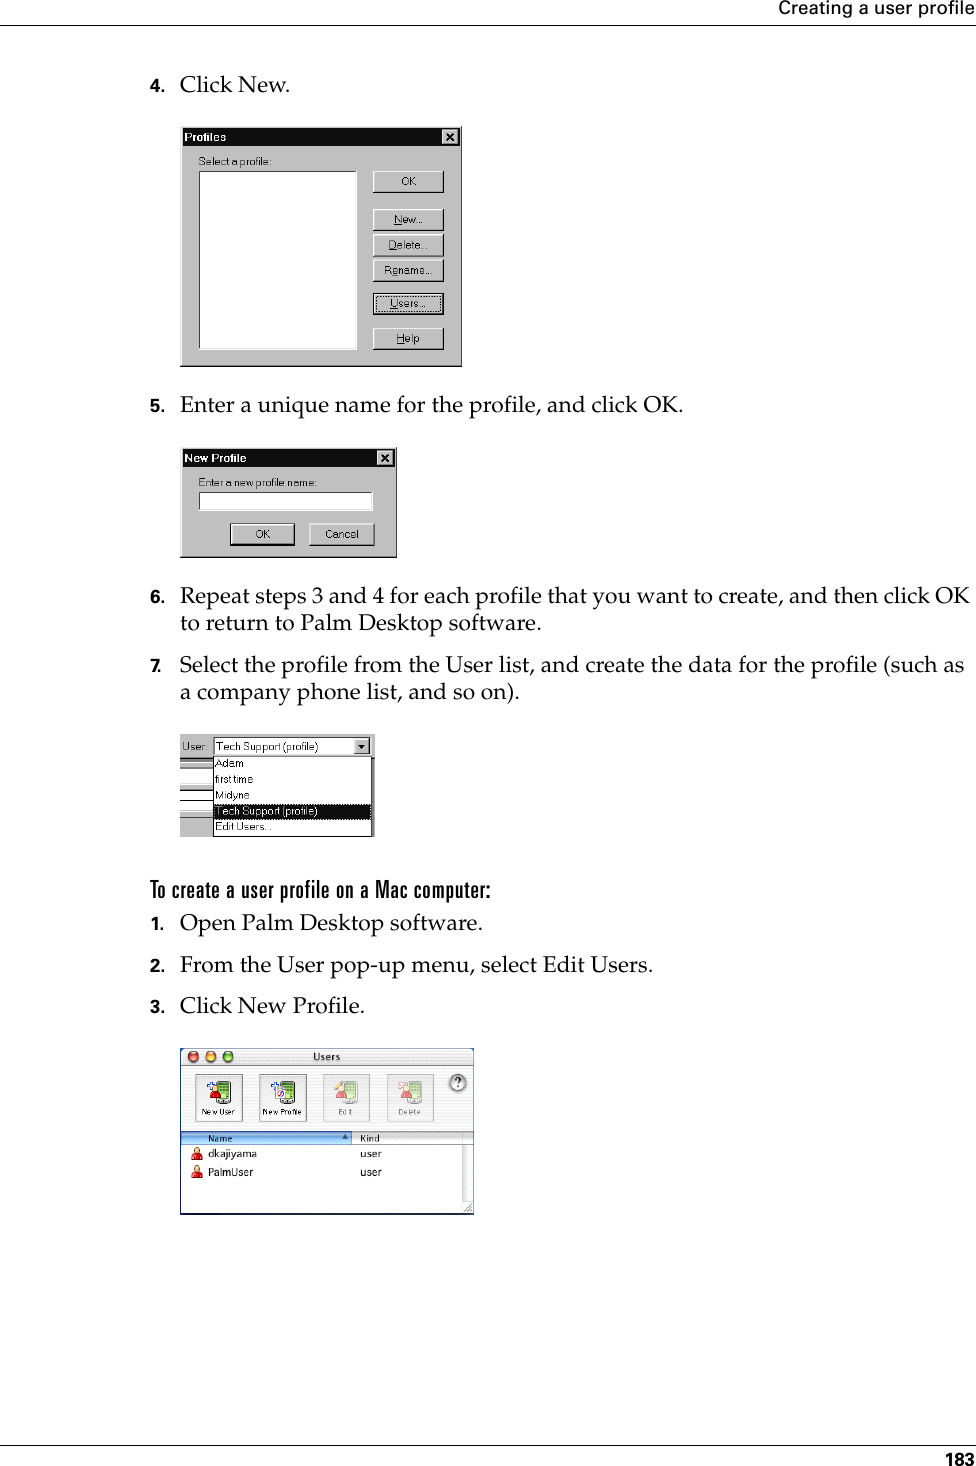
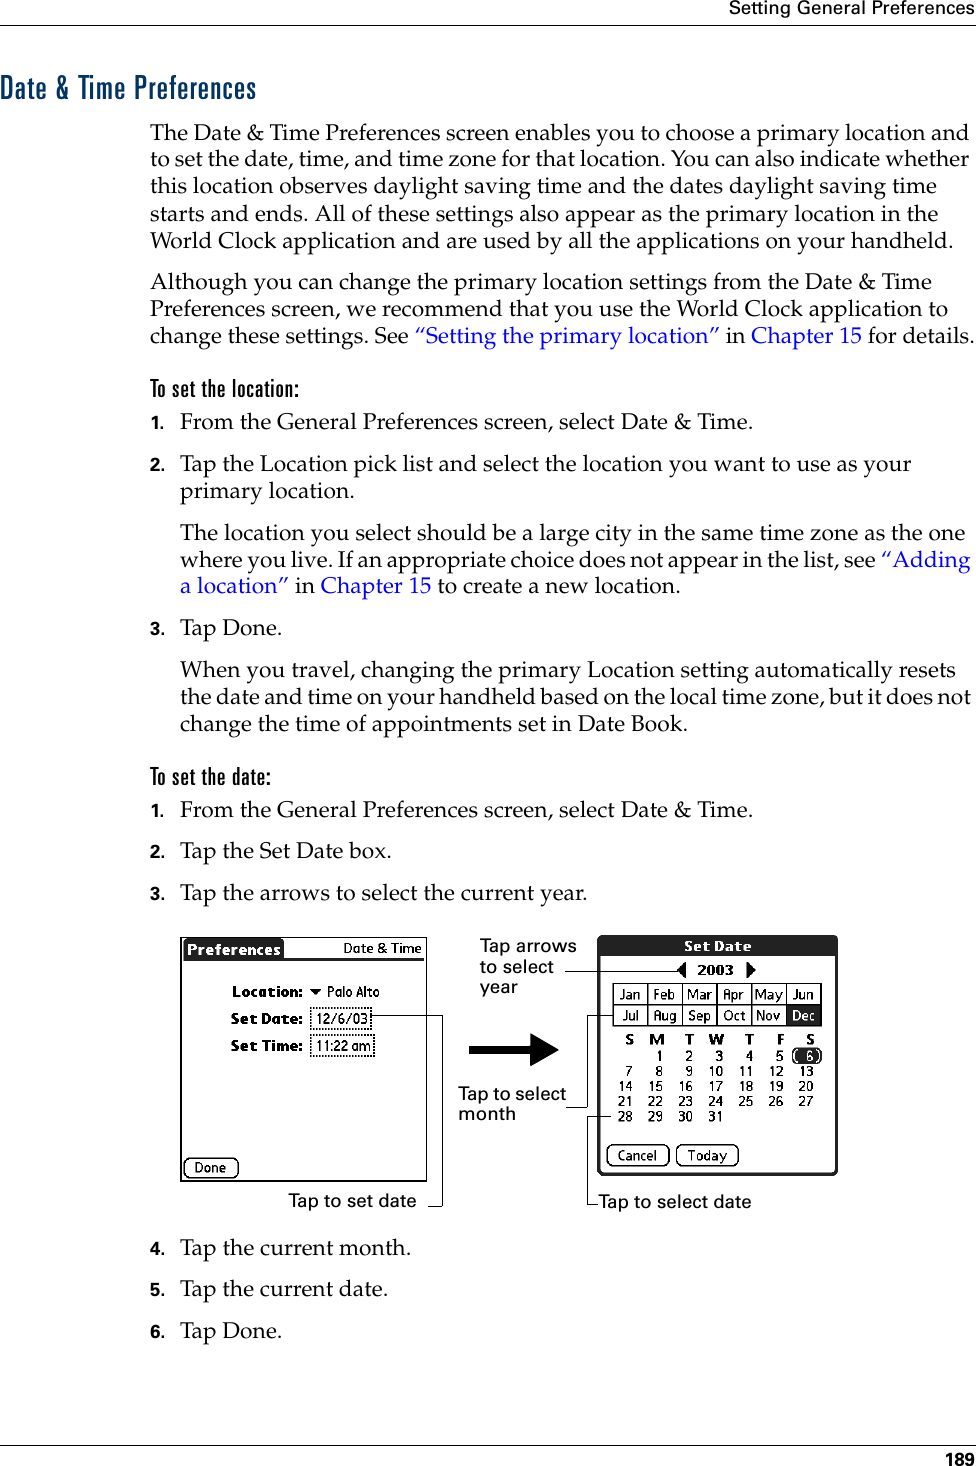
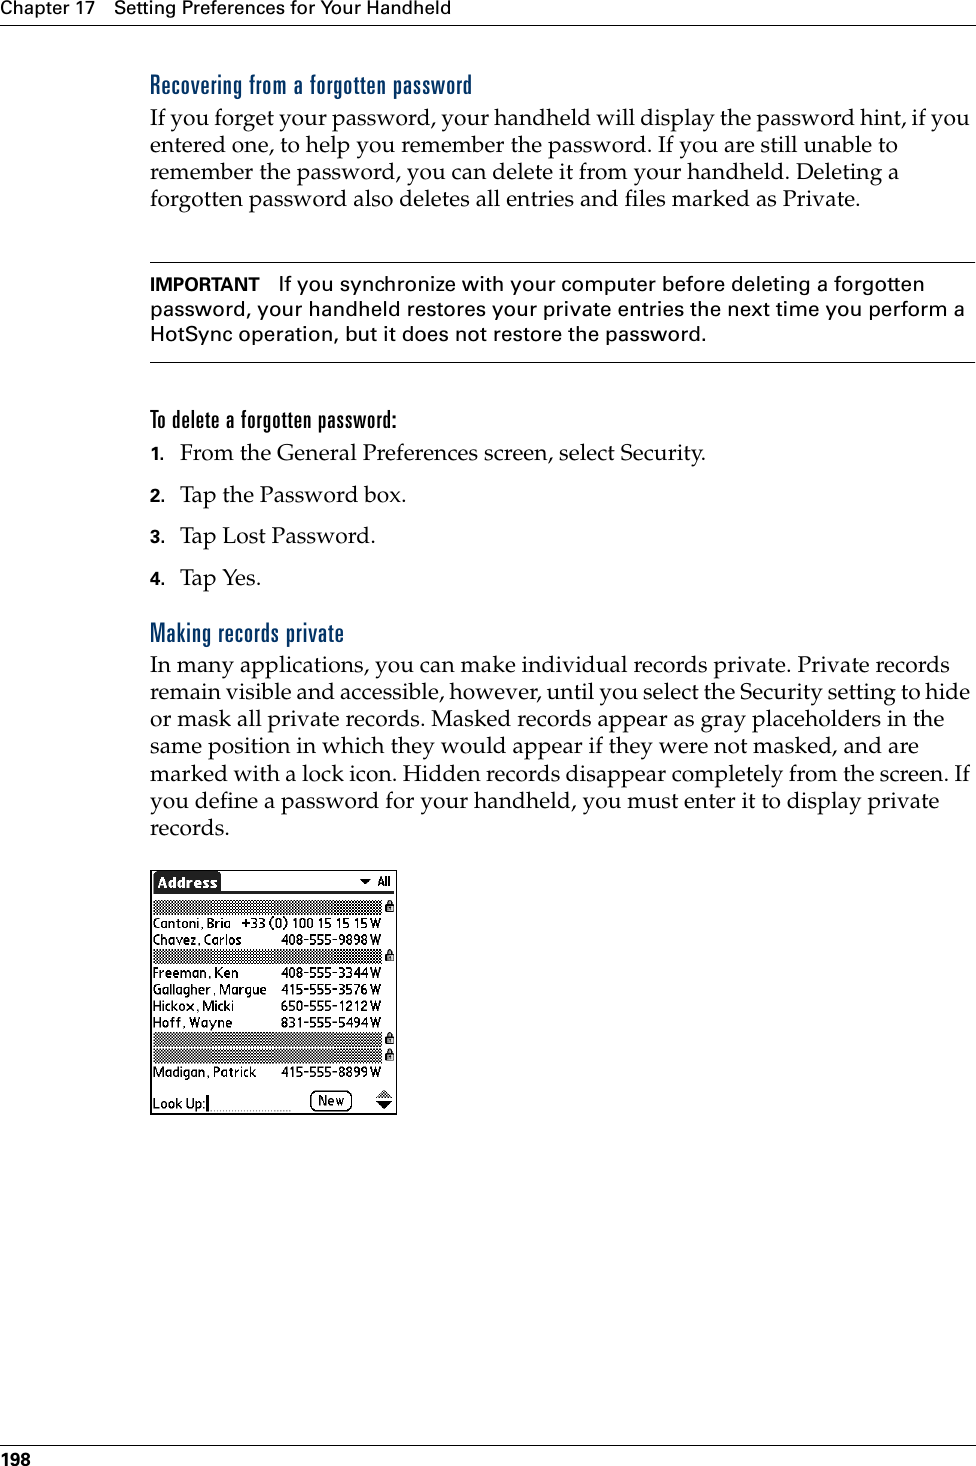
![Using Graffiti writing to enter data27Punctuation marksGraffiti writing can create any punctuation symbol that you can enter from a standard keyboard. All punctuation marks begin with a single tap on the Graffiti writing area. With this tap, you activate Punctuation Shift, and a dot appears to show that it is active. The next stroke you make with the stylus creates a punctuation mark.When Punctuation Shift is active, you can make a symbol stroke anywhere in the Graffiti writing area (the letters or numbers side).You can also use the following additional Graffiti punctuation marks.Symbol Stroke Symbol StrokePeriod. Dash—Comma,Left Paren(Apostrophe'Right Paren)Question?Slash/ Exclamation!Dollar$Punctuation shift@ # % ^ & * < > + = | —\ { } [ ] ~ ` ; : " tabPalm, Inc. Confidential](https://usermanual.wiki/Palm/550000.User-Manual/User-Guide-279375-Page-37.png)
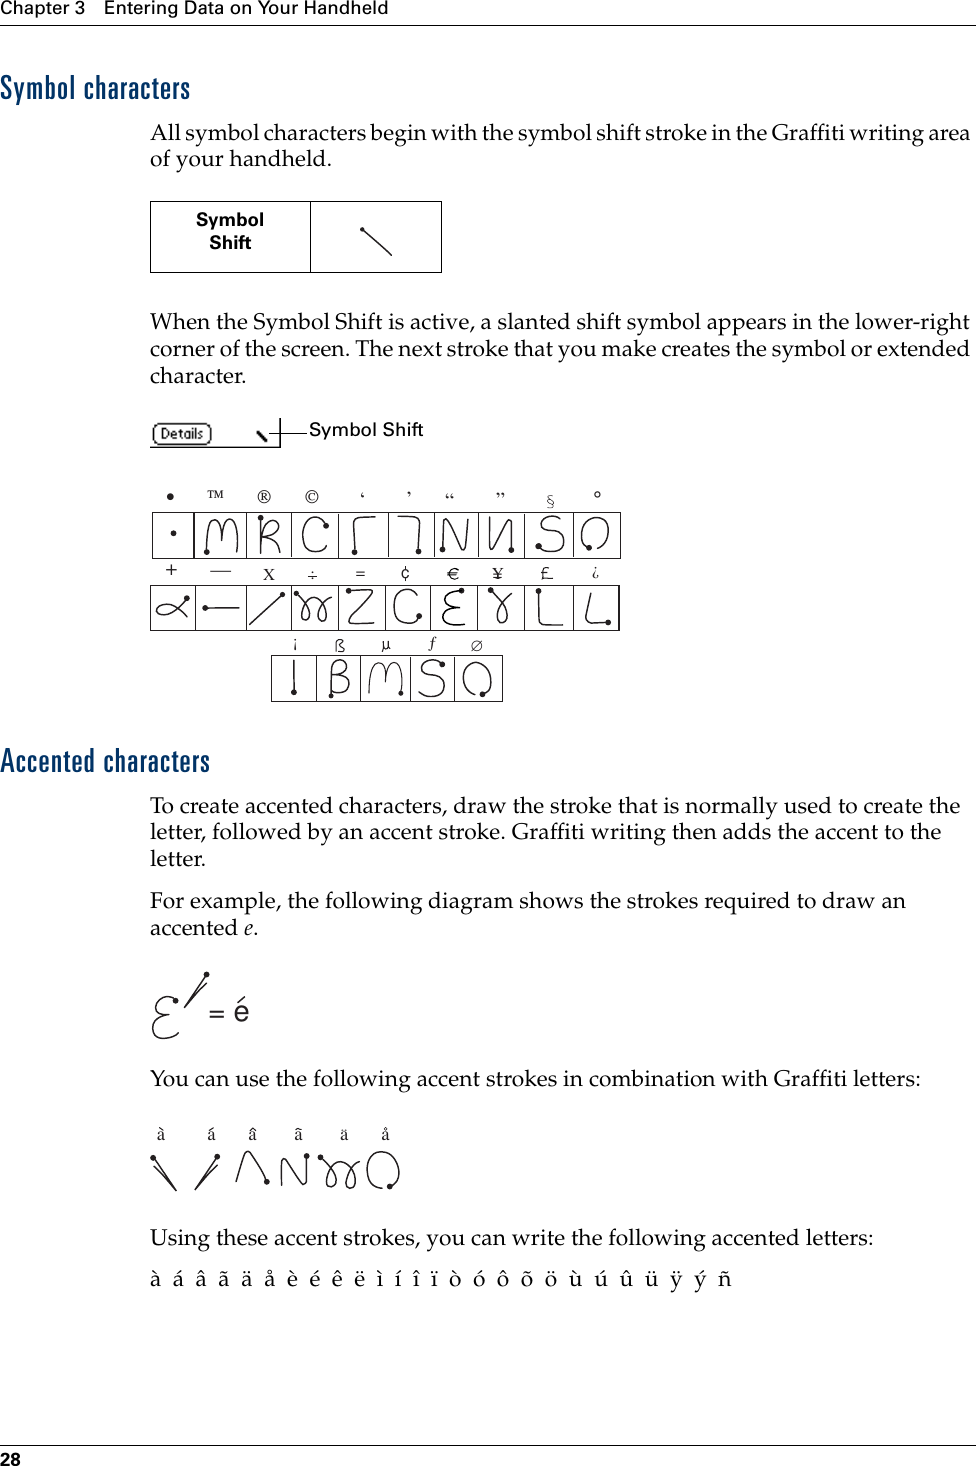

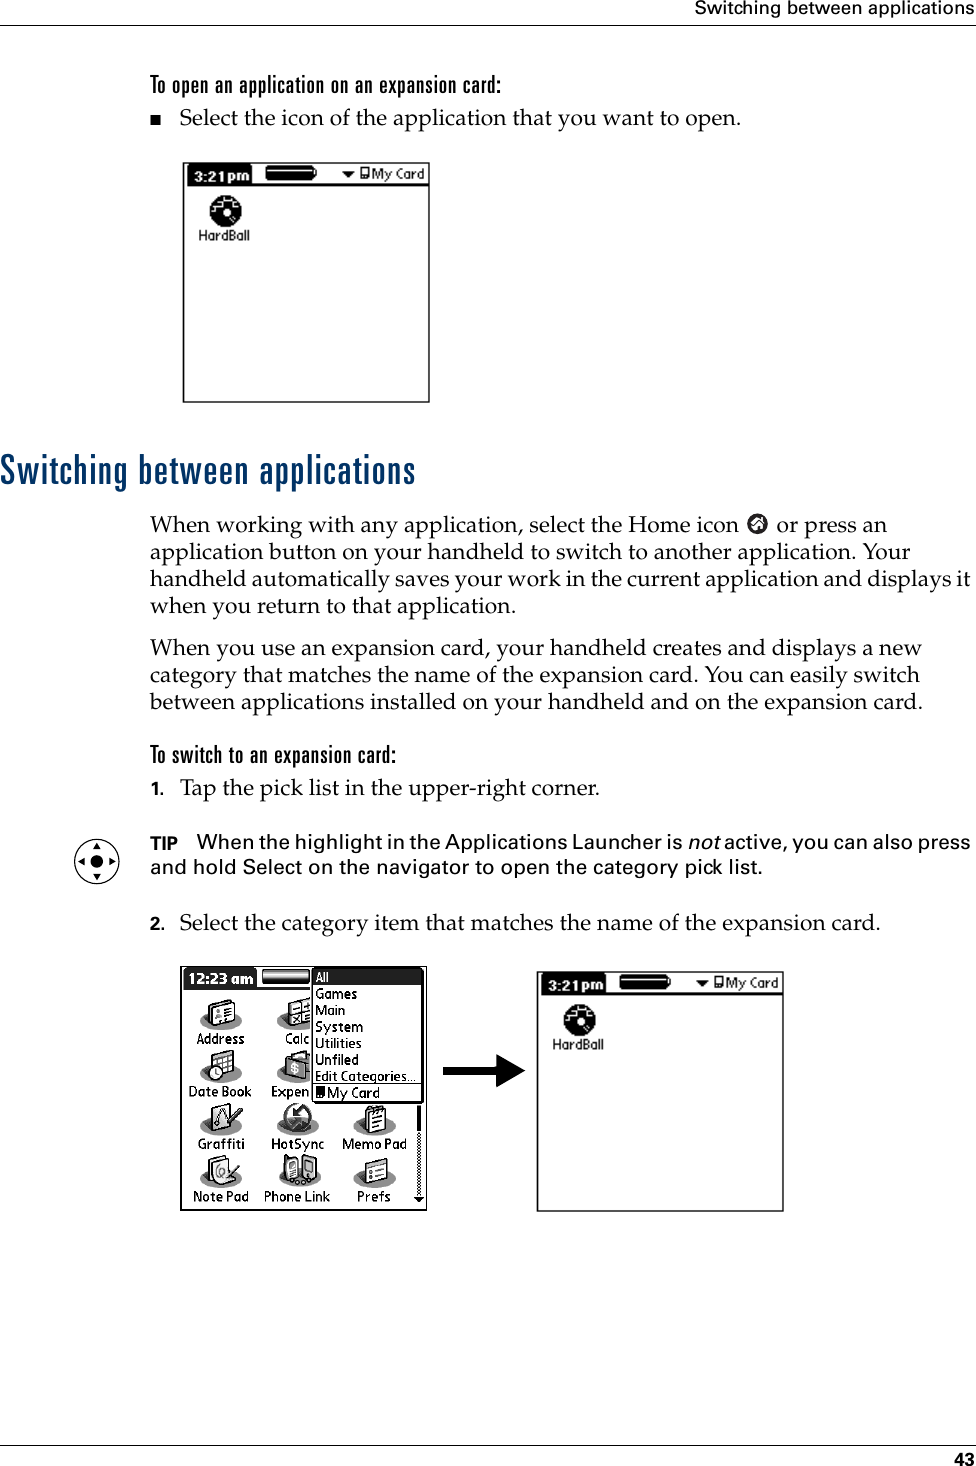
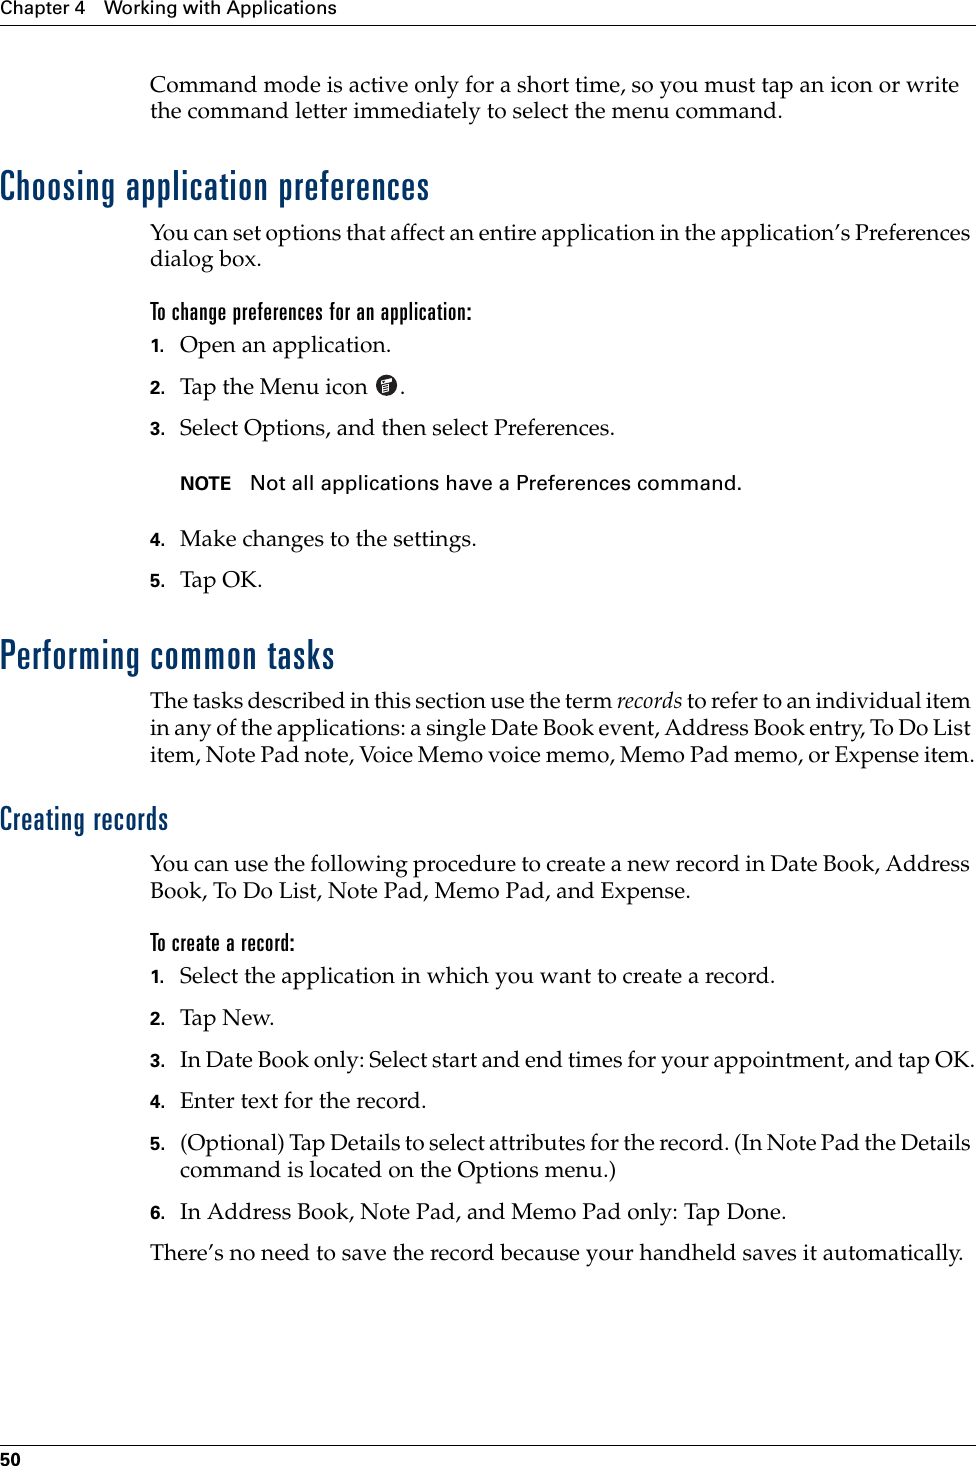
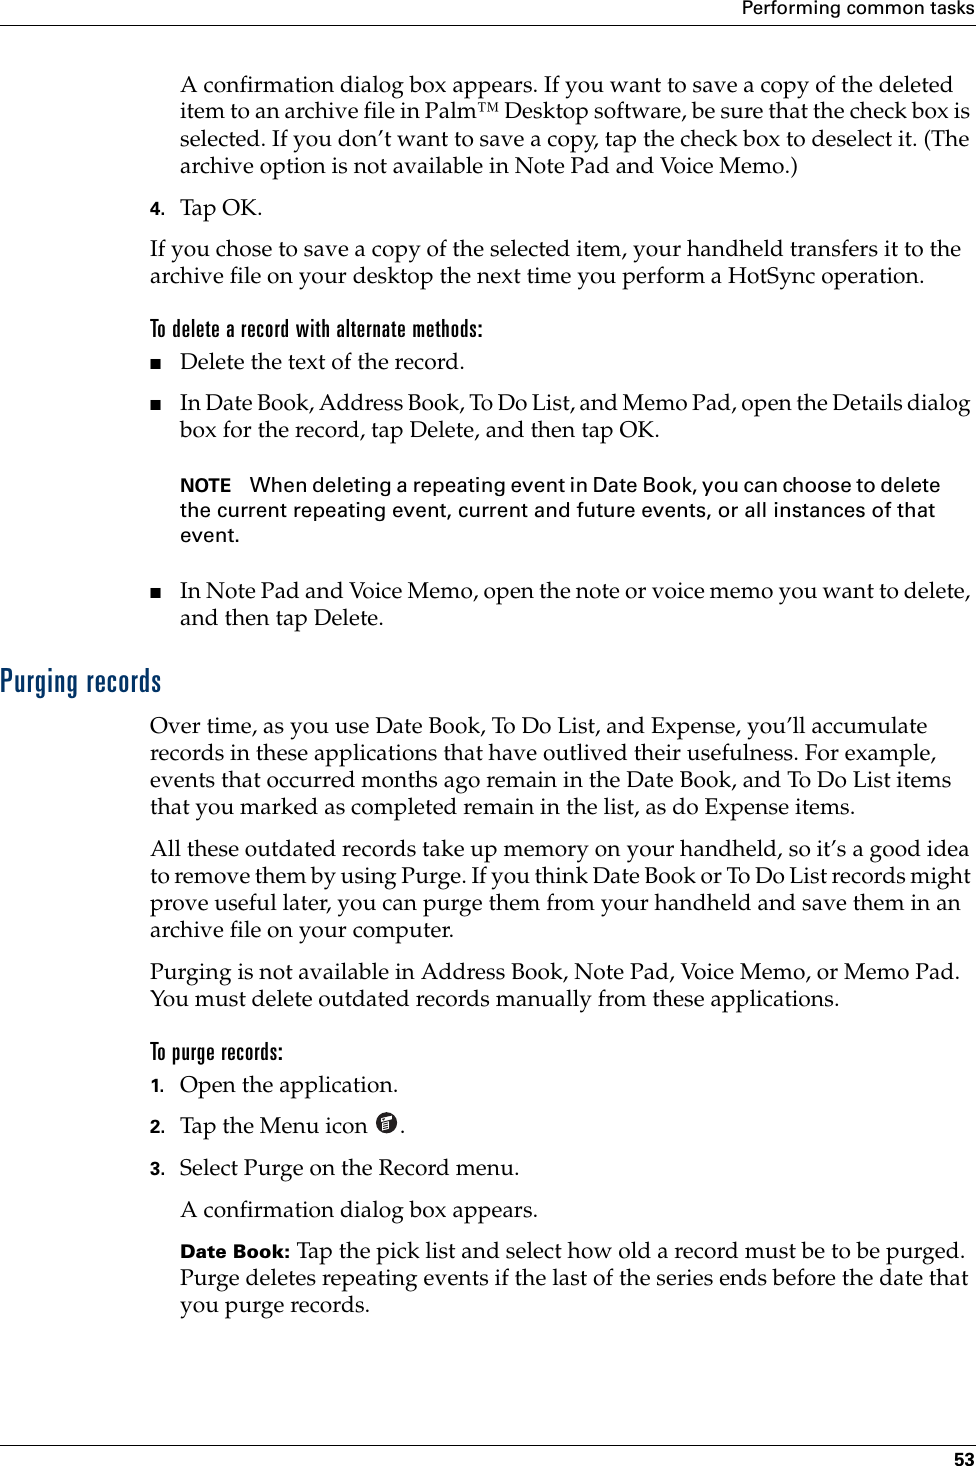
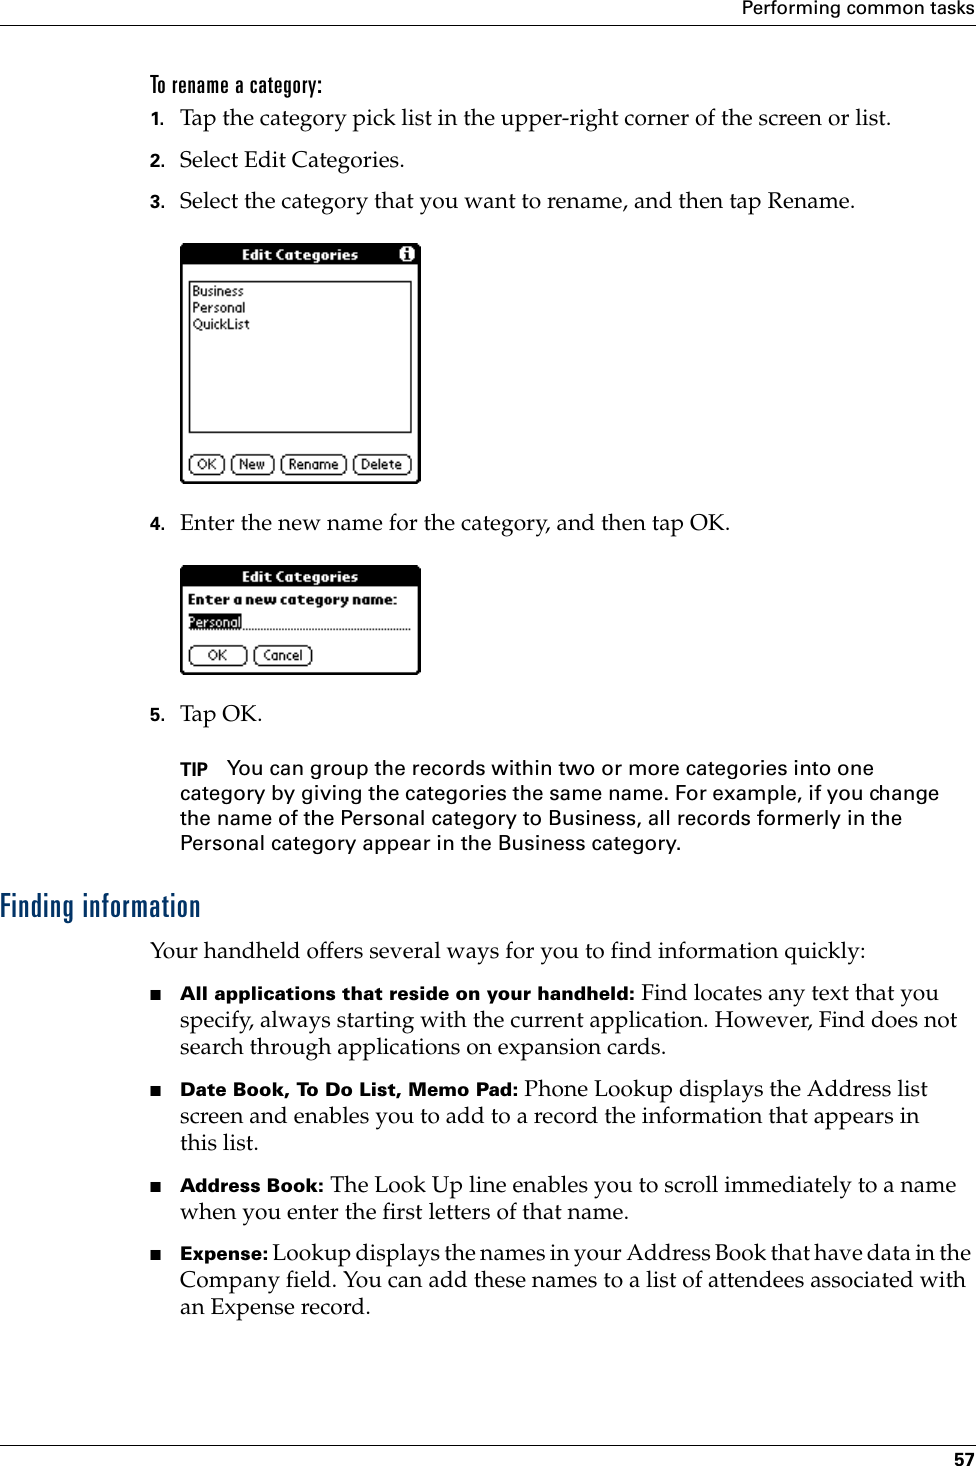
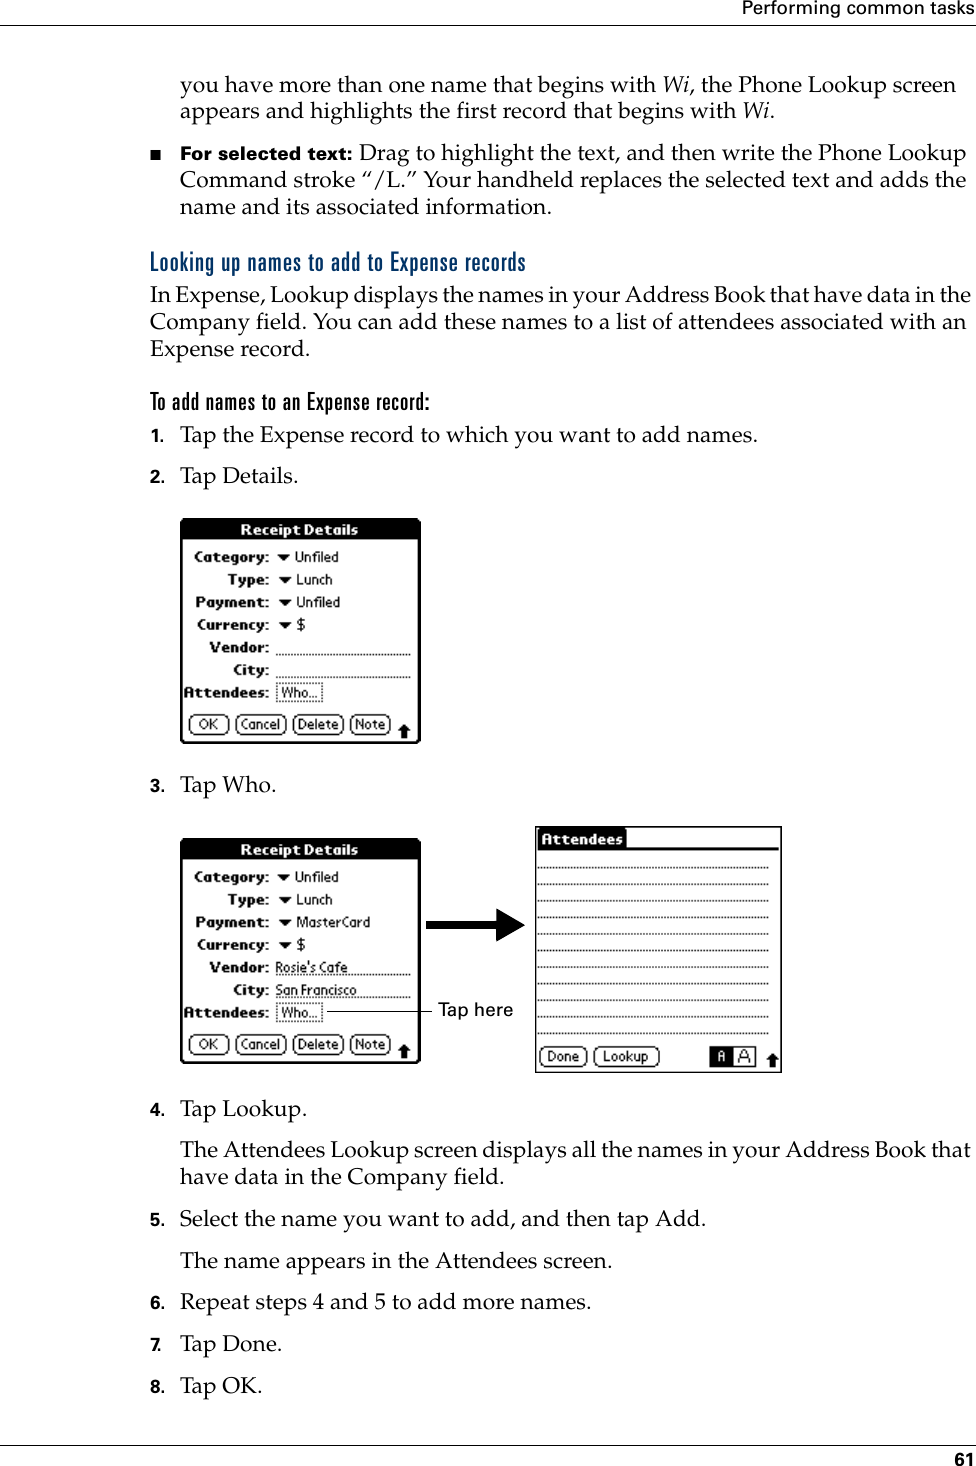


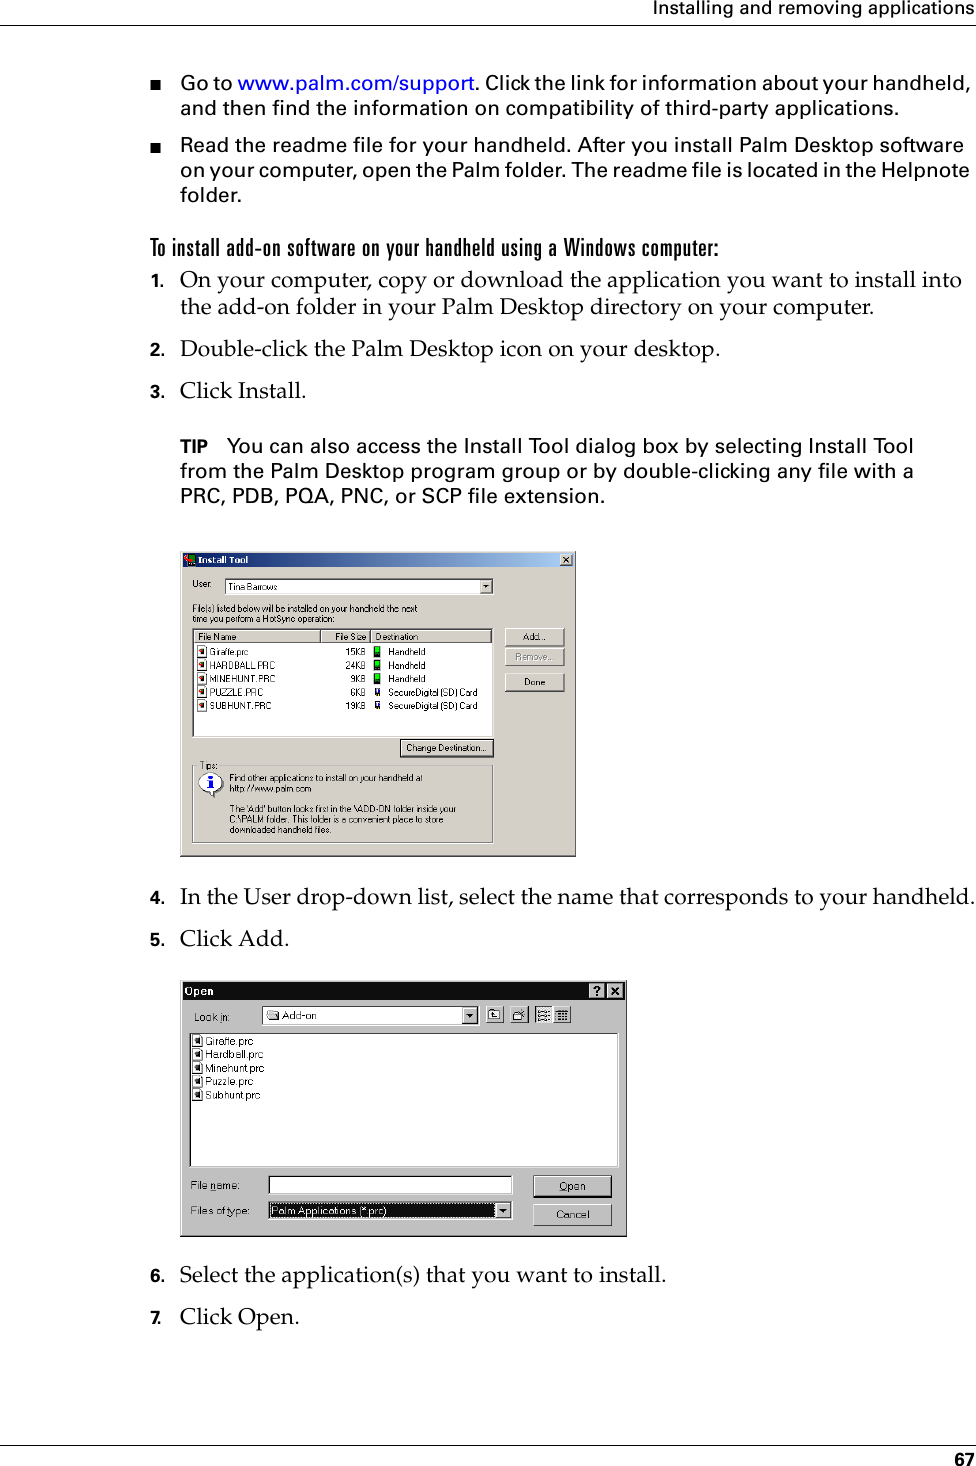

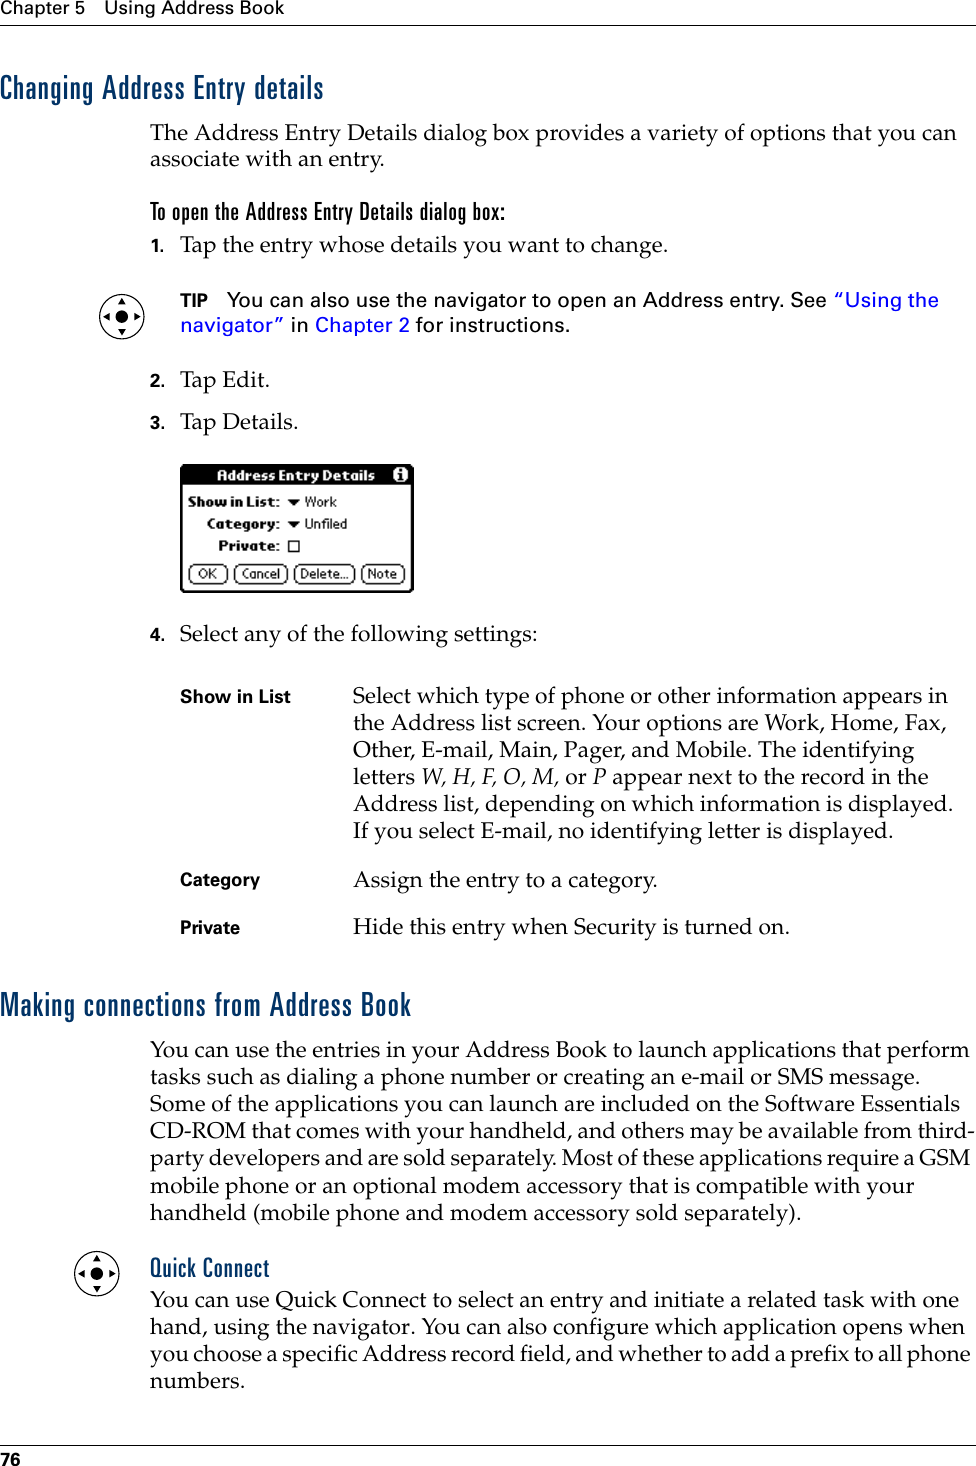
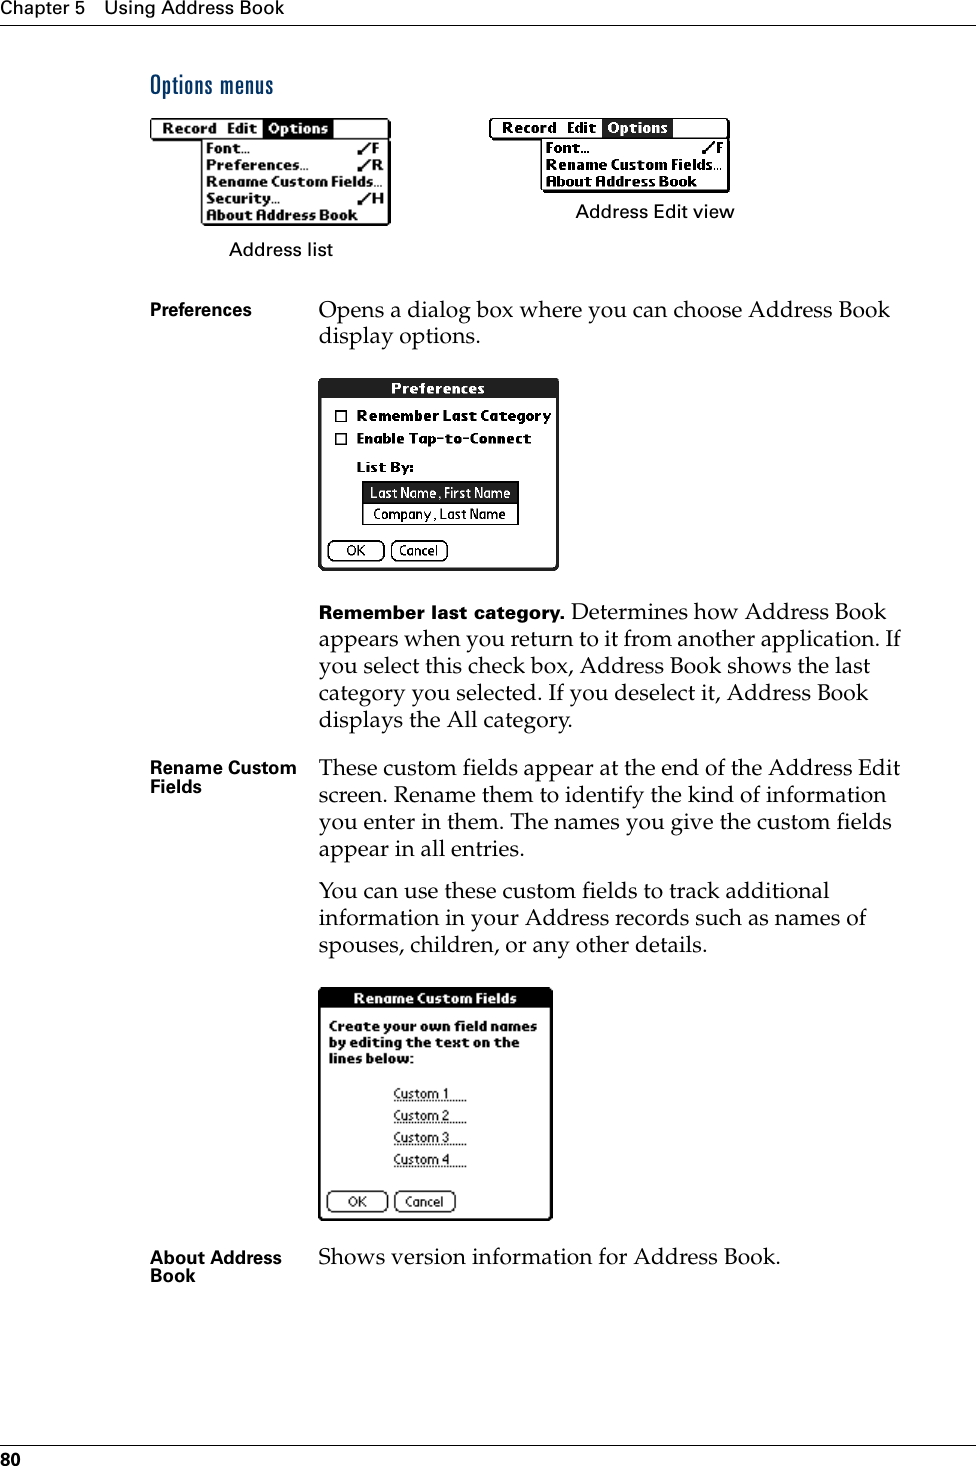


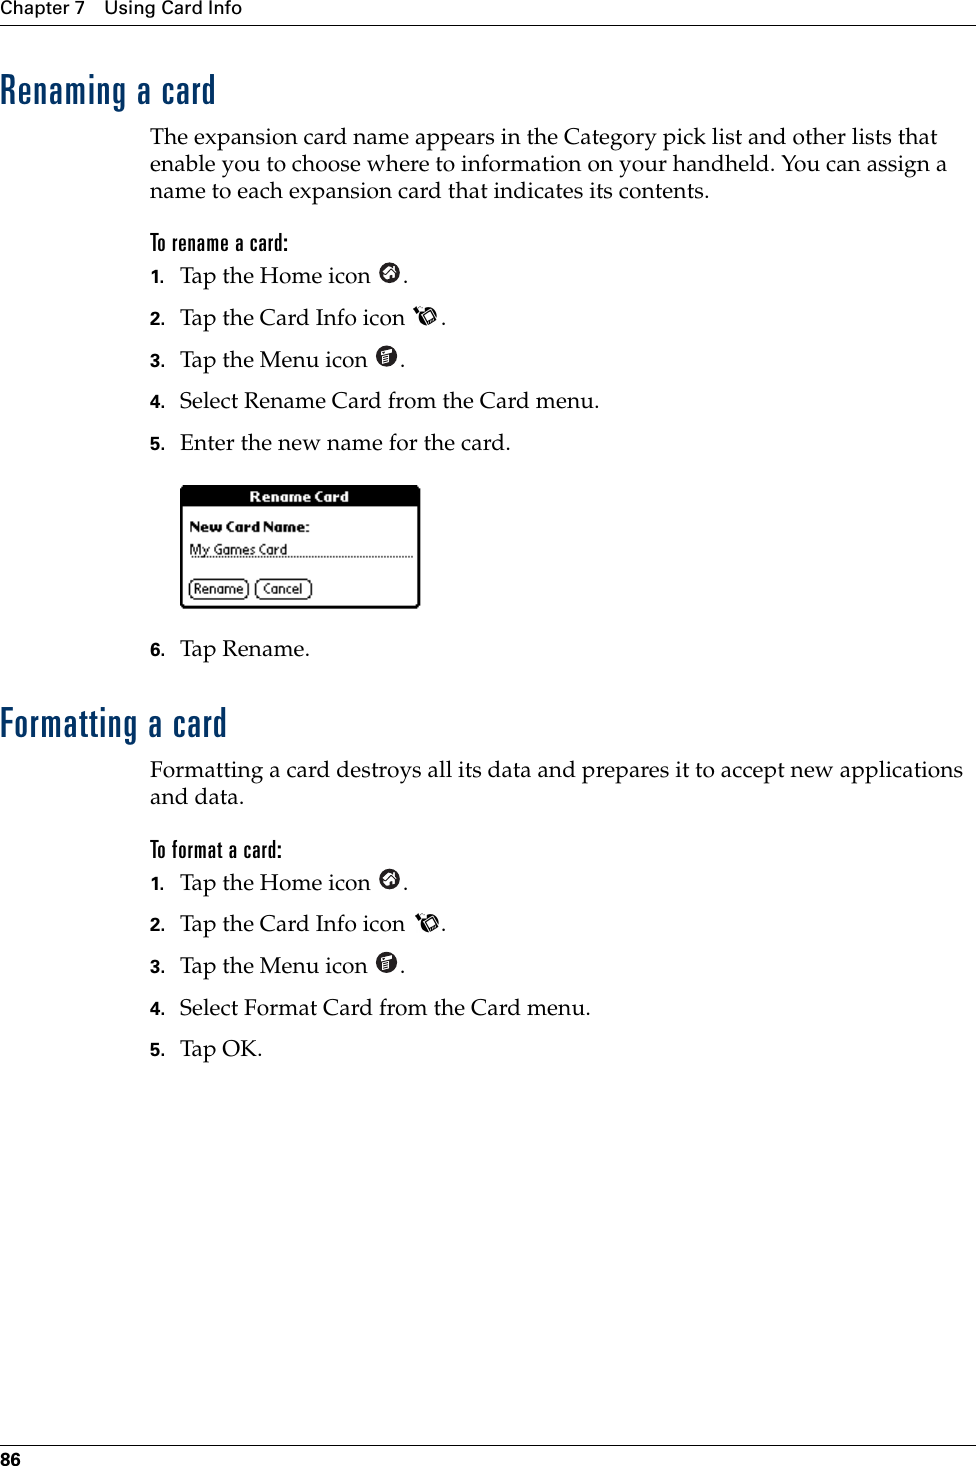


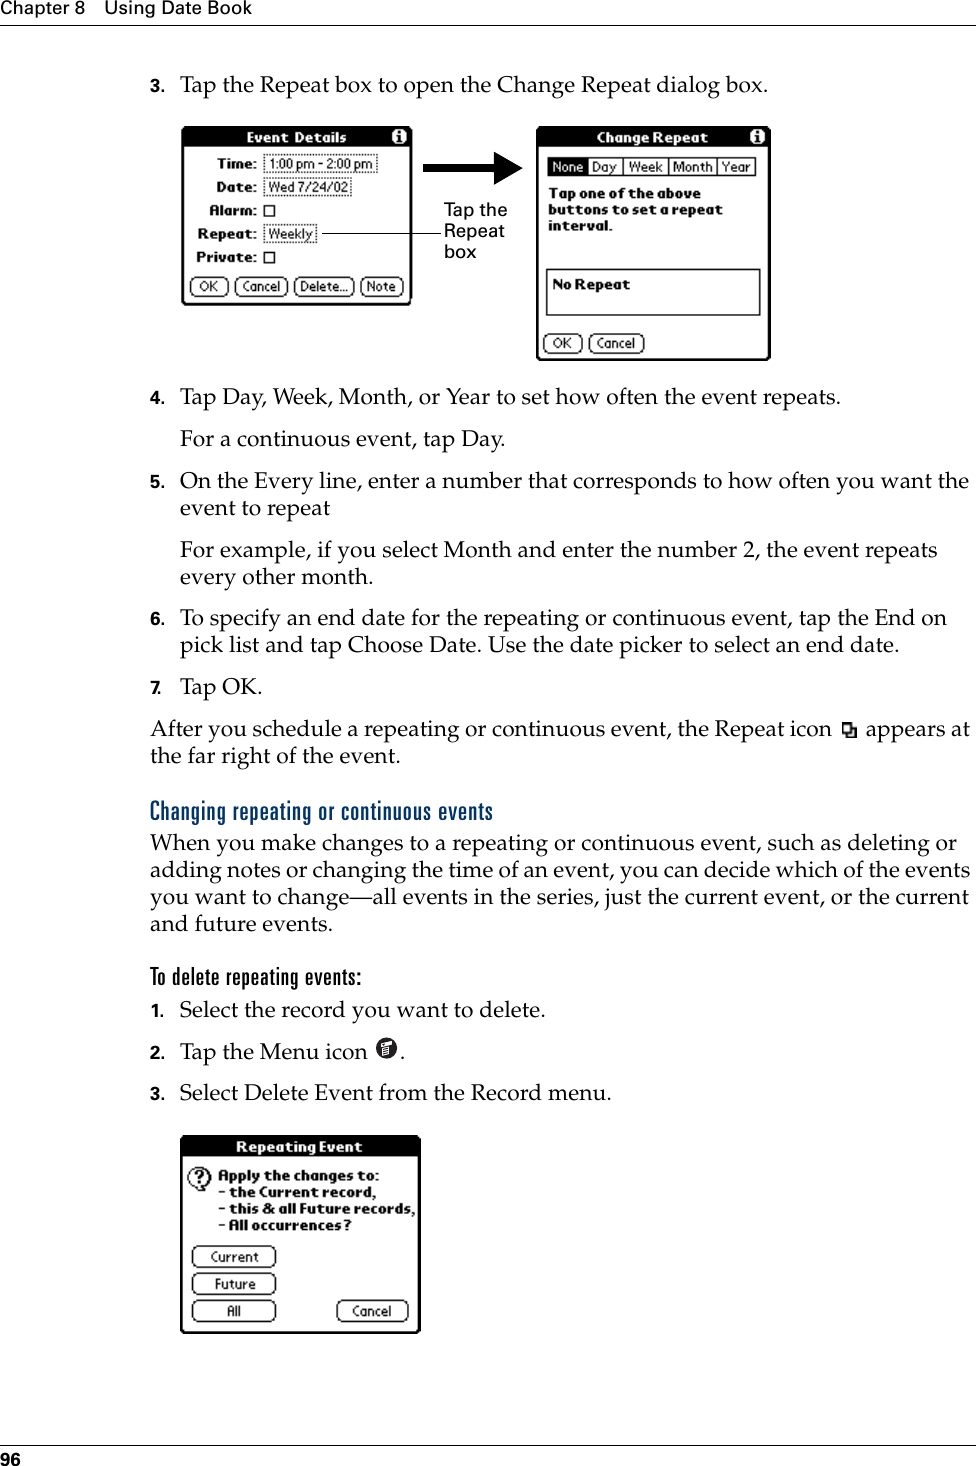

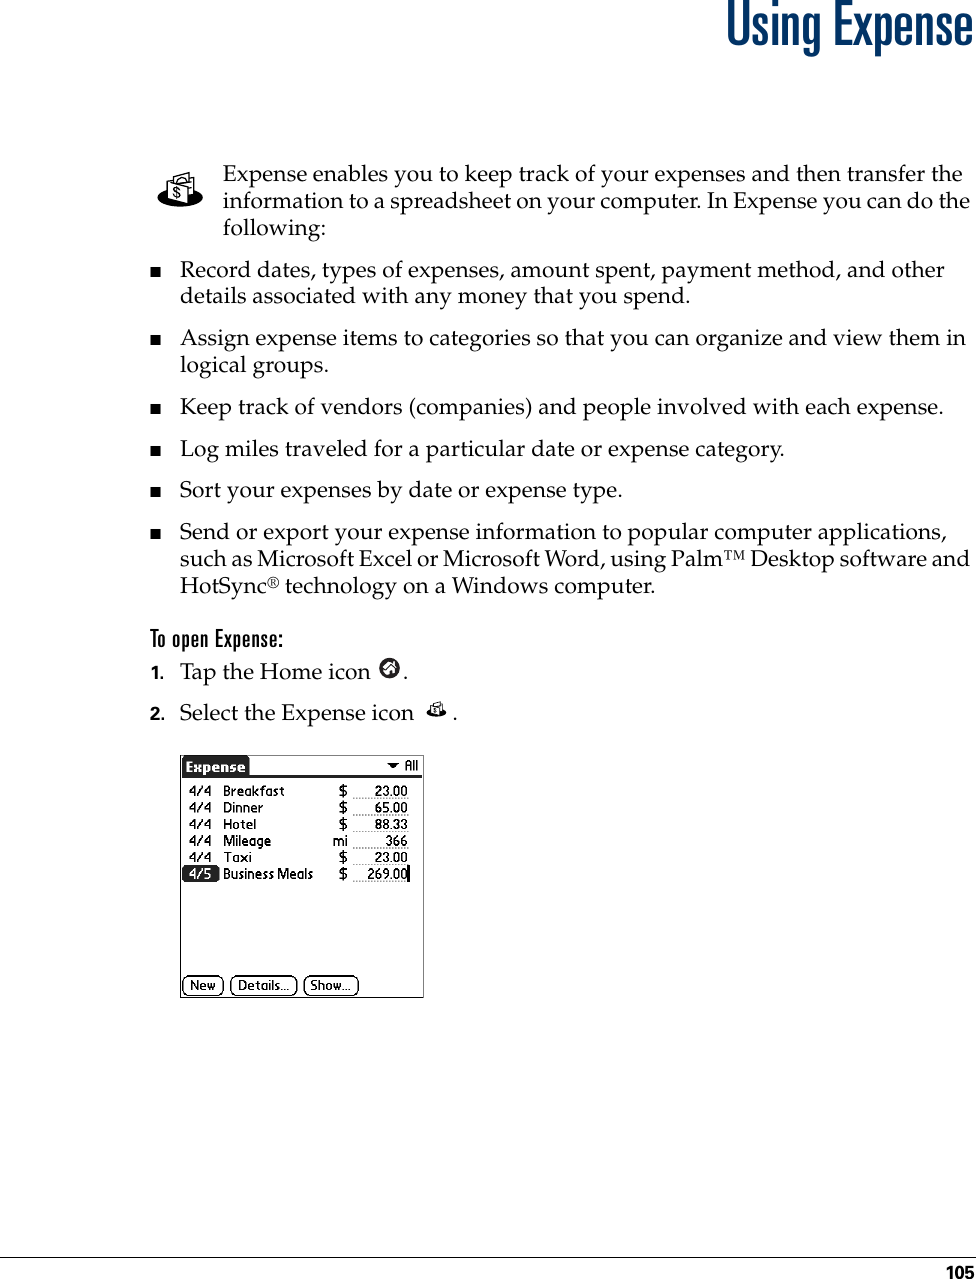

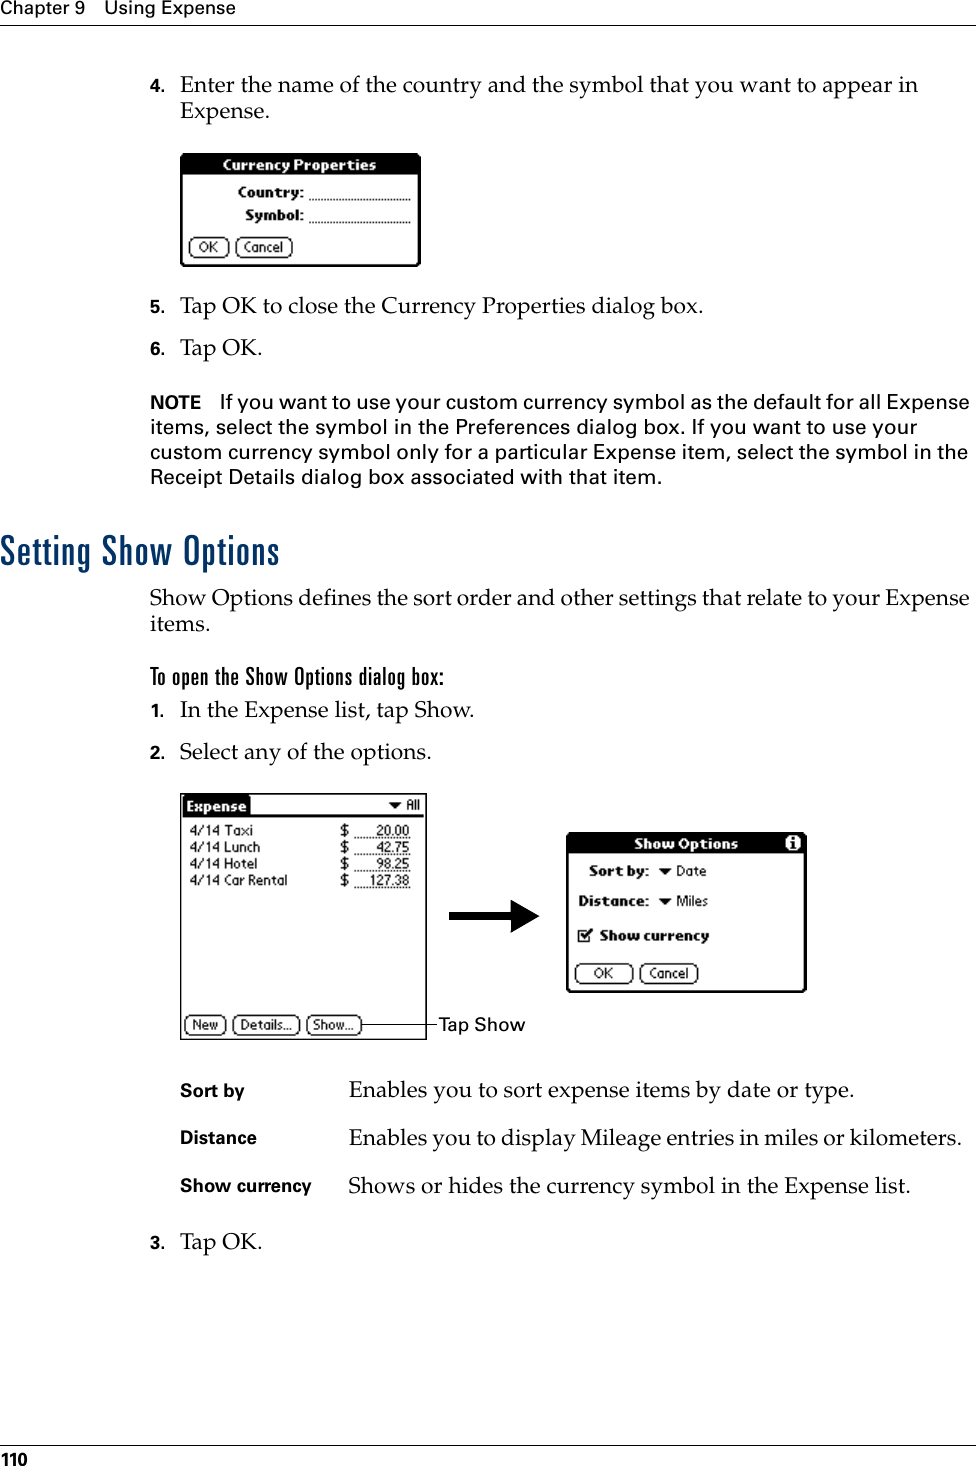
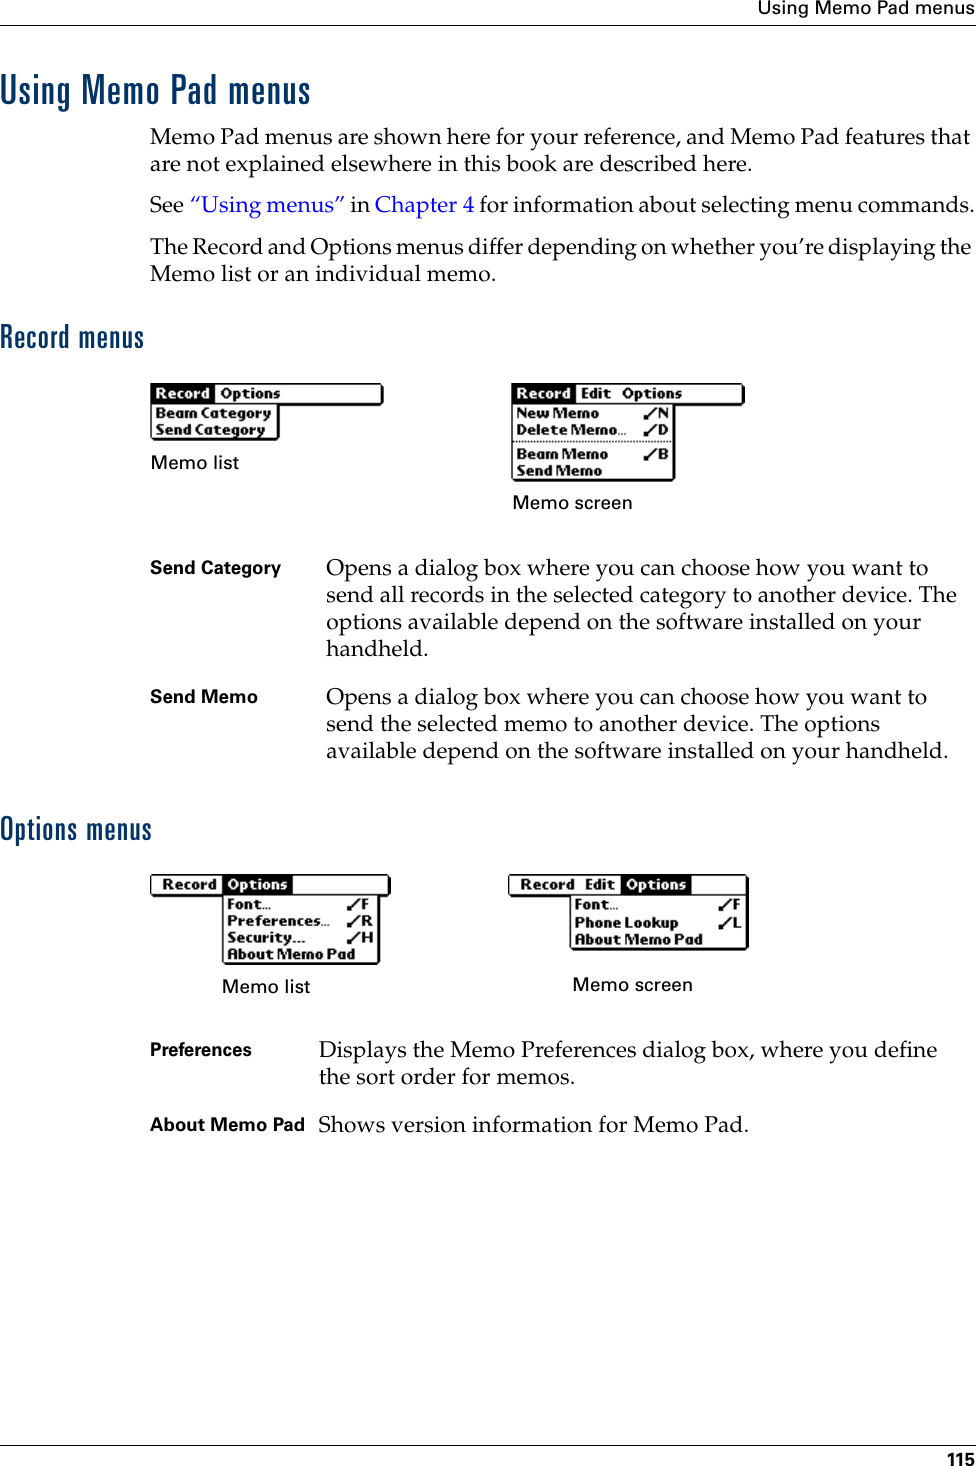

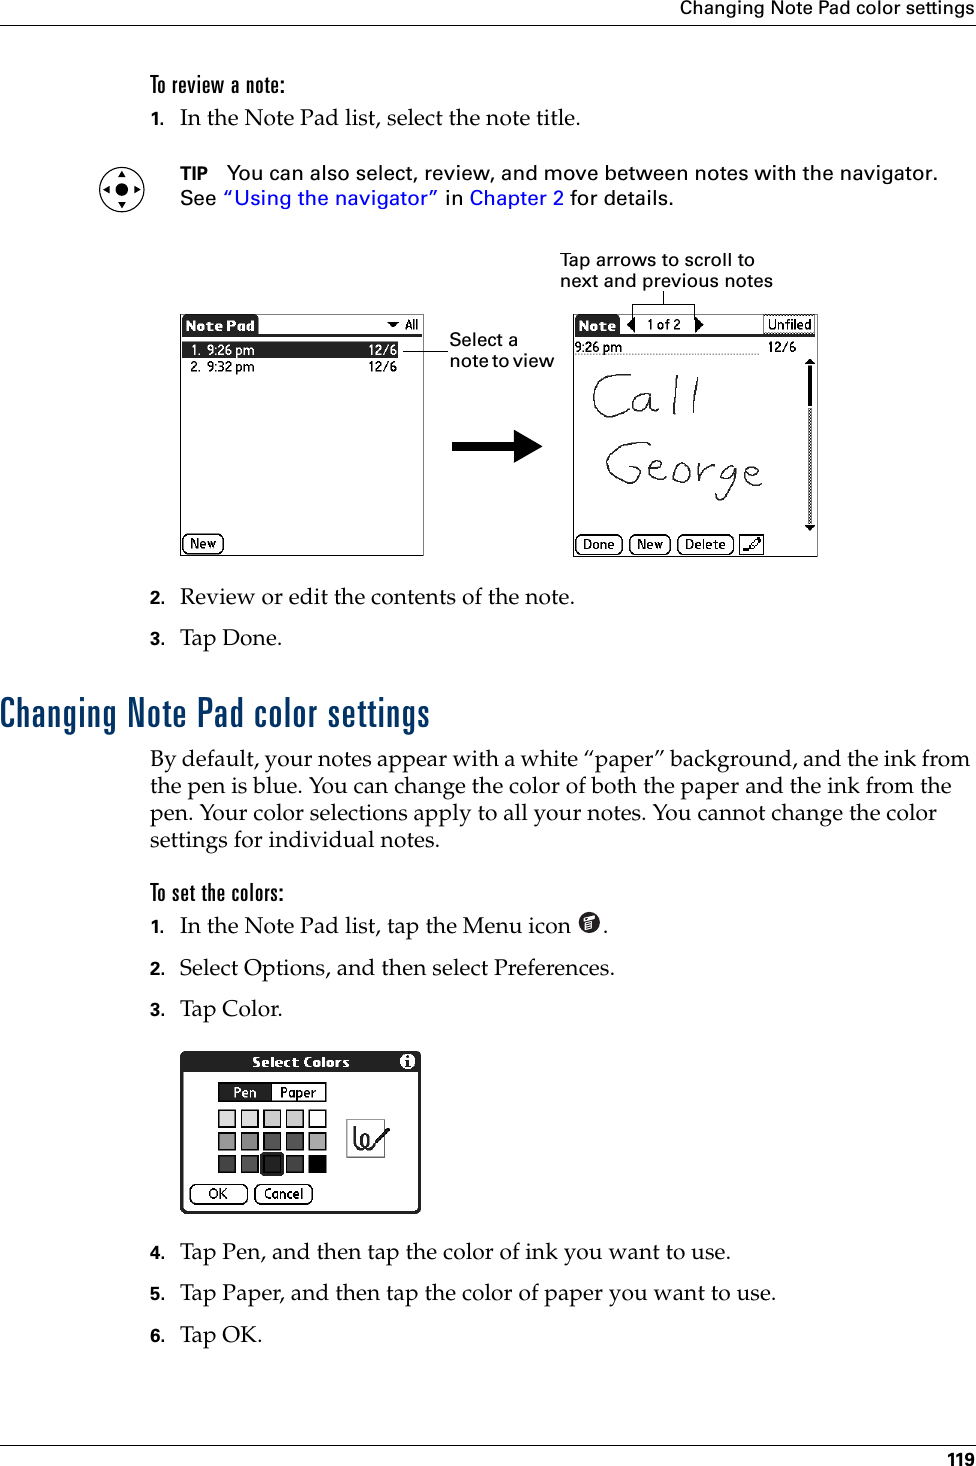


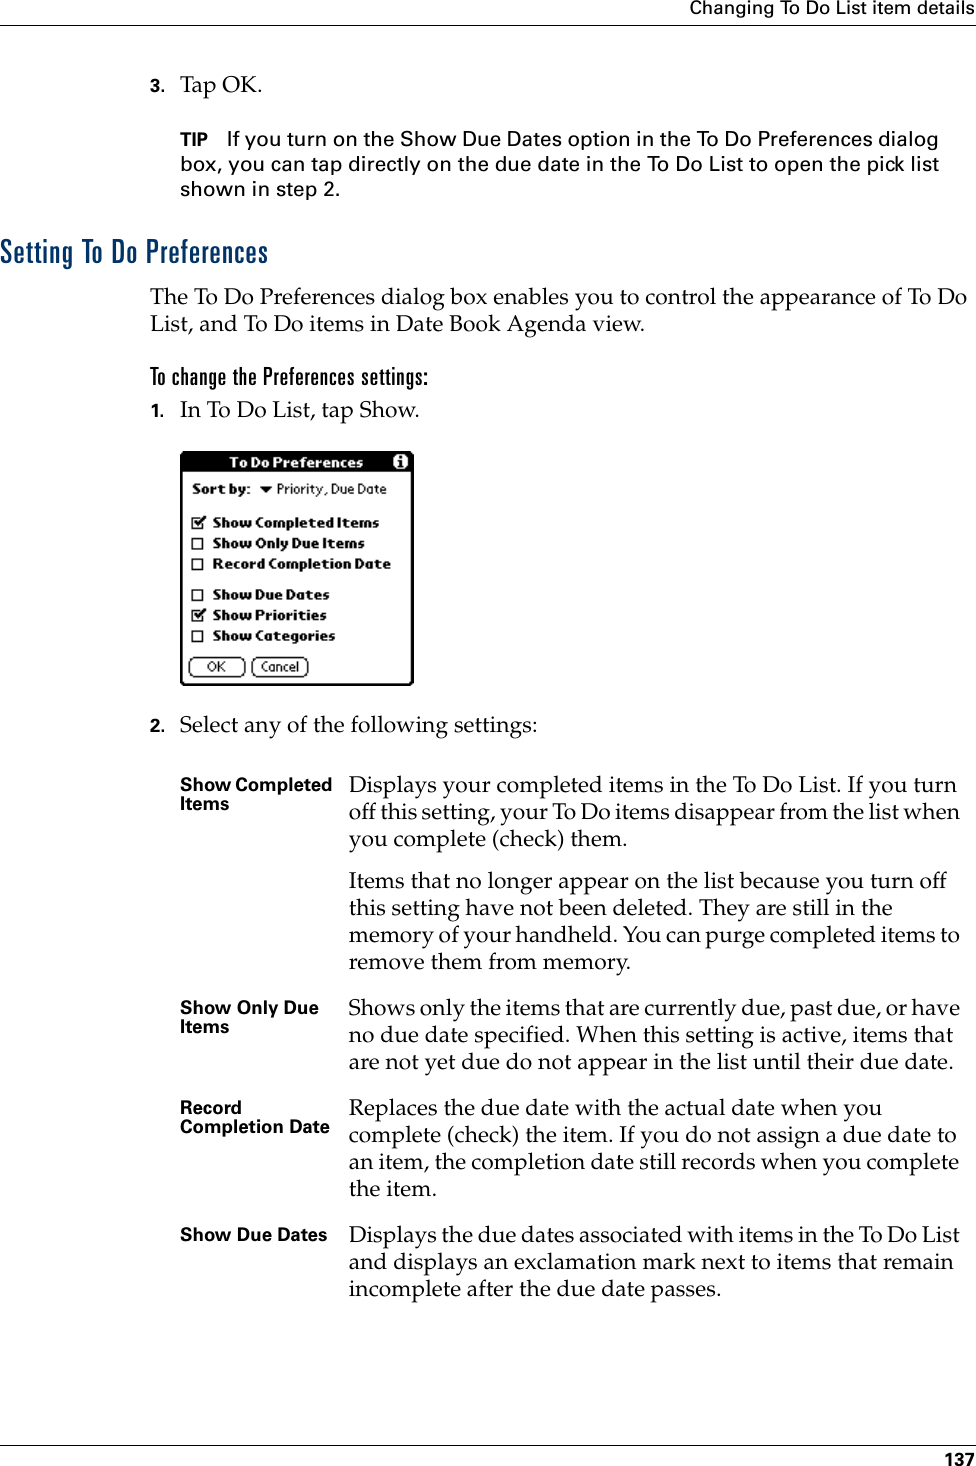
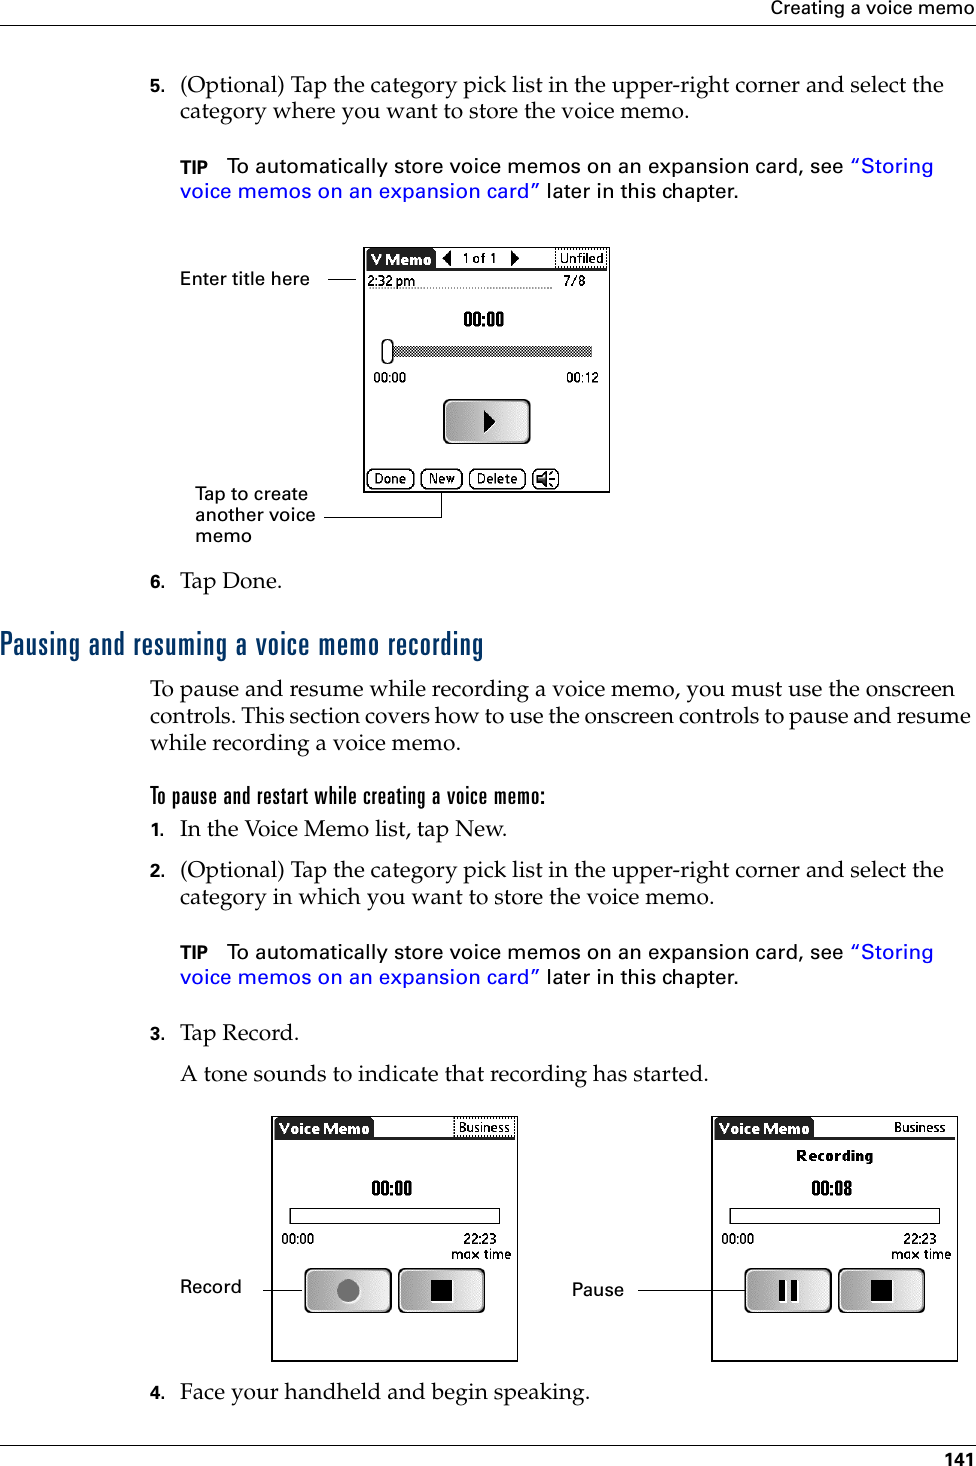
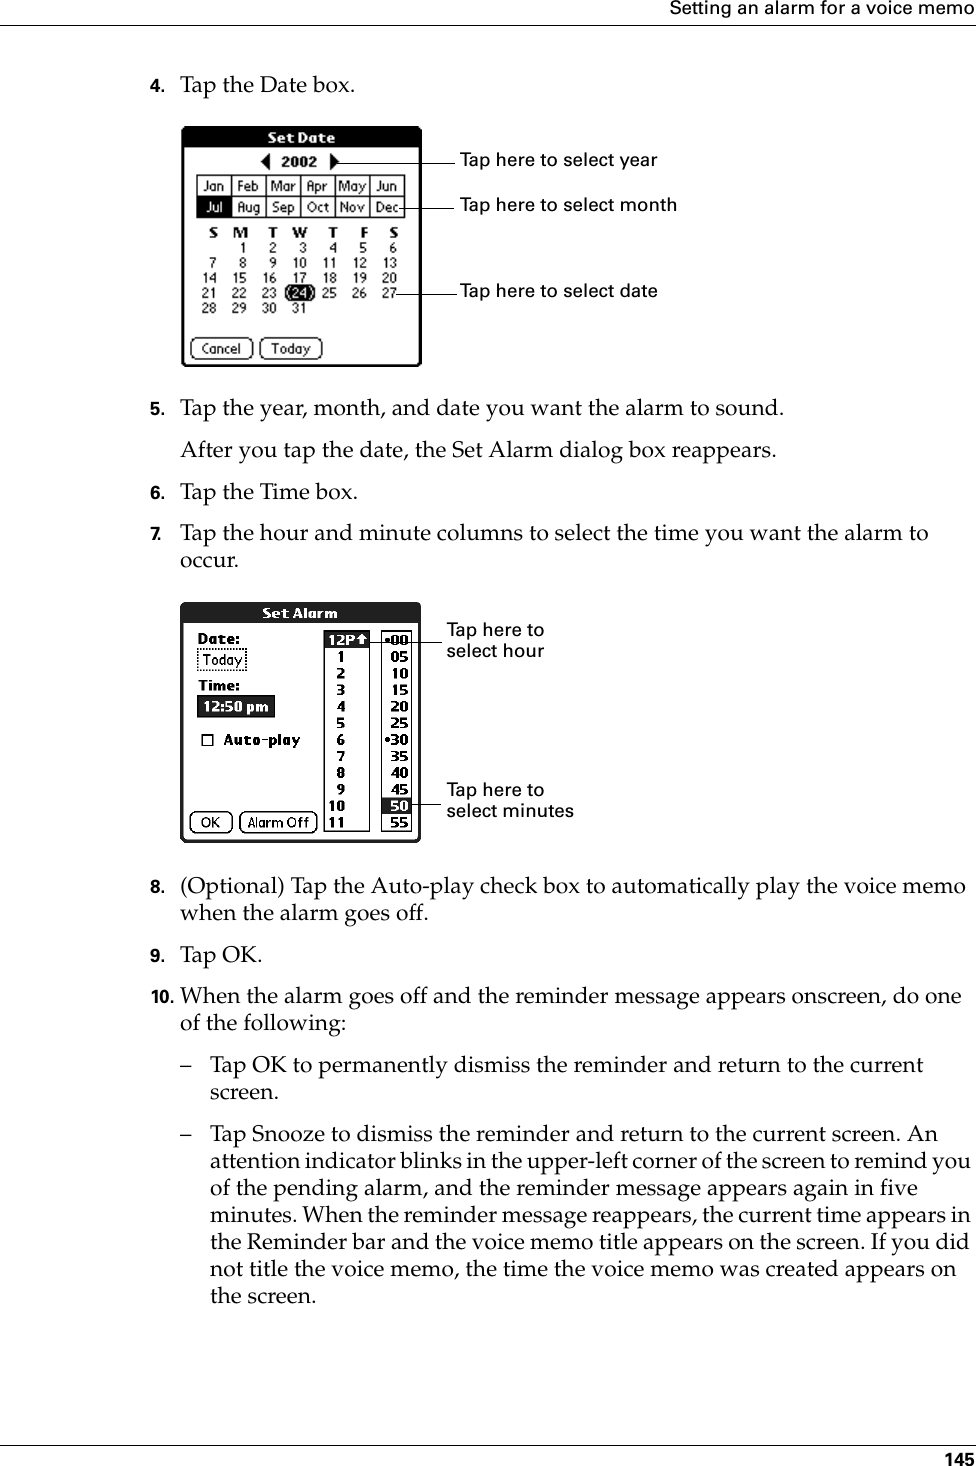

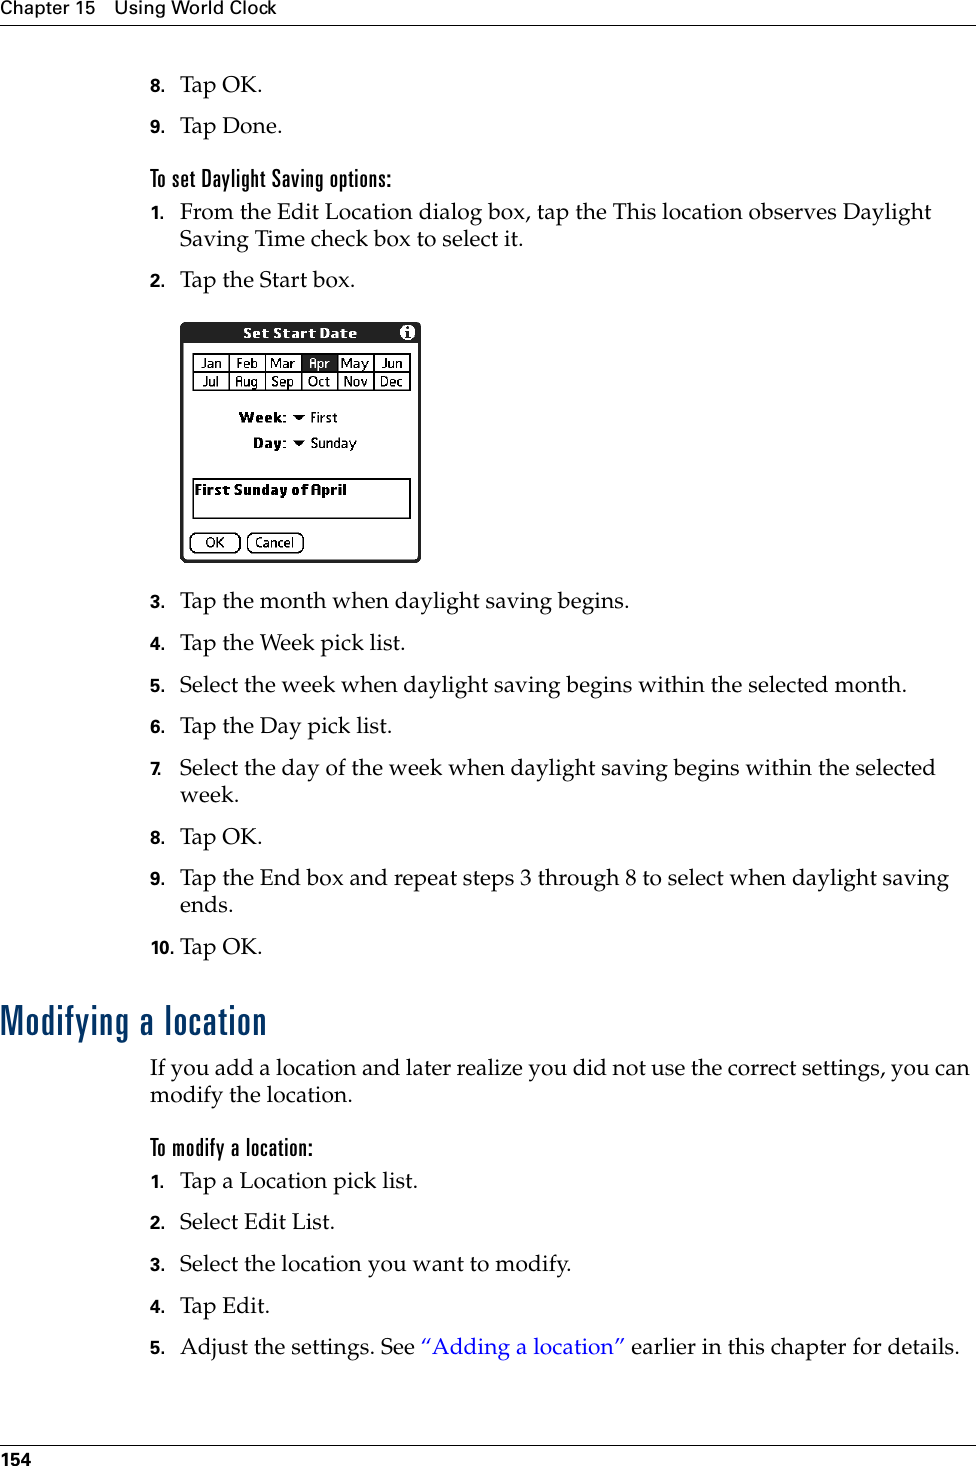

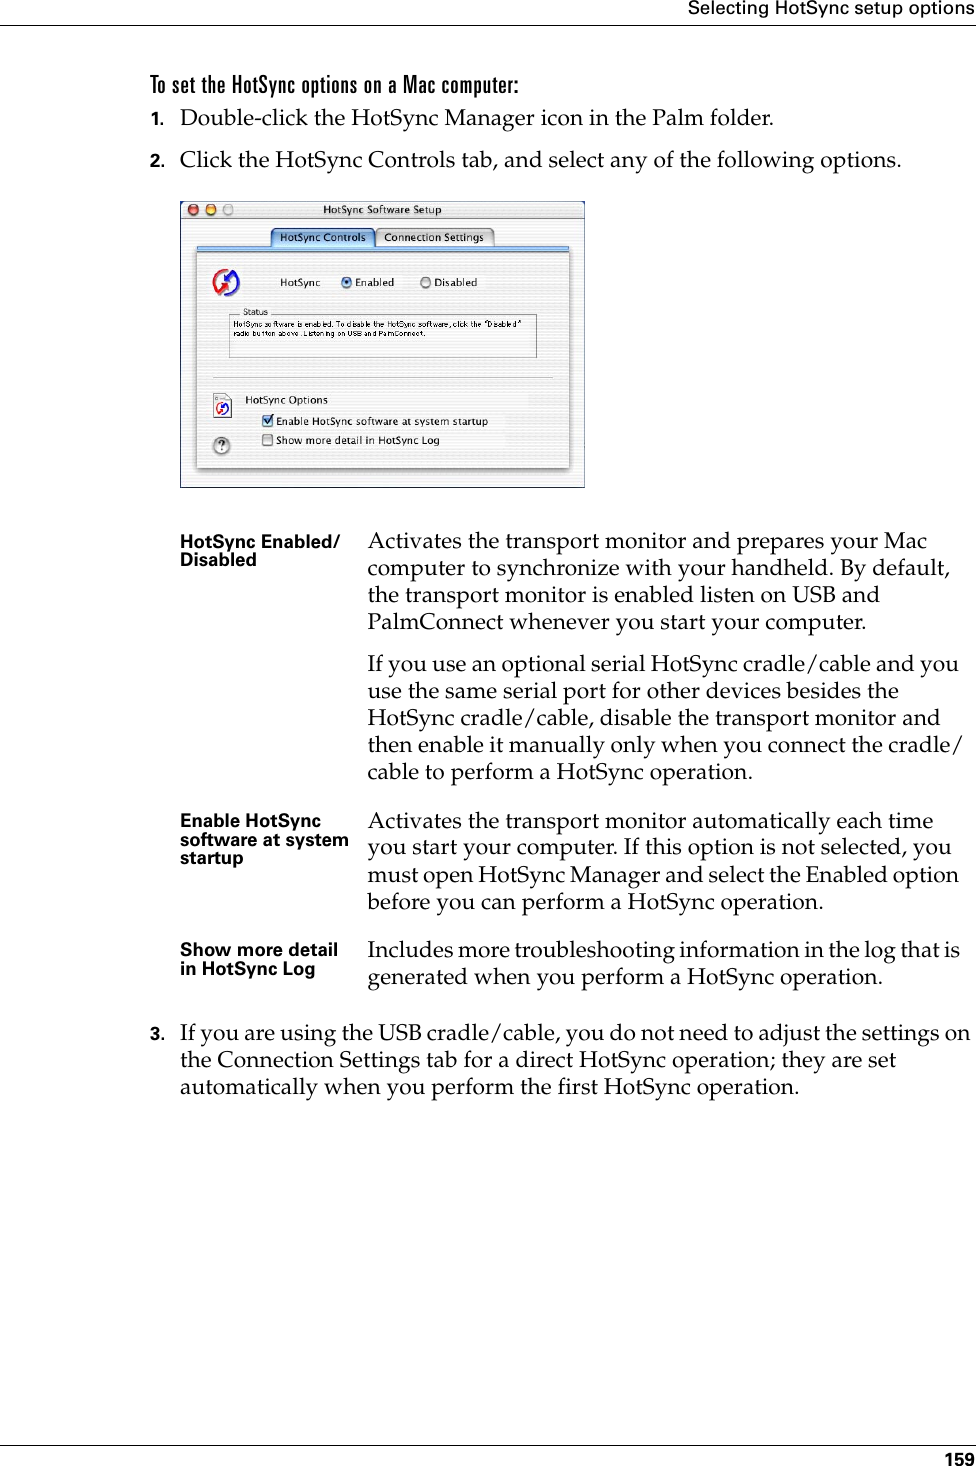
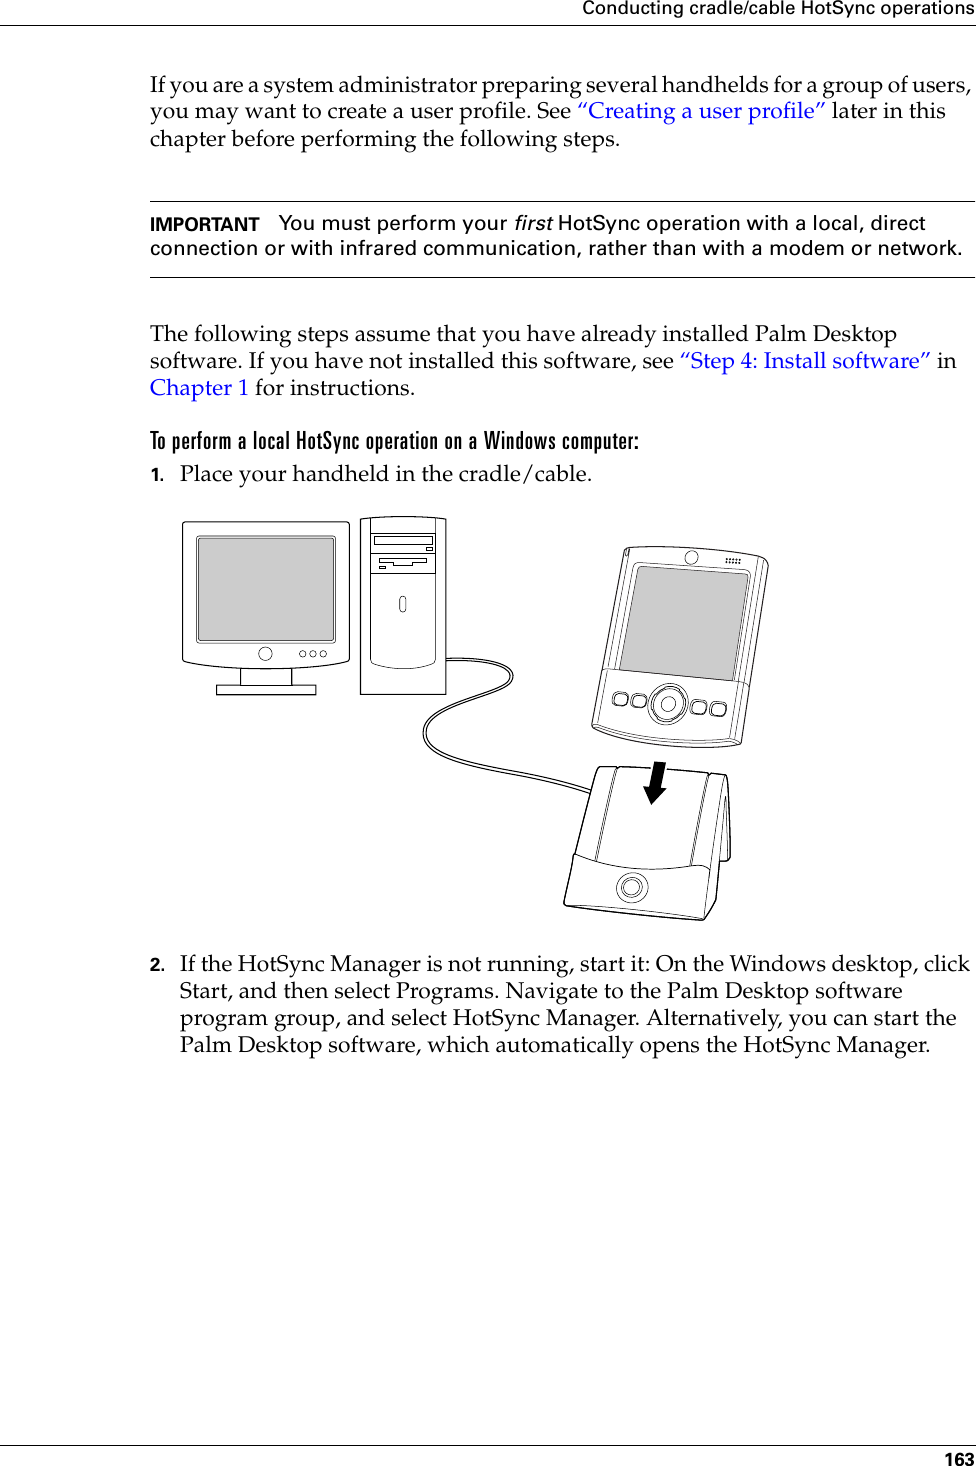
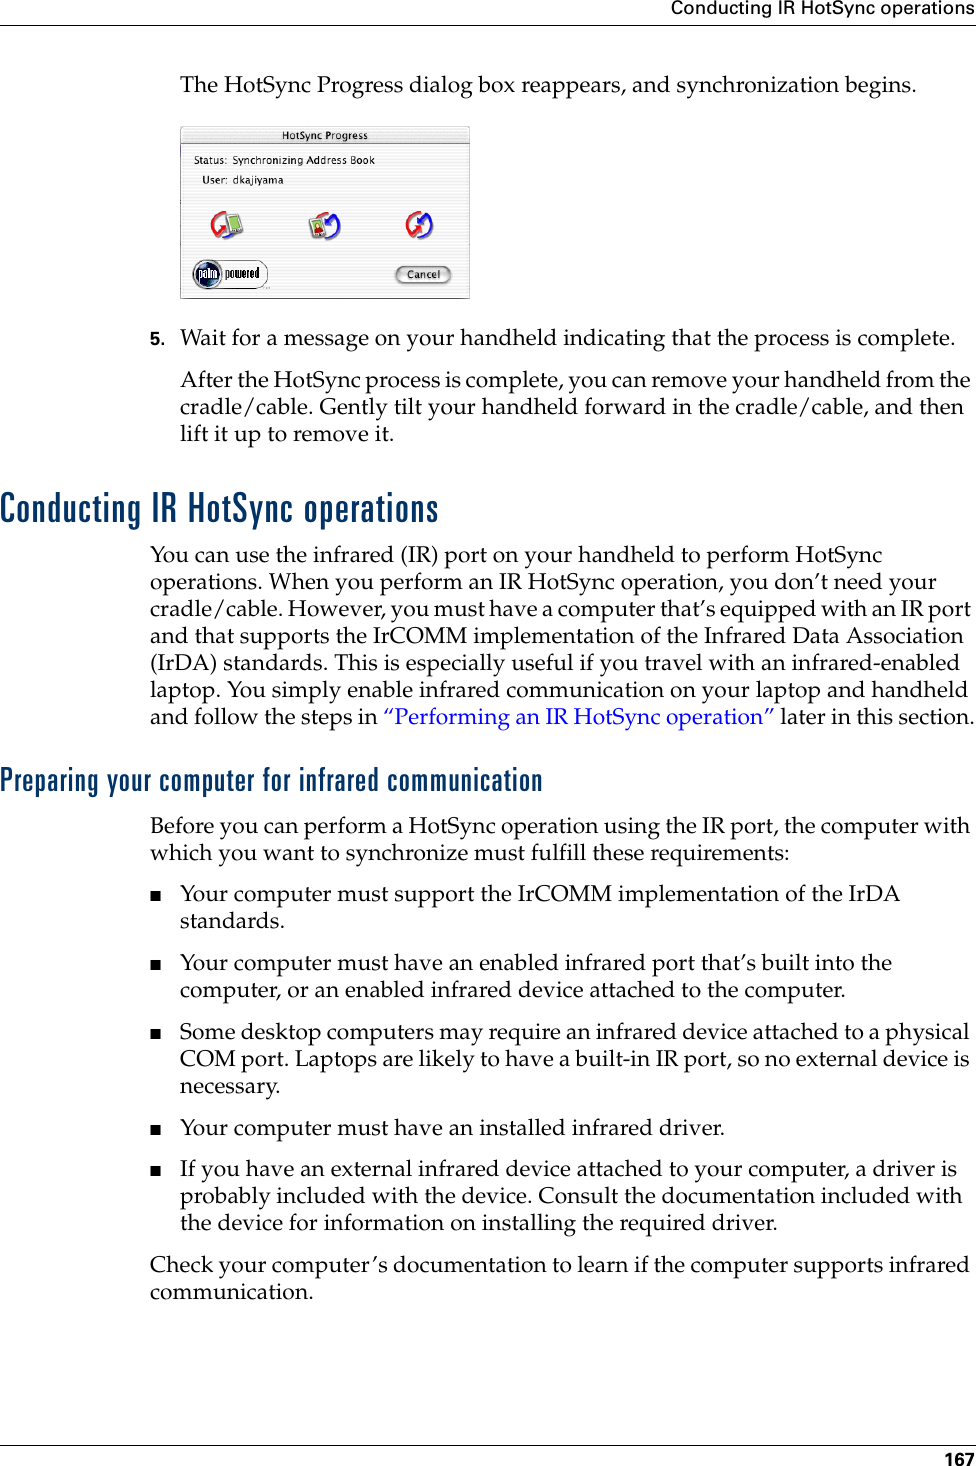
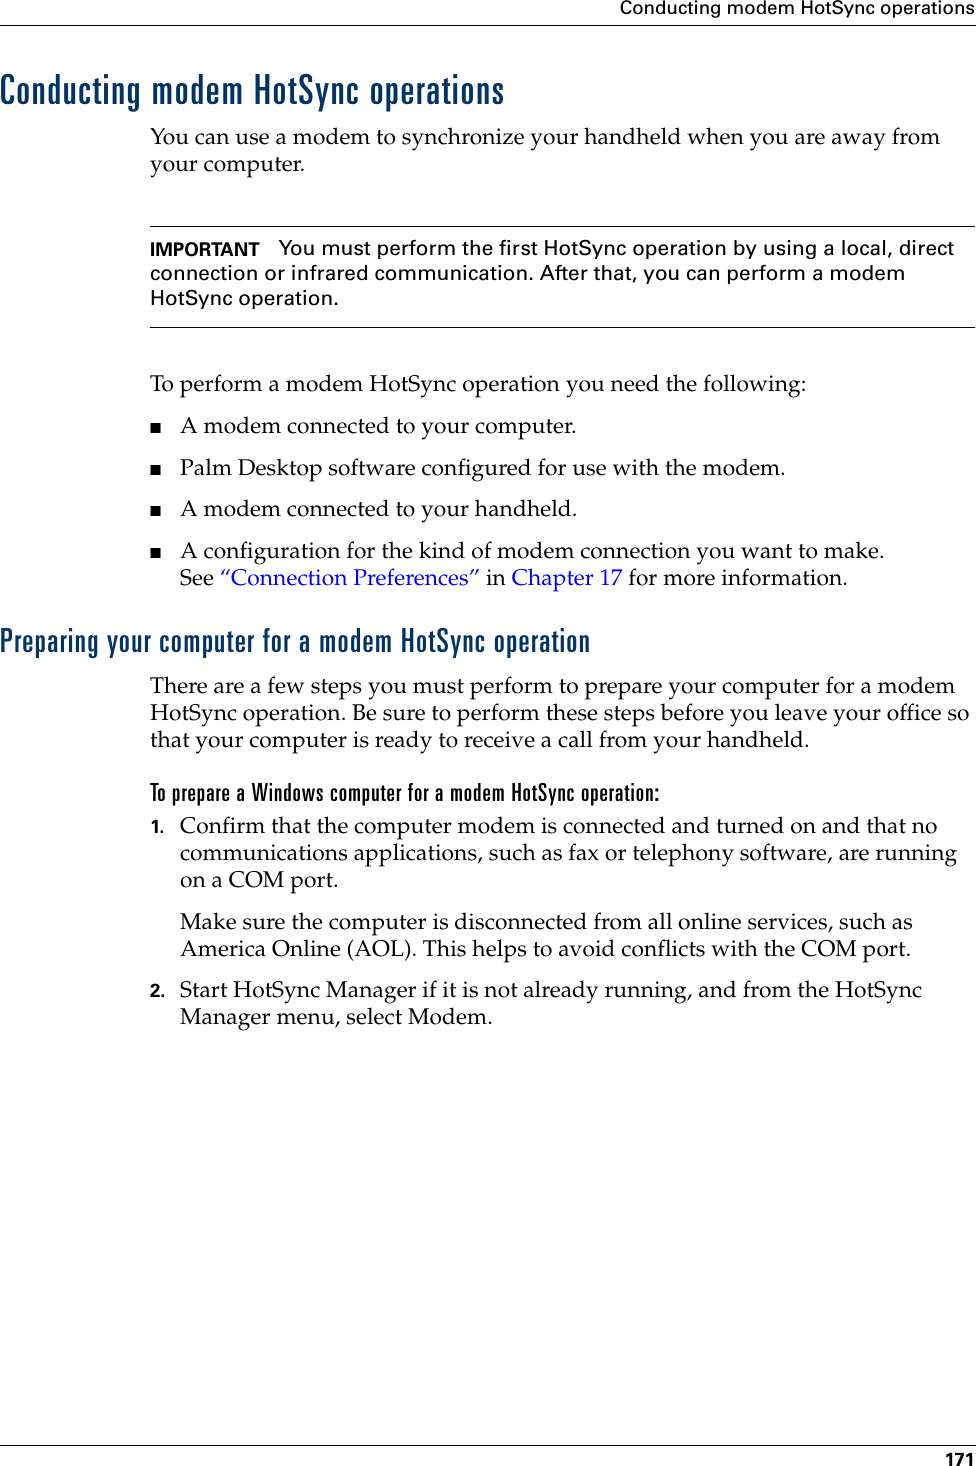

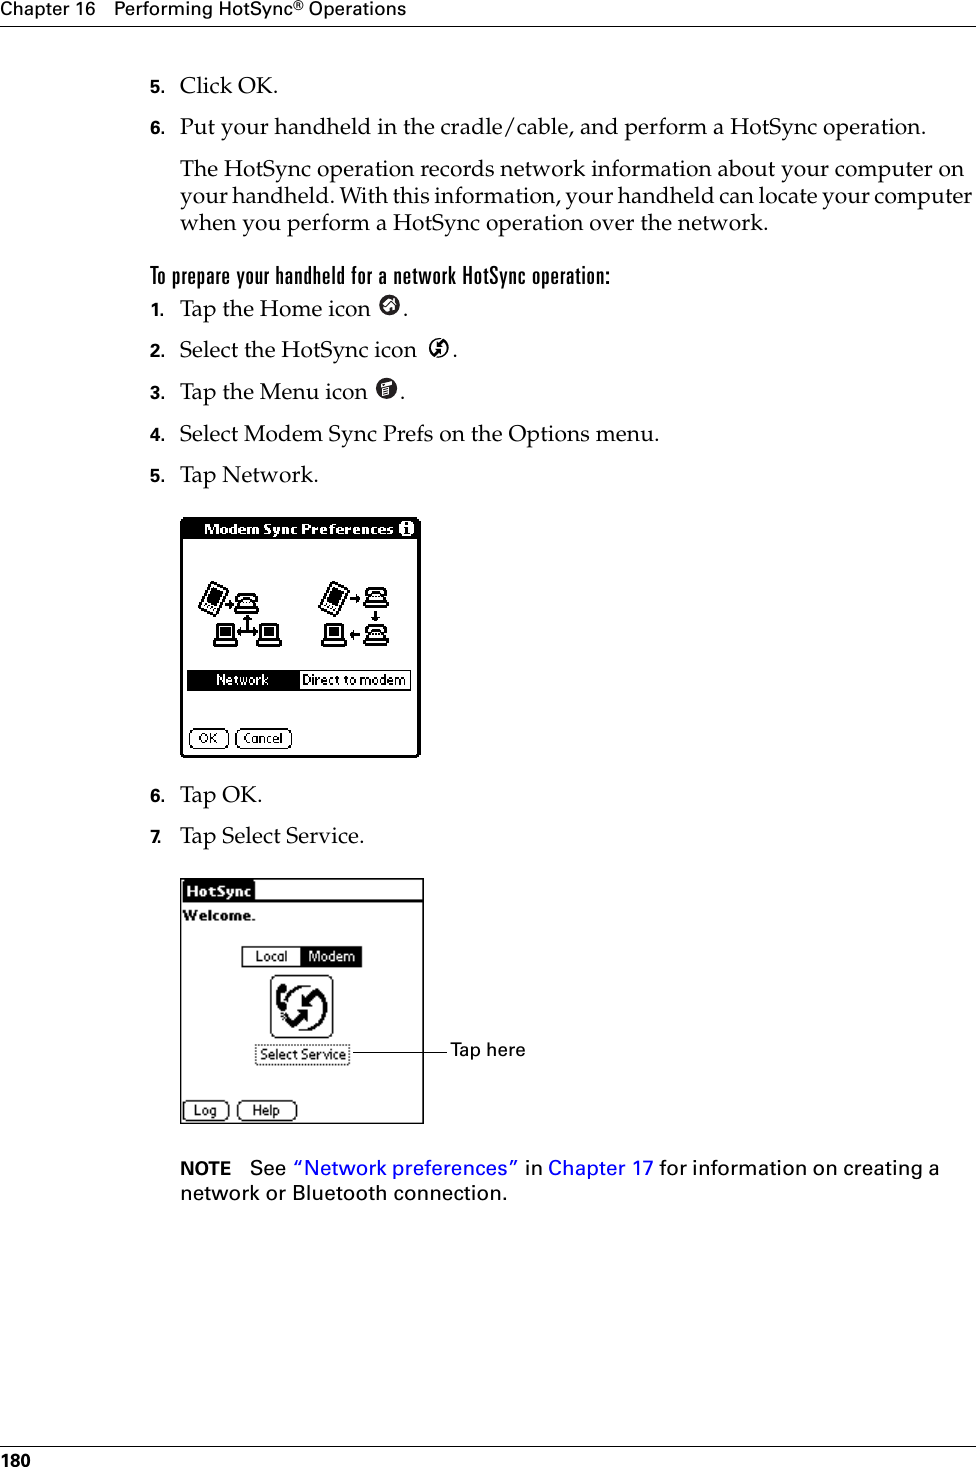

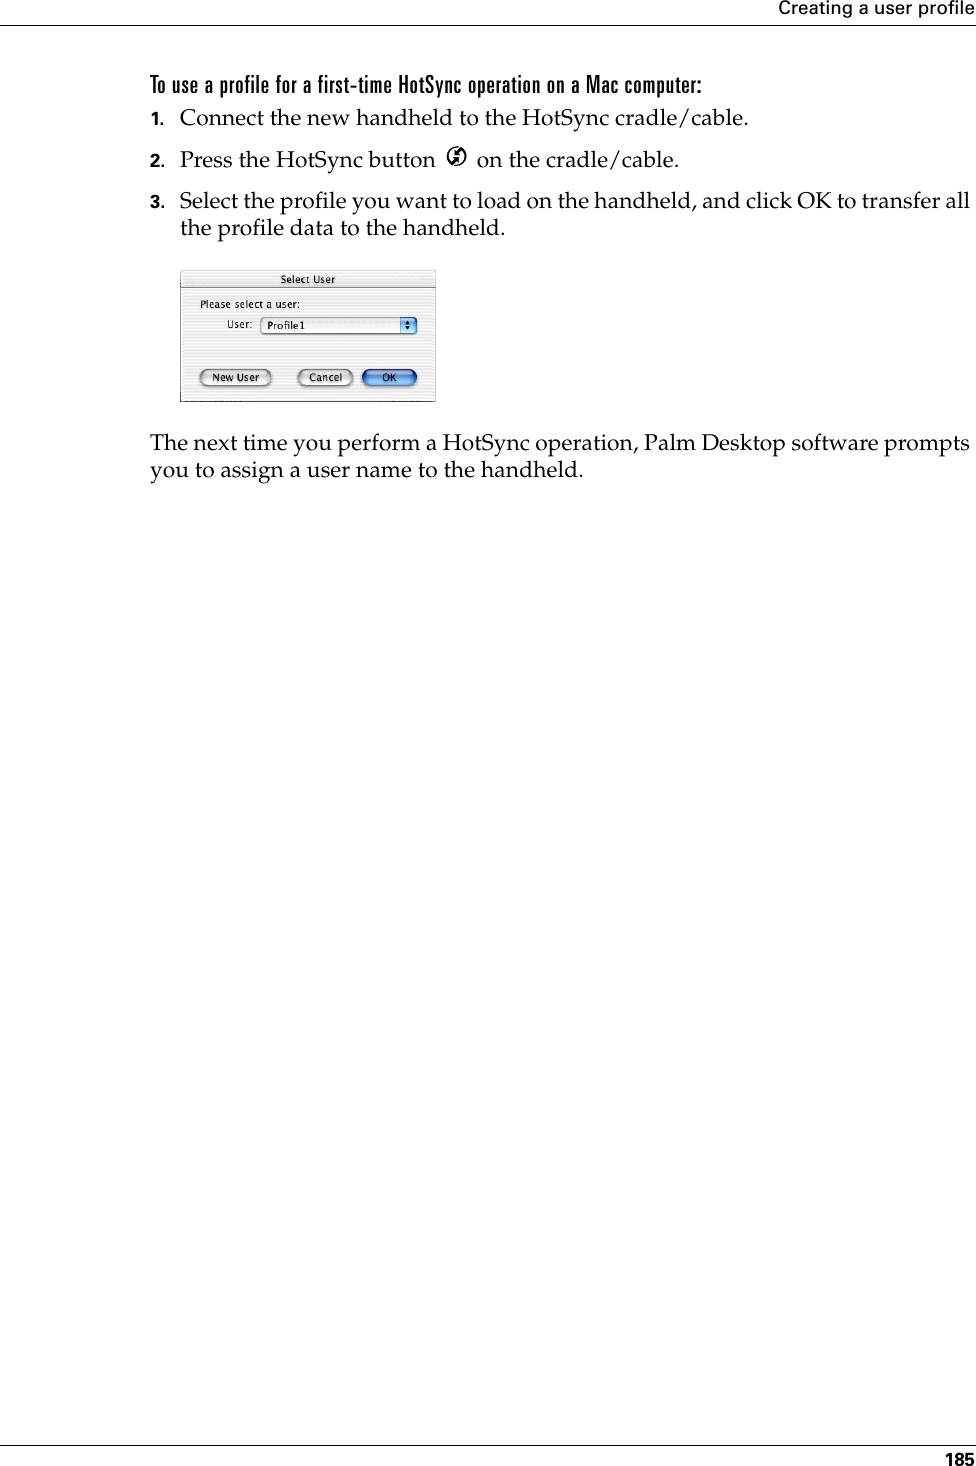

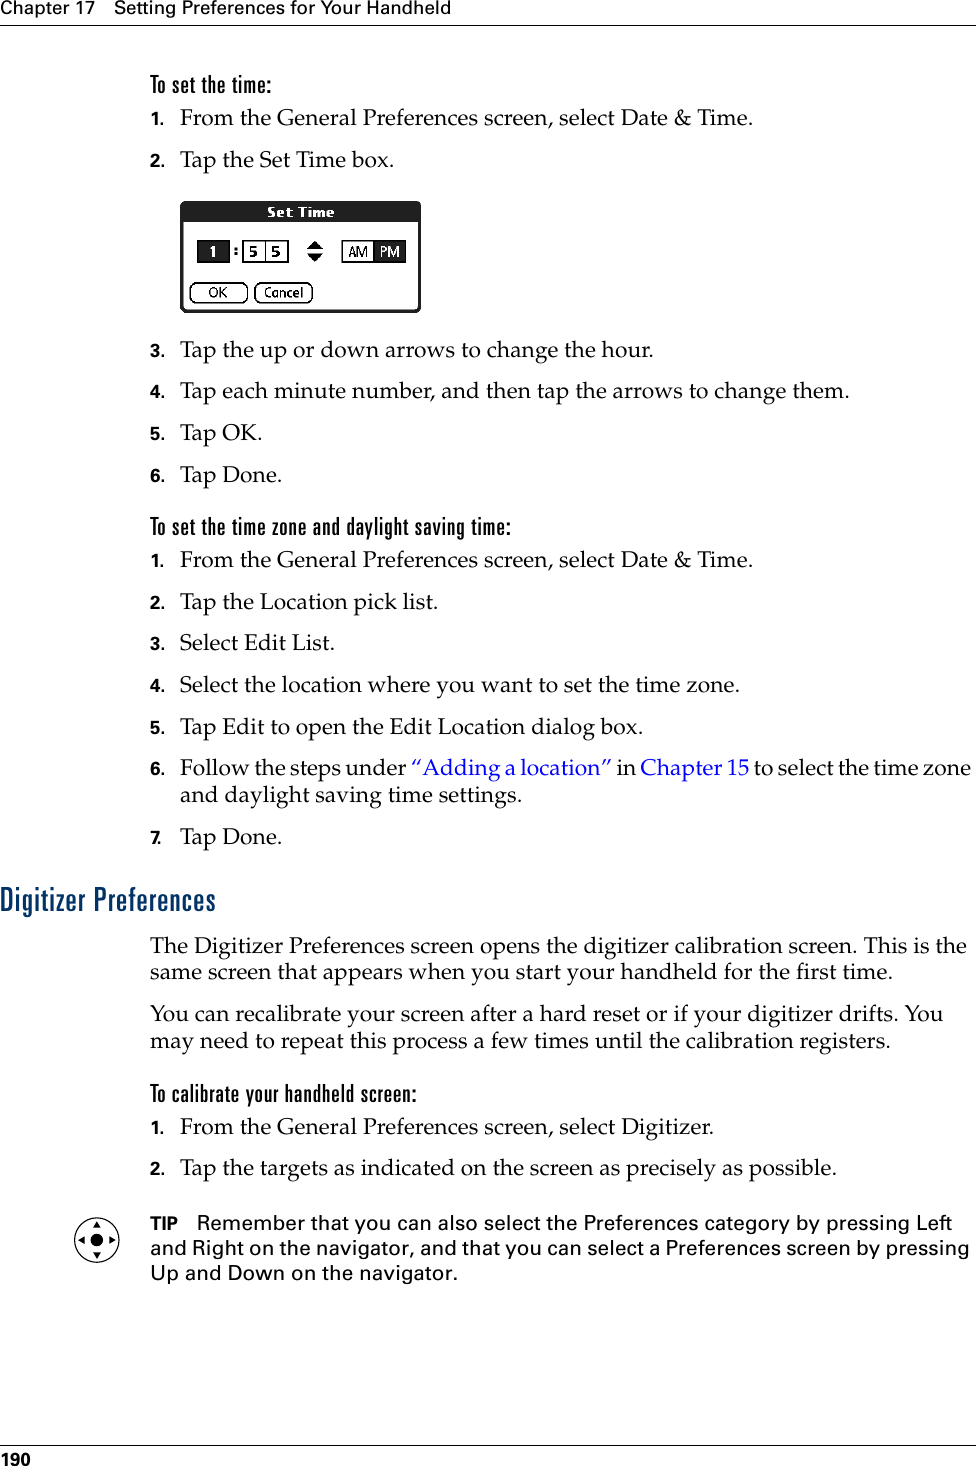

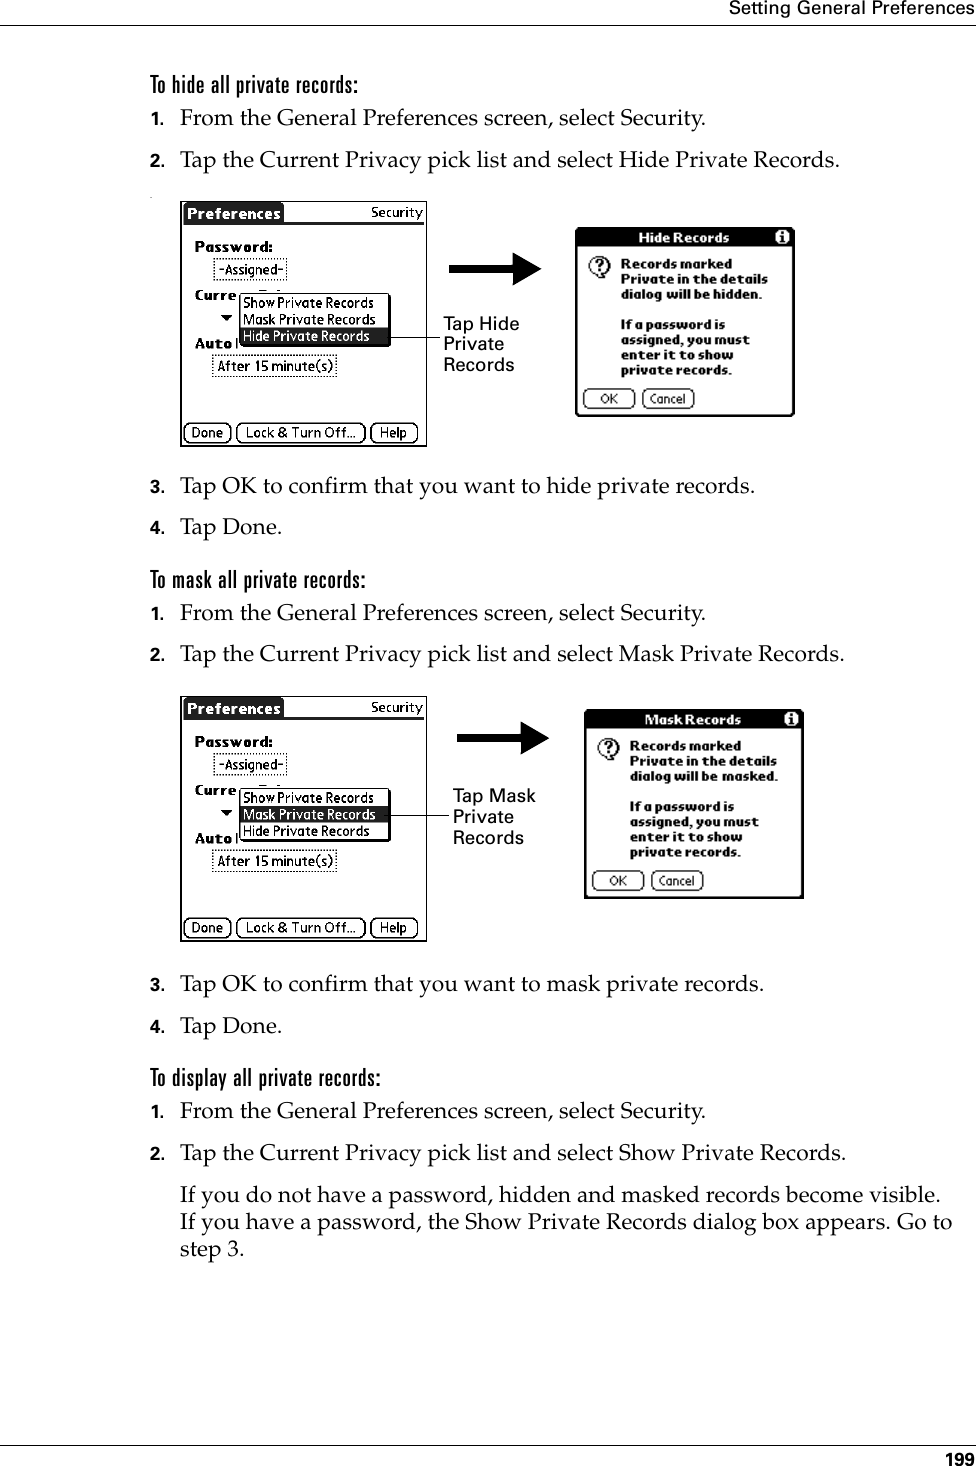

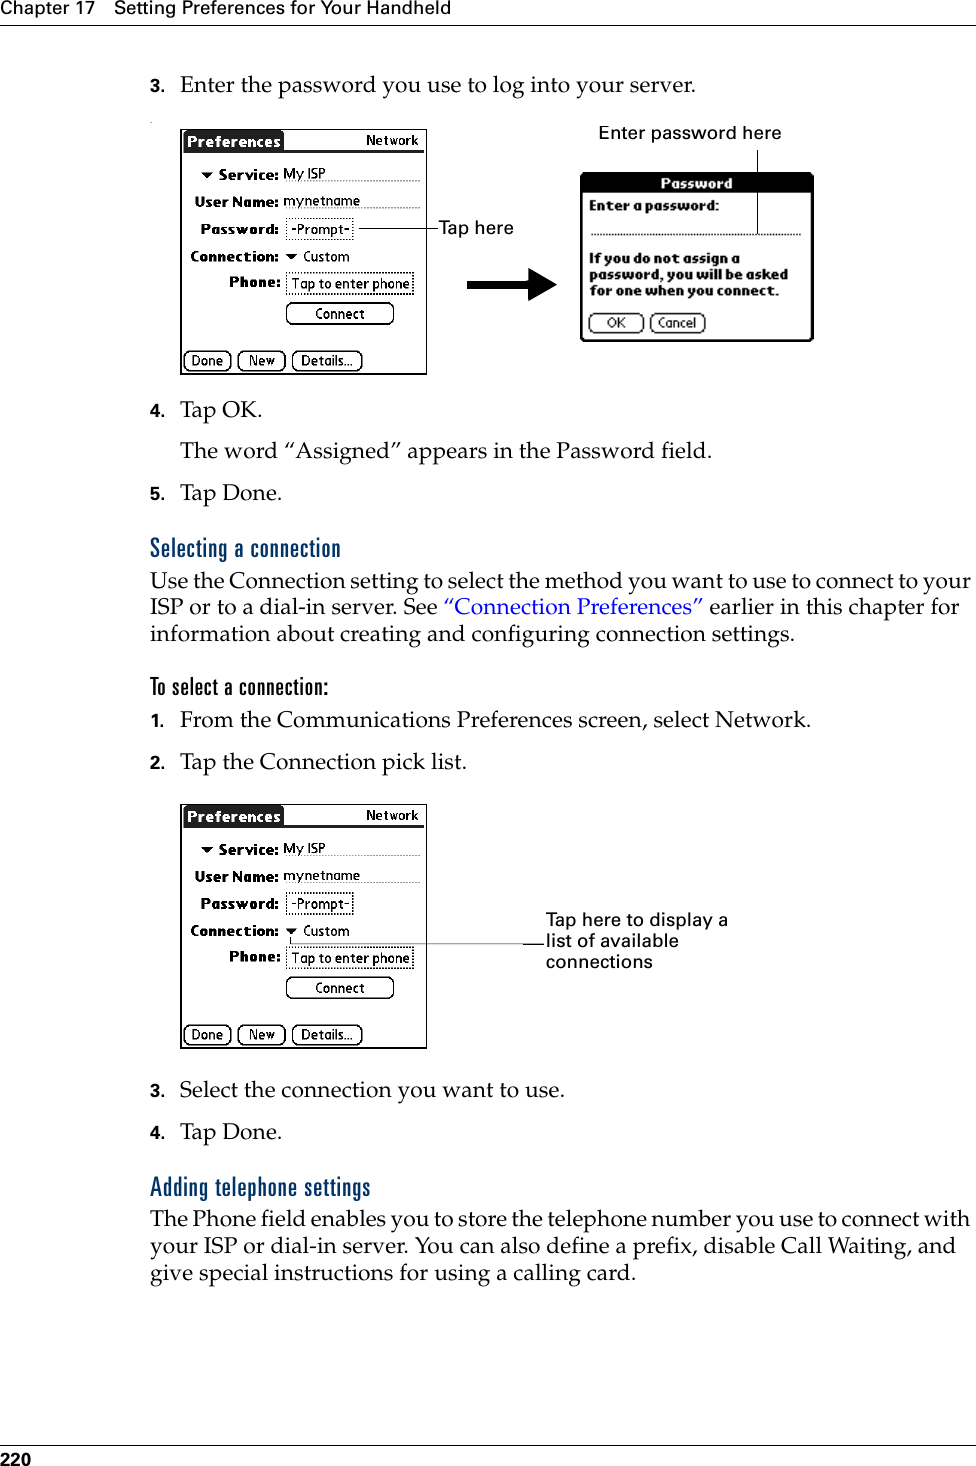
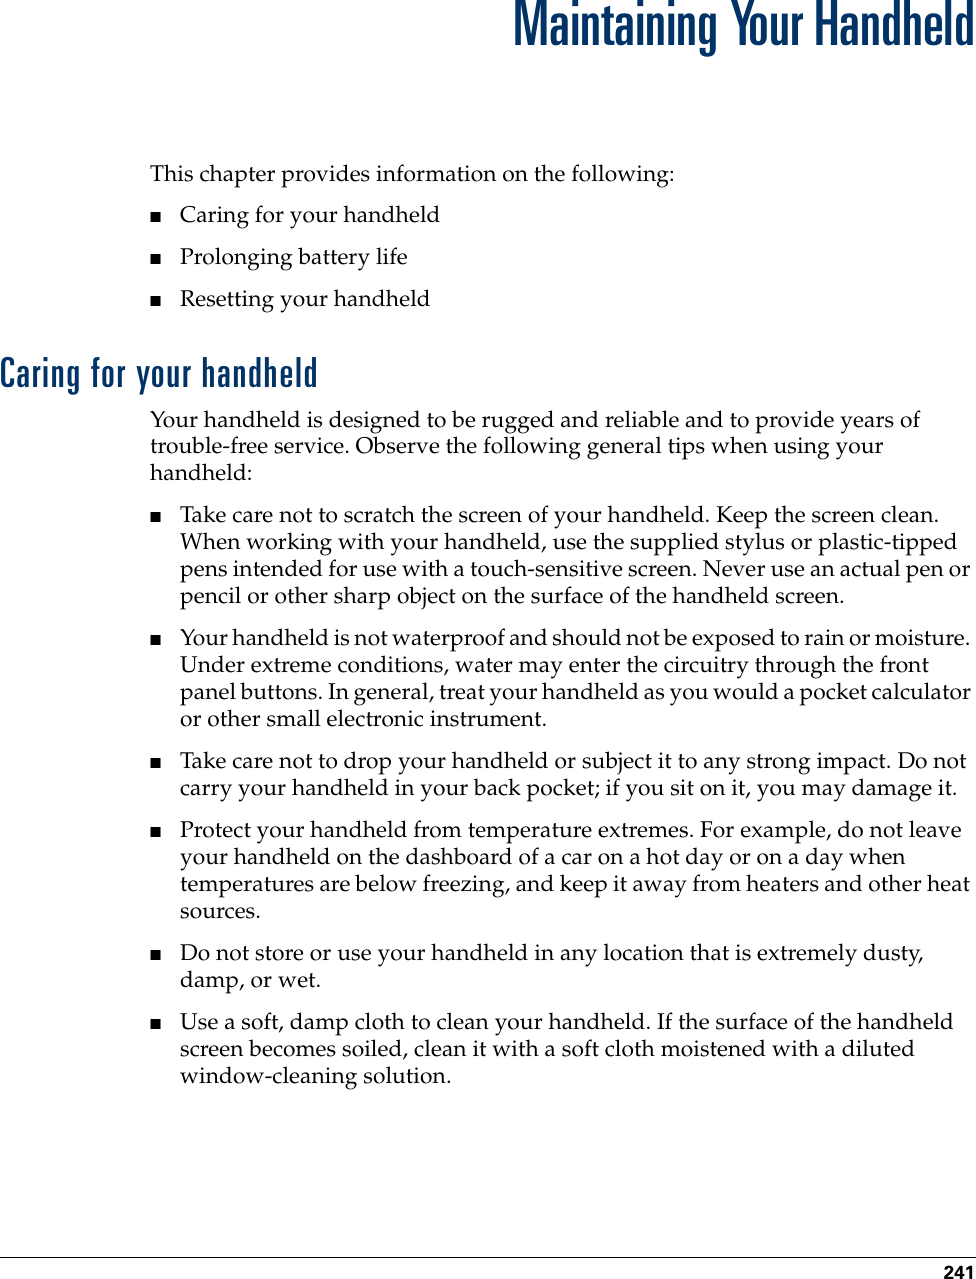
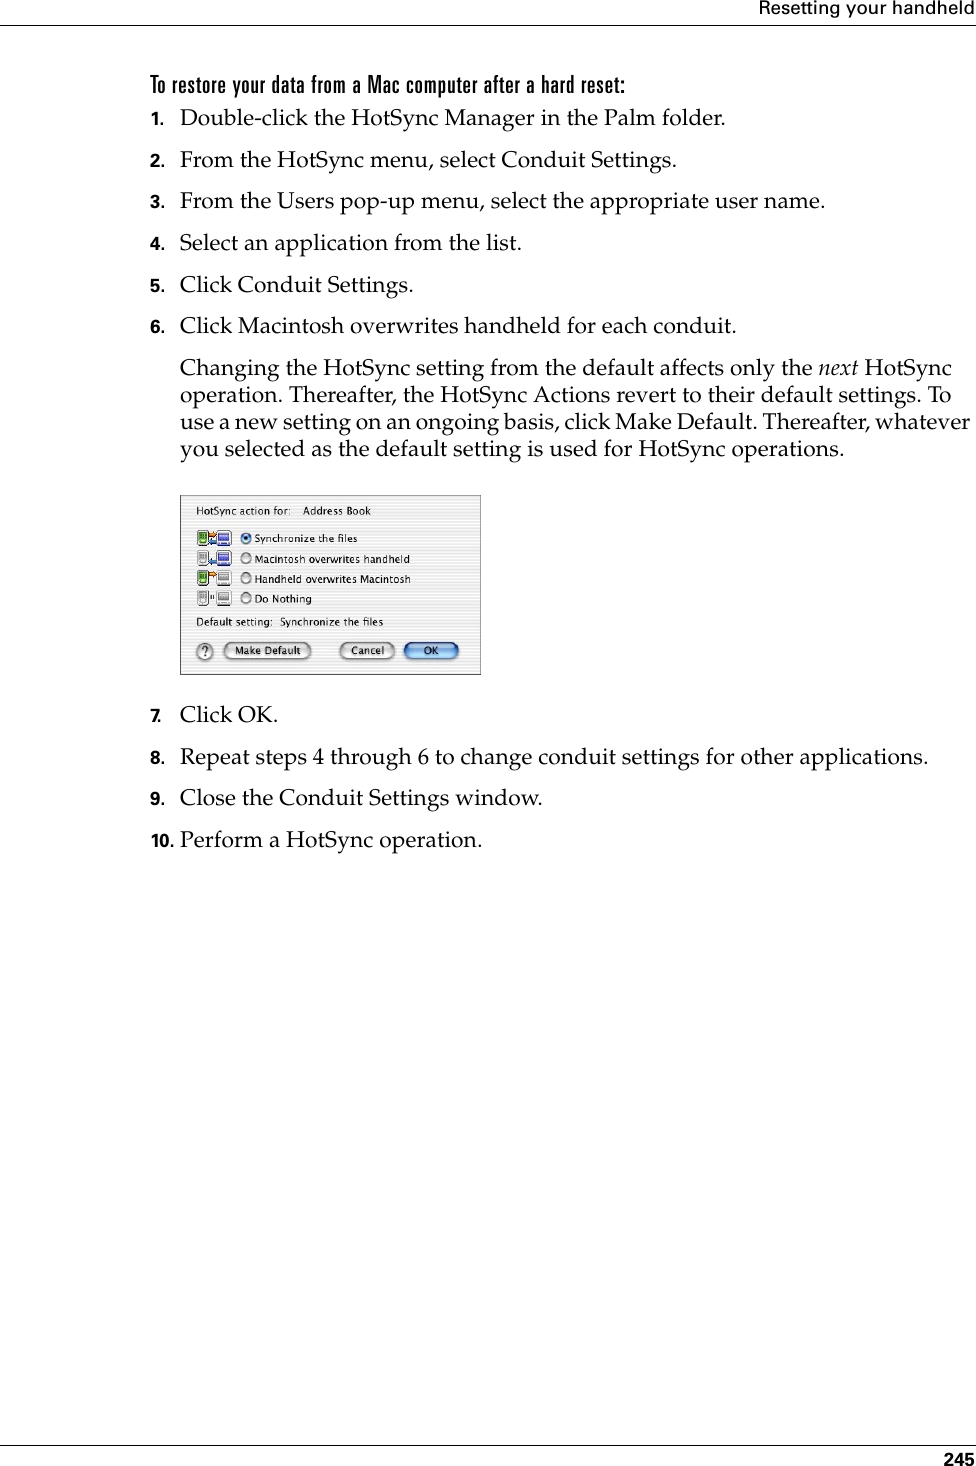
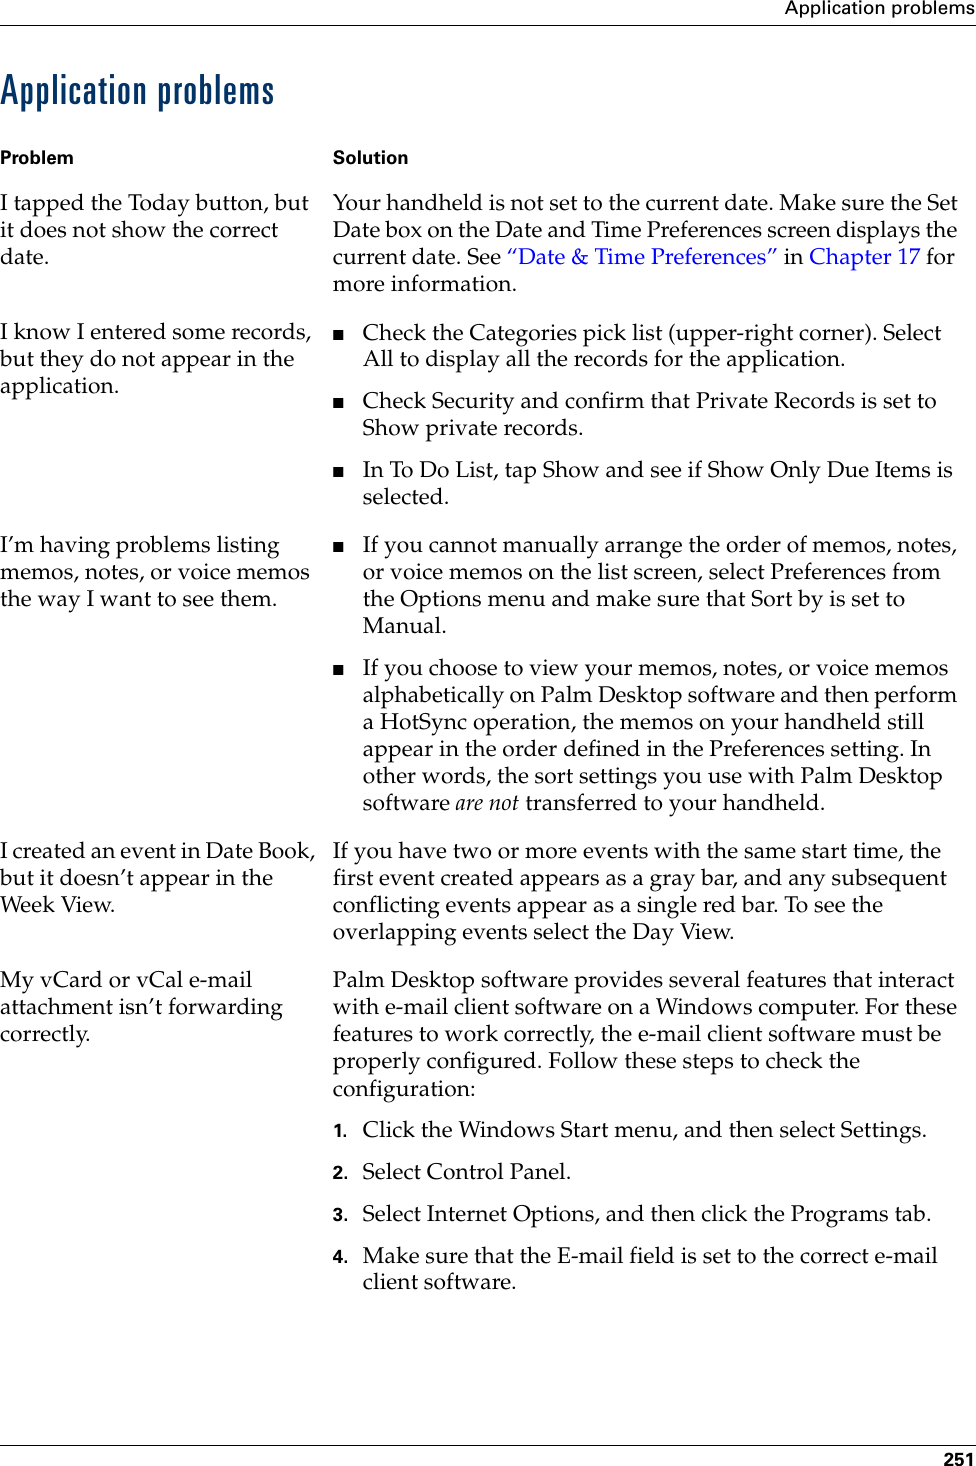
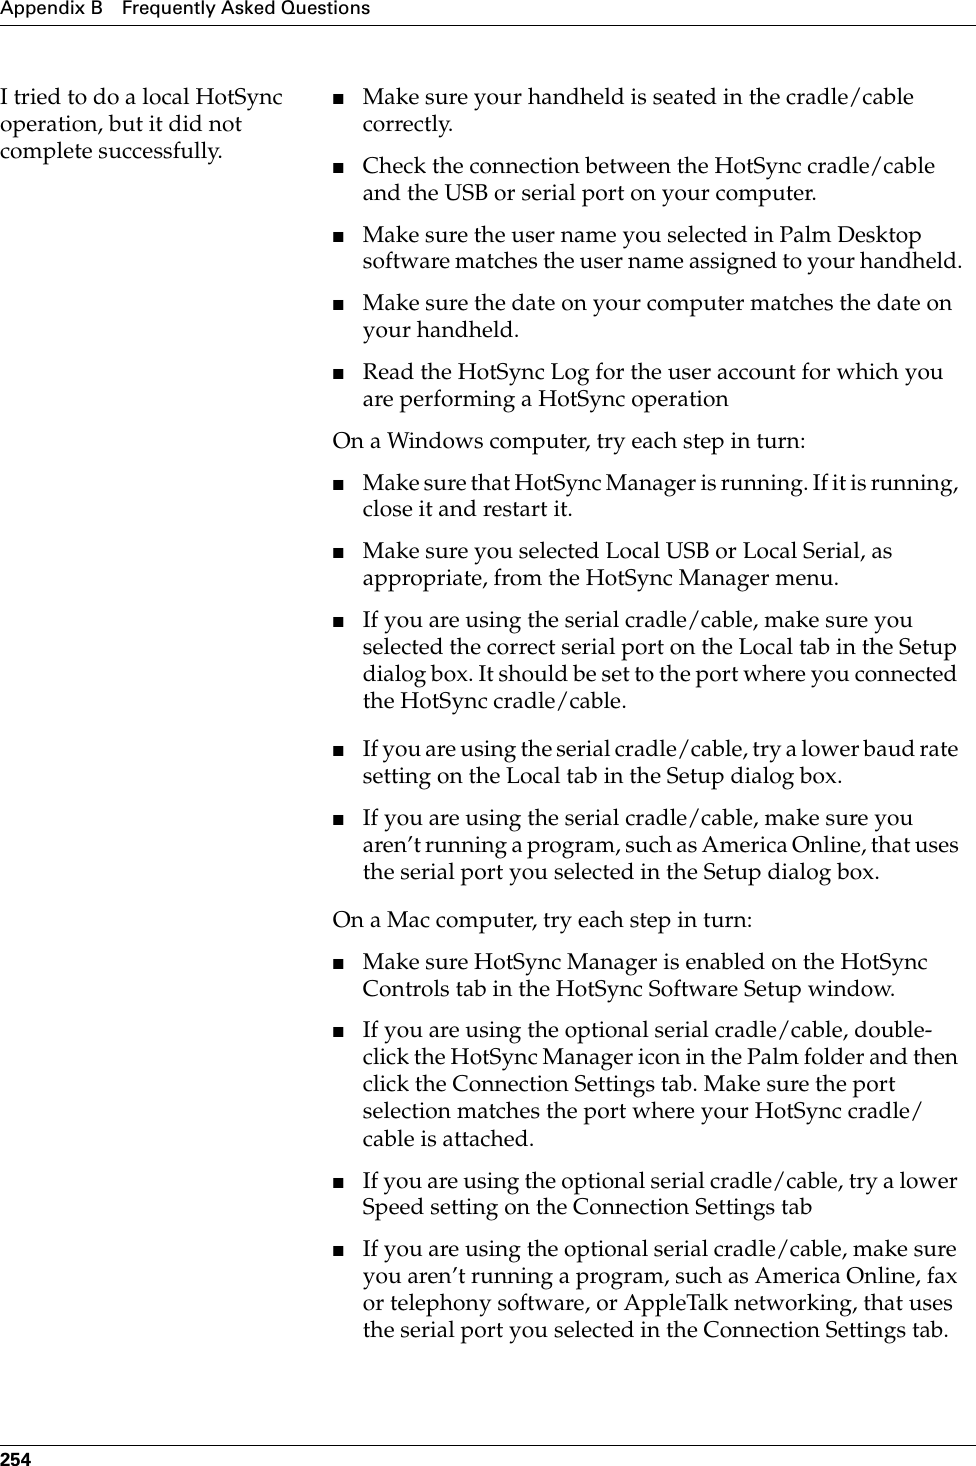
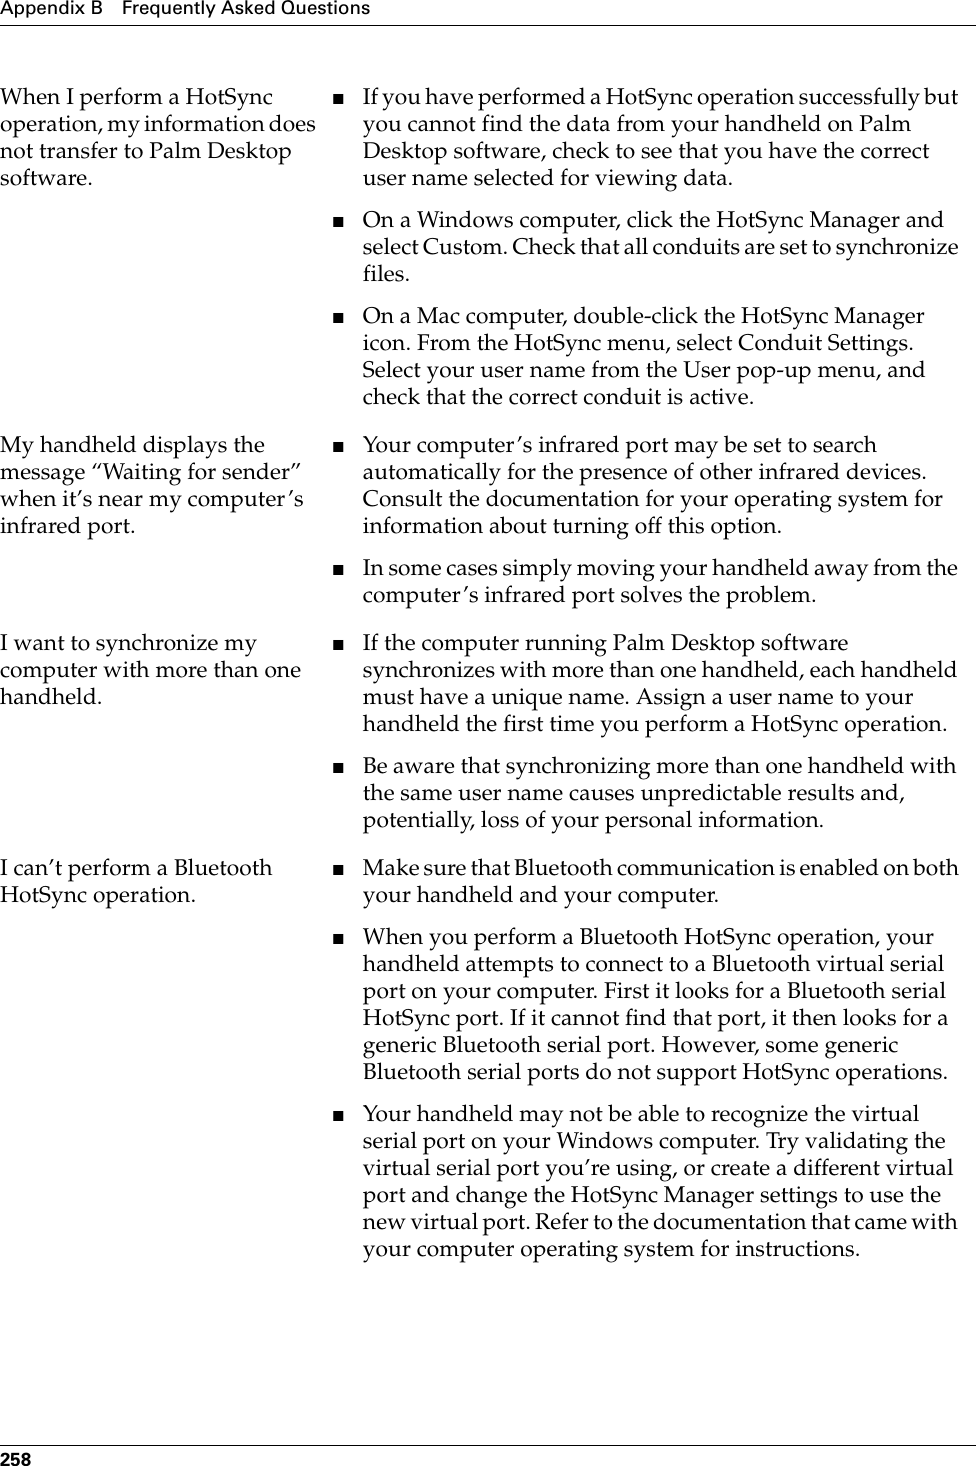
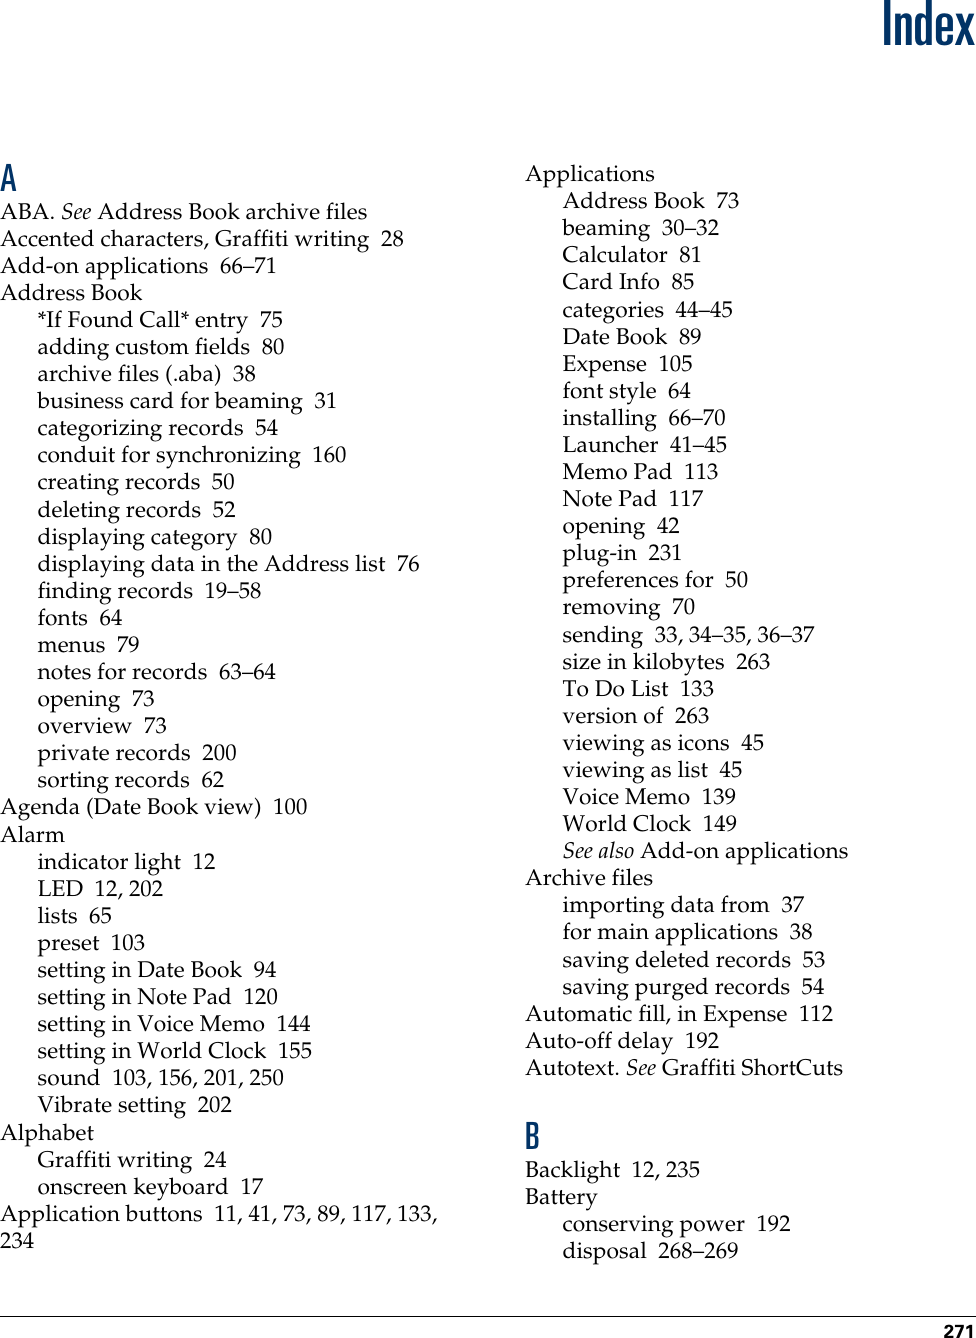
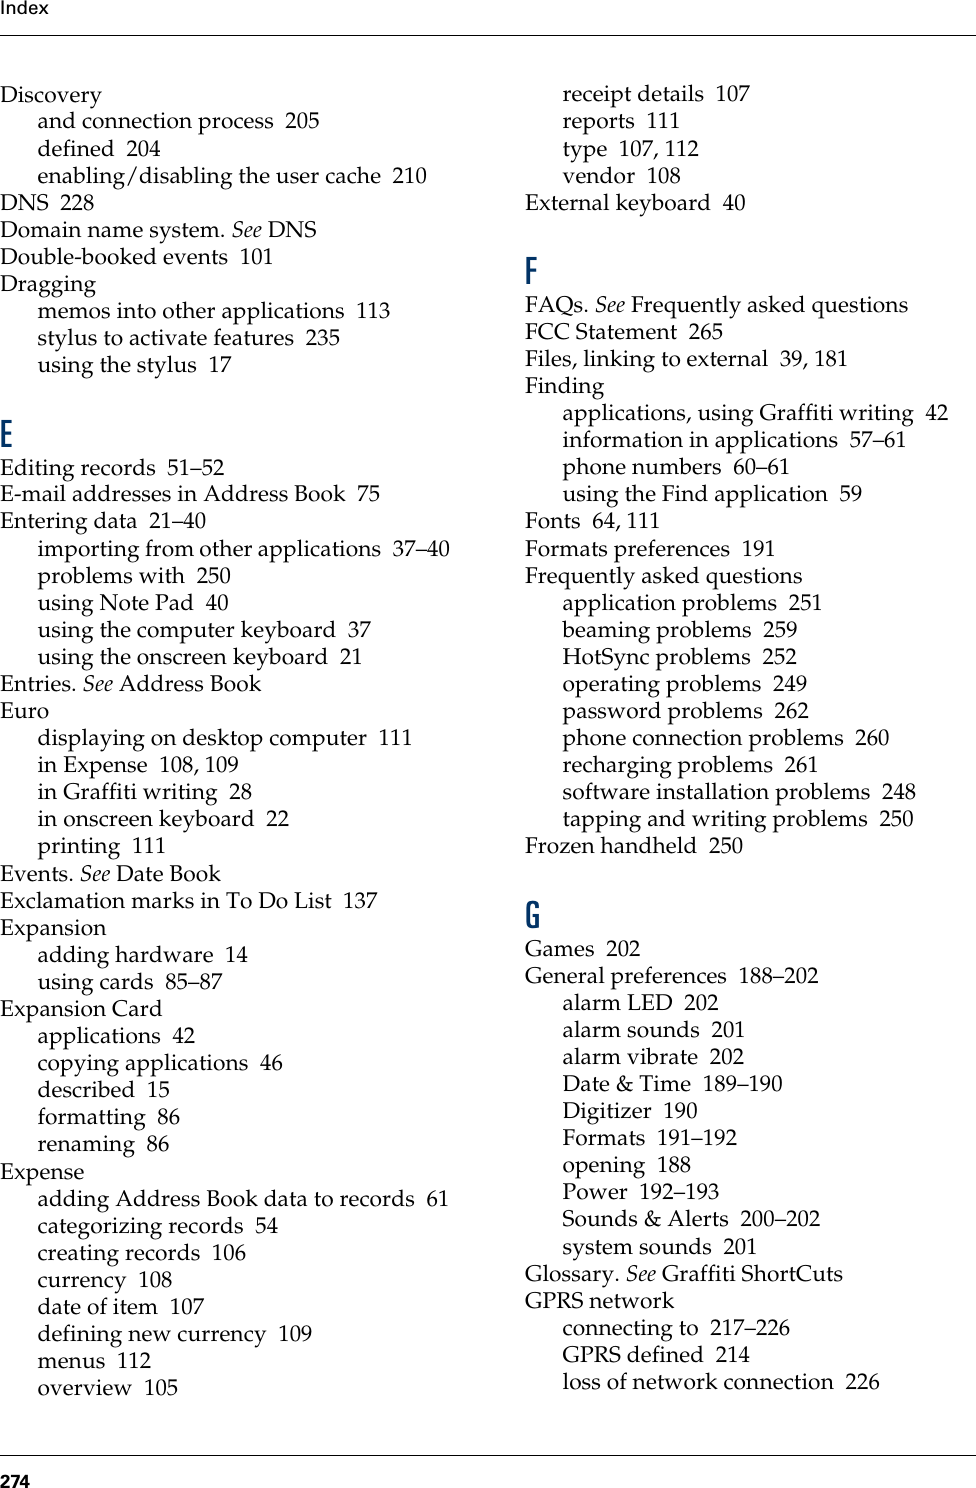
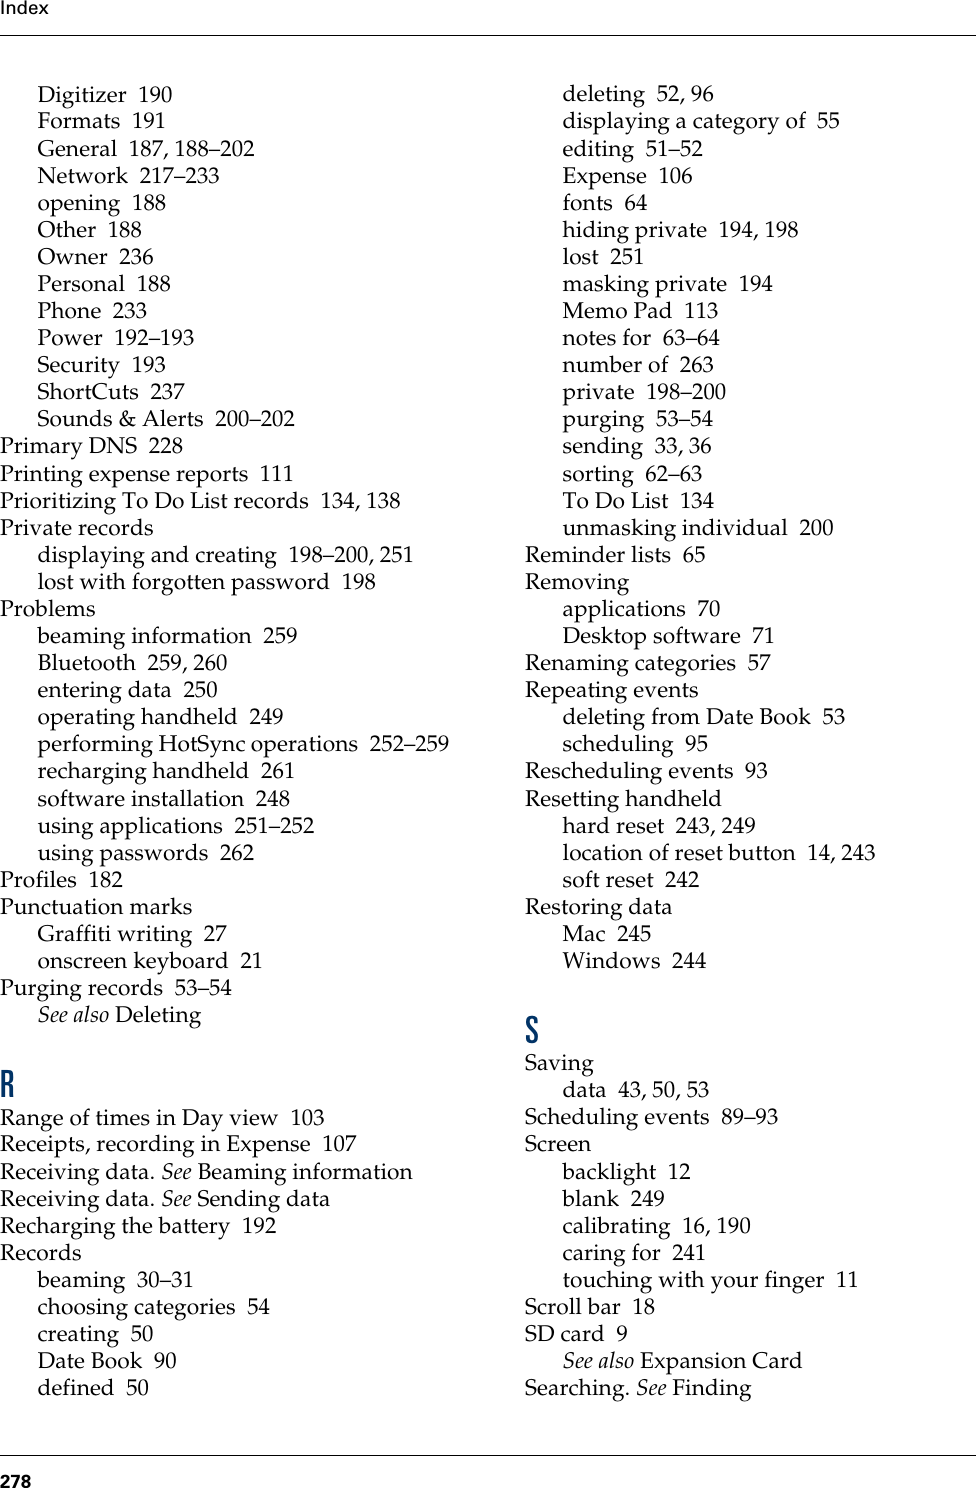
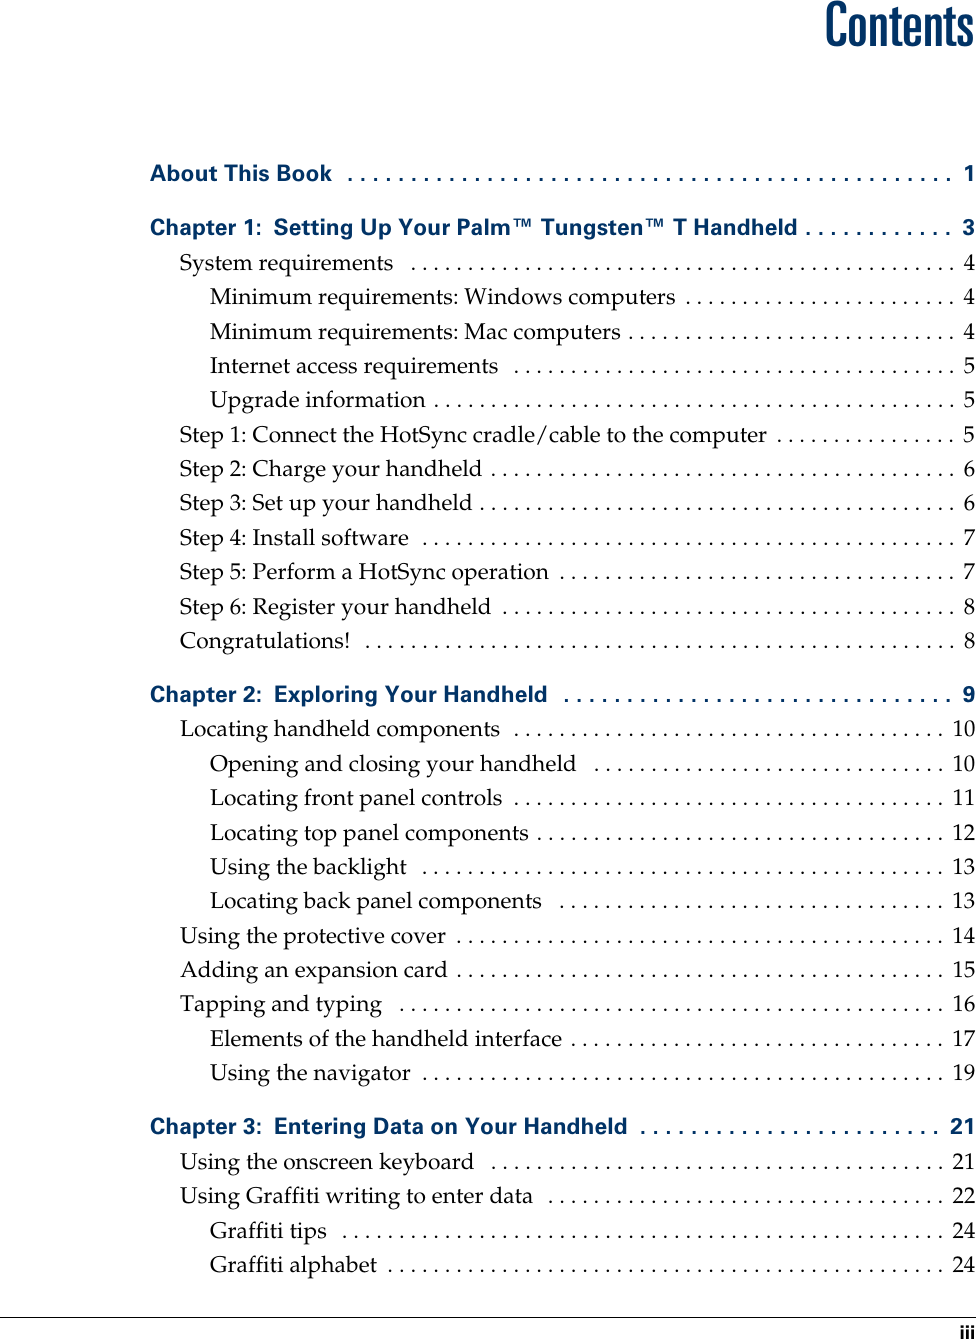
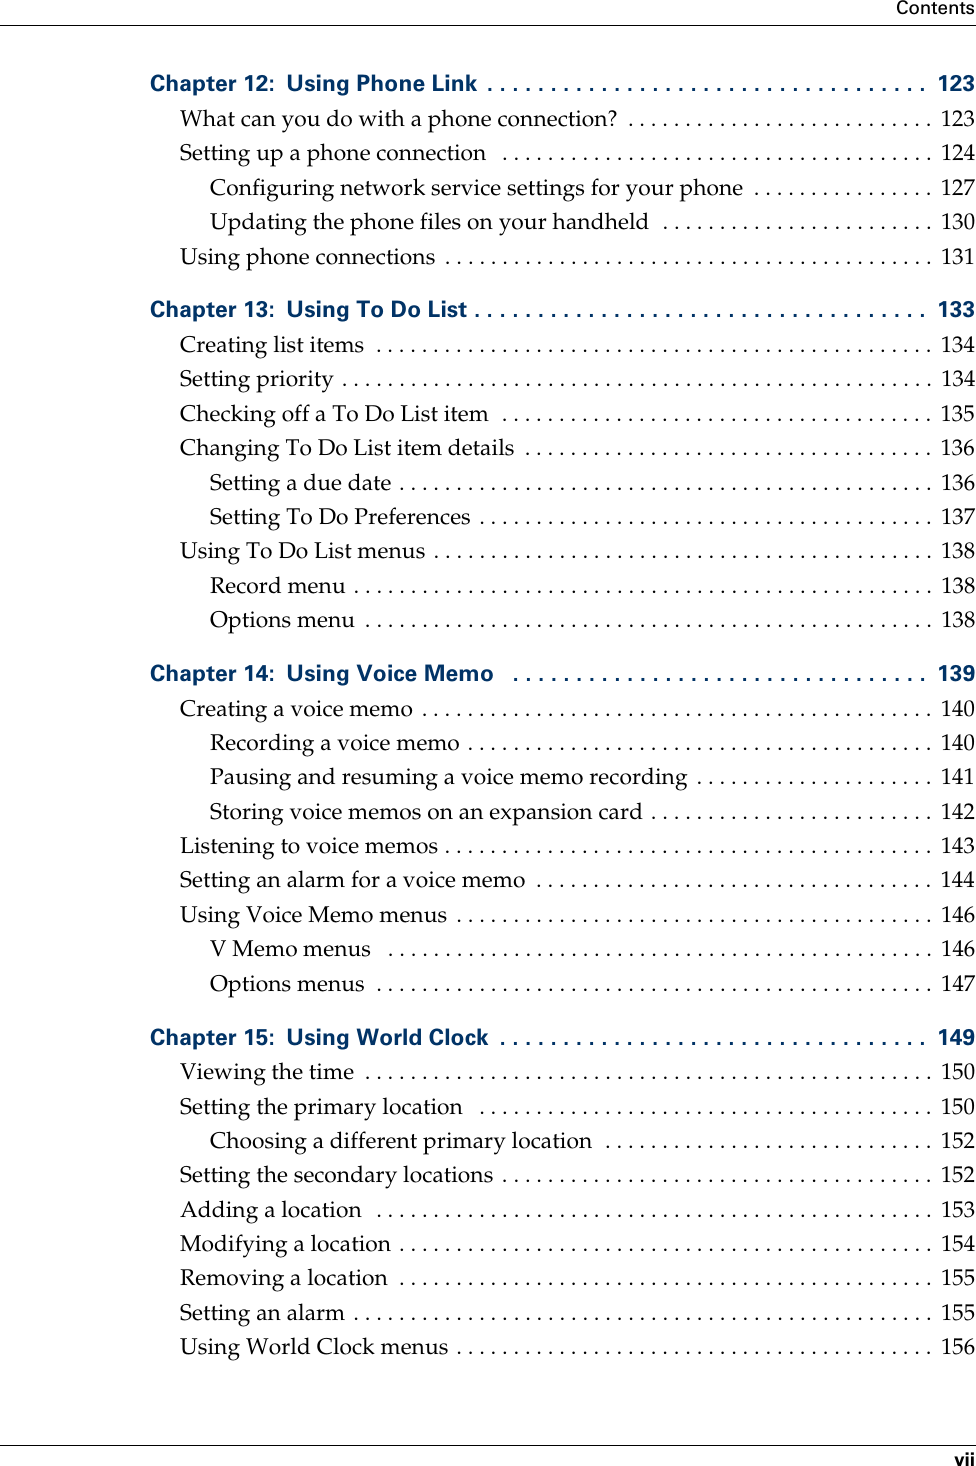
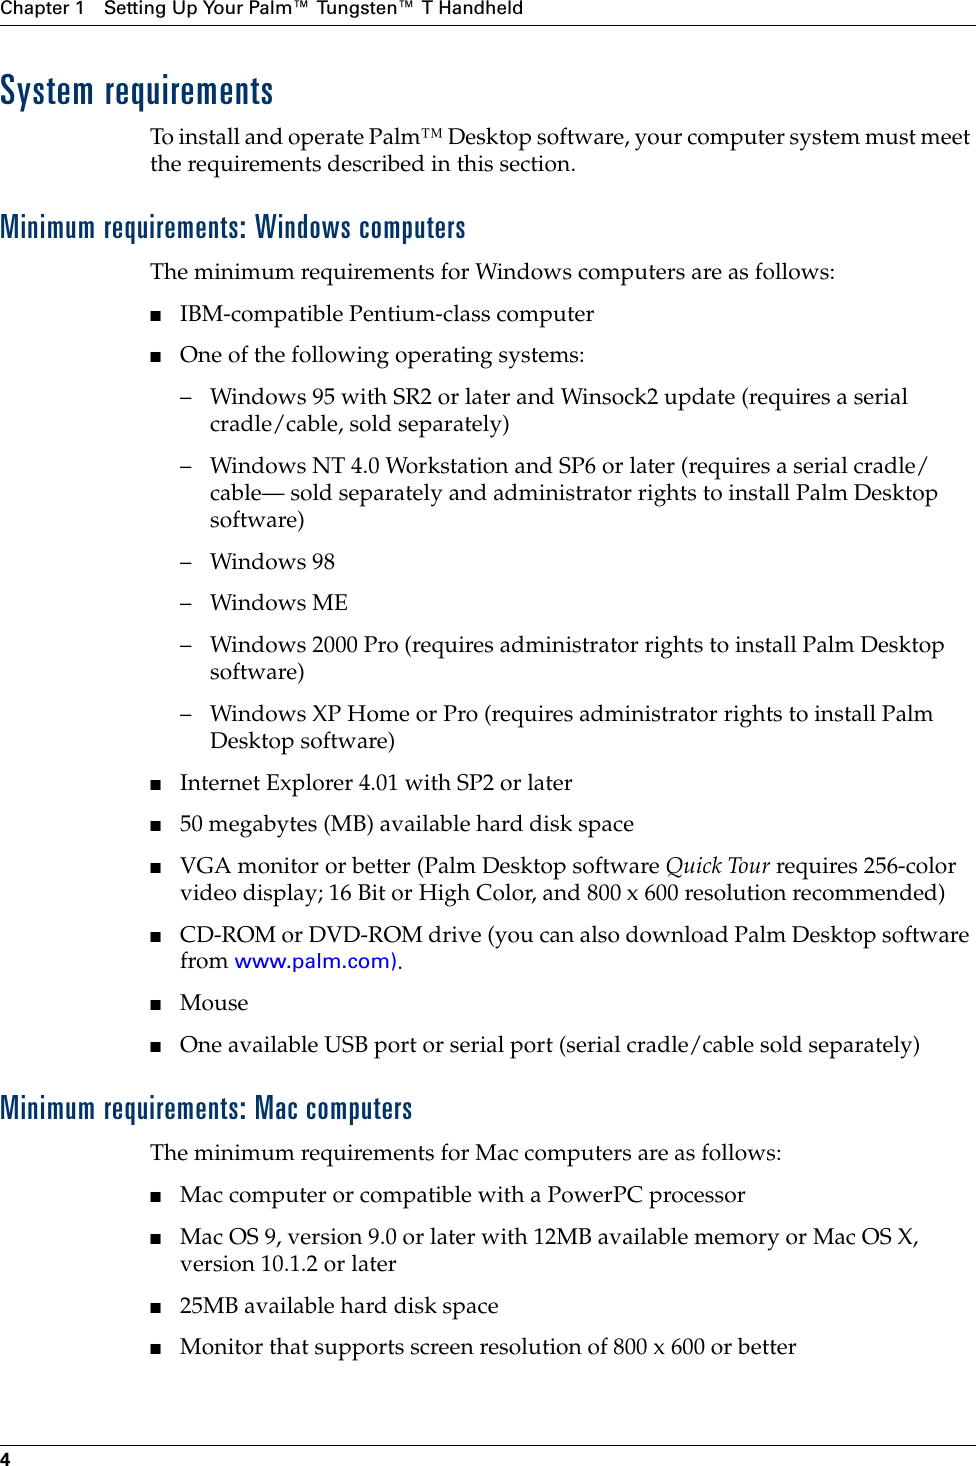
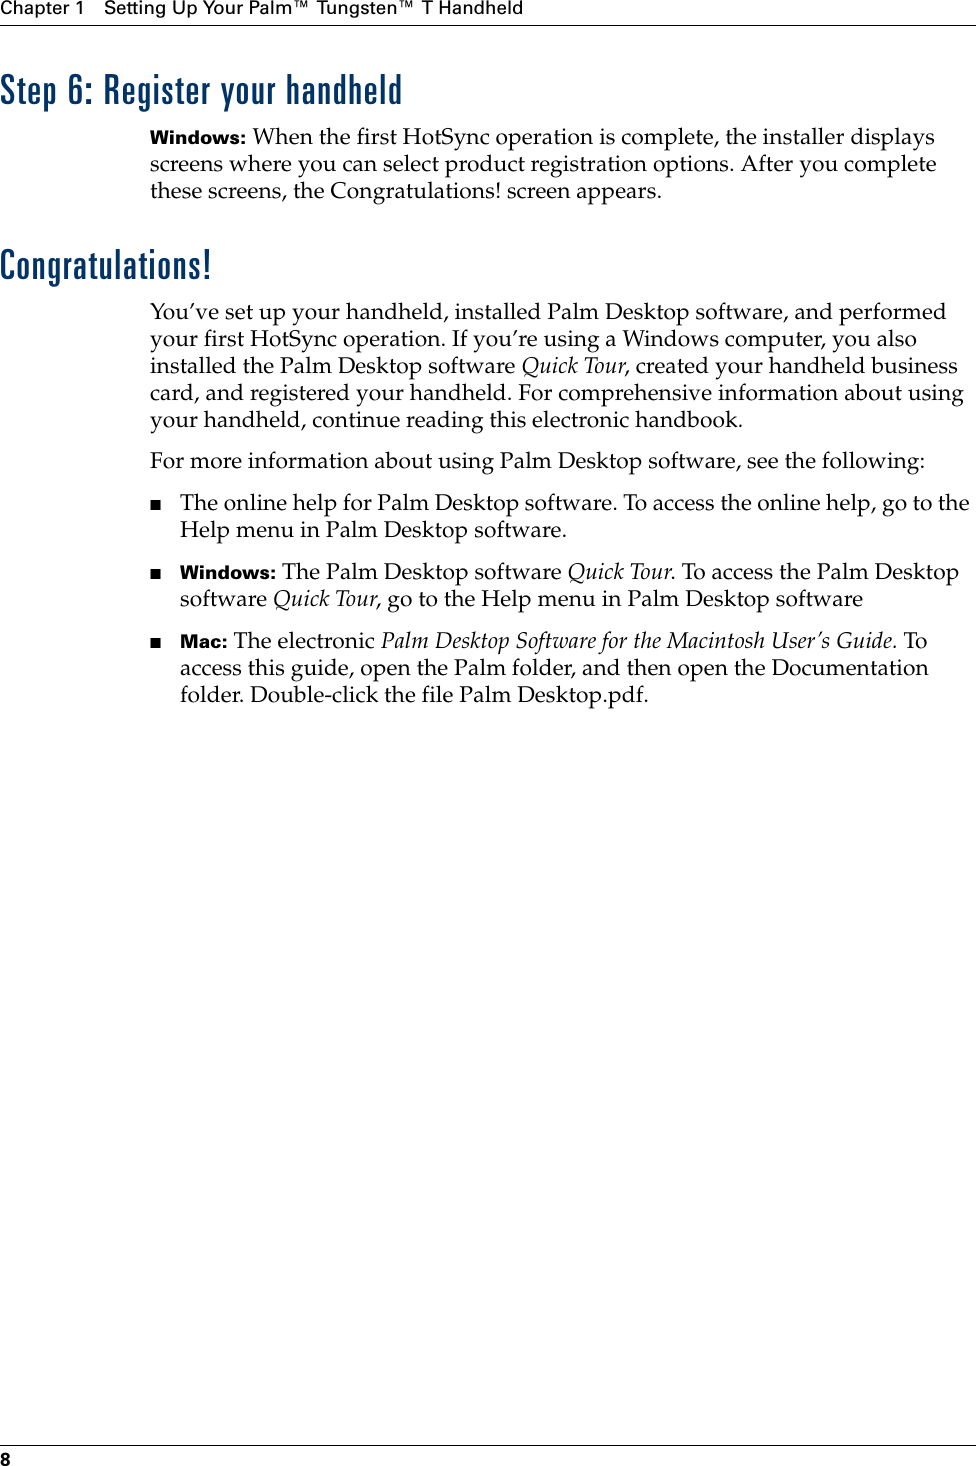
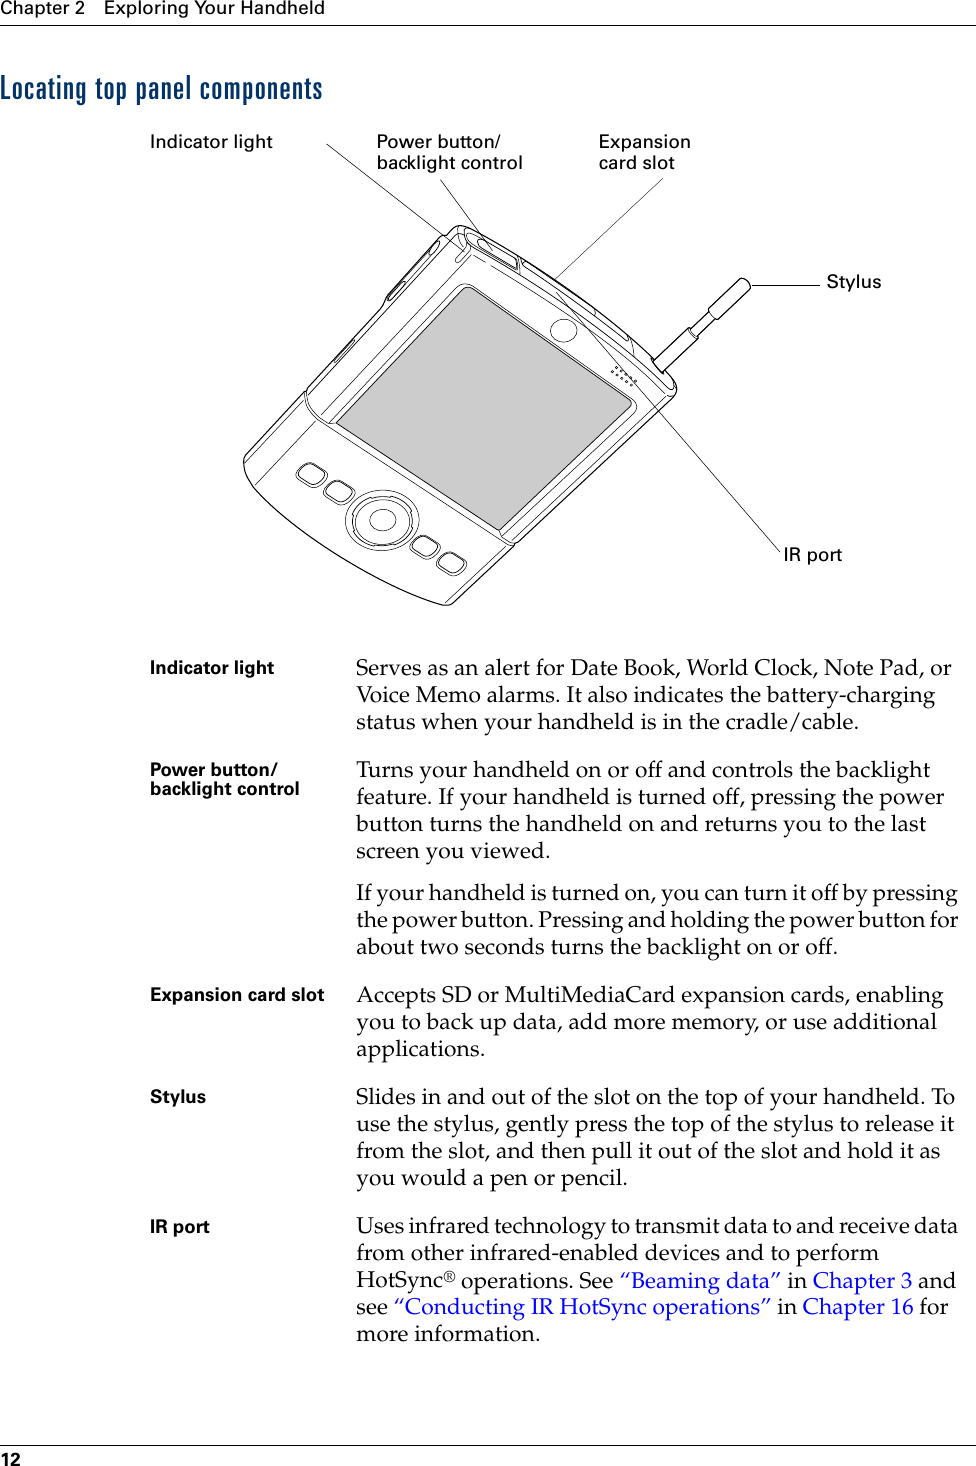
![Chapter 17 Setting Preferences for Your Handheld212You can also create custom configurations, which include the following:Phone to Bluetooth: A connection between your handheld and a Bluetooth-enabled phone. LAN to Bluetooth: A connection between your handheld and a Bluetooth-enabled Local Area Network.PC to Bluetooth: A connection between your handheld and a Bluetooth-enabled computer or laptop.PC to Cradle/Cable: A local HotSync connection—the direct connection between your handheld and your desktop computer. Your handheld is connected by its universal connector to the cradle/cable, and the cradle/cable is attached to a USB port of your desktop computer. (If you are using the optional serial cradle/cable, the cradle attaches to a serial [COM] port of your computer.)Modem to Universal connector: A cable connection between your handheld’s universal connector and a modem for dialing in to a modem that is part of your computer or laptop. PC to Infrared: A connection between the IR port of your handheld and the infrared device of your computer or laptop.Modem to Infrared: A connection between the IR port of your handheld and a modem. The modem can be attached to or within a mobile phone or other device containing an IR port. (Some IR phones contain modems.)Palm, Inc. Confidential](https://usermanual.wiki/Palm/550000.User-Manual/User-Guide-279375-Page-222.png)
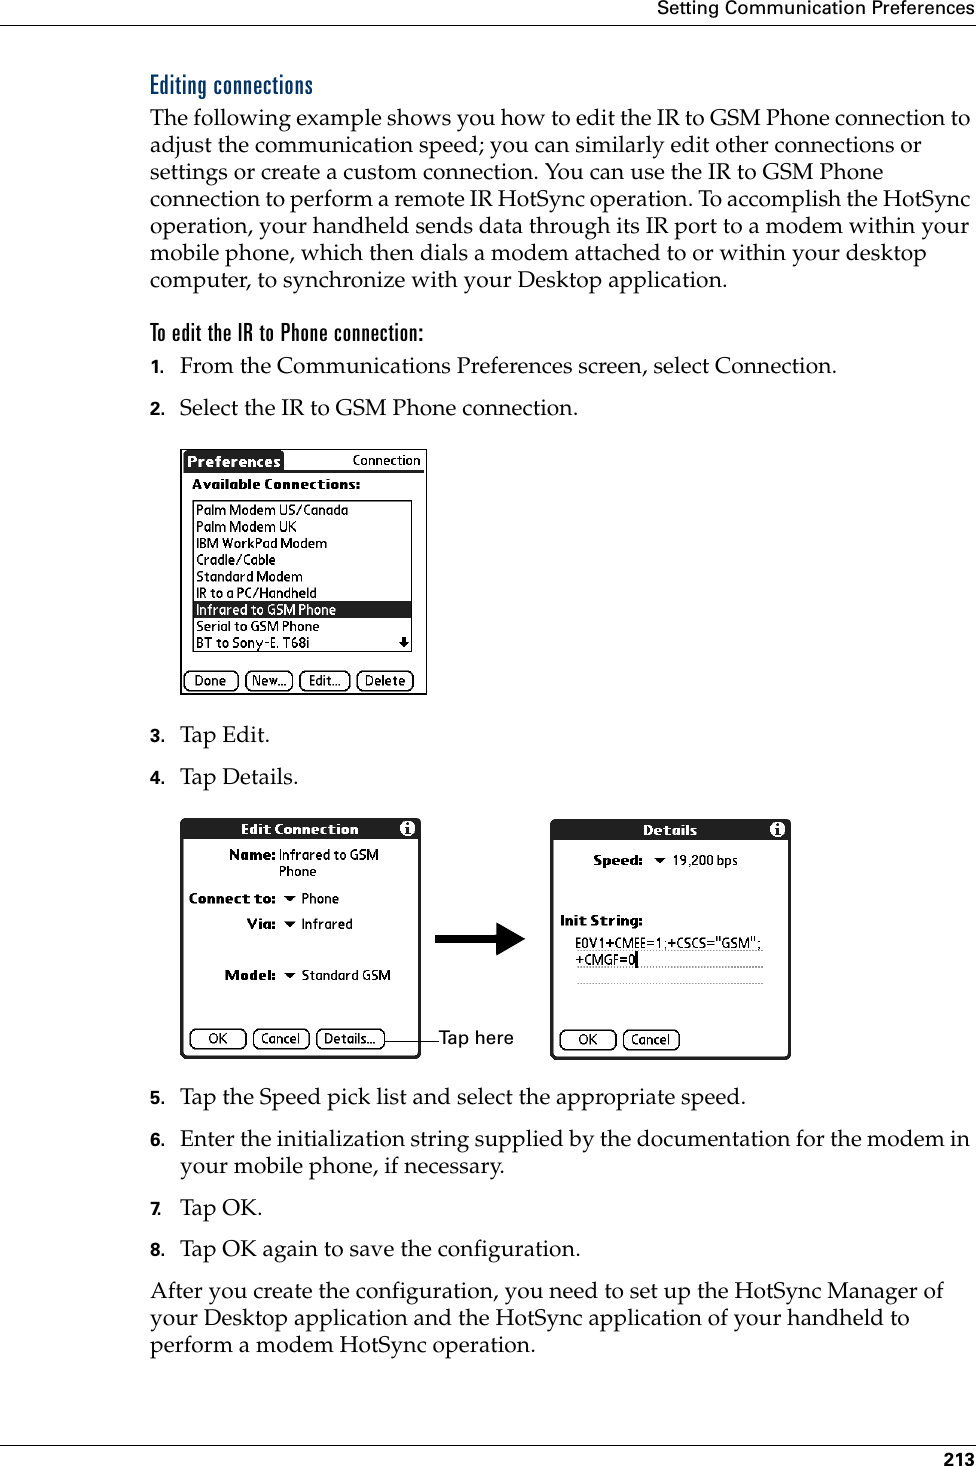
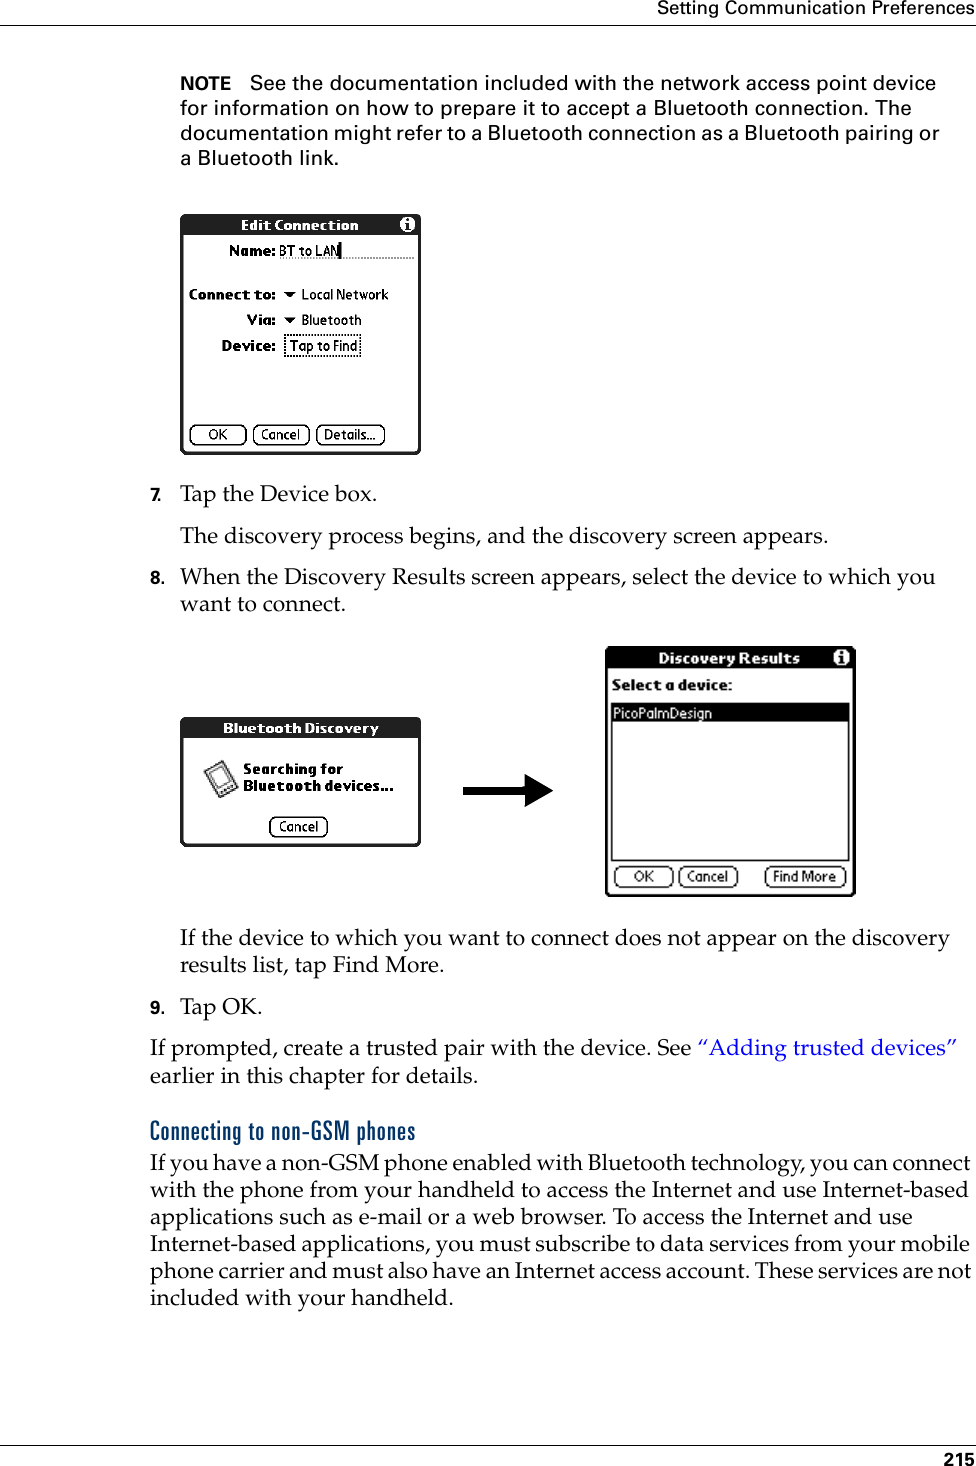
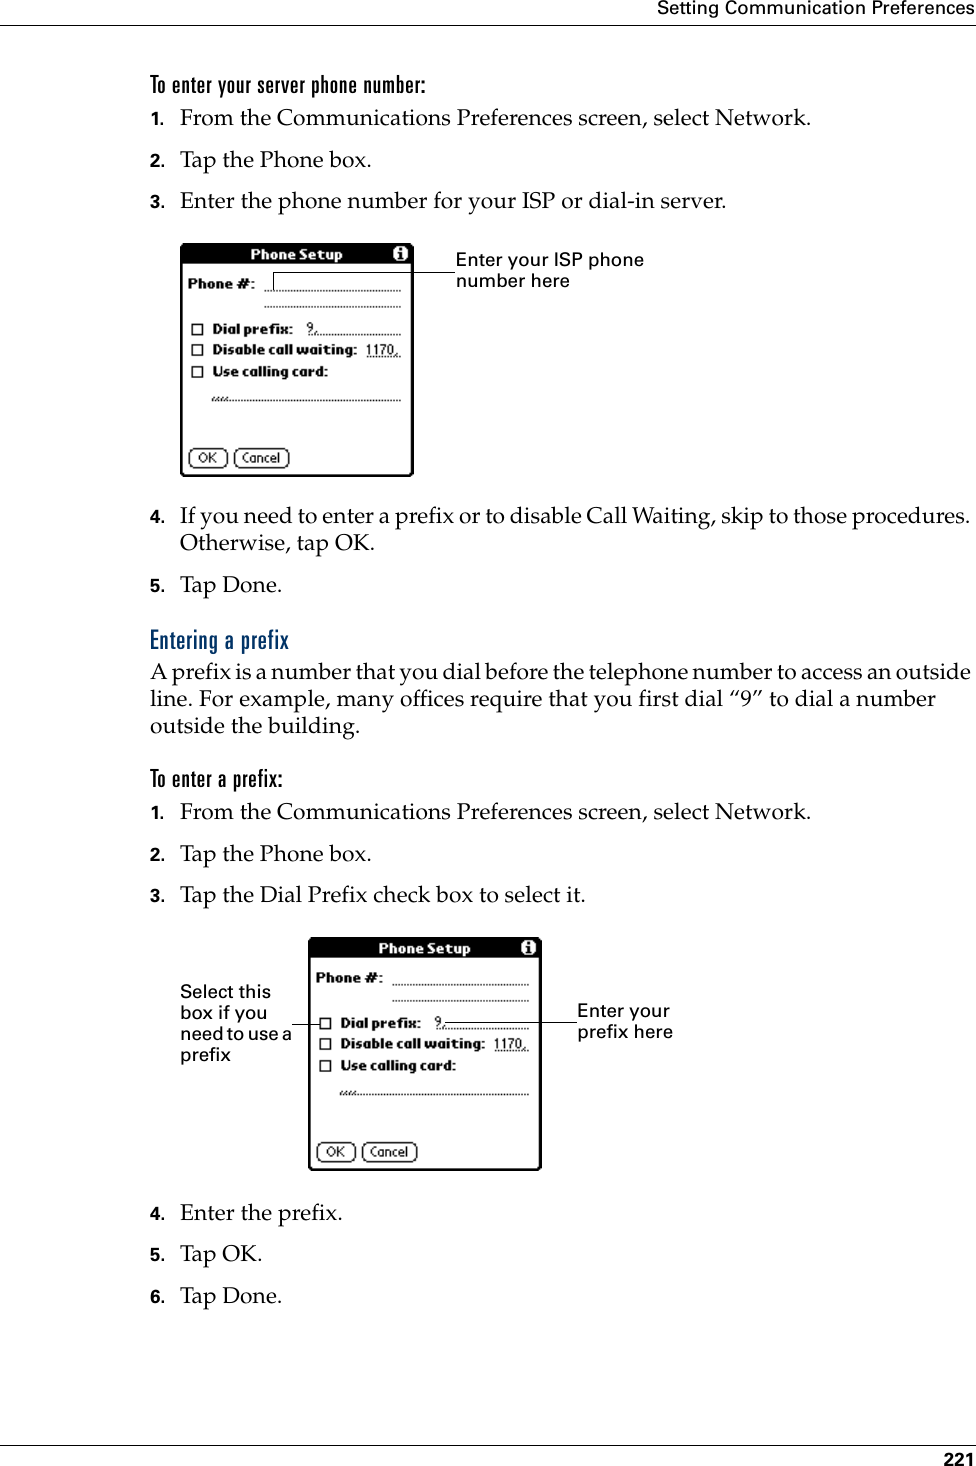
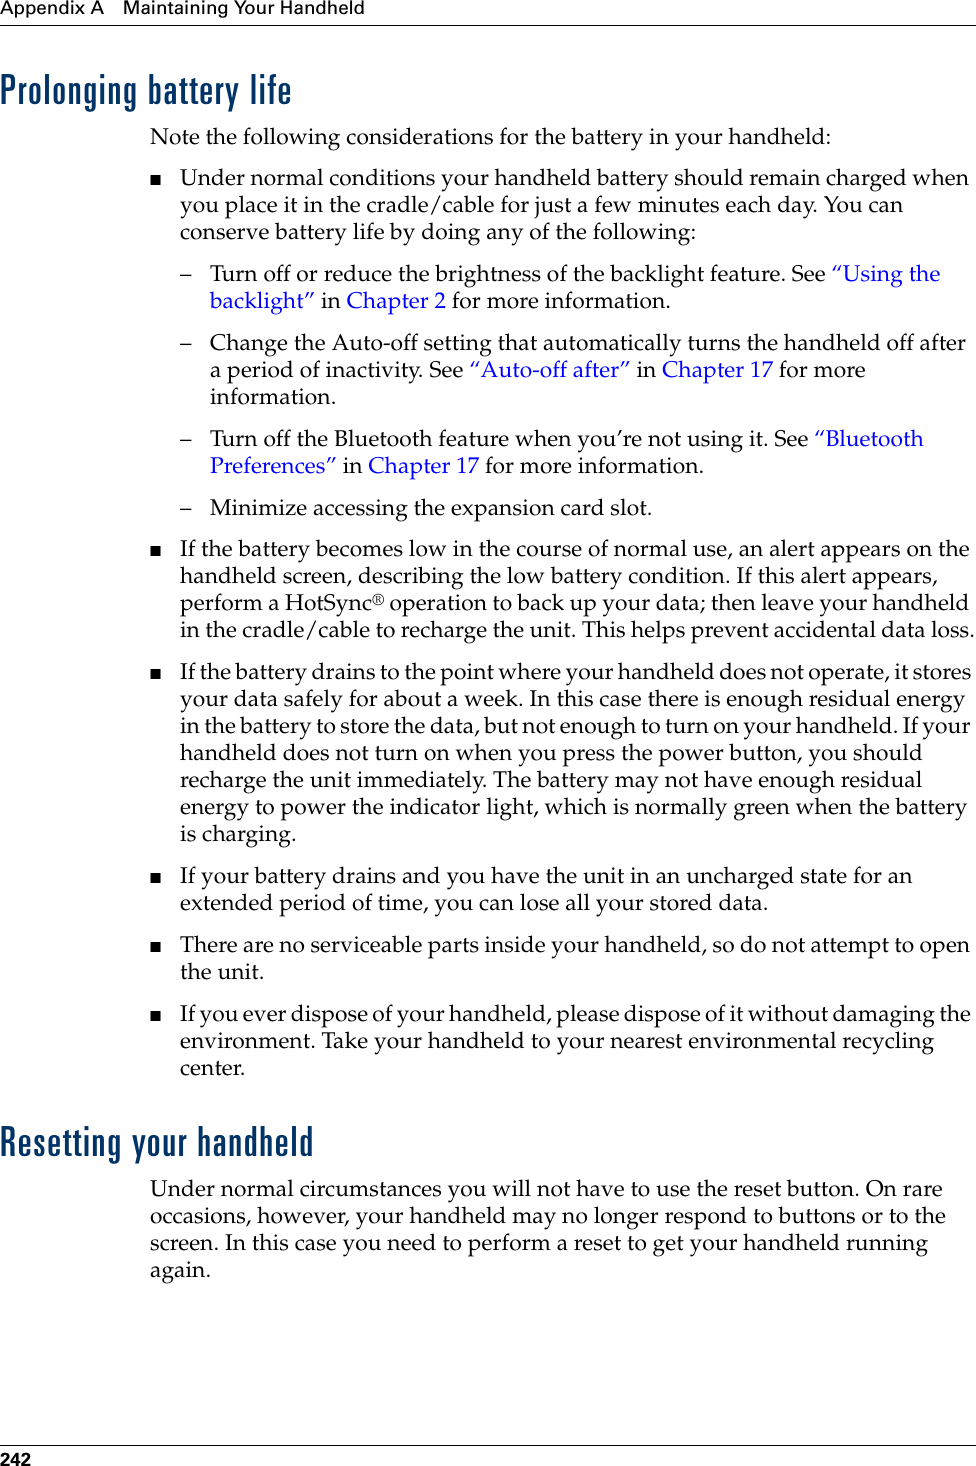
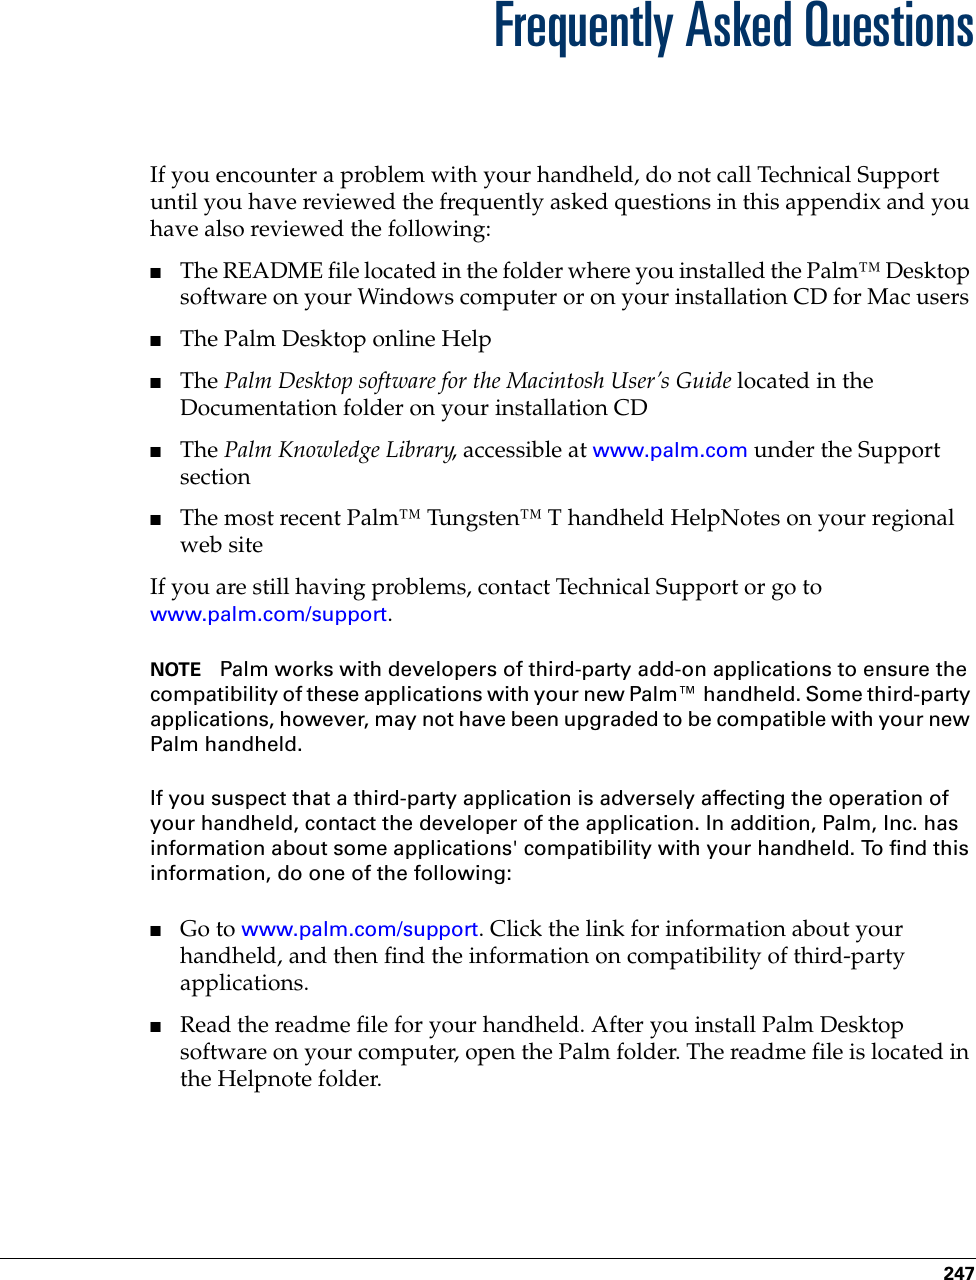
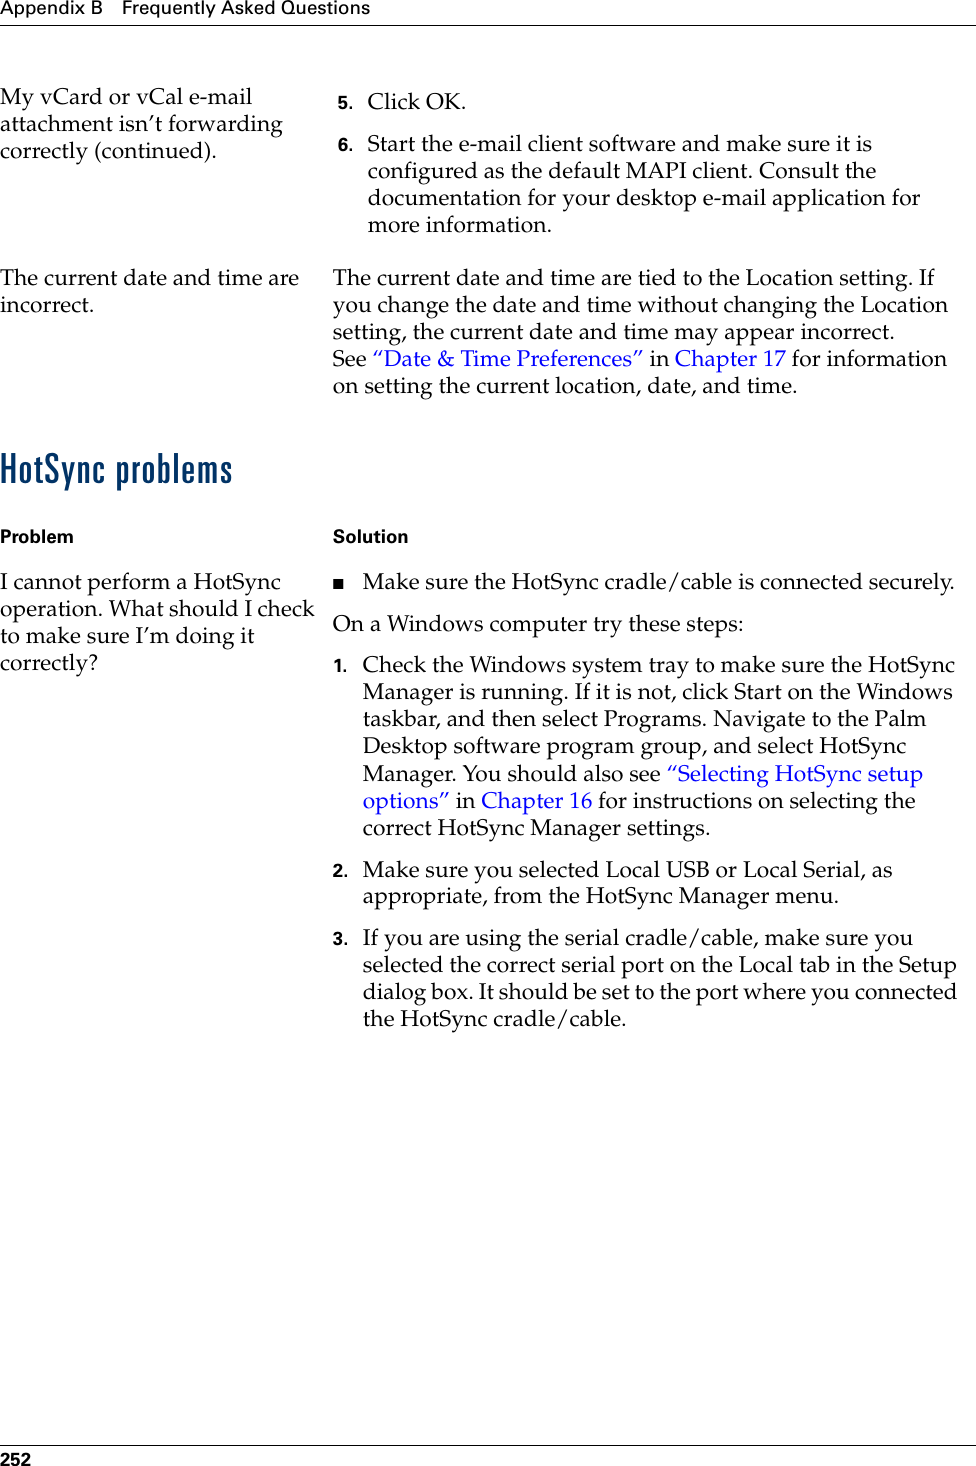
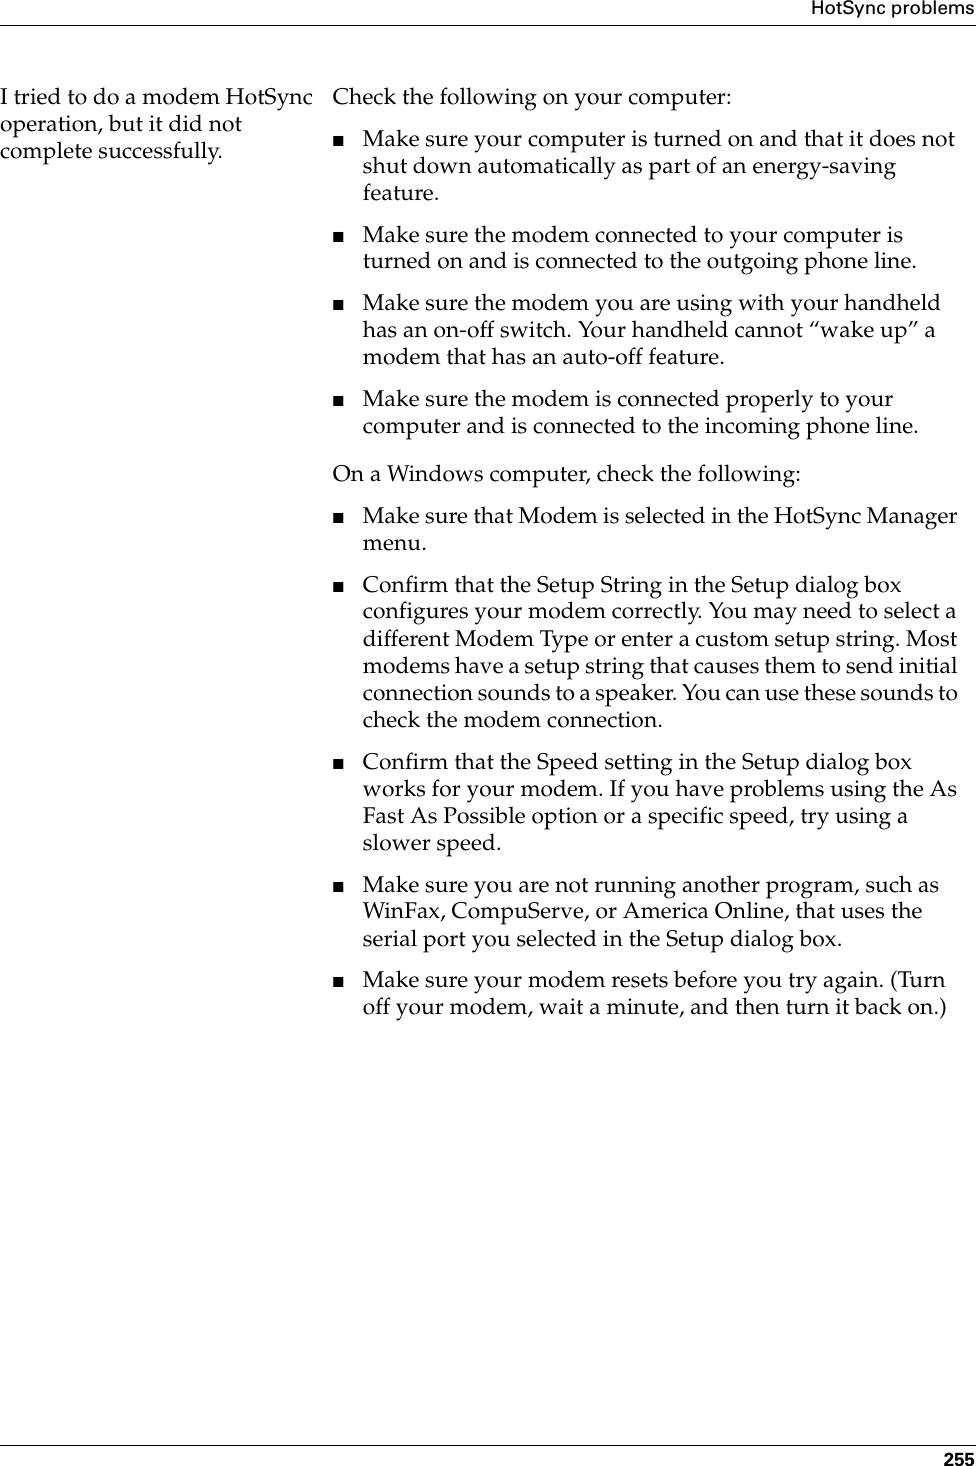
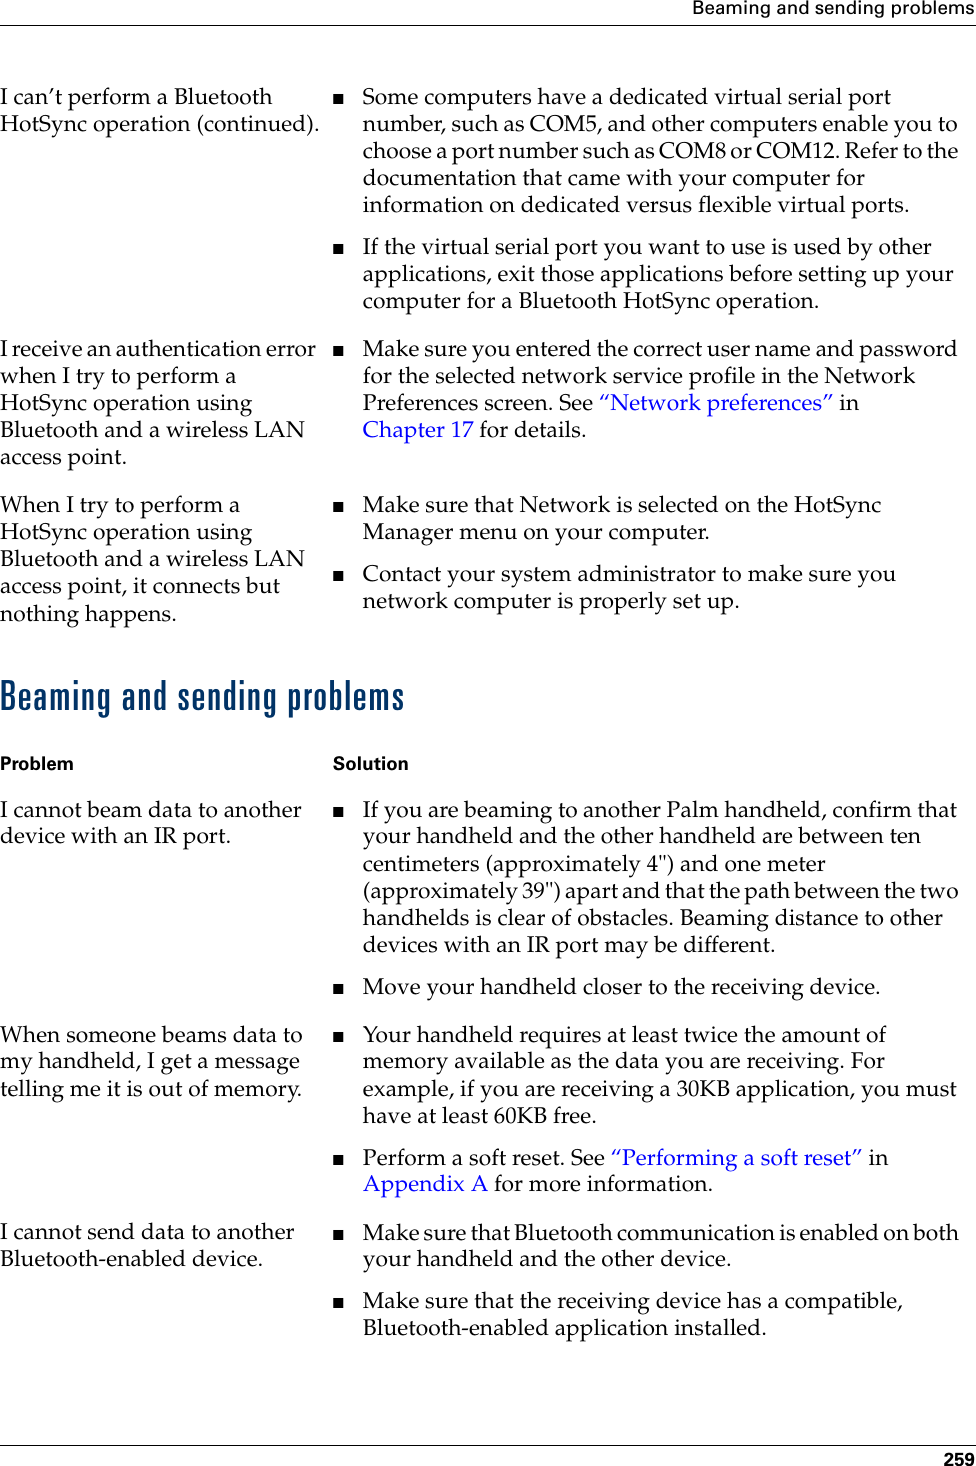
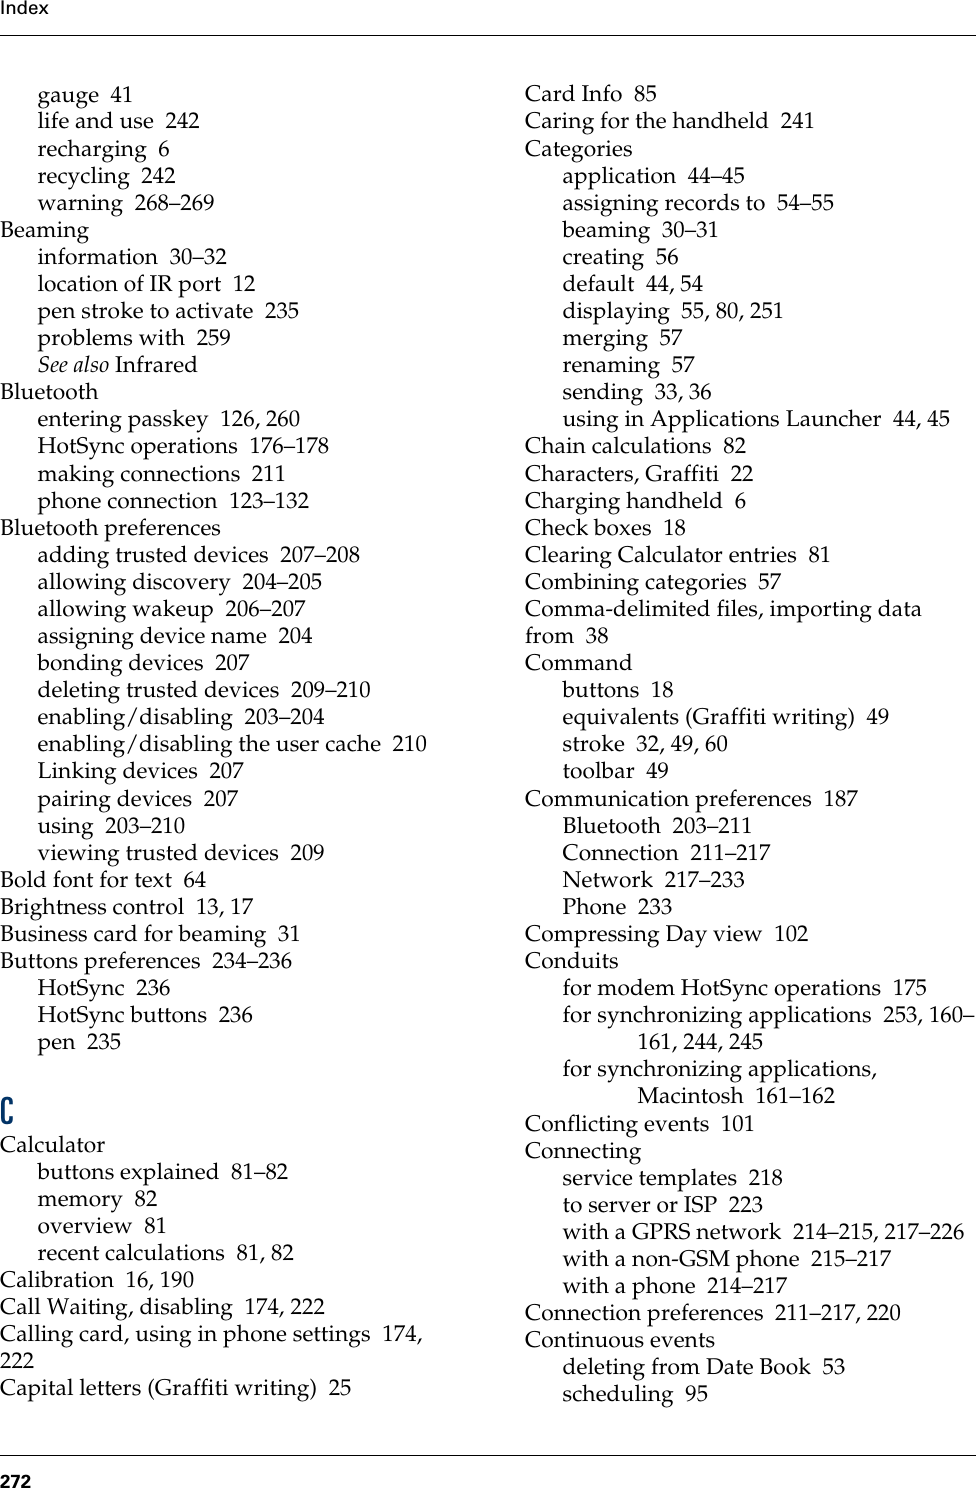
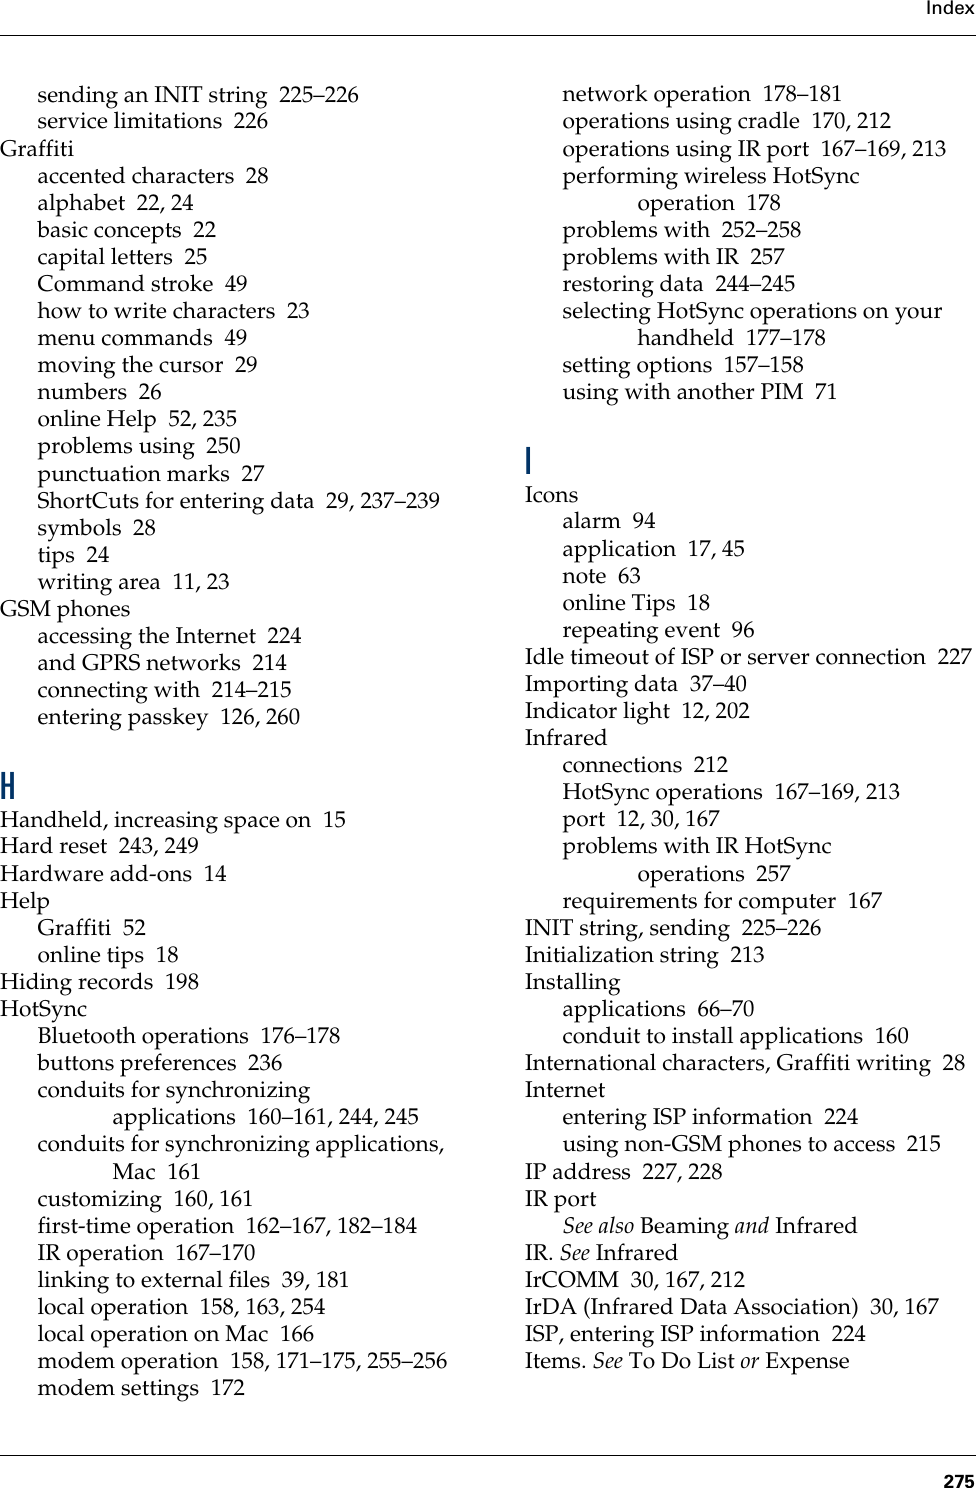
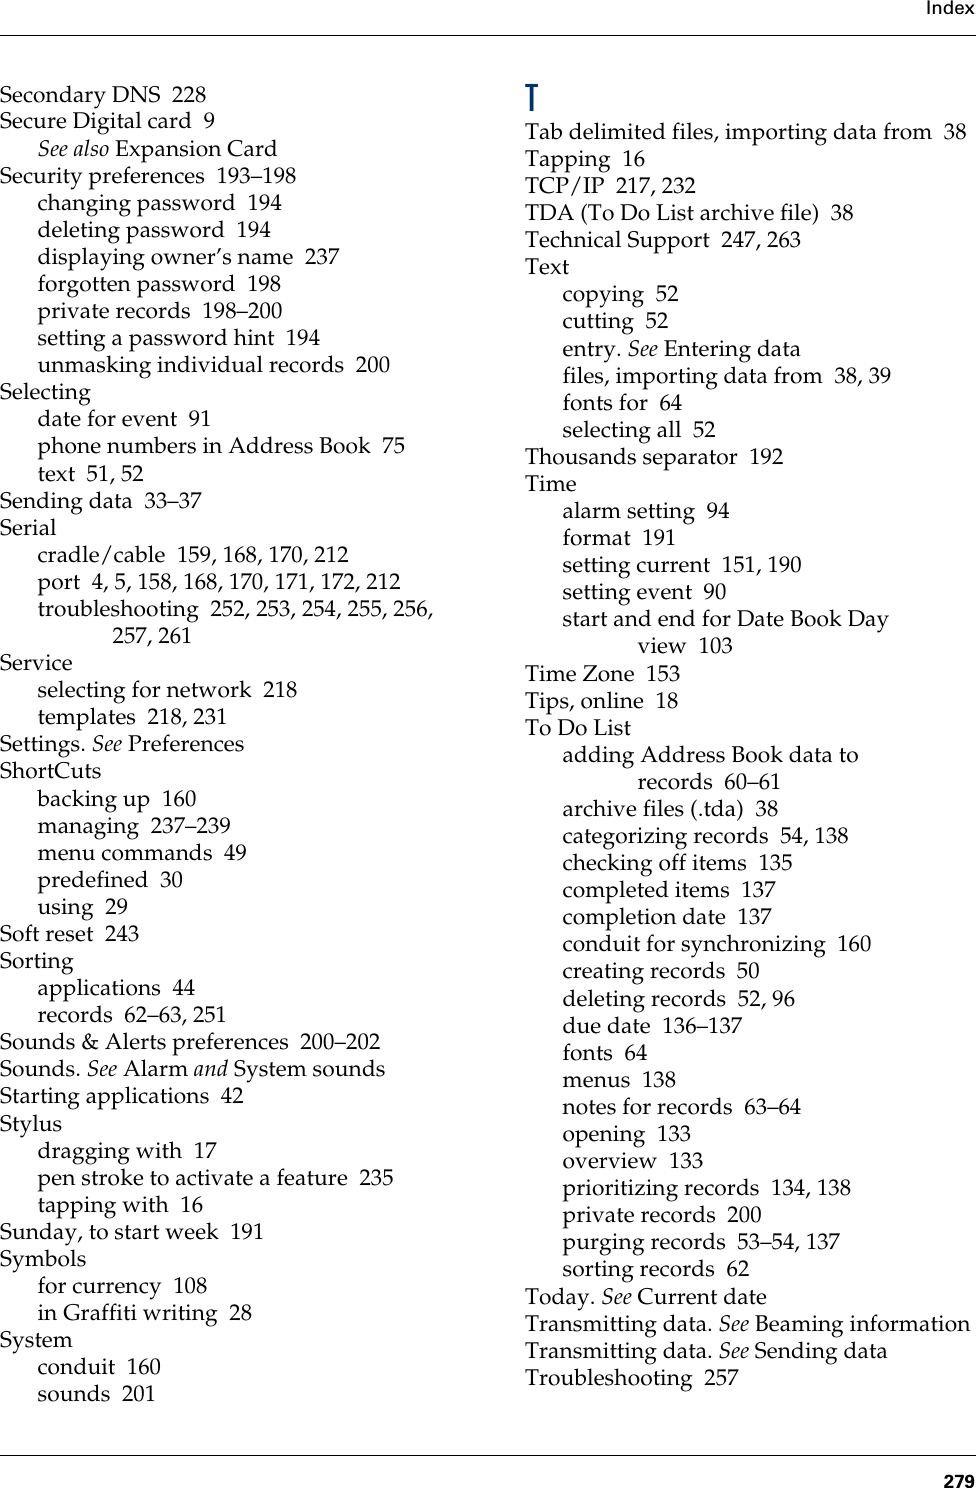
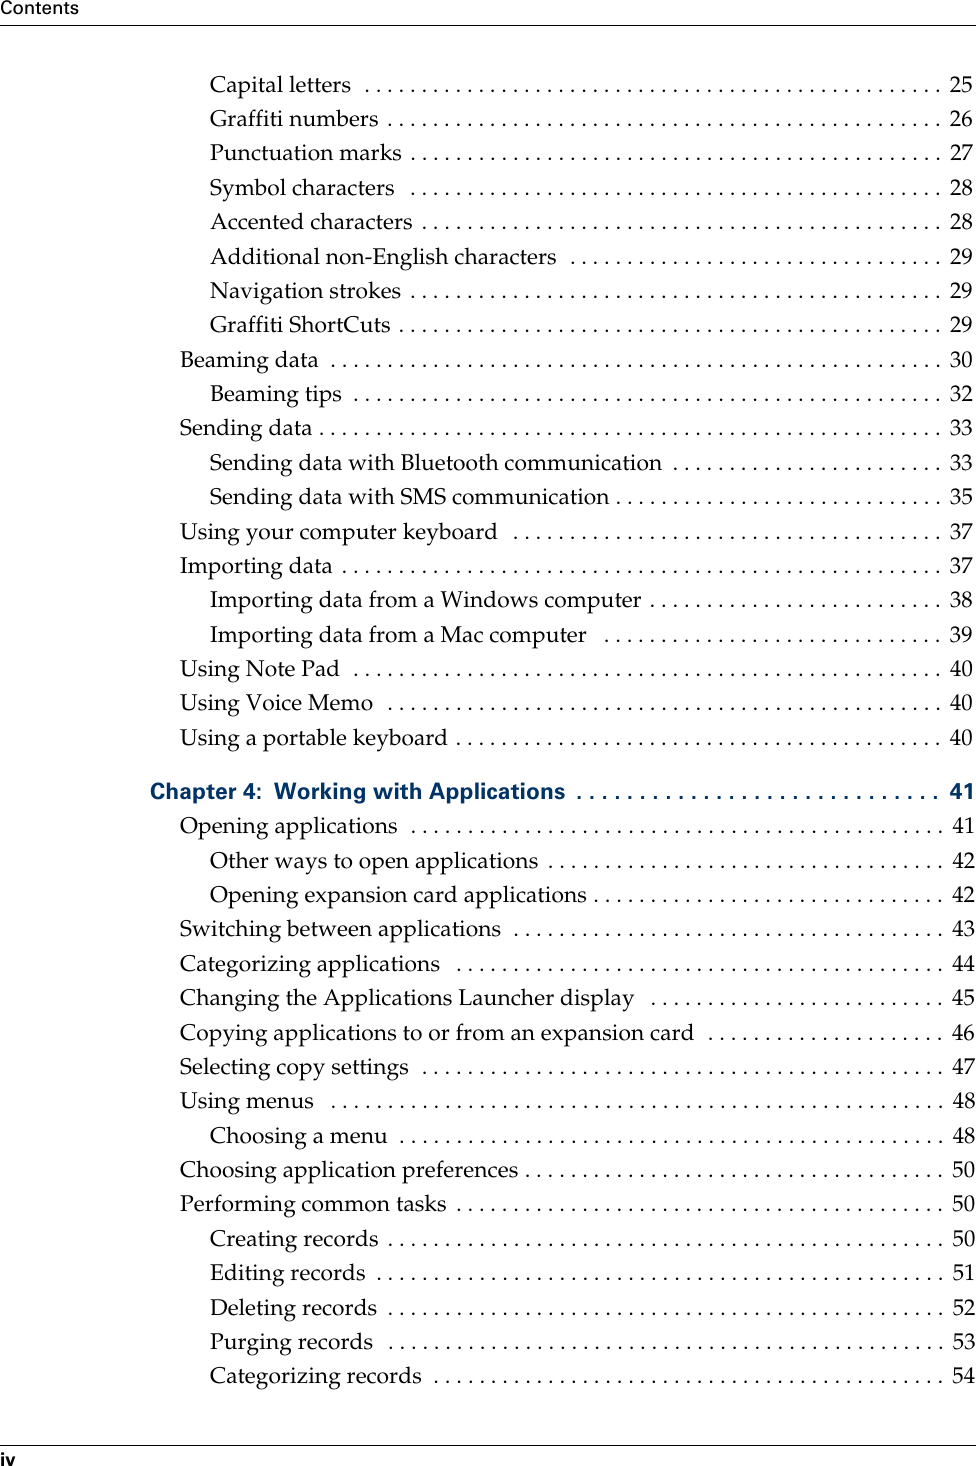
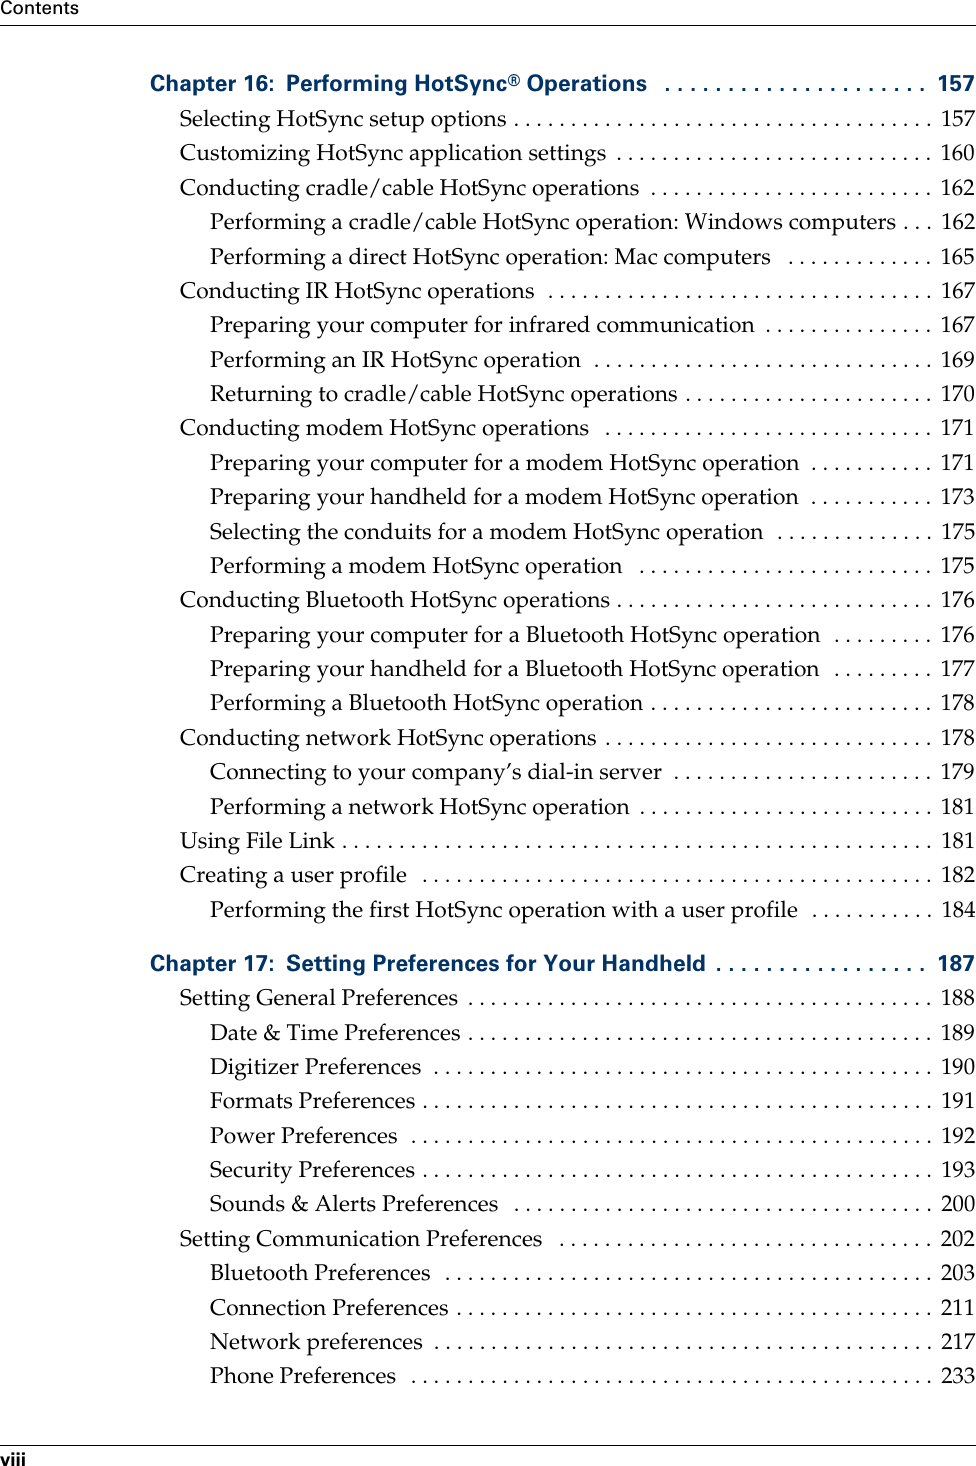
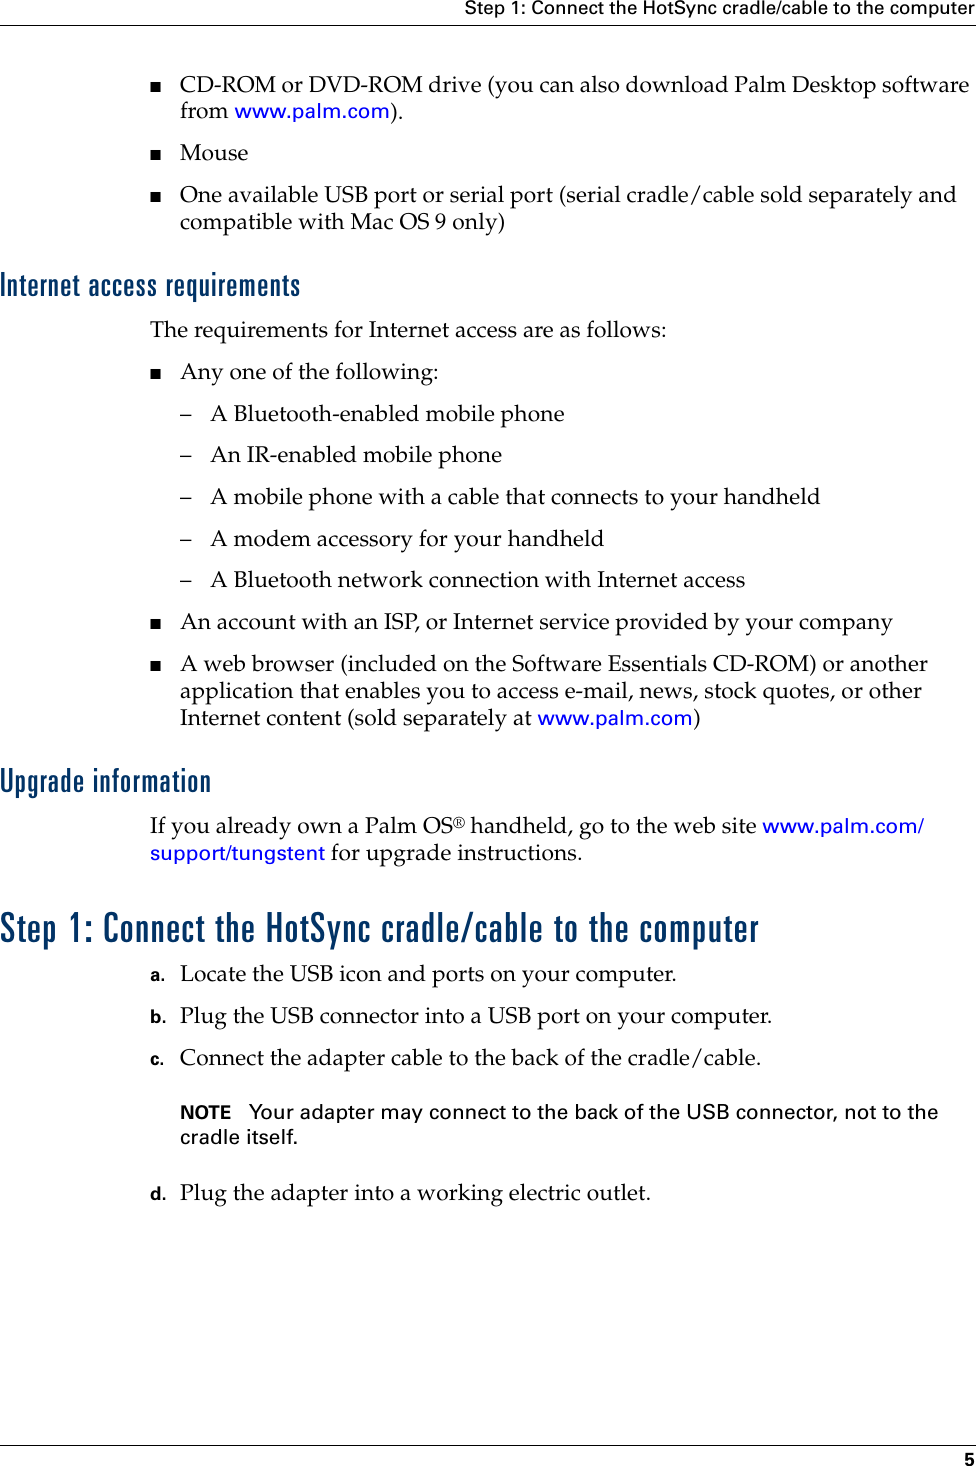
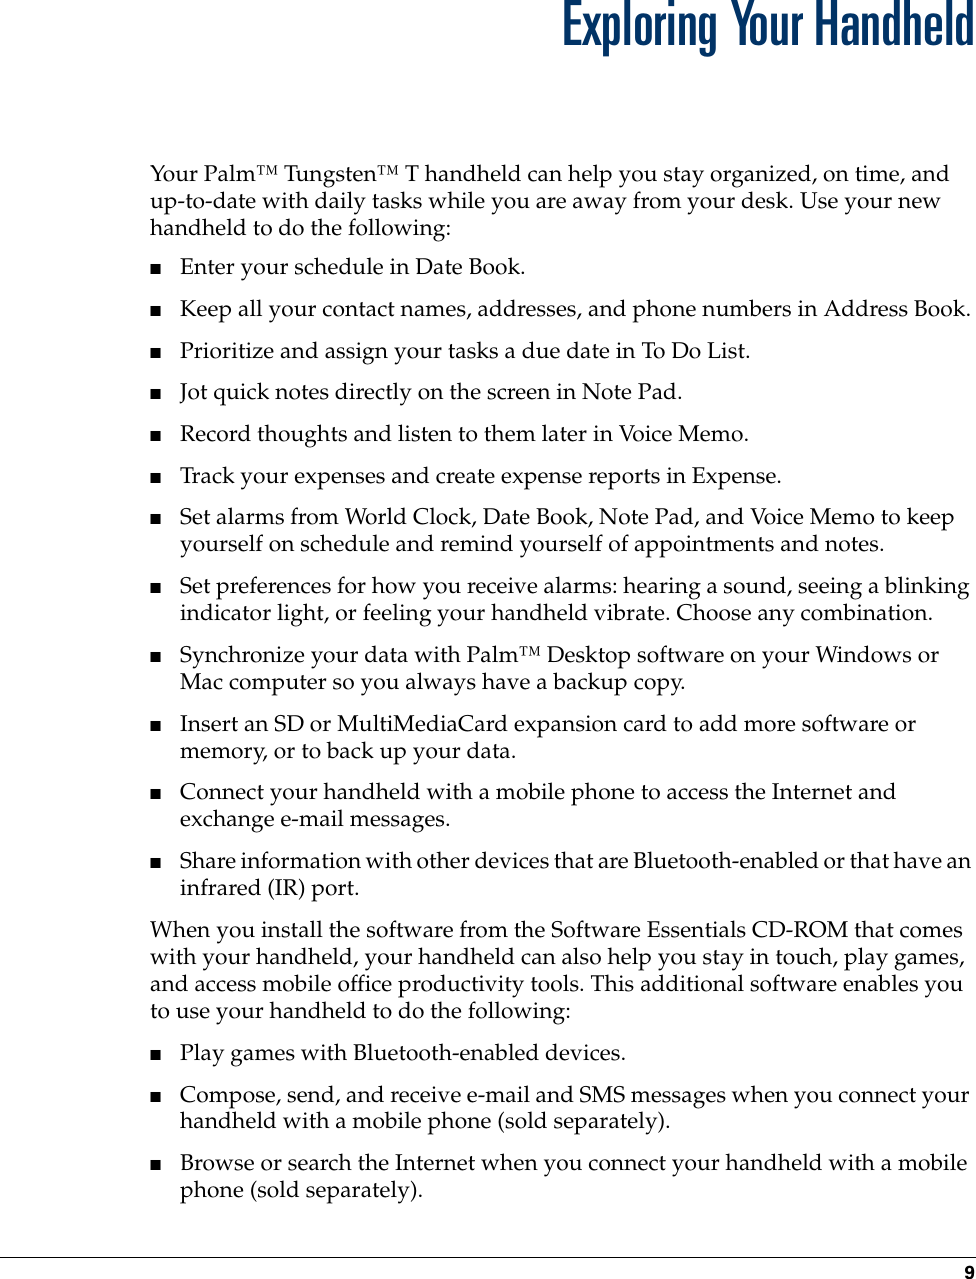
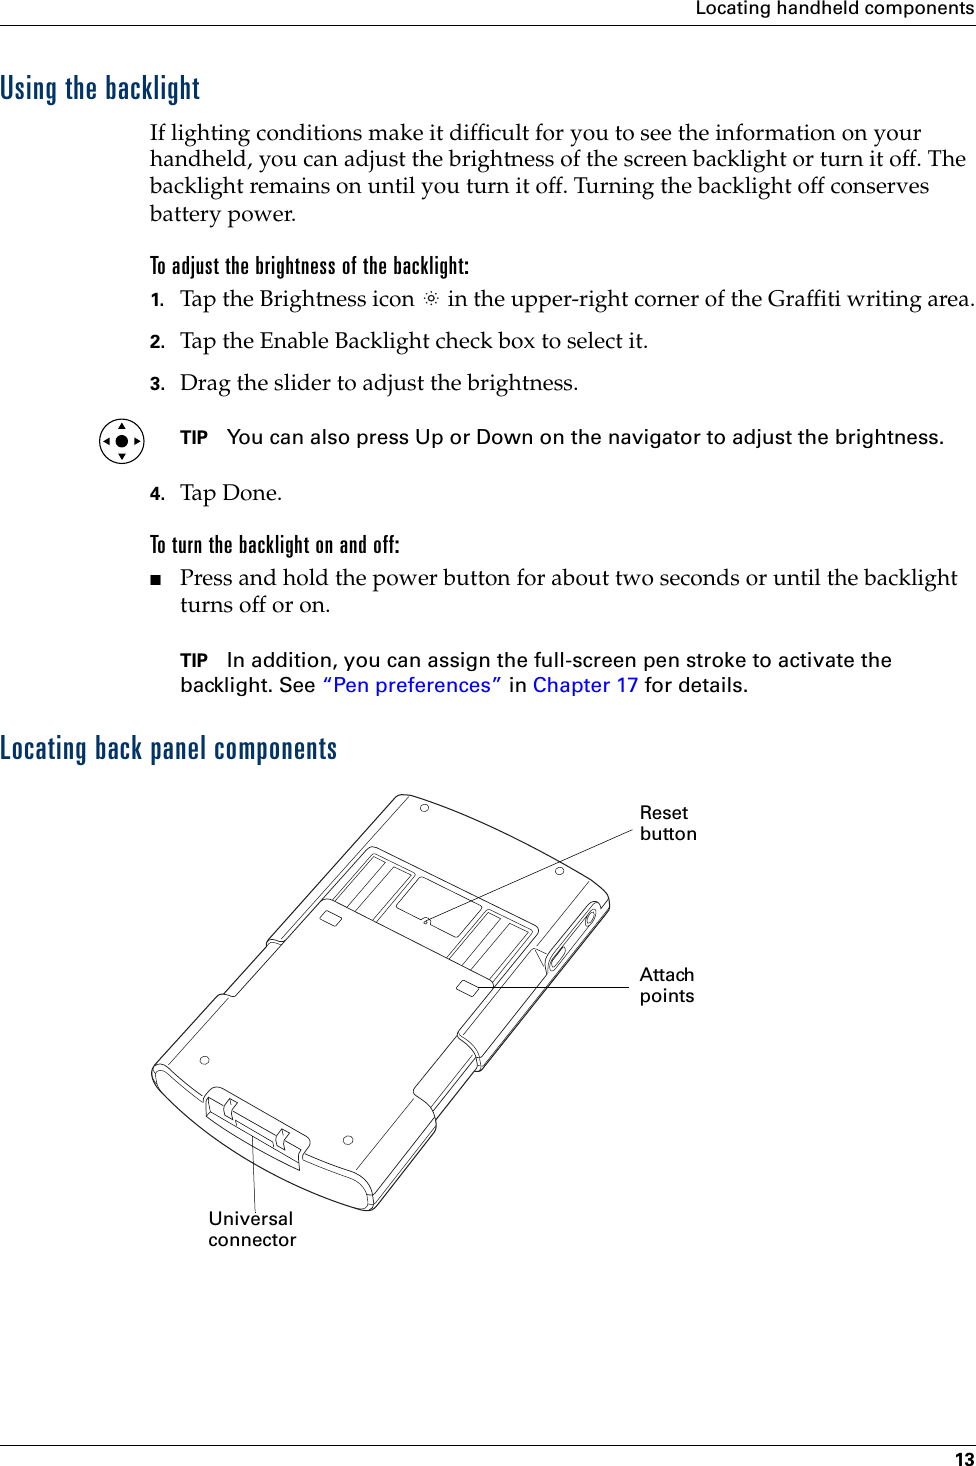
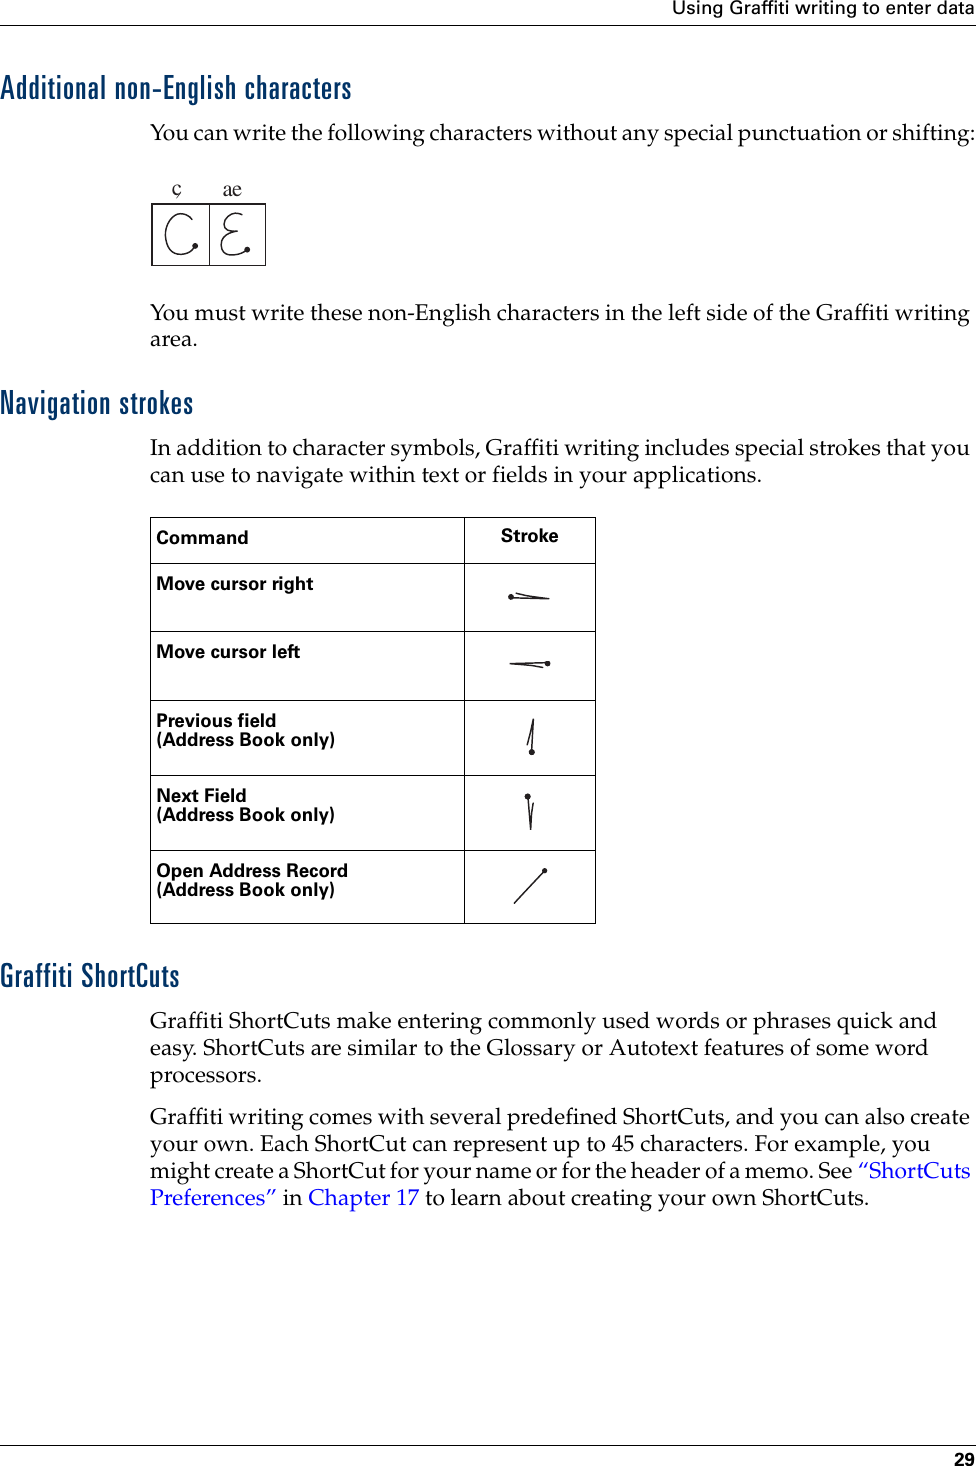
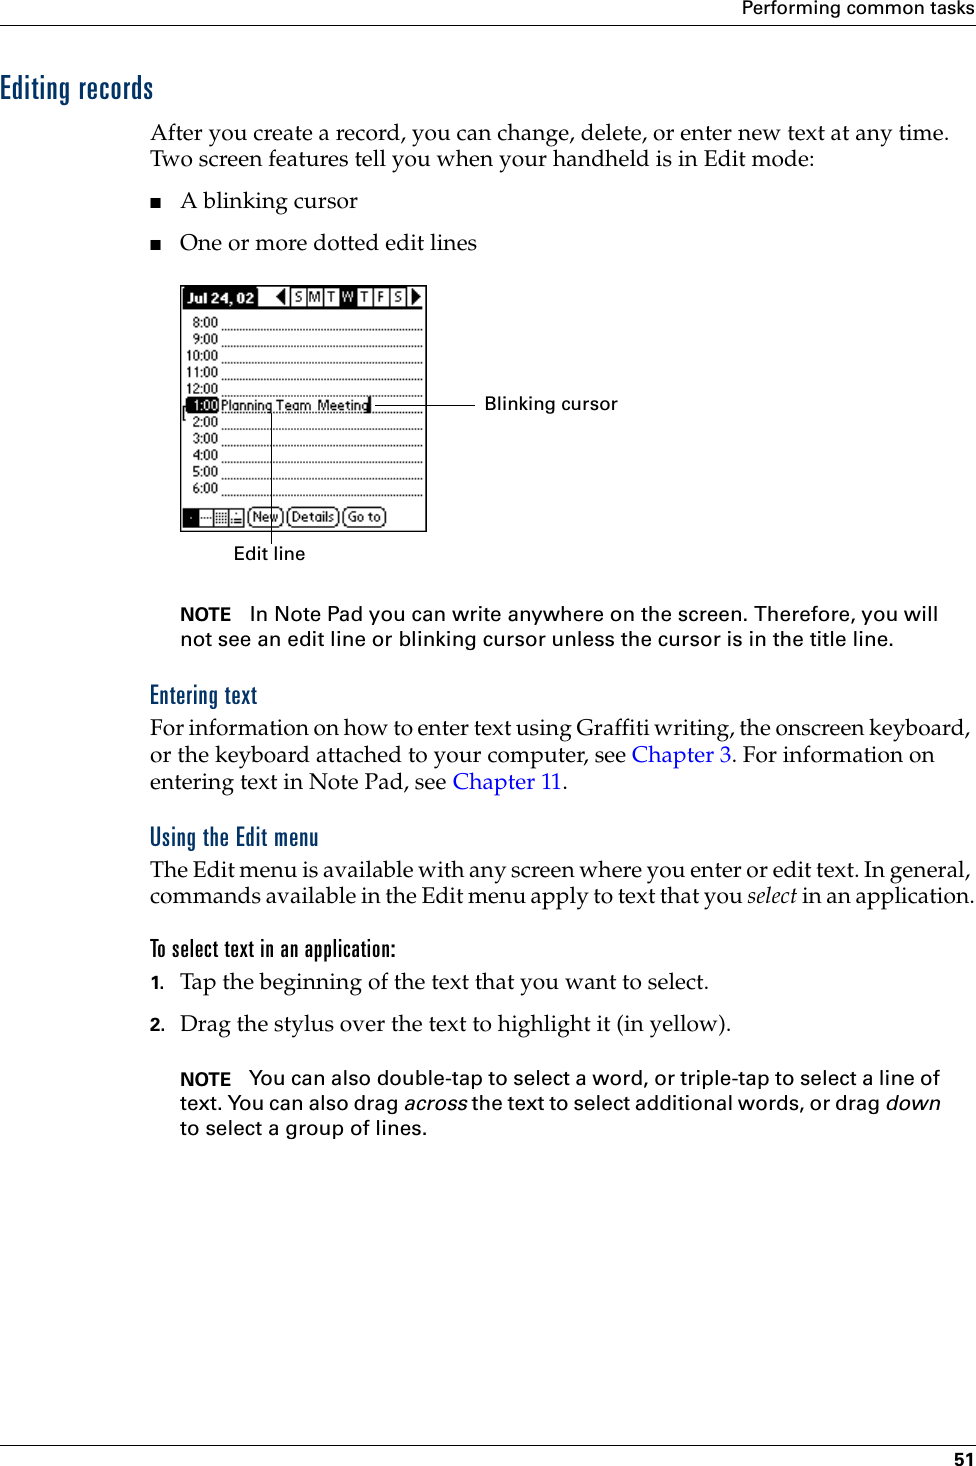
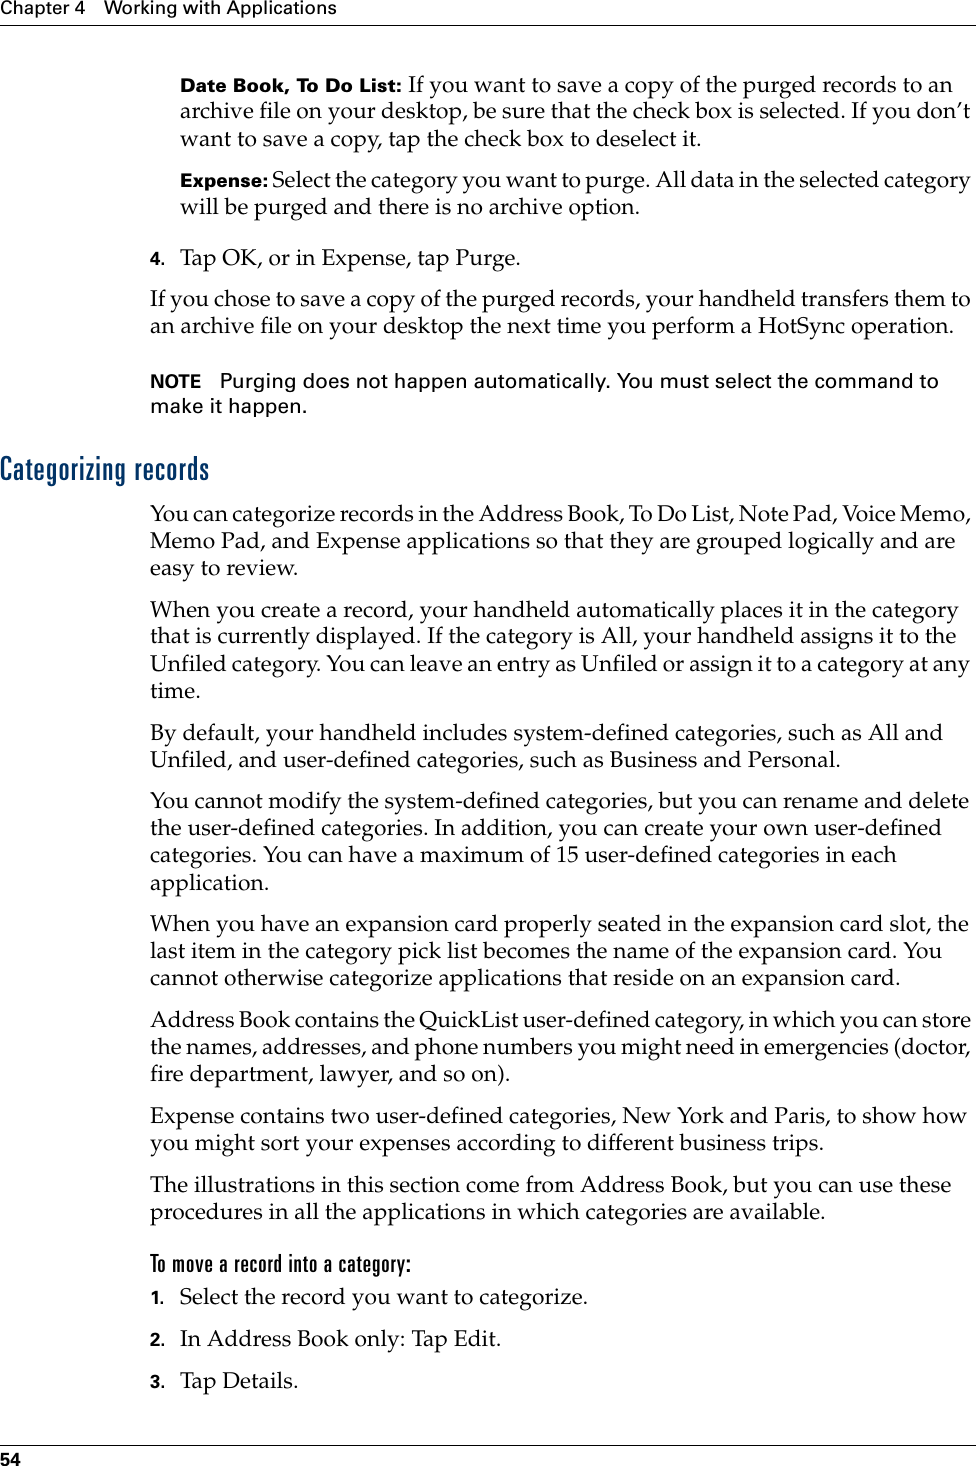
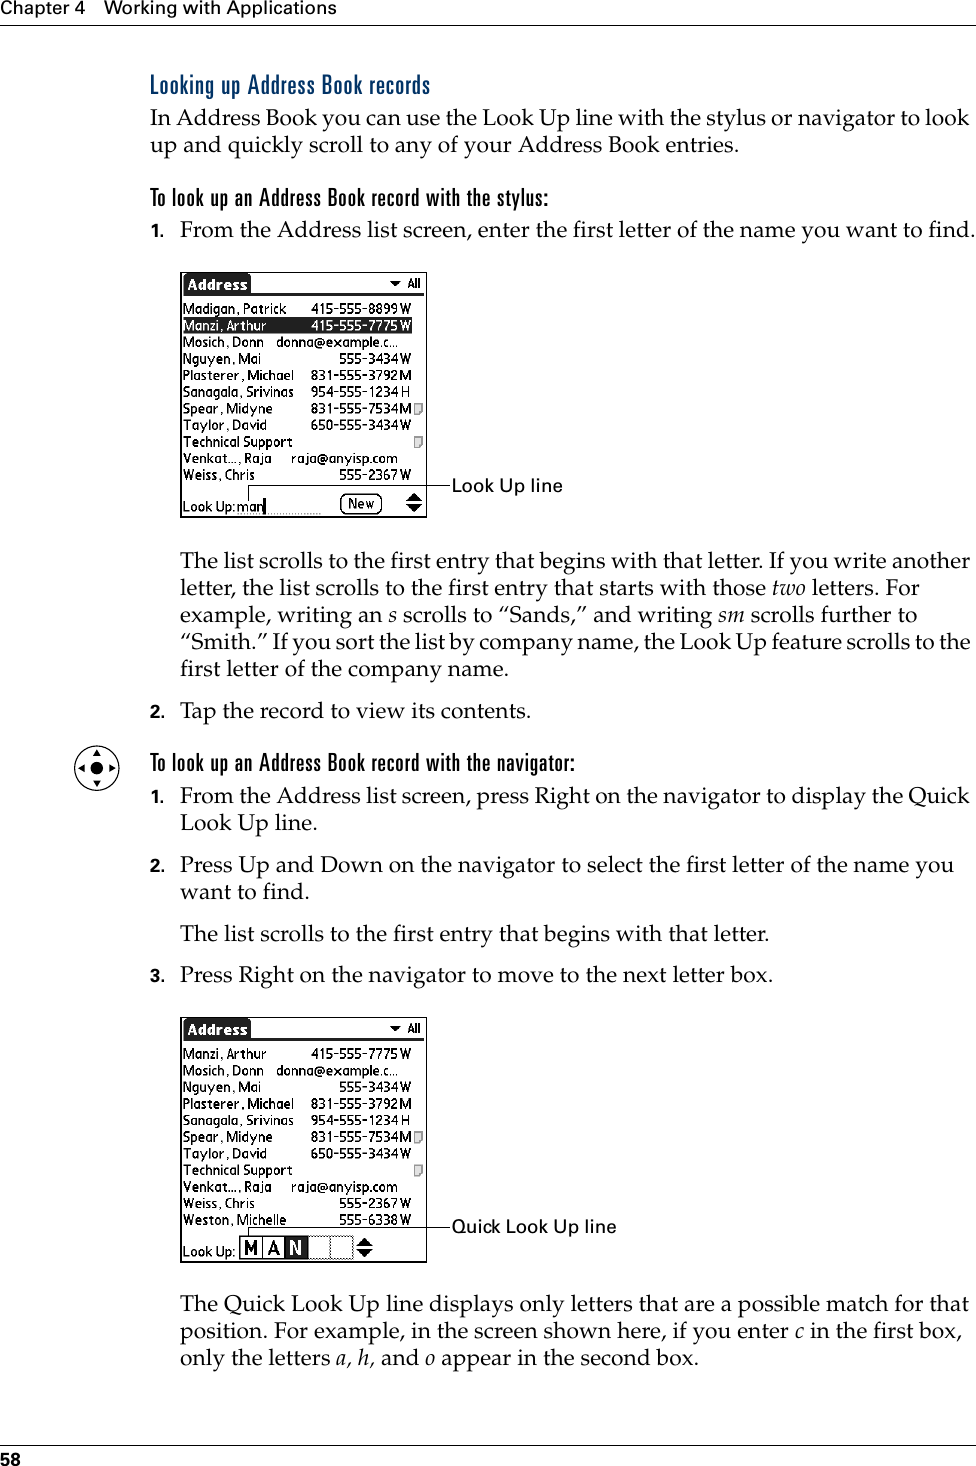
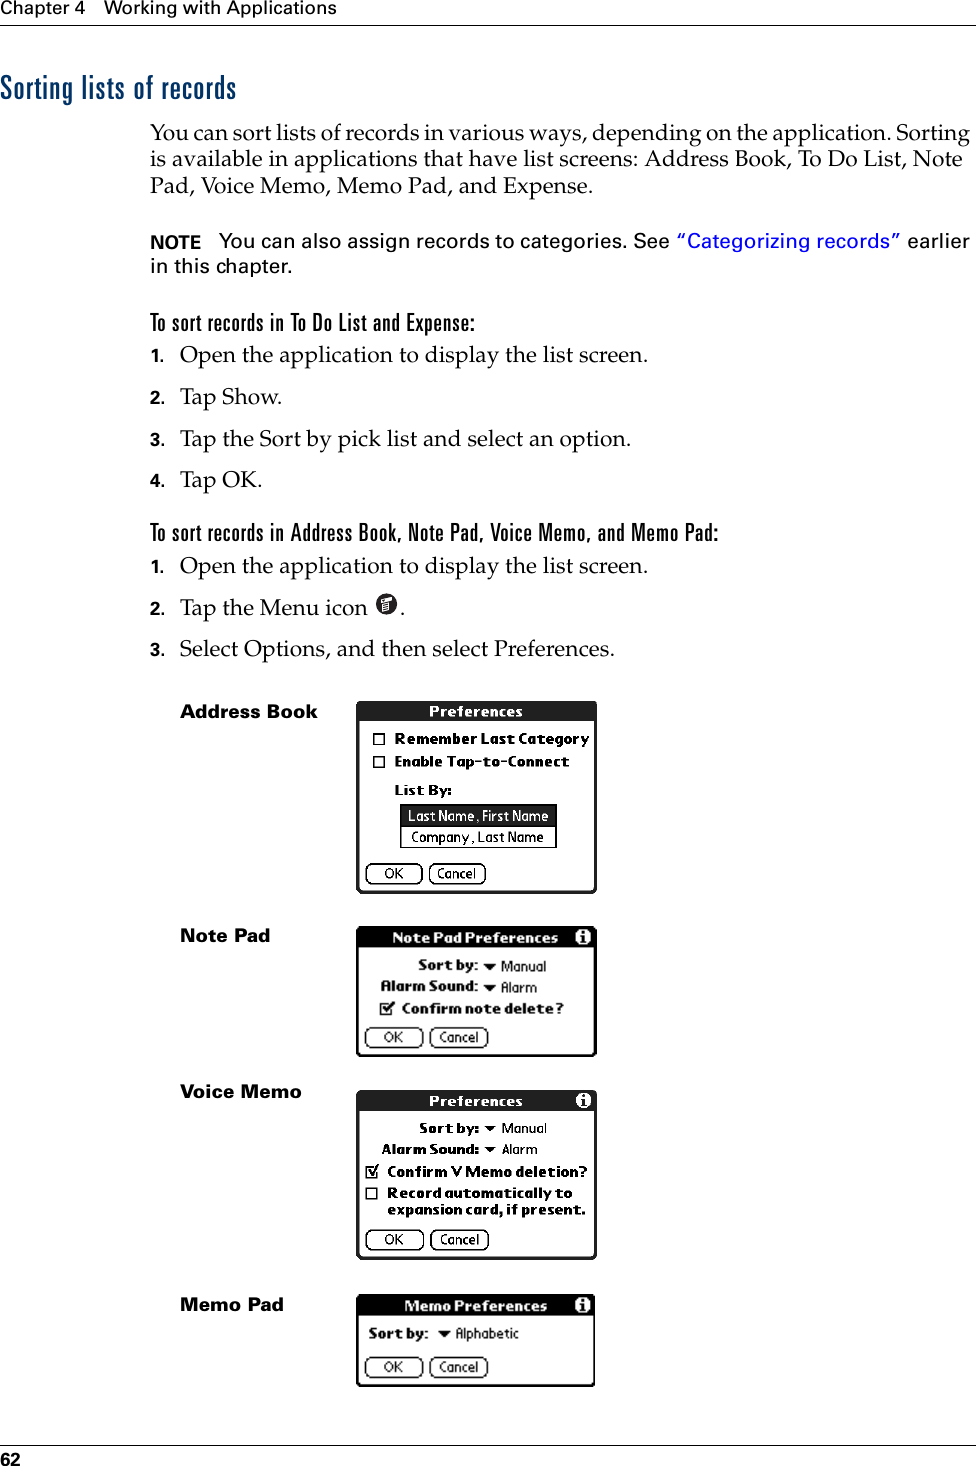
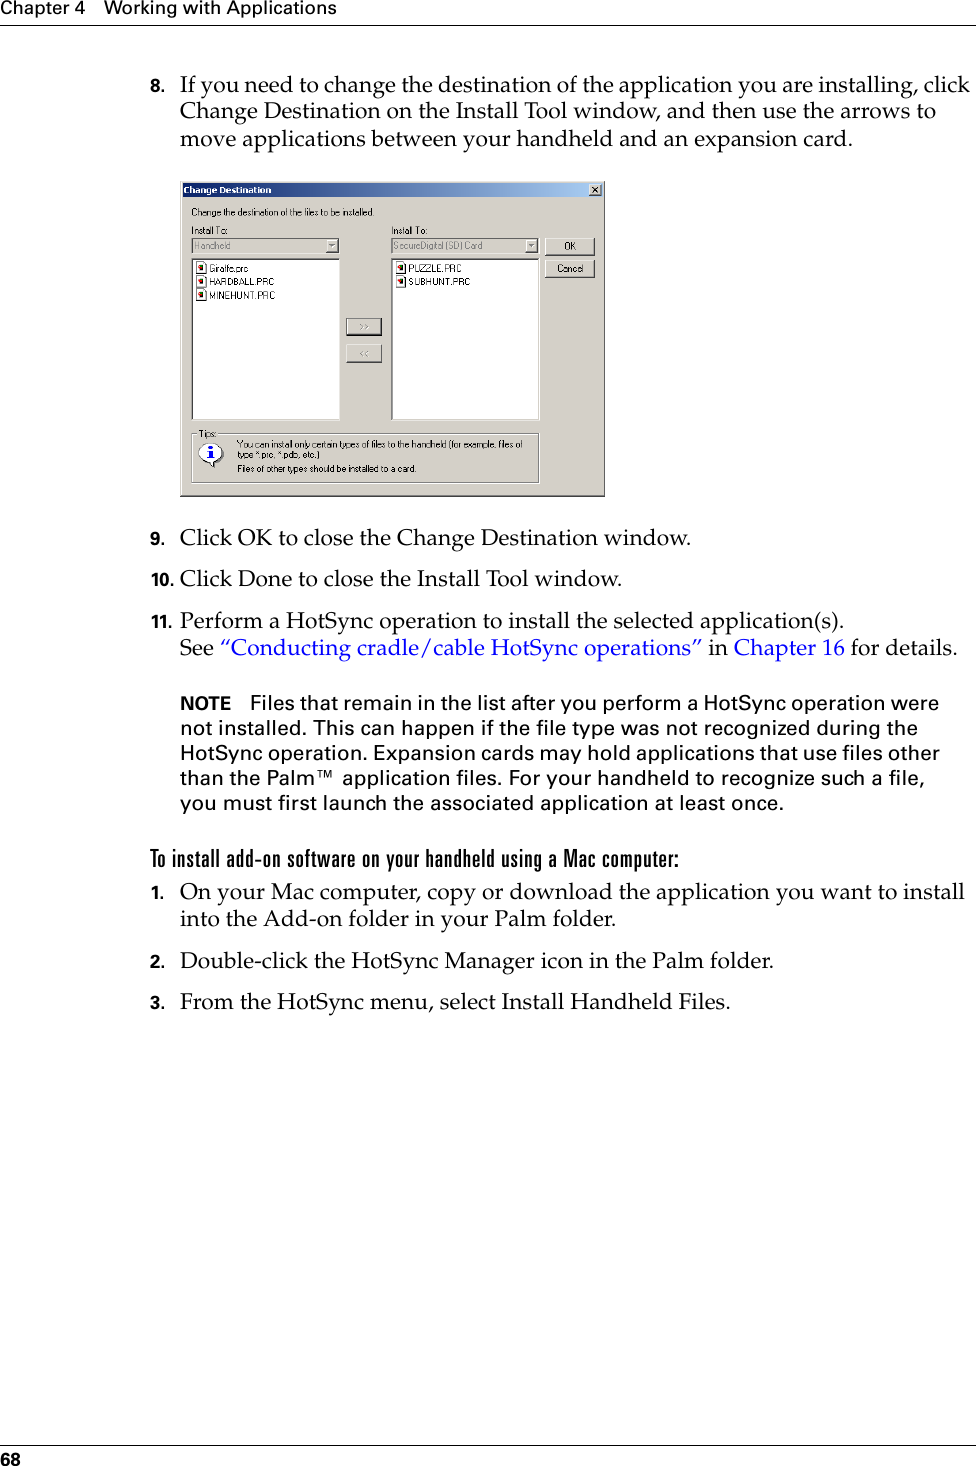
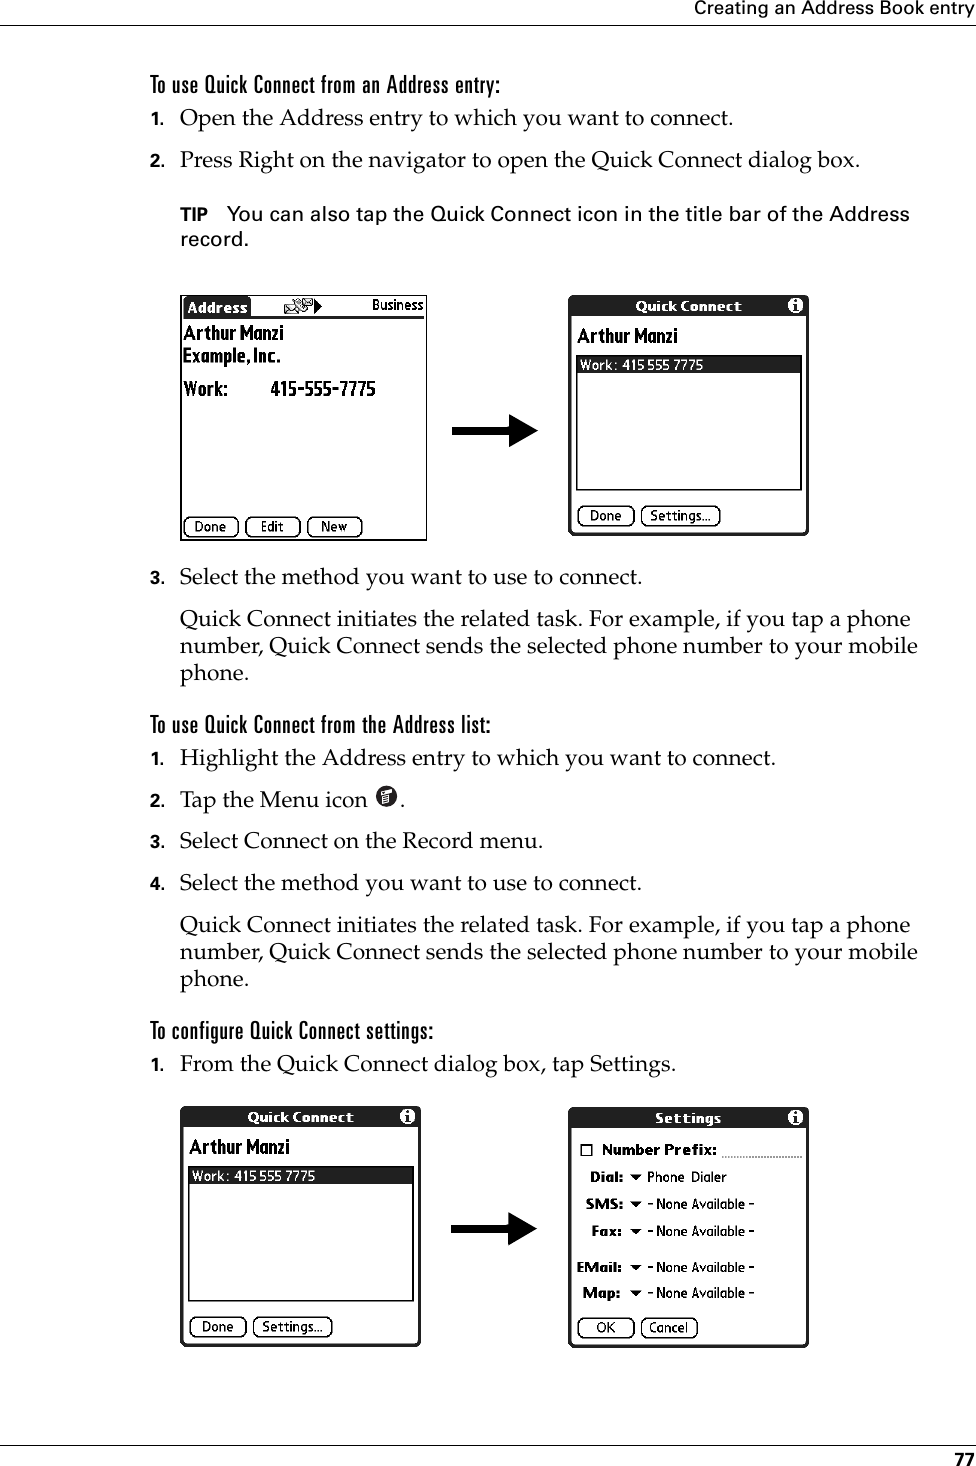
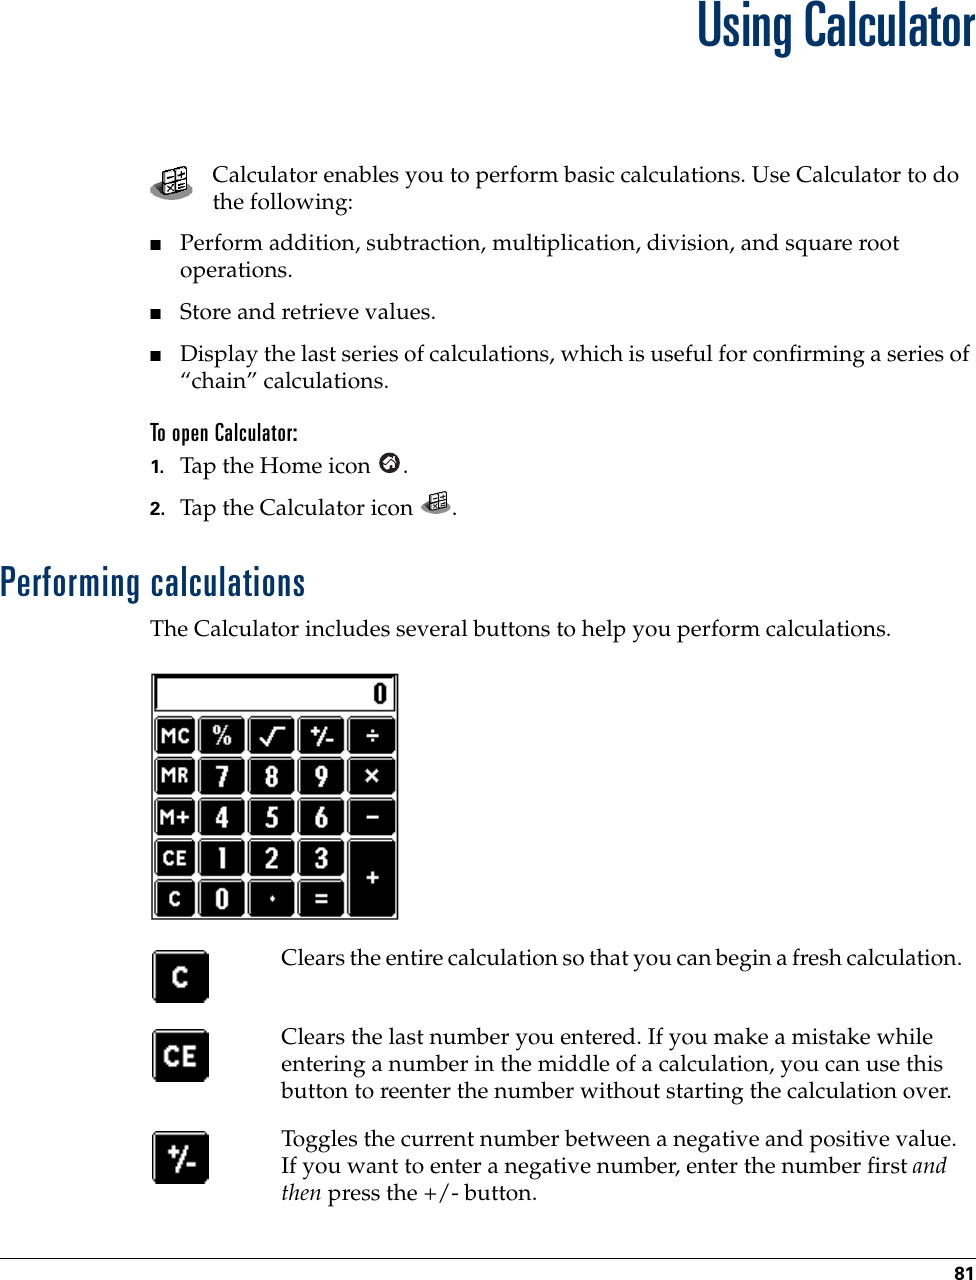
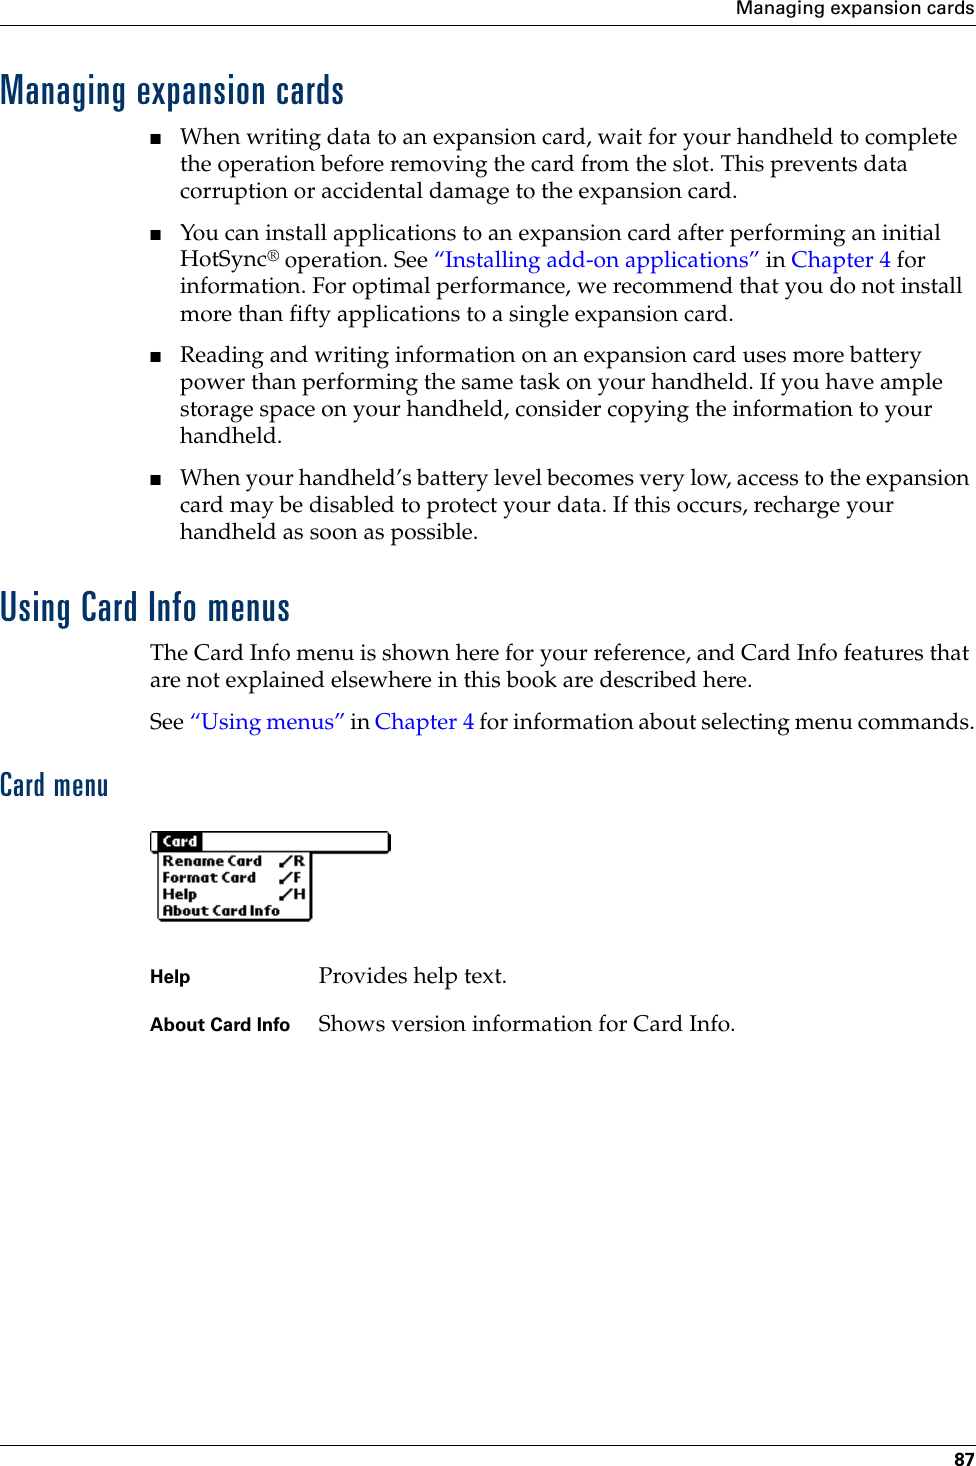
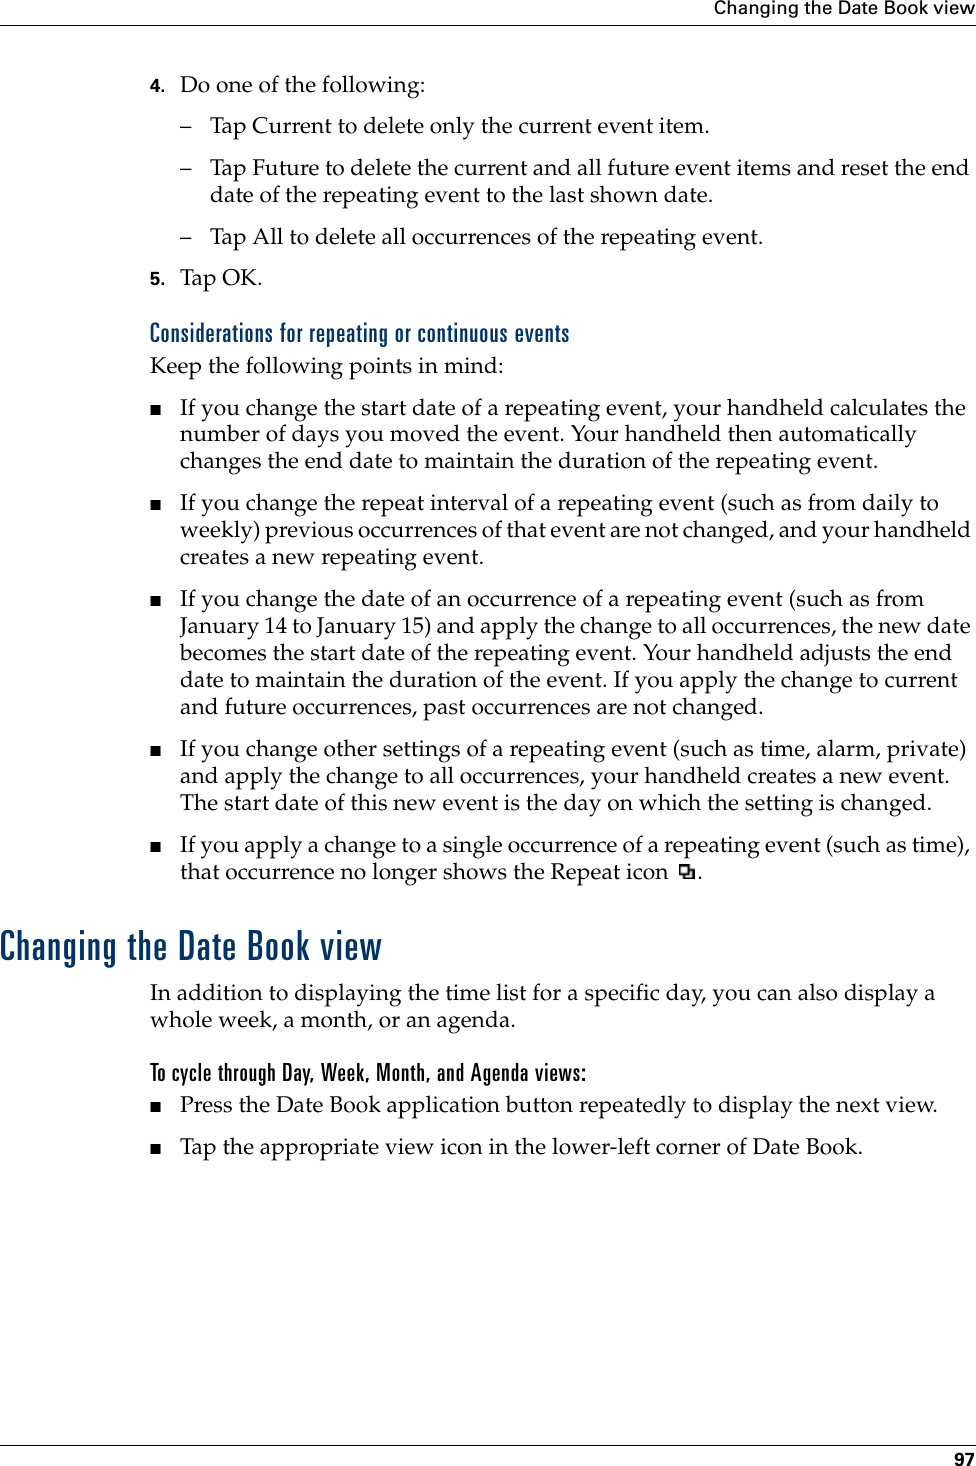
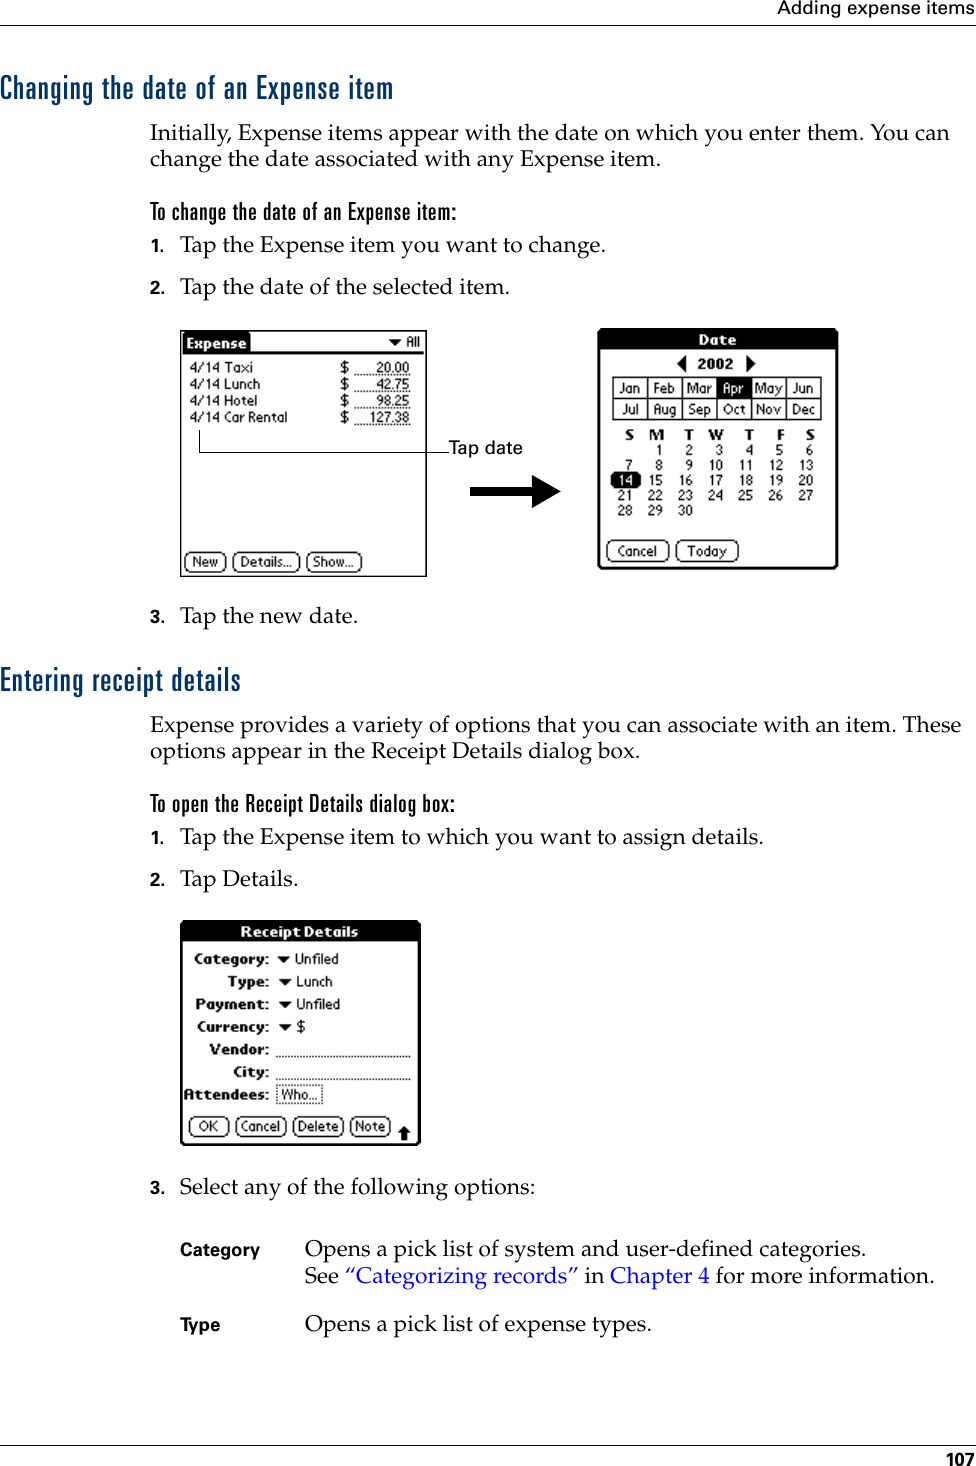
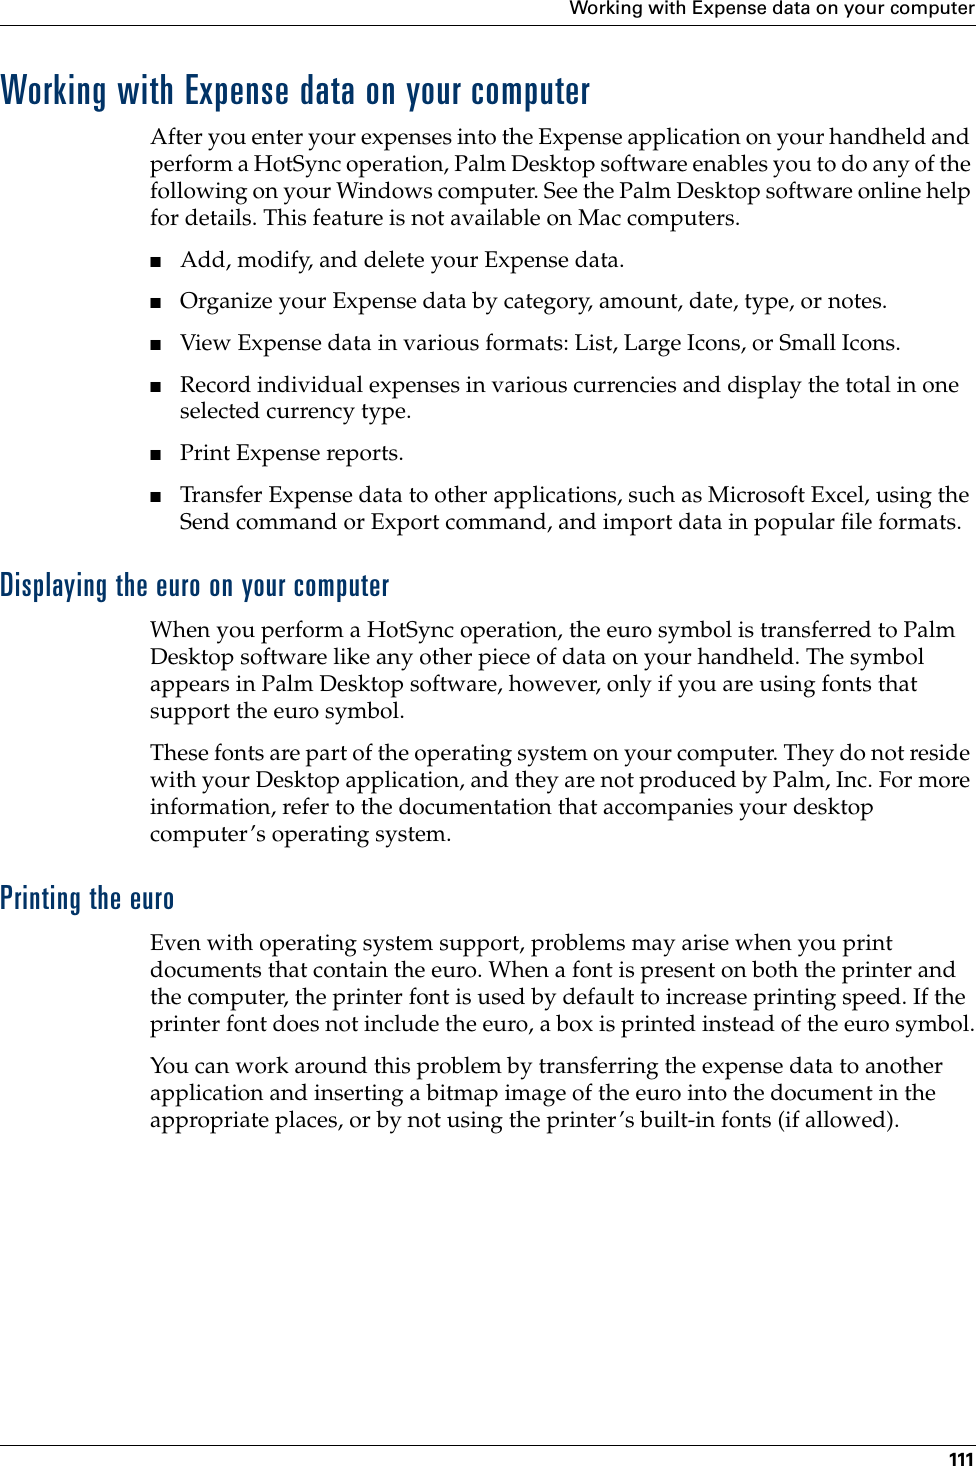
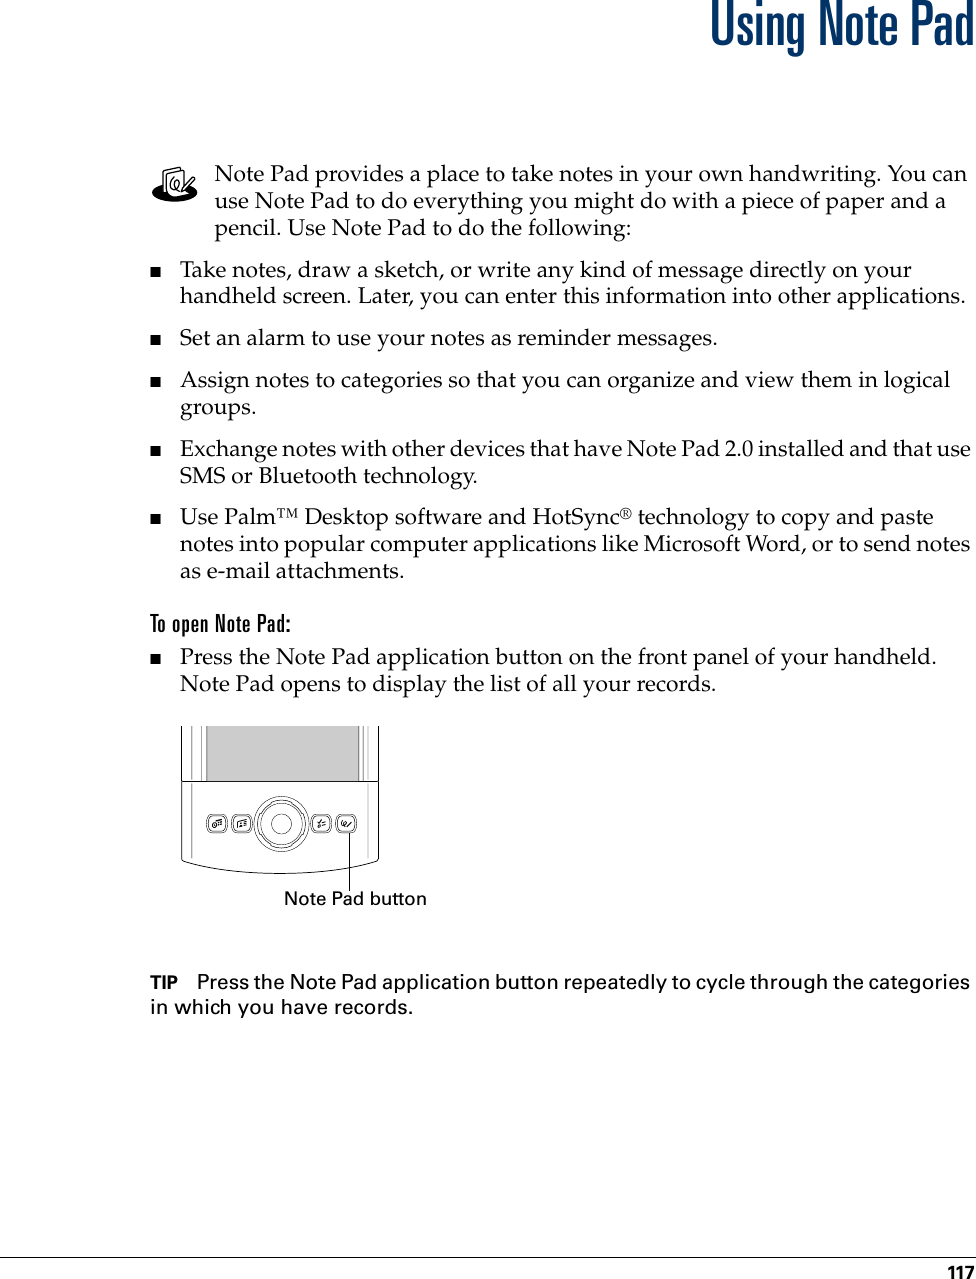
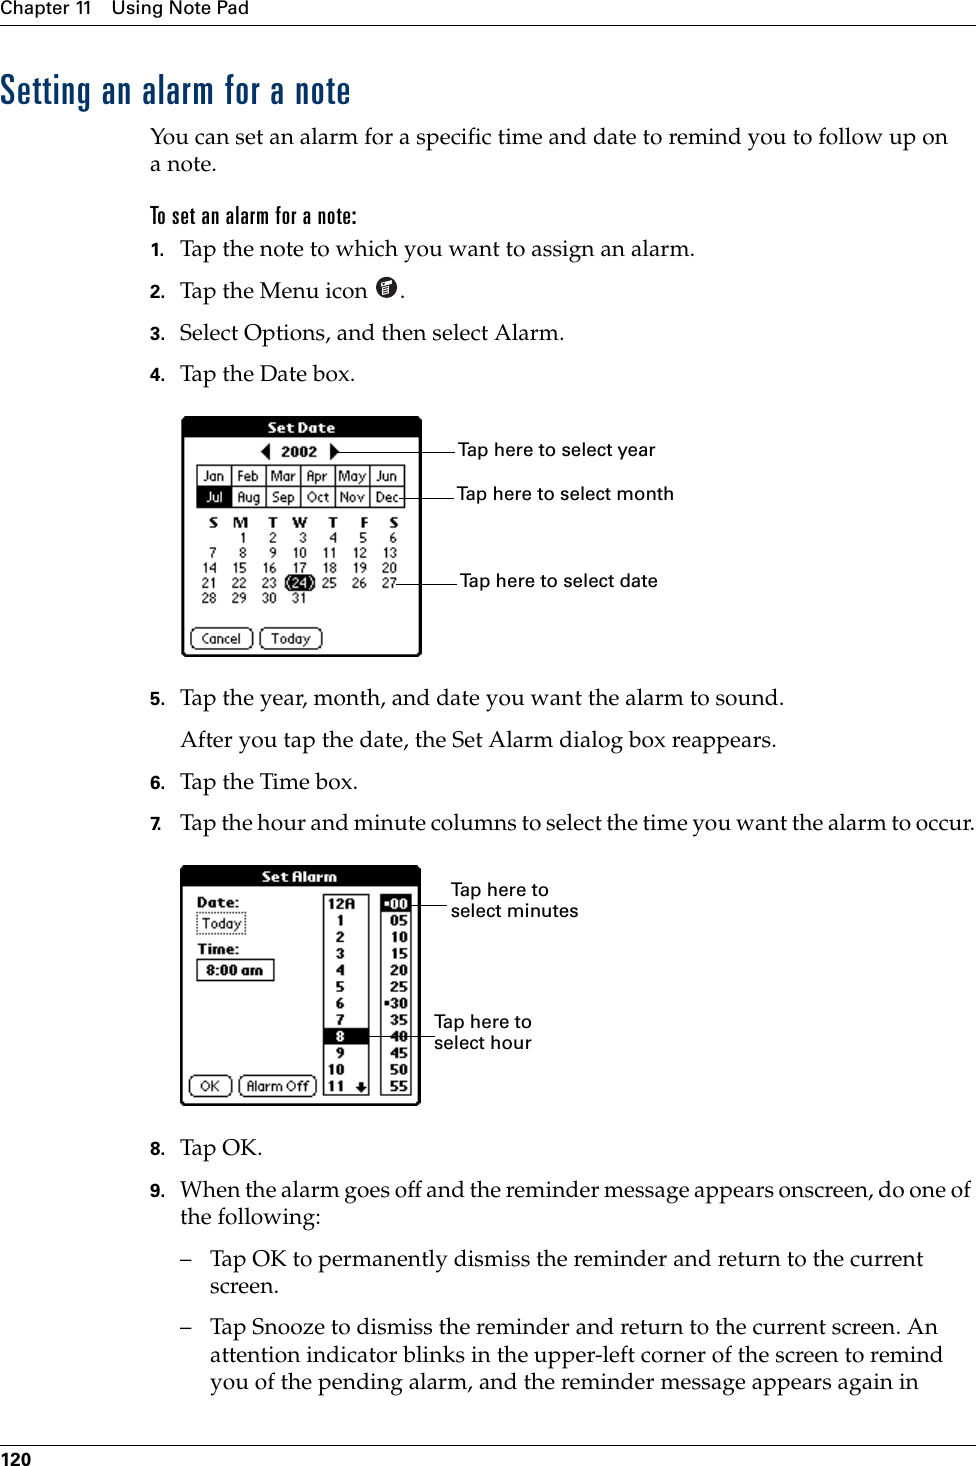
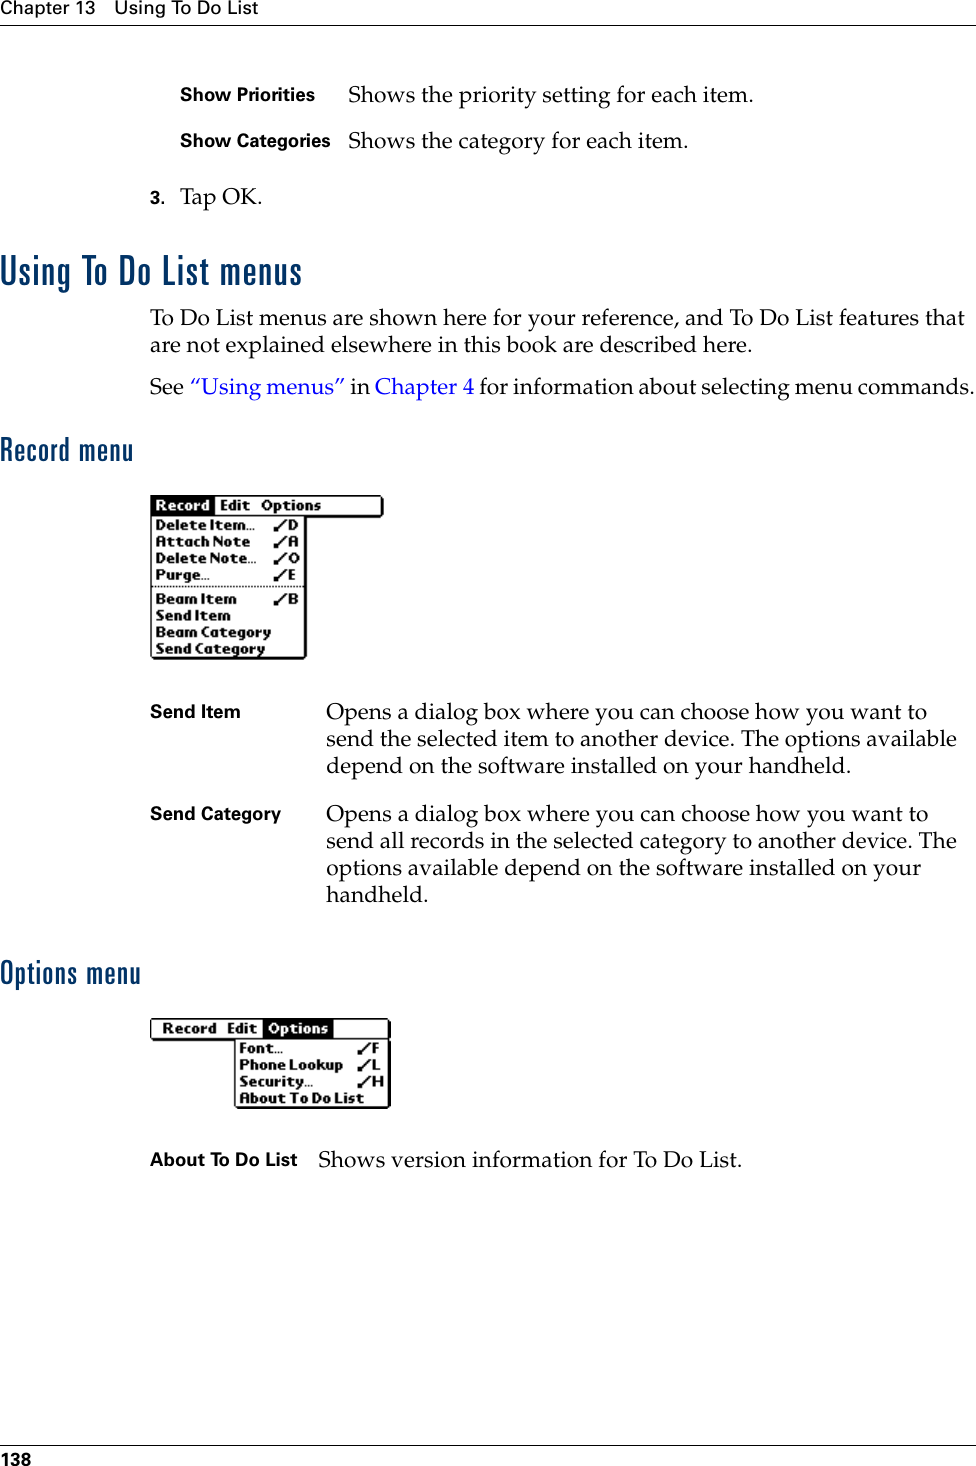
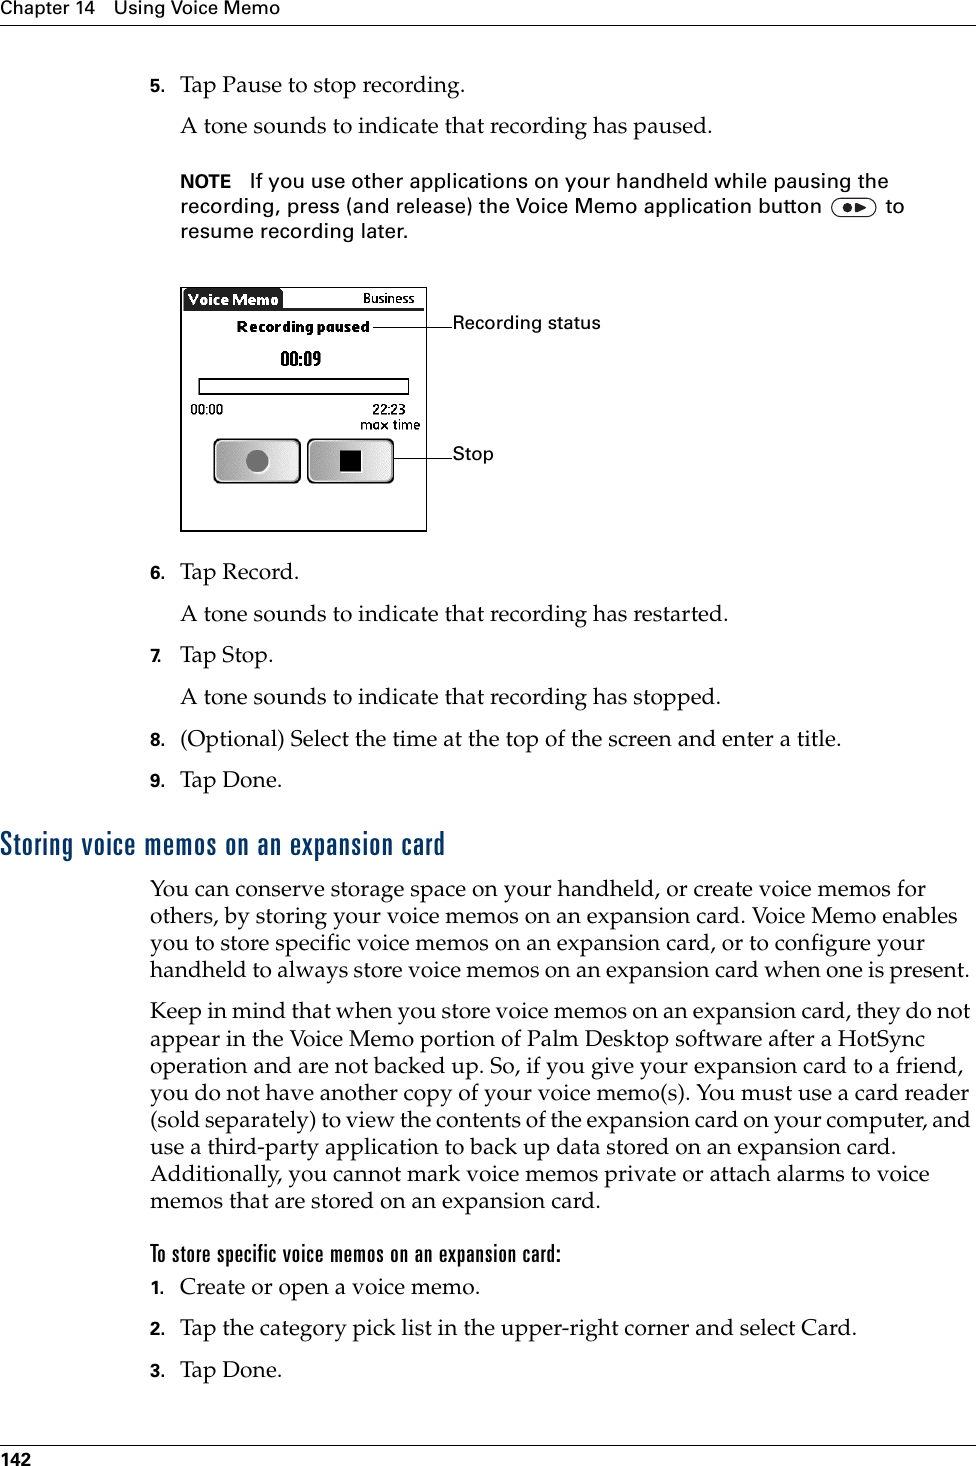
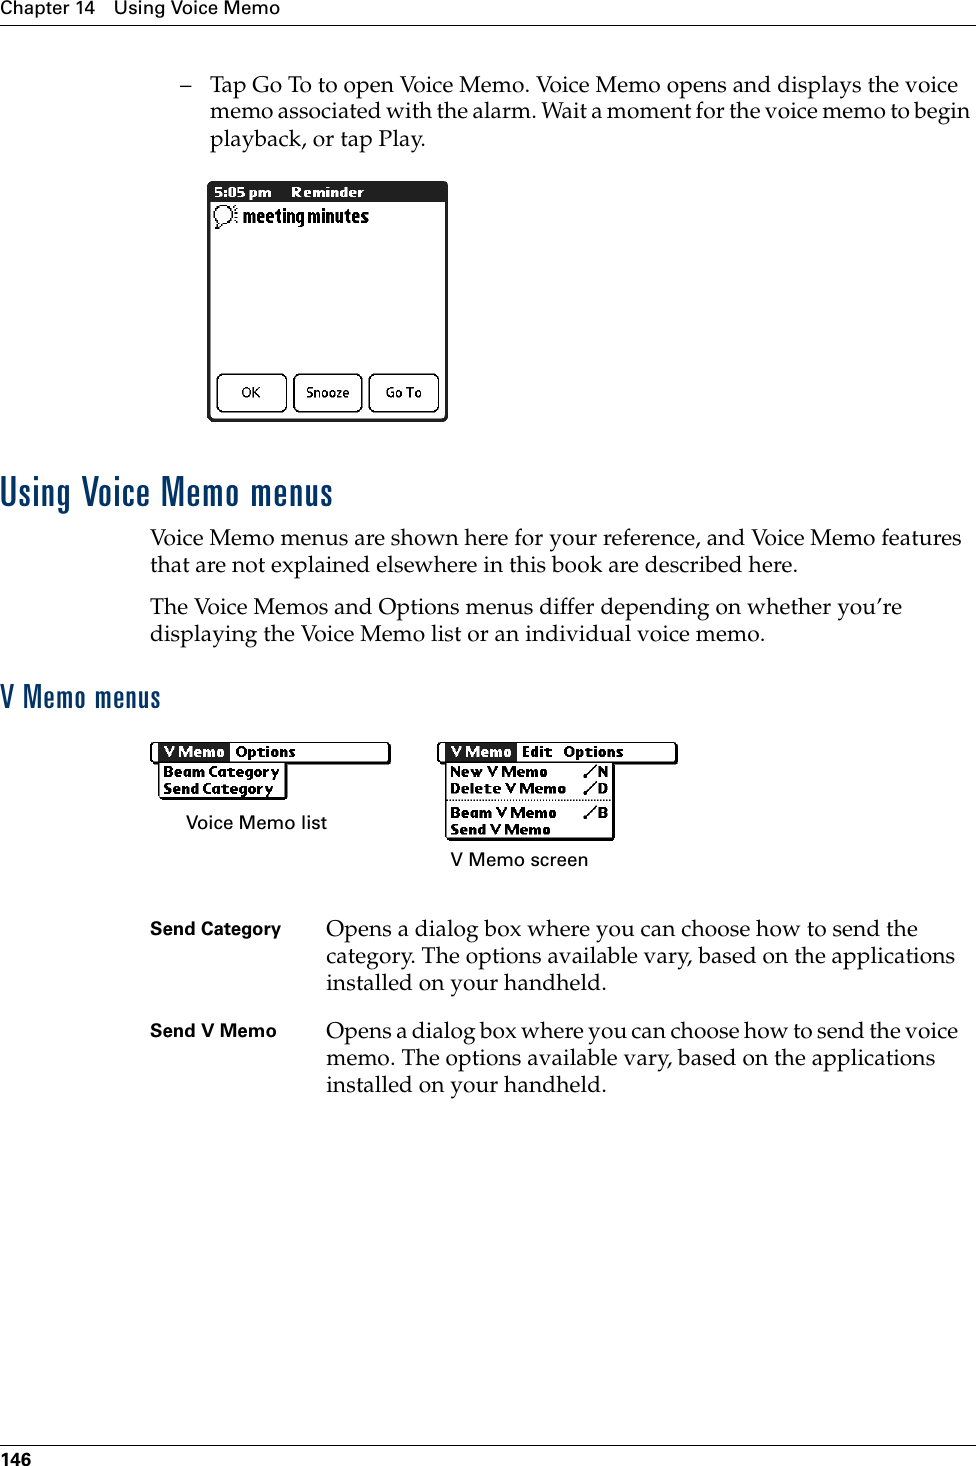
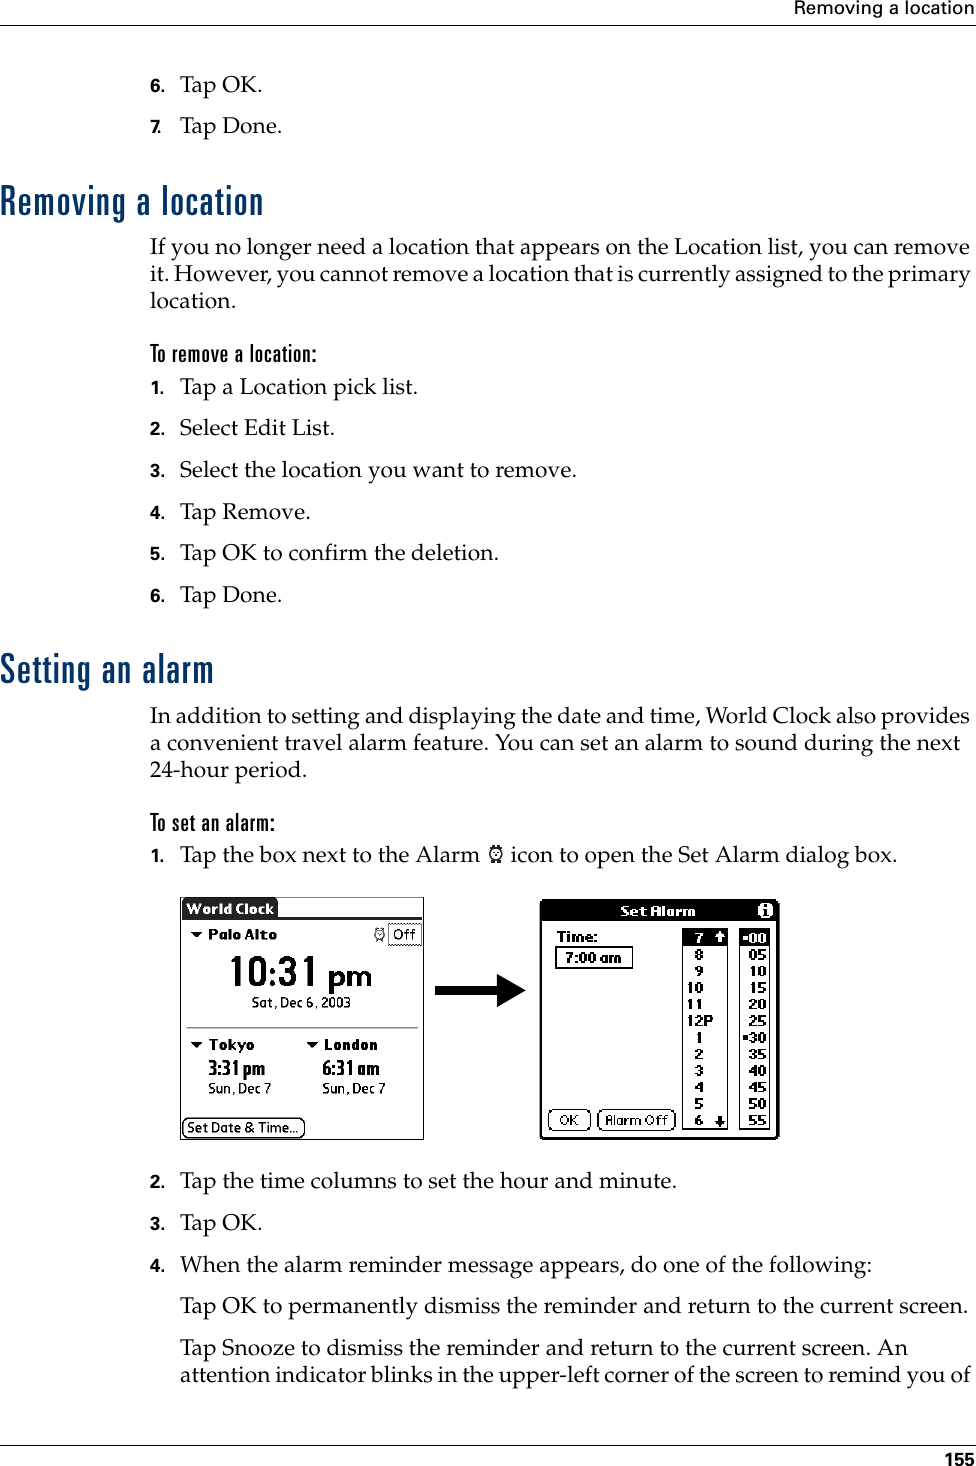
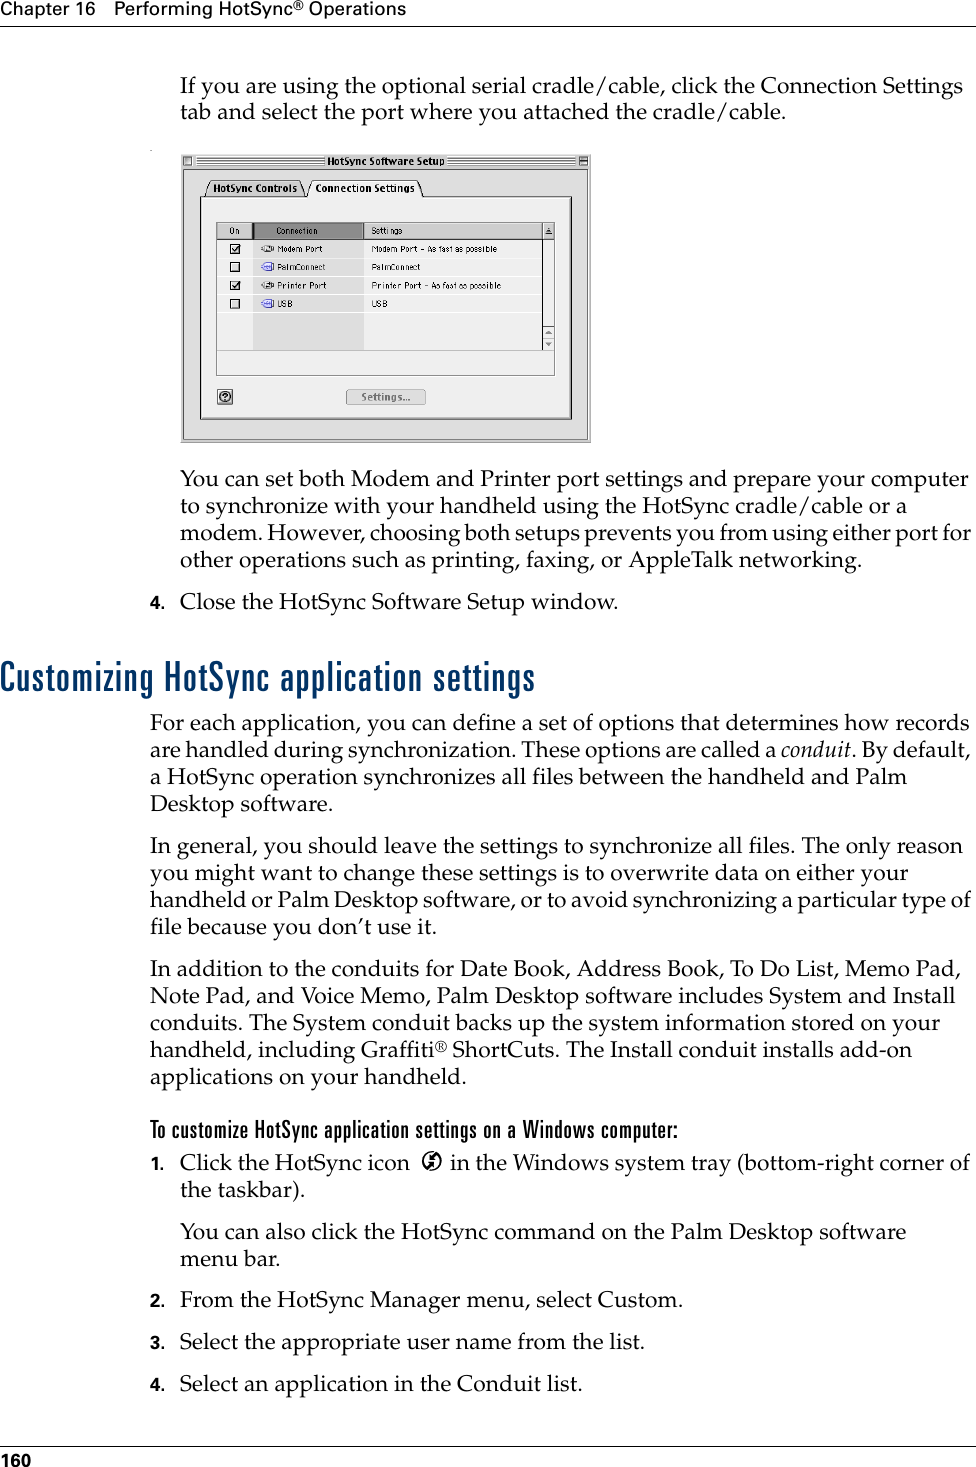
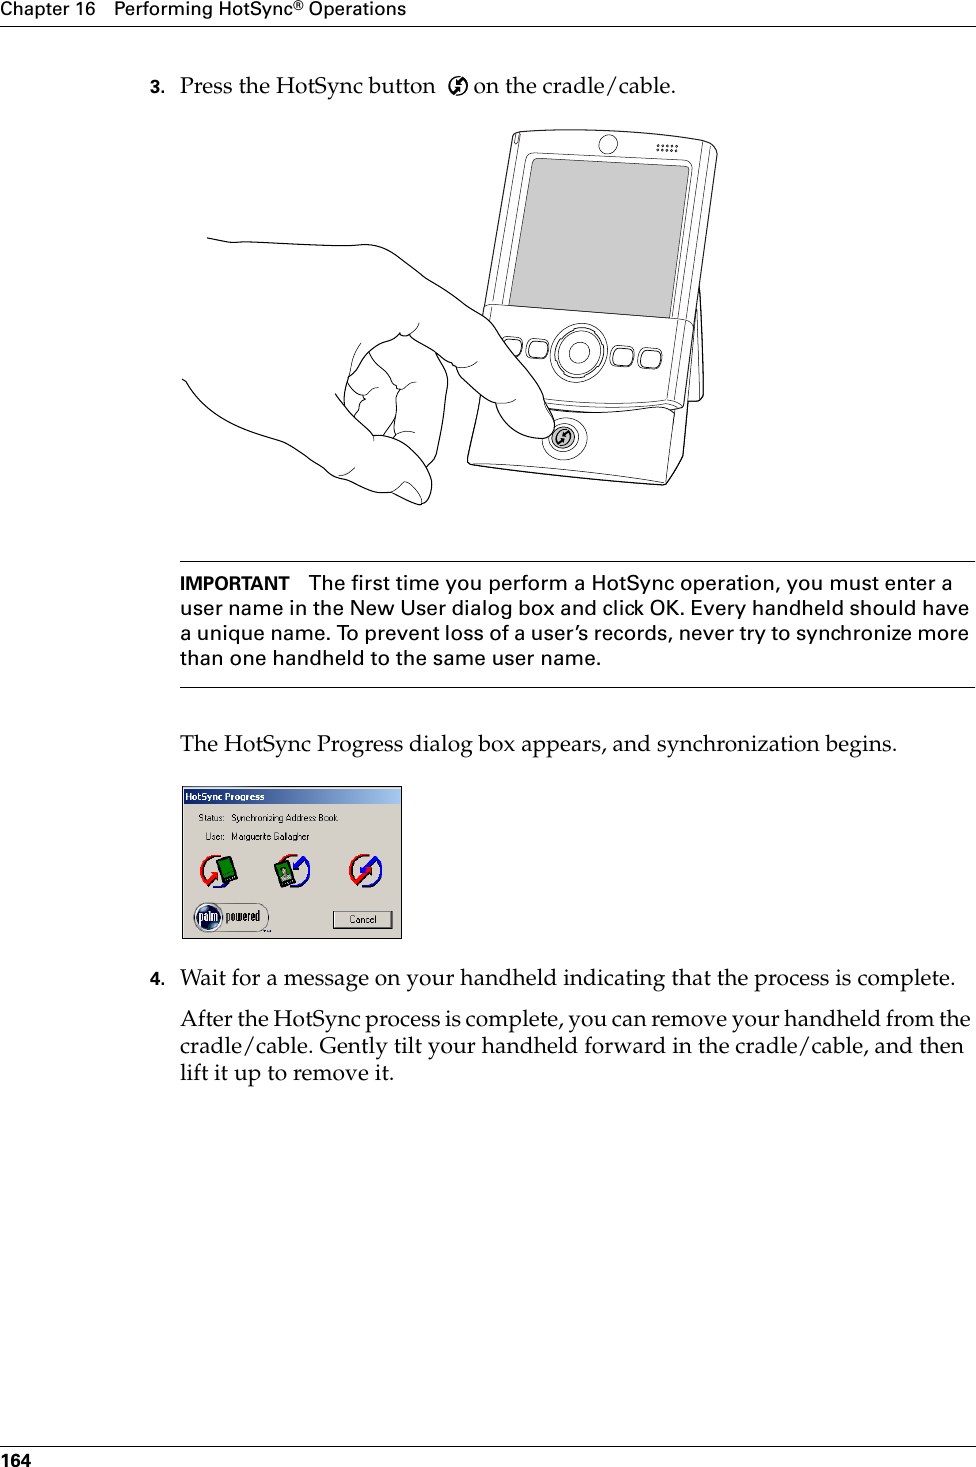
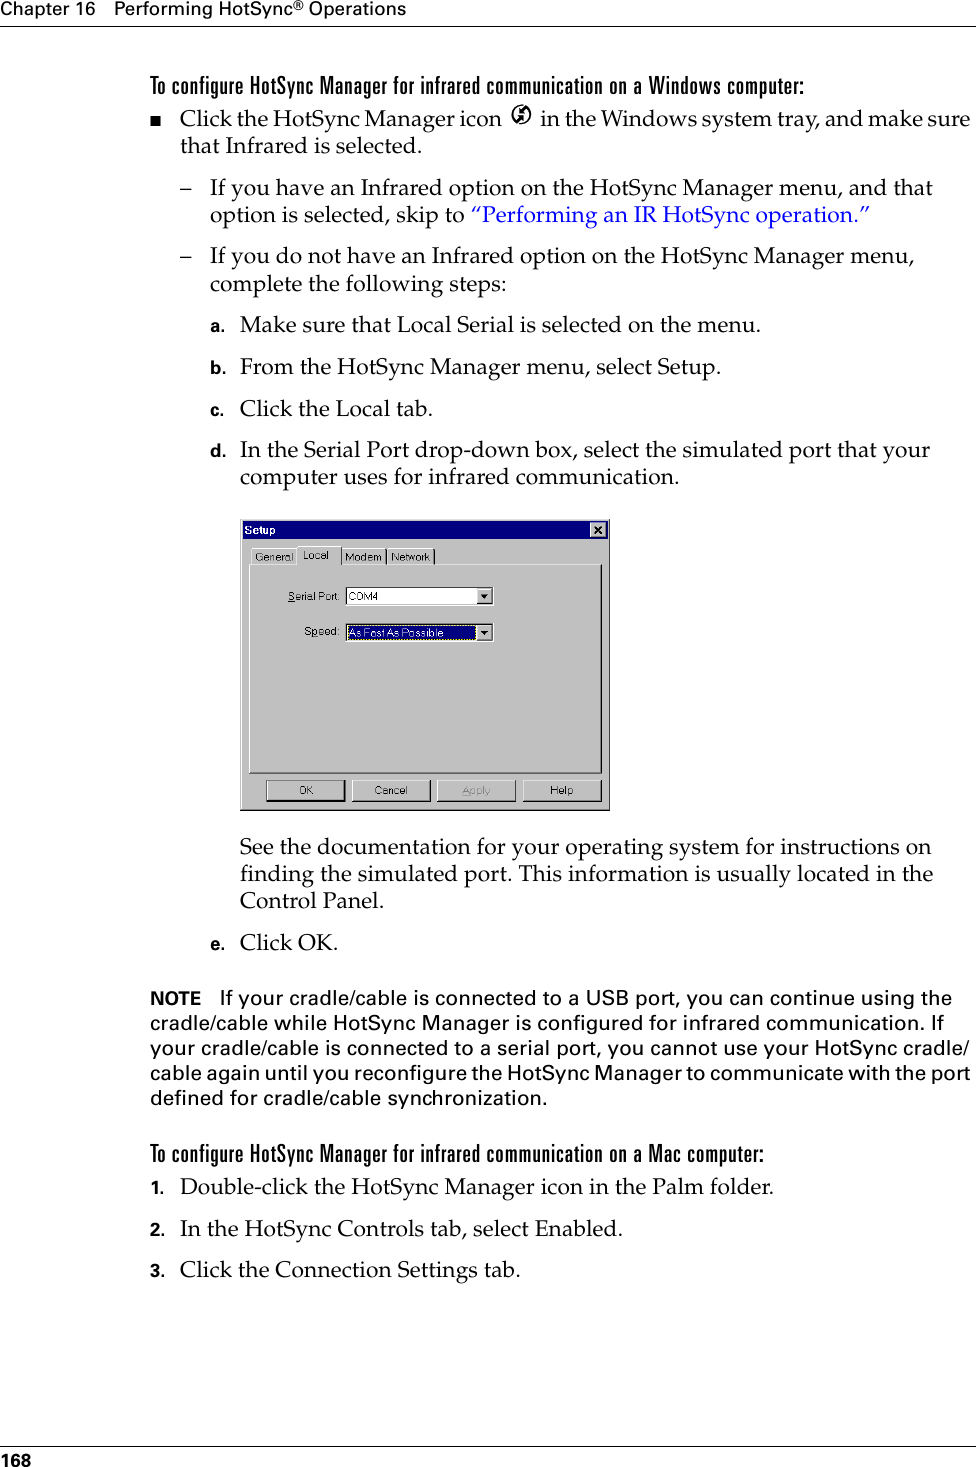
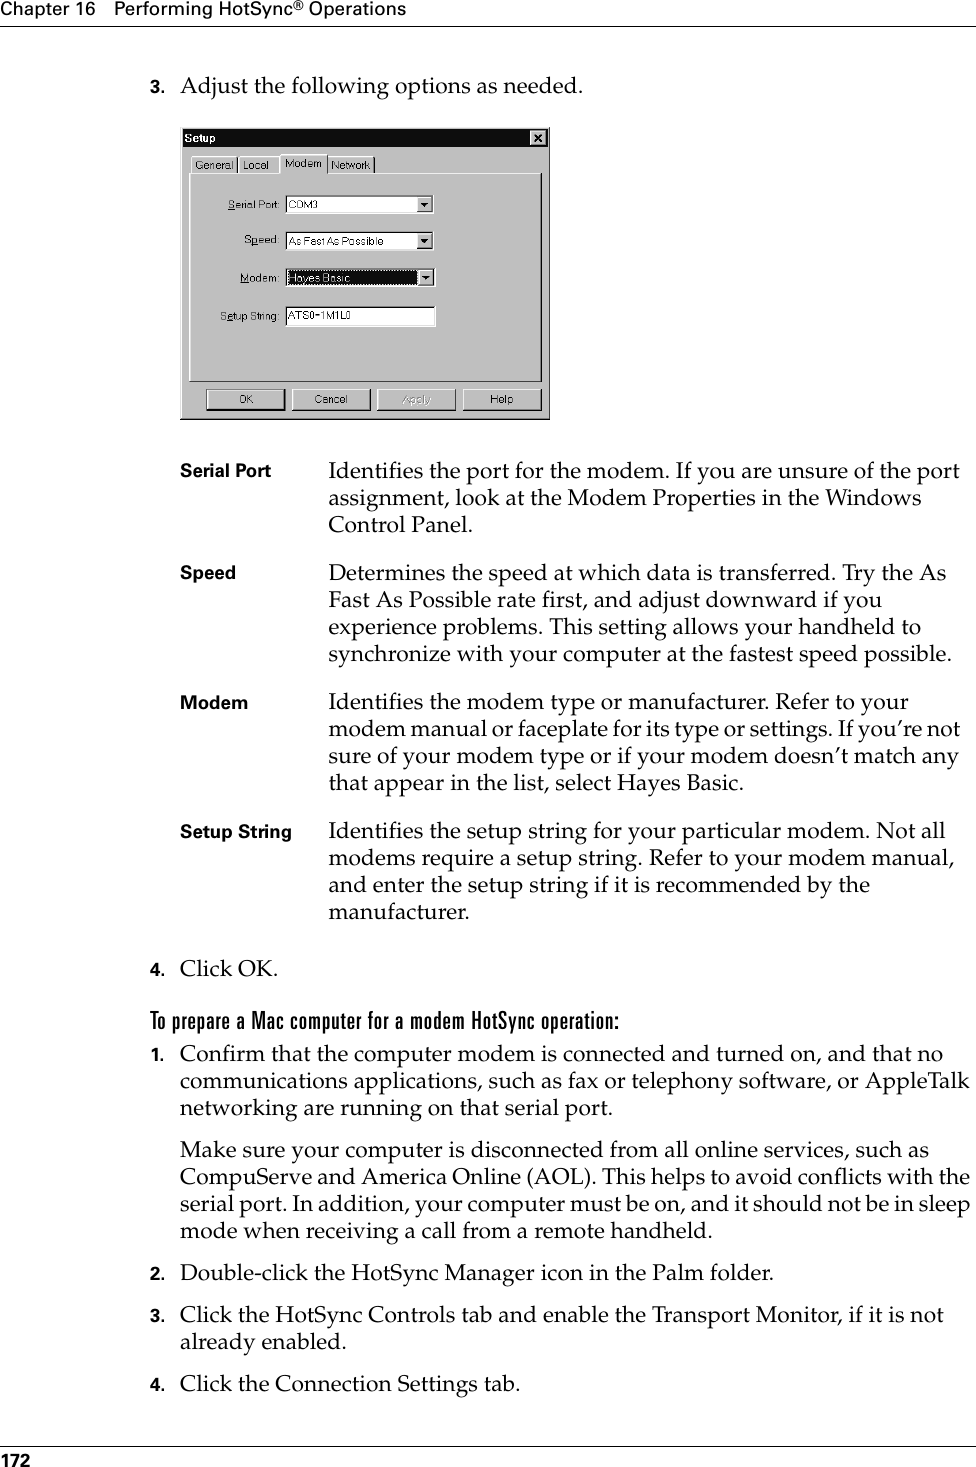
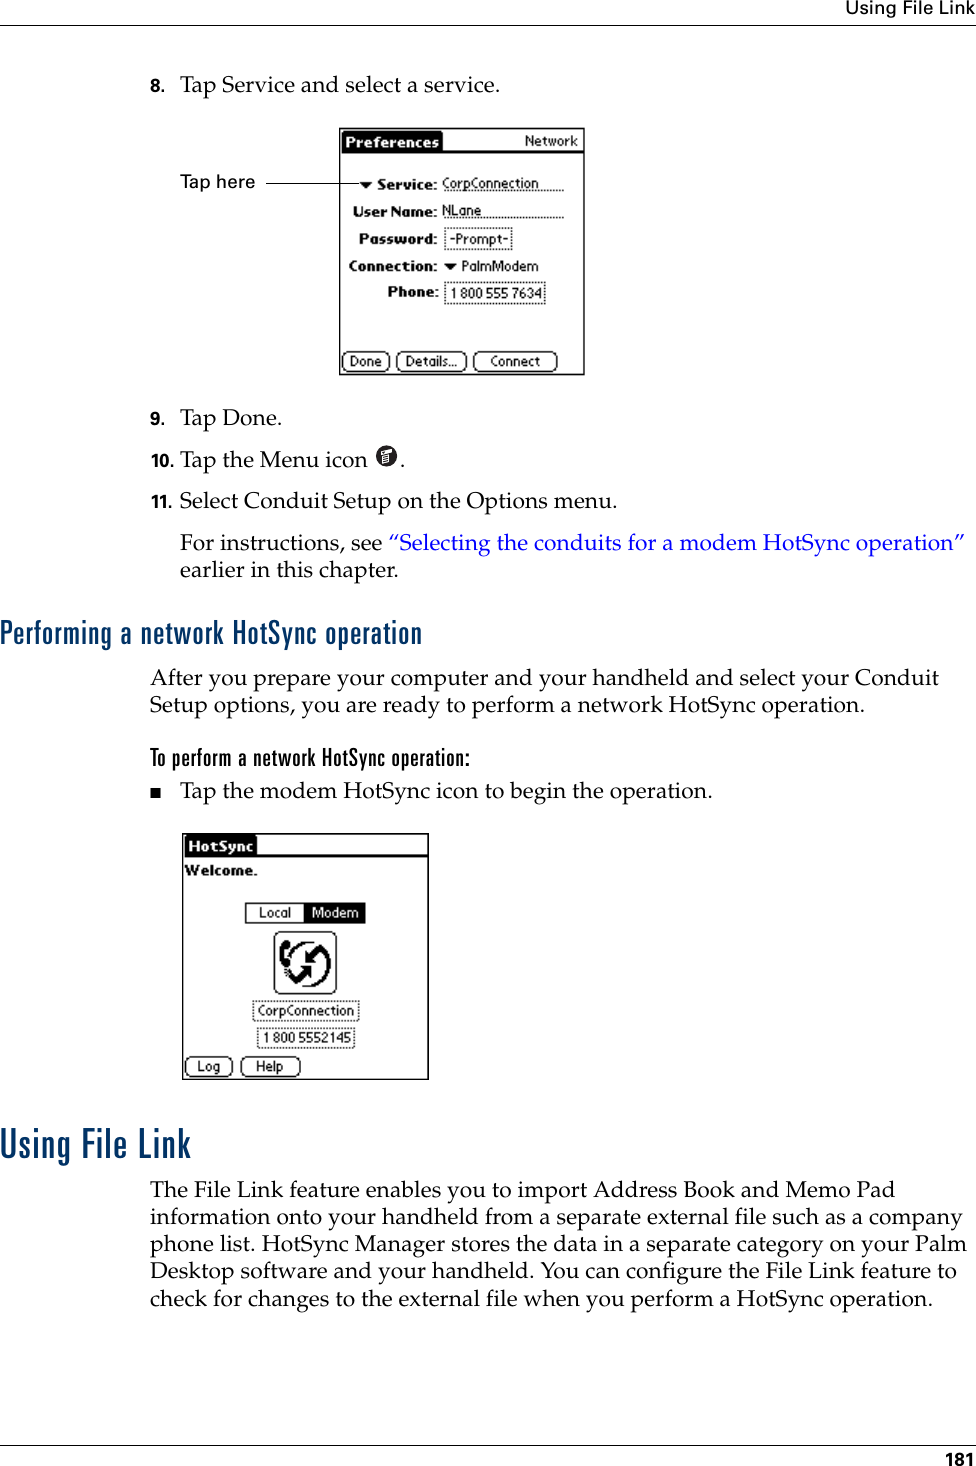
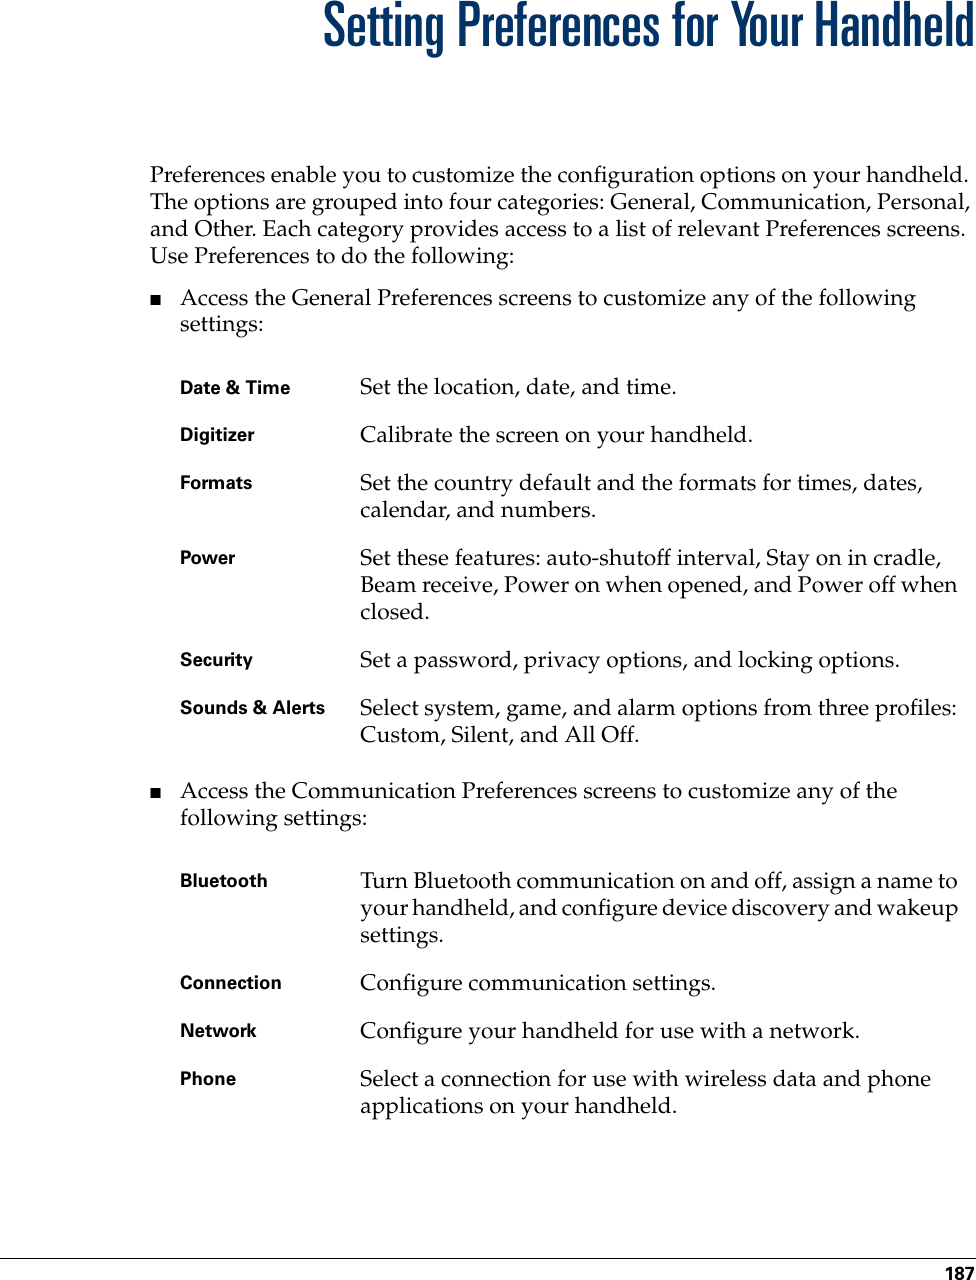
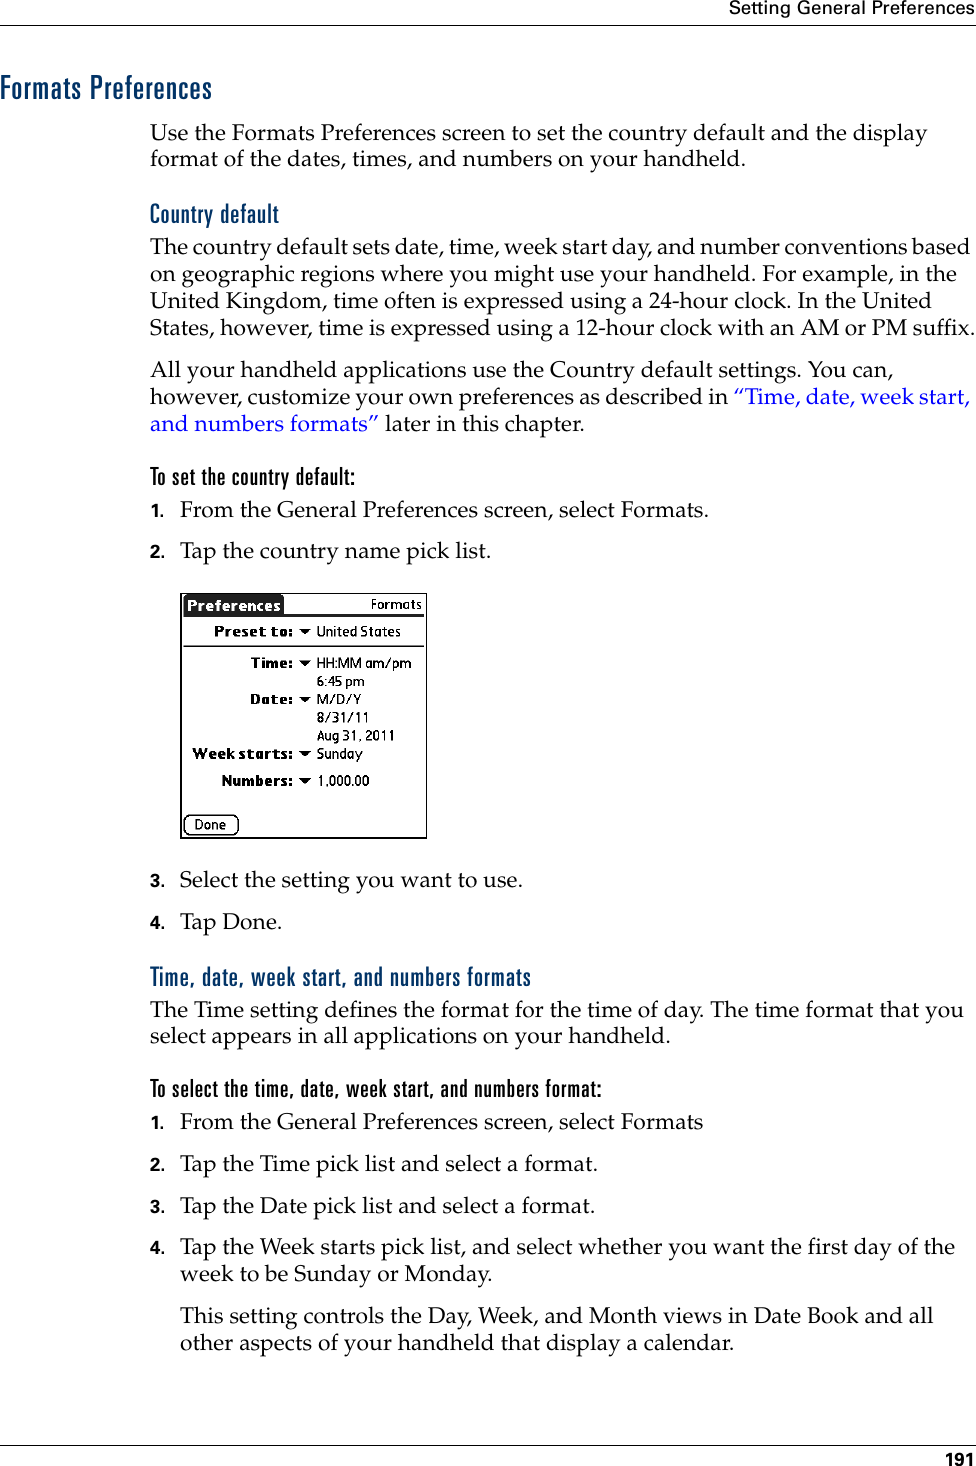
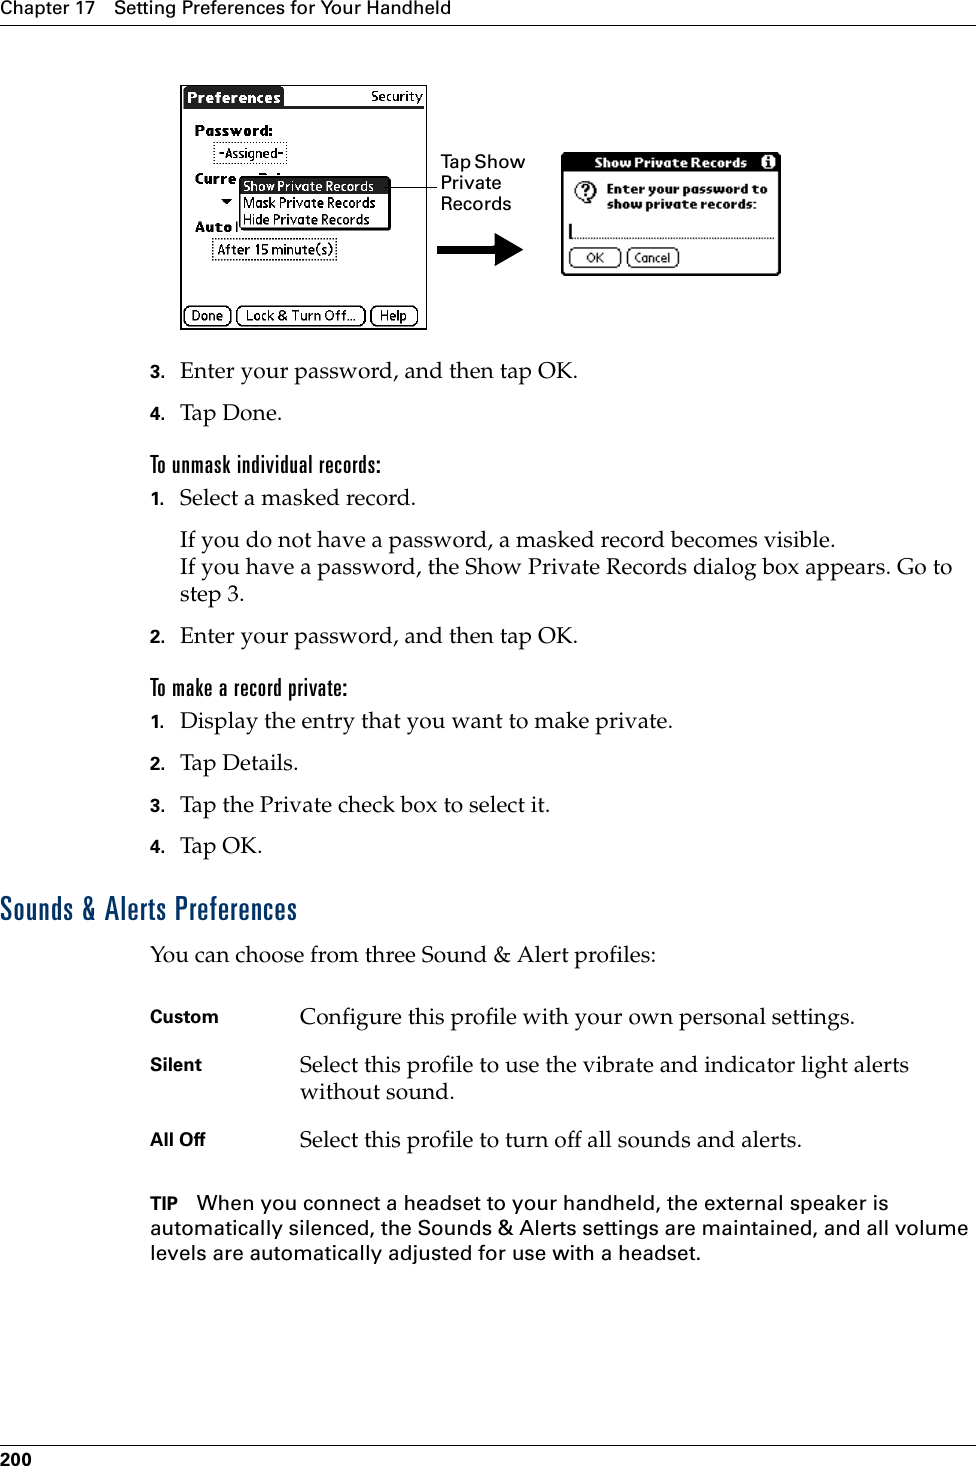
![Chapter 17 Setting Preferences for Your Handheld214Creating Bluetooth connectionsYou can use the Connection Preferences screen to create connections to the following types of Bluetooth-enabled devices:■GSM mobile phones (See “Connecting to non-GSM phones” later in this chapter for information on connecting to other mobile phones.)■Computers■LAN access points■High-speed wireless data networks [such as a General Packet Radio Service (GPRS) network]High-speed wireless data networks provide an “always on” network connectivity and high-speed wireless data transmission. To connect to a high-speed wireless data network, you must have a GSM mobile phone, the correct driver for your phone, a subscription to high-speed wireless data network services with your mobile phone carrier, and the correct high-speed wireless data network settings for your carrier.TIP You can also create a connection with a GSM phone using the Phone Link application. We recommend using Phone Link to create phone connections. See Chapter 12 for details. Use the steps described in these sections only if you are unable to create a connection with Phone Link.To create a Bluetooth to LAN connection:1. From the Communications Preferences screen, select Connection.2. Tap N ew.3. Enter a name for the connection, such as BT to LAN.4. Tap the Connect to pick list and select Local Network.5. Tap the Via pick list and select Bluetooth.6. Make sure the network access point is ready to accept a Bluetooth connection.Tap here Palm, Inc. Confidential](https://usermanual.wiki/Palm/550000.User-Manual/User-Guide-279375-Page-224.png)