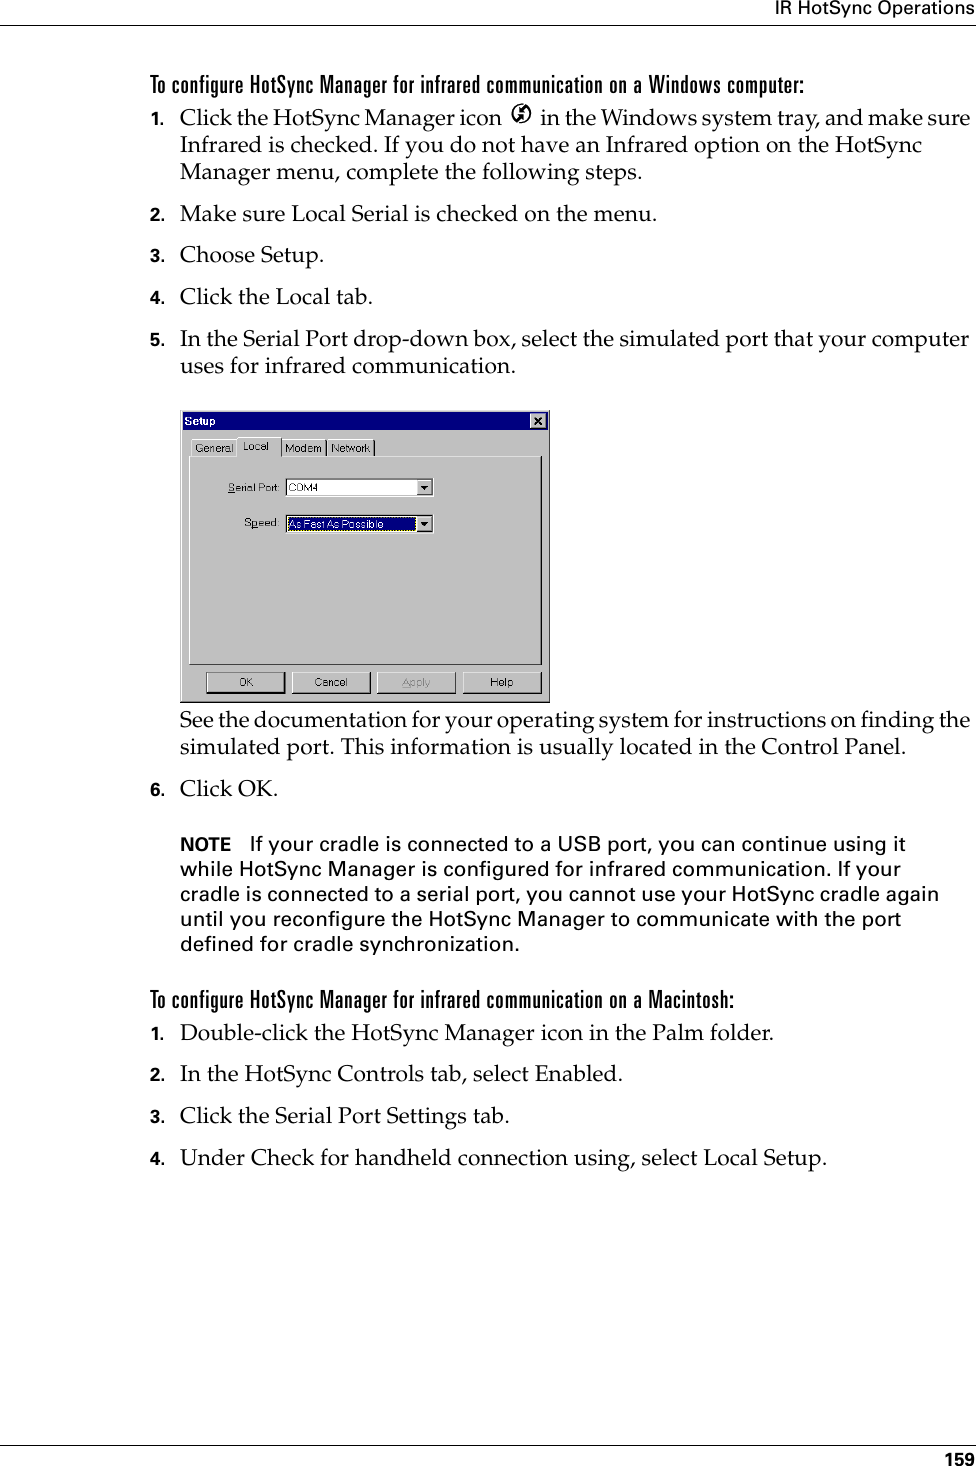
Palm I70500 Handheld PDA with low duty cycle packet data User Manual Tornado conntoPC eps
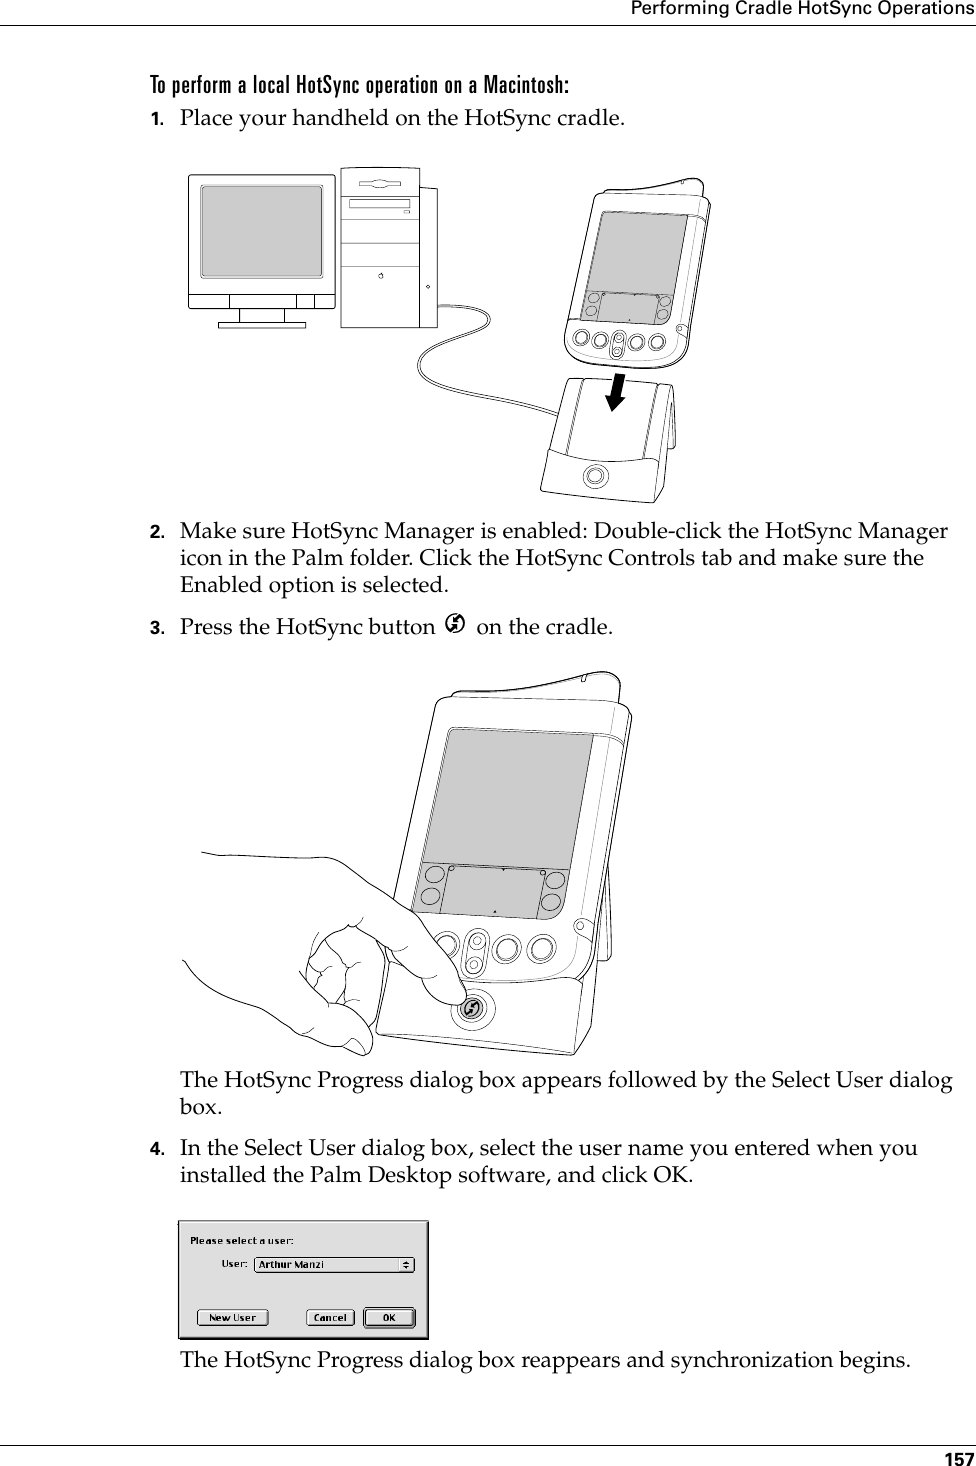
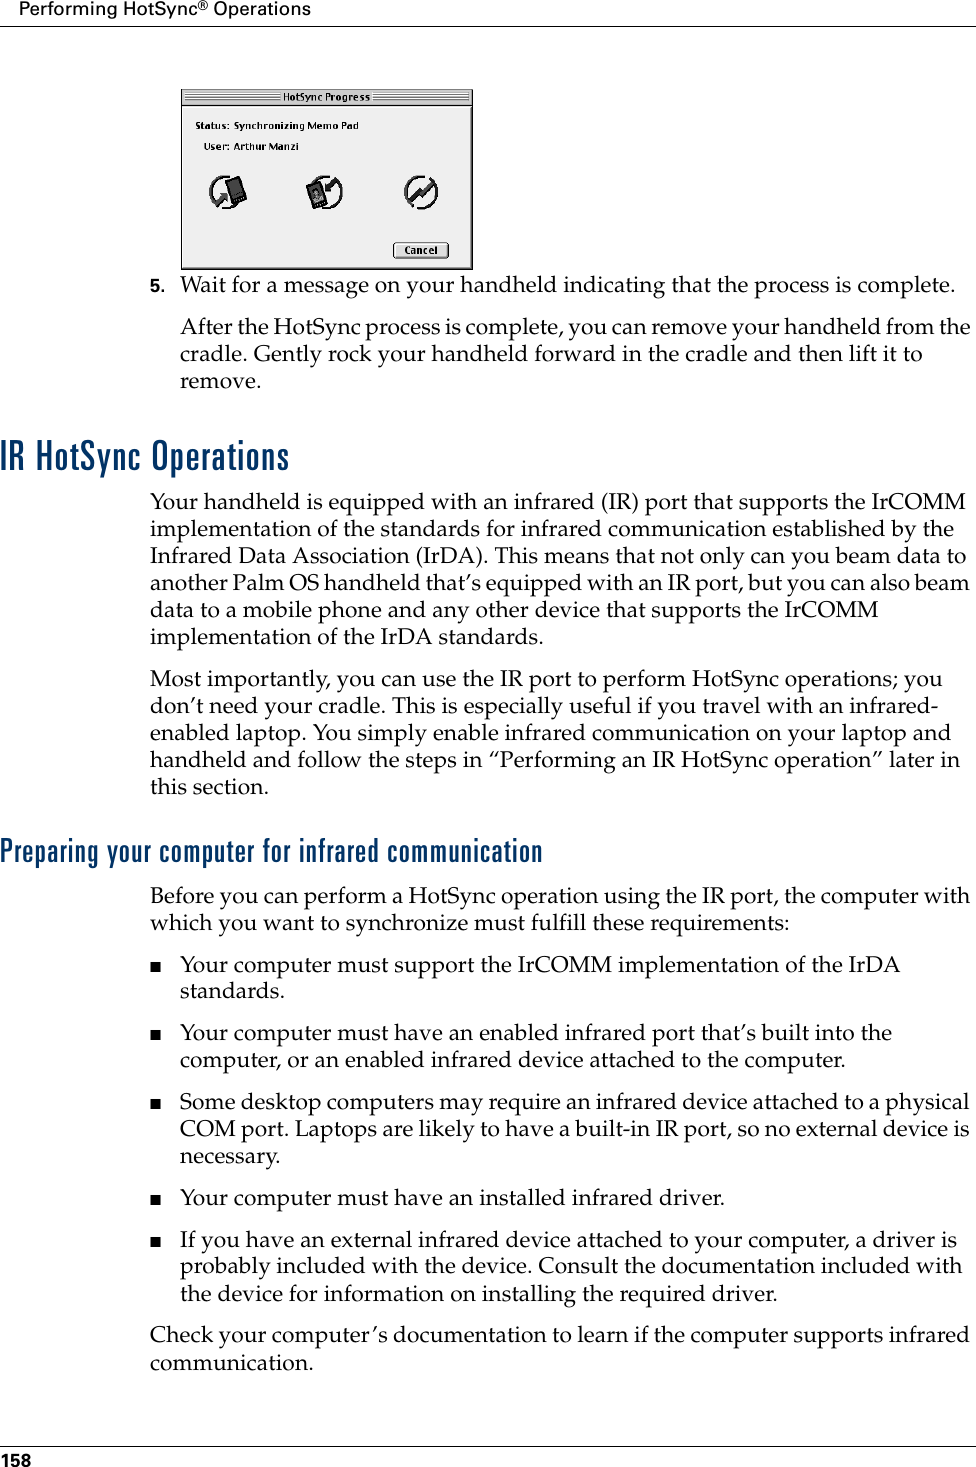
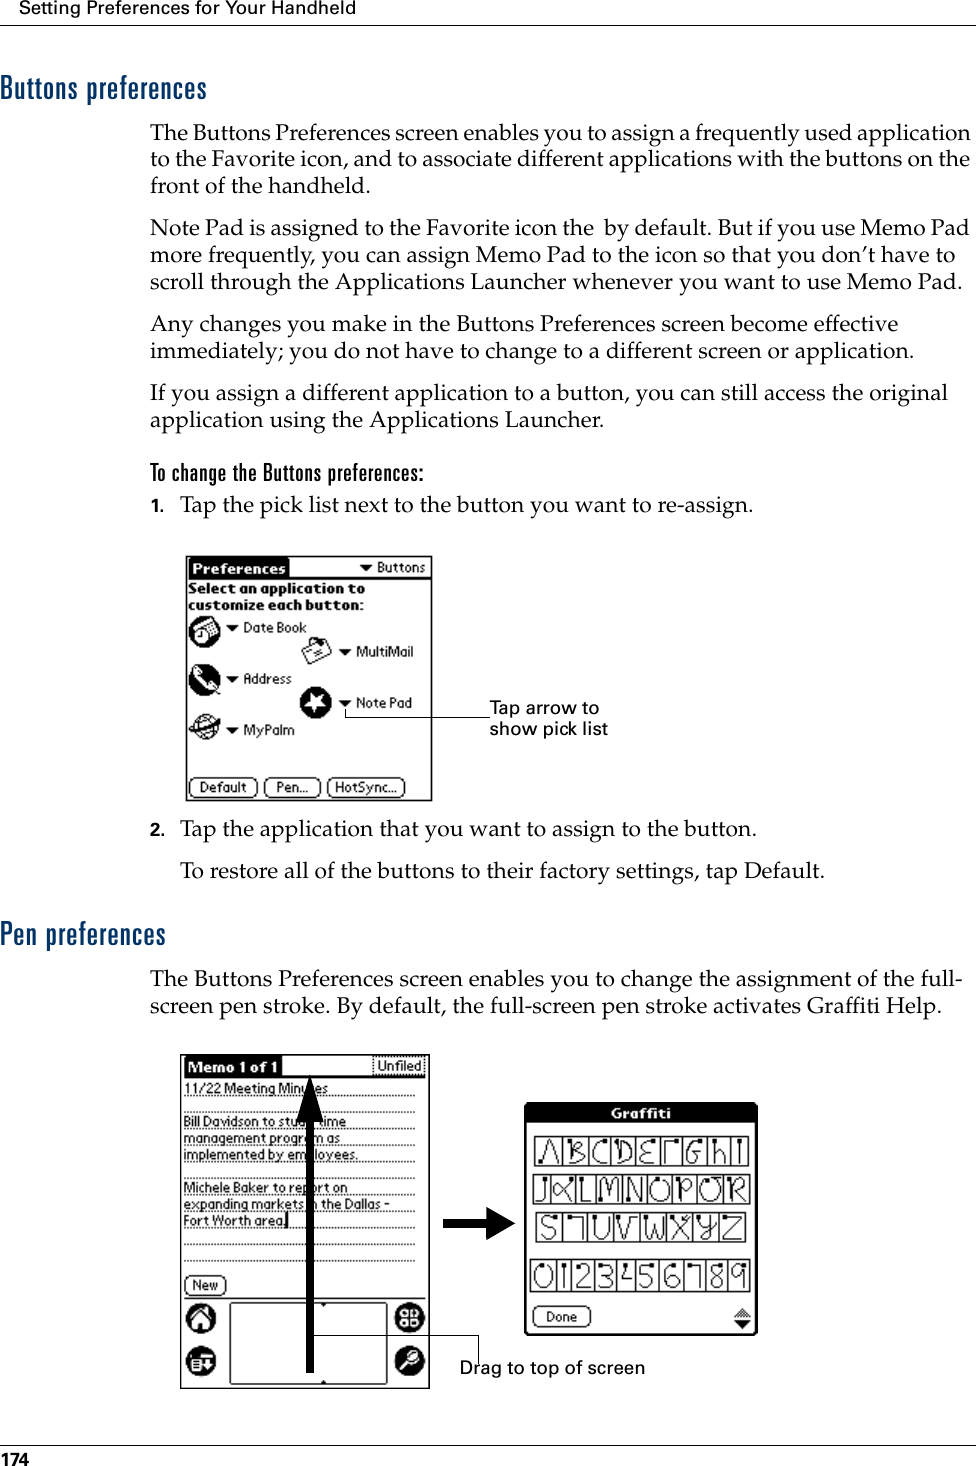
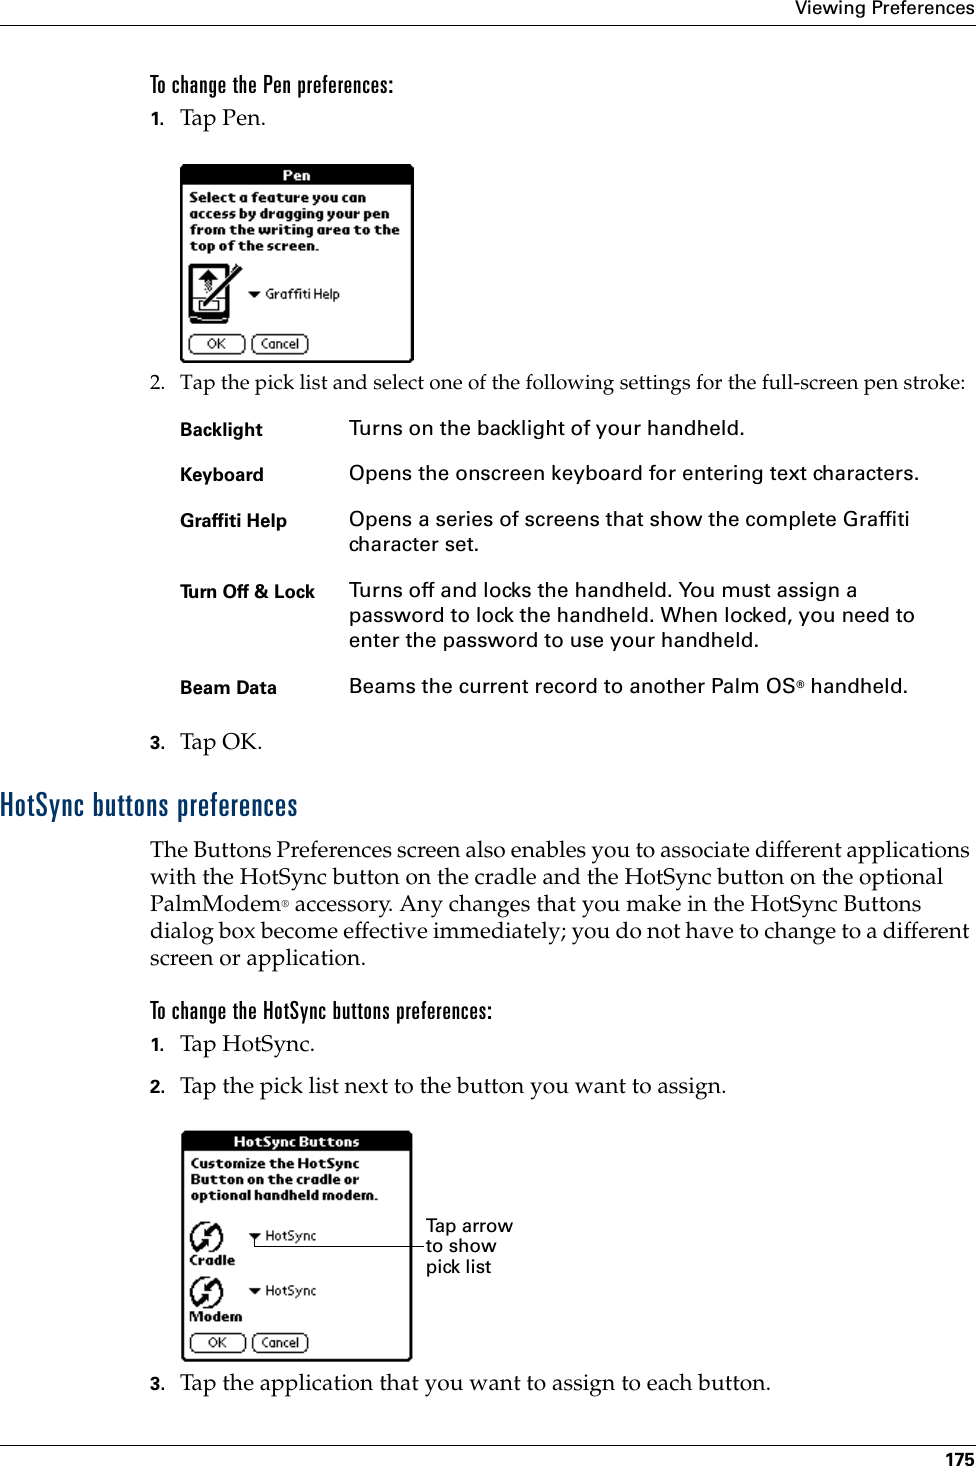
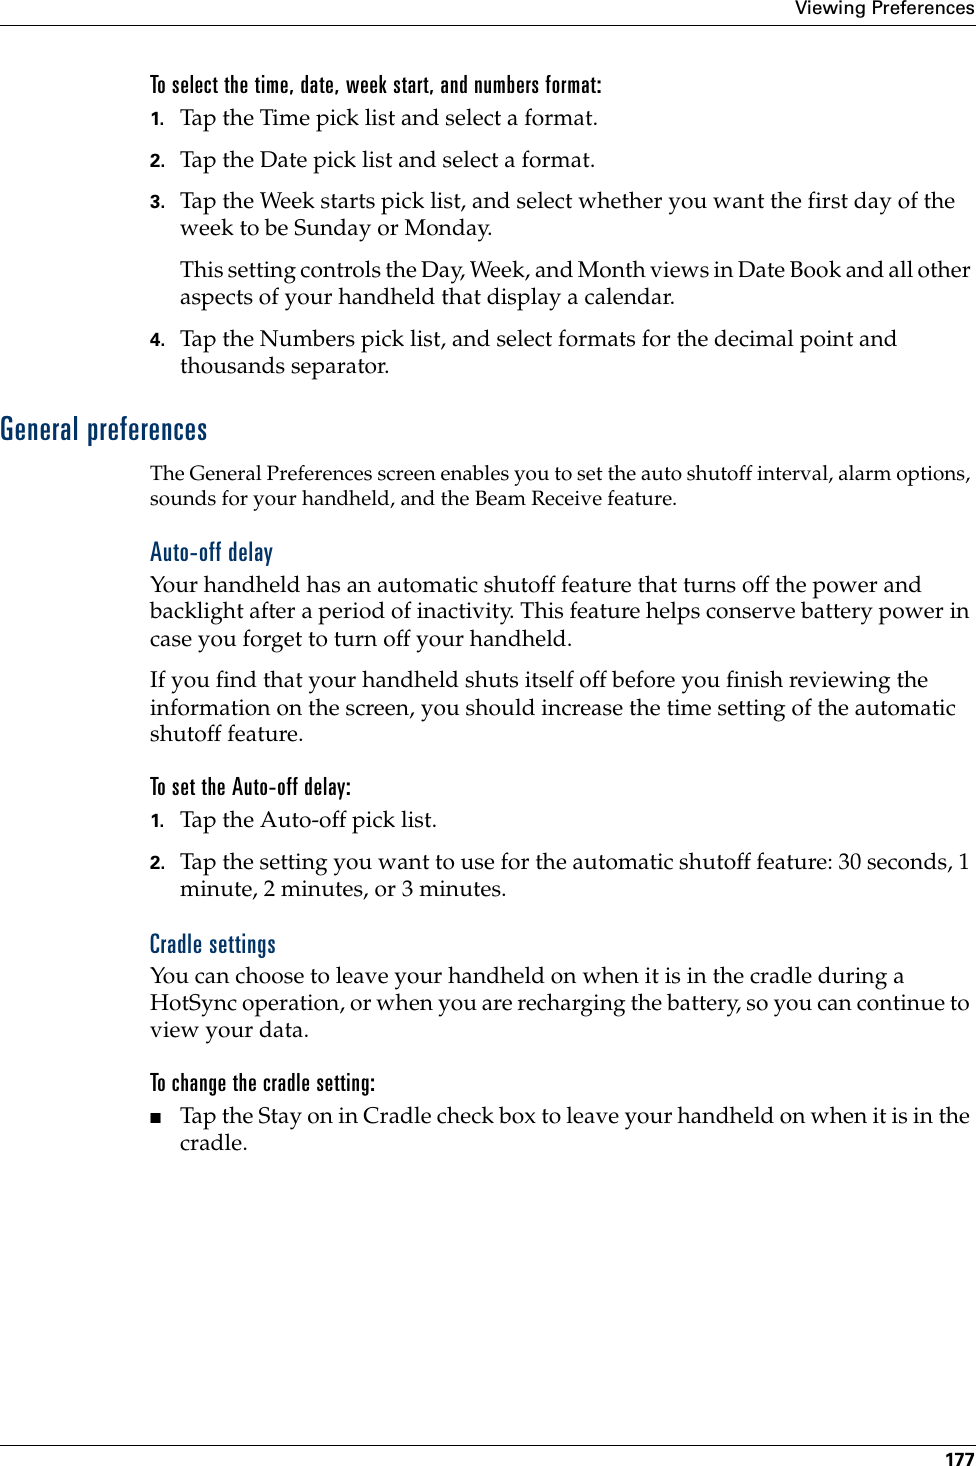
Palm Inc Handheld PDA with low duty cycle packet data Tornado conntoPC eps
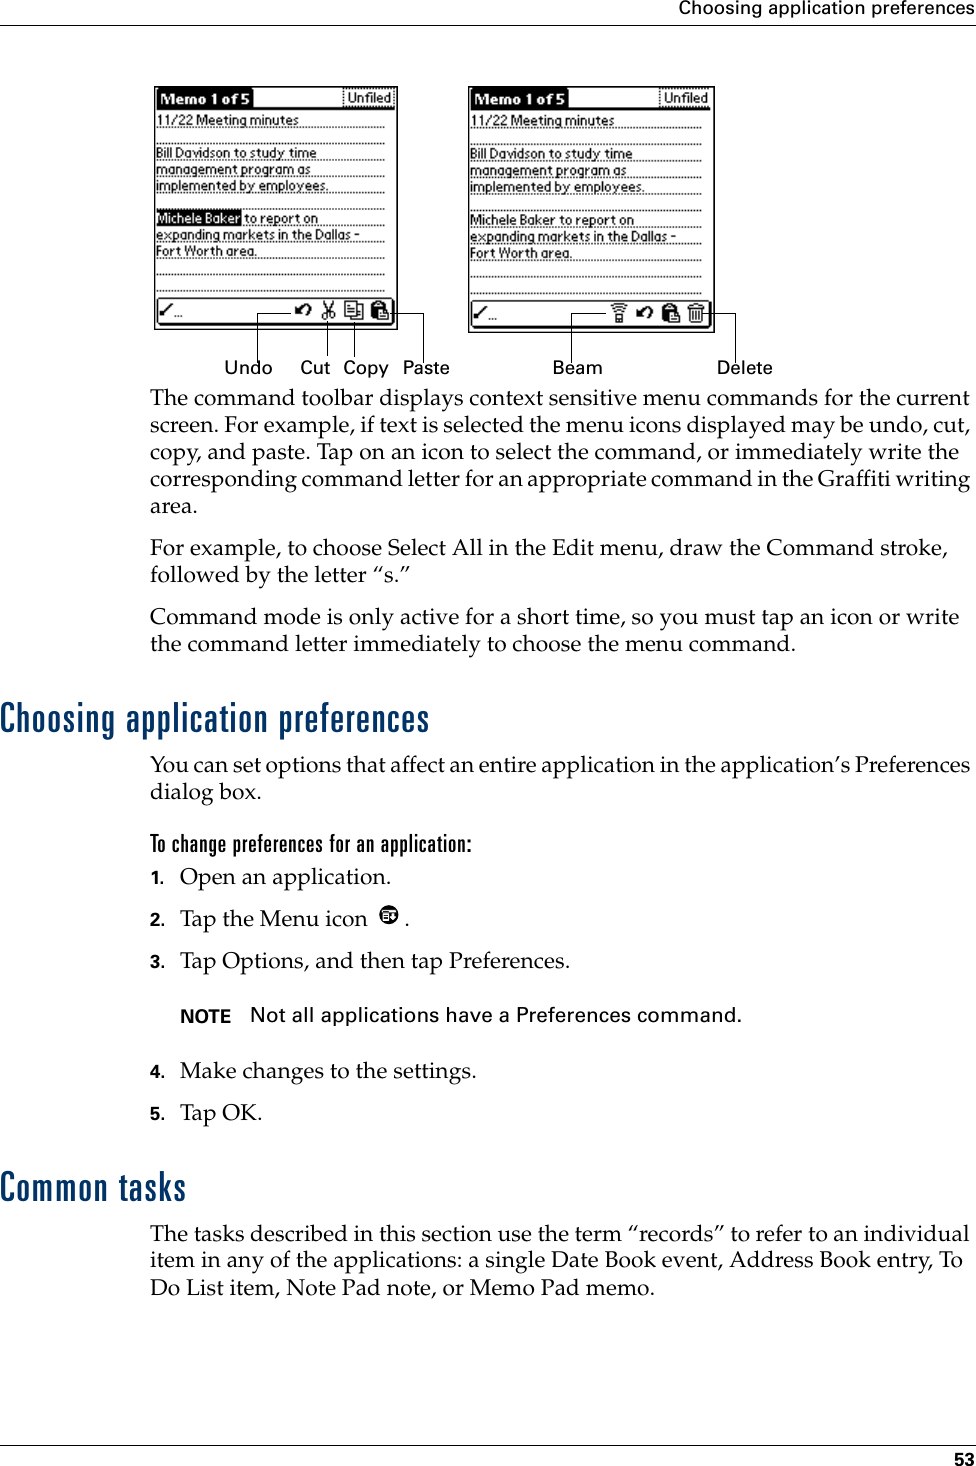
Palm >
Exhibit 8 Instruction Manual See page 227 for SAR and Part 15 statements

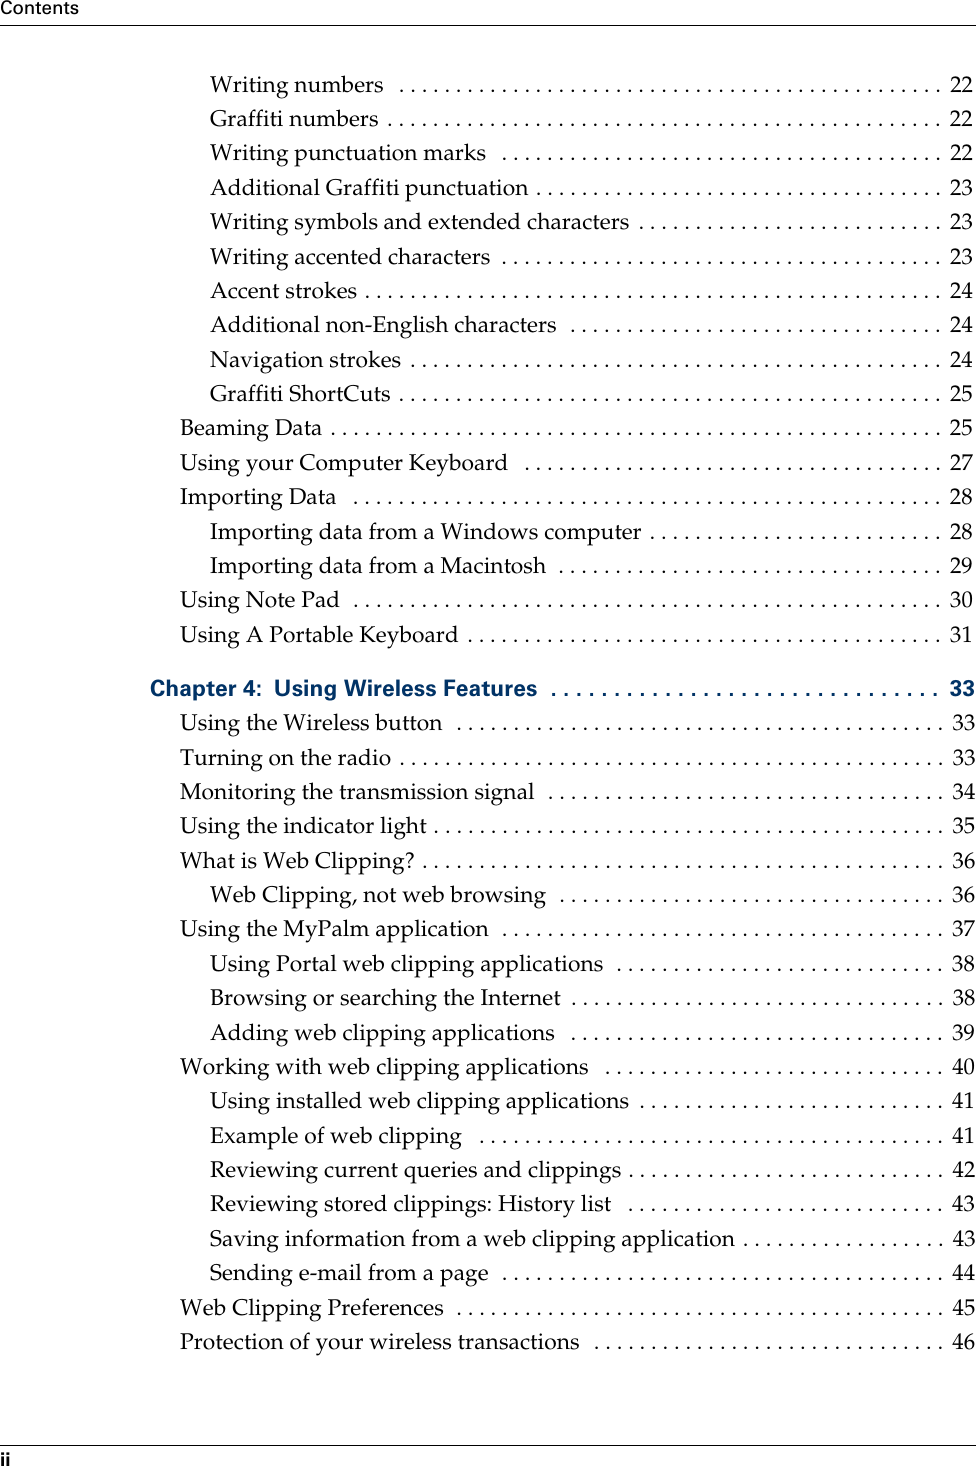


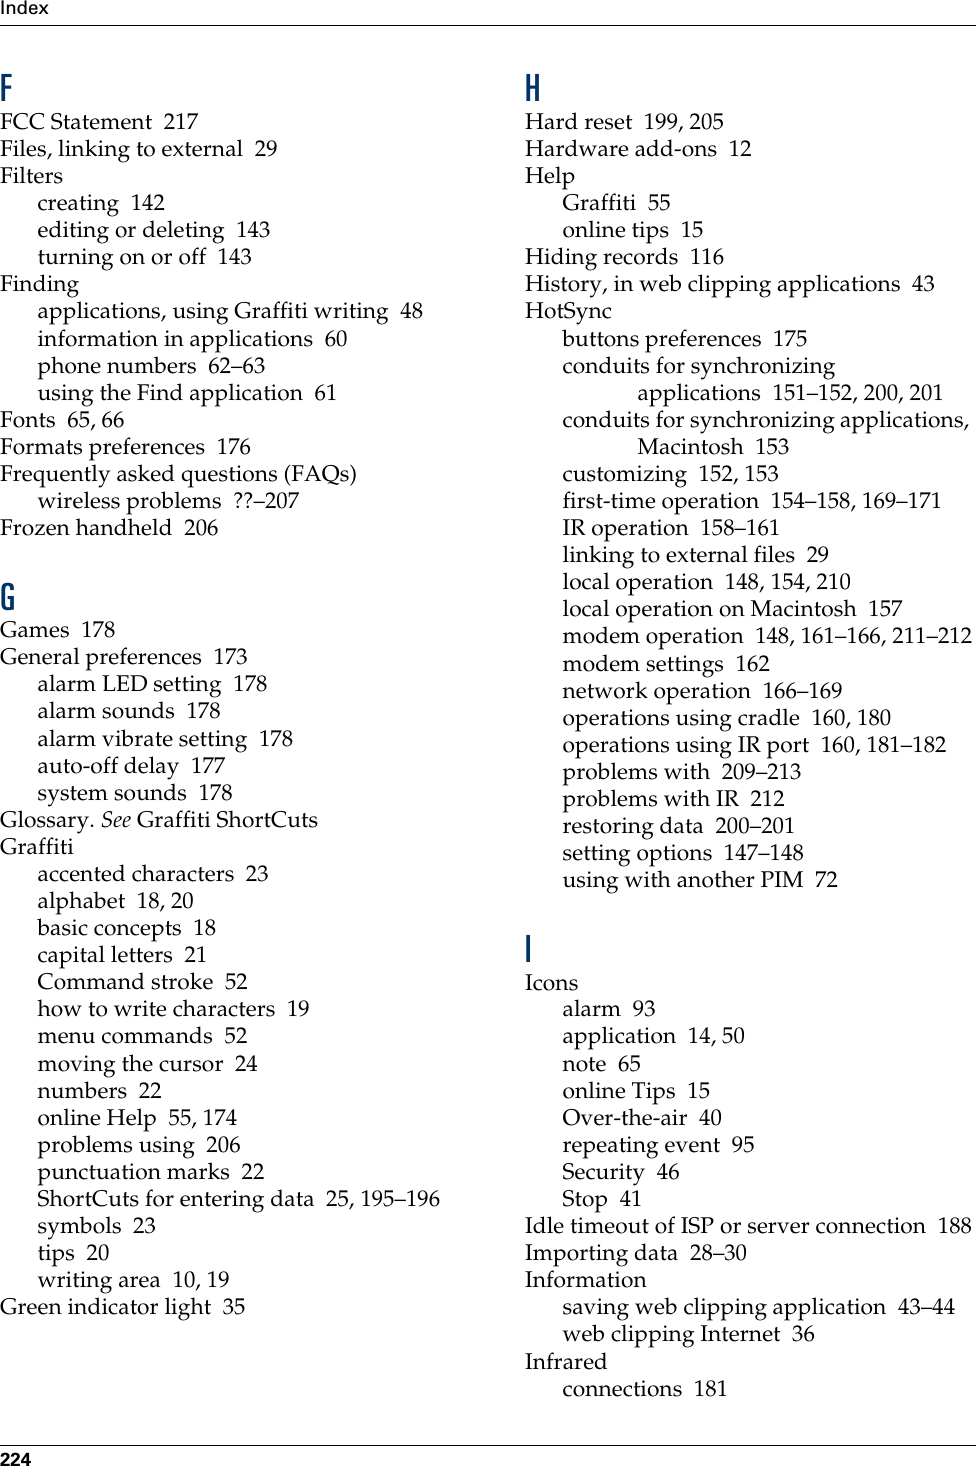
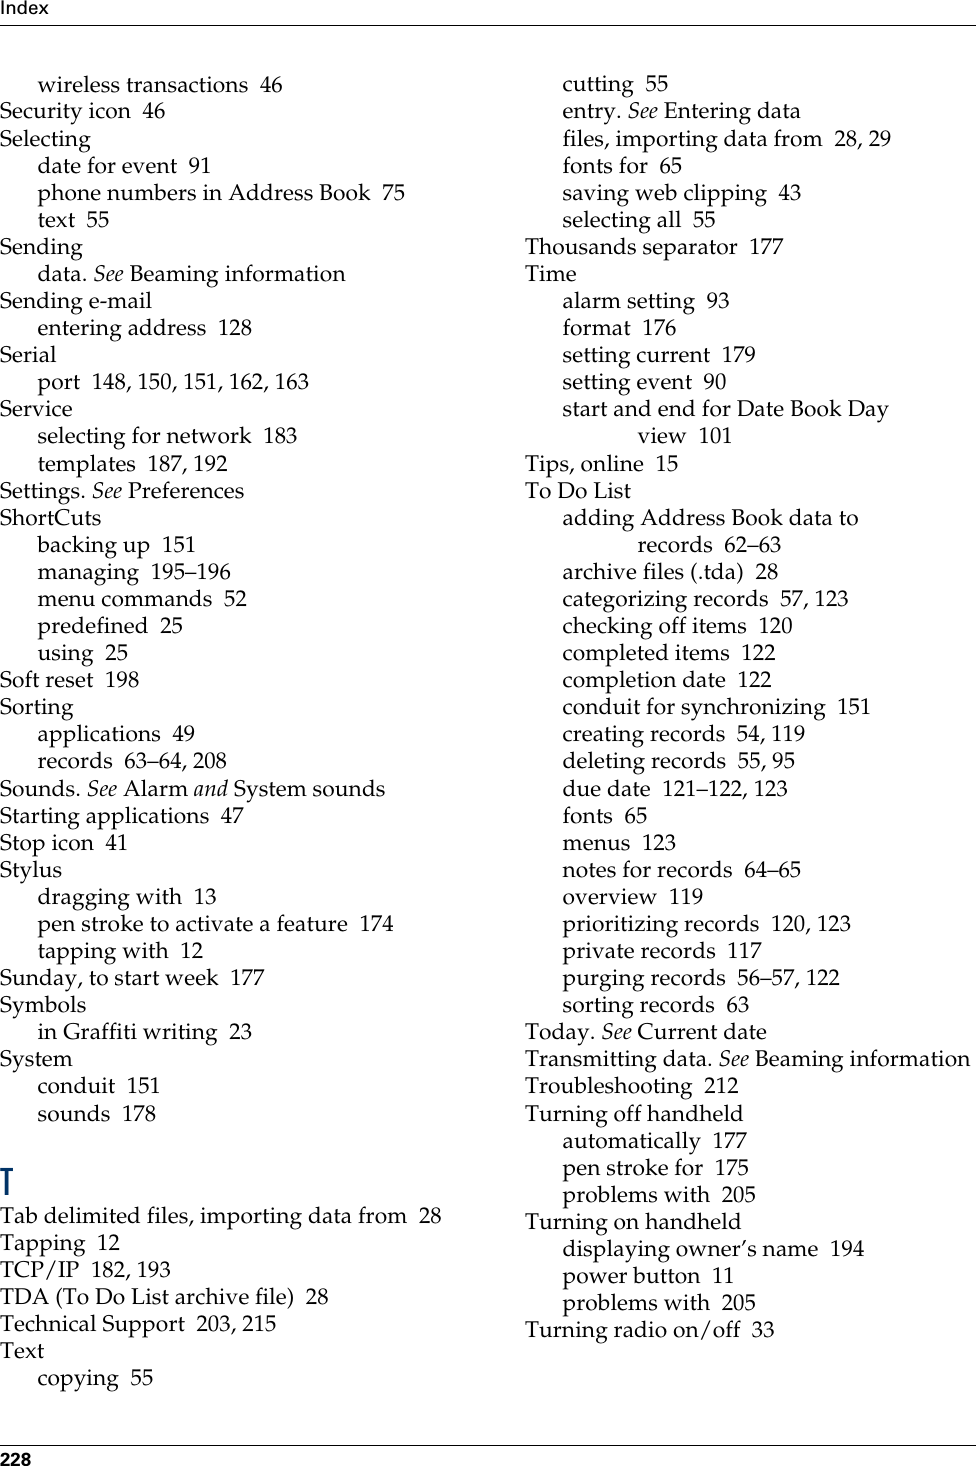
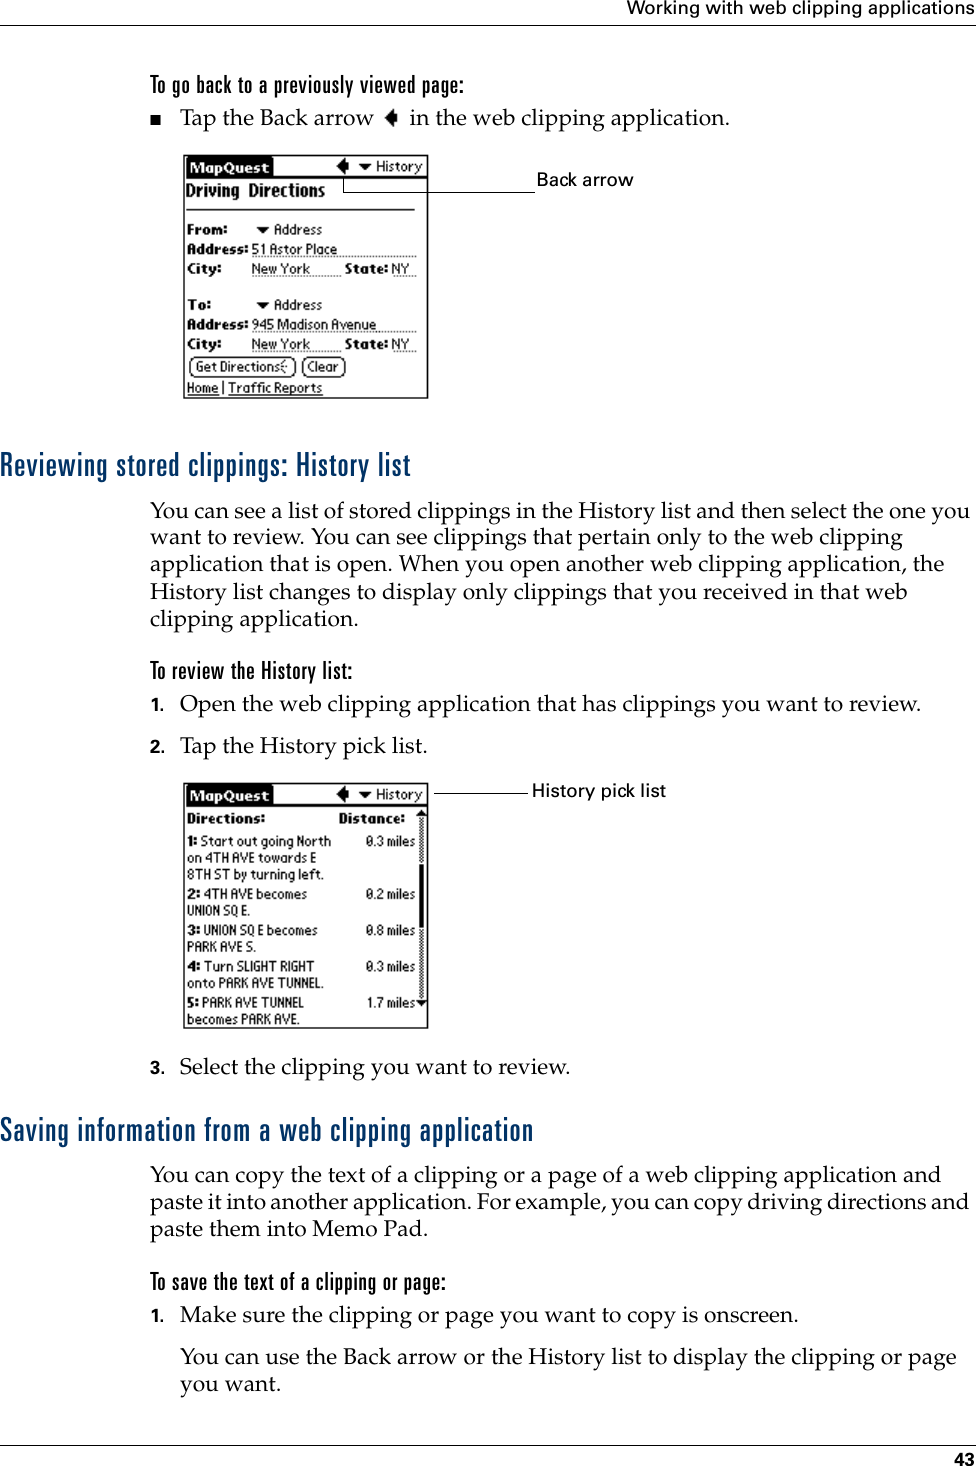
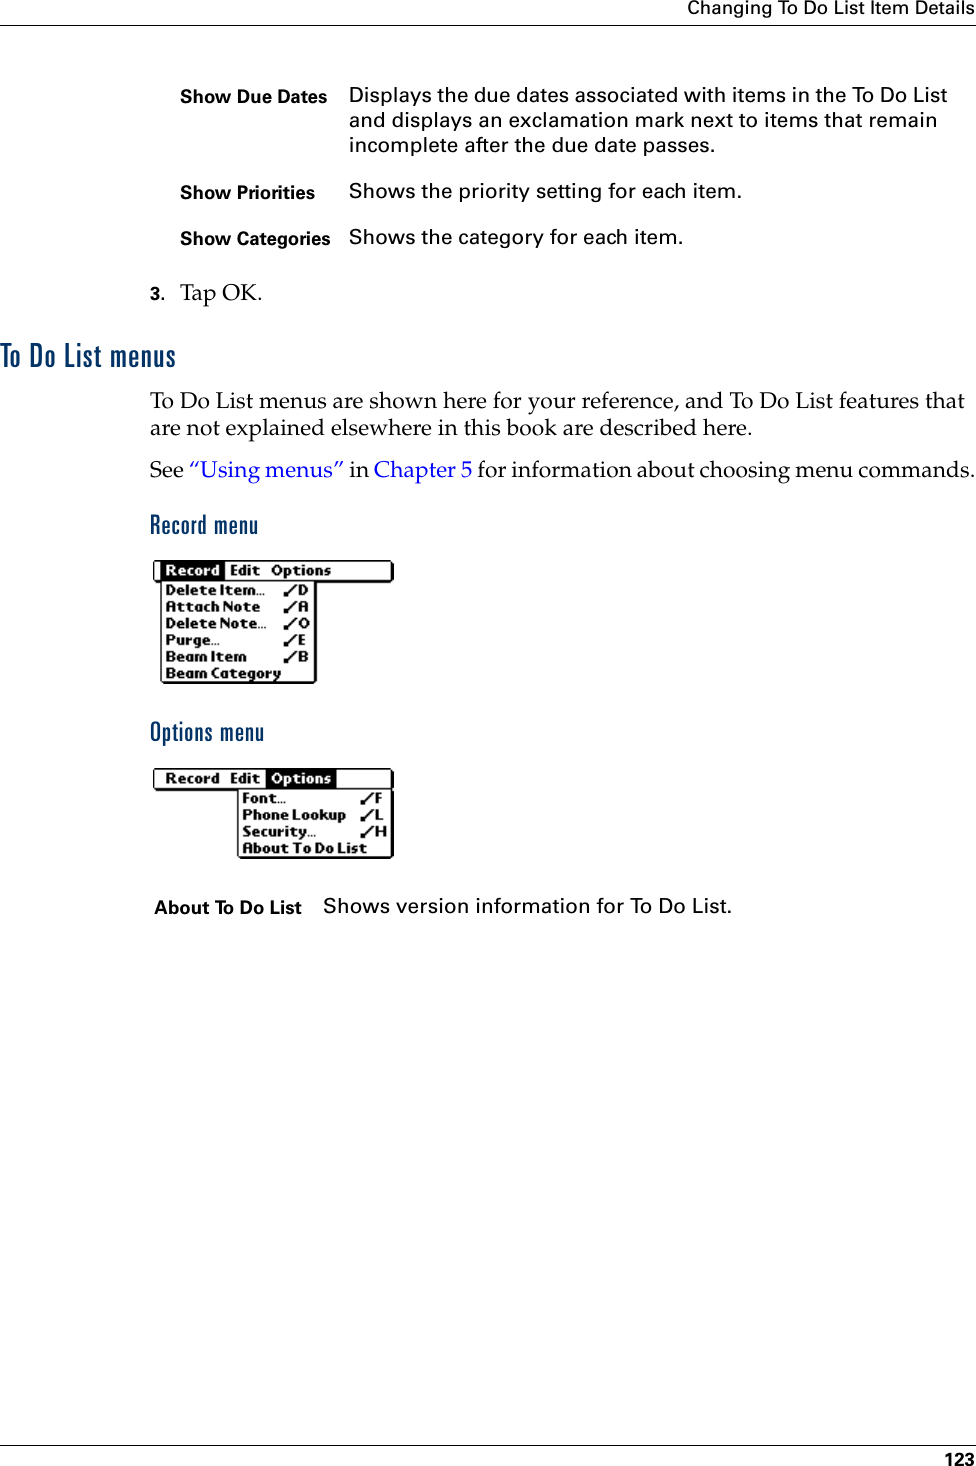
![Using Graffiti Writing to Enter Data23Additional Graffiti punctuationWriting symbols and extended charactersAll symbols and extended characters begin with the stroke in the Graffiti writing area of your handheld:When the Symbol Shift is active, a slanted shift symbol appears in the lower-right corner of the screen. The next stroke that you make creates the symbol or extended character.Writing accented charactersTo create accented characters, draw the stroke normally used to create the letter, followed by an accent stroke. Graffiti writing then adds the accent to the letter.Apostrophe'Right Paren)Question?Slash/ Exclamation!Dollar$@ # % ^ & * < > + = | —\ { } [ ] ~ ` ; : " tabSymbolShift Symbol Shift• ,,,,,°,+—X:==cY?!ƒ∅](https://usermanual.wiki/Palm/I70500/User-Guide-158920-Page-33.png)

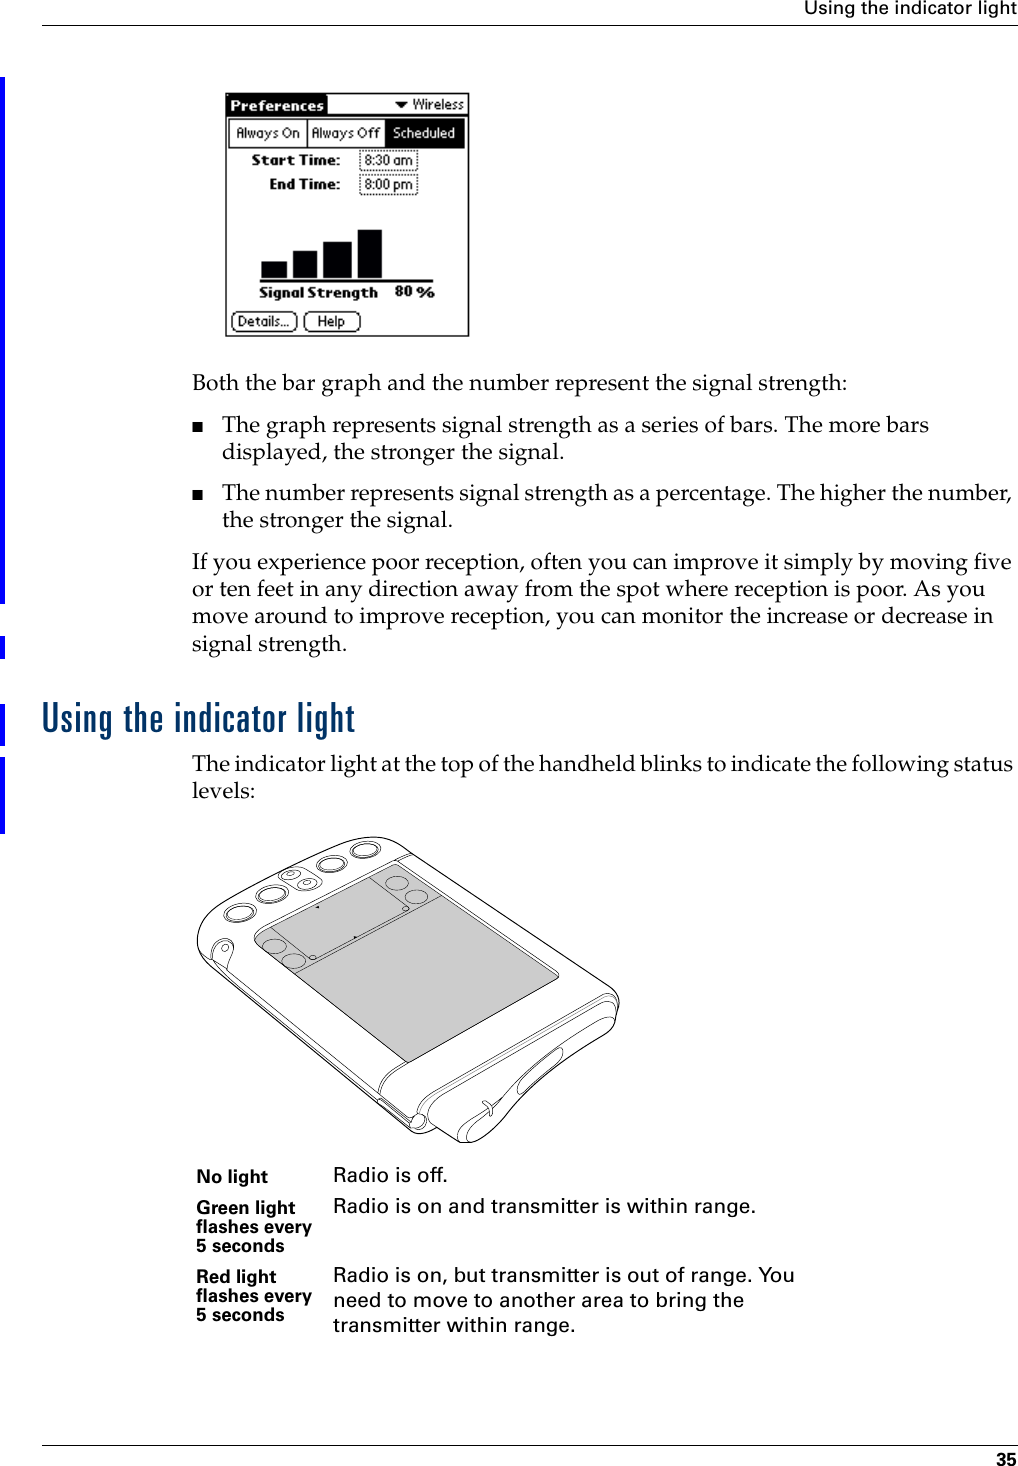


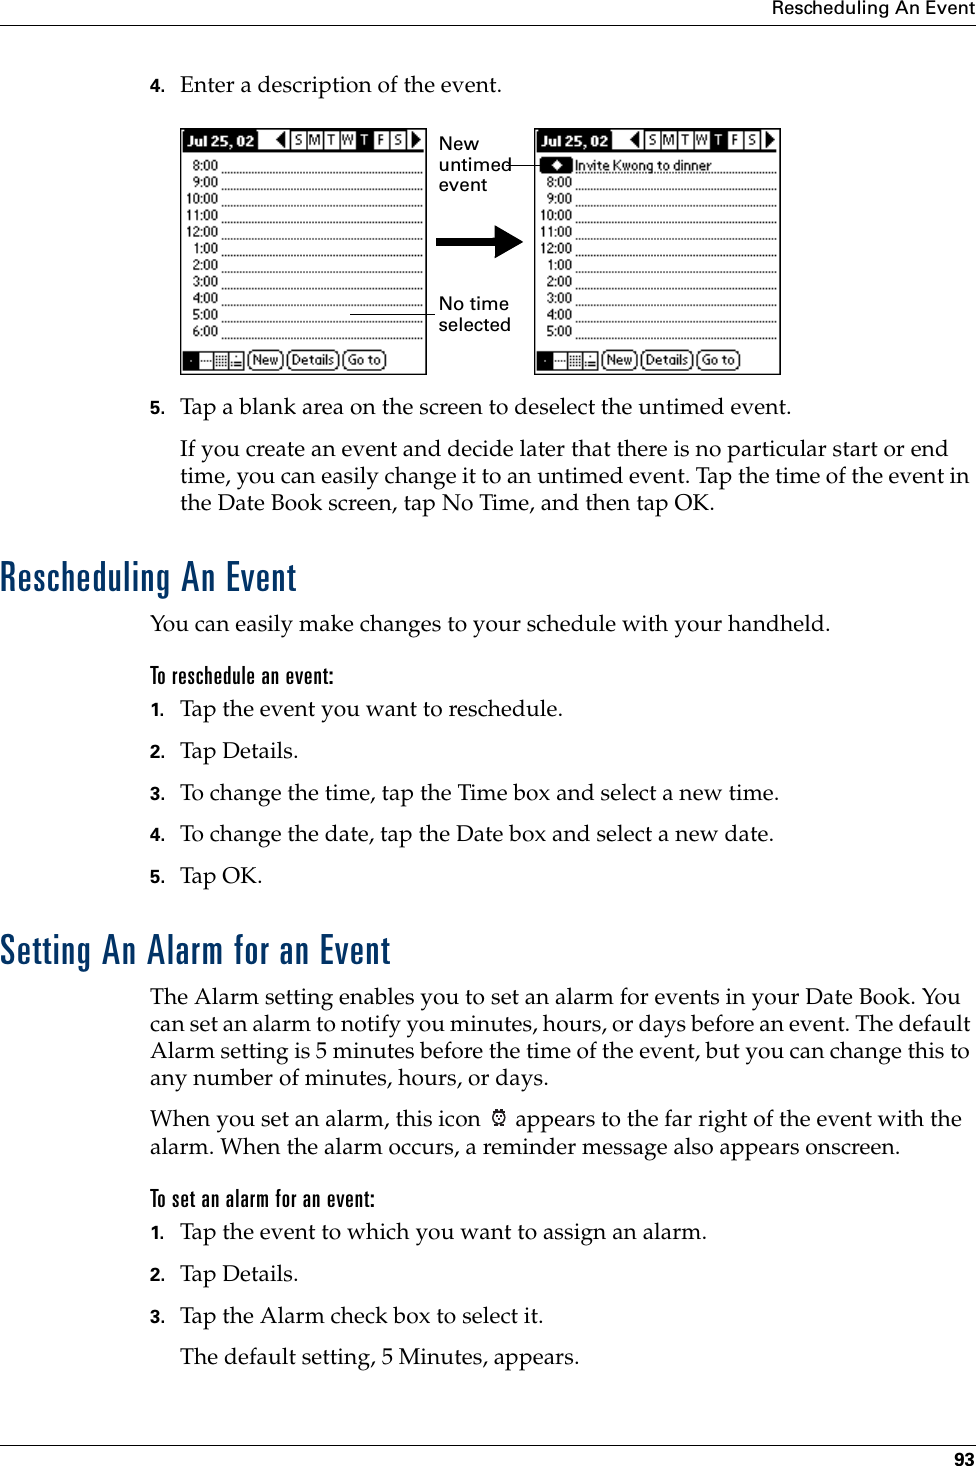

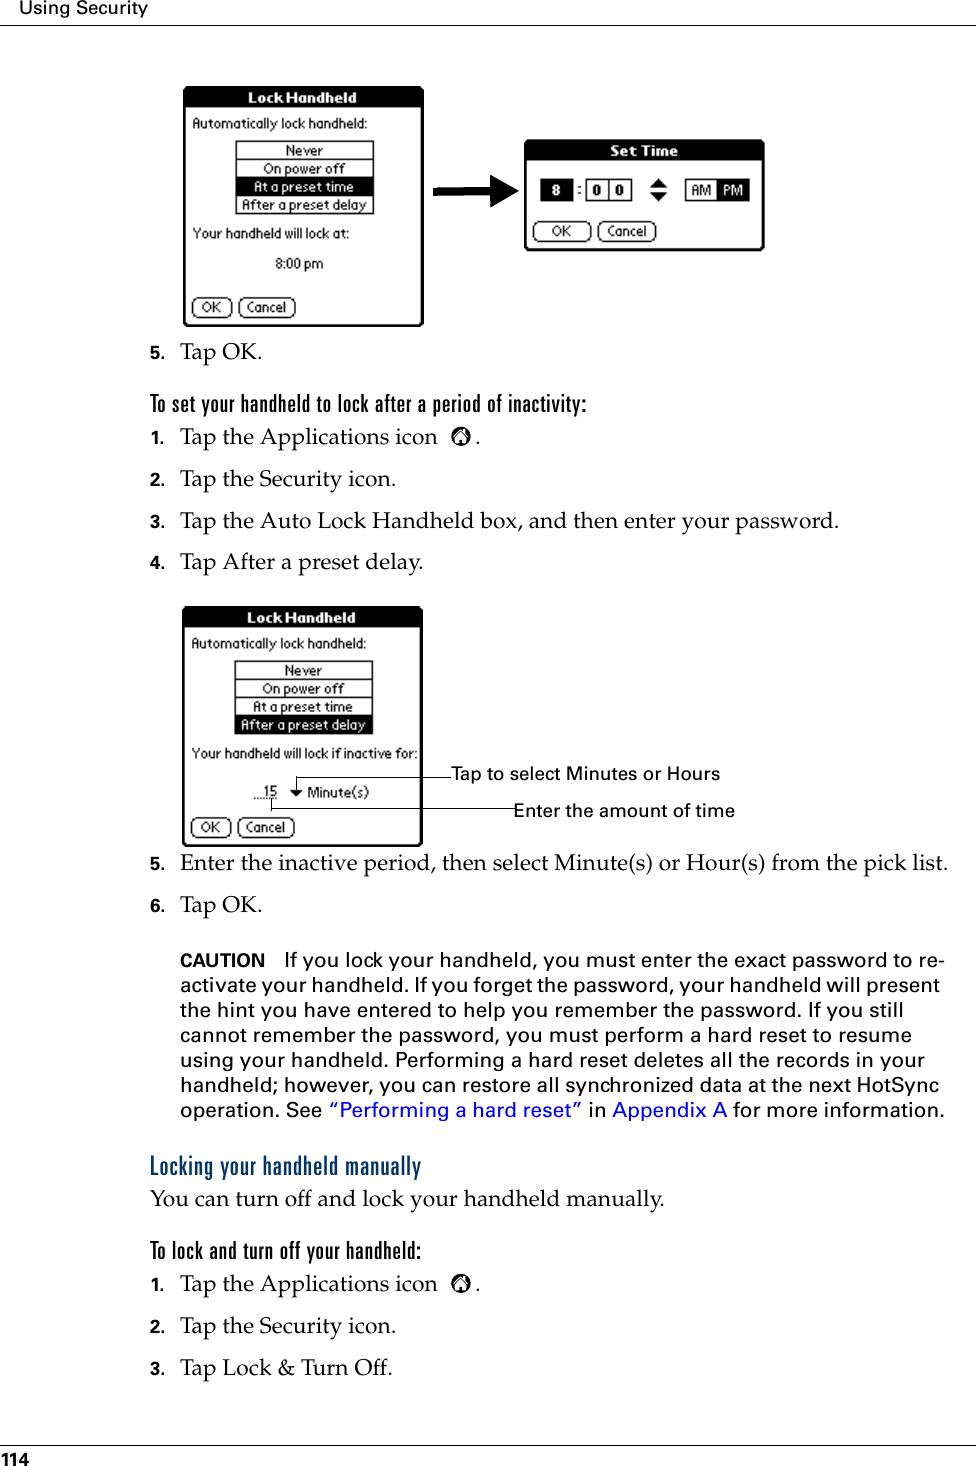


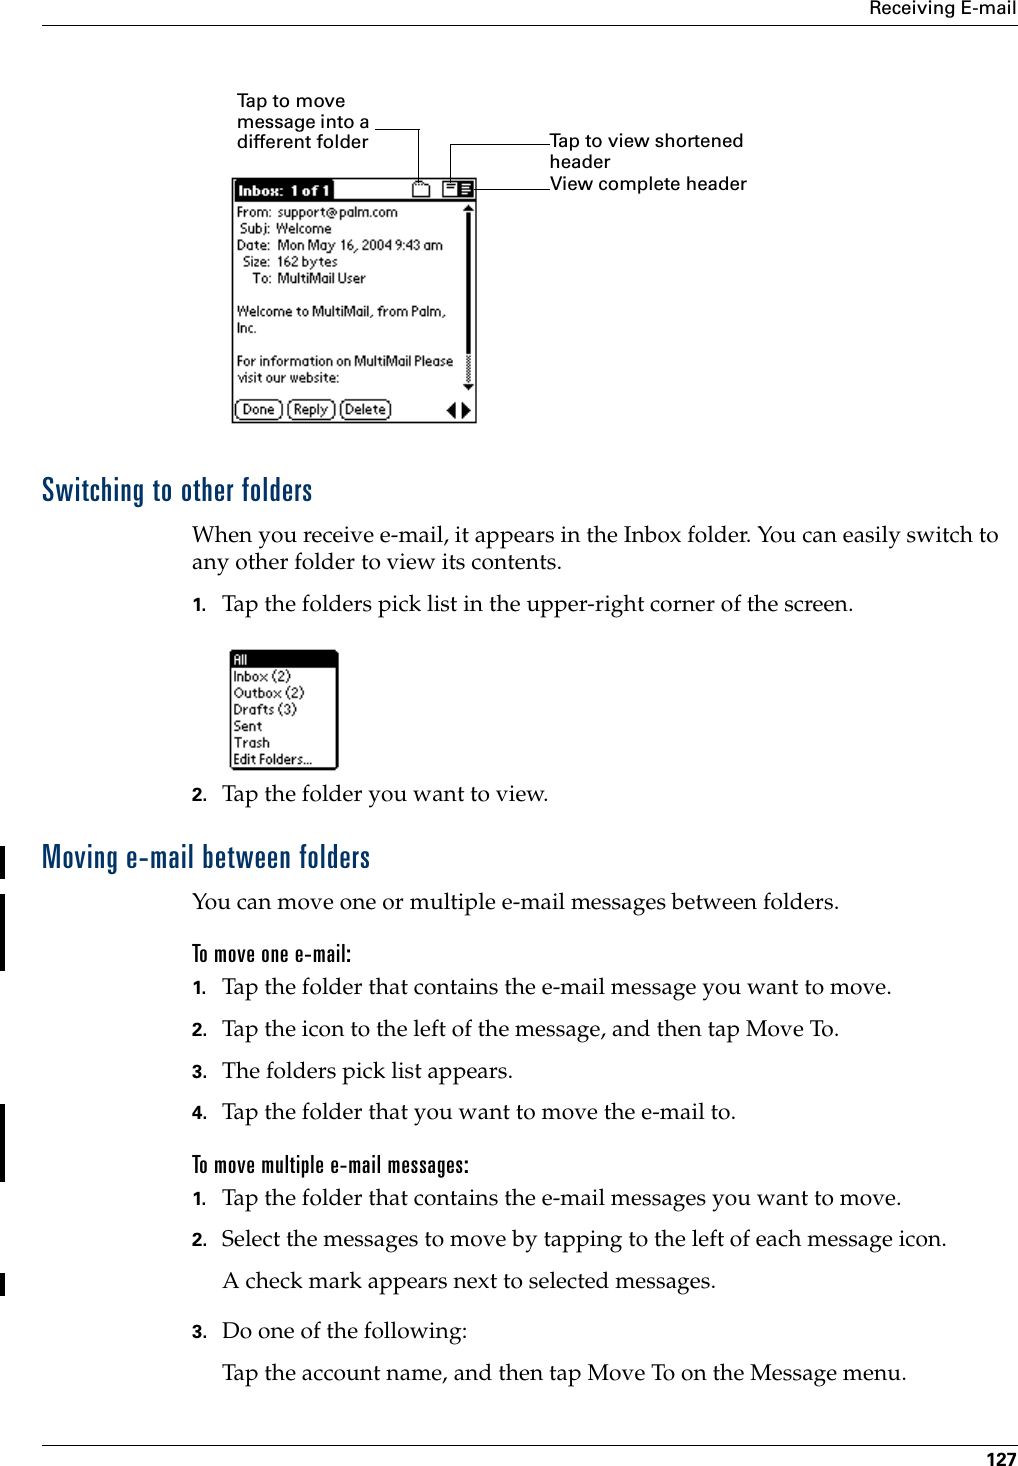
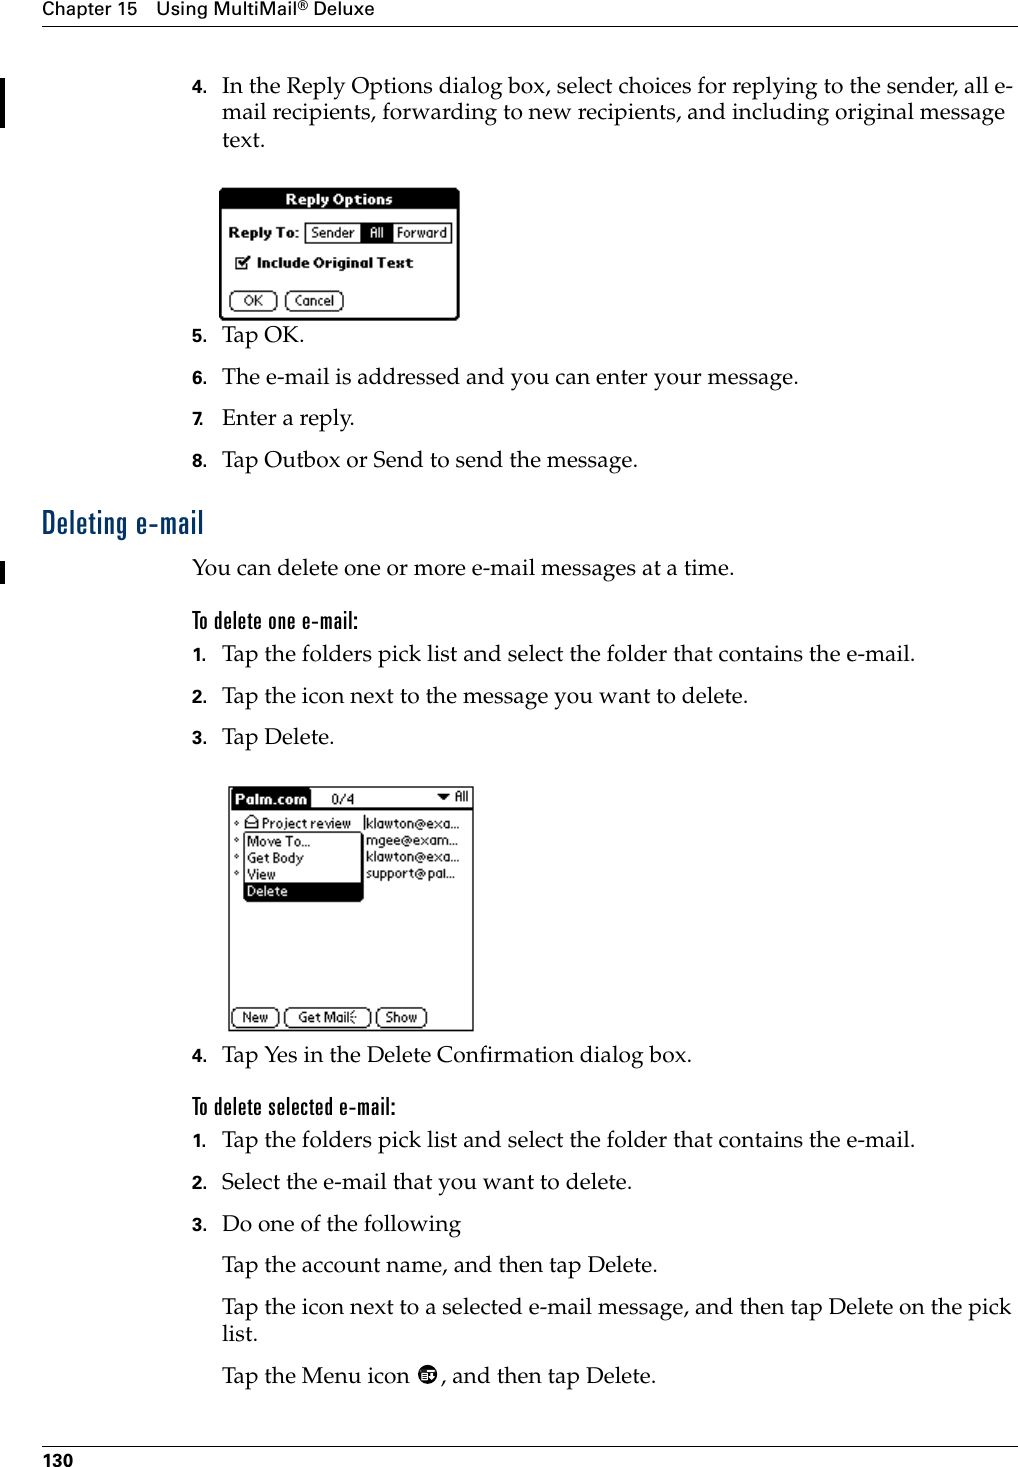
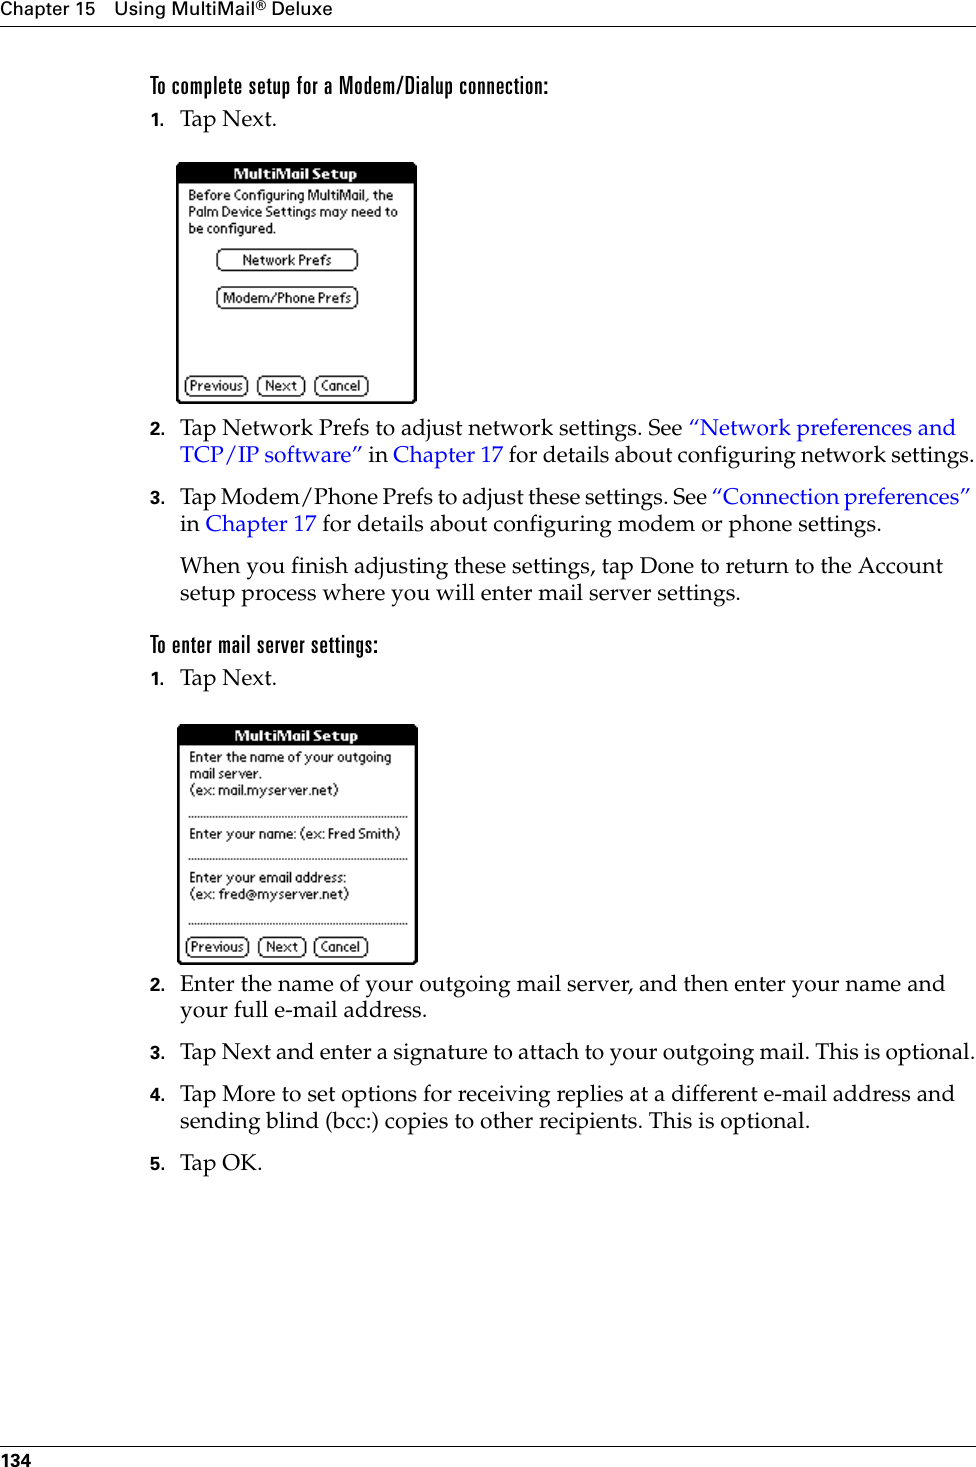
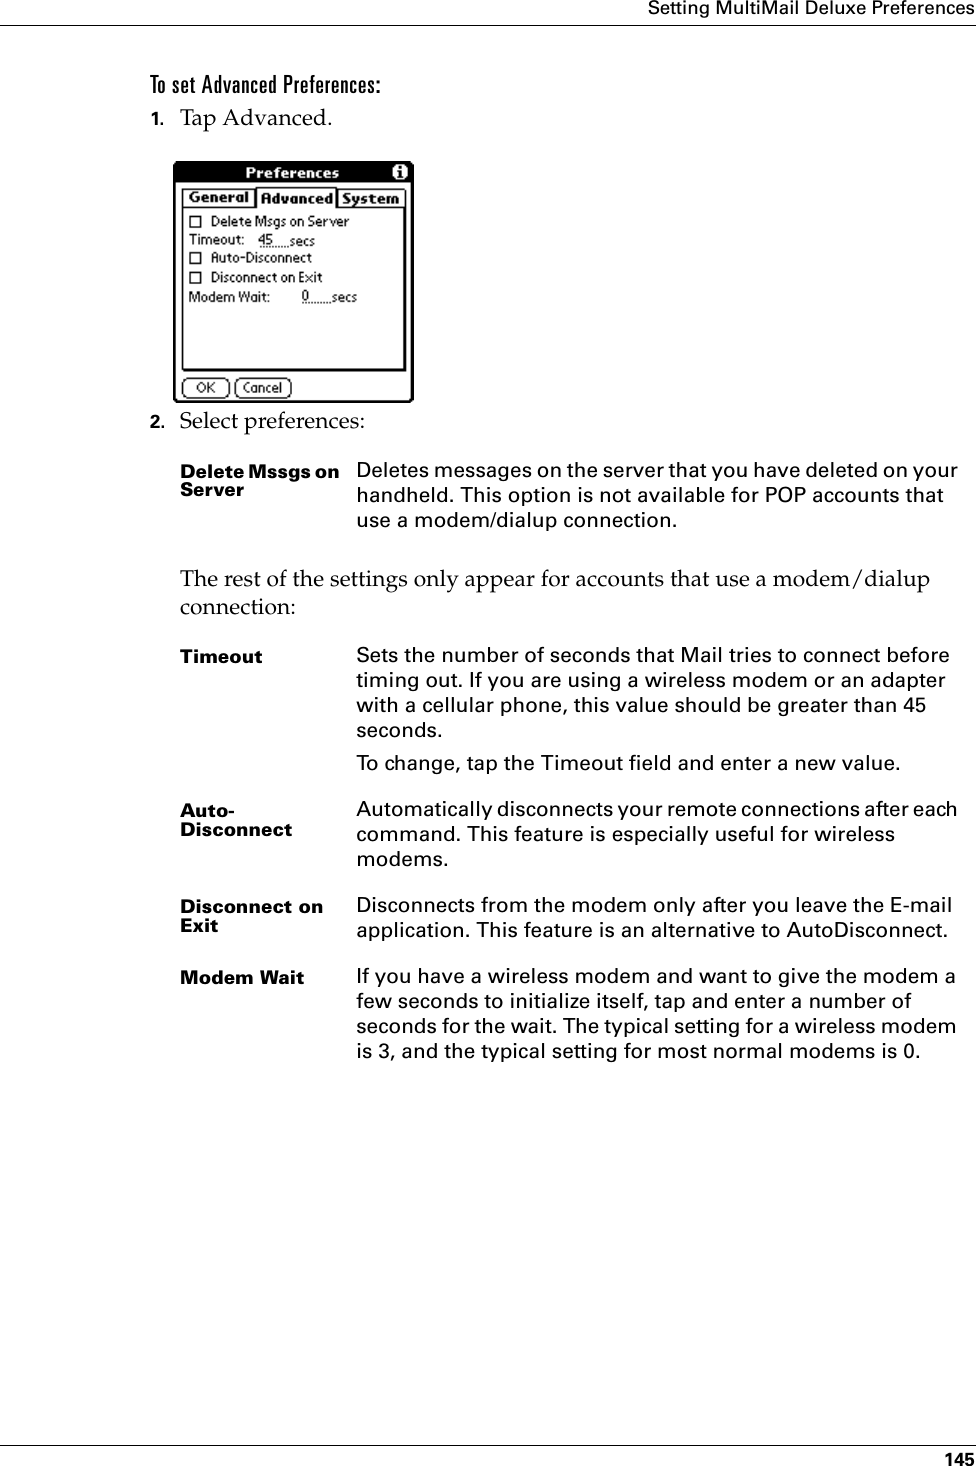
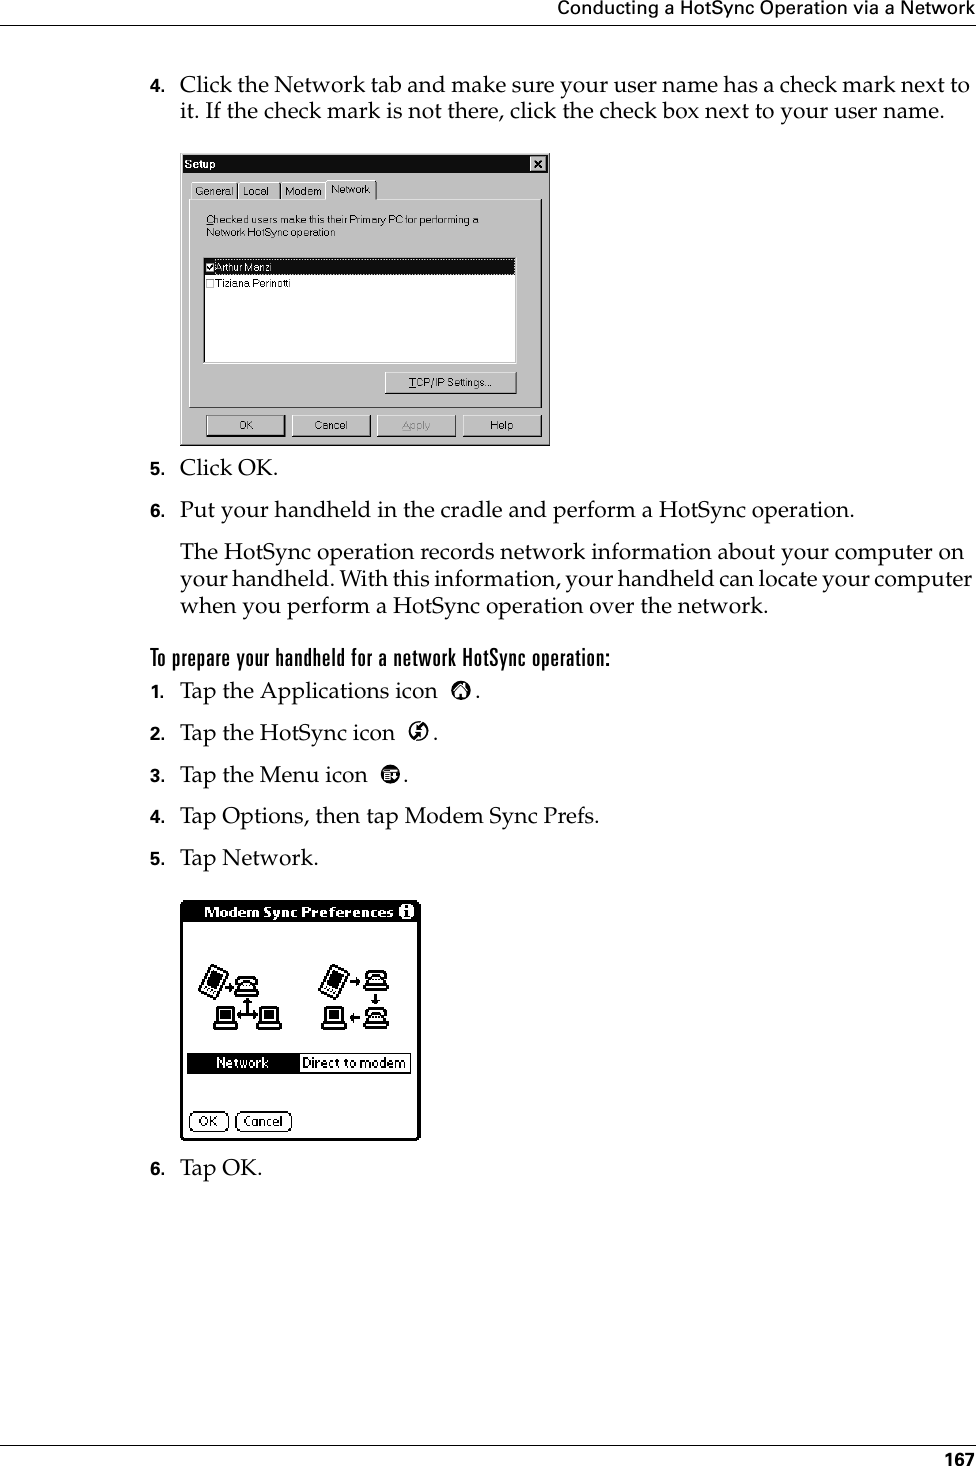
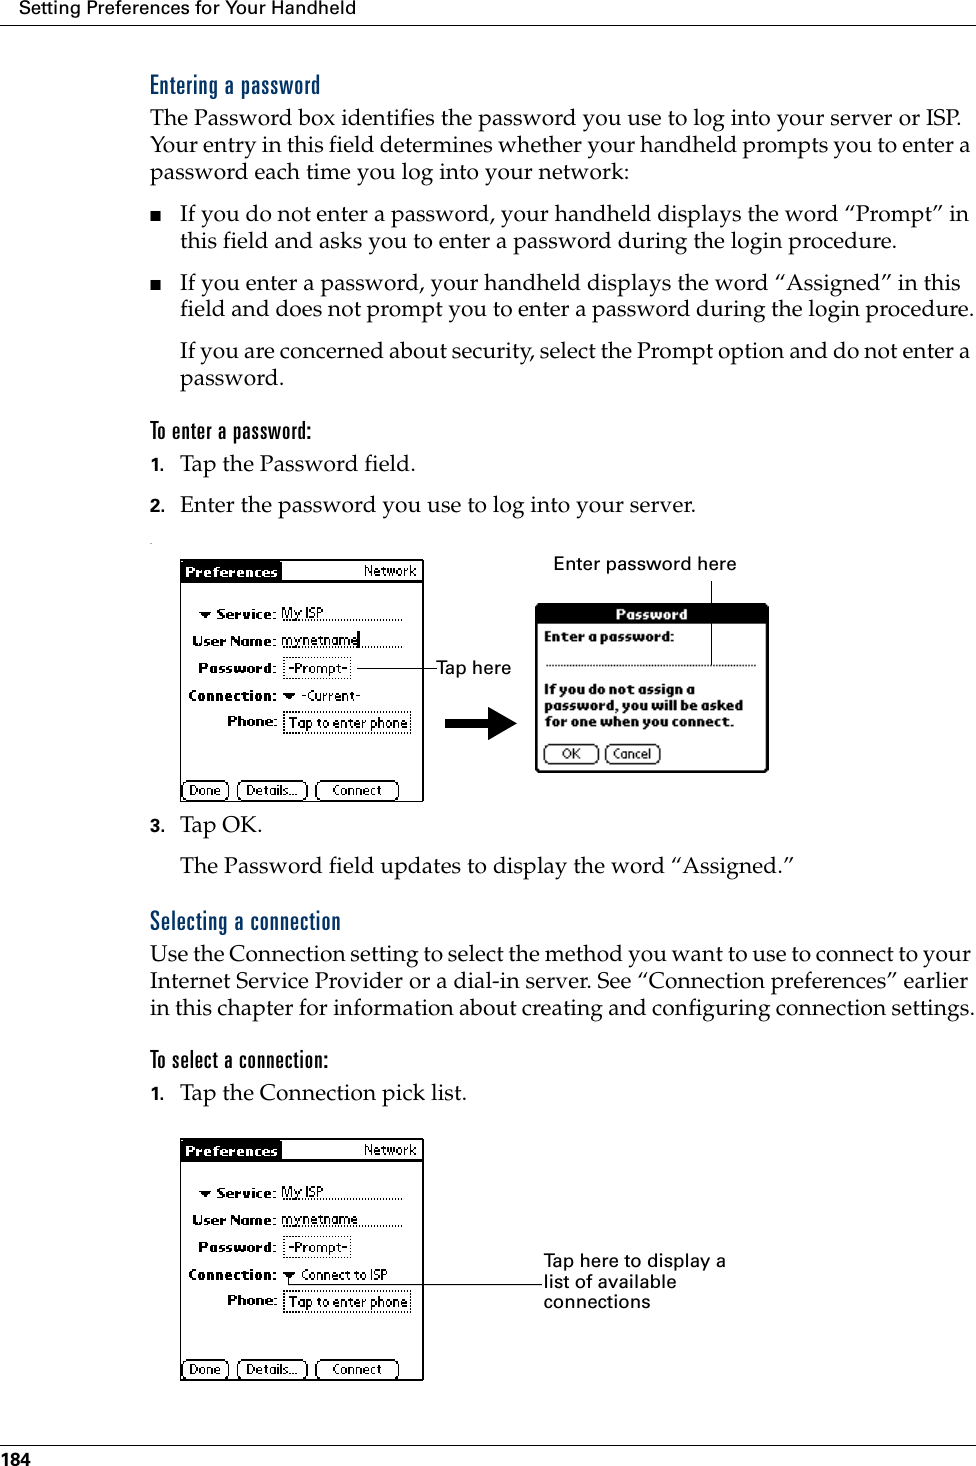
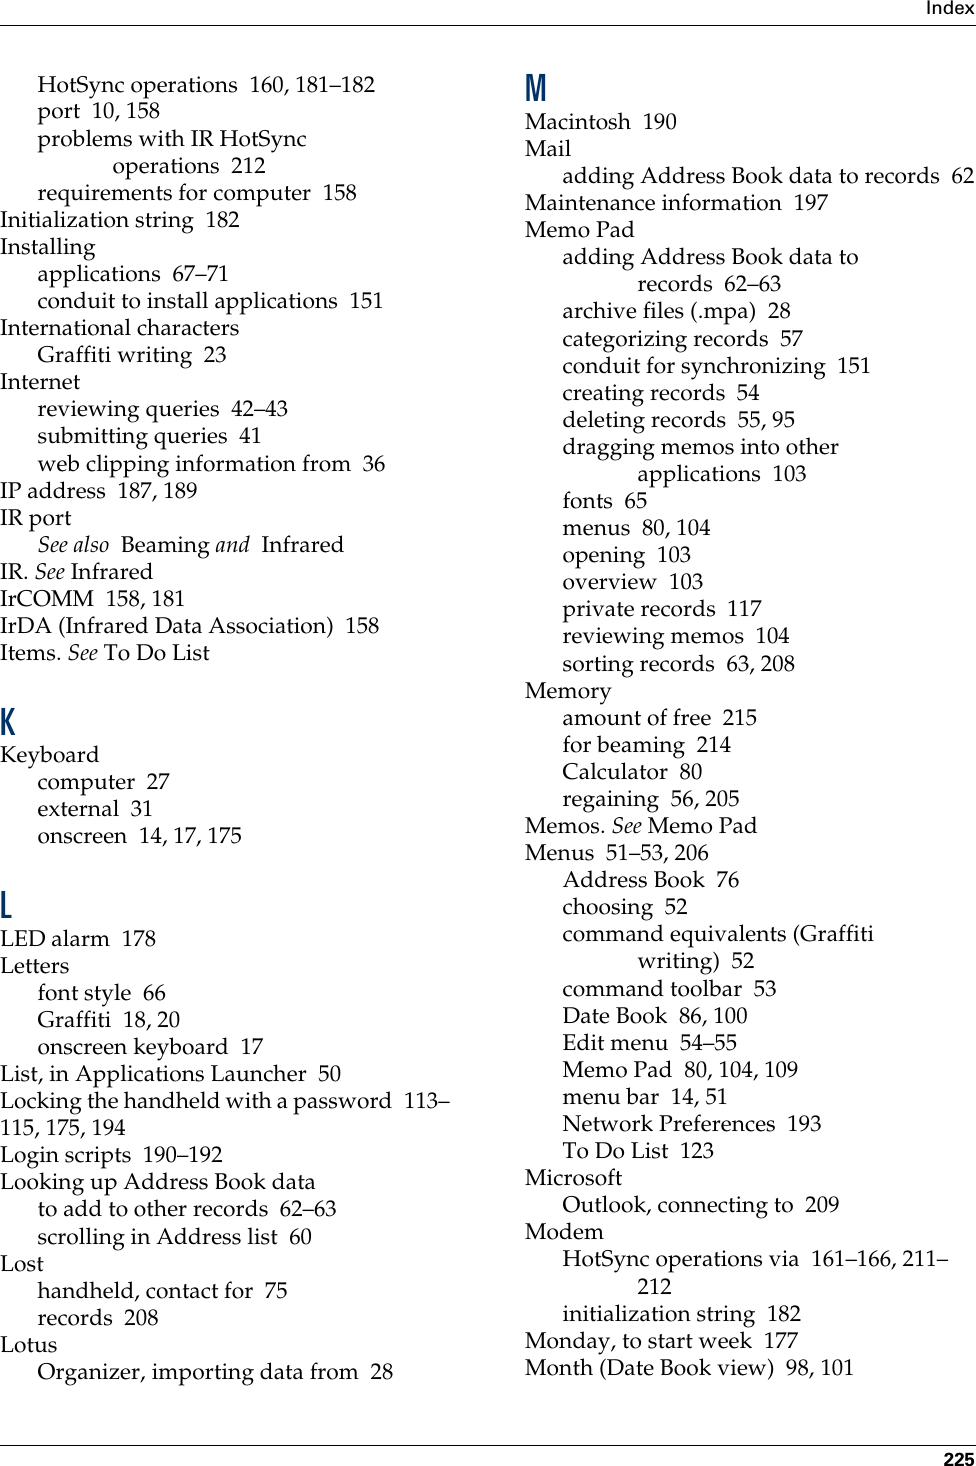
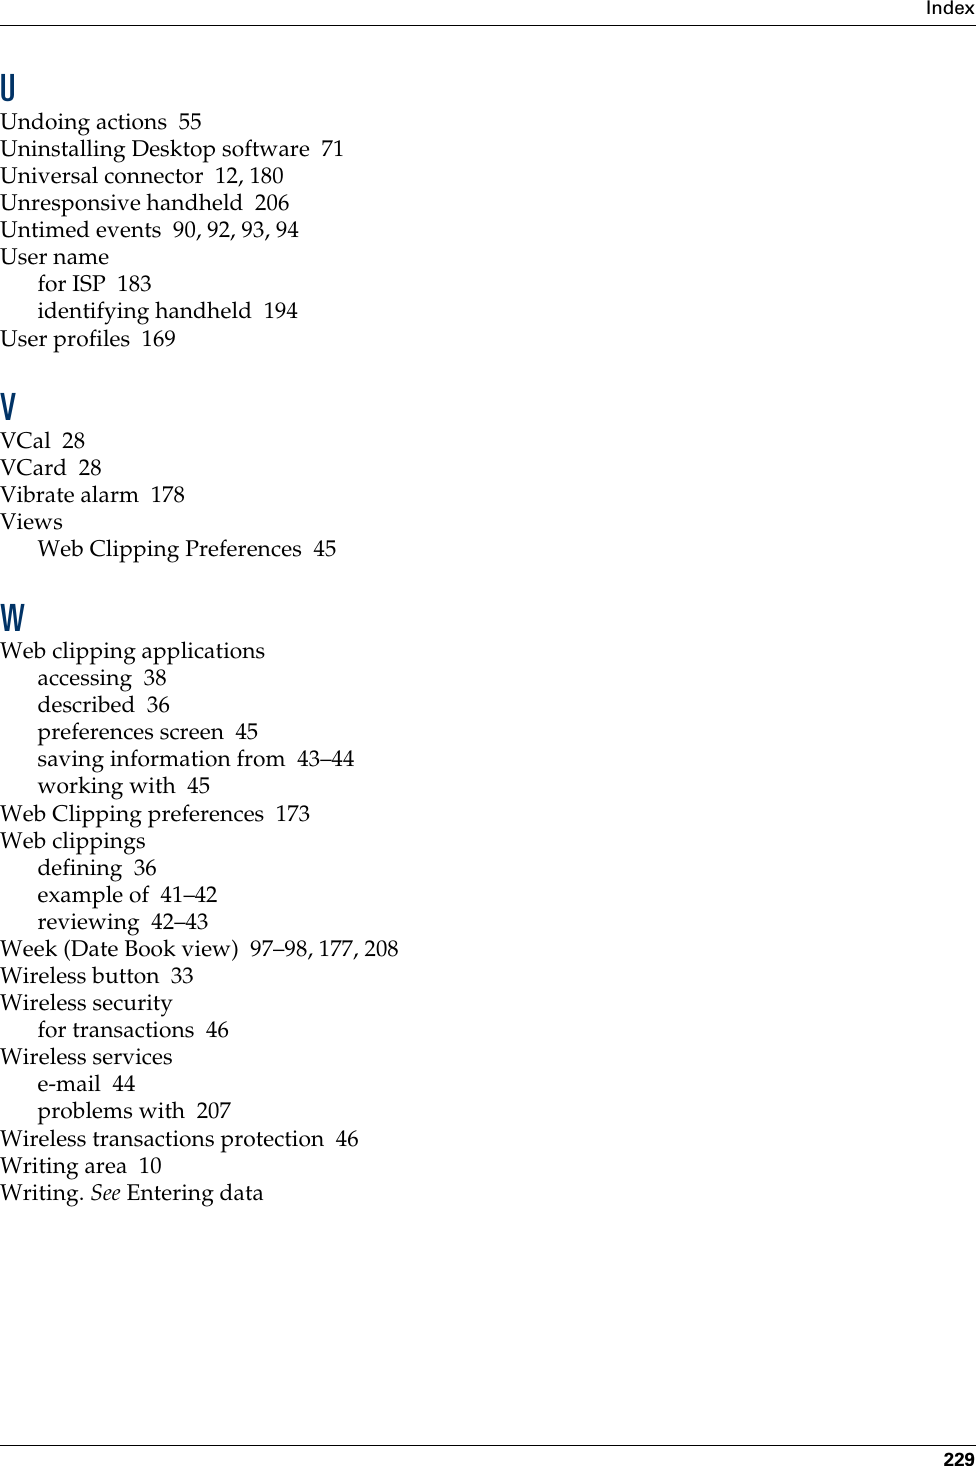
![Chapter 15 Using MultiMail® Deluxe140Does the “Don’t Notify” setting override the wireless radio setting? Why does the user have click twice to get to the Notification editor? Can’t the editor open when they click Custom Notofication?Using custom notificationThe custom notification filter allows you identify the type of e-mail that prompts an alert from your handheld.For example, when you travel, you may want to be alerted only to e-mail sent by your manager regarding a particular project. You can create a filter that permits notification only when e-mail meets these conditions.To create a custom notification filter:1. Tap Custom Notification.2. Tap Edit.3. Use the If the pick lists to create criteria for the notification filter.The two pick lists and the edit line combine to create a statement that identifies the type of e-mail that triggers notification. For example, a filter might read, “If the [From] [Contains] mweston@example.com, Then Notify Me.” You can also use the And button to create a more complex statement, such as “If the [From] [Contains] mweston@example.com, And if the [Subject] [Starts with] Apollo Project, Then Notify Me.”When you use this notification filter, only e-mail matching these conditions prompts a notification alert on your handheld.Custom Allows you to set conditions that e-mail must meet in order to trigger an alert.To pick list Select the header field with the information contained in the edit line: To, From, Subject.Contains pick listSelect a filter action: Contains, Starts with, Does NOT Contain.Edit line Enter the text that must be found in the header field. For example, if you want to be notified of only e-mail whose Subject is the Apollo Project, enter “Apollo Project.”](https://usermanual.wiki/Palm/I70500/User-Guide-158920-Page-150.png)
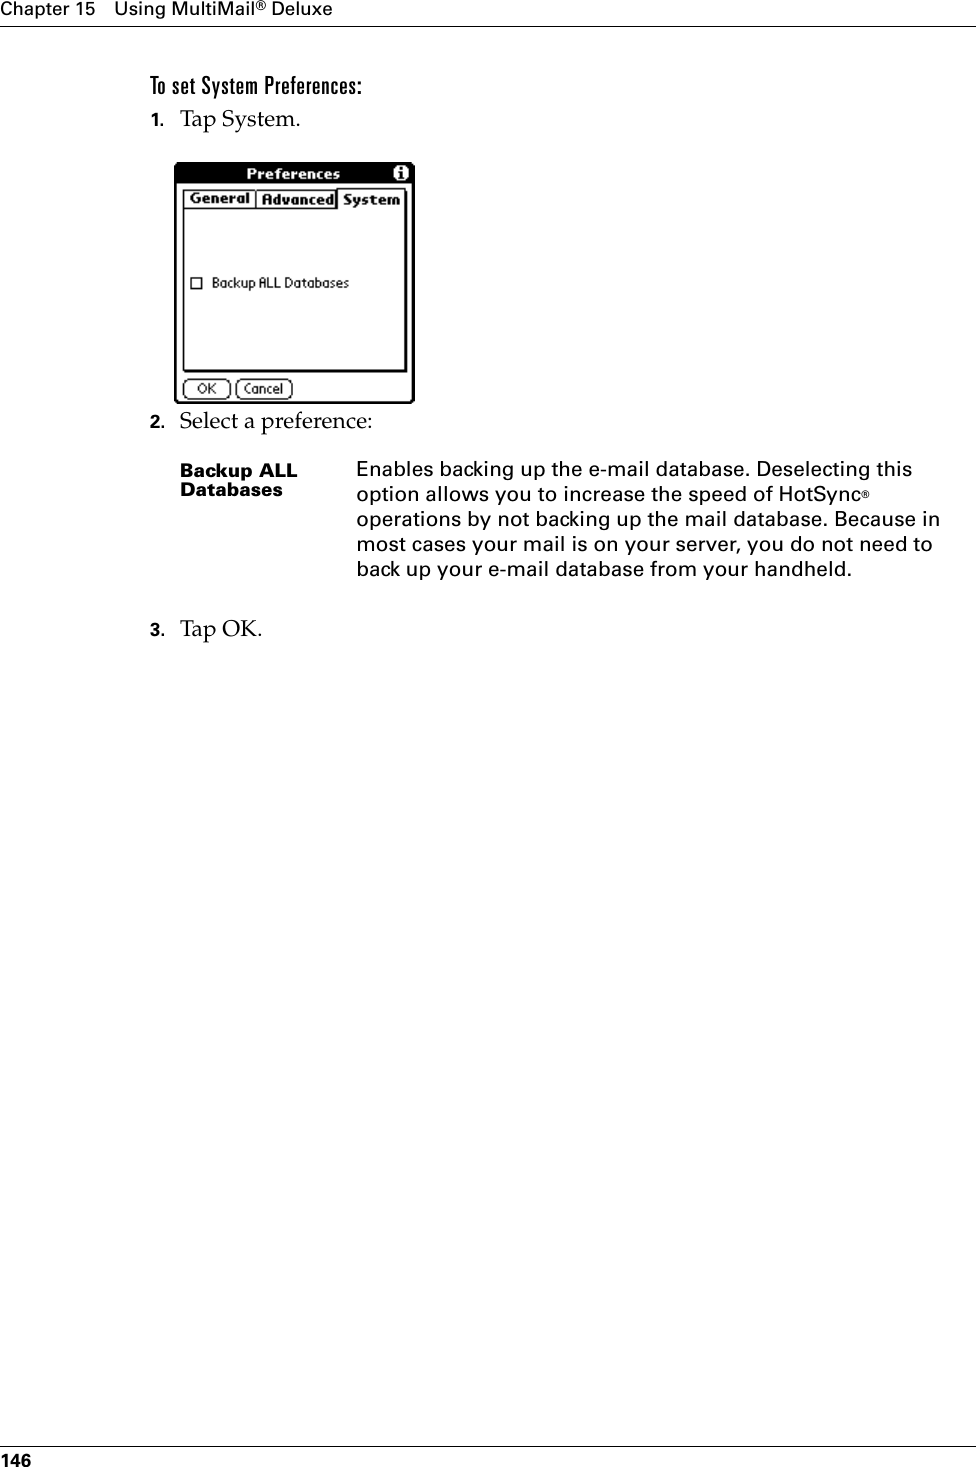
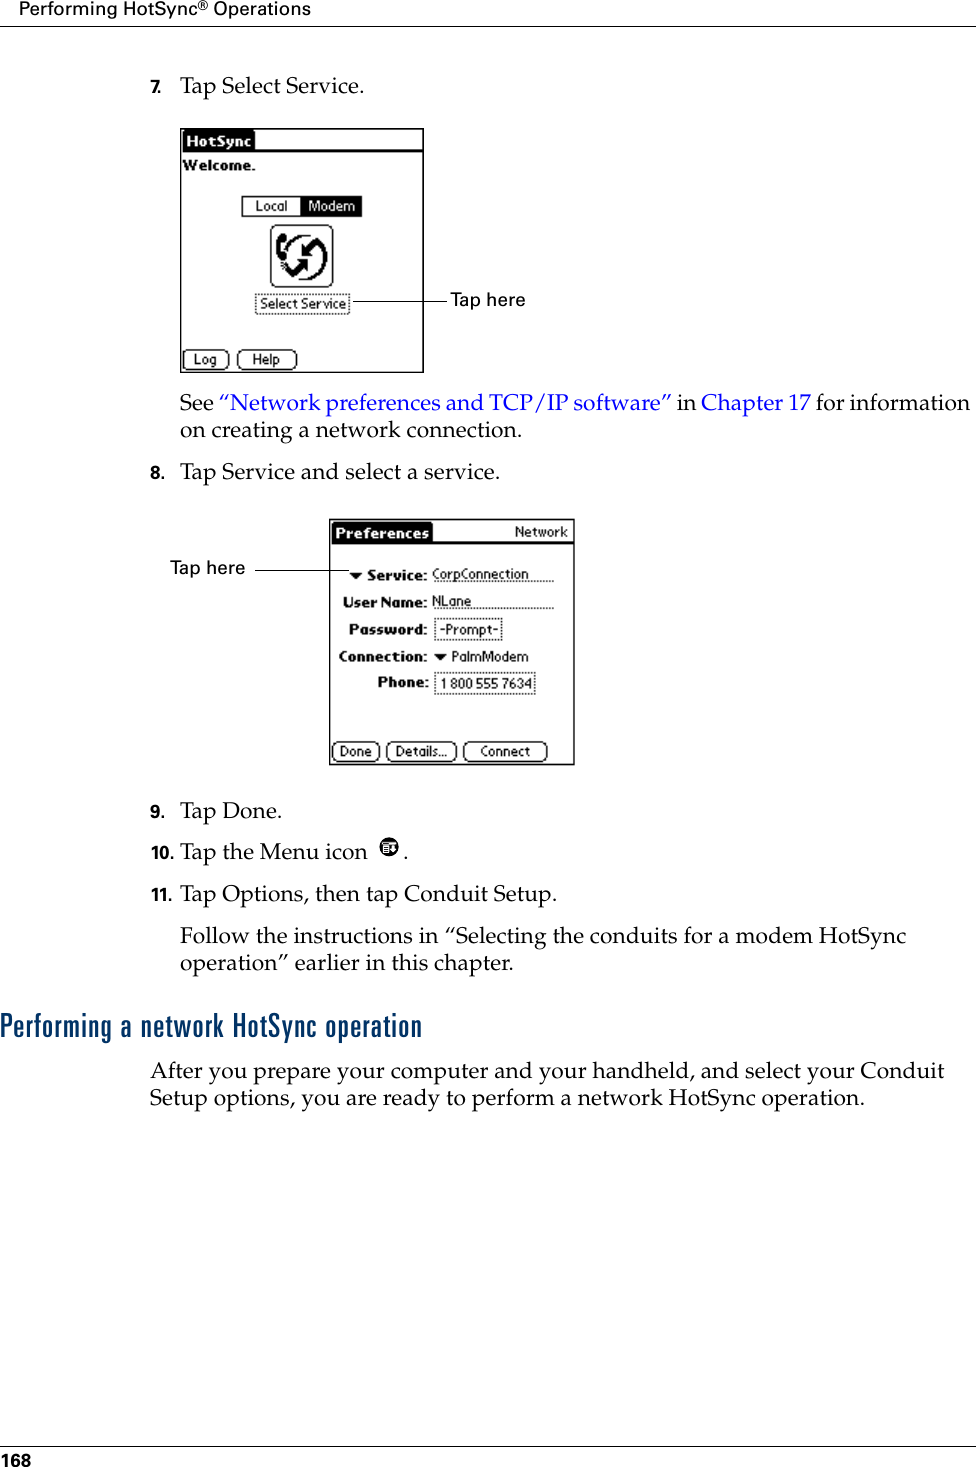
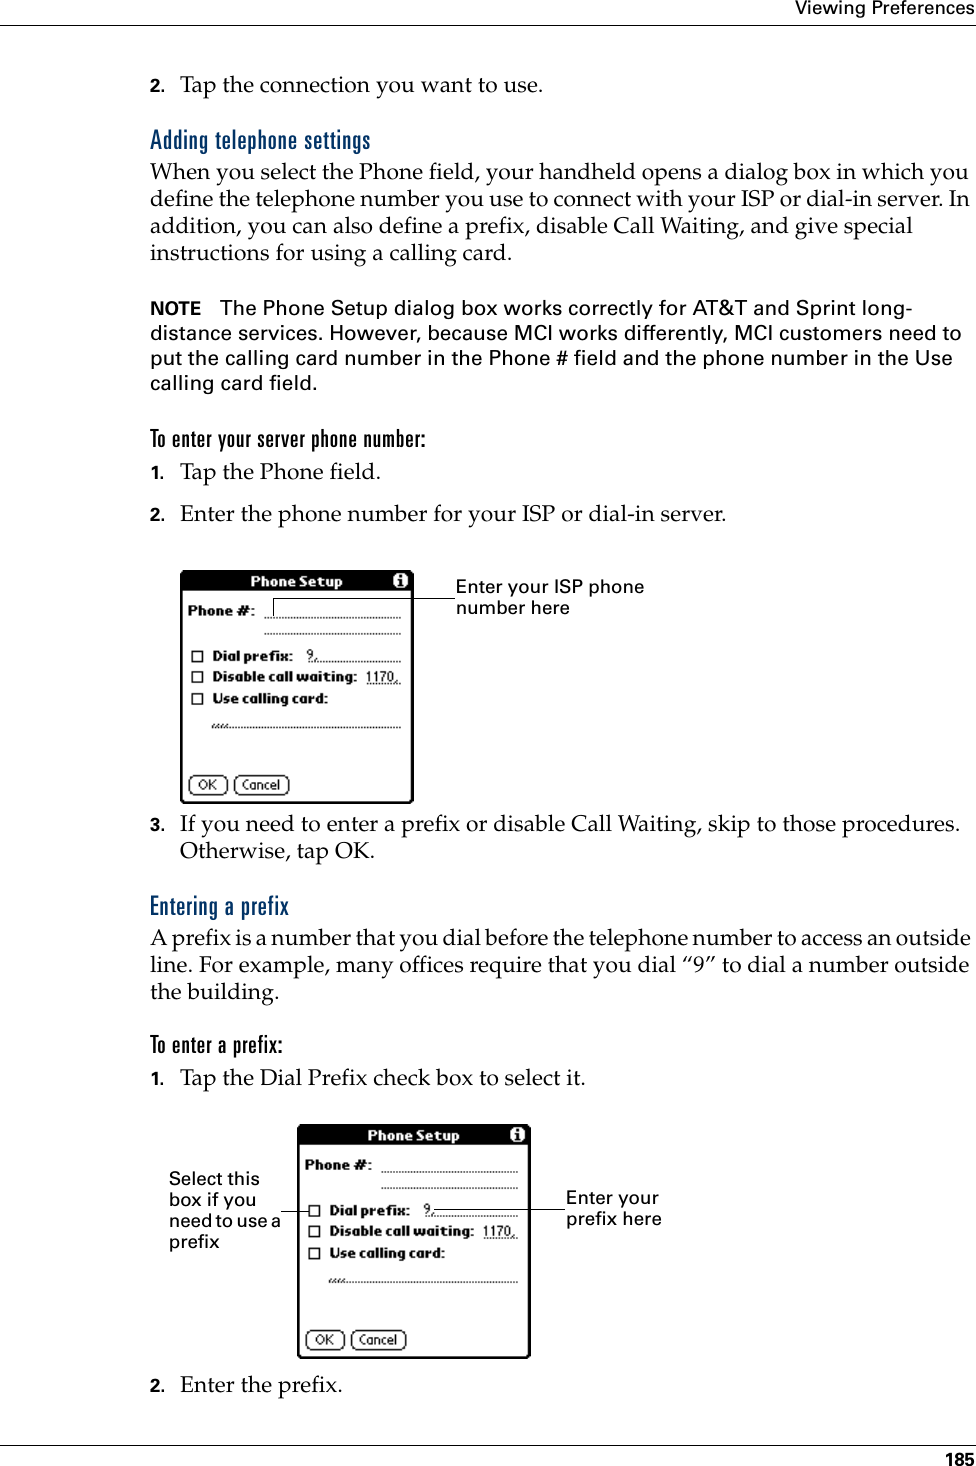
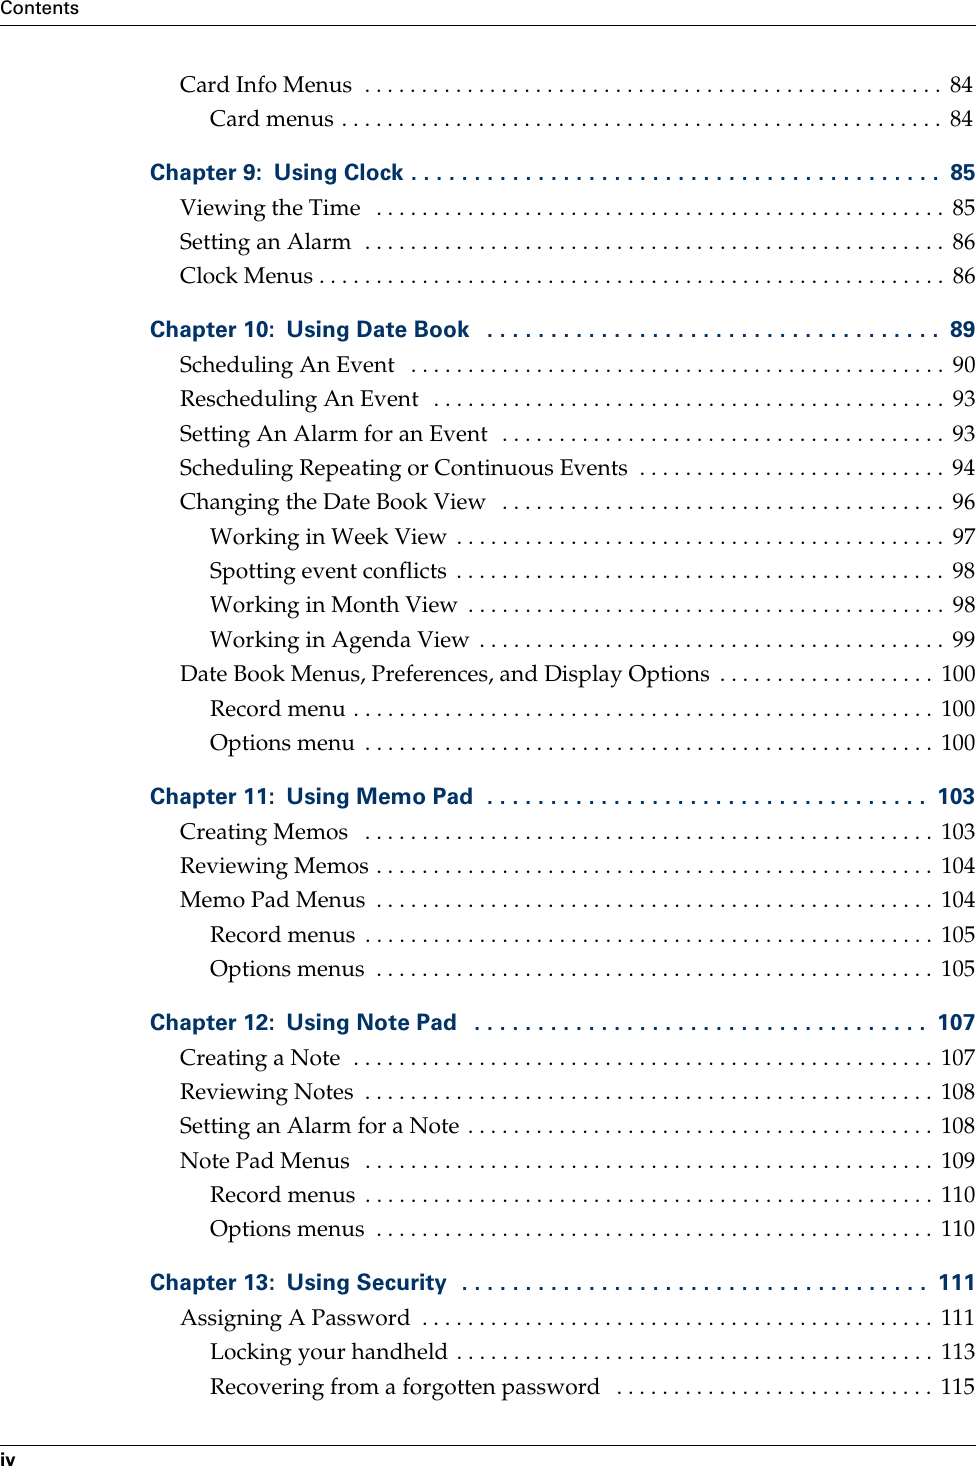
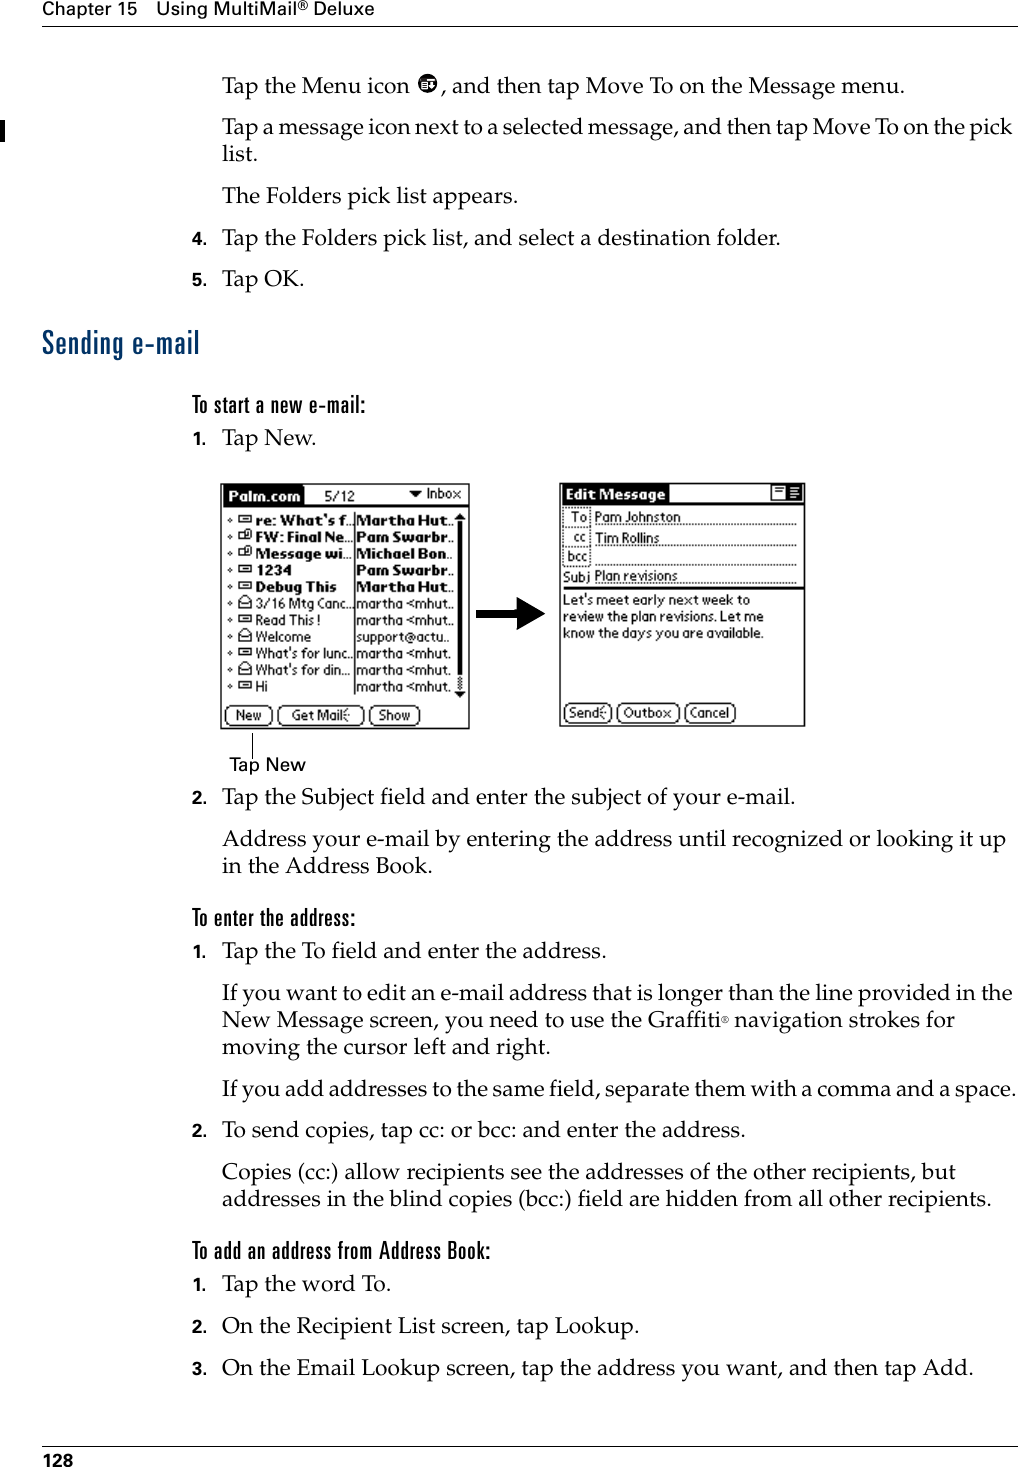
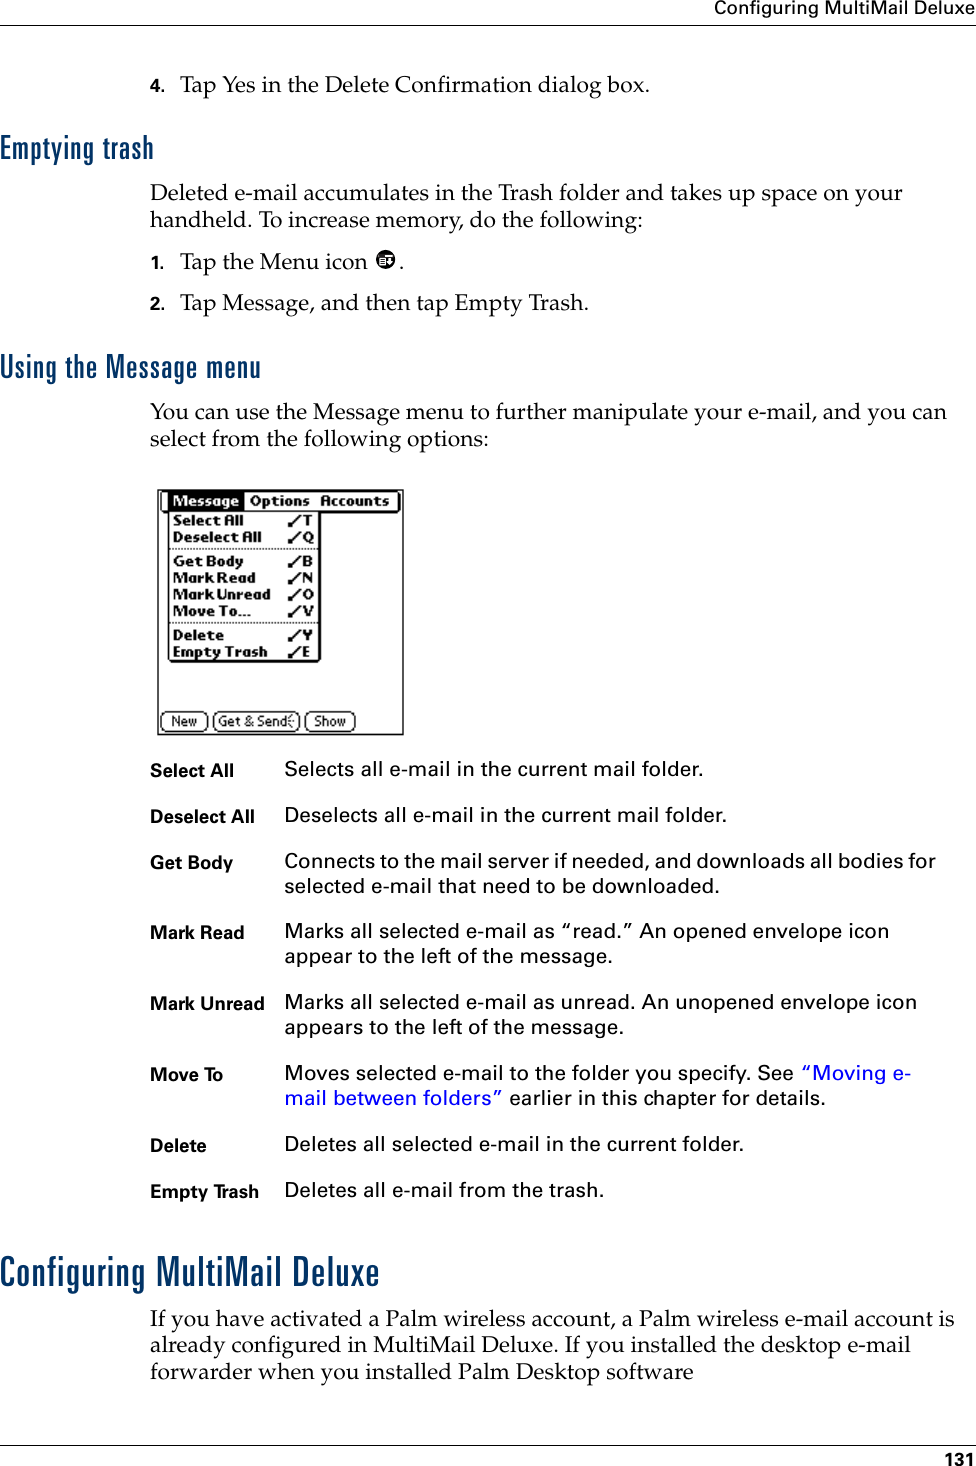
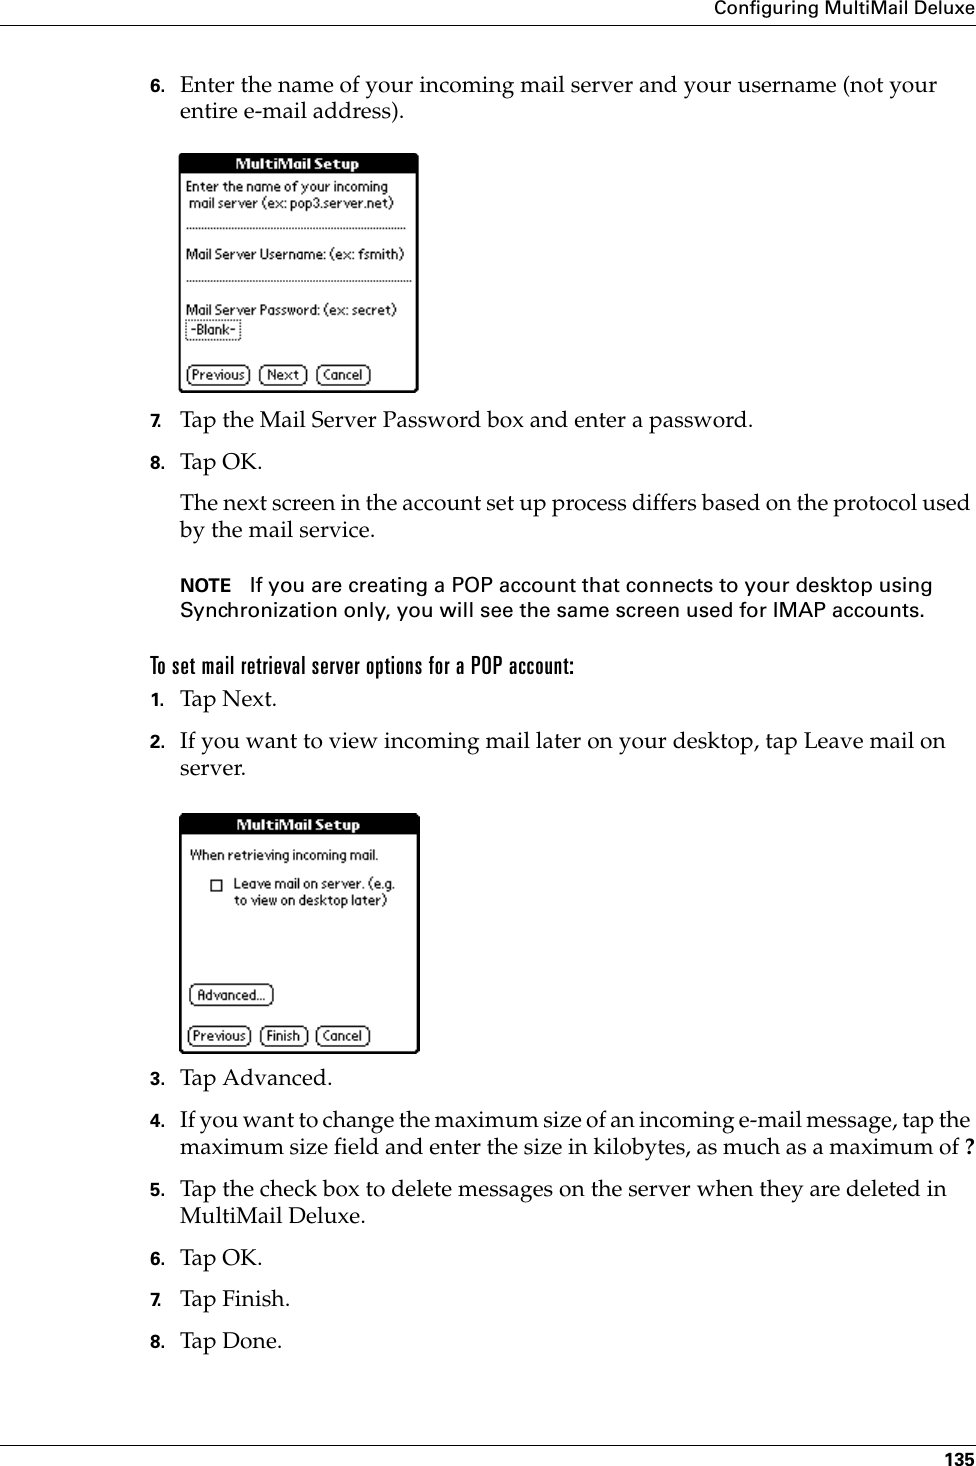
![Chapter 15 Using MultiMail® Deluxe142Creating FiltersThe FRD seems to indicate that filters only affect sorting of incoming e-mail. Yet some of the UI indicates it affects e-mail retrieval. Which is correct? How does this work with notifications and email being pushed to the device?Filters allow you to sort any incoming e-mail into a folder or mailbox you identify, to make reading them faster and easier. For example, you may want to file e-mail about sales meetings into a specific folder. You can create a filter that automates this action, so that whenever you receive an e-mail about sales meetings, it is immediately sent to the sales folder.To create a filter:1. Tap the Menu icon .2. Tap Options, and then tap Filters.3. Tap Add.4. Tap the Filter name field and enter a short description of the filter.5. Use the If the pick lists to create criteria for the filter.The three pick lists and the edit line combine to create a statement that identifies the type of e-mail and what you want to do with the e-mail. For example, a filter might read, “If the [Subject] [Contains] sales meeting, Then retrieve and move to [Sales].” When you use this filter to sort incoming e-mail, any e-mail containing sales in the subject line is filed in the Sales folder.To pick list Select the header field with the information contained in the edit line: To, From, Subject, cc, Date, Size.Contains pick listSelect a filter action: Contains, Starts with, Does NOT Contain.Edit line Enter the text that must be found in the header field. For example, if you want to sort e-mail whose Subject is Sales, enter “Sales.” If you enter more than one address, separate them with a comma.Inbox pick list Select the folder or mailbox into which you want your filtered e-mail to go.](https://usermanual.wiki/Palm/I70500/User-Guide-158920-Page-152.png)