Panasonic Healthcare 9TB085CRS DVD-R Drive User Manual 9501S Text Eng
Panasonic Healthcare Co., Ltd. DVD-R Drive 9501S Text Eng
UserManual.wiki
>
Panasonic Healthcare
>
9TB085CRS User Manual
Exhibit E Instruction Manual
Navigation menu
Upload a User Manual
Namespaces
Wiki Guide
HTML
PDF
Info
Views
User Manual
Discussion / Help
Navigation
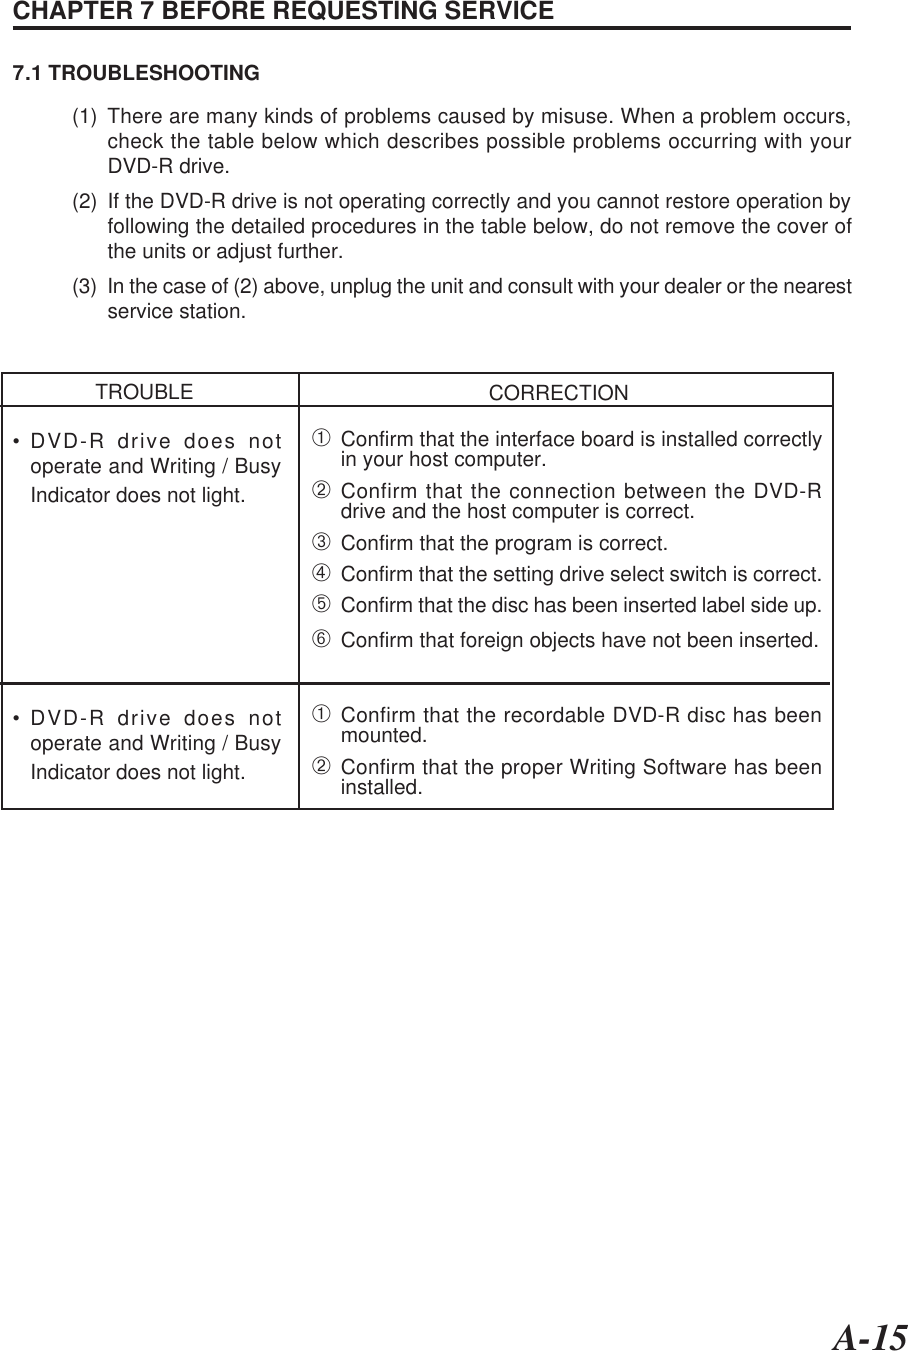
![A-12CHAPTER 5 GENERAL DESCRIPTION5.1 FEATURE SUMMARY➀Embedded SCSI-2 Interface.➁High Capacity Digital Data Write and Read Available.➂Coped with 650 nm Laser Wave Length & 4.7GB DVD-R Media Writing.➃TILT Servomechanism Equipped.5.2 SYSTEM SET UPHardware System [ Example of SCSI system set-up ]This unit consists as SCSI Device and basically must be installed in SCSI System.Host ComputerSCSI Adapter CD-ROM DriveSCSI BUSHDD Printer DVD-R Drive*15.3 POWER SAVING➀When the drive waits for a command from the Host for more than two minutes,then the drive enters Power Save Mode. Laser and Spindle motor stop.➁Re-start is automatic when the Host Command is received or eject button ispushed.*1) SCSI TerminatorsDevice at the ends of the SCSI bus must have Terminators.Please set Terminator ON.](https://usermanual.wiki/Panasonic-Healthcare/9TB085CRS/User-Guide-94313-Page-15.png)
![A-13CHAPTER 6 SPECIFICATION SUMMARY6.1 PERFORMANCE➀ Disc diameter 12cm, 8cm➁ Disc speed(DVD Single Layer 1x mode) *1 570 ~ 1390 r/min (CLV) *2(DVD Dual Layer 1x mode) 630 ~ 1530 r/min (CLV)➂ Data capacity Reading 3.95 / 4.7 GBytes (DVD-R)4.7 GBytes (DVD-ROM Single Layer)8.5 GBytes (DVD-ROM Dual Layer)Writing 4.7 GBytes (DVD-R)➃ Data transfer Rate Reading 11.08 MBits/s (1x CLV)Writing 11.08 MBits/s (1x CLV)Burst 10 MBytes/s Max.(Synchronous) 5 MBytes/s Max.(Asynchronous)➄ Access timeRandom access time *3 290 ms [ typical ]1/3 stroke access time *4 350 ms [ typical ]Fullstroke access time *5 600 ms [ typical ]➅ Buffer Size 4 MBytesMTBF 100,000 POH (duty 20%)NOTE:*1 1x mode: 1x speed mode*2 CLV : Constant Linear Velocity*3 Random access time : Average of Data read over the whole area (one layermedia) more than 2000 times including latency andlayered error correction time.*4 1/3 stroke access time : From 0h (LBA) to BAC2Eh(LBA) including latencyand layered error correction time.*5 Fullstroke access time : From 0h (LBA) to 2300F0h(LBA) including latencyand layered error correction time.](https://usermanual.wiki/Panasonic-Healthcare/9TB085CRS/User-Guide-94313-Page-16.png)
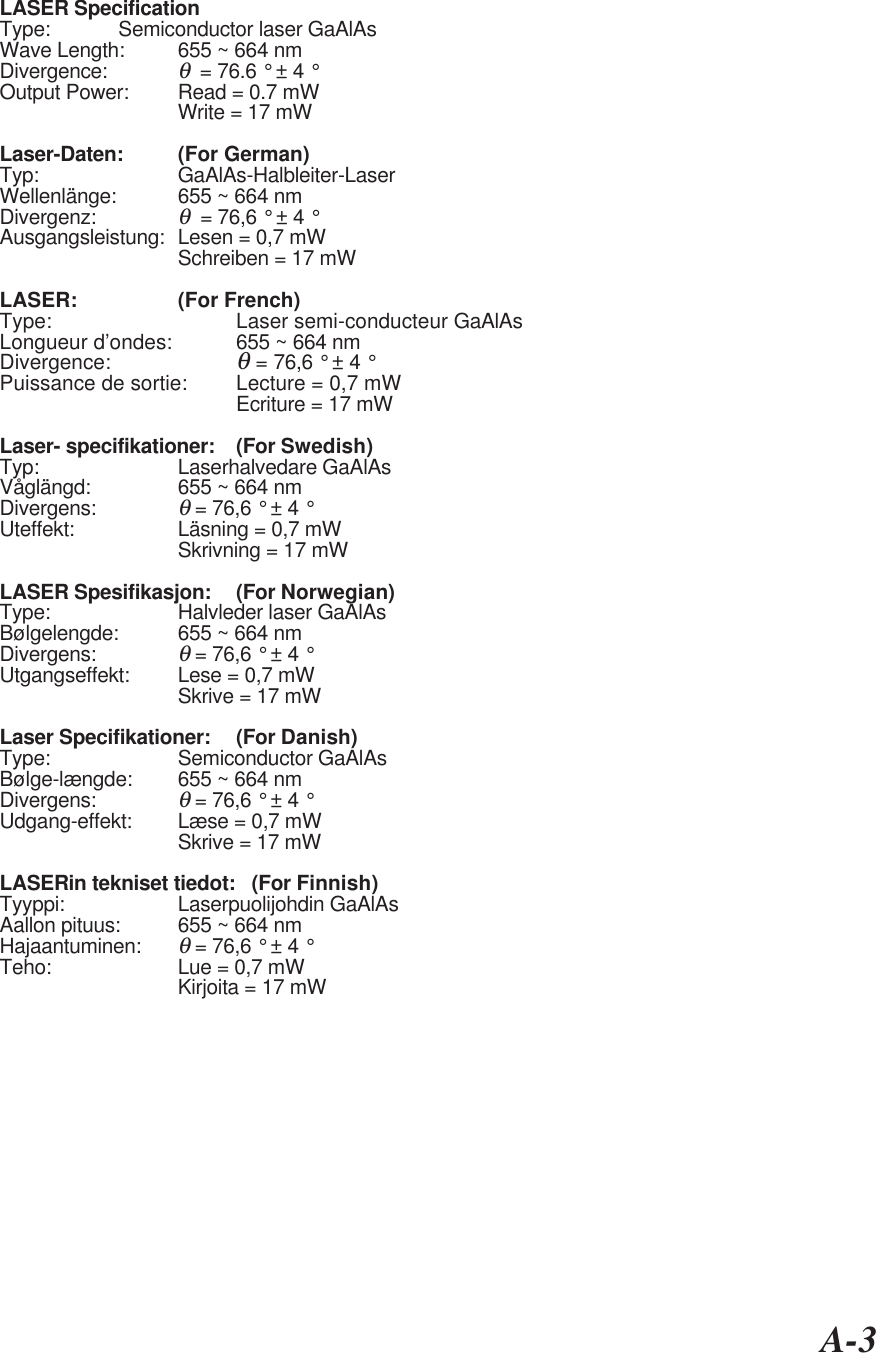
![A-146.2 ERROR RATES• Soft read errors Less than 10 -6• Hard read errors Less than 10 -126.3 GENERAL PERFORMANCE➀ Power requirement 100 – 240 V ~ AUTO0.34 – 0.17 A50 / 60 Hz➁ Dimensions (W x H x D) 190 x 62.8 x 270 mm➂ Weight 2500 g [ typical ]6.4 ENVIRONMENTAL CONDITIONSOperating• Temperature 5 ~ 40 °C• Humidity 5 ~ 90 %RH(Max. wet bulb temp. is 29 °C, Non-condensation)Non-operating• Temperature – 30 ~ 60 °C• Humidity 5 ~ 95 %Rh(Non-condensation)6.5 PICK UP LASER• Type: Semiconductor laser GaAlAs• Wave Length: 655 ~ 664 nm• Divergence:θ = 76.6 ° ± 4 °• Output Power: Read = 0.7 mWWrite = 17 mW](https://usermanual.wiki/Panasonic-Healthcare/9TB085CRS/User-Guide-94313-Page-17.png)