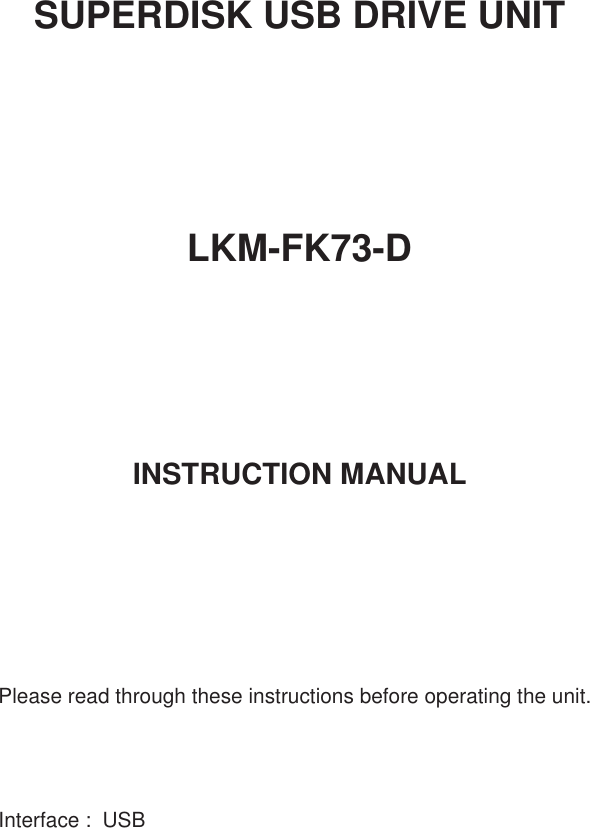
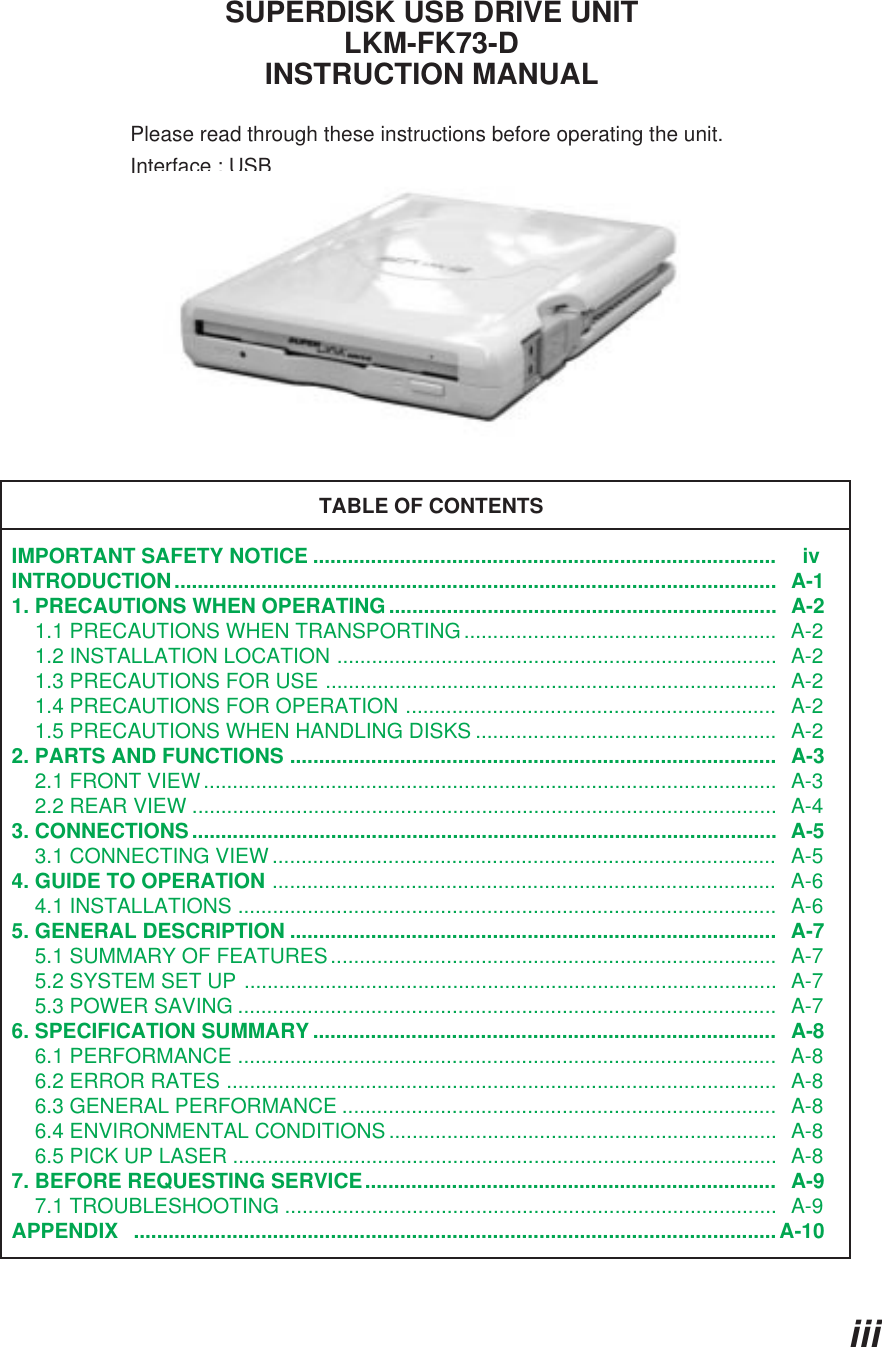
Panasonic Healthcare 9TB090LSS SUPERDISK USB External Drive User Manual FK73 Text Eng
Panasonic Healthcare Co., Ltd. SUPERDISK USB External Drive FK73 Text Eng
UserManual.wiki
>
Panasonic Healthcare
>
9TB090LSS User Manual
users manual
Navigation menu
Upload a User Manual
Namespaces
Wiki Guide
HTML
PDF
Info
Views
User Manual
Discussion / Help
Navigation
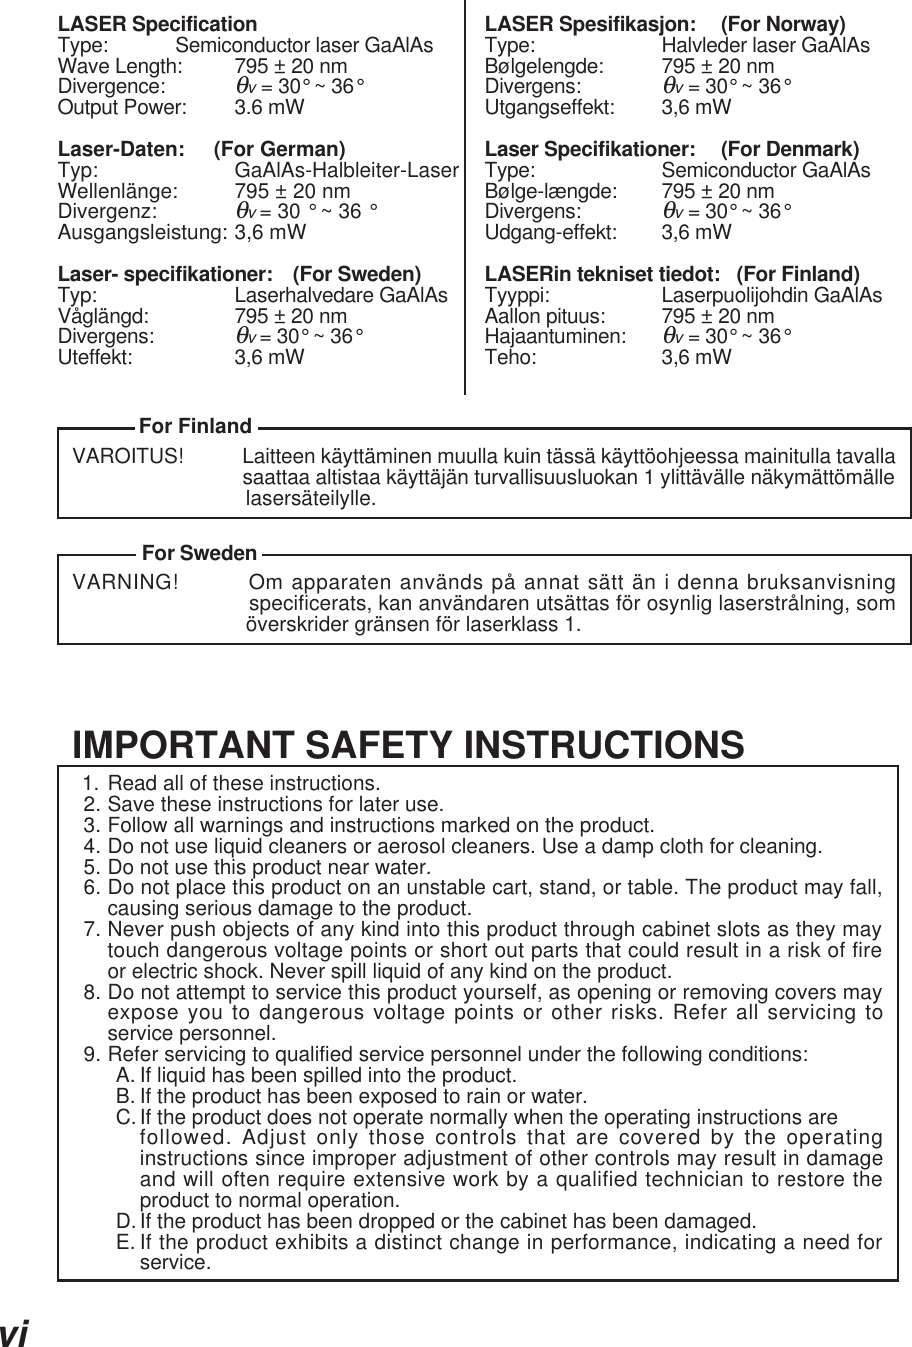
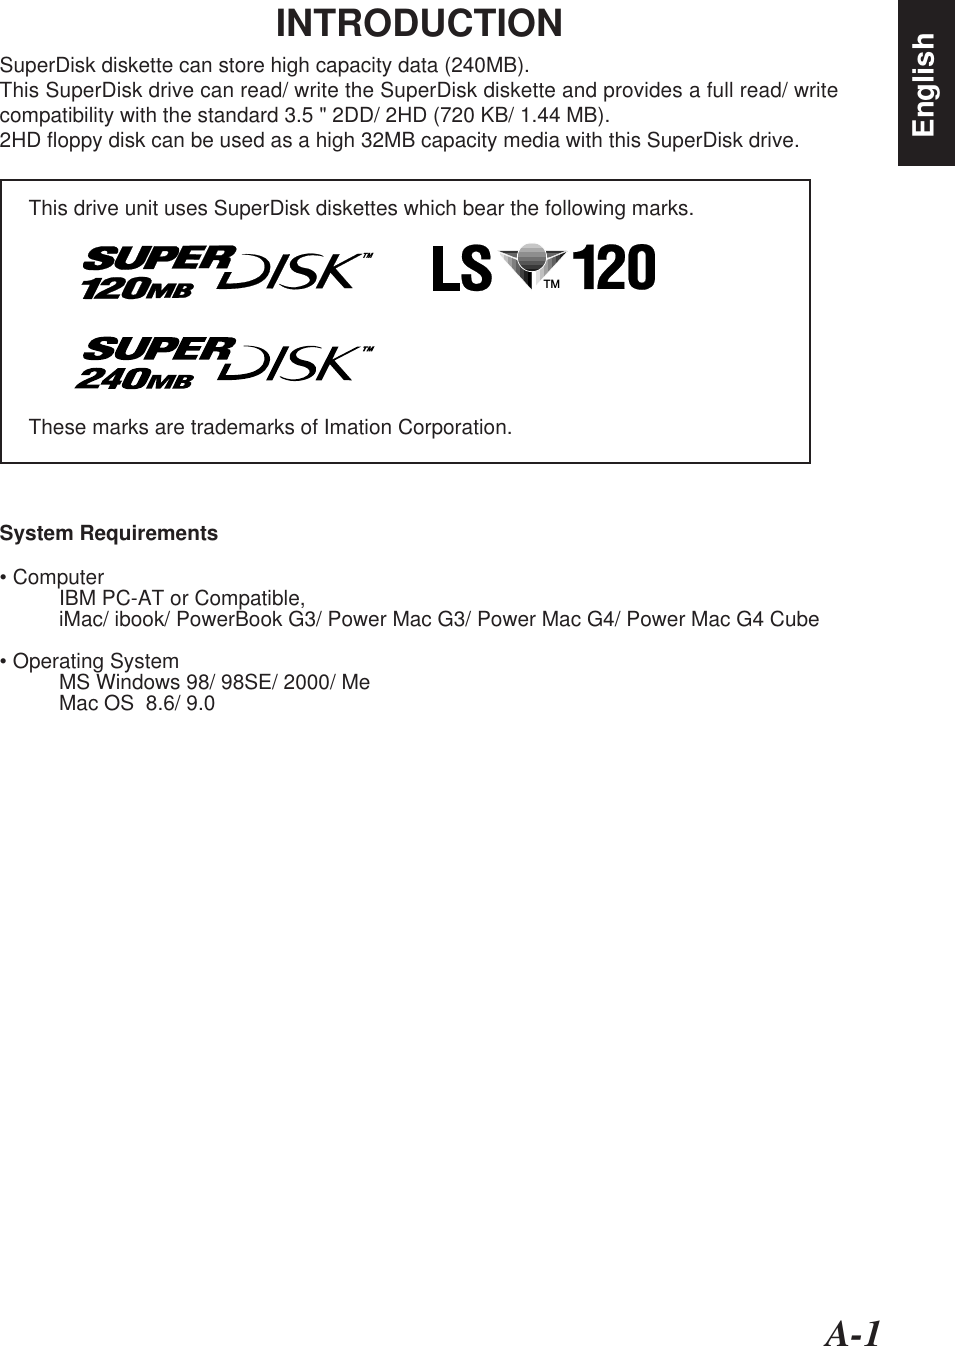
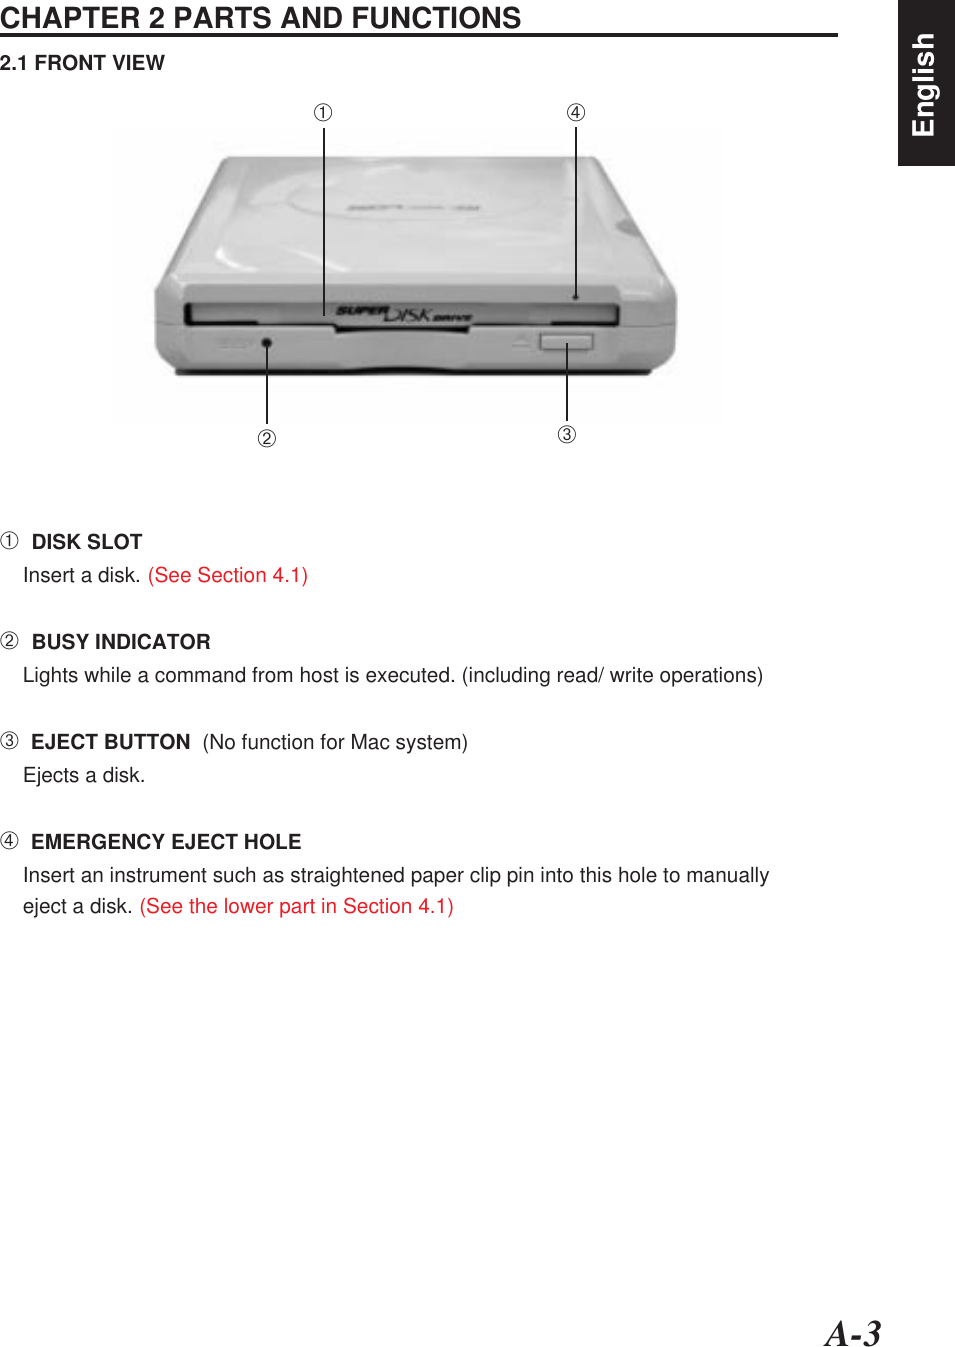

![A-8CHAPTER 6 SPECIFICATION SUMMARY6.1 PERFORMANCE➀ Disk Diameter 3.5 inches➁ Disk speed 1500 r/min➂ Storage CapacityFormatted 120 MBytes (SuperDisk) 720 KB/1.44 MBytes(2DD/ 2HD) 32 MBytes (2HD 32MB Formatted)➃ Recording Density 105.6 k FCI (SuperDisk)➄ Track Density 2490 TPI (SuperDisk)➅ Data Transfer Rate from Disk 600 KBytes/ s (SuperDisk)➆ Seek Time (average) 95 ms [ typical ] (SuperDisk)MTBF 15,000 POH (@duty 25 %)6.2 ERROR RATES• Hard read errors Less than 10 -126.3 GENERAL PERFORMANCE➀ Power requirement +5 V 0.5 A [ max ]➁ Dimensions (W x H x D) 110 x 24.6 x 142.8 mm➂ Weight 310 g [ typical ]6.4 ENVIRONMENTAL CONDITIONSOperating Non-operating• Temperature 5 ~ 35 °C –10 ~ 60 °C• Humidity 20 ~ 80 %Rh 20 ~ 80 %Rh(Non-condensation) (Non-condensation)Note: The Media specification limits the environment to a wet bulb temperatureof 29.4 deg.C (85 deg.F)6.5 PICK UP LASER• Type Semiconductor laser GaAlAs• Wave Length 795 ± 20 nm• Divergenceθv = 30° ~ 36°• Output power 3.6 mW](https://usermanual.wiki/Panasonic-Healthcare/9TB090LSS/User-Guide-145743-Page-13.png)