Panasonic Healthcare 9TB094CRB DVD-ROM & CD-R/RW Drive User Manual 8571 Text
Panasonic Healthcare Co., Ltd. DVD-ROM & CD-R/RW Drive 8571 Text
UserManual.wiki
>
Panasonic Healthcare
>
9TB094CRB User Manual
users manaual
Navigation menu
Upload a User Manual
Namespaces
Wiki Guide
HTML
PDF
Info
Views
User Manual
Discussion / Help
Navigation
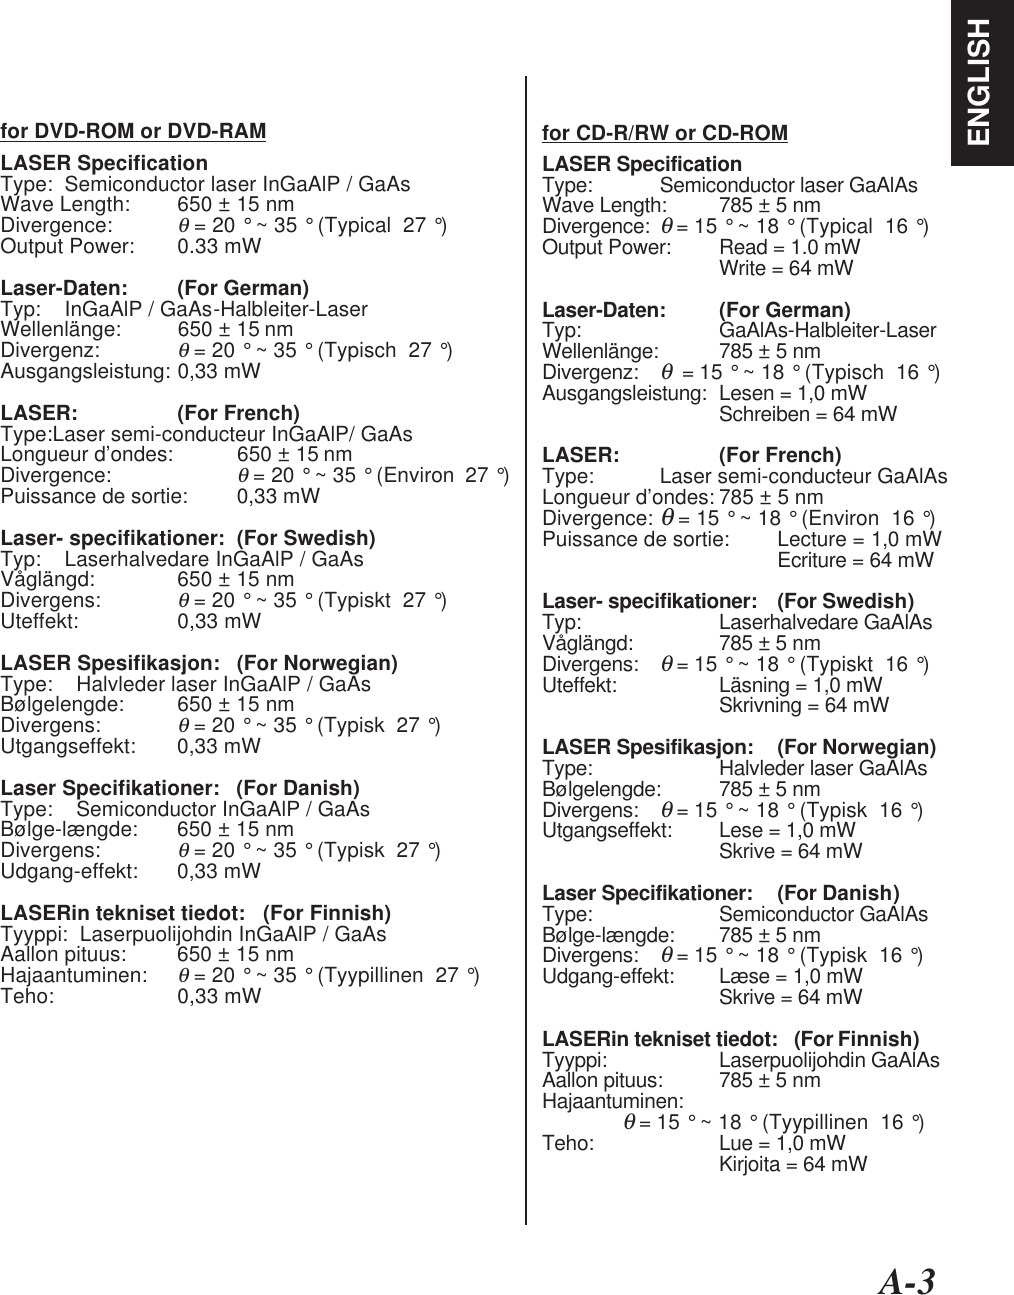

![A-10CHAPTER 6 SPECIFICATION SUMMARY6.1 PERFORMANCE➀ Disc diameter 12cm, 8cm (CD-ROM / DVD-ROM)➁ Disc speedCD-ROM (CAV mode) *1 8560 r/minDVD (CAV mode) 6895 r/min➂ Data capacityCD : 703 / 797 Mbytes [ typical ] (Mode 1/ Mode 2)(79 min and 58 sec disc)DVD : 4.7 Gbytes (DVD-R)4.7 Gbytes (Single Layer)8.5 Gbytes (Dual Layer)9.4 Gbytes (Single Layer Double Side)➃ Data transfer RateCD readingCD-ROM (CAV mode) 2597 ~ 6000 Kbytes/s (Mode 1)2961 ~ 6840 Kbytes/s (Mode 2)CD-RW (CAV mode) 2070 ~ 4800 Kbytes/s (Mode 1)2365 ~ 5484 Kbytes/s (Mode 2)CD-RW writing10x CLV mode *2 1500 Kbytes/s (Mode 1)1710 Kbytes/s (Mode 2)CD-R writing10x–16x ZCLV mode *3 1500 ~ 2400 (Mode 1)1710 ~ 2736 (Mode 2)DVD readingDVD-5 (CAV mode) 6.7 ~ 16.2 MBytes/sDVD-9 (CAV mode) 4.5 ~ 10.8 MBytes/sDVD-R (CAV mode) 4.5 ~ 10.8 MBytes/sFrom buffer 16.67 Mbytes/s (PIO Mode 4 without IORDY)16.67 Mbytes/s (Multi-word DMA Mode 2)33.3 Mbytes/s (Ultra DMA Mode 2)➄ Access timeRandom access time (CD CAV mode) *4 90 ms [ typical ]Fullstroke access time (CD CAV mode) *5 180 ms [ typical ]Random access time (DVD CAV mode) *6 105 ms [ typical ]Fullstroke access time (DVD CAV mode) *7 210 ms [ typical ]➅ Buffer Size 2 MBytesMTBF 125,000 POH (duty 20%)](https://usermanual.wiki/Panasonic-Healthcare/9TB094CRB/User-Guide-227508-Page-13.png)
![A-11ENGLISHNOTE:*1 CAV : Constant Angular Velocity*2 CLV: Constant Linear Velocity*3 ZCLV: Zoned Constant Linear Velocity*4 Random access time (CD) : Average Data read over the complete area from00 min. 02 sec. 00 block to 59 min. 58 sec.74 blocks, more than 2000 times includinglatency and layered error correction time.*5 Fullstroke access time (CD) :From 00 min. 02 sec. 00 block to 59 min. 58 sec.74 blocks including latency and layered errorcorrection time.*6 Random access time (DVD) :Average Data read over the complete area fromstarting data recorded area(LBA:0) to maximam datarecorded area(LBA:23197F), more than 2000 timesincluding latency and layered error correction time.*7 Fullstroke access time (DVD) : From starting data recorded area (LBA:0) tomaximam data recorded area (LBA:23197F)including latency and layered errorcorrection time.6.2 ERROR RATES• Soft read errors Less than 10 -9• Hard read errors Less than 10 -126.3 AUDIO PERFORMANCE(1) Analog audio➀ Number of channels 2➁ Frequency response 100 Hz ~ 20 kHz (Headphone)20 Hz ~ 20 kHz (Line-out)➂ SN Ratio More than 80 dB (Headphone/ Line-out)➃ Distortion• Line-out Less than 0.1 % (1 kHz)• Headphone Less than 0.2 % (1 kHz)➄ Output level 0.60 Vrms [ typical ] (Headphone/ Line-out)(2) Digital audio➀ Output level 3.3V CMOS level➁ Data format Base a decision on IEC-958](https://usermanual.wiki/Panasonic-Healthcare/9TB094CRB/User-Guide-227508-Page-14.png)
![A-126.4 GENERAL PERFORMANCE➀ Power rating +5 V 1.0 A+12 V 2.0 A➁ Dimensions (W x H x D) 146 x 41.3 x 190 mm (exclude Front Bezel)➂ Weight 915 g [ typical ]6.5 ENVIRONMENTAL CONDITIONSOperating• Temperature 5 ~ 50 °C• Humidity 5 ~ 90 %RH(Max. wet bulb temp. is 29 °C, Non-condensation)Non-operating• Temperature – 30 ~ 65 °C• Humidity 5 ~ 90 %Rh(Non-condensation)6.6 PICK UP LASER➀ for DVD-ROM or DVD-RAM• Type Semiconductor laser InGaAlP / GaAs• Wave Length 650 ± 15 nm• Divergenceθ = 20 ° ~ 35 ° (Typical 27 °)• Output power 0.33 mW➁ for CD-R/RW or CD-ROM• Type Semiconductor laser GaAlAs• Wave Length 785 ± 5 nm• Divergenceθ = 15 ° ~ 18 ° (Typical 16 °)• Output power Read = 1.0 mWWrite = 64 mWCHAPTER 7 BEFORE REQUESTING SERVICE(1) There are many kinds of problems caused by misuse. When a problem occurs,check the table below which describes possible problems occurring with yourDVD-ROM & CD-R/RW Combination drive.(2) If the DVD-ROM & CD-R/RW Combination drive is not operating correctly and youcannot restore operation by following the detailed procedures in the table below,do not remove the cover of the units or adjust further.(3) In the case of (2) above, unplug the unit and consult with your dealer or the nearestservice station. TROUBLE• DVD-ROM & CD-R/RWCombination drive does notoperate and Busy Indicatordoes not light.CORRECTION➀Confirm that the connection between the DVD-ROM& CD-R/RW Combination drive and the host computeris correct.➁Confirm that the program is correct.➂Confirm that the setting drive select switch is correct.➃Confirm that the disc has been inserted label side up.➄Confirm that foreign objects have not been inserted.7.1 TROUBLESHOOTING](https://usermanual.wiki/Panasonic-Healthcare/9TB094CRB/User-Guide-227508-Page-15.png)
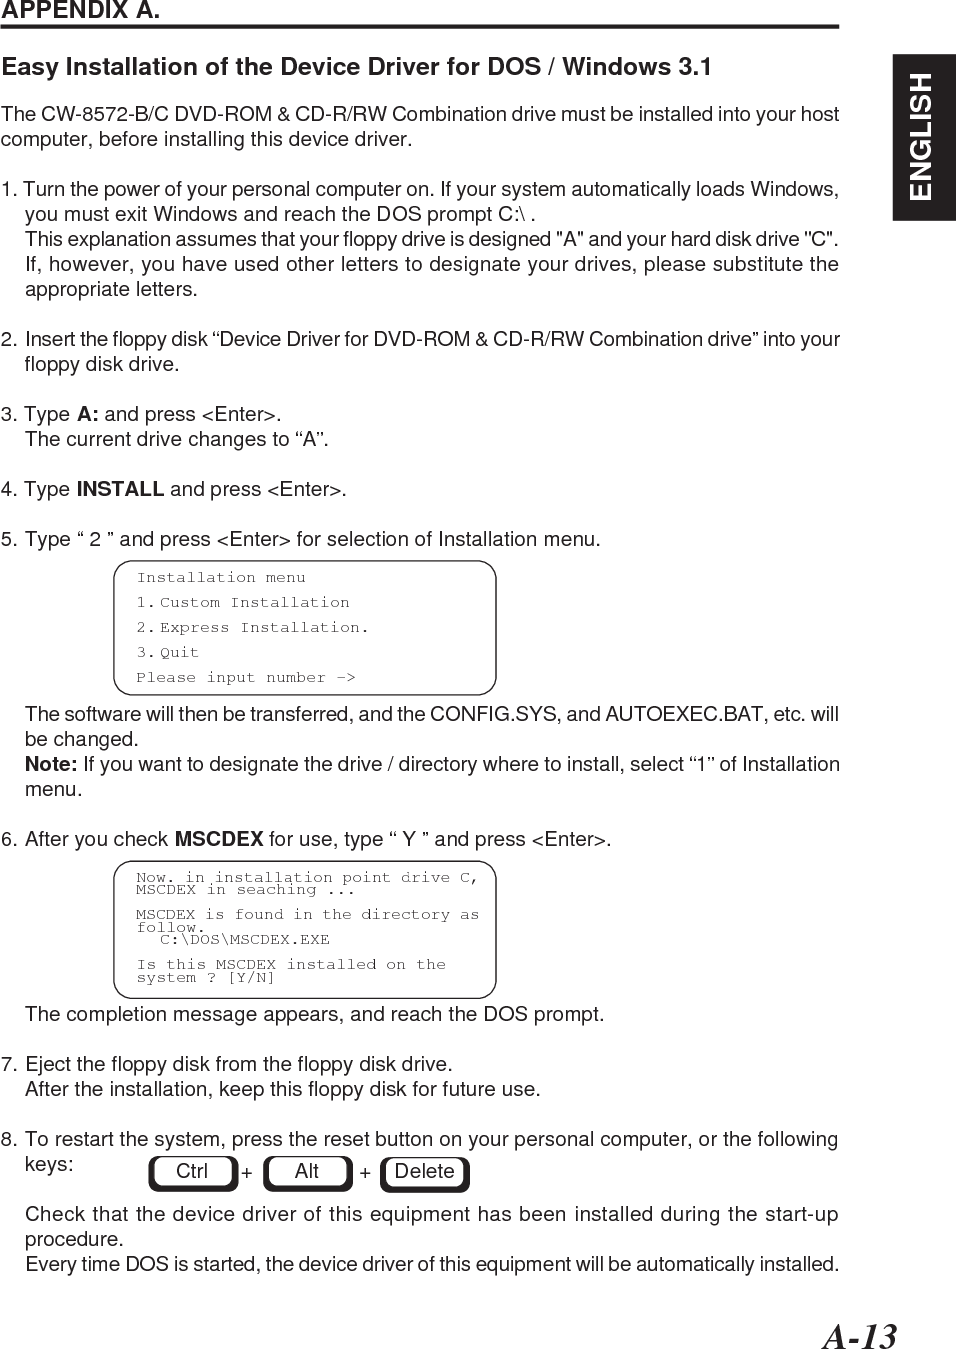
![A-13ENGLISHEasy Installation of the Device Driver for DOS / Windows 3.1APPENDIX A.The CW-8572-B/C DVD-ROM & CD-R/RW Combination drive must be installed into your hostcomputer, before installing this device driver.1. Turn the power of your personal computer on. If your system automatically loads Windows,you must exit Windows and reach the DOS prompt C:\ .This explanation assumes that your floppy drive is designed "A" and your hard disk drive "C".If, however, you have used other letters to designate your drives, please substitute theappropriate letters.2. Insert the floppy disk “Device Driver for DVD-ROM & CD-R/RW Combination drive” into yourfloppy disk drive.3. Type A: and press <Enter>.The current drive changes to “A”.4. Type INSTALL and press <Enter>.5. Type “ 2 ” and press <Enter> for selection of Installation menu.The software will then be transferred, and the CONFIG.SYS, and AUTOEXEC.BAT, etc. willbe changed.Note: If you want to designate the drive / directory where to install, select “1” of Installationmenu.6. After you check MSCDEX for use, type “ Y ” and press <Enter>.The completion message appears, and reach the DOS prompt.7. Eject the floppy disk from the floppy disk drive.After the installation, keep this floppy disk for future use.8. To restart the system, press the reset button on your personal computer, or the followingkeys:Check that the device driver of this equipment has been installed during the start-upprocedure.Every time DOS is started, the device driver of this equipment will be automatically installed.Installation menu1. Custom Installation2. Express Installation.3. QuitPlease input number ->Now. in installation point drive C,MSCDEX in seaching ...MSCDEX is found in the directory asfollow.C:\DOS\MSCDEX.EXEIs this MSCDEX installed on thesystem ? [Y/N]Ctrl + Alt + Delete](https://usermanual.wiki/Panasonic-Healthcare/9TB094CRB/User-Guide-227508-Page-16.png)