Panasonic of North America 96NKX-FPG381 Facsimile Machine User Manual users manual
Panasonic Corporation of North America Facsimile Machine users manual
Contents
- 1. users manual
- 2. revised rf exposure statement
users manual

2.4GHz Multi-Cordless Phone with Fax
Operating Instructions
Model No. KX-FPG381
Please read these Operating
Instructions before using the unit
and save for future reference.

2
For your future reference
Date of purchase Serial number
(found on the rear of the unit)
Dealer’s name and address
Dealer’s telephone number
Caution:
●The Telephone Consumer Protection Act of 1991 makes it unlawful for any person to use a
computer or other electronic device, including fax machines, to send any message unless such
message clearly contains in a margin at the top or bottom of each transmitted page or on the
first page of the transmission, the date and time it is sent and an identification of the business or
other entity, or other individual sending the message and the telephone number of the sending
machine or such business, other entity, or individual. (The telephone number provided may not
be a 900 number or any other number for which charges exceed local or long-distance
transmission charges.)
In order to program this information into your fax machine, you should complete the instructions
on page 5 to page 7.
●Note that the images of copied or received documents will remain on the used film. When
disposing of the used film, use discretion.
●Do not rub or use an eraser on the printed side of recording paper, as the print may smear.

3
Important safety instructions!
When using this unit, basic safety precautions
should always be followed to reduce the risk of
fire, electric shock, or personal injury.
1. Read and understand all instructions.
2. Follow all warnings and instructions marked
on this unit.
3. Unplug this unit from AC outlets before
cleaning. Do not use liquid or aerosol
cleaners. Use a damp cloth for cleaning.
4. Do not use this unit near water, for example
near a bath tub, wash bowl, kitchen sink, or
the like.
5. Place the unit securely on a stable surface.
Serious damage and/or injury may result if
the unit falls.
6. Do not cover slots and openings on the unit.
They are provided for ventilation and
protection against overheating. Never place
the unit near radiators, or in a place where
proper ventilation is not provided.
7. Use only the power source marked on the
unit. If you are not sure of the type of power
supplied to your home, consult your dealer
or local power company.
8. For safety purposes this product is equipped
with a three prong grounded plug. If you do
not have this type of outlet, please have one
installed. Do not use any type of adaptor
plug to defeat this safety feature.
9. Do not place objects on the power cord.
Install the unit where no one can step or trip
on the cord.
10. Do not overload wall outlets and extension
cords. This can result in the risk of fire or
electric shock.
11. Never push any objects through slots in this
unit. This may result in the risk of fire or
electric shock. Never spill any liquid on the
unit.
12. To reduce the risk of electric shock, do not
disassemble this unit. Take the unit to an
authorized servicenter when service is
required. Opening or removing covers may
expose you to dangerous voltages or other
risks. Incorrect reassembly can cause
electric shock when the unit is subsequently
used.
13. Unplug this unit from the wall outlet and refer
servicing to an authorized servicenter when
the following conditions occur:
A. When the power supply cord or plug is
damaged or frayed.
B. If liquid has been spilled into the unit.
C. If the unit has been exposed to rain or
water.
D. If the unit does not work normally by
following the operating instructions.
Adjust only controls covered by the
operating instructions. Improper
adjustment may require extensive work
by an authorized servicenter.
E. If the unit has been dropped or physically
damaged.
F. If the unit exhibits a distinct change in
performance.
14. During thunderstorms, avoid using
telephones except cordless types. There
may be a remote risk of an electric shock
from lightning.
15. Do not use this unit to report a gas leak,
when in the vicinity of the leak.
SAVE THESE
INSTRUCTIONS
INSTALLATION:
1. Never install telephone wiring during a
lightning storm.
2. Never install telephone jacks in wet locations
unless the jack is specifically designed for
wet locations.
3. Never touch uninsulated telephone wires or
terminals unless the telephone line has been
disconnected at the network interface.
4. Use caution when installing or modifying
telephone lines.
WARNING:
To prevent the risk of fire or electrical shock, do
not expose this product to rain or any type of
moisture.
OTHER INFORMATION
●Keep the unit away from electrical noise-
generating devices, such as fluorescent lamps
and motors.
●The unit should be kept free from dust, high
temperature and vibration.
●The unit should not be exposed to direct
sunlight.
●Do not place heavy objects on top of this unit.
●Do not touch the plug with wet hands.
4
Recording paper!
1Fan the stack of paper to prevent a paper
jam.
2Insert the paper into the paper tray.
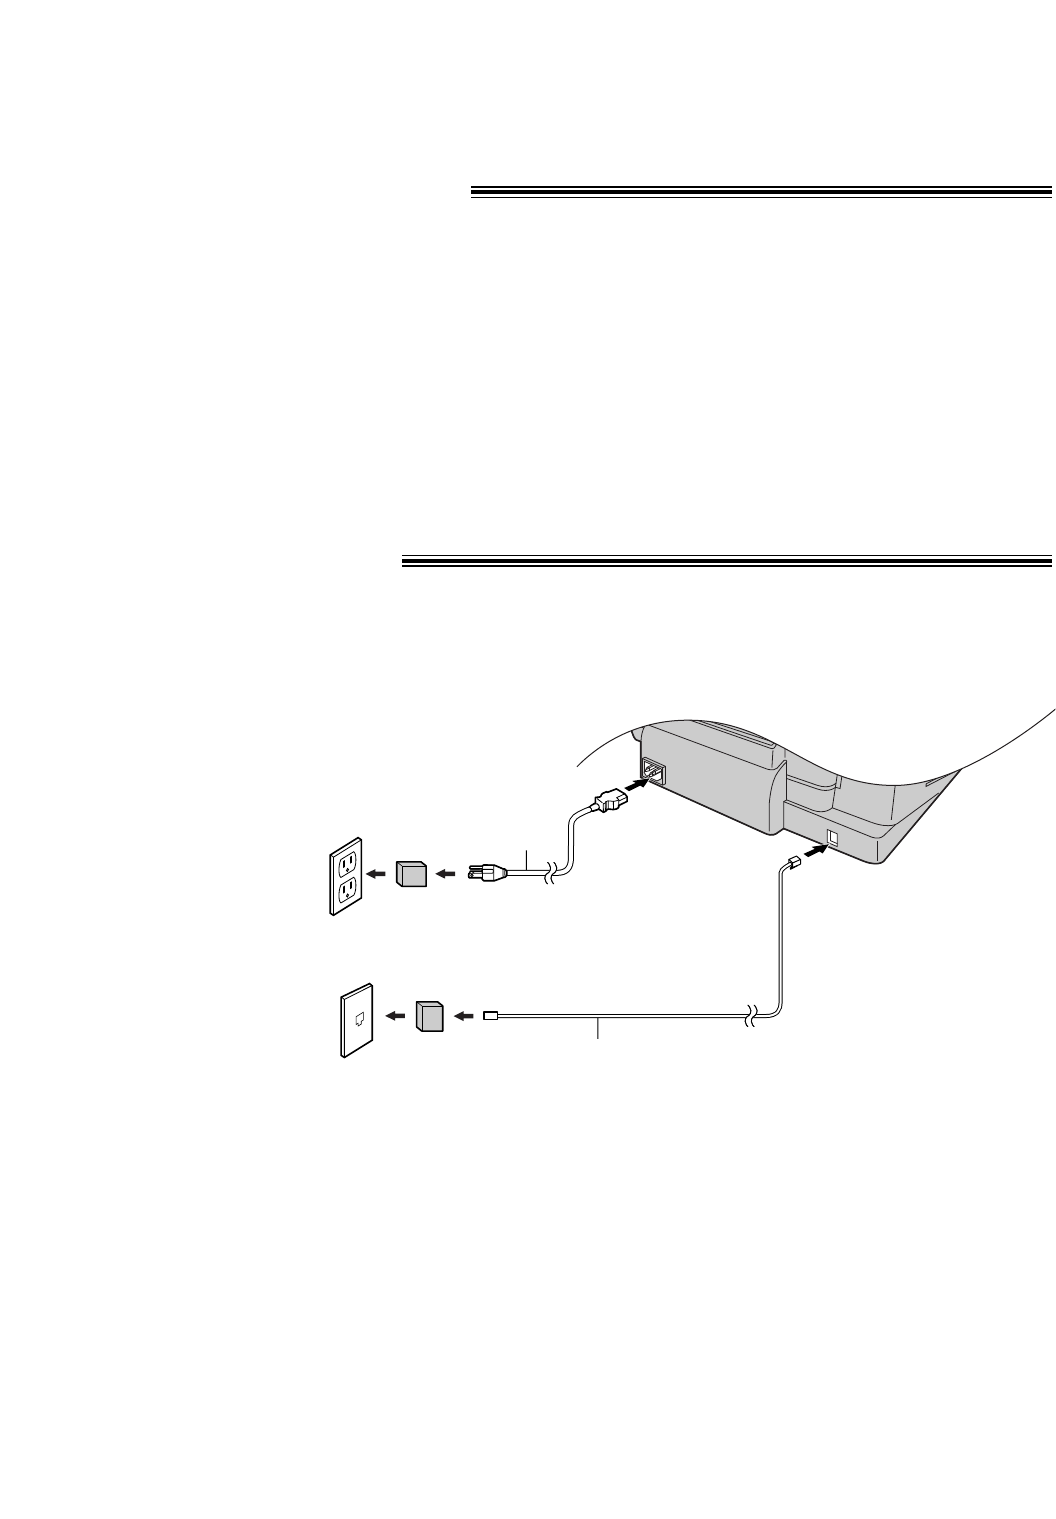
Connections!
To a single
telephone line
jack (RJ11C)
To a power
outlet
(120 V, 60 Hz)
Telephone
line cord
Power cord
Power surge
protector
( )
Line surge
protector
( )
1Connect the telephone line cord.
2Connect the power cord.
Note:
●For additional equipment protection, we recommend you use a surge protector. The following types are
available: TELESPIKE BLOK MODEL TSB (TRIPPE MFG. CO.), SPIKE BLOK MODEL SK6-0 (TRIPPE
MFG. CO.), SUPER MAX (PANAMAX) or MP1 (ITW LINX).
The warranty does not cover damage due to power line surges or lightning.
Caution:
●When you operate this product, the power outlet should be near the product and easily accessible.
5
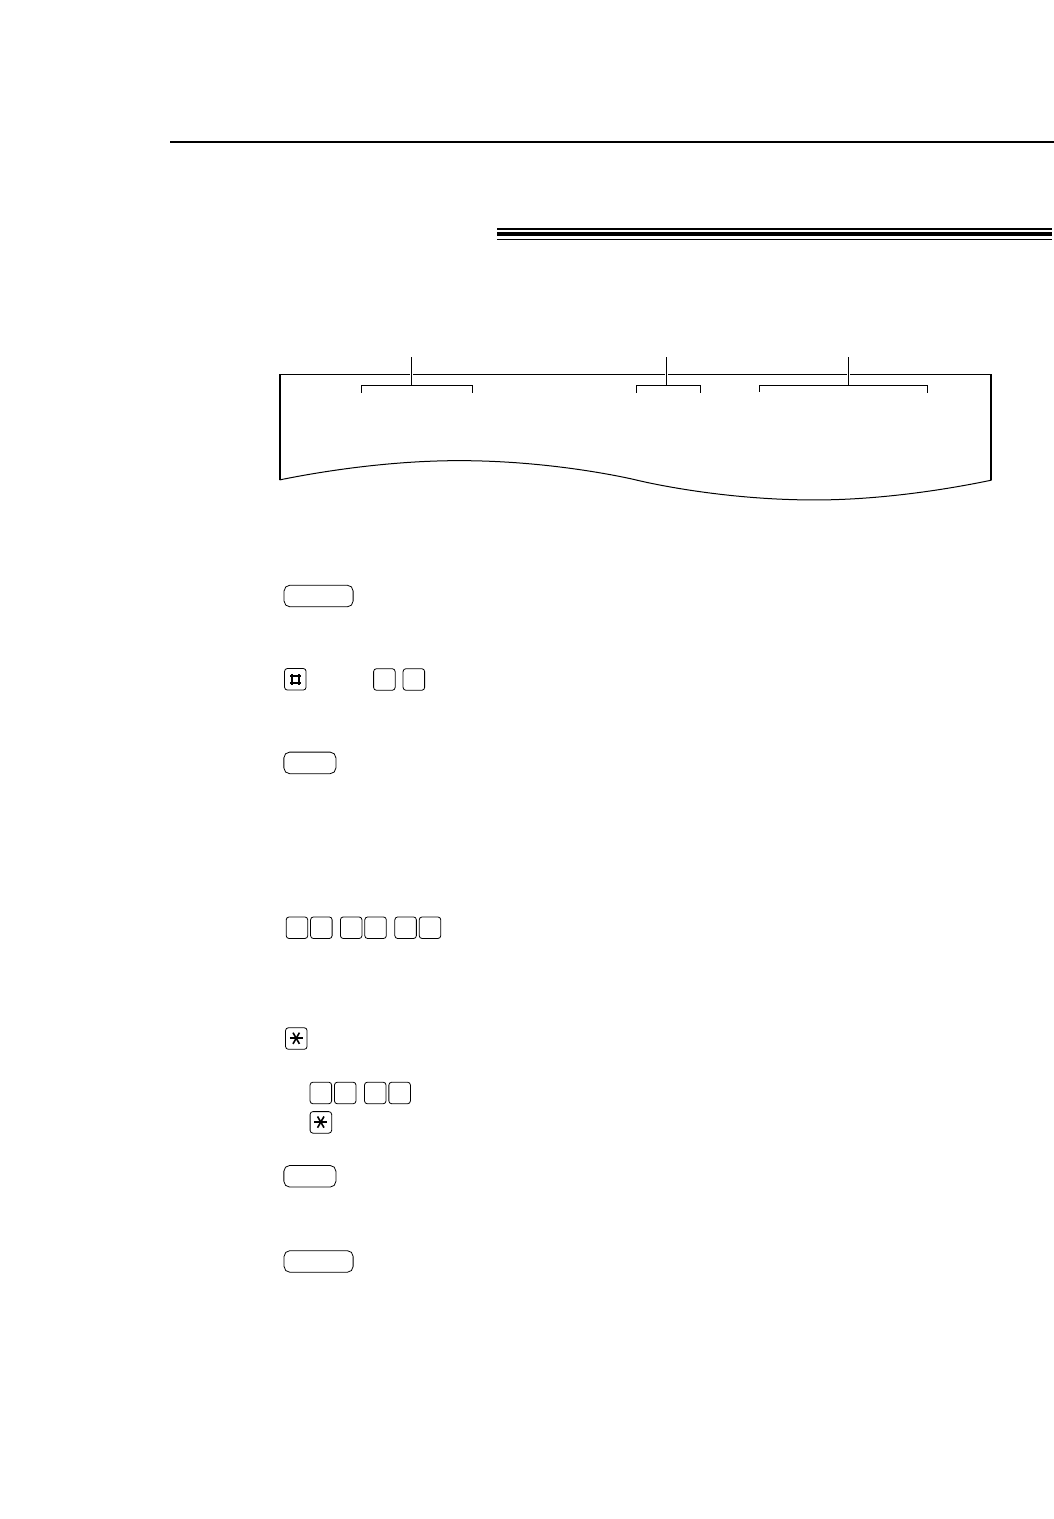
Date and time, your logo and facsimile
telephone number!
You should program the date and time, your logo and facsimile telephone number. This
information will be printed on each page transmitted from your unit.
Fax Correspondence
Your logo Your facsimile telephone number Date and time
FROM : Panasonic Fax
Example: FAX NO. : 1234567 Feb. 26 2002 09:02AM P1
Setting the date and time
1Press .
2Press , then .
3Press .
4
Enter the correct month/day/year by selecting
2 digits for each, using the dial keypad.
Example: Aug. 10, 2002
Press .
5Enter the correct hour/minute by selecting
2 digits for each, using the dial keypad.
Press to select “AM” or “PM”.
Example: 3:15PM
1. Press .
2. Press until “PM” is displayed.
6Press .
7Press .
MENU
SET
1 50 3
00 1 28 0
SET
0 1
MENU
1
2
3
4
5
6
7
8
9
0
FLASH
STOP
MUTE
6
1Press .
2Press , then .
3Press .
4Enter your logo, up to 30 characters, using
the dial keypad. See right for details.
Example: “Bill”
1. Press twice.
2. Press six times.
3. Press six times.
4. Press to move the cursor to the next
space and press six times.
5Press .
6Press .
MENU
SET
5
5
4
2
SET
0 2
MENU
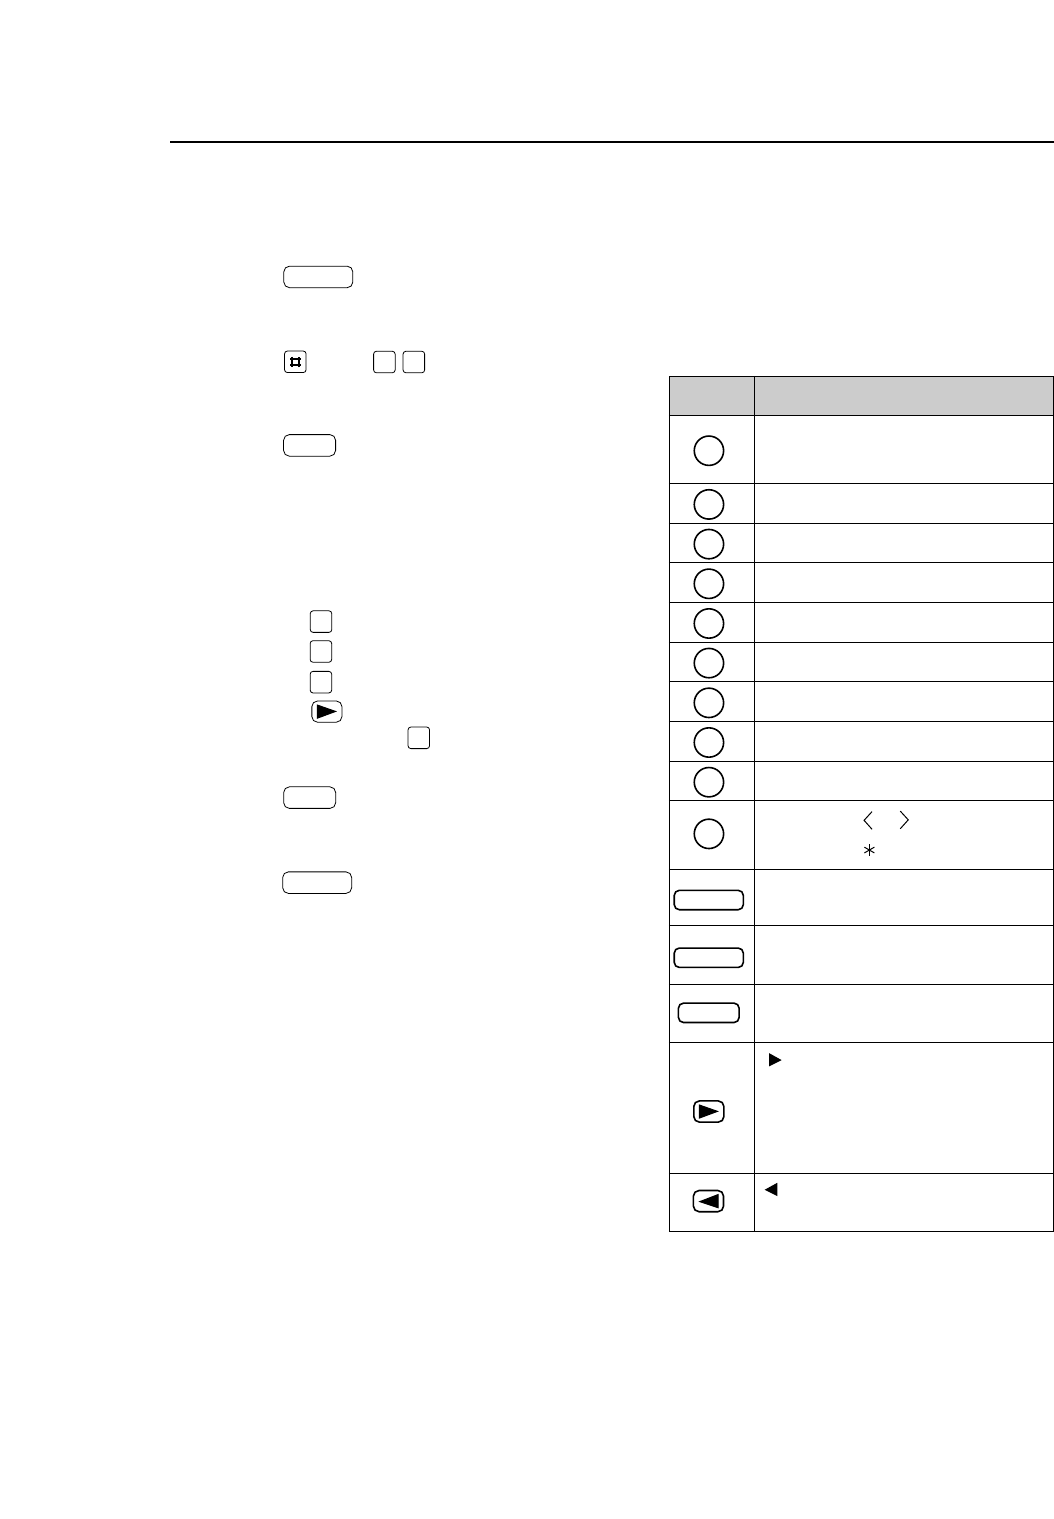
Setting your logo
The logo can be your company, division or name.
Keys Characters
1 [ ] { } + – / =
, . _ ` : ; ? |
A B C a b c 2
D E F d e f 3
G H I g h i 4
J K L j k l 5
M N O m n o 6
P Q R S p q r s 7
T U V t u v 8
W X Y Z w x y z 9
0 ( ) ! " # $
% & ¥ @ ^ ’ ®
To select characters with the dial
keypad
Pressing the dial keys will select a character as
shown below.
Hyphen button (To insert a
hyphen.)
Insert button (To insert one
character or one space.)
Delete button (To delete a
character.)
key (To move the cursor to the
left.)
key (To move the cursor to the
right.)
To enter another character using
the same number key, move the
cursor to the next space.

7
Setting your facsimile telephone number
1Press .
2Press , then .
3Press .
4Enter your facsimile telephone number, up to
20 digits, using the dial keypad.
5Press .
6Press .
MENU
SET
SET
0 3
MENU

8
Ringer volume
4 levels (high/middle/low/off) are available.
While the unit is idle, press or .
●If any documents are in the document entrance,
you cannot adjust the ringer volume. Confirm
that there are no documents in the entrance.
Speaker volume
8 levels (high to low) are available.
While using the speakerphone,
press or .
Adjusting base unit volumes!
1Handset is off the base unit:
Press .
Handset is on the base unit:
Lift the handset and press .
●The TALK indicator will light.
2Dial the telephone number.
3When finished talking, press or
place the handset on the base unit.
●The TALK indicator will turn off.
TALK
TALK
TALK
With the handset
Phone calls - making)
1Press .
2Dial the telephone number.
3When the other party answers, talk into the
microphone.
4When finished talking, press
.
DIGITAL SP-PHONE
DIGITAL SP-PHONE
With the base unit
Fax voice guidance
volume
9 levels (high to off) are available.
While listening to the fax voice guidance,
press or .
Answering device volume
9 levels (high to off) are available.
While listening to the recorded
messages, press or .
To redial the last number
Regardless of whether the base unit or the
handset was used, the last number dialed will be
redialed.
1. Press .
2. Press .
REDIAL/PAUSE
TALK

9
Phone calls - answering)
1Handset is off the base unit:
Press when the handset rings.
●You can also answer a call by pressing
any dial key 0 to 9, , or #.
(Any key talk feature)
Handset is on the base unit:
Lift the handset when the base unit rings.
2When finished talking, press or
place the handset on the base unit.
TALK
TALK
With the base unit
1When the base unit rings, press
.
2
When finished talking, press
.
DIGITAL SP-PHONE
DIGITAL SP-PHONE
With the handset
Sending a fax manually!
1Adjust the width of the document guides to
the size of the document.
2Insert the document (up to 10 pages) FACE
DOWN until a single beep is heard and the
unit grabs the document.
3Press .
4Dial the fax number.
5When a fax tone is heard:
Press .
OR
When the other party answers your call:
Ask them to press their start button. When
the fax tone is heard, press .
FAX START
FAX START
DIGITAL SP-PHONE
To redial the last number
Press .
●If the line is busy, the unit will automatically redial the
number up to 2 times.
●During redial, “WAITING REDIAL” will be displayed.
●To cancel redialing, press .
STOP
REDIAL

10
1When the unit rings, press
or lift the handset to
answer the call.
2When:
— document reception is required,
— a fax calling tone (slow beep) is heard, or
— no sound is heard,
press .
●The unit will start fax reception.
FAX START
DIGITAL SP-PHONE
Receiving Faxes!
Receiving a fax using the
base unit
1When the handset rings, press .
2When:
— document reception is required,
— a fax calling tone (slow beep) is heard, or
— no sound is heard,
press *#9until a single beep is
heard.
●The unit will start fax reception.
TALK
Receiving a fax using the
handset

11. General Information
97
FCC and Other Information
11.3 FCC and Other Information
This equipment complies with Part 68 of the FCC
rules and the requirements adopted by the ACTA.
On the rear of this equipment is a label that
contains, among other information, a product
identifier in the format US:ACJ----------.
If requested, this number must be provided to the
telephone company.
• Registration No .....(found on the rear of the unit)
• Ringer Equivalence No. (REN)
...............................(found on the rear of the unit)
A plug and jack used to connect this equipment to
the premises wiring and telephone network must
comply with the applicable FCC Part 68 rules and
requirements adopted by the ACTA. A compliant
telephone cord and modular plug is provided with
this product. It is designed to be connected to a
compatible modular jack that is also compliant.
The REN is used to determine the number of
devices that may be connected to a telephone line.
Excessive RENs on a telephone line may result in
the devices not ringing in response to an incoming
call. In most but not all areas, the sum of RENs
should not exceed five (5.0).To be certain of the
number of devices that may be connected to a
line, as determined by the total RENs, contact the
local telephone company. For products approved
after July 23, 2001, the REN for this product is part
of the product identifier that has the format
US:AAAEQ##TXXXX. The digits represented by
## are the REN without a decimal point (e.g.,03 is
a REN of 0.3).
If this equipment causes harm to the telephone
network, the telephone company will notify you in
advance that temporary discontinuance of service
may be required. But if advance notice isn’t
practical, the telephone company will notify the
customer as soon as possible. Also, you will be
advised of your right to file a complaint with the
FCC if you believe it is necessary.
The telephone company may make changes in its
facilities, equipment, operations or procedures that
could affect the operation of the equipment. If this
happens the telephone company will provide
advance notice in order for you to make necessary
modifications to maintain uninterrupted service.
If trouble is experienced with this equipment, for
repair or warranty information, please contact a
Factory Servicenter or other Authorized Servicer. If
the equipment is causing harm to the telephone
network, the telephone company may request that
you disconnect the equipment until the problem is
resolved.
Connection to party line service is subject to state
tariffs. Contact the state public utility commission,
public service commission or corporation
commission for information.
This equipment is hearing aid compatible as
defined by the FCC in 47 CFR Section 68.316.
When you hold the phone to your ear, noise might
be heard in your Hearing Aid. Some Hearing Aids
are not adequately shielded from external RF
(radio frequency) energy. If noise occurs, use an
optional headset accessory or the speakerphone
option (if applicable) when using this phone.
Consult with your audiologist or Hearing Aid
manufacturer about the availability of Hearing Aids
which provide adequate shielding to RF energy
commonly emitted digital devices.
If your home has specially wired alarm equipment
connected to the telephone line, ensure the
installation of this equipment does not disable your
alarm equipment. If you have questions about
what will disable alarm equipment, consult your
telephone company or a qualified installer.
WHEN PROGRAMMING EMERGENCY
NUMBERS AND(OR) MAKING TEST CALLS TO
EMERGENCY NUMBERS:
1) Remain on the line and briefly explain to the
dispatcher the reason for the call.
2) Perform such activities in the off-peak hours,
such as early morning or late evenings.
The software contained in this equipment to allow
user access to the network must be upgraded to
recognize newly established network area codes
and exchange codes as they are placed into
service. Failure to upgrade the premises systems
or peripheral equipment to recognize the new
codes as they are established will restrict the
customer and the customer’s employees from
gaining access to the network and to these codes.
This device complies with Part 15 of the FCC
Rules. Operation is subject to the following two
conditions:
(1) This device may not cause harmful
interference, and (2) this device must accept any
interference received, including interference that
may cause undesired operation.
Privacy of communications may not be ensured
when using this phone.
FPG381.book Page 97 Tuesday, May 6, 2003 4:28 PM

11. General Information
98
CAUTION:
Any changes or modifications not expressly
approved by the party responsible for compliance
could void the user’s authority to operate this
device.
NOTE:
This equipment has been tested and found to
comply with the limits for a Class B digital device,
pursuant to Part 15 of the FCC Rules. These
limits are designed to provide reasonable
protection against harmful interference in a
residential installation. This equipment generates,
uses, and can radiate radio frequency energy
and, if not installed and used in accordance with
the instructions, may cause harmful interference
to radio communications. However, there is no
guarantee that interference will not occur in a
particular installation. If this equipment does
cause harmful interference to radio or television
reception, which can be determined by turning
the equipment off and on, the user is encouraged
to try to correct the interference by one or more of
the following measures:
— Reorient or relocate the receiving antenna.
— Increase the separation between the
equipment and receiver.
— Connect the equipment into an outlet on a
circuit different from that to which the receiver
is connected.
— Consult the dealer or an experienced radio/TV
technician for help.
CAUTION:
To comply with FCC RF exposure requirements,
the base unit should be installed with its antenna
located at 20 cm or more from persons and
handset should be carried with the specific belt-
clip provided for the handset to ensure
compliance. Other non-tested belt-clips or similar
body-worn accessories may not comply,
therefore, should be avoided.
FPG381.book Page 98 Tuesday, May 6, 2003 4:28 PM
13
14

15
Panasonic Consumer Electronics
Company, Division of Matsushita
Electric Corporation of America
One Panasonic Way,
Secaucus, New Jersey 07094
Panasonic Sales Company,
Division of Matsushita Electric of
Puerto Rico, Inc.
Ave. 65 de Infantería, Km. 9.5
San Gabriel Industrial Park, Carolina,
Puerto Rico 00985
Technical data about this product!
Applicable Lines: Public Switched Telephone Network
Document Size: Max. 216 mm (81⁄2
"
) in width / Max. 600 mm (235⁄8
"
) in length
Effective Scanning Width: 208 mm (83⁄16
"
)
Recording Paper Size: Letter: 216 mm x 279 mm (81⁄2
"
x 11
"
)
Legal: 216 mm x 356 mm (81⁄2
"
x 14
"
)
Effective Printing Width: 208 mm (83⁄16
"
)
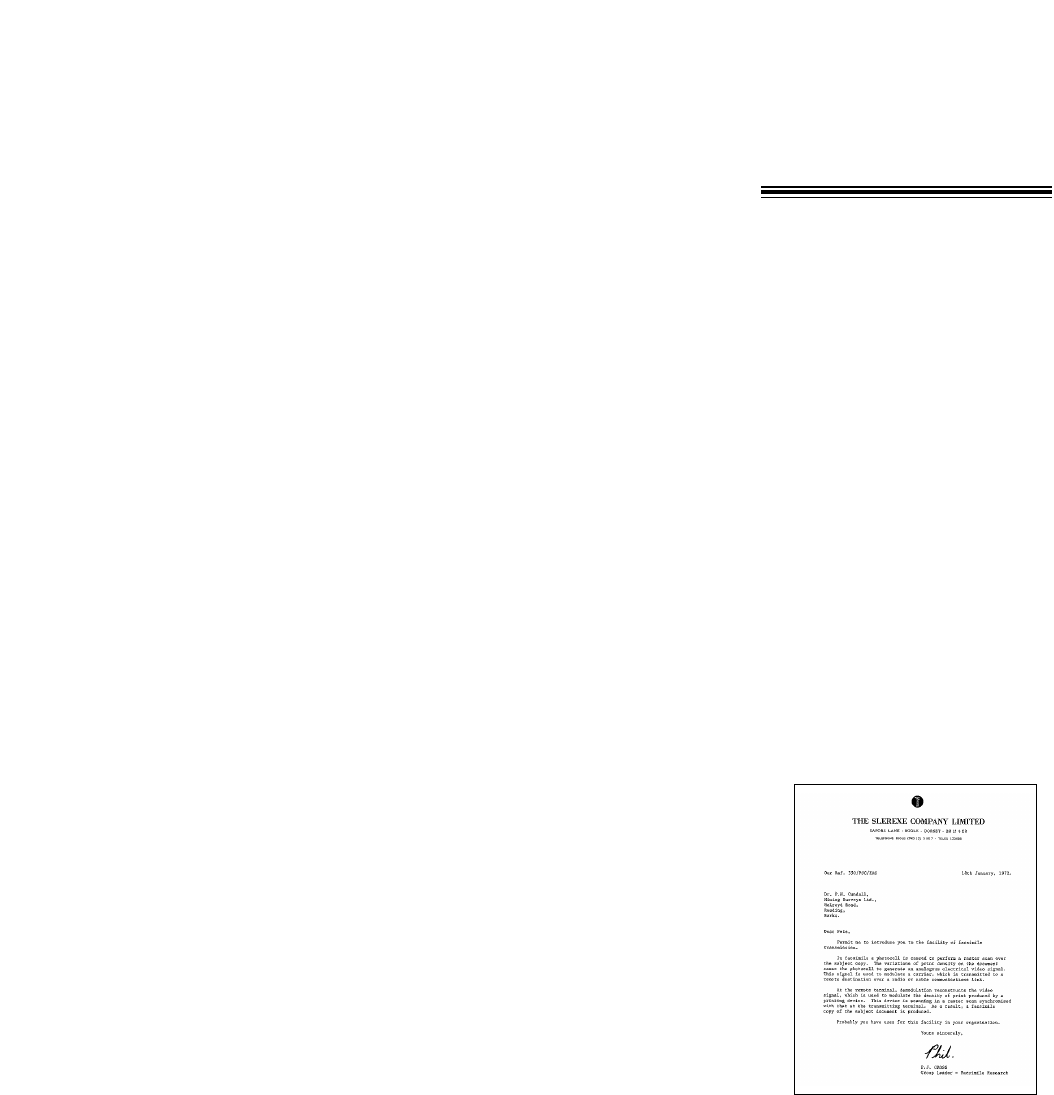
Transmission Time*: Approx. 15 s/page (Original mode)**
Scanning Density: Horizontal: 8 pels/mm (203 pels/inch)
Vertical: 3.85 lines/mm (98 lines/inch)–STANDARD mode
7.7 lines/mm (196 lines/inch)–FINE/PHOTO mode
15.4 lines/mm (392 lines/inch)–SUPER FINE mode
Halftone Level: 64-level
Scanner Type: Contact Image Sensor (CIS)
Printer Type: Thermal Transfer on plain paper
Data Compression System:
Modified Huffman (MH), Modified READ (MR)
Modem Speed: 9,600 / 7,200 / 4,800 / 2,400 bps; Automatic Fallback
Operating Environment: 5 °C – 35 °C (41 °F – 95 °F), 20% – 80% RH (Relative Humidity)
Power Supply: 120 V AC, 60 Hz
** Transmission speed depends upon the contents of the pages,
resolution, telephone line conditions and capability of the other
party’s machine.
** Transmission speed is based upon the ITU-T No. 1 Test Chart
and original mode.
If the capability of the other party’s machine is inferior to your
unit, the transmission time may be longer.
ITU-T No. 1 Test Chart
Note:
●Any details given in these instructions are subject to change without notice.
●The pictures and illustrations in these instructions may vary slightly from the actual product.