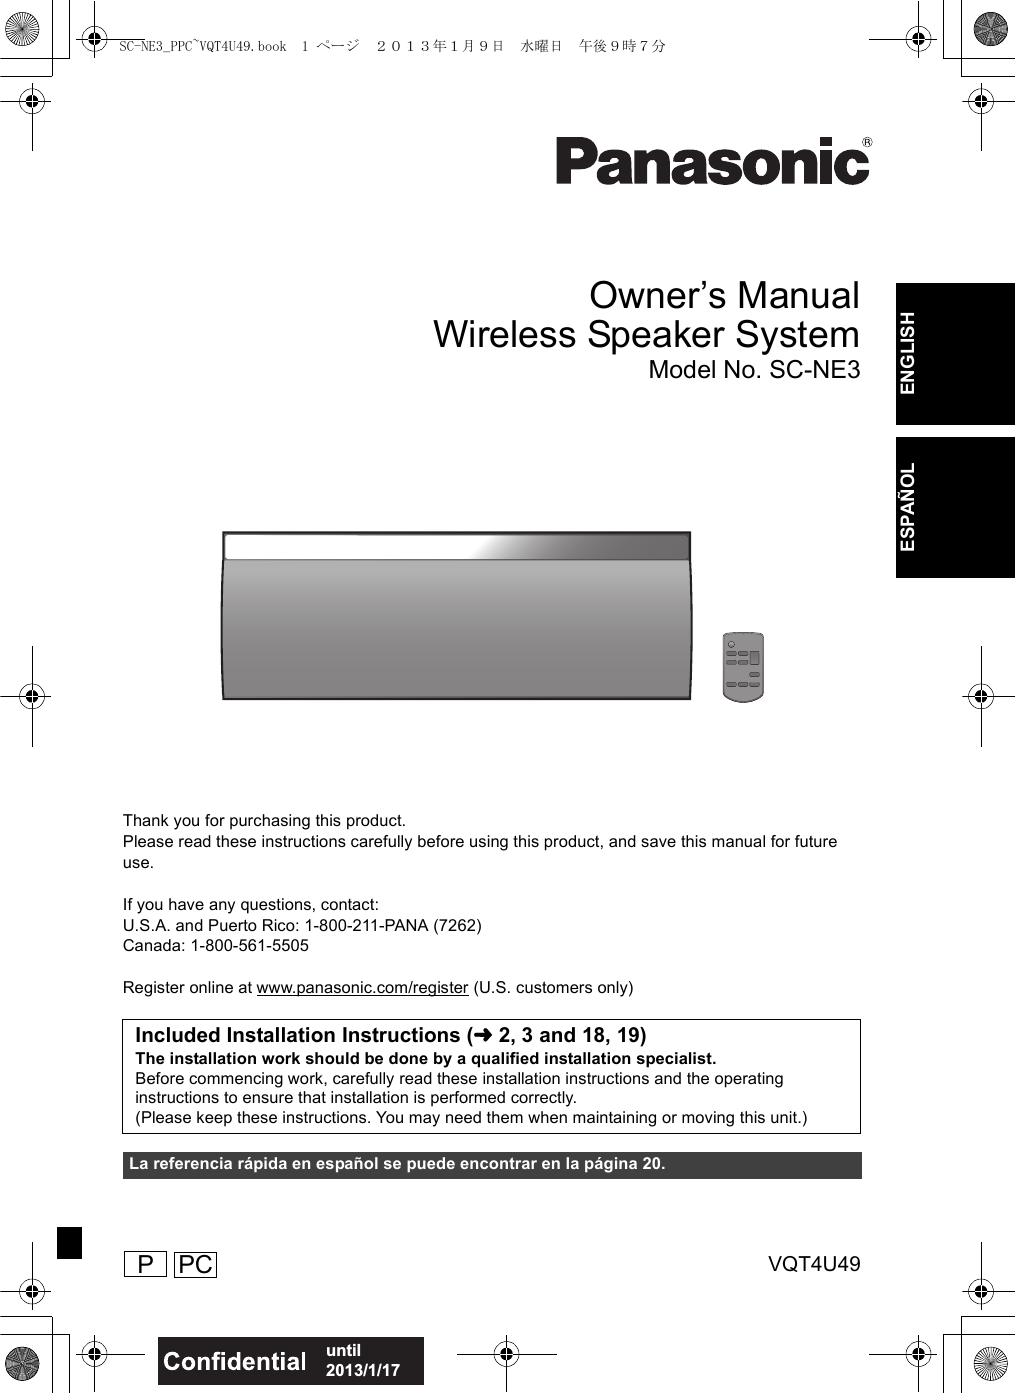
Panasonic of North America SB-NE5 Wireless Speaker System User Manual
Panasonic Corporation of North America Wireless Speaker System
Contents
- 1. Short Term Confidentiality_User Manual[SC-NE3] -1
- 2. Short Term Confidentiality_User Manual[SC-NE3] -2
- 3. Short Term Confidentiality_User Manual[SC-NE5] -1
- 4. Short Term Confidentiality_User Manual[SC-NE5] -2
Short Term Confidentiality_User Manual[SC-NE3] -1
![5VQT4U49ENGLISHControl reference guide1 Standby/on switch [Í/I] ([Í])Press to switch the unit from on to standby mode or vice versa.In standby mode, the unit is still consuming a small amount of power.2 Enter sound menu3 Enter setup menu4 Select Bluetooth®/AUX5 Adjust the volume (0 (min) to 50 (max))6 Enter the Bluetooth® menu/Change the sound input level of the external device (l6)7 Mute the soundMutes the sound. Press again to cancel.“MUTE” is also canceled when the volume is adjusted or the unit is turned off.8 Selection/OK9 WPS pairing button (l8)10 Display11 Remote control signal sensorDistance: Within approx. 7 m (23 ft) directly in front.≥To avoid interference, please do not put any objects in front of signal sensor.12 Wi-Fi® status indicator∫Before using for the first timeRemove the insulation sheet A .∫To replace a button-type batteryBattery type: CR2025 (Lithium battery)1 2≥Set the button-type battery with its (i) mark facing upward.≥Keep the button-type battery out of reach of children to prevent swallowing.− VOLUME +149510 1112Top viewSOUNDSETUPPLAY MENUOK14256783SC-NE3_PPC~VQT4U49.book 5 ページ 2013年1月9日 水曜日 午後9時7分](https://usermanual.wiki/Panasonic-of-North-America/SB-NE5.Short-Term-Confidentiality-User-Manual-SC-NE3-1/User-Guide-1888948-Page-5.png)
![6VQT4U49Connections≥These speakers do not have magnetic shielding. Do not place them near a television, personal computer or other devices easily influenced by magnetism.≥When this unit is turned on for the first time after purchase, a message prompting you to connect a Bluetooth® device (“PAIRING”) is displayed. (l12)∫To select the sound input level of the external device1While in “AUX” mode, press [PLAY MENU] repeatedly to select “INPUT LEVEL” and then press [OK].2Press [3,4] to select “NORMAL” or “HIGH”.≥The default setting is “NORMAL”.≥Switch the equalizer off or turn the volume of the external device down to reduce the input signal. High level of input signal will distort the sound.≥For details, refer to the instruction manual of the other equipment.≥The cables and the devices are not supplied.Additional ConnectionモヤチリワConnect the AC power supply cord.To a household AC outletAC Power supply cord (supplied)This unit consumes a small amount of AC power (l17) even when turned off.≥In the interest of power conservation, if you will not be using this unit for an extended period of time, unplug it from the household AC outlet.モヤチリワConnect an external music device (for AUX mode).1Plug the audio cable (not supplied) into the AUX jack.Plug type: ‰3.5 mm (1/8q) stereo2Press [ , AUX] to select “AUX” and start playback on the connected device.Audio cable (not supplied)SC-NE3_PPC~VQT4U49.book 6 ページ 2013年1月9日 水曜日 午後9時7分](https://usermanual.wiki/Panasonic-of-North-America/SB-NE5.Short-Term-Confidentiality-User-Manual-SC-NE3-1/User-Guide-1888948-Page-6.png)
![7VQT4U49ENGLISHNetwork settingsYou can wirelessly stream music from an iOS device (iPhone, iPod, iPad), an Android device or a Mac/PC to this unit’s speakers by using the AirPlay or DLNA feature.To use these features, this unit must join the same 2.4 GHz wireless network as the AirPlay compatible device or the DLNA compatible device.≥It is also possible to use AirPlay without a wireless network router. (l10, “Directly streaming to this unit (AirPlay)”)∫Compatible AirPlay devices(as of February 2013)Preparation≥Place this unit close to the wireless network router.1Turn this unit on.2Follow the chart below to choose the network setting method.≥If you want to apply the advanced setting, or you want to perform wireless setting with your Mac/PC, try “Method 3” on page 8.≥To cancel this setting in the middle, press [Í] to turn off the unit.≥Simultaneous use with other 2.4 GHz devices, such as microwaves, cordless telephones, etc., may result in connection interruptions.≥For up to date compatibility information on your wireless network router refer to http://panasonic.jp/support/global/cs/(This site is in English only.)iOS 4.3.3 or lateriPod touch3rd, 4th, and 5th generationiPhone 5 / iPhone 4S / iPhone 4 / iPhone 3GSiPad (3rd, and 4th generation) / iPad 2 / iPadiPad miniiTunes 10.2.2 or later (Mac / PC)Does your wireless network router support WPS?Yesl8,“Method 1”l8,“Method 2”l8,“Method 3”No / Do not knowYes NoAre you using an iPod touch/iPhone/iPad, or an Android device?SC-NE3_PPC~VQT4U49.book 7 ページ 2013年1月9日 水曜日 午後9時7分](https://usermanual.wiki/Panasonic-of-North-America/SB-NE5.Short-Term-Confidentiality-User-Manual-SC-NE3-1/User-Guide-1888948-Page-7.png)
![8VQT4U49∫Using the WPS Push Button Configuration (PBC)1Press and hold [– WPS] on the unit.{. “WPS” flashes on the display. (The Wi-Fi status indicator blinks blue.)≥Complete step 2 within 2 mins.2After “WPS” is indicated, press the WPS button on the wireless network router.3The unit’s settings are completed when “SUCCESS” is displayed and the Wi-Fi status indicator stops blinking and lights in blue.4Press [OK] on the remote control to exit the setting.≥To use the WPS PIN code, refer to the notes on page 9.You can make the wireless network settings with the app, “Panasonic Stereo System Network Setup” (for free).If you’re using an Android device, download the app at the Google Play Store. If you’re using an iPod touch/iPhone/iPad, download it at the App Store.Preparation≥Connect your smartphone to your home wireless network.≥Check the password for your home wireless network.1Press [SETUP] on the remote control repeatedly to select “NET SETUP” and then press [OK].{. “SETTING” is indicated on the display. (The Wi-Fi status indicator blinks purple.)2Start “Panasonic Stereo System Network Setup” on your smartphone and follow the indications.∫Note for the iOS versionAfter step 21 Enter the password for the home wireless network to which the iOS device is connected.2 When a message instructing you to connect the iOS device to this unit is displayed, press the home button to close the app.3 On the Wi-Fi network selection screen in “Settings”, select “00 Setup _ _ _ _ _ _”.≥“ _ ” stands for a digit that is unique to each set.4 When a message indicating the completion of the connection to this unit is displayed, restart the app.5 When a message indicating the completion of the Wi-Fi setup of this unit is displayed, close the app, and then check the operation of AirPlay, etc. ≥“Panasonic Stereo System Network Setup” for Mac OS is also available at the App Store.With this method, you will access this unit’s wireless network settings from the Internet browser of your compatible device.≥The following explanations are based on an iPhone.1Press [SETUP] on the remote control repeatedly to select “NET SETUP” and then press [OK].{. “SETTING” is indicated on the display. (The Wi-Fi status indicator blinks purple.)2After “SETTING” is indicated, connect your compatible device to this unit’s wireless network named “00 Setup _ _ _ _ _ _”.≥“ _ ” stands for a digit that is unique to each set.≥Make sure that DHCP is enabled for the network setting on your compatible device.Method 1If your wireless network router supports WPS (Wi-Fi Protected SetupTM).The WPS identifier markWPS Push Button Configuration (PBC) compatible wireless network router may have this mark.“FAIL” may be displayed if the connection was not made within the set time limit. Try the setting again. If “FAIL” is still displayed, try other methods.Method 2Setting the network connection with the smartphone appMethod 3Setting the network connection from an Internet browser.SC-NE3_PPC~VQT4U49.book 8 ページ 2013年1月9日 水曜日 午後9時7分](https://usermanual.wiki/Panasonic-of-North-America/SB-NE5.Short-Term-Confidentiality-User-Manual-SC-NE3-1/User-Guide-1888948-Page-8.png)
![9VQT4U49ENGLISH3Start the Internet browser on your compatible device and type “http://192.168.1.12/” into the URL address field and display the page.{. This unit’s setup window is displayed.≥Examples of Internet browsersiOS device/Mac : SafariAndroid device : Google Chrome browserPC : Windows Internet Explorer4Select “Search wireless network”.5Select and input the details.≥Check your home wireless network name (Network name (SSID)) and password for this network. This can often be found on the wireless network router itself.6Select “JOIN” to apply the settings.≥In the pop-up screen, select “OK” to continue.– Select “Cancel” to return to the setup window.7The unit’s settings are completed when “SUCCESS” is displayed and the Wi-Fi status indicator stops blinking and lights in blue.8Make sure to connect your compatible device back to your home wireless network.*1: If you have set your wireless network to be invisible, select “BACK” and refer to “Alternative settings”.≥The below settings are the alternative or additional settings for “Method 3”. (l8)≥Enable Java and Cookies in your browser settings.≥This unit can also be set using the WPS PIN code.Replace step 2 of “Method 1” with the following steps.(Before starting, refer to the wireless network router’s operating instructions for details on how to enter the PIN code.)1 While “WPS” is flashing press and hold [– WPS] again to display the 8 digit PIN code.{. Wi-Fi status indicator blinks purple.2 Enter the PIN code into the wireless network router.[1] Select your home wireless network name.*1[2] Type the password.If “FAIL” is displayed press [OK], check the wireless network password and other settings and start again from step 1.Advanced network settingsAlternative settingsInstead of steps 4 and 5Select “Manual settings”.1 Type your home wireless network name into the “Network name (SSID)” field.2 Select the encryption method from the “Security system” drop down list.3 Type the password into the “Password” field and then select “JOIN”.Additional settingsIf your home wireless network has been configured to use specific IP Addresses, Subnet Mask, Default Gateway, Primary DNS, etc.Before step 6Select “Advanced network settings”.{. Input the required addresses into each field and select “JOIN”.≥To change the settings back to DHCP, select “ON” from the “DHCP” drop down list.If you want to change the name of this unit that is displayed as the AirPlay speakers or DLNA renderer.Before step 4Select “Additional settings”.1 Select “Edit STEREO SYSTEM name”.2 Type a new name into the “STEREO SYSTEM name” field.{. Only ASCII characters can be used.3 Select “OK”.4 If this unit is already connected to your home wireless network:jSelect “Additional settings” and then select “Exit”.If this unit is not connected to your home wireless network:jContinue to step 4 of “Method 3”.SC-NE3_PPC~VQT4U49.book 9 ページ 2013年1月9日 水曜日 午後9時7分](https://usermanual.wiki/Panasonic-of-North-America/SB-NE5.Short-Term-Confidentiality-User-Manual-SC-NE3-1/User-Guide-1888948-Page-9.png)
![10VQT4U49Using AirPlay with this unit’s speakers1Turn the unit on.≥Check that the Wi-Fi status indicator lights in blue.≥If it doesn’t light in blue, check the wireless network settings. (l7)2iOS device: Start the “Music” (or iPod) app.Mac/PC: Start “iTunes”.≥If the Music app on your iOS device is used, select the audio file you want to play.3Select “Panasonic NE3 _ _ _ _ _ _”*1, 2 from the AirPlay icon.{. Check the volume settings before starting the playback. (When AirPlay is used for the first time, the volume may be output at the maximum setting.)4Start play.≥The playback will start with a slight delay.≥This unit can be set to turn on automatically when this unit is selected as the output speakers. (l13)≥Playback of other audio sources will stop and AirPlay output will have priority.≥Volume changes on the iOS device or iTunes will be applied to this unit. (Refer to the iTunes Help for the required settings in iTunes.)≥With some iOS and iTunes versions, it may not be possible to restart the AirPlay playback if the selector is changed (e.g., “AUX”) or the unit is turned off, during the AirPlay playback.In this case, select a different device from the AirPlay icon of the Music App or iTunes and then re-select this unit as the output speakers.≥AirPlay will not work when playing back videos on iTunes.*1: “ _ ” stands for a digit that is unique to each set.*2: The name that is displayed for this unit can be changed from the “Edit STEREO SYSTEM name” settings. (l9, “Advanced network settings”)With this function set to “ON”, you can stream music from the iOS device or Mac / PC (iTunes 10.2.2 or later) to this unit without the need of a wireless network router.≥Previous network settings will be deleted when this function is set to “ON”.≥The following explanations are based on an iPhone.1Press [SETUP] repeatedly to select “D.CONNECT”.2Press [3,4] to select “ON” and then press [OK].3Press [3,4] to select “OK? YES” and then press [OK].4Connect your iPhone to this unit’s wireless network named “NE3 _ _ _ _ _ _”*2.5Enter the password that is indicated on this unit’s display.6Once the iPhone is connected to this unit’s wireless network, the setup is competed.7Continue to step 2 of “Using AirPlay with this unit’s speakers”.≥This setting is reset to “OFF” when other network settings are performed. (l7)≥When “D.CONNECT” is set to “ON”, this unit will not be connected to the Internet. It is not possible to update the software or check the Wi-Fi signal strength.≥When AirPlay is not being used, disconnect the AirPlay compatible device from this network.≥When using a computer on this network, make sure that all the shared files are encrypted.≥This feature is only compatible with the “Open System” authentication method. It is not compatible with “Shared Key” authentication method.*1: “ _ ” stands for a digit.*2: “ _ ” stands for a digit that is unique to each set.Preparation≥Complete the network settings. (l7)≥Connect the iOS device or Mac/PC to the same home wireless network as this unit.NE3e.g., iPhone iOS 6.0.1NE3e.g., iTunes 11.0Directly streaming to this unit (AirPlay)“PW _ _ _ _ _ _”*1 is displayed.The 5 digits after “PW” is the password for this network.SC-NE3_PPC~VQT4U49.book 10 ページ 2013年1月9日 水曜日 午後9時7分](https://usermanual.wiki/Panasonic-of-North-America/SB-NE5.Short-Term-Confidentiality-User-Manual-SC-NE3-1/User-Guide-1888948-Page-10.png)
![11VQT4U49ENGLISHThe first time “D.CONNECT” is set to “ON”, a password for this unit’s wireless network is randomly created and memorized in this unit.≥This password is memorized until it is changed.1 While “D.CONNECT” is set to “ON”:Press [SETUP] repeatedly to select “D.CONNECT”.2Press [3,4] to select “ON” and then press [OK].3 The current password is displayed.≥The 5 digits after “PW” is the password for this network.4 Press any button to exit.1 While “D.CONNECT” is set to “OFF”: Press [SETUP] repeatedly to select “D.CONNECT”.2Press [3,4] to select “CHANGE PW” and then press [OK].3Press [3,4] to select “OK? YES” and then press [OK].4 The new password is displayed.≥The 5 digits after “PW” is the new password for this network.5 Press any button to exit.∫Note about changing the passwordAfter changing this unit’s wireless network password, if you are not prompted to change the password on the other devices, the following changes are required.iOS device (iPod touch/iPhone/iPad)*1:≥Before choosing this unit’s network,1 Select [ ] located beside this unit’s wireless network name.2 Select “Forget this Network” and then select “Forget”.3 Select this unit’s wireless network and enter the new password.Mac/PC:≥If the computer has memorized the old password, be sure to change the memorized password for this unit’s wireless network to the new one.≥Refer to the devices’s operating instructions for details.*1: Steps are based on iOS 6.0.1.Playing back music files on the DLNA serverYou can share music files stored in the DLNA Certified media server (PC with Windows 7 installed, smartphone, etc.) connected to your home wireless network, and enjoy the contents with this unit’s speaker.1Turn the unit on.≥Check that the Wi-Fi status indicator lights in blue.≥If it doesn’t light in blue, check the wireless network settings. (l7)2Operate the DMC compatible device and connect to this unit.≥The device name of this unit will be displayed as “Panasonic NE3 _ _ _ _ _ _”*1, 2.≥For details on how to use DMC compatible devices, refer to the operating instructions of the devices or the software.∫Support format of DLNA clientFile formats that are not supported by your DLNA server cannot be played.≥Depending on the contents and the connected equipment, playback may not be possible.*1: “ _ ” stands for a digit that is unique to each set.*2: The name that is displayed for this unit can be changed from the “Edit STEREO SYSTEM name” settings. (l9, “Advanced network settings”)Display the passwordChange the passwordPreparation≥Complete the network settings. (l7)≥Connect your device with DMC (Digital Media Controller) compatible software installed to the same home wireless network as this unit.≥Add the contents and folder to the libraries of the Windows Media® Player or the smartphone, etc.– Playlist of Windows Media® Player can play back only the contents that are stored in the libraries.Audio codec Example of file extensionMP3 .mp3WAV .wavSC-NE3_PPC~VQT4U49.book 11 ページ 2013年1月9日 水曜日 午後9時7分](https://usermanual.wiki/Panasonic-of-North-America/SB-NE5.Short-Term-Confidentiality-User-Manual-SC-NE3-1/User-Guide-1888948-Page-11.png)
![12VQT4U49Bluetooth® operationsBy using the Bluetooth® connection, you can listen to the sound from the Bluetooth® audio device from this unit wirelessly.≥Refer to the operating instructions of the Bluetooth® device for details.Preparation≥Turn on the Bluetooth® feature of the device and place the device near this unit.≥If this unit is already connected to a Bluetooth® device, disconnect it.1Press [ , AUX] to select “BLUETOOTH”.≥If “PAIRING” is indicated on the display, go to step 3.2Press [PLAY MENU] to select “NEW DEV.” and then press [OK].{. “PAIRING” is indicated on the display.3Select “SC-NE3” from the Bluetooth® device’s Bluetooth® menu.4Start play on the Bluetooth® device.≥If prompted for the passkey, input “0000”.≥You can register up to 8 devices with this unit. If a 9th device is paired, the device that has not been used for the longest time will be replaced.Preparation≥Turn on the Bluetooth® feature of the device and place the device near this unit.≥If this unit is already connected to a Bluetooth® device, disconnect it.1Press [ , AUX] to select “BLUETOOTH”.{. “READY” is indicated on the display.2Select “SC-NE3” from the Bluetooth® device’s Bluetooth® menu.{. The name of the connected device is indicated on the display for 2 seconds.3Start play on the Bluetooth® device.≥This unit can only be connected to one device at a time.≥When “BLUETOOTH” is selected as the source, this unit will automatically try and connect to the last connected Bluetooth® device.≥The Bluetooth® device will be disconnected if “AUX” is selected as an audio source.You can change the transmission speed to prioritize transmission quality or sound quality.Preparation≥Press [ , AUX] to select “BLUETOOTH”.≥If a Bluetooth® device is already connected, disconnect it.1Press [PLAY MENU] repeatedly to select “LINK MODE”.2Press [3,4] to select the mode and then press [OK].MODE 1: Emphasis on connectivityMODE 2: Emphasis on sound quality≥The default setting is “MODE 1”.If the sound input level of the Bluetooth® transmission is too low, change the input level setting.Preparation≥Connect a Bluetooth® device.1Press [PLAY MENU] repeatedly to select “INPUT LEVEL”.2Press [3,4] to select the level and then press [OK].“LEVEL 0” ,. “LEVEL +1” ,. “LEVEL +2”^----------------------------------------------------J≥Select “LEVEL 0” if the sound is distorted.≥The default setting is “LEVEL 0”.1While a Bluetooth® device is connected:Press [PLAY MENU] to select “DISCONNECT?”.2Press [3,4] to select “OK? YES” and then press [OK].Pairing Bluetooth® devicesConnecting a paired Bluetooth® deviceBluetooth® transmission modeBluetooth® input levelDisconnecting a Bluetooth® deviceSC-NE3_PPC~VQT4U49.book 12 ページ 2013年1月9日 水曜日 午後9時7分](https://usermanual.wiki/Panasonic-of-North-America/SB-NE5.Short-Term-Confidentiality-User-Manual-SC-NE3-1/User-Guide-1888948-Page-12.png)