Pantech Co P6070 GSM/WCDMA Phone with Bluetooth User Manual
Pantech Co Ltd GSM/WCDMA Phone with Bluetooth
UserManual.wiki
>
Pantech Co
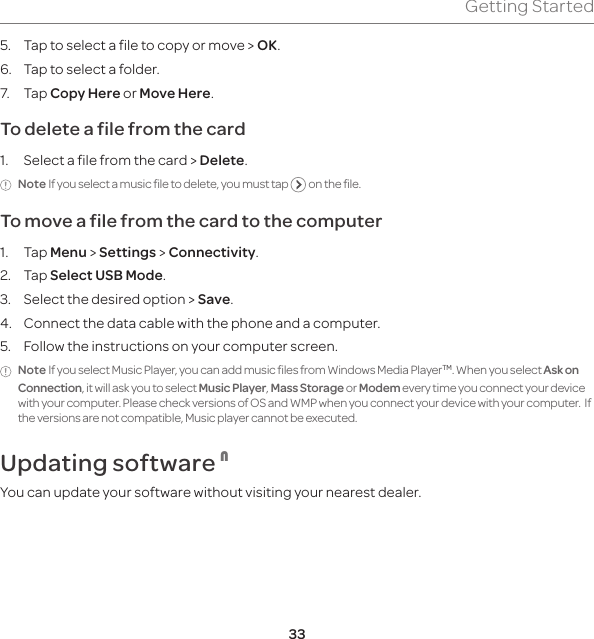
>
P6070 User Manual
User Manual
Navigation menu
Upload a User Manual
Namespaces
Wiki Guide
HTML
PDF
Info
Views
User Manual
Discussion / Help
Navigation


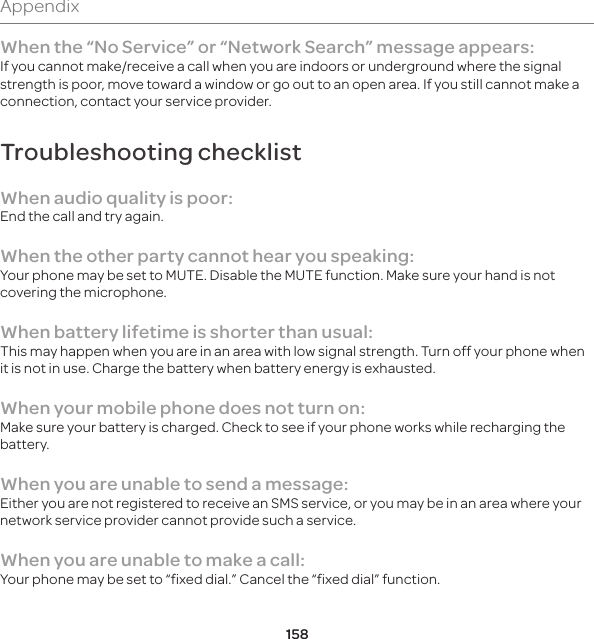
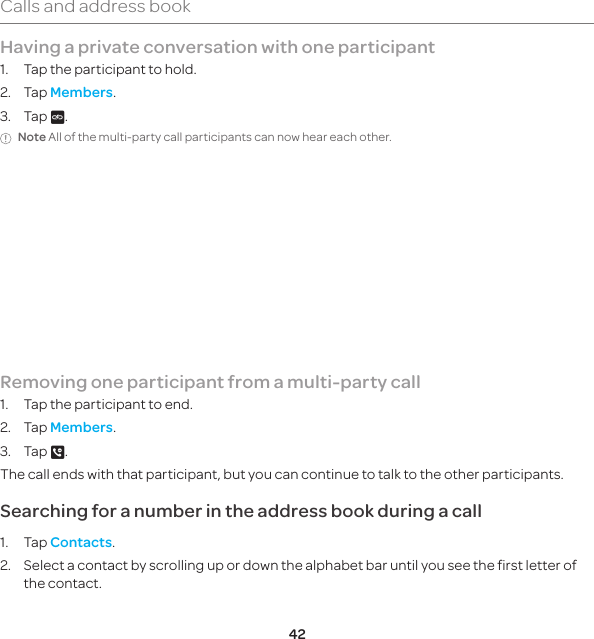
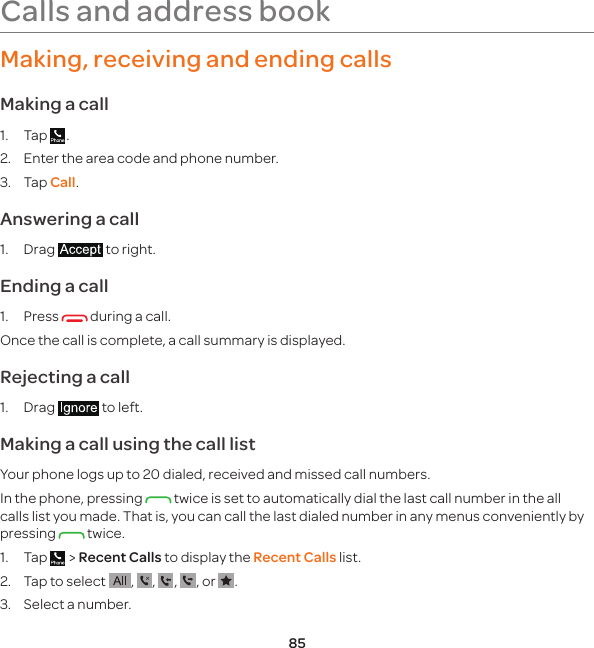
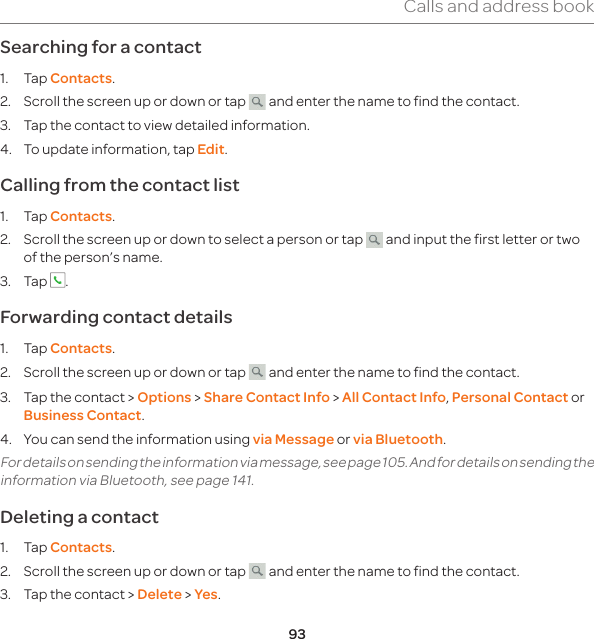
![37Calls and address bookMaking a call during a call1. Enter the phone number or look it up in Address Book.2. Press to dial the second call. The first call is automatically put on hold.Switching between two calls1. Tap Swap.Making an international call1. [ ] Tap Dial and press and hold J key for the international prefix until the ‘+’ character appears. [ ] Press key for the international prefix until the ‘+’ character appears.2. Type the country code, area code, and phone number.3. Tap .Making an emergency call1. You can make emergency calls even if your phone does not have a SIM card.2. Tap Emergency Number, or tap SOS if your phone does not have a SIM card.3. Tap .Replying to a missed call1. Tap View in the Missed Call notification to display the list of missed calls.2. Select a number to call by scrolling the screen.3. Press .](https://usermanual.wiki/Pantech-Co/P6070/User-Guide-2109252-Page-37.png)
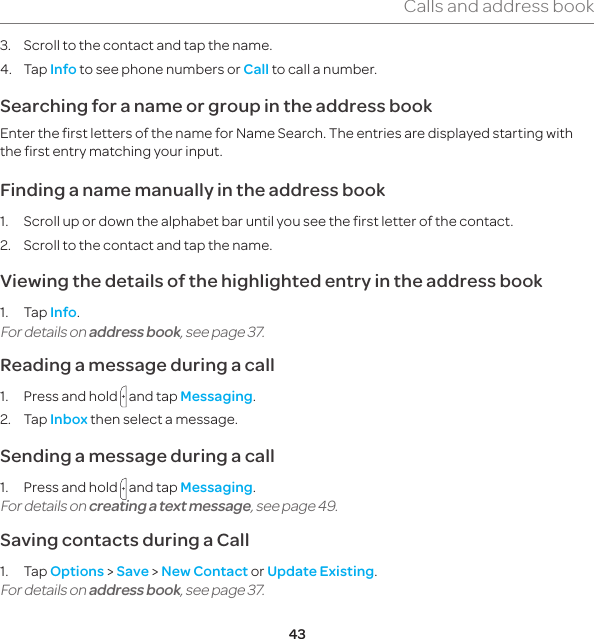


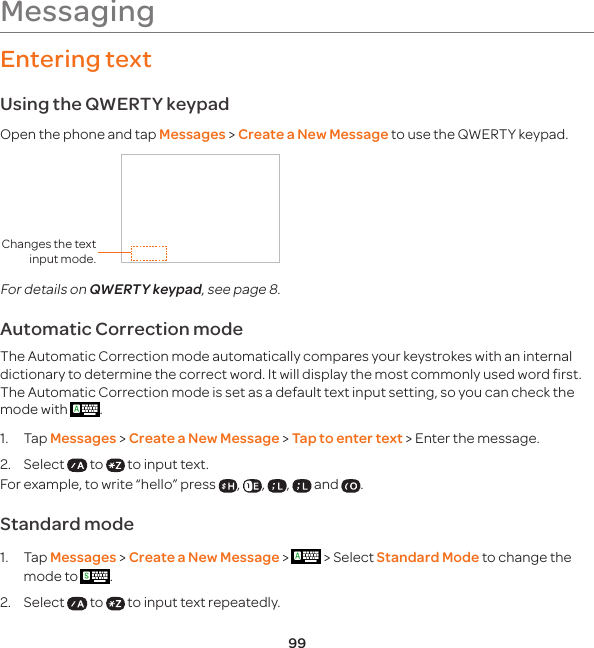
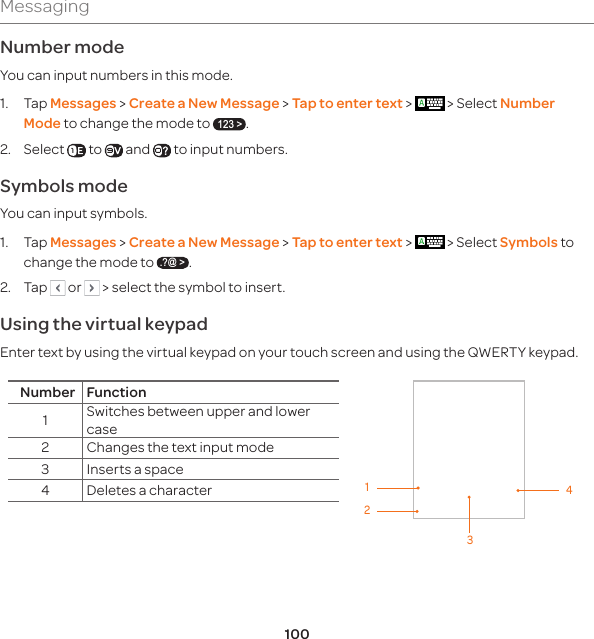
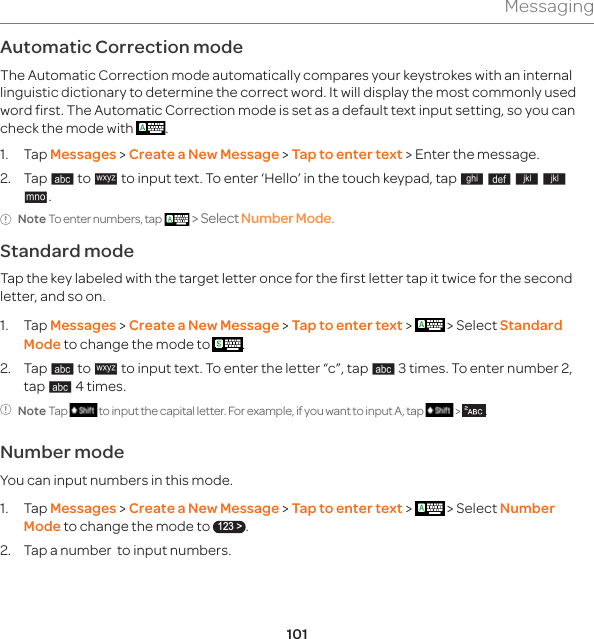
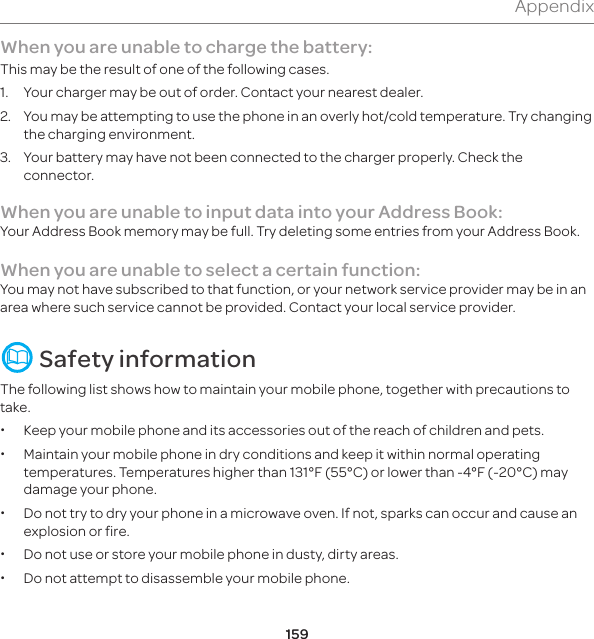
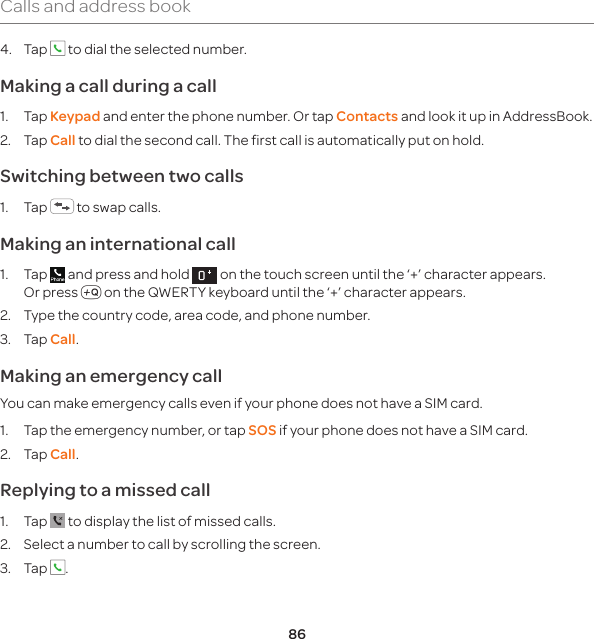
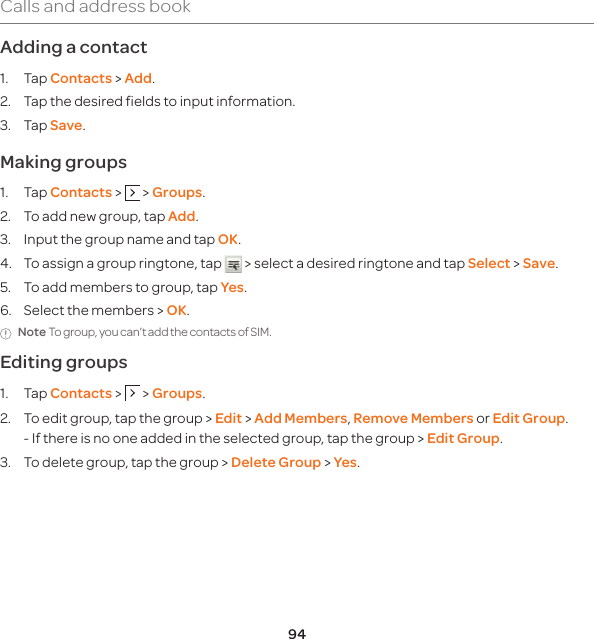
![52MessagingPredictive mode (t9)The predictive mode automatically compares your keystrokes with an internal linguistic dictionary to determine the correct word. It will display the most commonly used word first. To save a word not listed in phone’s dictionary, 1. From the text entry screen, open the slide to input the text and tap 3 to change the mode to t9.2. [ ] Start typing to input text. For example, to write ‘hello’. In QWERTY keyboard, press and tap 5 times > OK. When you see the desired word in the predictive text bar, tap it for entry.Alphabet input mode1. Tap 3 to change the mode as multi-tap.2. [ ] press to to input text repeatedly.Numeric modeYou can input numbers in this mode.1. Tap 3 to change the mode to 123.2. [ ] Press to and to input numbers.Symbol modeYou can input symbols.1. Tap w or press to view the symbols list. 2. Tap to select symbol. 3. Tap w to close the symbols list.](https://usermanual.wiki/Pantech-Co/P6070/User-Guide-2109252-Page-52.png)
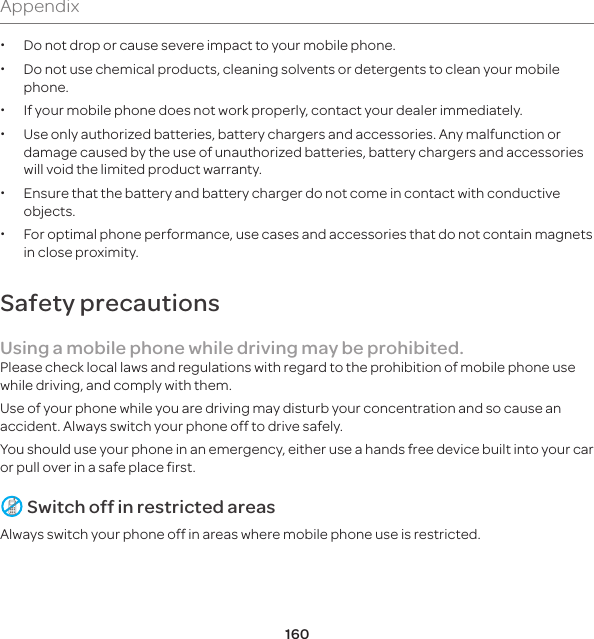
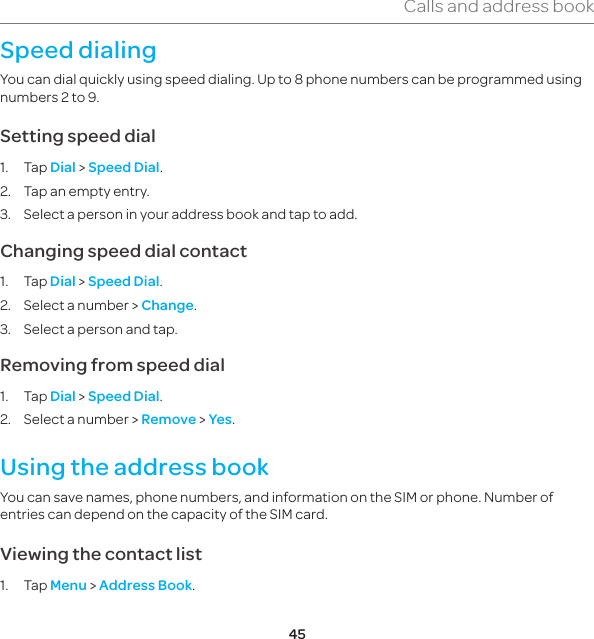
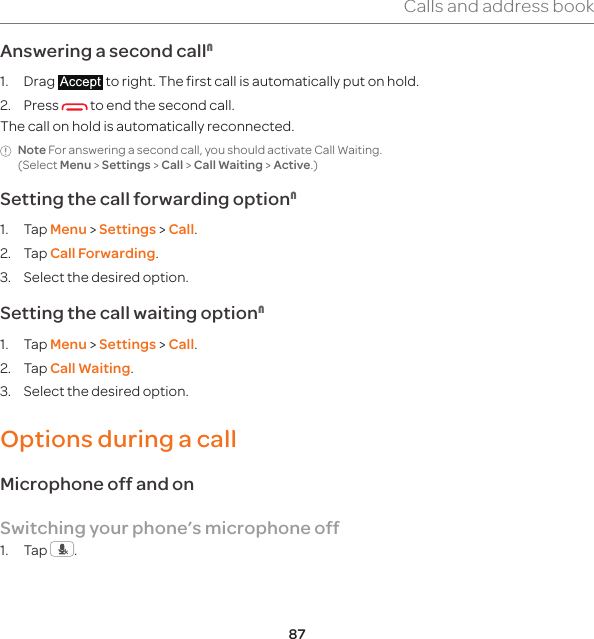
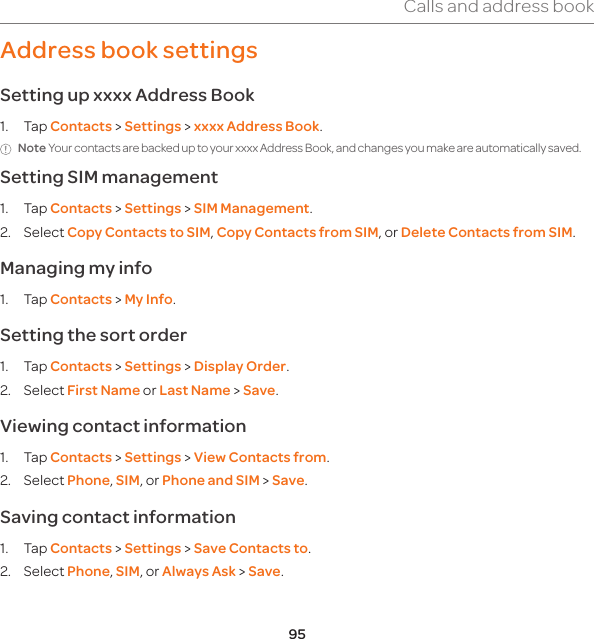
![54MessagingReceiving messagesViewing a new message1. Tap View in the New Message notification.Reading a message from the inbox1. Tap Menu > Messaging > Inbox.2. Select a received message.Saving the contact information from a received message1. Select a received message.2. Tap Options > Save to Contact.3. Select New Contact or Update Existing.Saving the object in a received multimedia message1. Open the multimedia message.2. Tab Options > Use > Save to internal or external.It will be saved in Camera > My Pictures.For details on photo album, see page 62.Listening to voice message1. Press the Quick Contacts key > Voice Mail or [ ] tap Dial and hold 1 or tap Menu > Messaging > Voice Mail. [] Press and hold . It will automatically be connected to voice mail.](https://usermanual.wiki/Pantech-Co/P6070/User-Guide-2109252-Page-54.png)


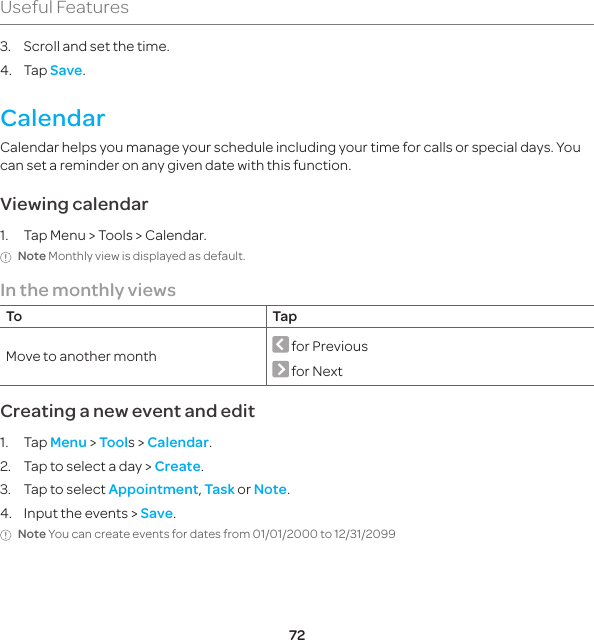
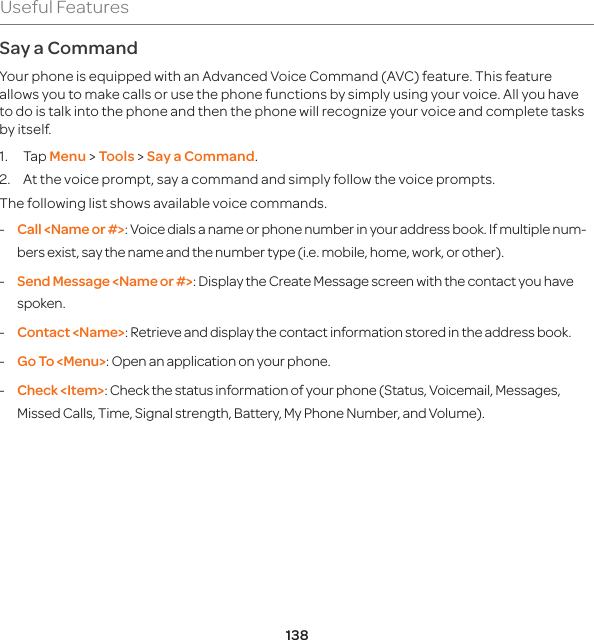
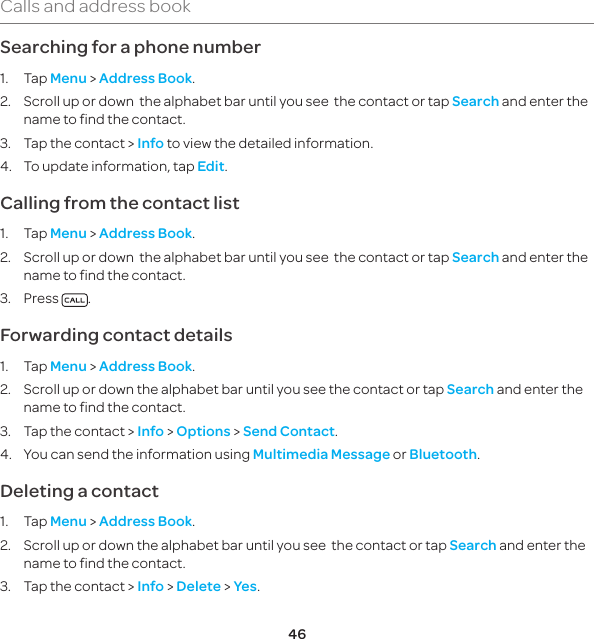
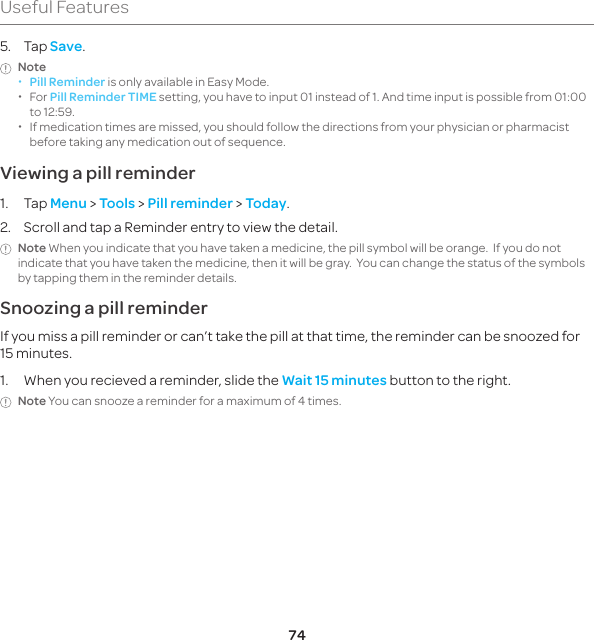
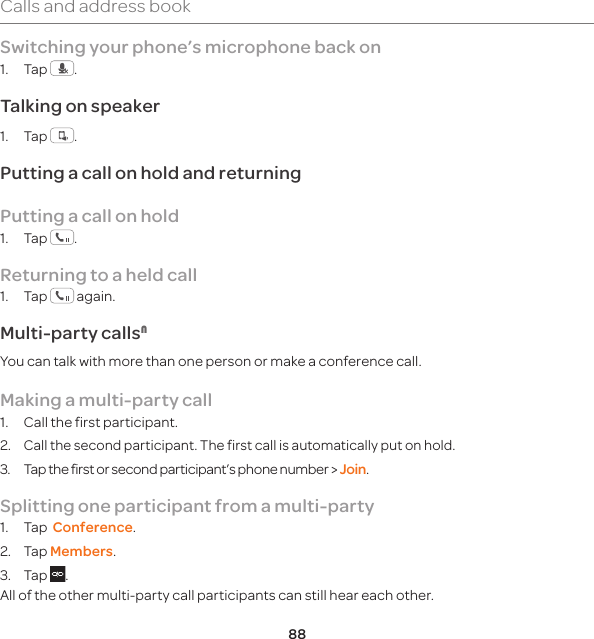
![73Useful FeaturesCalculator and tip calculatorUsing calculator1. Tap Menu > Tools > Calculator.2. Tap the numbers and [ + , - , X , ÷ ] to calculate.3. Tap [C] to erase one digit.4. Tap [AC] to reset.5. Tap [.] to use the decimal point.Using tip calculator1. Tap Menu > Tools > Tip Calculator.2. Tap to enter values for all variable fields (Bill($), Tip(%), Split) and the corresponding calculation fields (Total ($), Tip($), You Pay($)) are updated automatically.3. Tap Reset to reset.4. Tap [.] to use the decimal point.Pill reminderUse this feature to help remind you to take your daily, weekly or monthly medications.Creating a new pill reminder1. Tap Menu > Tools > Pill reminder.2. Tap Create New.3. Tap Take > take a picture.4. Enter the Name, Dosage, Time and Period to calculate.](https://usermanual.wiki/Pantech-Co/P6070/User-Guide-2109252-Page-73.png)


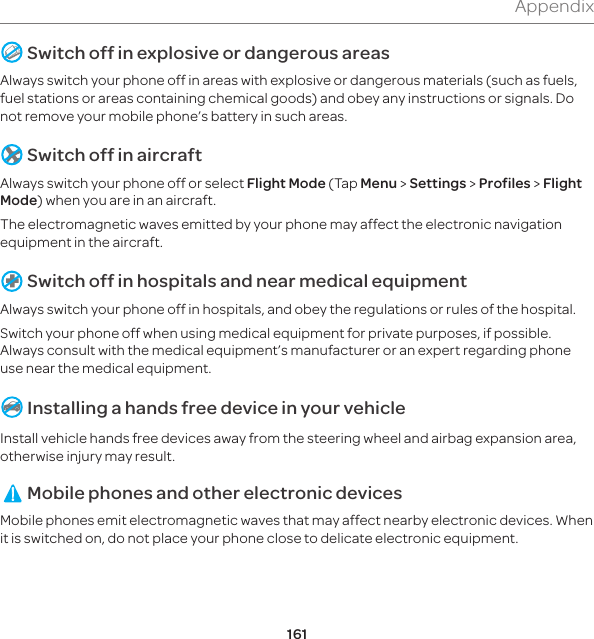
![96Calls and address bookCaller identificationCaller identification1. Tap Menu > Settings > Call > Display My Number.2. Select Network Default, Show or Hide > Save. Using your headsetYou can make or receive a call using a headset.While using the headset, the button on the headset works as follows.Note You must use a headset designed for this device. It is an optional accessory. Not all headsets will have a button.While in standby mode1. Press the button on the headset to view the recent calls list and press the button again to redial the last call.Service numbers and fixed dialingCalling your service numbersSYou can see the service number to reach the service provider. 1. Tap Contacts > [xxxx Services].2. Tap a number to access the service > Call.](https://usermanual.wiki/Pantech-Co/P6070/User-Guide-2109252-Page-96.png)