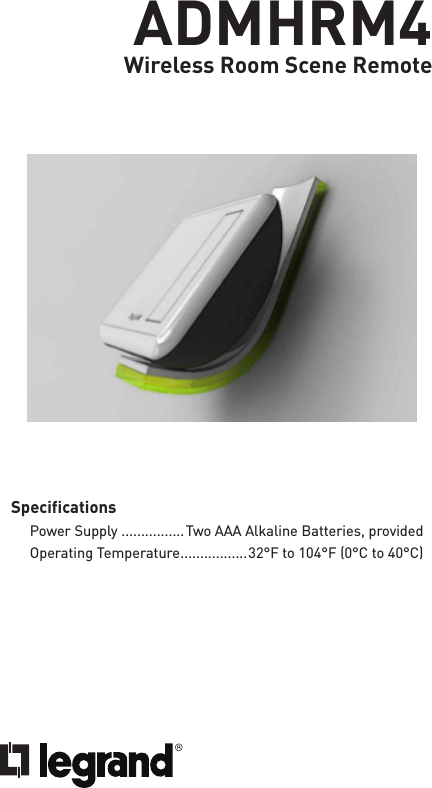
Pass and Seymour d b a Legrand ADMHRM4 Wireless Room Scene Remote User Manual adorne remote indd
Pass & Seymour, Inc. d/b/a Legrand Wireless Room Scene Remote adorne remote indd
UserManual.wiki
>
Pass and Seymour d b a Legrand
>
ADMHRM4 User Manual
Users Manual
Navigation menu
Upload a User Manual
Namespaces
Wiki Guide
HTML
PDF
Info
Views
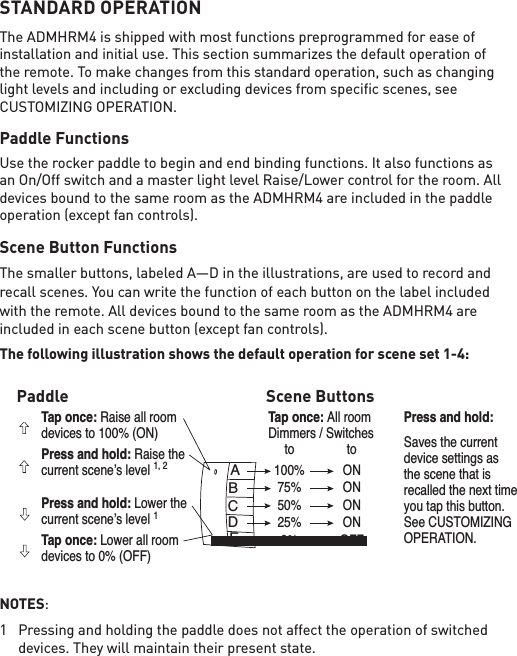
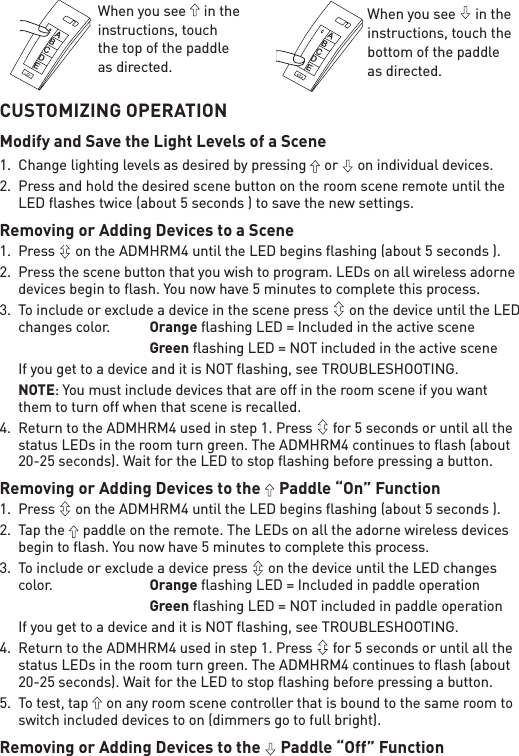
User Manual
Discussion / Help
Navigation