7.2.1.7 Packet Tracer Configuring Named Standard IPv4 ACLs Instructions
7.2.1.7%20Packet%20Tracer%20-%20Configuring%20Named%20Standard%20IPv4%20ACLs%20Instructions
7.2.1.7%20Packet%20Tracer%20-%20Configuring%20Named%20Standard%20IPv4%20ACLs%20Instructions
User Manual: Pdf
Open the PDF directly: View PDF ![]() .
.
Page Count: 2
© 2013 Cisco and/or its affiliates. All rights reserved. This document is Cisco Public. Page 1 of 2
Packet Tracer - Configuring Named IPv4 Standard ACLs
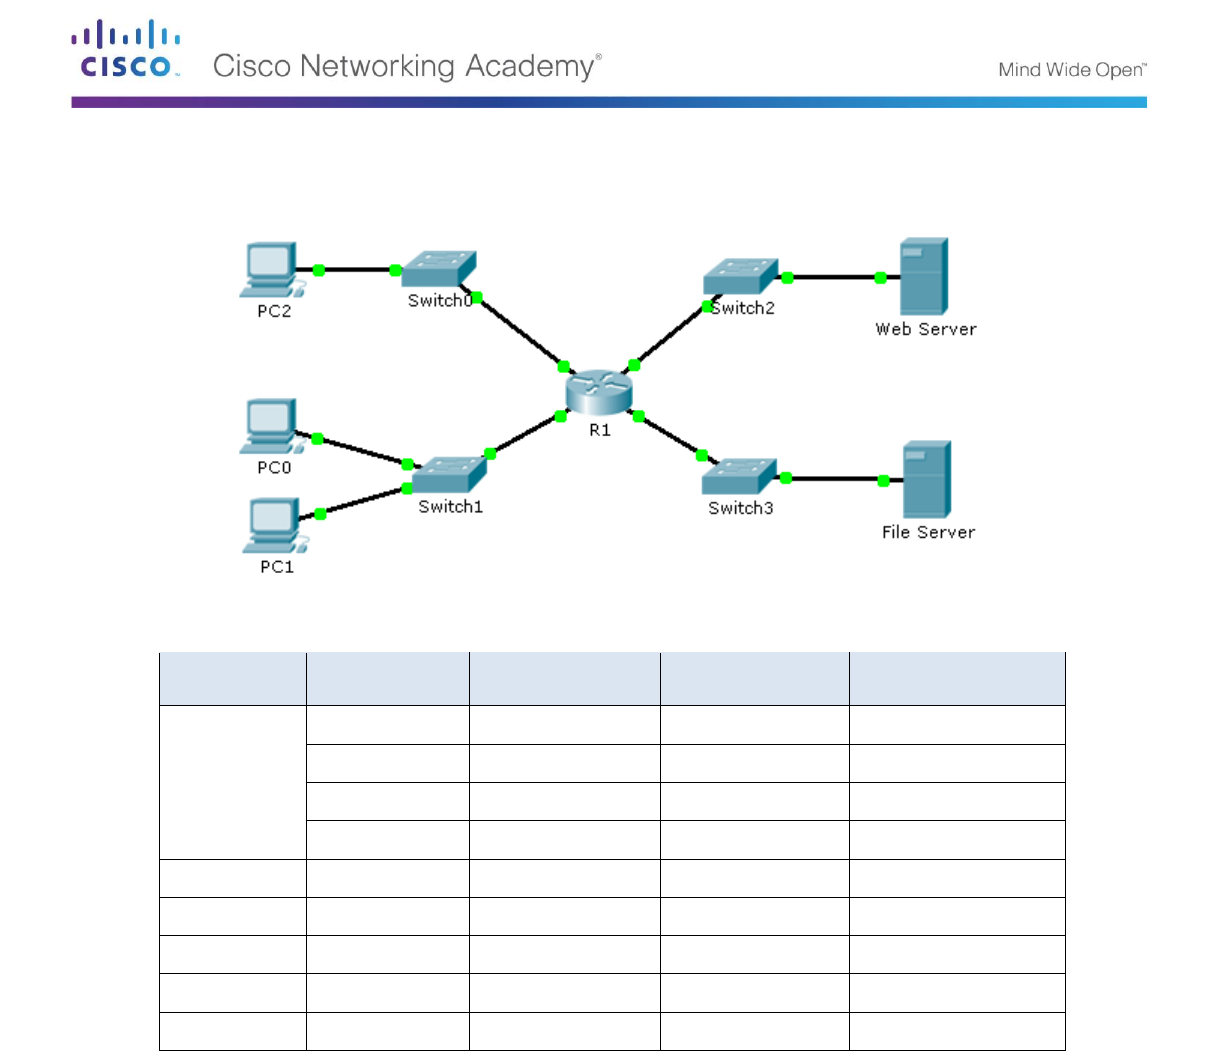
Topology
Addressing Table
Device
Interface
IP Address
Subnet Mask
Default Gateway
R1
F0/0
192.168.10.1
255.255.255.0
N/A
F0/1
192.168.20.1
255.255.255.0
N/A
E0/0/0
192.168.100.1
255.255.255.0
N/A
E0/1/0
192.168.200.1
255.255.255.0
N/A
File Server
NIC
192.168.200.100
255.255.255.0
192.168.200.1
Web Server
NIC
192.168.100.100
255.255.255.0
192.168.100.1
PC0
NIC
192.168.20.3
255.255.255.0
192.168.20.1
PC1
NIC
192.168.20.4
255.255.255.0
192.168.20.1
PC2
NIC
192.168.10.3
255.255.255.0
192.168.10.1
Objectives
Part 1: Configure and Apply a Named Standard ACL
Part 2: Verify the ACL Implementation
Background / Scenario
The senior network administrator has tasked you to create a standard named ACL to prevent access to a file
server. All clients from one network and one specific workstation from a different network should be denied
access.

Packet Tracer - Configuring Named Standard ACLs
© 2013 Cisco and/or its affiliates. All rights reserved. This document is Cisco Public. Page 2 of 2
Part 1: Configure and Apply a Named Standard ACL
Step 1: Verify connectivity before the ACL is configured and applied.
All three workstations should be able to ping both the Web Server and File Server.
Step 2: Configure a named standard ACL.
Configure the following named ACL on R1.
R1(config)# ip access-list standard File_Server_Restrictions
R1(config-std-nacl)# permit host 192.168.20.4
R1(config-std-nacl)# deny any
Note: For scoring purposes, the ACL name is case-sensitive.
Step 3: Apply the named ACL.
a. Apply the ACL outbound on the interface Fast Ethernet 0/1.
R1(config-if)# ip access-group File_Server_Restrictions out
b. Save the configuration.
Part 2: Verify the ACL Implementation
Step 1: Verify the ACL configuration and application to the interface.
Use the show access-lists command to verify the ACL configuration. Use the show run or show ip
interface fastethernet 0/1 command to verify that the ACL is applied correctly to the interface.
Step 2: Verify that the ACL is working properly.
All three workstations should be able to ping the Web Server, but only PC1 should be able to ping the File
Server.
