Installation Guide
Installation%20Guide
Installation%20Guide
User Manual: Pdf
Open the PDF directly: View PDF ![]() .
.
Page Count: 14


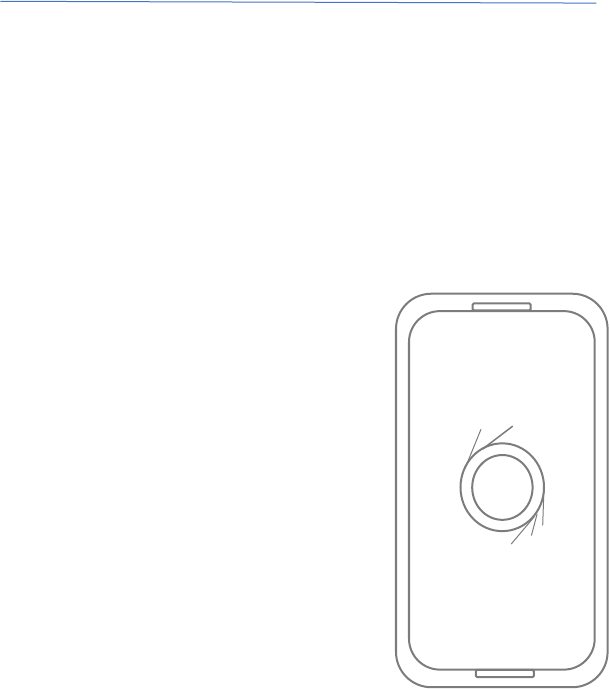
Apollo
â
Smart Wire Light Switch
ä
Installation Guide
Installation step-by-step
1
2 3
4

2
Contents
Compatibility……………………………………………………………………..…….………….3
Before you start……………………………………………………………..………………..….4
Electrical Installation Requirements……………………………………………..….….5
Installing the Apollo Light Switch………………………….……………………....….….6
Apollo App and Light Switch Setup…………………….…………………….…..…….10
WARNING: High Voltage. Apollo should be installed by a professional.
WE TAKE YOUR PRIVACY SERIOUSLY
We’re committed to keeping your data safe and secure. No data is stored
offsite and Apollo contains zero microphones so nobody can listen in on
your personal conversations. Made for every consumer, Apollo is the
answer to a smart and private home. Visit apollo.smartwire.com for more.

3
Compatibility
The Apollo Light Switch is
compatible with most central
electrical systems including:
• Electric Meters
• Main Breaker Panel
• GCFIs and ACFIs
Apollo can be installed in both
commercial and residential zones.
Please visit our website if you have
any more questions.
Installation step-by-step
1
2 3
4
You don’t need Wi-Fi to use the
Apollo Light Switch, but Wi-Fi is
needed to control Apollo from the
Apollo app.

4
Before you start
Electrical Warning
Since the Apollo Light Switch
require the use of rewiring
electrical panels that may contain
up to 240V, it is highly
recommended to enlist the
services of a trained electrician.
However, Apollo can be installed
with careful and proper care.
Please make sure to wear
appropriate safety attire and
follow all required instructions.
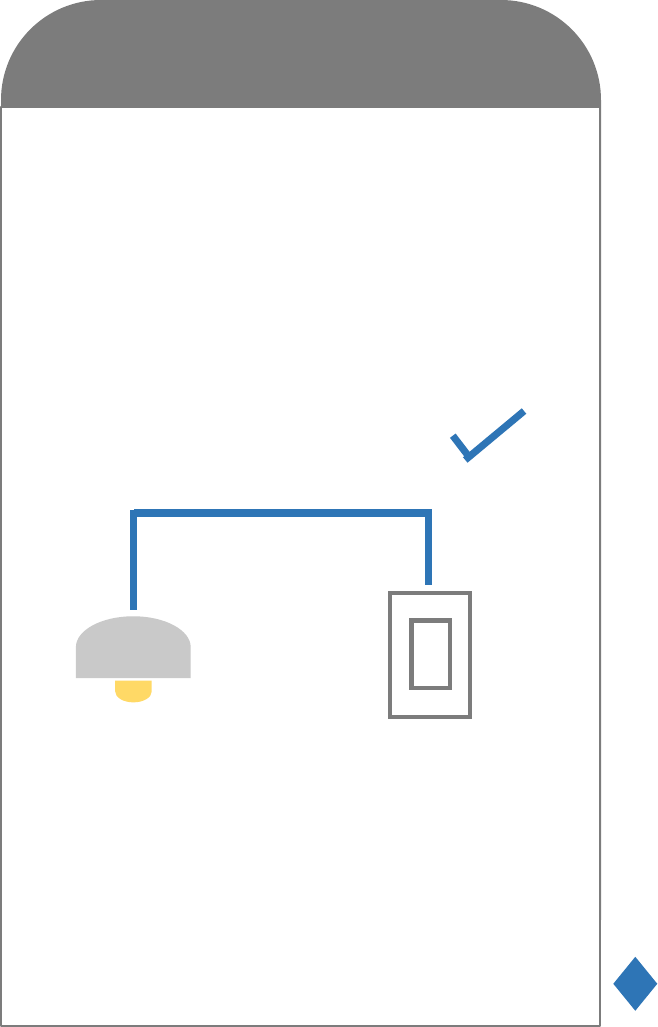
The Apollo Light Switch
should be:
• In any room that is used often,
so Apollo can read the right
temperature and the
homeowner can easily reach it
• On an interior wall
• Away from drafts
• 1.2 – 1.5 m from the floor
• Not behind bookcases,
posters, or other objects
• If in a zoned system, near the
radiator that the system is
controlling
• Used at the owner’s own
discretion. Smart Wire does
not safeguard from theft or
deliberate damage.
→On the next page, you’ll see instructions for
switching out an existing light switch
5
Installation step-by-step
1
2 3
4
A Neutral wire (requires three AC electrical
connections at the wall switch)
A Single Pole Light Switch (not controlled
by more than one switch)
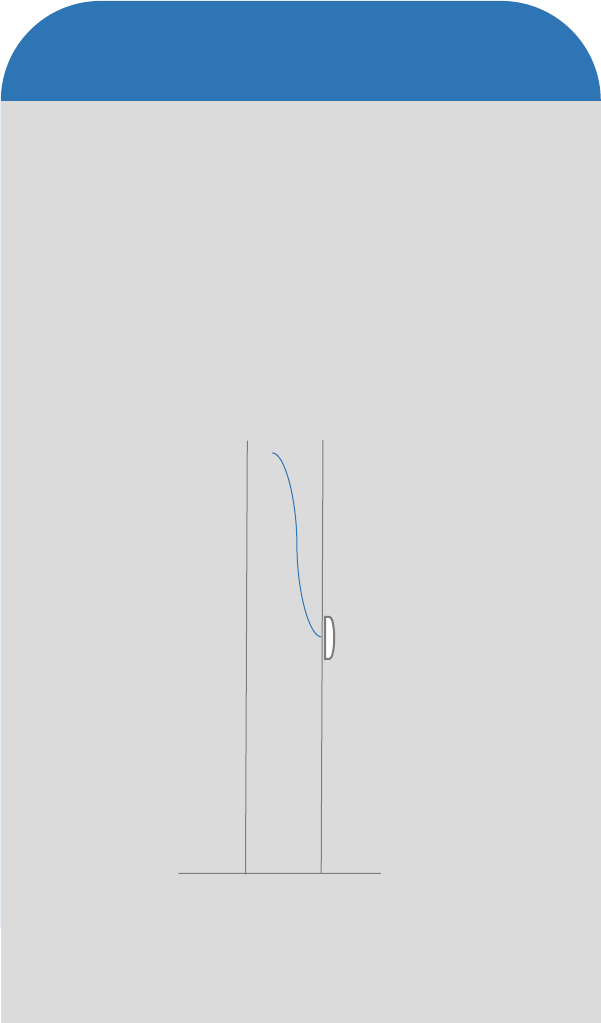
The light switch box must be 2 inches deep
Electrical Installation Requirements
6
Installing the Apollo Light Switch
To replace an existing light switch, you’ll need to:
1. Shut off the power
2. Remove the old light switch
3. Install the Apollo Light Switch

7
Install Light Switch
1. Shut off mains power
You’ll be working with high voltage
cables, so protect yourself and the
light switch by turning off the power
before you start.
Installation step-by-step
REPLACE LIGHT SWTICH
!!
!!!!!!!!!!!!!!!!!!!!!!!!!!!!"
"
CAUTION: High Voltage Cables
!!
OFF
Fuse Box
1
2 3
4
8
Install Light Switch
2. Remove old switch
Unscrew the old light switch from
the electrical box, the screws can be
kept for the installation of Apollo.
9
Install Light Switch
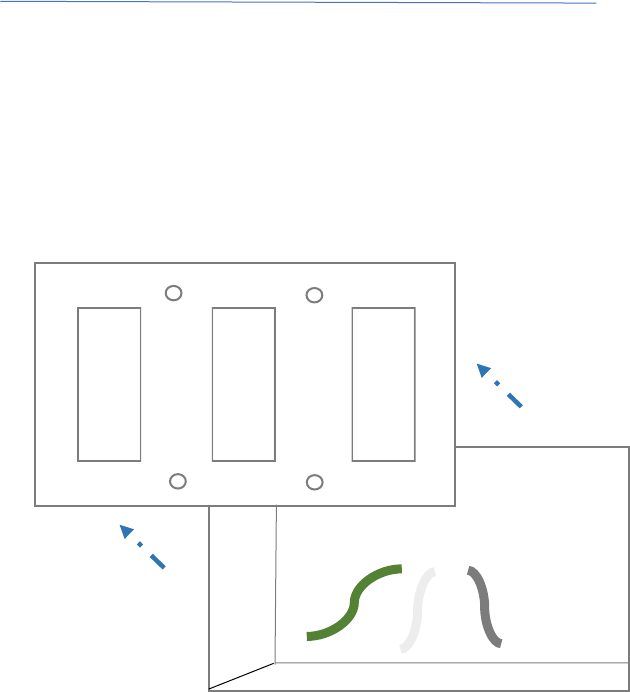
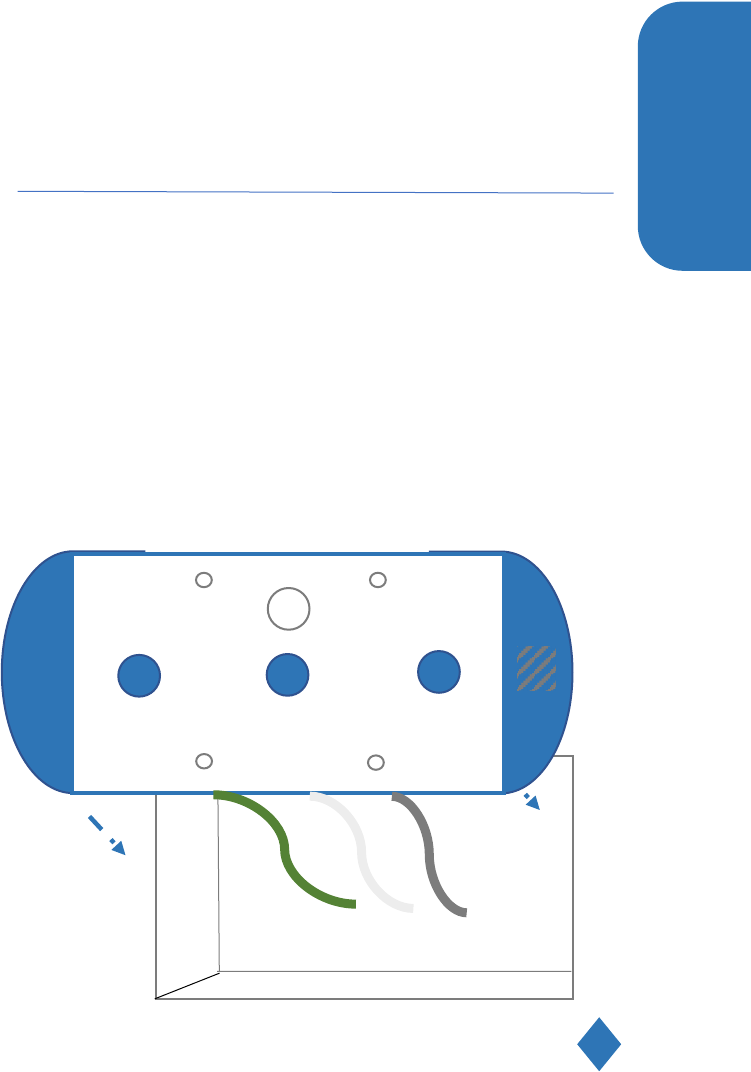
3. Attach wires to Apollo
Identify and insert the wires into the
corresponding labeled and colored
locations on the back of Apollo Light
Switch (green-ground, white-neutral,
black-live). Screw in Apollo to the
existing holes in the electrical box.
REPLACE LIGHT SWTICH
REPLACE LIGHT SWTICH
REPLACE LIGHT SWTICH
Installation step-by-step
1
2 3
4
10
Apollo App and Light Switch Setup
4. Controlling your Apollo
Before the homeowner can control
Apollo from their mobile, tablet, or
laptop, they need an Apollo account.
Tell them to create one at
apollo.smartwire.com/account or
download the Apollo app.
Once the light switch is connected to
Wi-Fi, the Apollo app will automatically
add it to the Apollo account.

1
2 3
4
1
2 3
4
