Instructions
Instructions
User Manual: Pdf
Open the PDF directly: View PDF ![]() .
.
Page Count: 8
the wood
plate and
the let-
ters
plans and manufacturing details
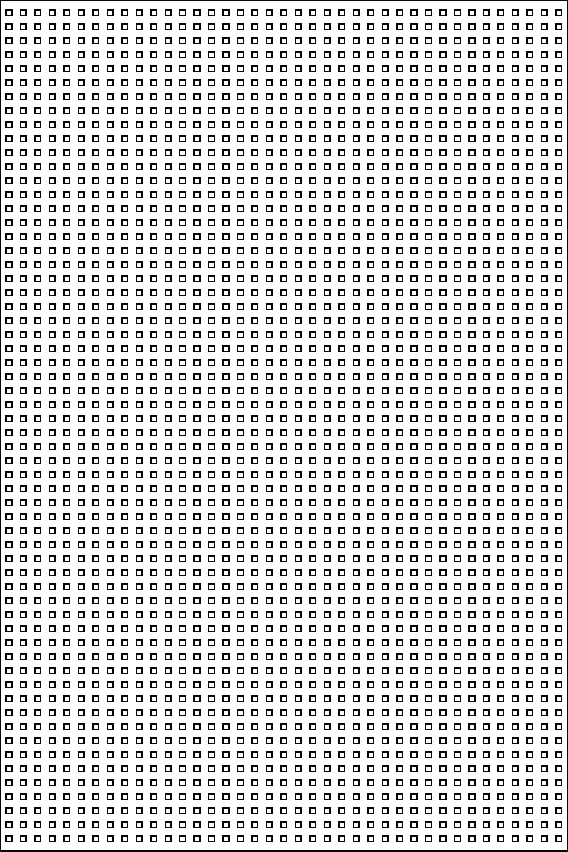
1. make the wood plate
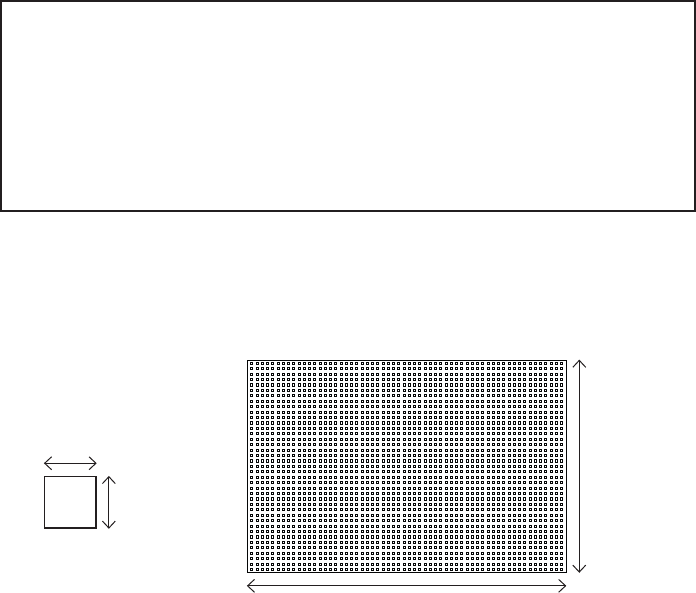
make the wood plate
4 mm
4 mm
600 mm
400 mm
to build your own plane you need :
- instructions at https://github.com/laurasavignac/wood-plate
- a laser cutting/engraving machine
- a plate of wood (600 x 400 mm)
You can increase or decrease the number of holes on the plate as you want. Just
be sure the bottom of the letter is the same size as the hole so it easily t together.
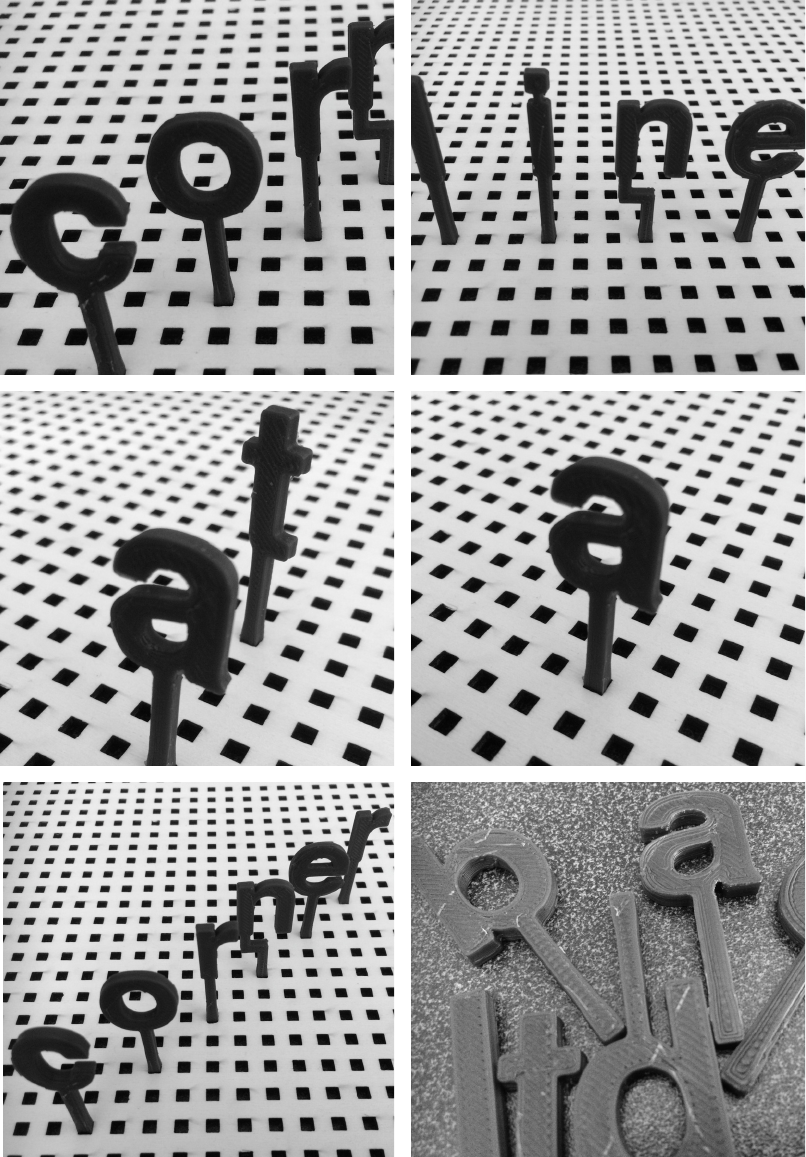
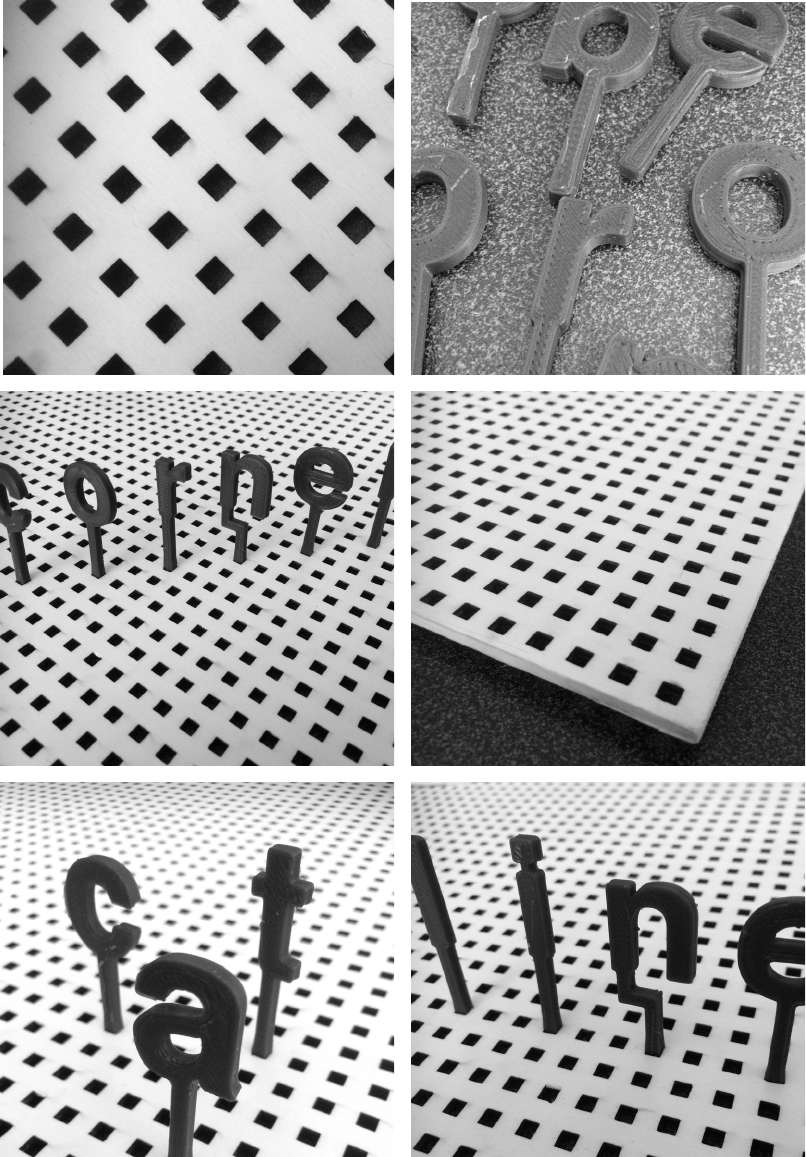
1. make the set of letters
to build your set of letters you need :
- instructions at https://github.com/laurasavignac/3D-printed-letters
- a 3D printer
The GitHub folder contains the set of lowercase, uppercase, numbers and glyphs.
The type used is Helvetica Bold but you can use any other type you like.

make the set of letters or make your own letters
1 / On Adobe Illustrator, choose the type you want to use and vectorize the letters
you need.
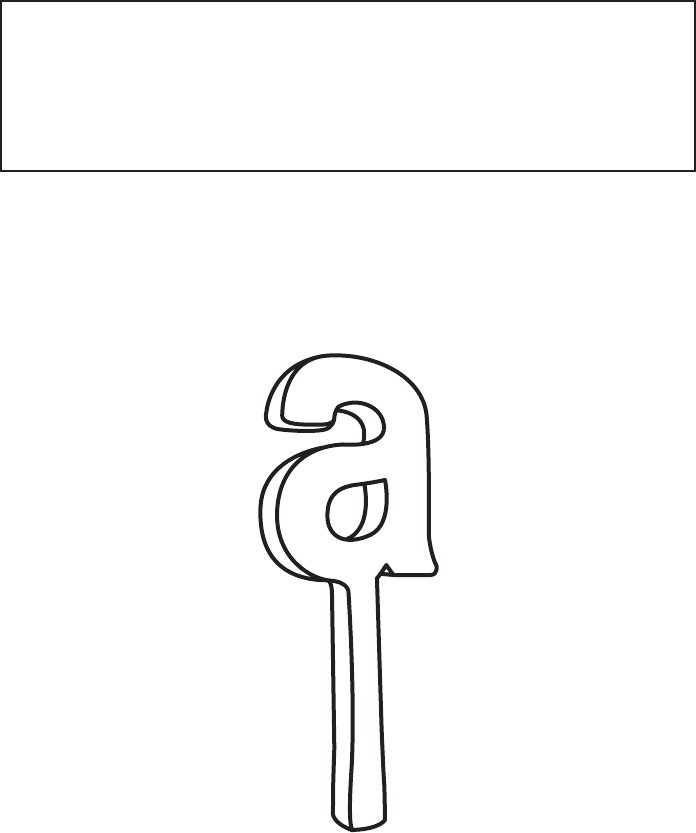
2 / Create the «leg» of the letter (as high as you want).
3 / Create the «foot» of the letter, the part that will slot on the wood plate. The width
of it must be the same as the size of the holes on the plate.
4 / Combine the 3 parts together and use pathnder to have a single form. Then
you can easily make a 3D printable version of your letters using Bender or any 3D
software.
a
a
The wood plate, the letters and its plans are under Creative Commons licence : Attribution-
ShareAlike 4.0 International (CC BY-SA 4.0). You can copy and redistribute the material in
any medium or format or remix, transform, and build upon the material for any purpose, even
commercially. The plane plan and this guide were made by Laura Savignac.
