User Manual Of Standard
User%20Manual%20of%20Standard%20User
User%20Manual%20of%20Standard%20User
User Manual: Pdf
Open the PDF directly: View PDF ![]() .
.
Page Count: 11

Laptop Monitoring with RFID For
Powered by
User Guide
1
1.1 Introduction to User and Role Management (Standard User)
The QuickTrack Laptop Monitoring System lets the standard user view the
history of their transaction as well as requesting for laptop.
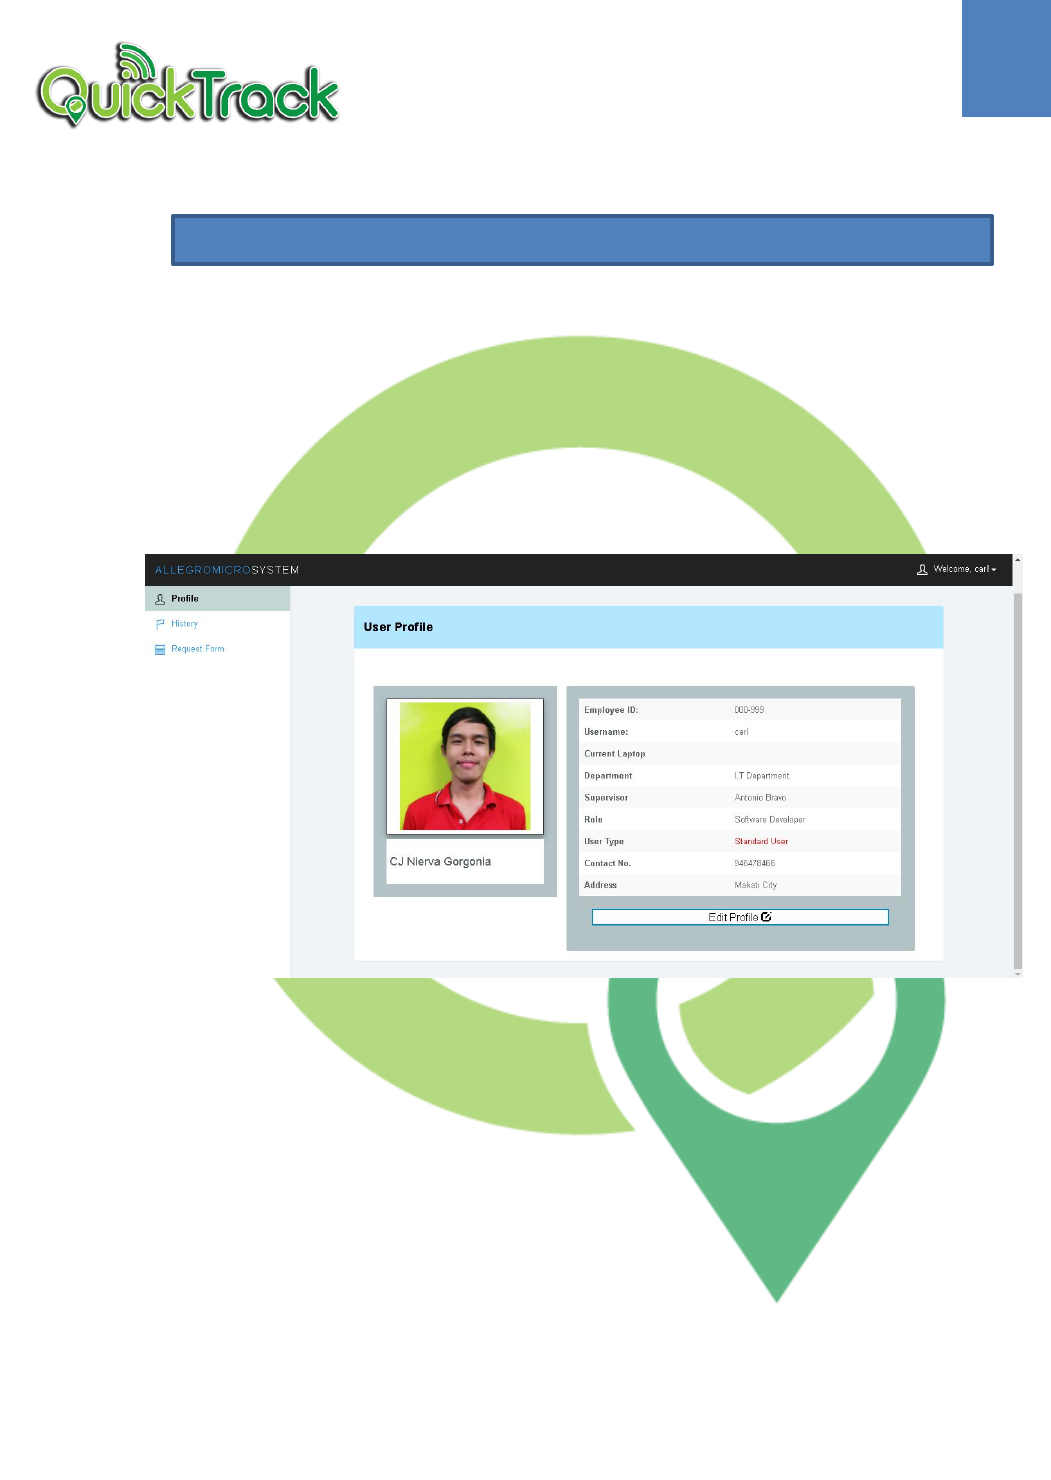
1.2 Viewing Profile User Roles
The main page of the standard users is the view of their profile. Down below,
is an example of Standard users profile the will be shown after the standard
users logs in.
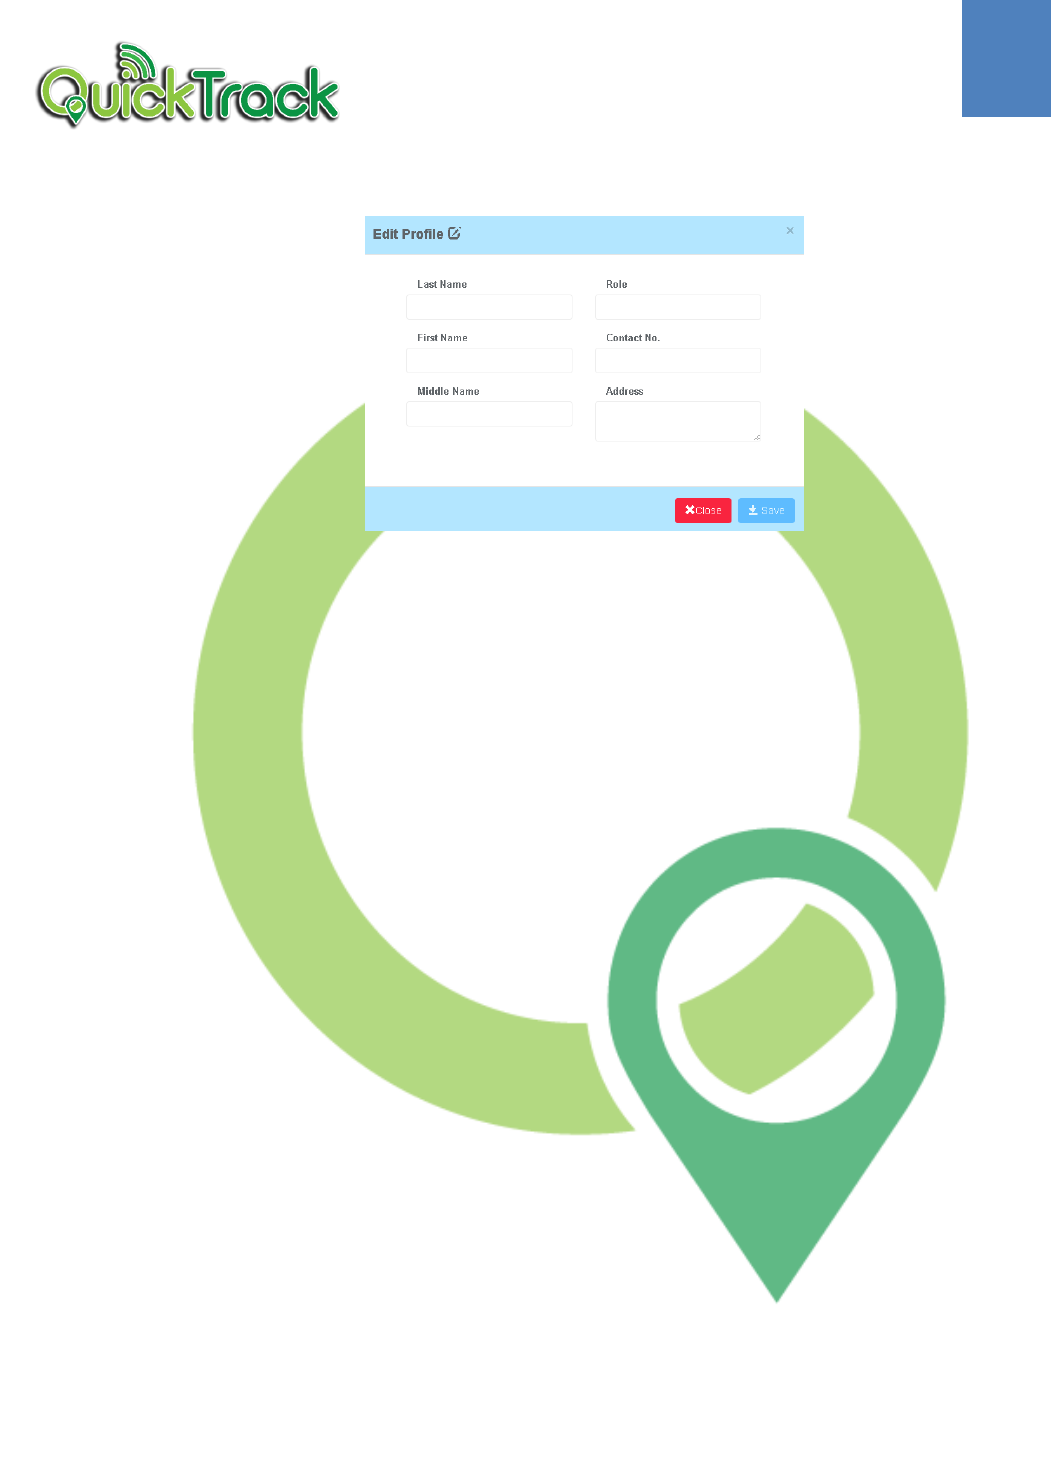
Standard User can edit your profile by the provided Edit Profile button
1. Click the Edit Profile button
➢ Modal form will appear.
1. USER AND ROLE MANAGEMENT OF STANDARD USER
2
2. Fill-out new data on the provided field.
3. Click Save button to save the new information and Close button to cancel.
1.3 Viewing the history
Standard Users can view the previous history of their transactions
regarding to their requests on borrowing laptops and gate passes.
1. Select History in the navigation pane.
➢ A page will appear with 2 sub-categories of history, Choose the
following as listed below:
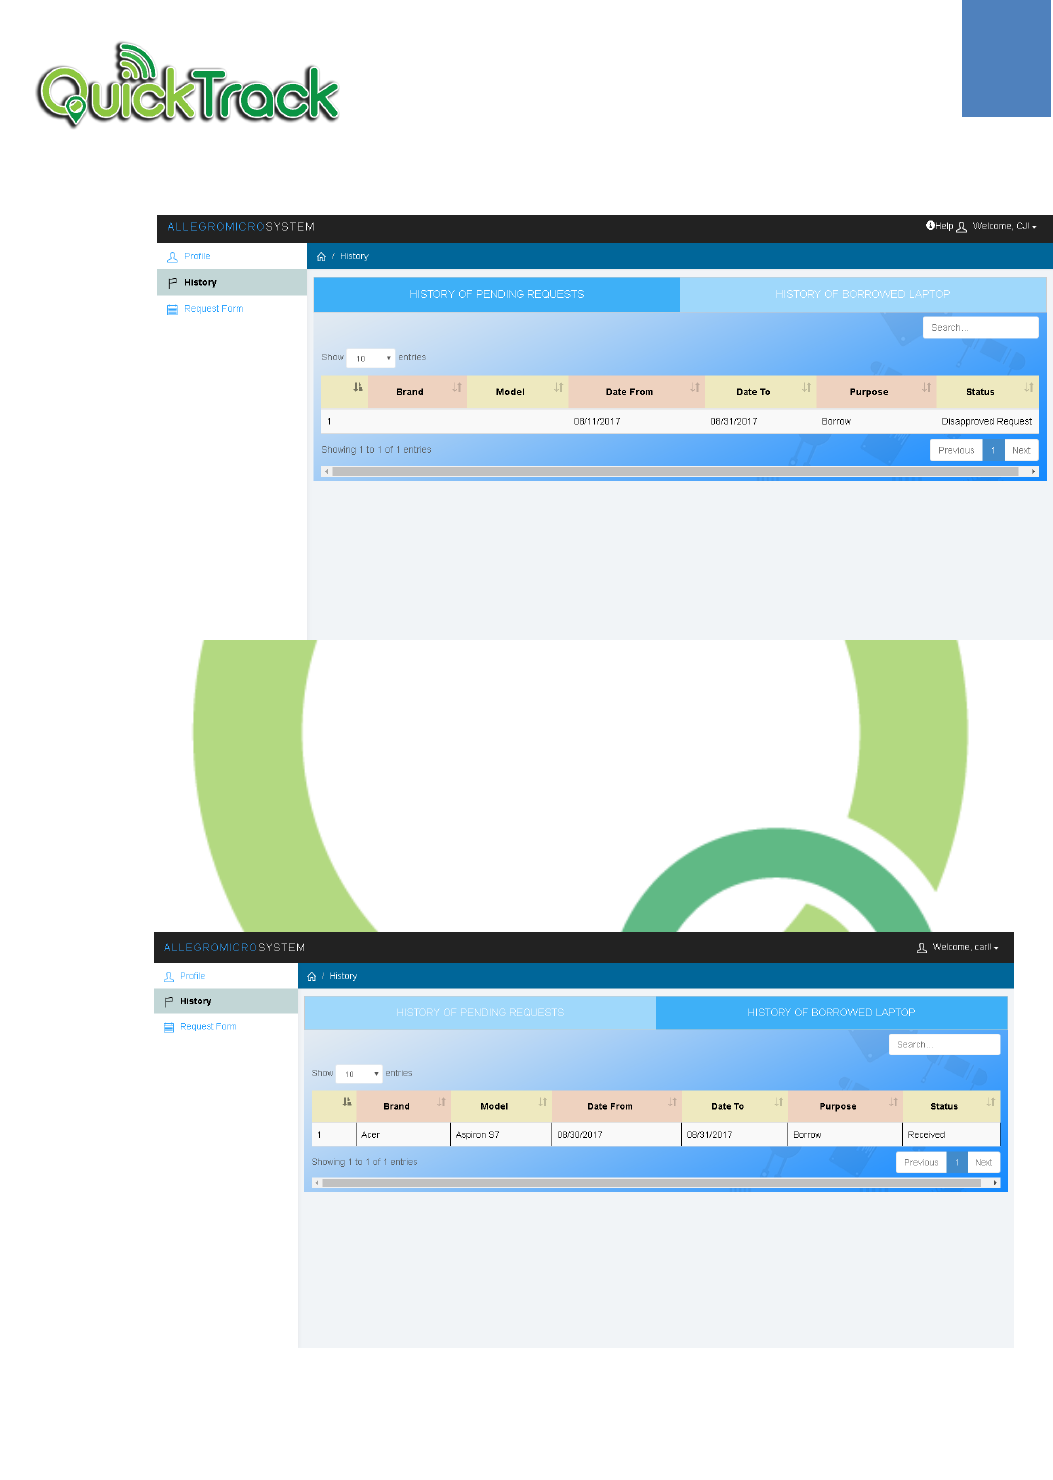
1.3.1 Viewing the History of Requests
Standard Users can view the previous history of requested laptops.
They can also view the status whether it is approved or denied.
1. Select History in the navigation pane.
➢ The page will appear
2. Click the tab History of Pending Requests
➢ Previous list of borrowed laptops will appear.
3
1.3.2 Viewing the History of Borrowed Laptops
Standard Users can view the previous history of Borrowing Laptop
Requests. These will make the users see how many times they’d
requested for a laptop from the admin.
1. Select History in the navigation pane.
➢ A page will appear.
2. Click the tab History of Borrowed Laptop
➢ Previous lists of borrowing laptop requests will appear.
4
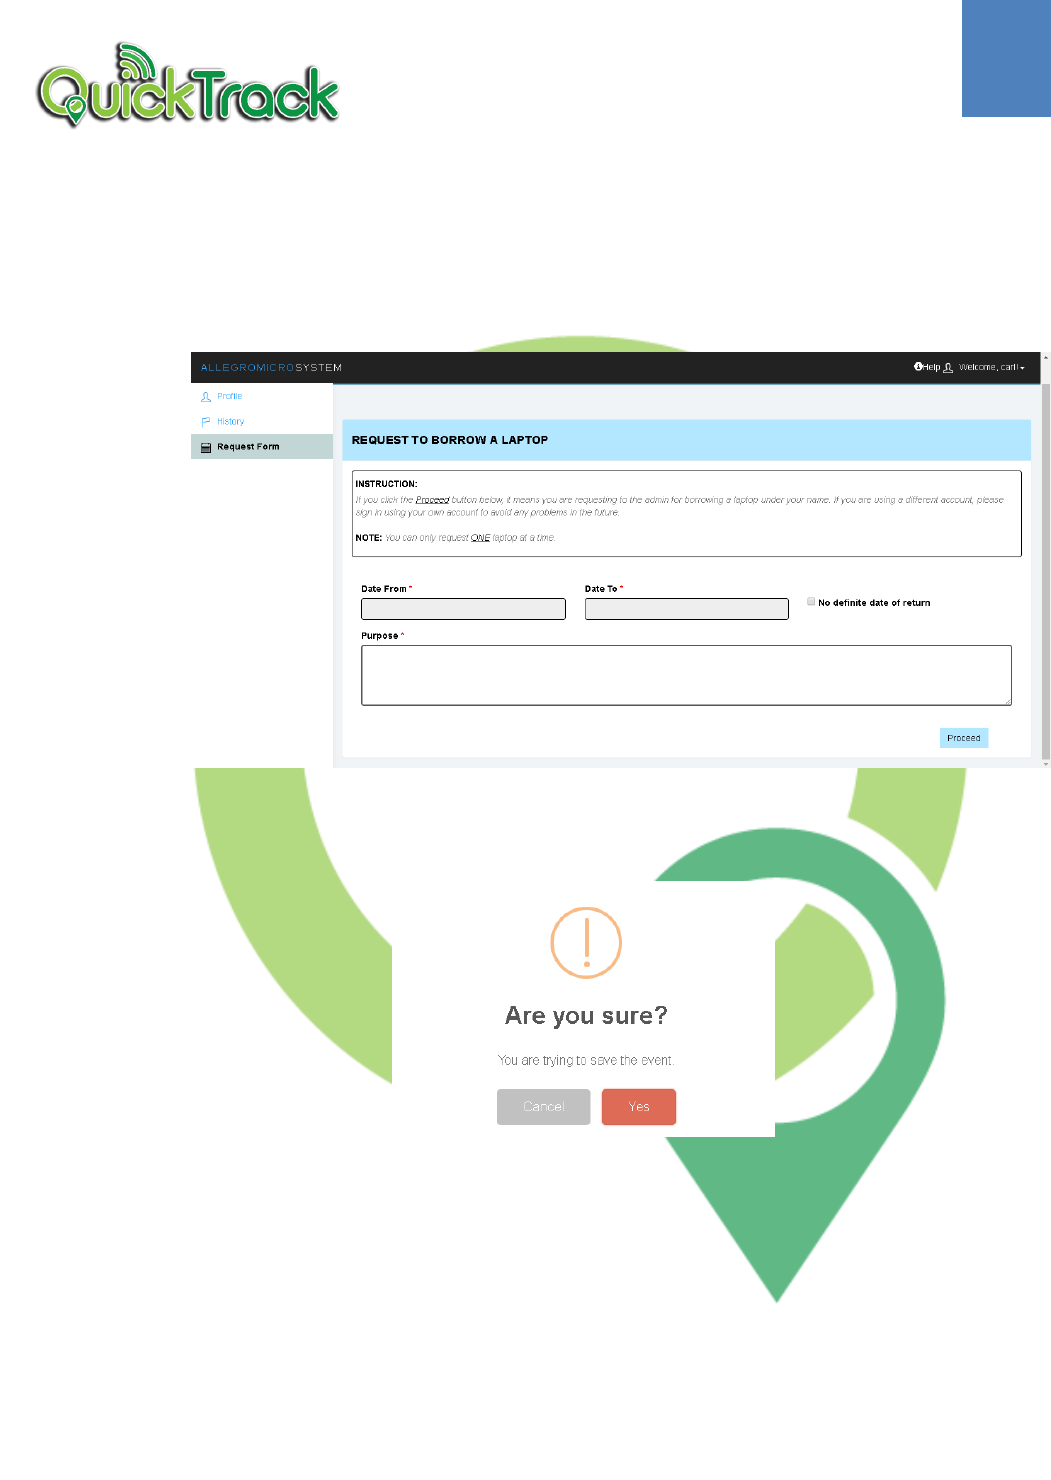
1.4 Request From
Standard User can borrow and surrender the borrowed laptops by the
provided request form
1. Click Request Form on the side bar.
➢ Request Form will appear
2. Fill-out all required field.
3. Click Proceed button
➢ Validation message will appear.
4. Click Yes button to send the request to the admin and Cancel button to
terminate the request.
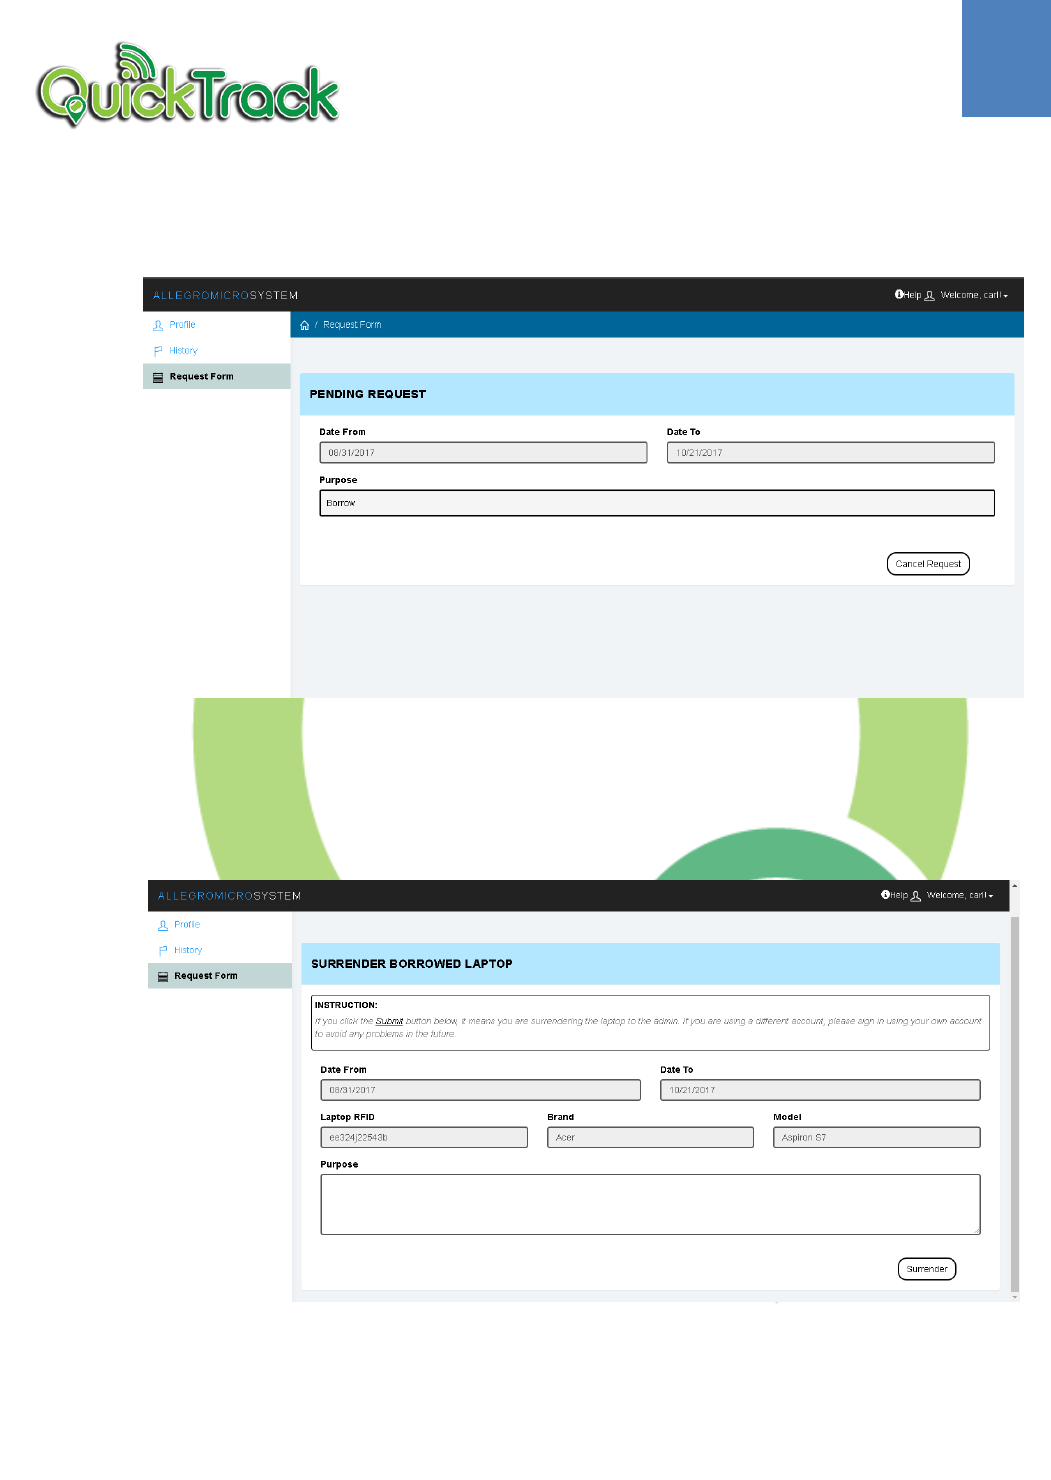
5
➢ After Sending the request to the admin, a new form will be
displayed on the screen
Note: Standard User can cancel the request by clicking the Cancel Request
button if the admin hasn’t seen or approved the request. Otherwise, if
approved Surrender form will appear. After the request is approved a
notification will be displayed at the upper left of the screen regarding to the
due date of borrowed laptop.
6
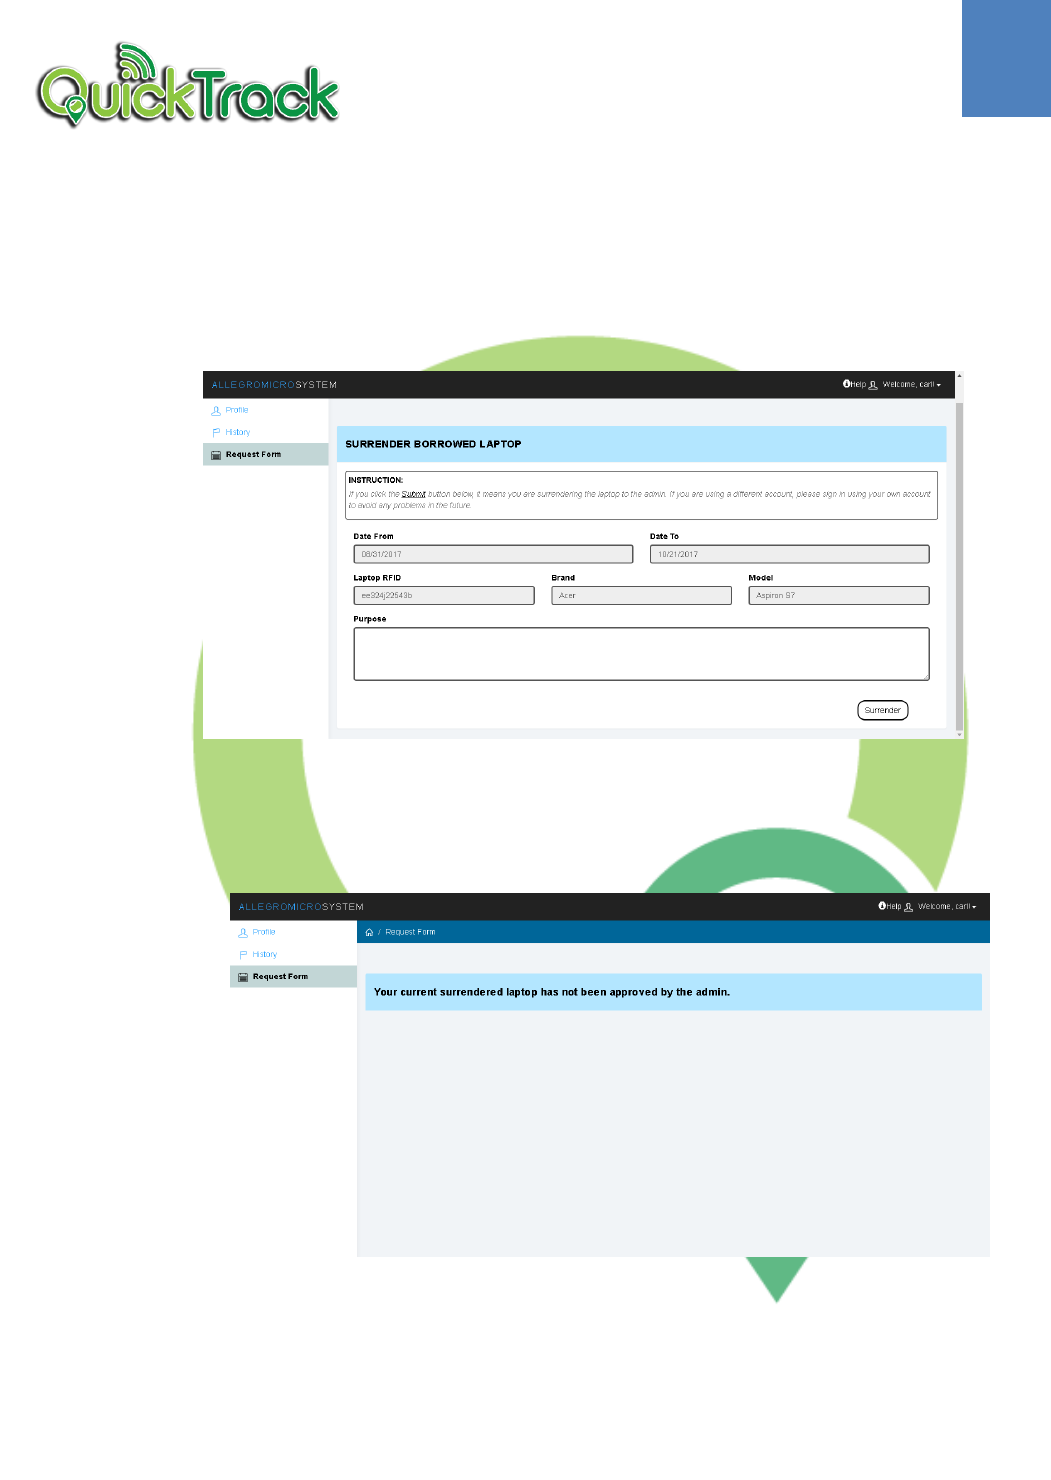
1.4.1 Surrender the borrowed Laptop
After the admin approved the requests, the standard users can
surrender the laptop before the due date
1. Select Request Form in the Side bar.
➢ A Surrender Request Form will appear
2. Fill-out the ‘purpose’ field.
3. Click Surrender button
➢ After sending a surrender request to the admin, this
message will appear
Note: The admin has not approved the request yet. If approved, then the
standard users can request for another laptop in the Request Form
page.
7
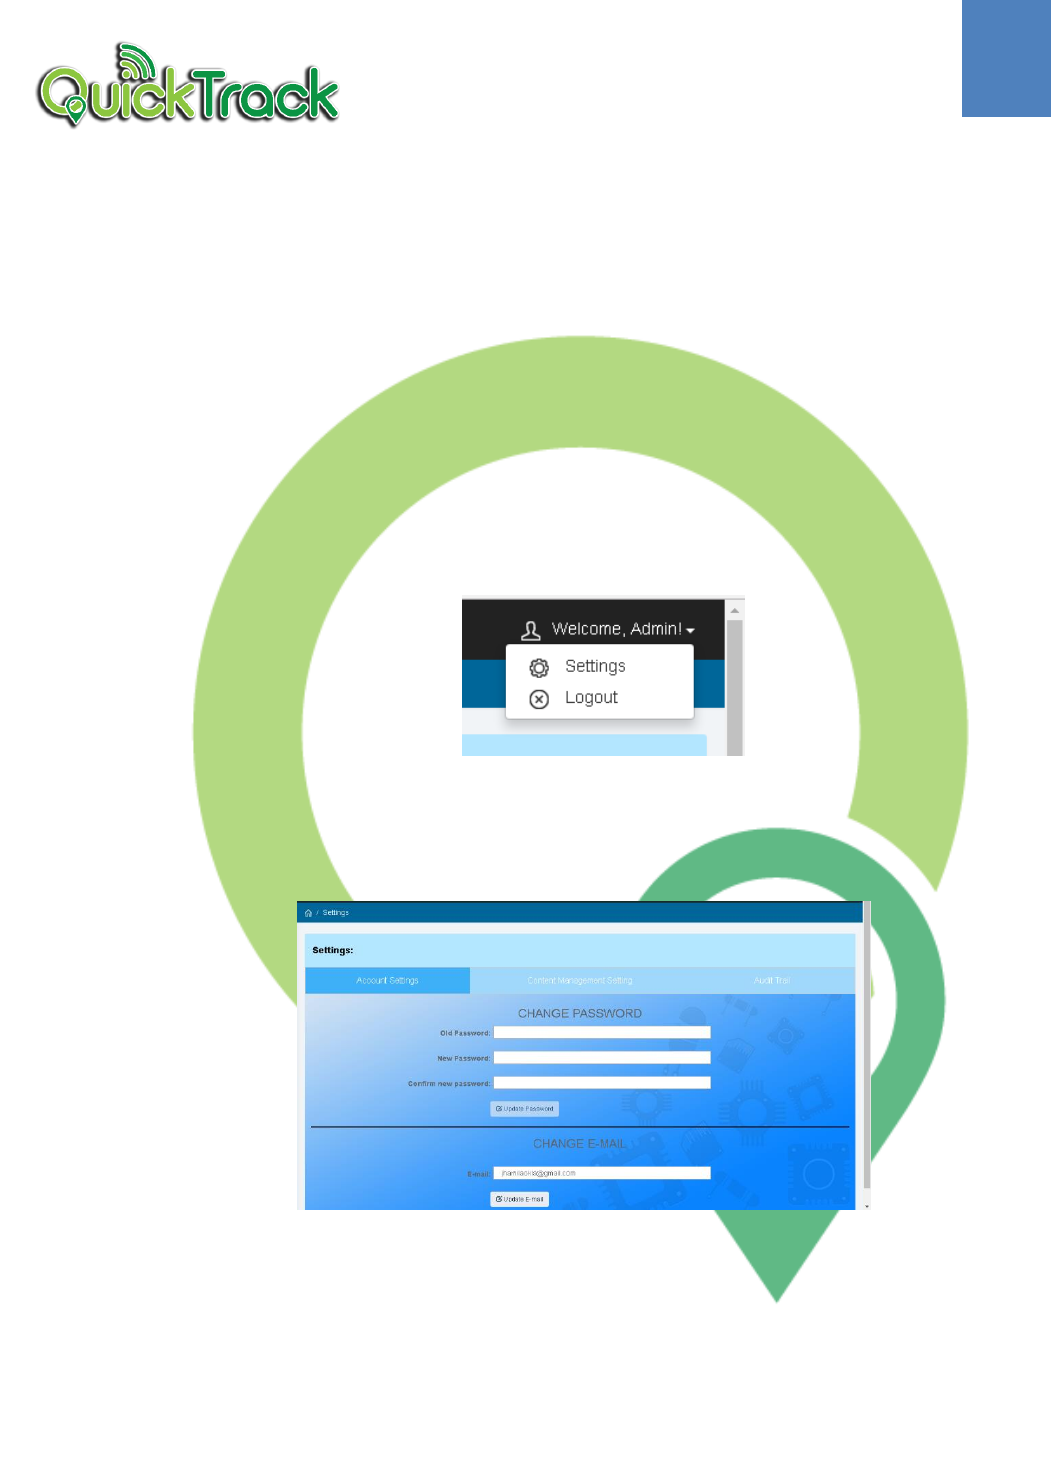
1.5 Settings
Standard User can borrow and surrender the borrowed laptops by the
provided request form
1.5.1 Account Settings
Standard User can change or update its password as well as
the email.
1.5.1.1 Update Password
1. Click the navigation bar at the upper right of the
screen
➢ Drop-down menu will appear.
2. Choose Settings
➢ Settings Page will appear
3. Click Account Settings Tab
➢ Settings Page will appear.
4. Fill-out the required field.
5. Click Update Password button
➢ Validation Message will appear.
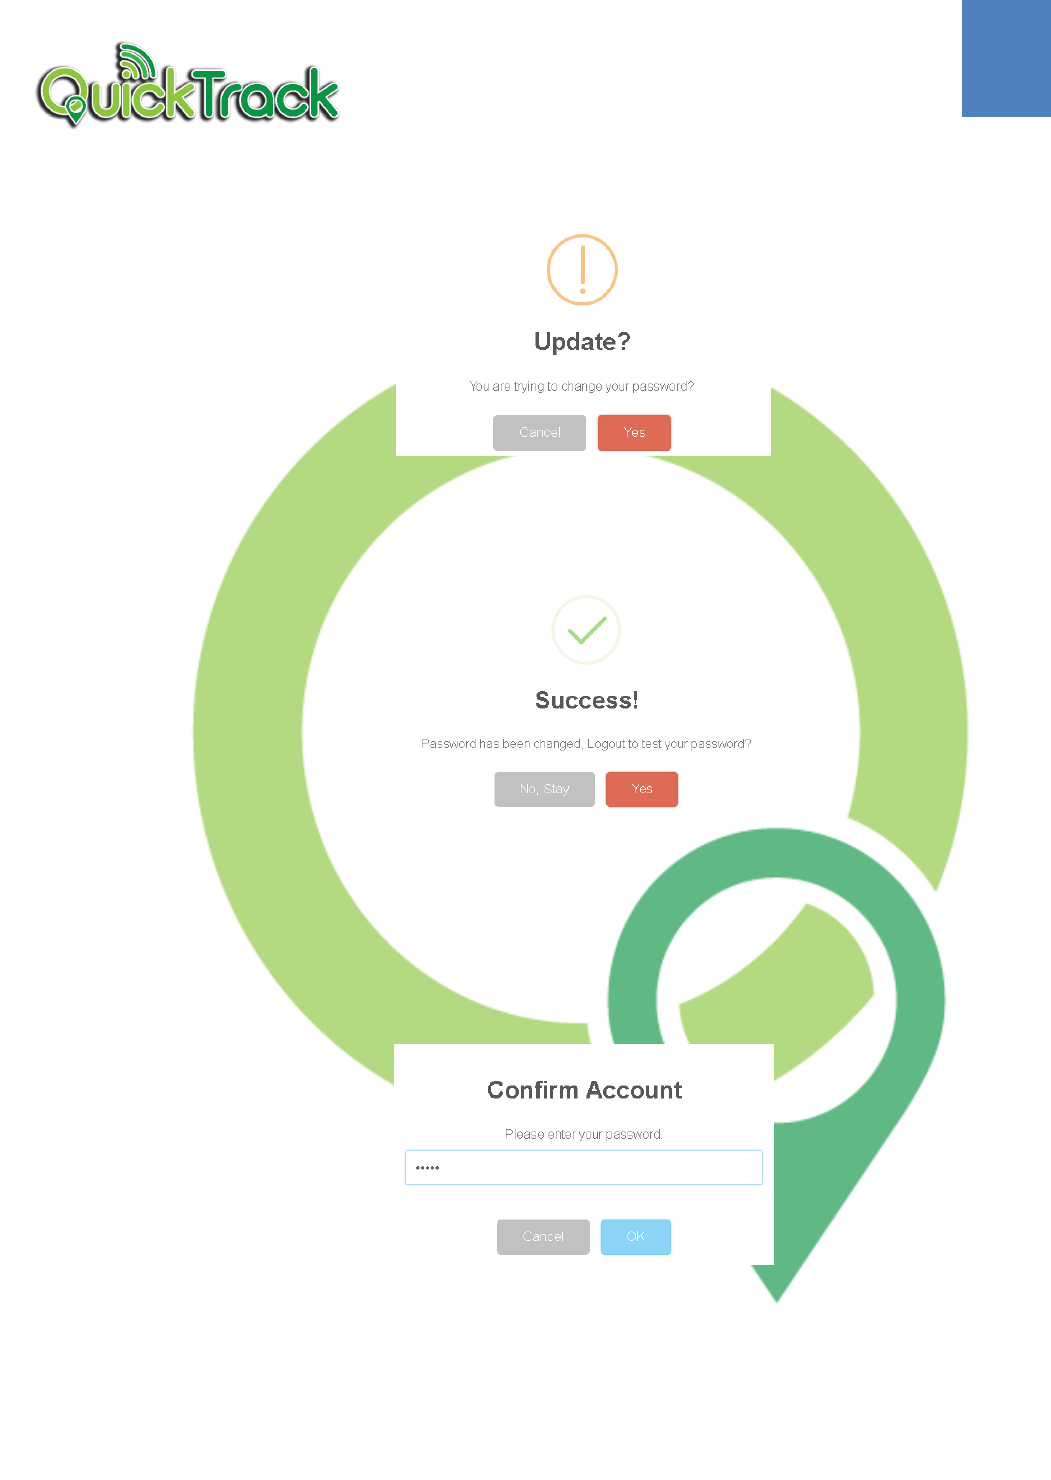
8
6. Click Yes if the admin wishes to redirect to the login
page to test the new password and No Stay button if
the admin wishes to remain on the same page.
Note: After changing the password, it will be recorded
in the audit trail for both standard user and Admin.
1.5.1.2 Update E-mail
1. Click Update Email button
➢ Modal Form will appear.
2. Enter the current password
3. Click OK button if the admin wishes to proceed to
change the e-mail or click the Cancel button if the
admin wishes to keep the email
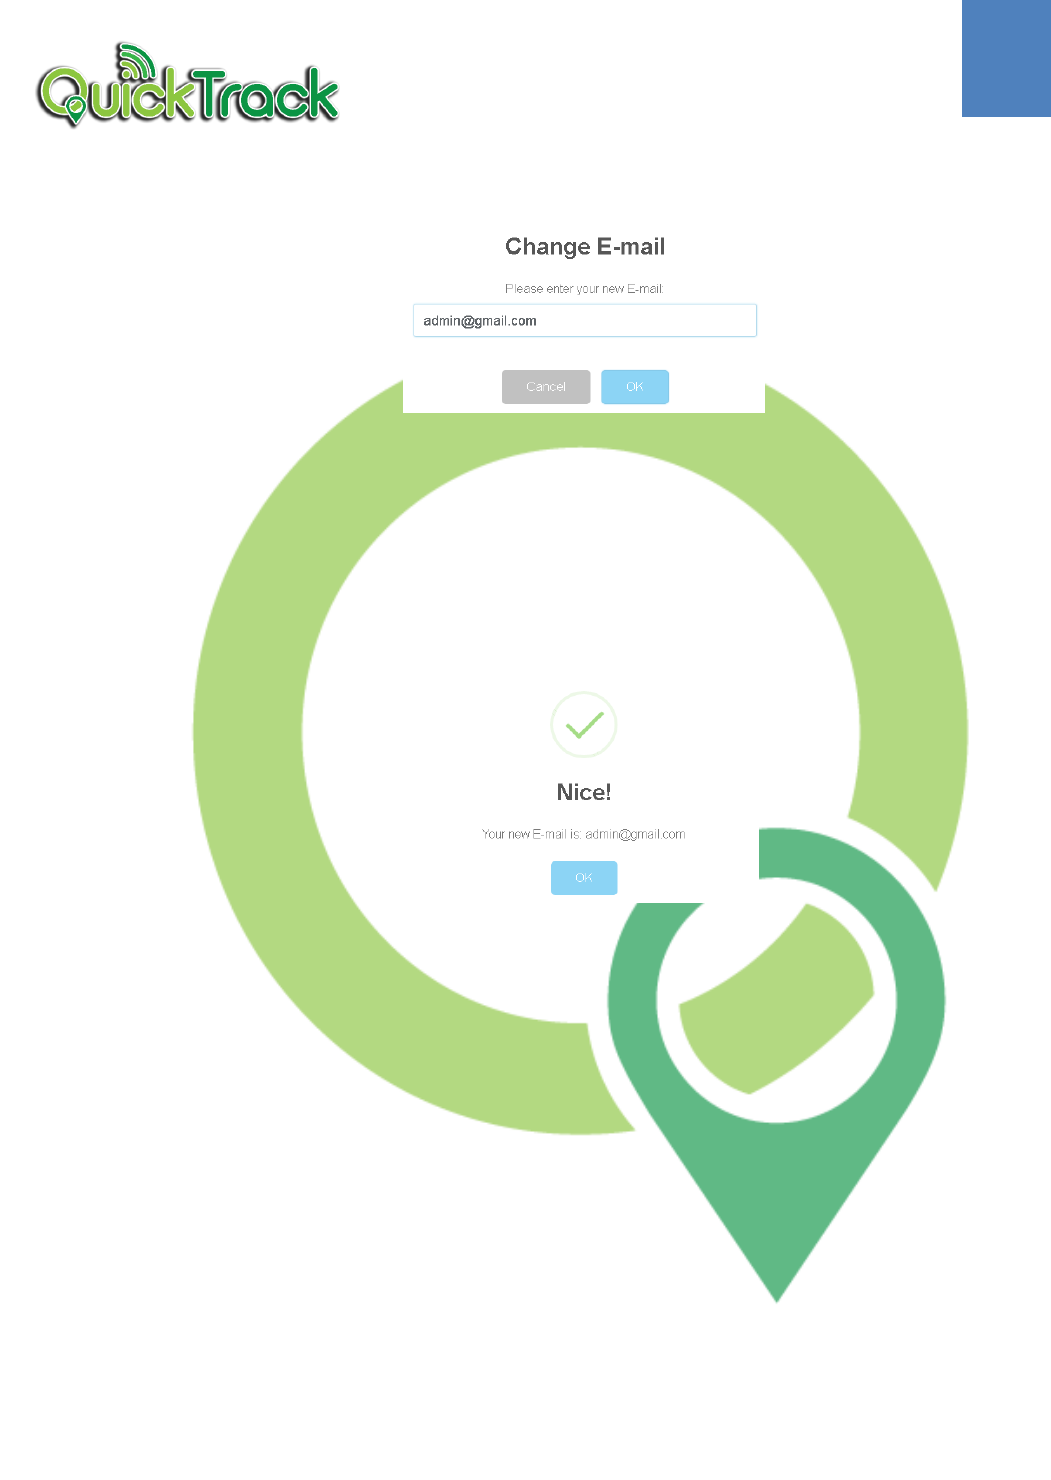
4. Enter the new email.
9
5. Click OK button to change the email and Cancel
button to prevent from changing the email.
Note: Once the admin clicked the OK button, a success
message will appear. Changing e-mail will be recorded
in the audit trail for both the account of standard user
and Admin.
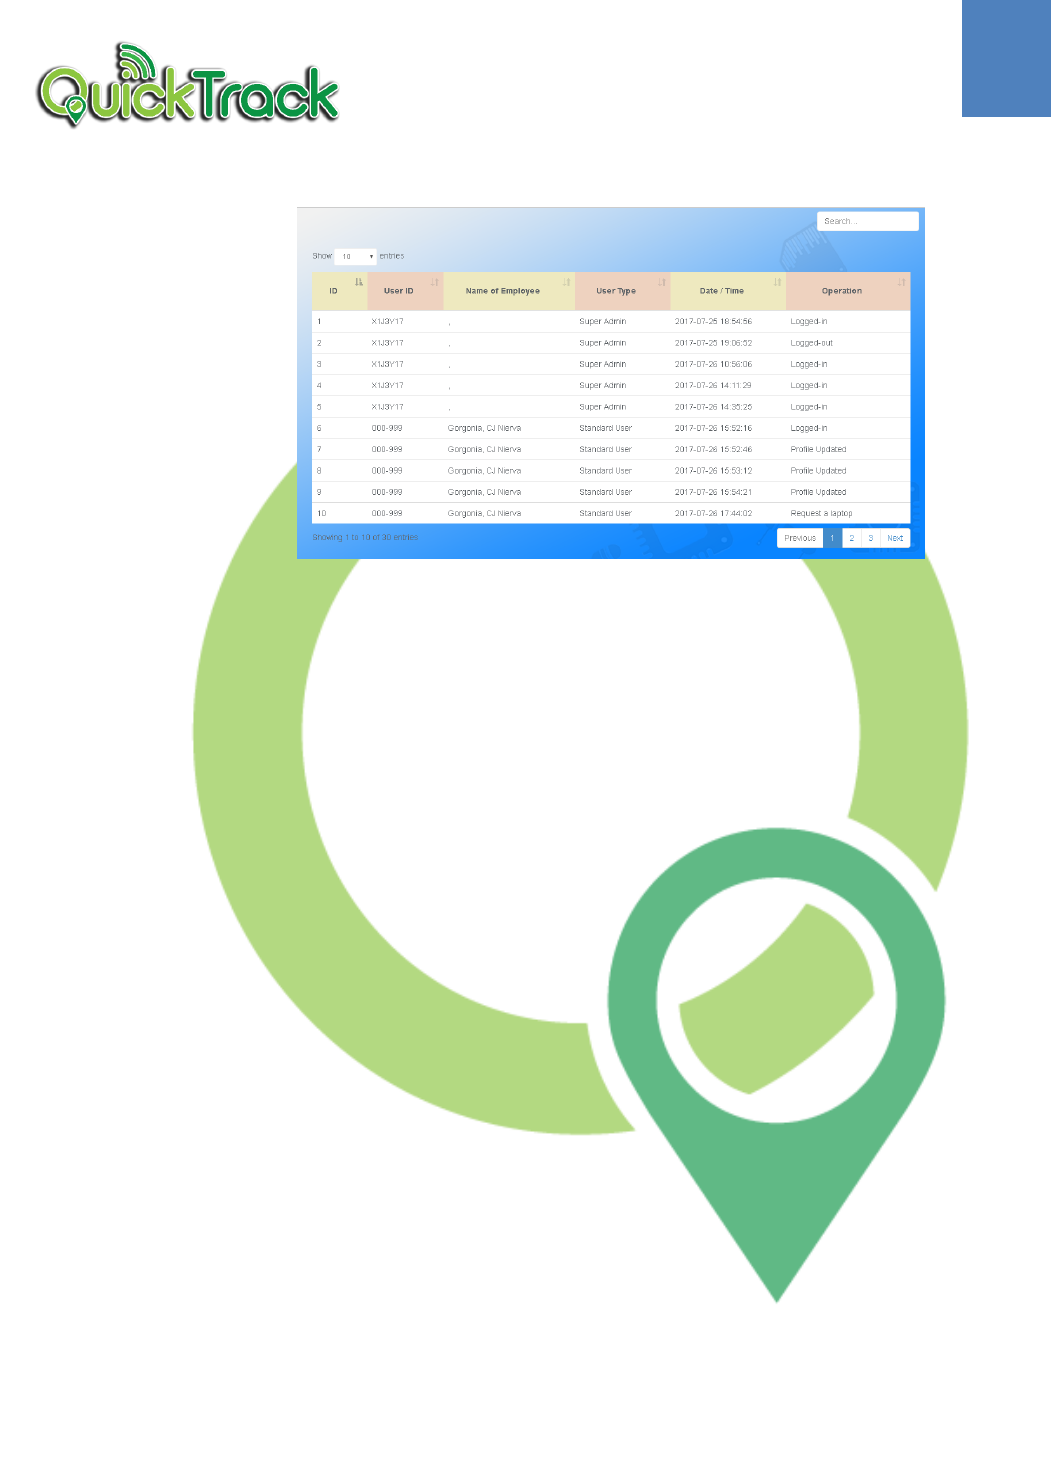
1.5.1.3 View the Audit Trail
All the activities of Standard User will be
displayed on the audit trail.
1. Click the Audit Trail Tab
➢ Audit Trail Page will appear.
10
