Android Instructions
User Manual: Pdf
Open the PDF directly: View PDF ![]() .
.
Page Count: 7

SETUP UNOFFICIAL MOBILE PRINT SERVICE
1. An email titled Google Cloud Print Notifications (from psa273@nyu.edu)
would be sent to you in no more than 24 hours that asks you to add a shared
printer.
a. Open this email (when you receive it) in a browser on your
pc/macbook (not the smart device) and click “Add Printer”.
b. A new tab would be opened in the browser, click accept.
(If you choose to open the email on your smart device and you see this page)
(, open your browser options and choose request desktop site in order to see the
accept button)
(You should see this if you have done it right)
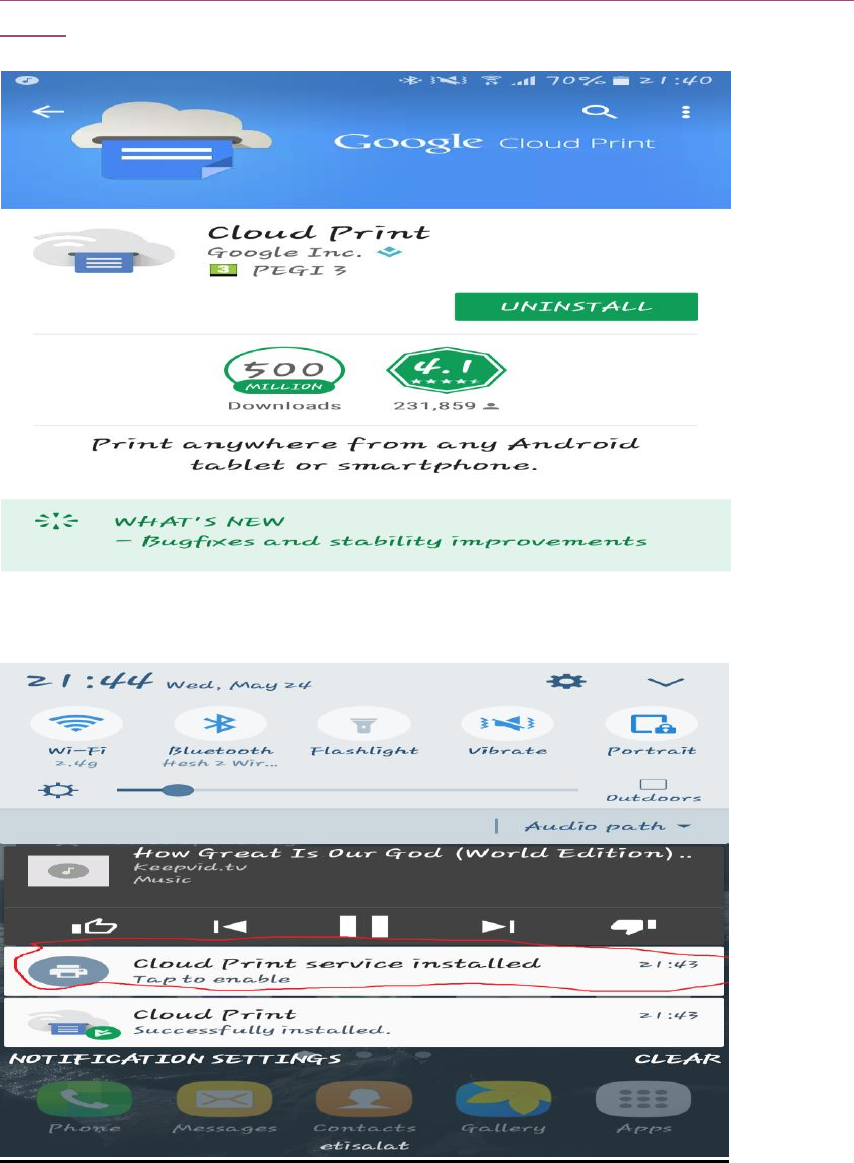
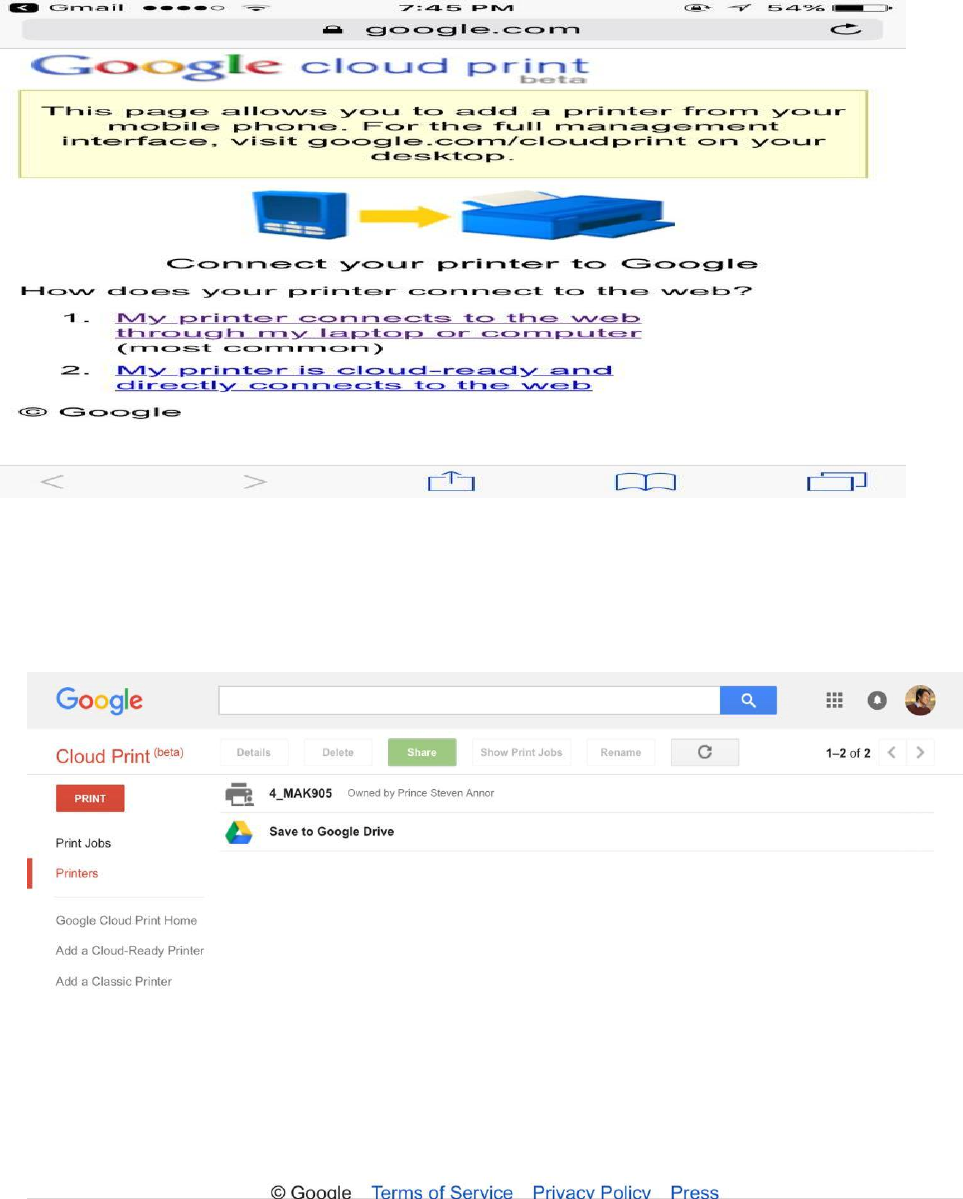
2. Download and install “cloud print” from Play store (You may not find it
easily so click this link
https://play.google.com/store/apps/details?id=com.google.android.apps.clou
dprint and it would open play store on your smart device automatically)
3. After installing, check your notification bar, you would see a balloon that
reads “Cloud Print service installed, Tap to enable”.
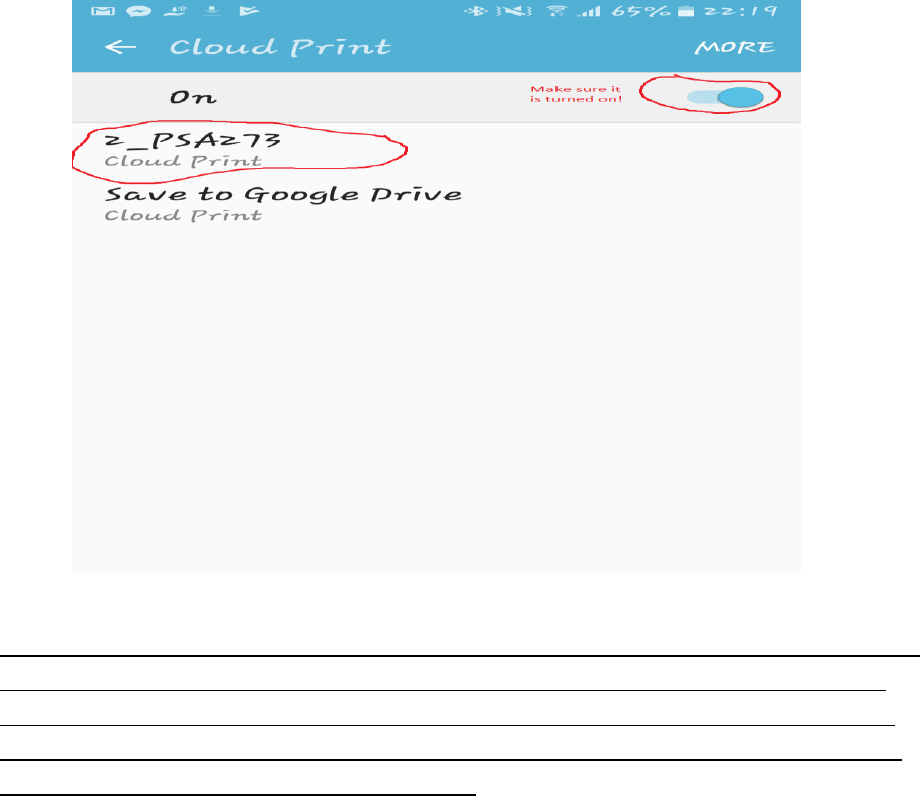
4. Click the ballon and turn cloud printing on (It would do a search after you
click it and list the printers connected to your nyu account). If you did the
steps right, you would see your NETID
NB: Some phones have cloud print preinstalled but still check by clicking the link
provided. If cloud was already installed, go to your phone’s settings, search for
“Printing”, and check if cloud printing is enabled. Enable it if it was disabled. If
you accepted the shared printer in the previous step correctly, your net ID would
appear(like the one above) after the search
FOR Regular easy everyday printing of documents, see next page…
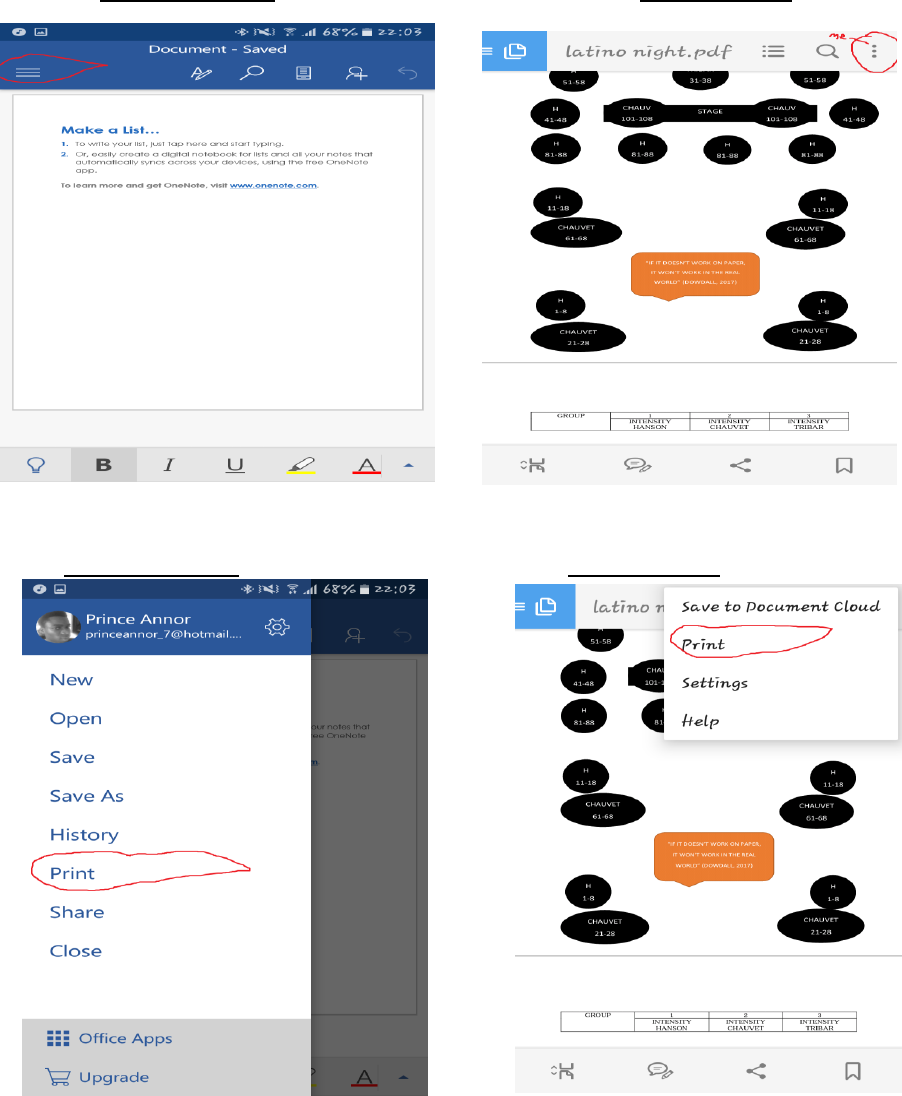
1. Open a document in your favorite document processor/document reader
2. Click the options button in the upper right corner that looks like three
dots arranged in vertical succession (Adobe reader) or click the options
button that looks like three lines arranged in vertical succession
(Microsoft products).
Microsoft word Adobe reader
3. Choose print from the options
Microsoft word Adobe reader

4. Click the down arrow button if you do not see your NET-ID at the top of
the screen and Choose your NET-ID
5. Choose your NET-ID (Your NET-ID should appear here if you set-up
cloud printing correctly)
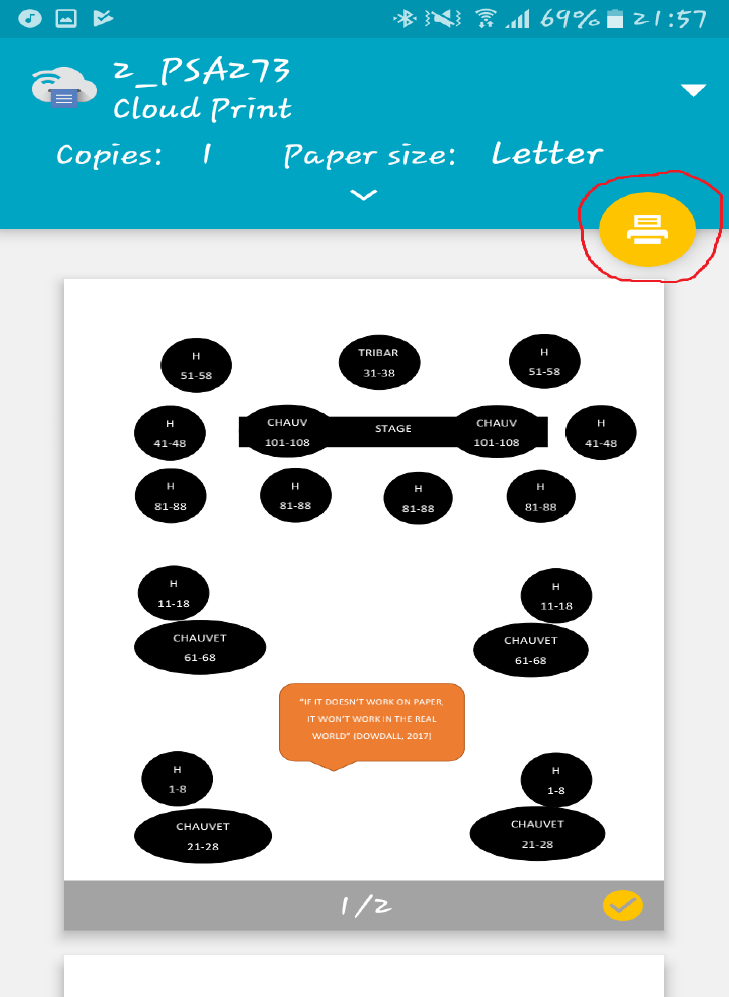
6. Click the yellow print button.
Visit the nearest printer (with your ID) for your document!
Cheers!
