Installation Instructions
installation%20instructions
User Manual: Pdf
Open the PDF directly: View PDF ![]() .
.
Page Count: 6
1. Nginx, MySQL, PHP (LEMP) installation
Pre requirements:
Firstly, we update the packages. Run following commands.
$ sudo apt-get update
and
$ sudo apt-get upgrade
We use Nginx as web server and MySQL as a database for storing data. Therefor we need to install
Nginx, MySQL, PHP (LEMP).
1.1 Nginx installation.
$ sudo apt-get install nginx.
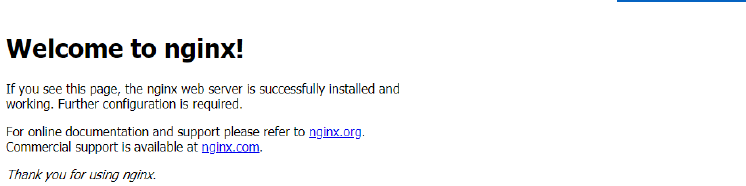
If everything installed successfully. You can access your server threw http://your_ip
1.2 MySQL installation
Now that we have a web server, we will install the MySQL database management system for
storing and managing the data of our site.
You can easily install MySQL with the following command:
$ sudo apt-get install mysql-server mysql-client
After the installation is complete, we need to perform some additional commands so that our
MySQL environment is configured in a safe way. Type the following command:
$ sudo mysql_secure_installation
1.3 PHP installation
Now we have Nginx installed to serve our pages and MySQL installed to store and manage
our data, but we still need something to connect these two pieces and to generate dynamic
content. We can use PHP for this.
Since Nginx does not contain native PHP processing like some other web servers, we will
need to install php5-fpm, which stands for "fastCGI process manager". We will tell Nginx to
pass PHP requests to this software for processing.
We can install this module and will also grab an additional helper package that will allow
PHP to communicate with our database backend. The installation will pull in the necessary
PHP core files. Do this by typing:
$ sudo apt-get install php-fpm php-mysql
$ apt-get install mcrypt php7.0-mcrypt
1.4 Configure Nginx to Use our PHP Processor
Now, we have all of the required components installed. The only configuration change we
still need to do is tell Nginx to use our PHP processor for dynamic content.
We do this on the server block level (server blocks are similar to Apache's virtual hosts).
Open the default Nginx server block configuration file by typing:
$ sudo nano /etc/nginx/sites-available/default
server {
listen 80 default_server;
listen [::]:80 default_server;
root /var/www/html;
index index.php index.html index.htm index.nginx-debian.html;
server_name _;
location / {
try_files $uri $uri/ =404;
}
location ~ \.php$ {
include snippets/fastcgi-php.conf;
fastcgi_pass unix:/run/php/php7.0-fpm.sock;
}
location ~ /\.ht {
deny all;
}
}
After making changes, save and close the file.
Check your configuration file for errors with the command:
$ sudo nginx –t
$ sudo systemctl reload nginx
$ service nginx restart
1.5 Create a PHP File to Test Configuration
Your LEMP stack should now be completely set up. We still should test to make sure that
Nginx can correctly hand .php files off to our PHP processor.
We can do this by creating a test PHP file in our document root. Open a new file called
info.php within your document root in your text editor:
sudo nano /usr/share/nginx/html/info.php
We can type this into the new file. This is valid PHP code that will return formatted
information about our server:
<?php
phpinfo();
?>
When you are finished, save and close the file.
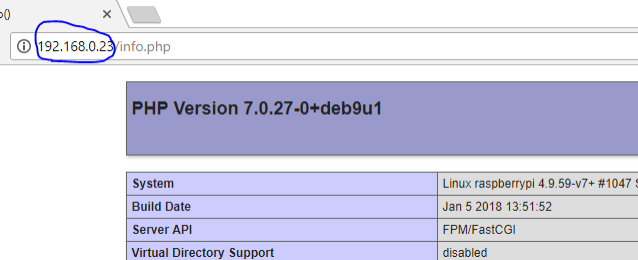
Now, you can visit this page in your web browser by visiting your server's domain name or
public IP address followed by /info.php:
If you see a page that looks like this, you've set up PHP processing with Nginx successfully.
After you test this, it's probably best to remove the file you created as it can actually give
unauthorized users some hints about your configuration that may help them try to break in.
You can always regenerate this file if you need it later.
For now, remove the file by typing:
$ sudo rm /usr/share/nginx/html/info.php
Conclusion
You should now have a LEMP stack configured on your server. This gives you a very flexible
foundation for serving web content to your visitors.
2. Installation of Secure phpMyAdmin with Nginx on Raspberry PI.
Relational database management systems like MySQL are needed for a significant portion of
web sites and applications. However, not all users feel comfortable administering their data
from the command line.
To solve this problem, a project called phpMyAdmin was created in order to offer an
alternative in the form of a web-based management interface. In this guide, we will
demonstrate how to install and secure a phpMyAdmin configuration on an Ubuntu 14.04
server. We will build this setup on top of the Nginx web server, which has a good
performance profile and can handle heavy loads better than some other web servers.

We can use the apt packaging tools to pull the software down from the repositories and
install it on our system:
$ sudo apt-get install phpmyadmin
During the installation, you will be prompted for some information. It will ask you which web
server you would like the software to automatically configure. Since Nginx, the web server
we are using, is not one of the available options, you can just hit TAB to bypass this prompt.
The next prompt will ask if you would like dbconfig-common to configure a database for
phpmyadmin to use. Select "Yes" to continue.
You will need to enter the database administrative password that you configured during the
MySQL installation to allow these changes. Afterward, you will be asked to select and
confirm a password for a new database that will hold phpMyAdmin's own data.
The installation will now complete. For the Nginx web server to find and serve the
phpMyAdmin files correctly, we just need to create a symbolic link from the installation files
to our Nginx document root directory by typing this:
$ sudo ln -s /usr/share/phpmyadmin /usr/share/nginx/html
A final item that we need to address is enabling the mcrypt PHP module, which
phpMyAdmin relies on. This was installed with phpMyAdmin so we just need to toggle it on
and restart our PHP processor:
$sudo phpenmod mcrypt
$sudo service phpphp7.0-fpm restart
With that, our phpMyAdmin installation is now operational. To access the interface, go to
your server's domain name or public IP address followed by /phpmyadmin, in your web
browser: http://server_domain_or_IP/phpmyadmin
Give remote login permission for root user. Connect to mysql:
$ sudo mysql -u root -p
Write query to give remote login permission for root user:
GRANT ALL PRIVILEGES ON *.* TO 'root'@'localhost' IDENTIFIED BY
'EmbeddedSystemTeam2';
flush privileges;
Ctrl+c
$ service mysql restart
3. Additional requirements.
Make sure you have i2c-tools and libi2c-dev installed on your system. On Debian-based systems
(Ubuntu, Raspbian):
$ sudo apt-get install i2c-tools libi2c-dev
Raspberry Pi can interface database MySQL with C++ Programming. You can read or write data to
MySQL Server. Therefore, in your Raspberry Pi it is needed to prepare MySQL Library for
programming before.
SETUP MySQL C Access:
$ sudo apt-get install liblibmysql-cil-dev
or
$ sudo apt-get install libmysqlcppconn-dev
For compilations:
Sql library for compilation in make file
$g++ creat_test_table.c -o table `mysql_config --cflags` `mysql_config --libs`
4. Database configuration
1. You need to create Database called “sensor_log2”
2. Then Load the sensor_log2.dump file using the mysql command:
$ mysql -u root -p sensor_log2 < sensor_log2.dump
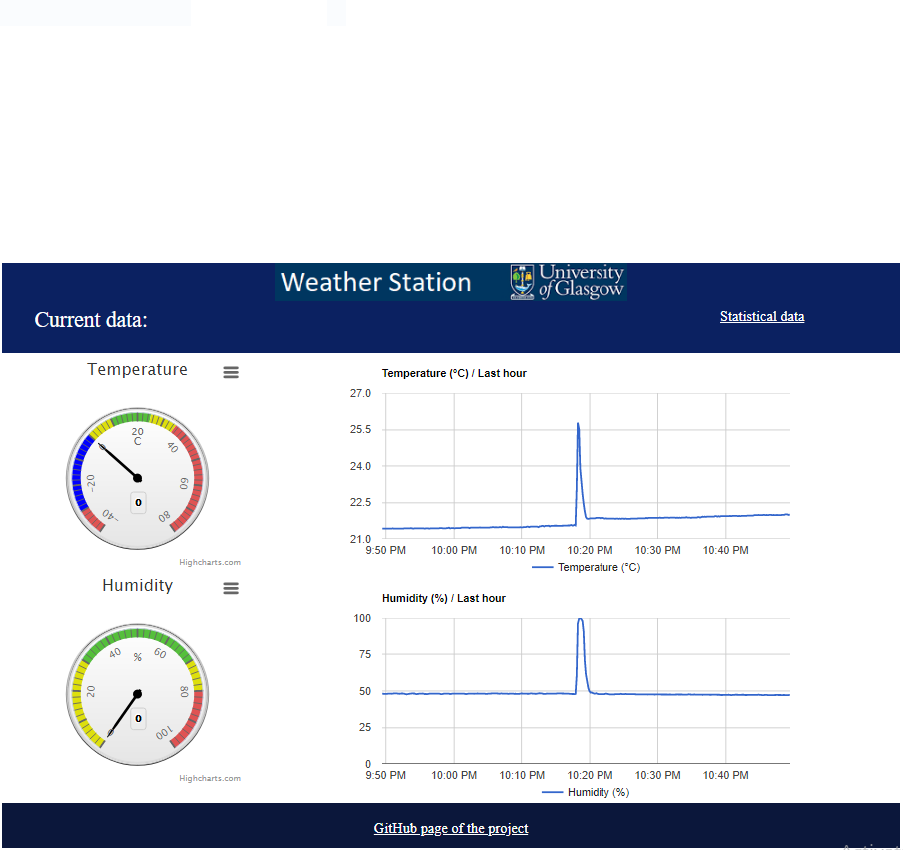
5. Web interface installation
Finally, put your web interface files to /var/www/html folder or create a link to the webserver folder
sudo ln -s /home/***/03_web_app /var/www/ws3
At this stage the web page should work and look like this:
6. Auto running applications
In order to make your project automatically when the system starts the following actions a required:
Firstly, ensure your program is executable by finding it in the file manager and running the
command:
sudo chmod +x /home/pi/projects/my_project
You can setup the auto run using a script (see here), or you can do it directly by editing the rc.local
file:
sudo nano /etc/rc.local
After the initial comments (lines beginning with '#') add the following lines:
# Auto run our application
sudo /home/pi/projects/my_project &
"sudo" assumes you want your application run with root user privileges (remove if not) and the "&"
says do it in the background.
Save it by pressing Ctrl+X, " Y", ENTER
Re-boot your RPi and it will run.
To kill the program
If you need to kill your program running in the background you can use this
sudo killall my_project
