Pektron Group 003 Key Fob User Manual Owner Manual P13 US English
Pektron Group Ltd Key Fob Owner Manual P13 US English
UserManual.wiki
>
Pektron Group
>
003 User Manual
>
Users Manual
Contents
1.
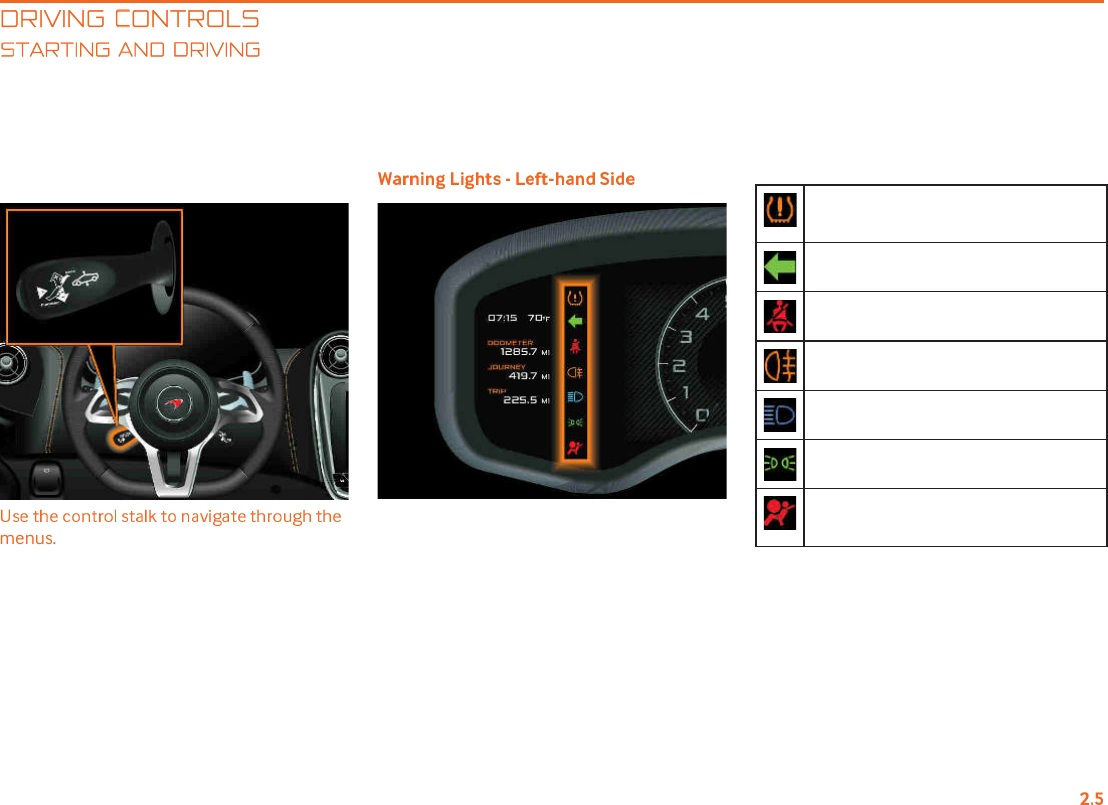
Users Manual
2.
Regulatory Statement
Users Manual
Navigation menu
Upload a User Manual
Namespaces
Wiki Guide
HTML
PDF
Info
Views
User Manual
Discussion / Help
Navigation