Peloton Interactive RB1V1 Peloton Console User Manual
Peloton Interactive LLC Peloton Console
User manual

Peloton Console
Model No.: PLTN-RB1V1
User Manual
Revision: Draft
2016/04/20

Peloton Console Setting
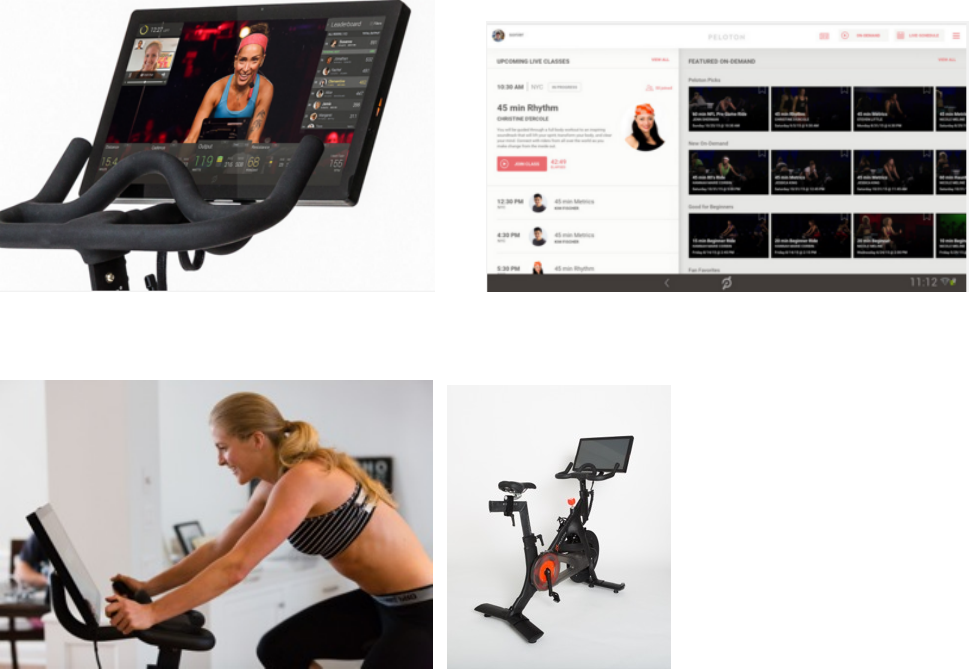
The equipment is used as below:
Peloton console will be setting on bike, our engineer will assembly it for you.
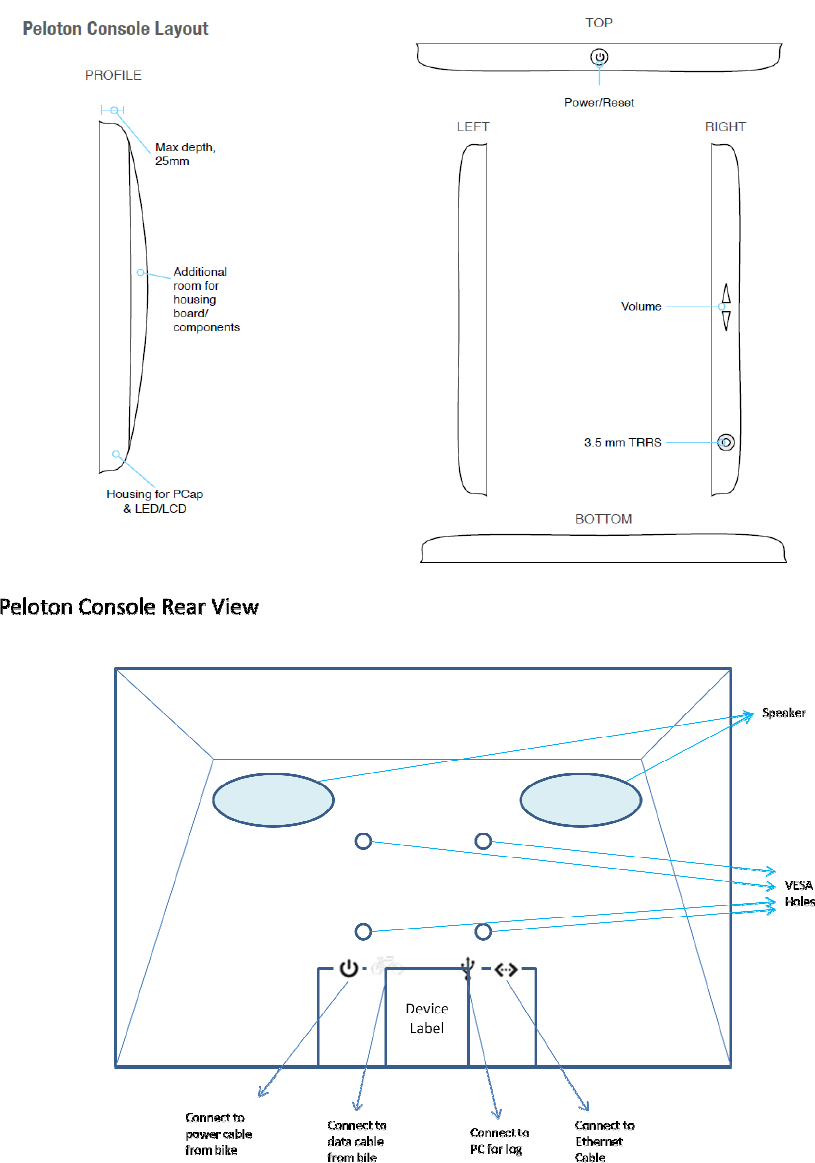
Peloton Console Basic Info
Getting to Know Your Peloton Console
Getting Around Your Peloton console
• There are different ways to navigate around the Home screen, menus and application
screens on your Peloton console. You can also change the screen orientation of the Peloton
console as well..
• Touch
When you want to type using the onscreen keyboard, select items onscreen such as Join
Class and personal profile icons and touch them with your finger.
• Swipe or slide
To swipe or slide means to quickly drag your finger vertically or horizontally across the
screen.
• Soft Key functions and status bar
Touch the control keys on the front panel of your Peloton console to do the following:
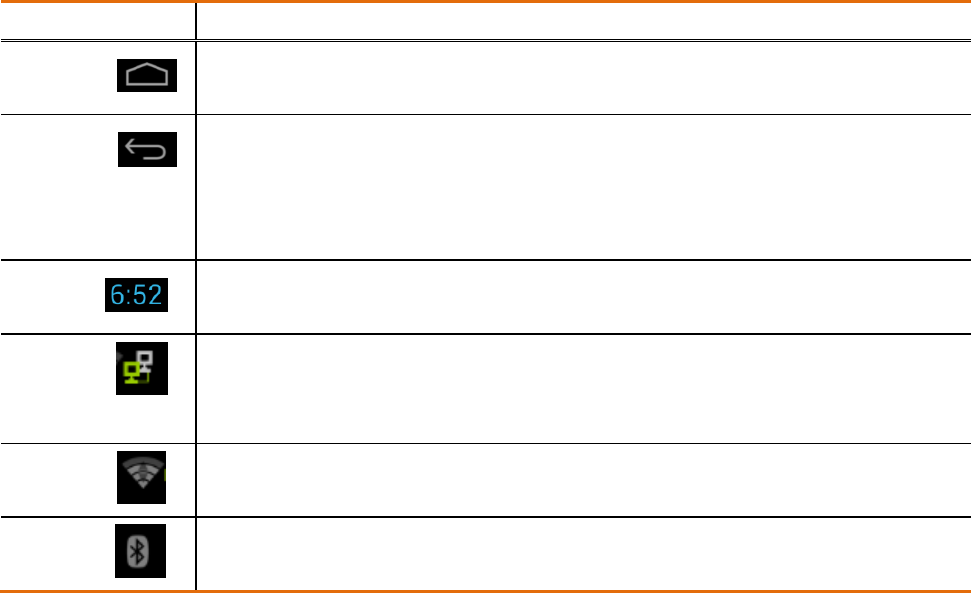
Key Function
HOME
While on any application or screen, touch to return the main Home screen
BACK
Touch to go back to the previous screen, or to close a dialog box, options menu, or
close the Notifications panels.
Touch and hold to return to the main screen of the current application
When the onscreen keyboard is open, touch to close the onscreen keyboard
Time
Display Local Time
There is Date and Time in the setting, it will be change by time zone an user define.
Ethernet
Ethernet status icon
There is Ethernet menu in the setting, it will connect to Ethernet automatically by
connecting RJ45 Ethernet cable.
Wi-Fi
Wi-Fi status icon
There is Wi-Fi menu in the setting, it could be configure to connect AP.
BT
Bluetooth status icon
Getting Started
The equipment can function with external DC adapter only, and no battery included.
Once you’ve plug in the DC adapter, you can turn on your Peloton console and start using it.
Turn your Peloton console on and off
To turn on the Peloton console
Press the POWER key on the top side of the Peloton console.
To turn off the Peloton console
1 Press and hold the POWER key until the Power off options menu opens.
2 Touch OK when prompted to turn off the Peloton console.
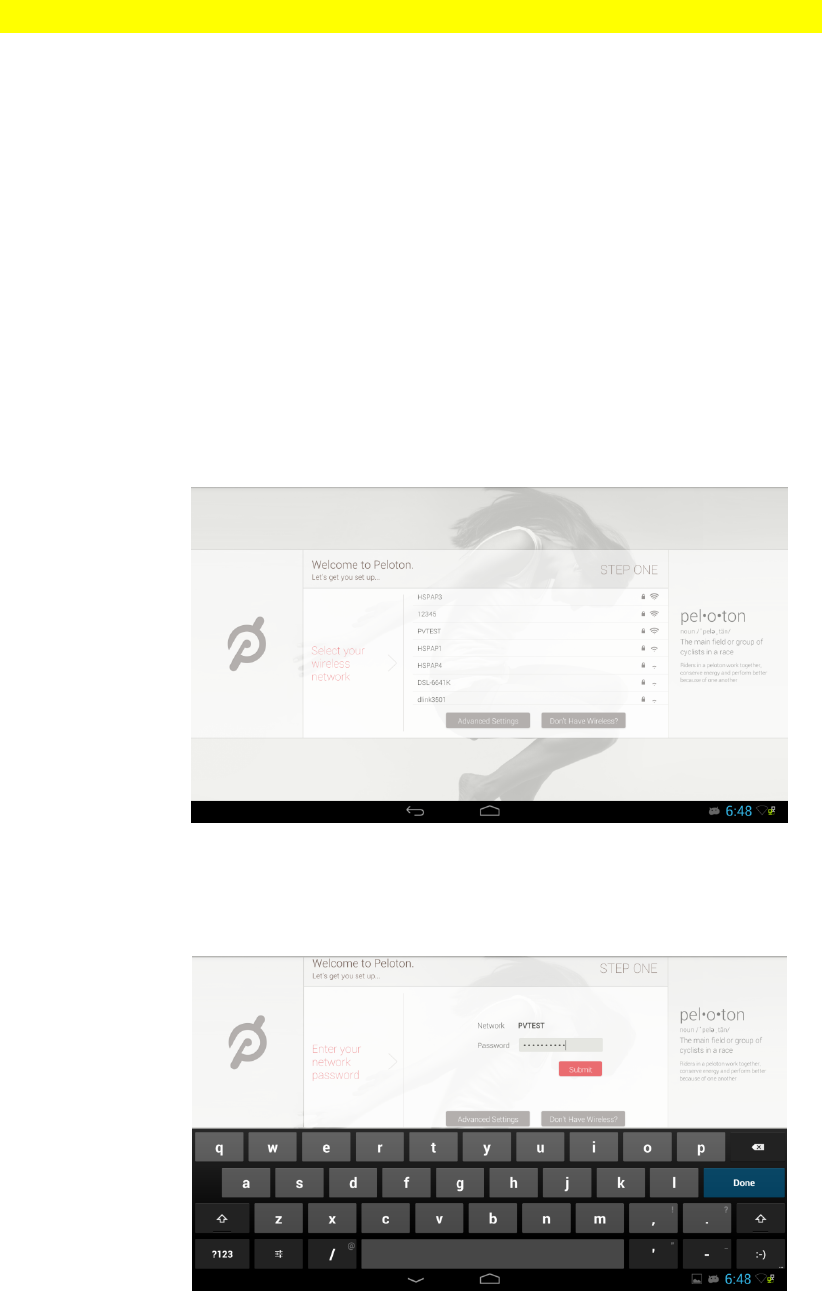
Set up your Peloton console for the first time
When you turn on the Peloton console for the first time, you will be requested to connect to your
Internet connection if any.
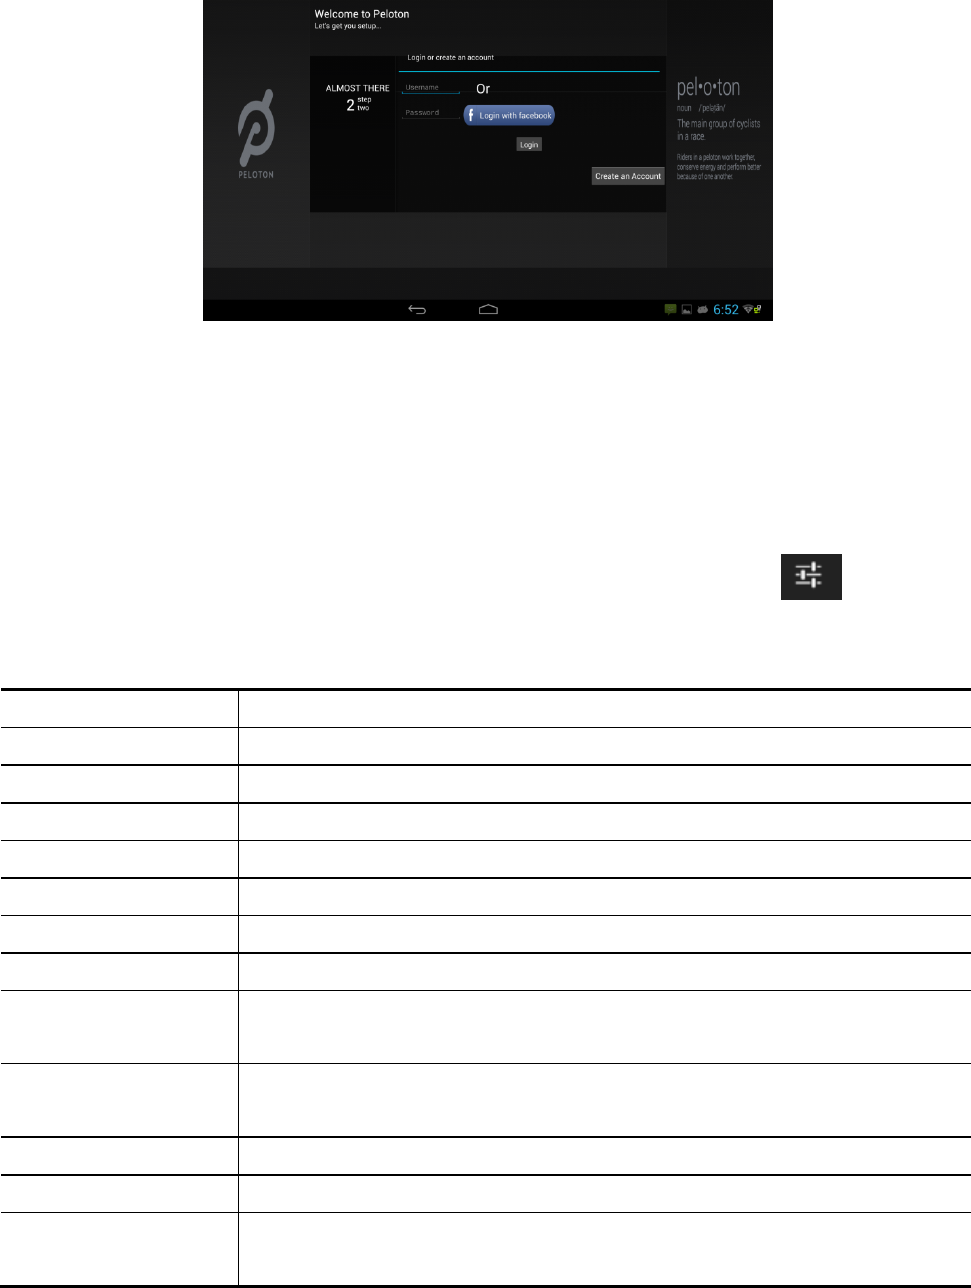
Please follow the instruction showed on the Peloton console.
Home Screen
The Home screen is your starting point for using the applications on your Peloton console. You can
control the icons on Home screen to process application.
Settings
Press Status Bar on bottom Right of Peloton console screen, then touch to open the
Notification tab, and then touch Settings
Ethernet configuration Configure your Peloton console’s Ethernet connections,
Wi-Fi Configure your Peloton console’s WLAN connections,
Bluetooth Configure your Peloton console’s BT connections,
Sound Set the notification ring tones
Display Set the screen brightness and screen timeout.
Storage Check internal Storage and Available storage
Apps Manage applications in system and check memory status
Security Select the password visable, or set the screen unlock pattern
Language & keyboard Set the operating system language and region. You can also set onscreen keyboard
options.
Backup & Reset Backup the personal settings and other application data, restore the backed up and
back to the factory setting
Add Accounts Sync your data with Google services.
Date & time Set the date, time, time zone, and date or time format.
About Peloton console View the Peloton console status such as the network type. You can also view the legal
information and software version of your Peloton console.
Ethernet configuration
Ethernet connect will automatically connect to network and when you insert RJ45 connecter.
You can Configure Ethernet connections for static IP, or DHCP etc,
To uncheck option to Turn Off Ethernet automatic connection
The internet connection will use Ethernet when Wi-Fi is Turn On.
WLAN connection
Wi-Fi can only be used when it connects with home Wi-Fi Access Point (AP) or a free unsecured
Wi-Fi hotpot. Under “Wireless & networks”, tap “Wi-Fi” to turn it on. After a moment, your
Wi-Fi network list should populate. If you need to rescan for available networks, tap "scan"
• Turn on WLAN
Tap “Settings” → then “Wireless & networks” → “Wi-Fi”to turn on Wi-Fi. Your
Peloton console lists the networks it finds within range. Tap a network to connect. If
necessary, enter Network SSID, Security, and Wireless password, and tap “Connect”. When
your Peloton console is connected to the network, the wireless indicator appears in the status
bar. Waves indicate connection strength.
BT connection
• Make device discoverable:
You must pair your Peloton console with a device before you can connect to it. Once you pair
your Peloton console with a device, they stay paired unless you unpair them. Under “Settings”,
choose “Bluetooth”. Tap Bluetooth to turn on it and tap “Search for devices”. The Bluetooth
indicator then appears in the status bar.
• Scan for devices
After scanning, there will be a list of the IDs of all available Bluetooth devices in range. If the
device you want to pair with isn’t in the list, ensure that the other device is turned on and set to
be discoverable.
• Pair with the Bluetooth device
Tap the name of an available Bluetooth device to pair with. In the popup“Bluetooth pairing
request” dialog, type a PIN. If the pairing is successful, your Peloton console connects to the
device.
You can touch the right icon to unpair the device.
• Note: After pairing, it shows under the Bluetooth device “Paired but not connected”, but file
transmission is still possible.
• Adjusting the Volume
Adjusting the Media volume changes the volume level of sound notifications and music or video playback.
To adjust the media volume
When playing music or watching video, touch the volume scroll bar to adjust the media volume or press volume keys
directly to adjust. The Music/video volume window appears on the screen to display the volume level.
You can also adjust the media volume on the Settings screen.
1. Press HOME, then press MENU, and then touch Settings.
2. Touch Sound >Volume.
3. When the Media volume window appears, move the slider to the left (to lower the volume) or to the right (to
increase the volume).
4. Touch OK to close the window.
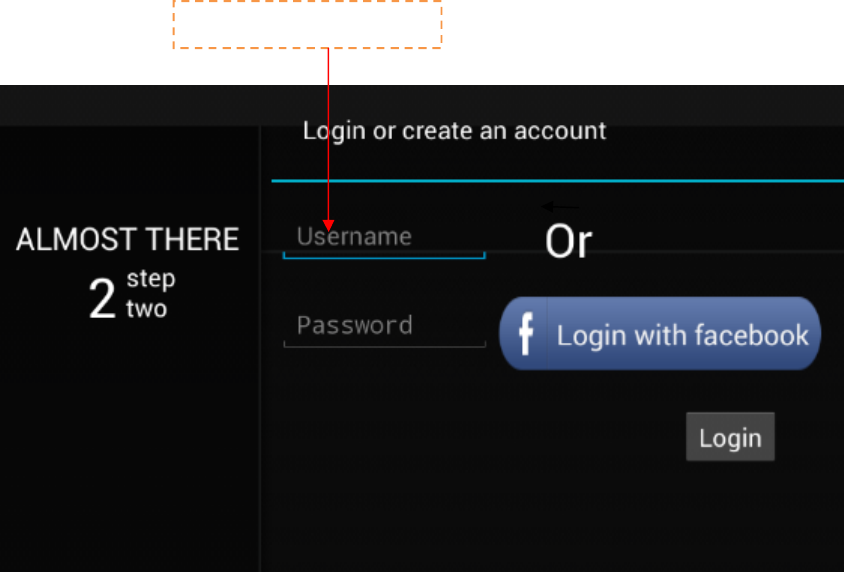
Using the Onscreen Keyboard
When you start a program or select a field that requires text or numbers, the onscreen keyboard becomes available.
Touch to enter letters
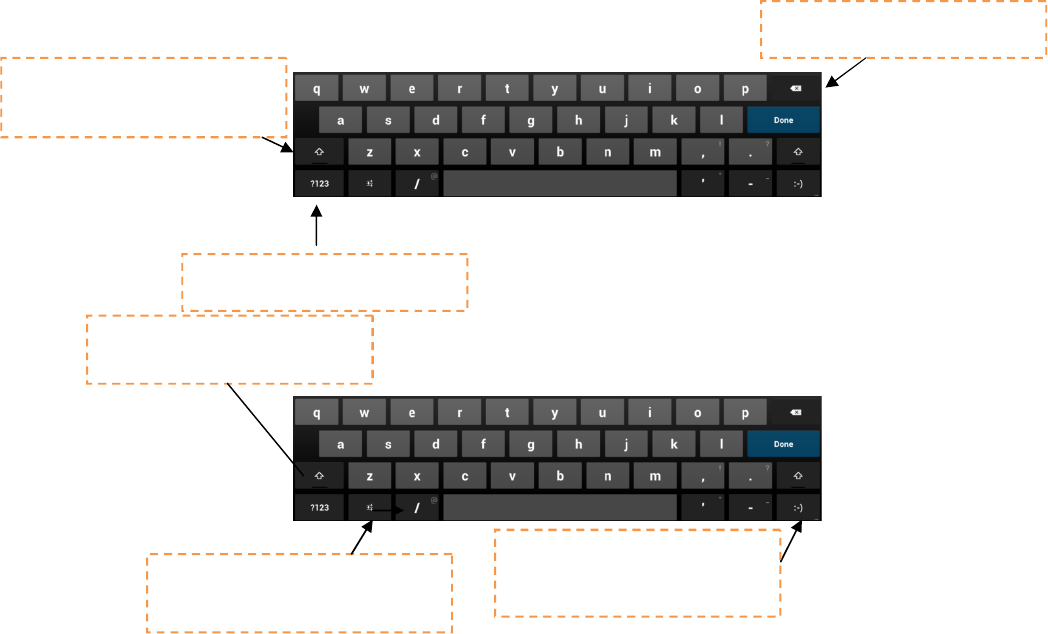
Tips
• When you do not need the keyboard, you can close it by pressing BACK. To show the keyboard again, touch a text
box onscreen.
• If you need to insert or delete a character, use the finger to position the cursor next to the character you want to
edit.
Note The available keys on the keyboard will be different depending on the current text field selected. For example, in
Browser, when you are in the URL field, some keys at the bottom row are replaced with alternate keys (for
example, .com key) to make it faster for you to type web addresses.
Touch and hold to
access the
keyboard settings or switch input
methods.
Touch and hold to access more
punctuation marks.
Touch and hold to access more
face symbols.
Touch to enter on upper case
letter & Touch twice to turn on
Caps Lock
Touch to delete the previous
character
Touch to switch to the numeric
and symbol keyboard.
Industry Canada statement:
This device complies with Industry Canada’s licence-exempt RSSs. Operation is subject to
the following two conditions:
(1) This device may not cause interference; and
(2) This device must accept any interference, including interference that may cause
undesired operation of the device.
Le manuel d’utilisation des appareils radio exempts de licence doit contenir l’énoncé qui
suit, ou l’équivalent, à un endroit bien en vue dans le manuel d’utilisation ou sur l’appareil,
ou encore aux deux endroits.
Le présent appareil est conforme aux CNR d’Industrie Canada applicables aux appareils
radio exempts de licence. L’exploitation est autorisée aux deux conditions suivantes :
1) l’appareil ne doit pas produire de brouillage;
2) l’utilisateur de l’appareil doit accepter tout brouillage radioélectrique subi, même si le
brouillage est susceptible d’en compromettre le fonctionnement.
Radiation Exposure Statement:
This equipment complies with IC radiation exposure limits set forth for an uncontrolled
environment. This equipment should be installed and operated with minimum distance
20cm between the radiator & your body.
The transmitter may not be co-located with any other transmitter or antenna
Déclaration d'exposition aux radiations:
Cet équipement est conforme aux limites d'exposition aux rayonnements IC établies pour
un environnement non contrôlé. Cet équipement doit être installé et utilisé avec un
minimum de 20 cm de distance entre la source de rayonnement et votre corps.
Le émetteur peut ne pas être coïmplanté avec un autre émetteur ou antenne.