Philips Consumer Lifestyle SCD610H Video Baby Monitor - Parent Unit User Manual User guide
Philips Consumer Lifestyle Video Baby Monitor - Parent Unit User guide
UserManual.wiki
>
Philips Consumer Lifestyle
>
SCD610H User Manual
User guide
Navigation menu
Upload a User Manual
Namespaces
Wiki Guide
HTML
PDF
Info
Views
User Manual
Discussion / Help
Navigation
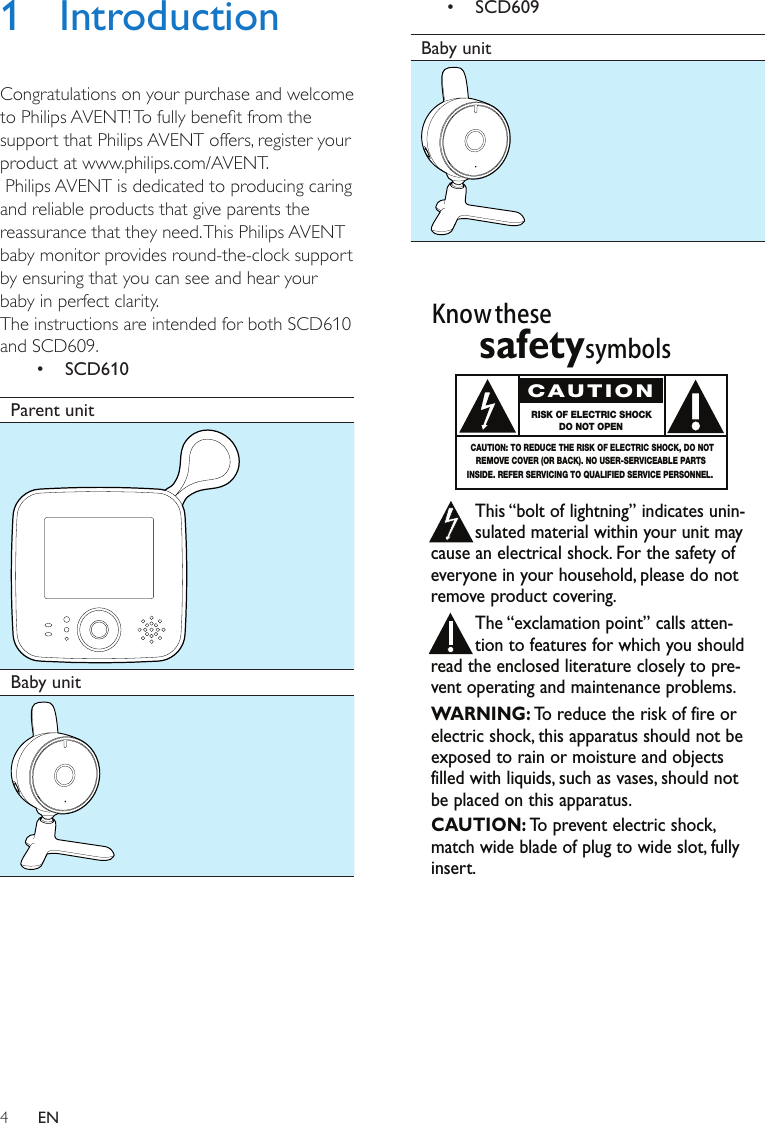
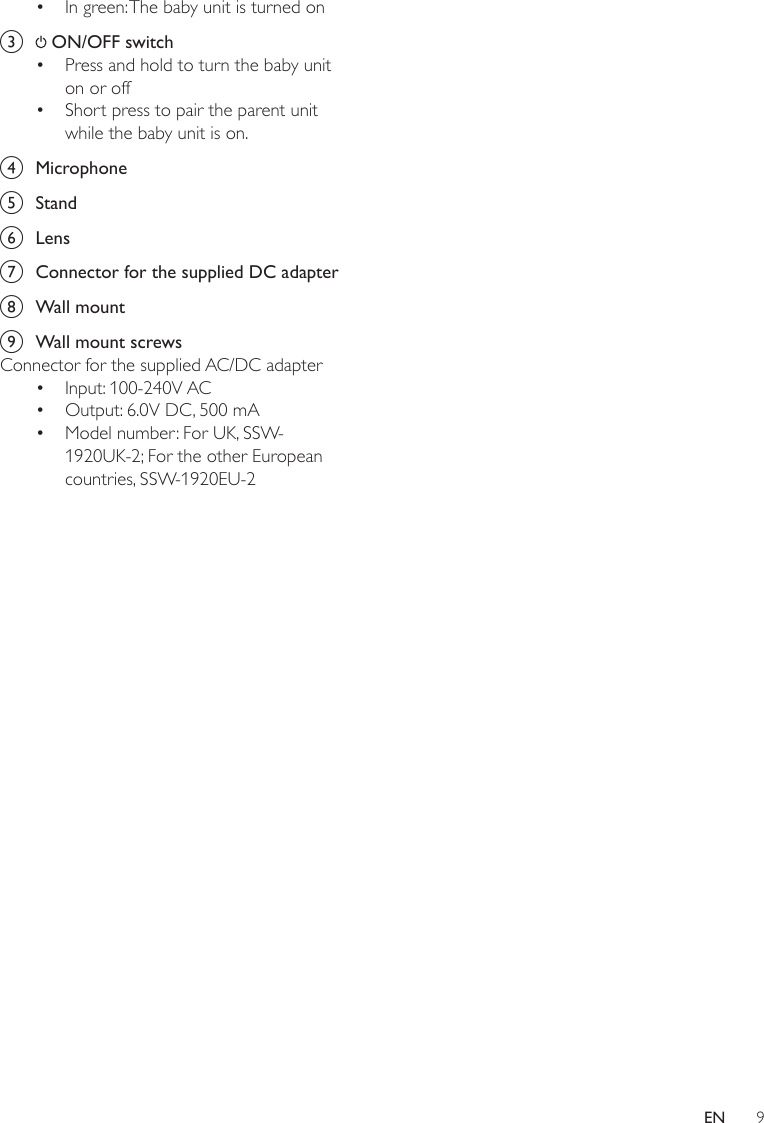
![8EN3 OverviewParent unit a ON/OFF switch• Press and hold to turn the parent unit on or off b Standc Voice activation button• Press and hold to turn voice activation on or off d Connector for the supplied DC adaptere Power on/off light• Flashing red: The rechargeable battery is low in power.• Flashing green: The rechargeable battery is in charging mode.• Solid green: The unit is running.f Voice activation lightg Sound level lights• Indicate the level of sound in your baby's roomh Key+ [UP]- [DOWN] [LEFT]abdcefghijkl [RIGHT]i Menuj Speakerk Video display Signal strength indicator Battery power indicator Low battery power indicatorl AntennaConnector for the supplied AC/DC adapter• Input: 100-240V AC• Output: 6.0V DC, 500 mA• Model number: For UK, SSW- 1920UK-2; For the other European countries, SSW-1920EU-2Baby unit a Antennab Power-on lighthibcdeagf](https://usermanual.wiki/Philips-Consumer-Lifestyle/SCD610H/User-Guide-1558773-Page-8.png)

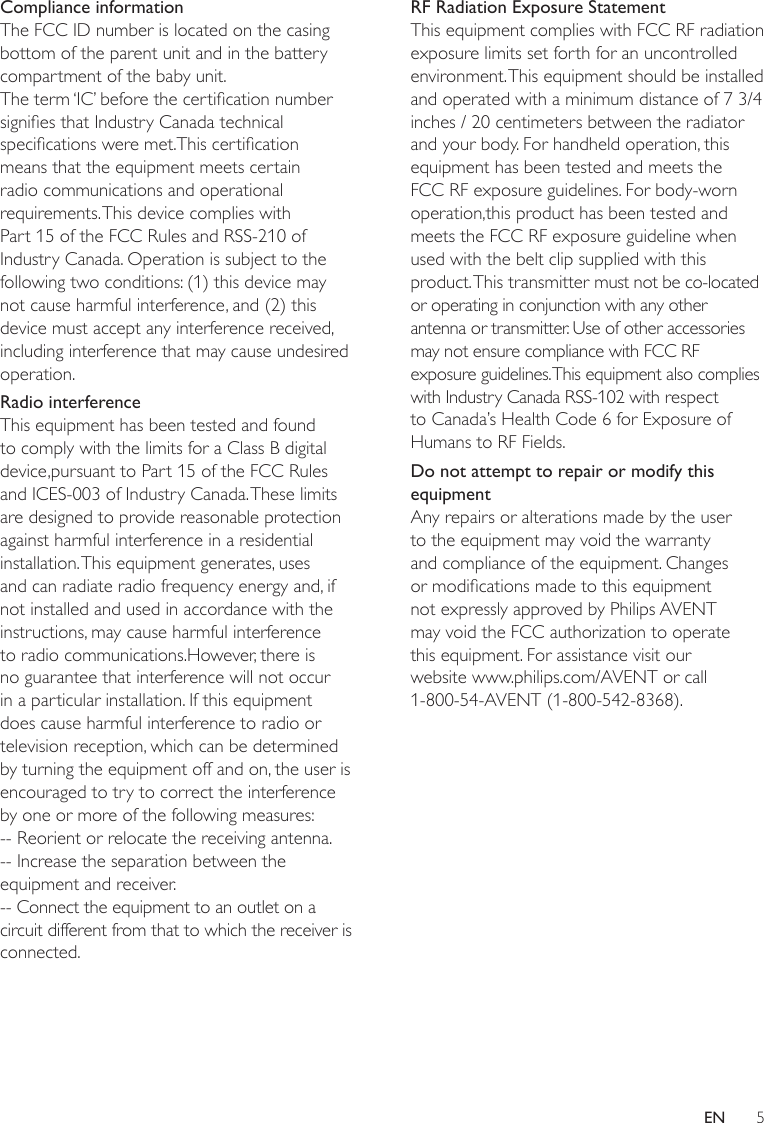
![13EN5 Use your baby monitorTo see your baby,1 Press on the parent/baby unit. » The parent/baby unit turns on, and all indicators on the parent/baby unit light up briey. » Philips AVENT logo appears on the display briey. » If no link is established, a [NOT LINKED!CAM1 OUT OF RANGE] message is ashing on screen. The parent unit beeps from time to time.Note •The CAM1 refers to the default camera.Tip •It takes about 15 seconds to establish the link between the parent unit and the baby unit. •The battery symbol ashes before the battery runs out of power.Operating rangeThe operating range of the baby monitor is 150 metres/490 feet in open air. The range varies depending on the surroundings and other disturbing factors.This monitor is designed to operate at its best within a 150m range, suitable for most household environments. The operating range and quality of the connection varies depending on the number of obstructions, like walls or buildings, in between the two units.](https://usermanual.wiki/Philips-Consumer-Lifestyle/SCD610H/User-Guide-1558773-Page-13.png)
![14 EN6 Menu1 Press menu button on the parent unit. » Menu is displayed.2 Press +/- to move up or down the memu/submenu, and press / to move left or right across menu/submenu.3 To conrm, press the center key or 4 To exit, press .Zoom & Pan1 Press menu button.2 Select [ZOOM & PAN] from the menu to zoom in and out the view, and pan your view.Menu option Description[ZOOM+] Zoom in the view[PAN] Pan the view to adjust the focus of the view[ZOOM-] Zoom out the viewVoice activationVoice activationWhen the voice activation mode is on, the video display only switches on when the baby unit picks up a sound. As long as no sound is detected, the video display is off to save power.When you press a key or a sound is detected, the parent unit is activated, and will be off again after 20 seconds time-out. The timer is reset each time when:• A sound exceeds the set voice activation level • One button on parent unit (menu, +, -, , ) is pressed on.Turn on voice activationPress the button on the side of the parent unit, and the voice activation indicator slowly blinks.Change voice activation level1 Press menu button on the parent unit.2 Select [VOICE ACTIVATION LEVEL] of the baby unit. Menu option Description[HIGH] High voice activation level[MID] Medium voice activation level[LOW] Low voice activation levelNote •When voice activation is active, the LOOP ALL CAMs in the switch CAM dialogue is not available. •When the LOOP ALL CAMs is active, the VOICE ACTIVATION function is not available. An info screen will be shown when you press the VOX button.Adjust brightness1 Press menu button on the parent unit.2 Select [ADJUST BRIGHTNESS].3 Press +/- to adjust the brightness of the video display.Add/delete camerasAdd a new camera A maximum of 4 cameras can be paired to a parent unit. The menu has 4 positions named CAM1 up to CAM4. Your default setting will be at CAM1. You can select any of the positions in the list to assign a camera. It is up to you to decide which camera is which item in the list.](https://usermanual.wiki/Philips-Consumer-Lifestyle/SCD610H/User-Guide-1558773-Page-14.png)
![15ENNote •Only when a position is empty in the list, a new camera can be paired.1 Press menu button on the parent unit.2 Select [ADD/DEL CAM]. » The paired CAM list is displayed.Note •A paired CAM cannot be paired again on another position when it is assigned to a position.3 Select [ADD CAM]. » An info screen will indicate that the parent unit is searching for the new camera. You are prompted to shortly press of the baby unit, with the baby unit being on.4 Short press of the baby unit, less than 1 second. » An info screen will conrm when the pairing process is successful. Delete a camera1 From the paired CAM list, select the camera to be deleted. » The dialog [DELETE CAM1 FROM LIST?] is displayed.2 Press or menu button to conrm, or press to return. For example, when "CAM1 DELETE" is highlighted and selected, CAM1 will be deleted.Select other camerasWhen multiple CAMs are listed in the paired camera list, you may switch between different cameras.1 Press or to show the CAM identication bar indicating which camera is currently linked to the parent unit.Note •When only one camera is in the paired list, the camera identication bar, i.e. pressing and will not be displayed.2 Press and to navigate this bar to select other CAMs in the list, i.e. parent unit tries to connect to camera.Loop all camerasSwitch on the tab LOOP ALL cameras to check what is going on through all paired cameras.Note •When VOICE ACTIVATION is active, the LOOP ALL function is not selectable.Change the language1 Press menu button on the parent unit2 select [LANGUAGE] to dene your desired language.Menu option DescriptionGB EnglishFR FrenchResetTo reset the parent unit:1 Press and hold to turn off the parent unit. 2 Press and hold - on the parent unit.3 When you hold -, turn on the parent unit. » The parent unit is reset.](https://usermanual.wiki/Philips-Consumer-Lifestyle/SCD610H/User-Guide-1558773-Page-15.png)